
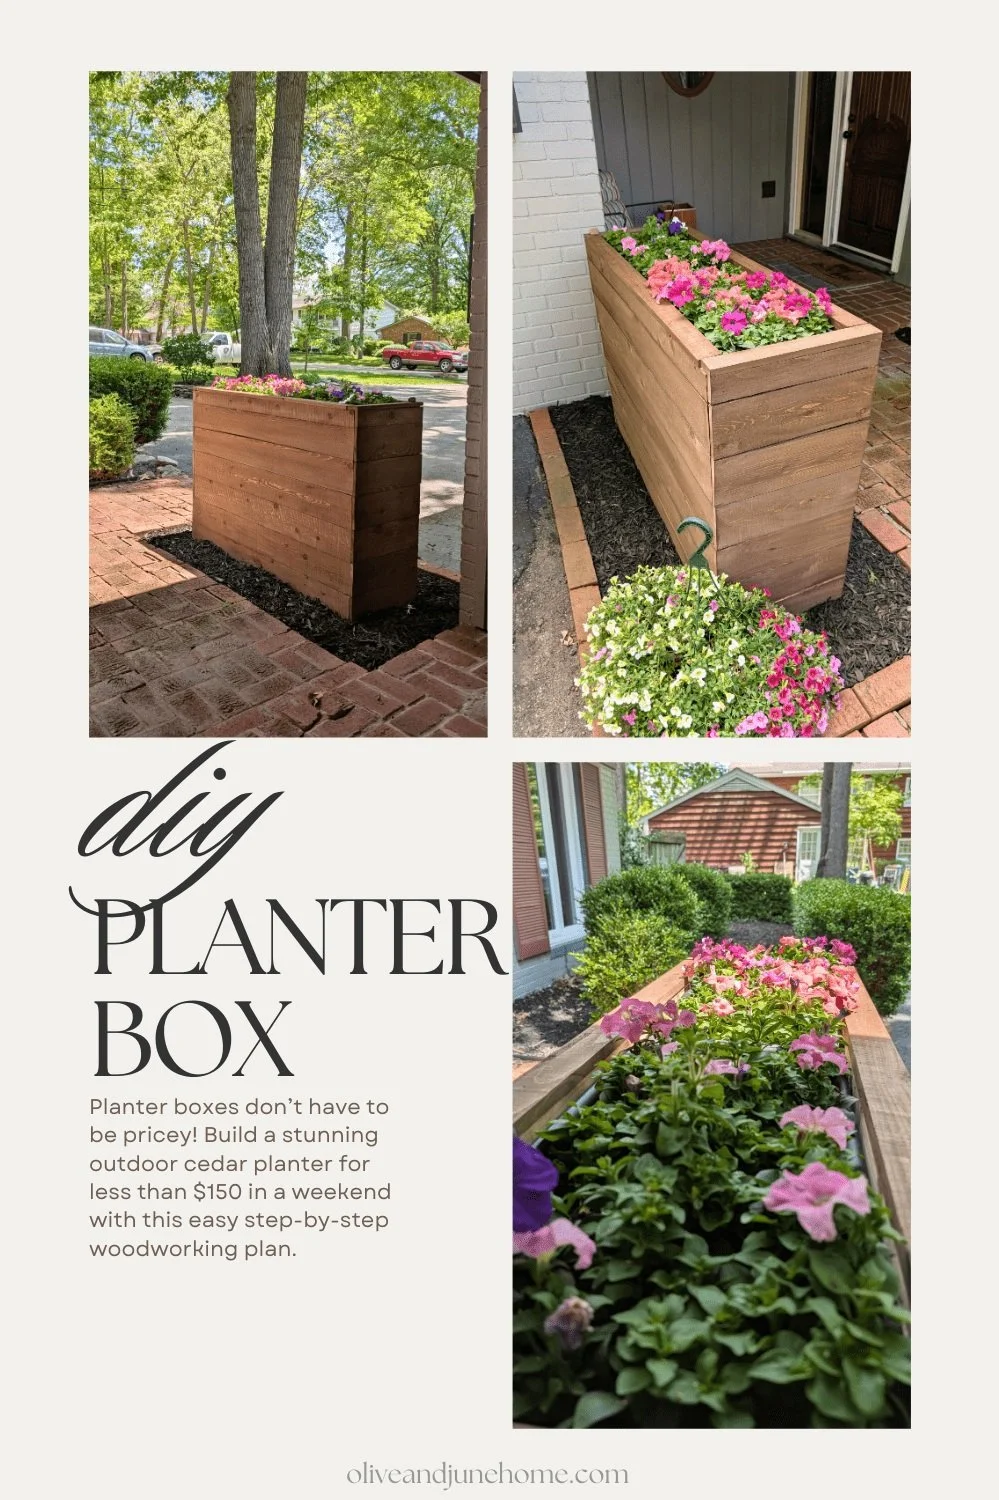
Customizable DIY Planter Box
DIY Planter Box with Cedar Fence Pickets
Let’s be real—planter boxes are expensive. And the bigger they get, the pricier they are. And of course, I needed a large one, but couldn’t justify dropping big bucks on something I could build myself. So, I rolled up my sleeves and took on this DIY planter box project.
In this tutorial, I’ll show you how to build a customizable, budget-friendly planter box that adds serious curb appeal without wrecking your wallet. Whether you’re new to woodworking or just want a stylish way to display your spring flowers, this beginner-friendly project is for you. Plus, I’ve included a full budget breakdown and tips I learned along the way.

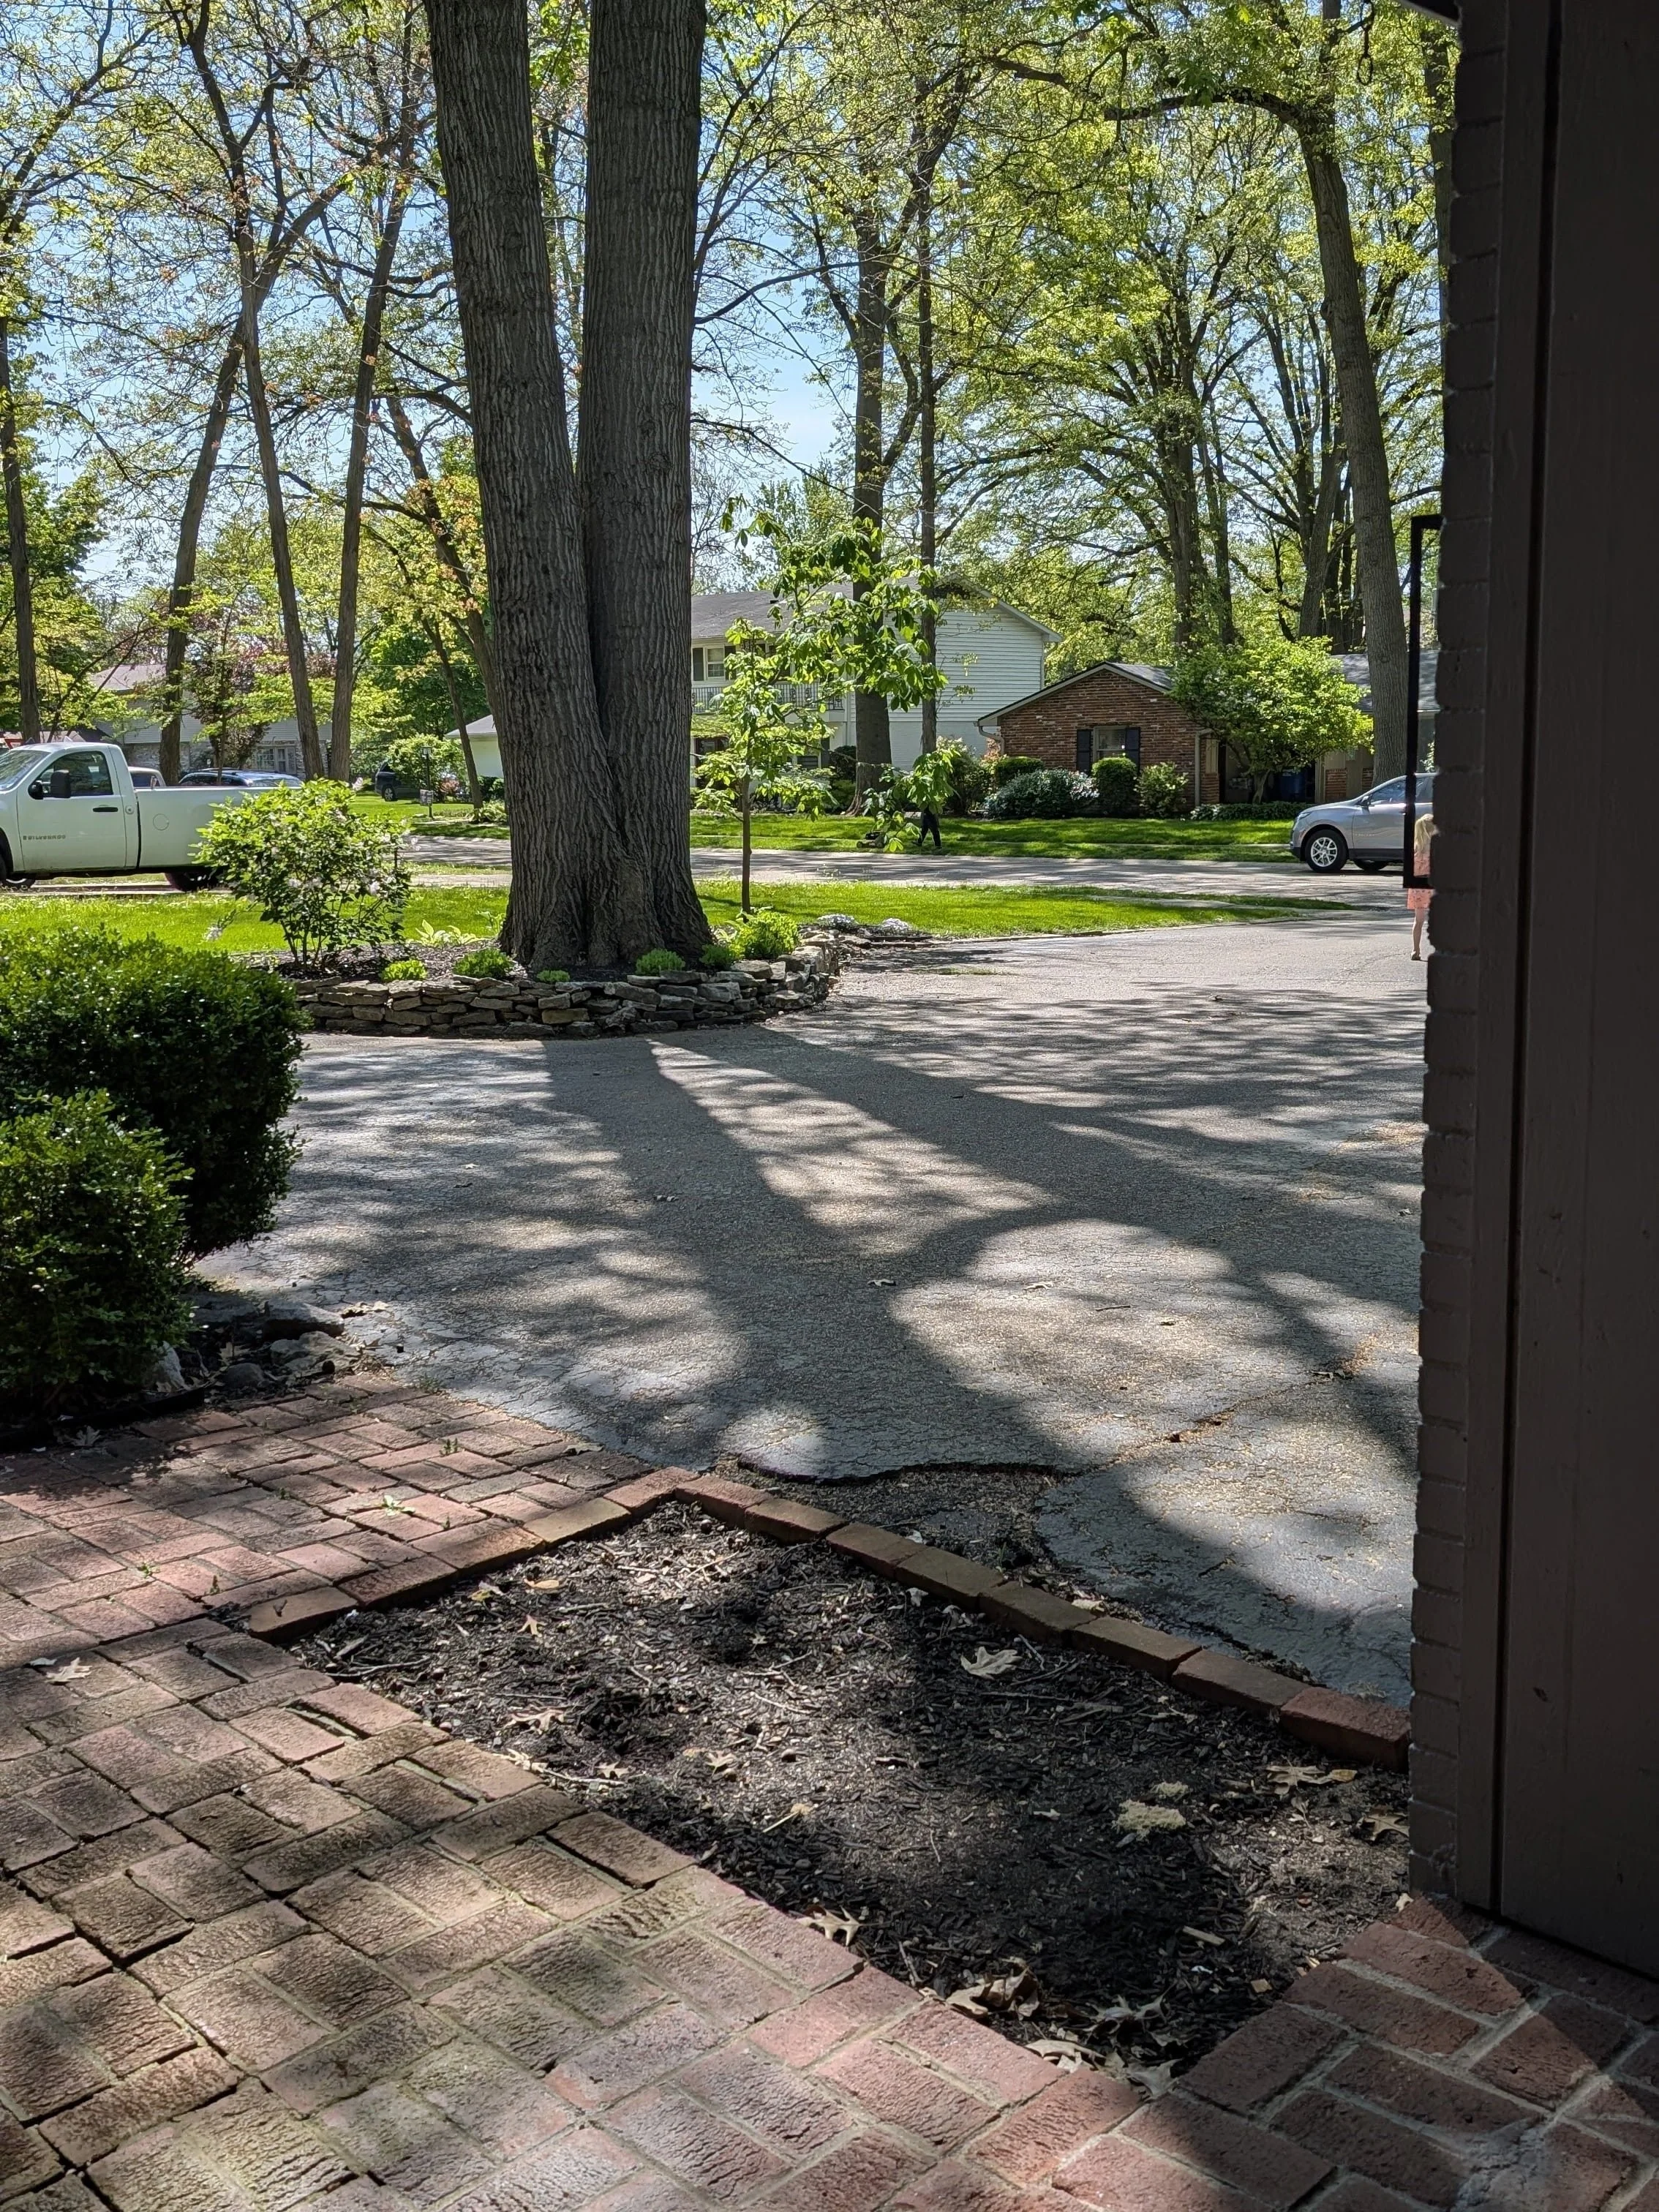
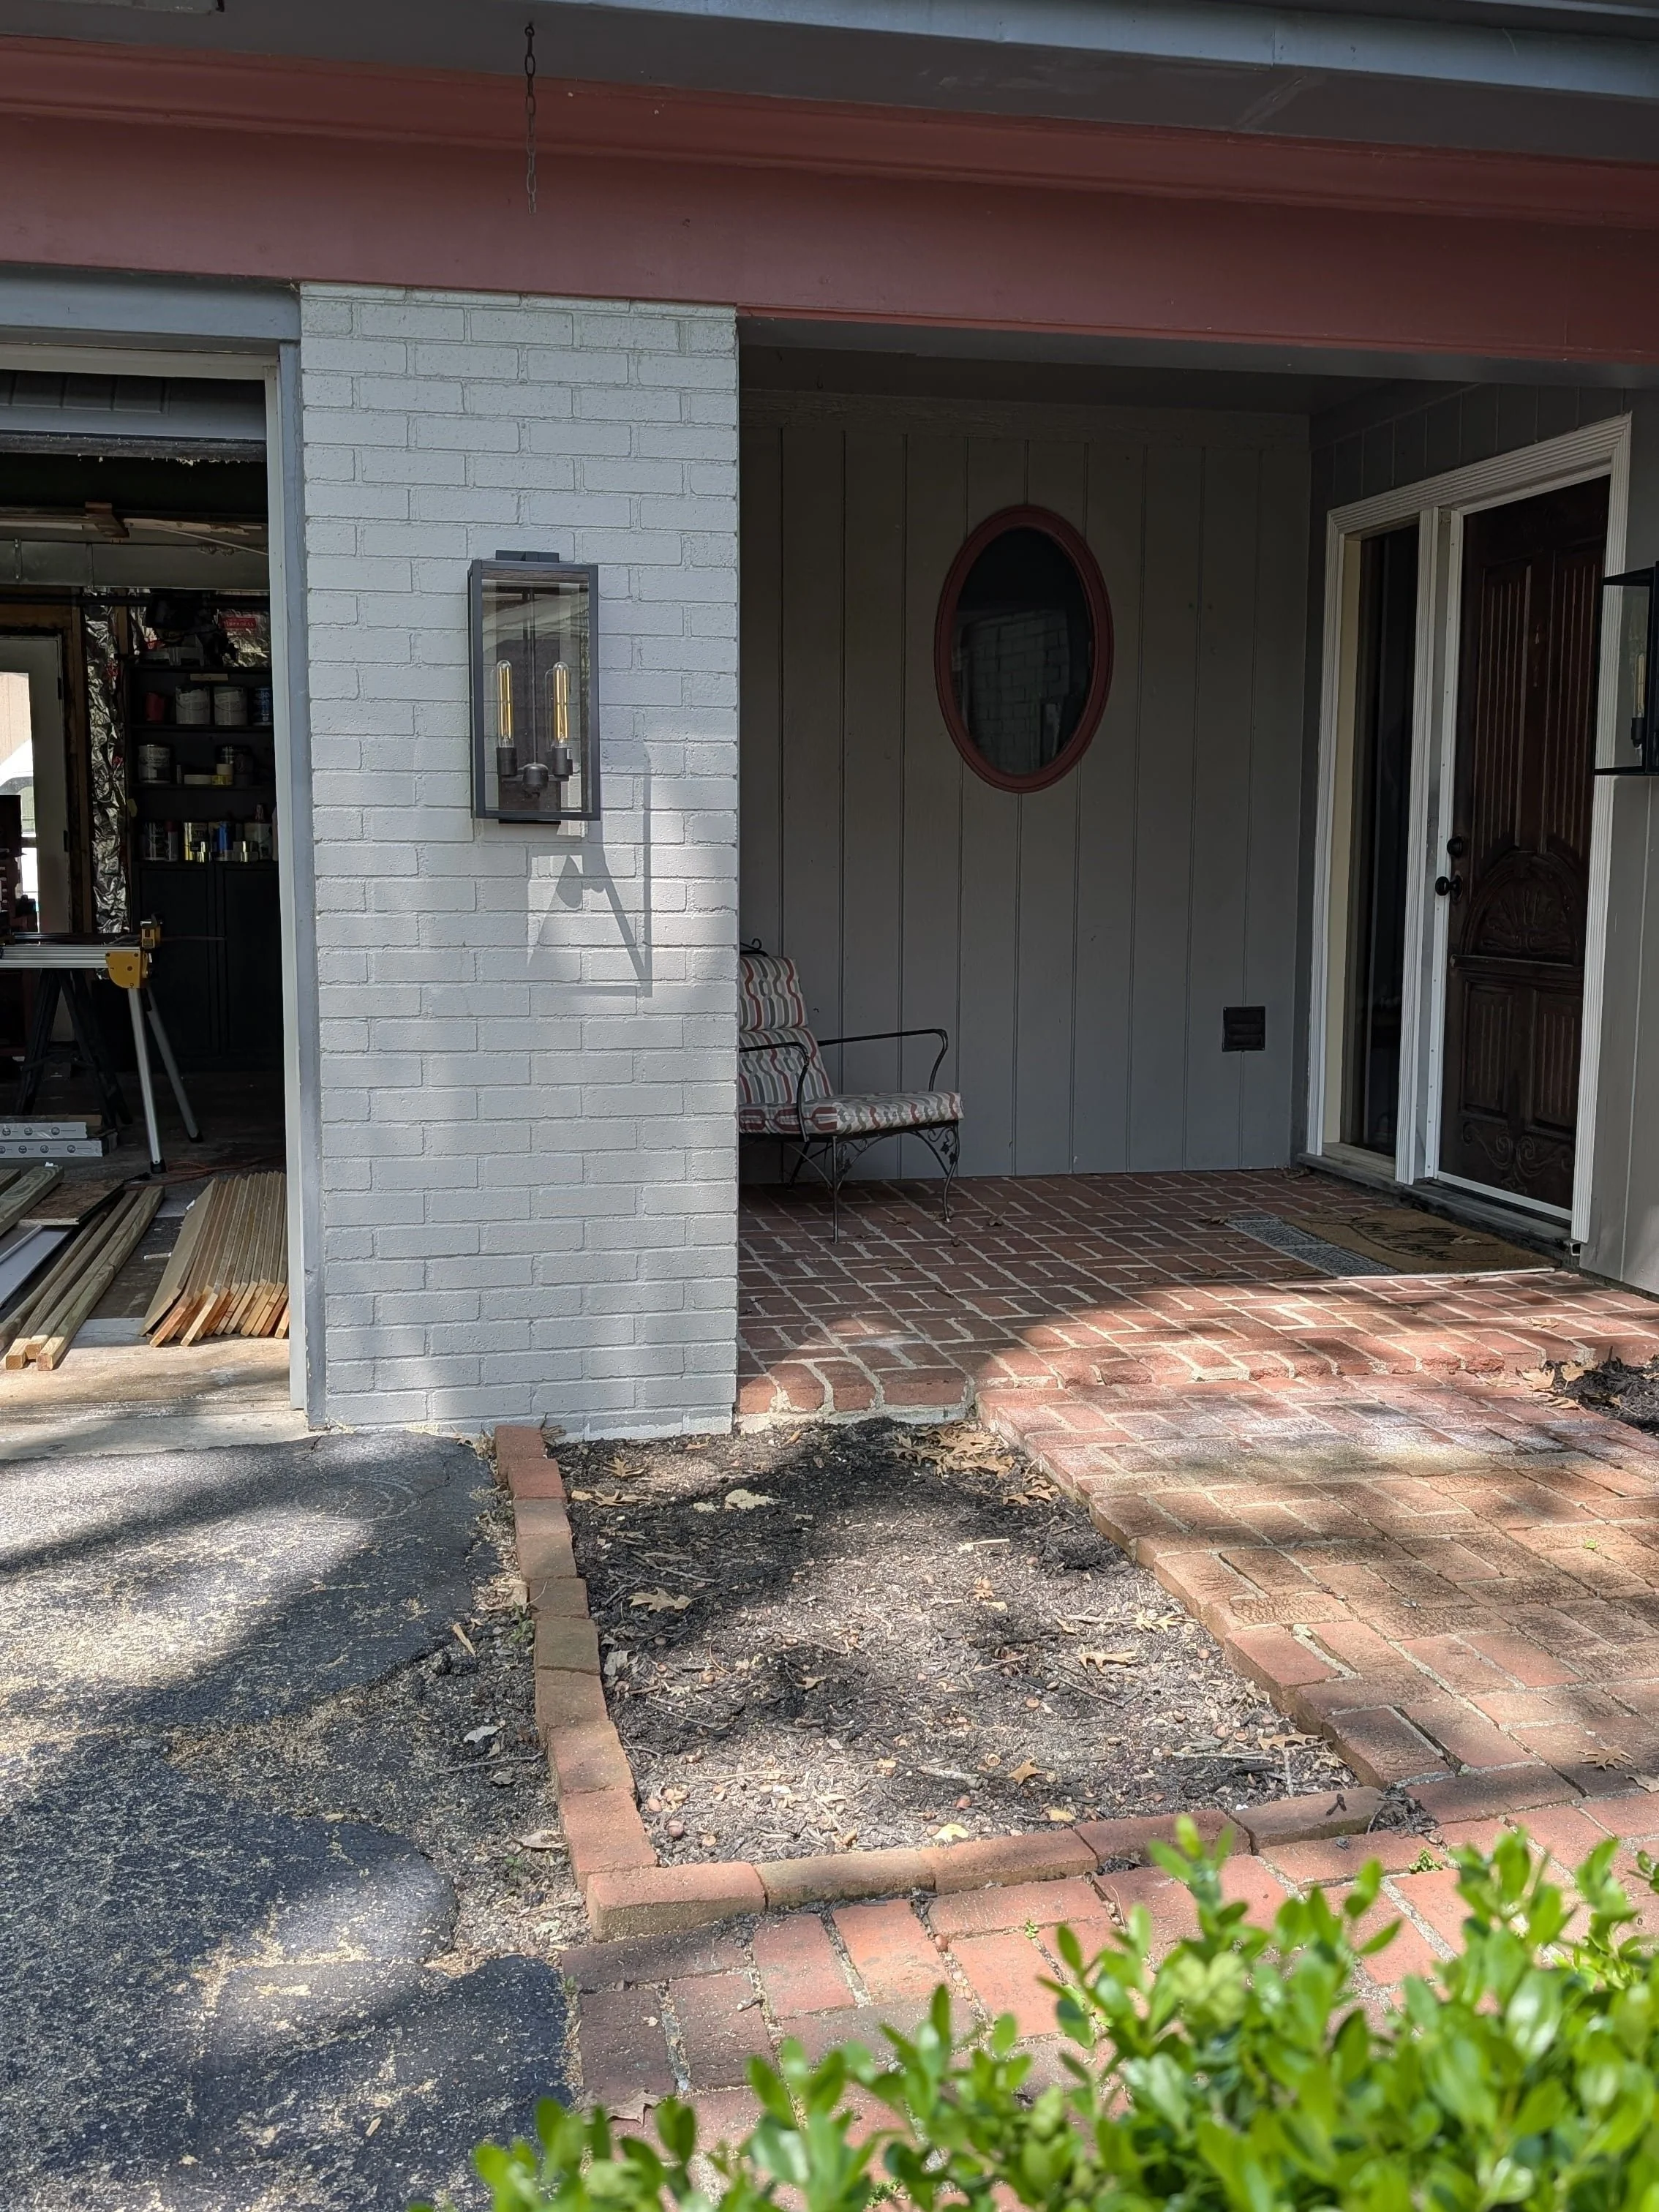
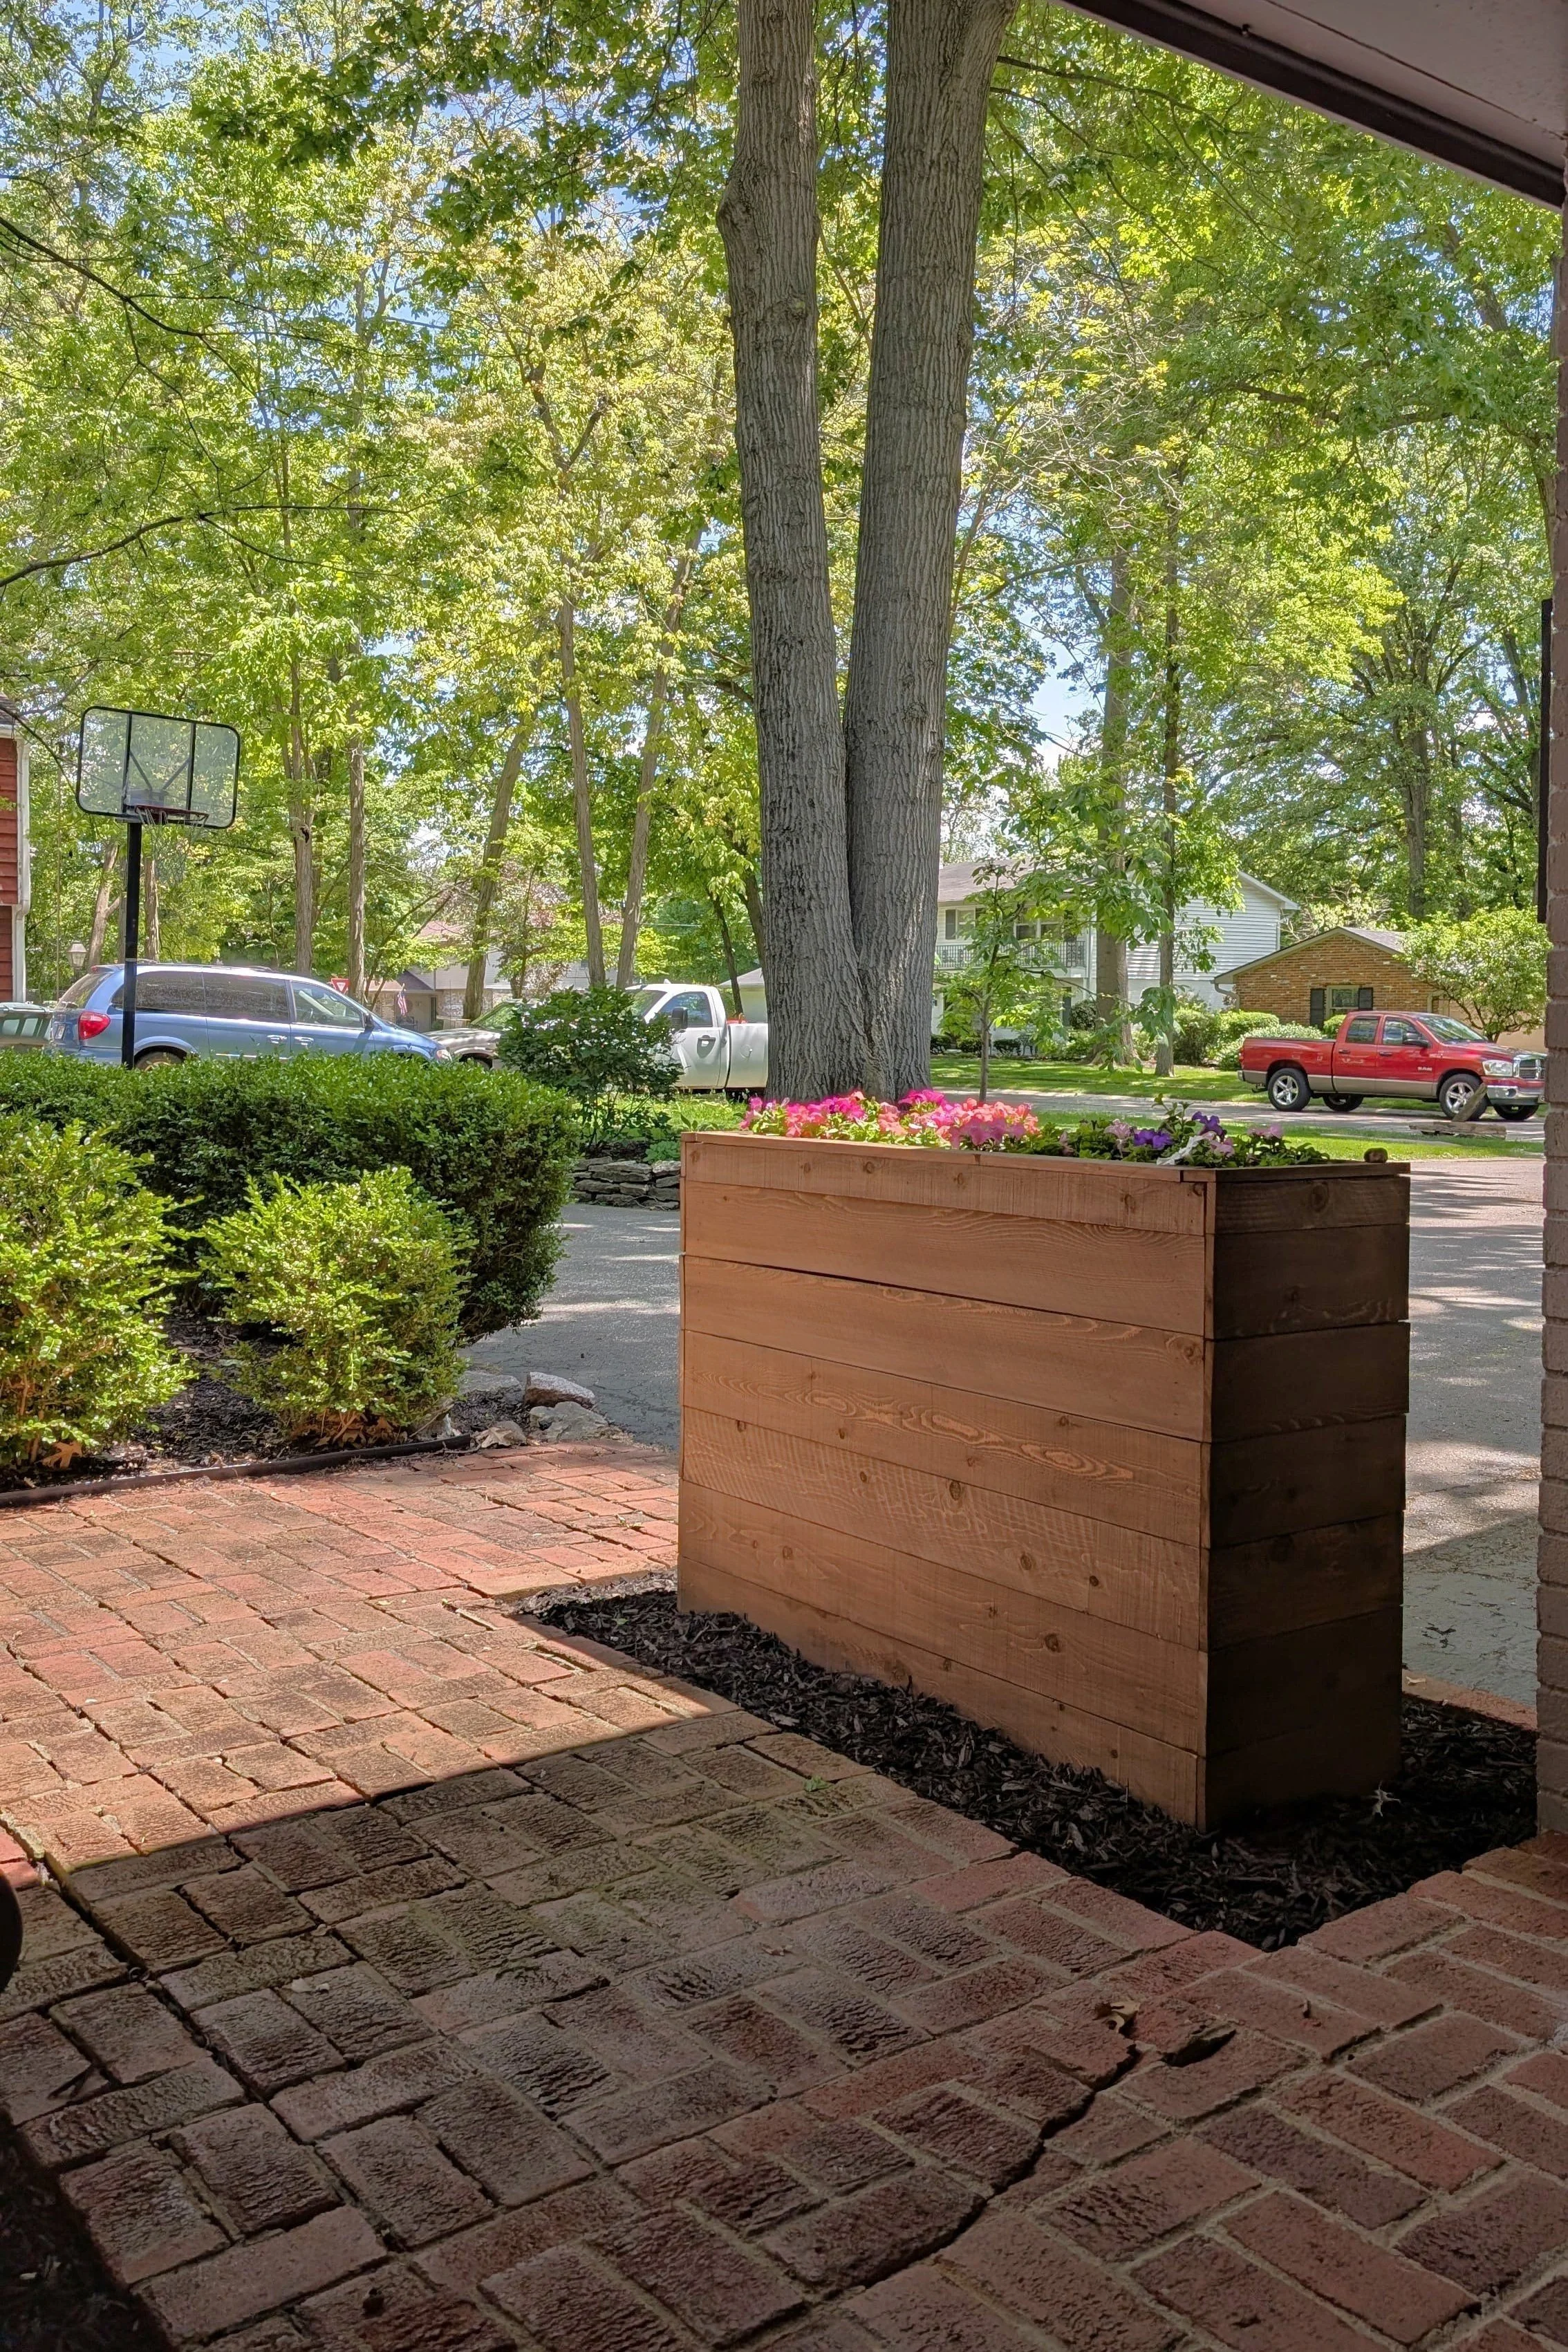
Spring is hands-down my favorite season. Longer days, plants blooming, warmer temps—yes, please. But with that fresh spring energy also comes a long list of projects. One of those? Finally dealing with the awkward empty rectangle by our front door.
Even though I’m knee-deep in the mudroom renovation, I didn’t want to put this project off another year. Plus, with the upcoming locker build for the mudroom on the horizon, I wanted to dip my toes back into a smaller woodworking project to rebuild my confidence.
Confession time: I get nervous before every. single. woodworking project. I always doubt whether I can actually pull it off, or if this is the time I accidentally lose a finger. The last big carpentry project I took on was the playroom built-ins... over a year ago. So I figured this would be the perfect project to dust off my skills and prove I haven’t lost my woodworking mojo.
Spoiler: it was way easier than I made it out to be in my head.
A Quick Heads-Up About Wood
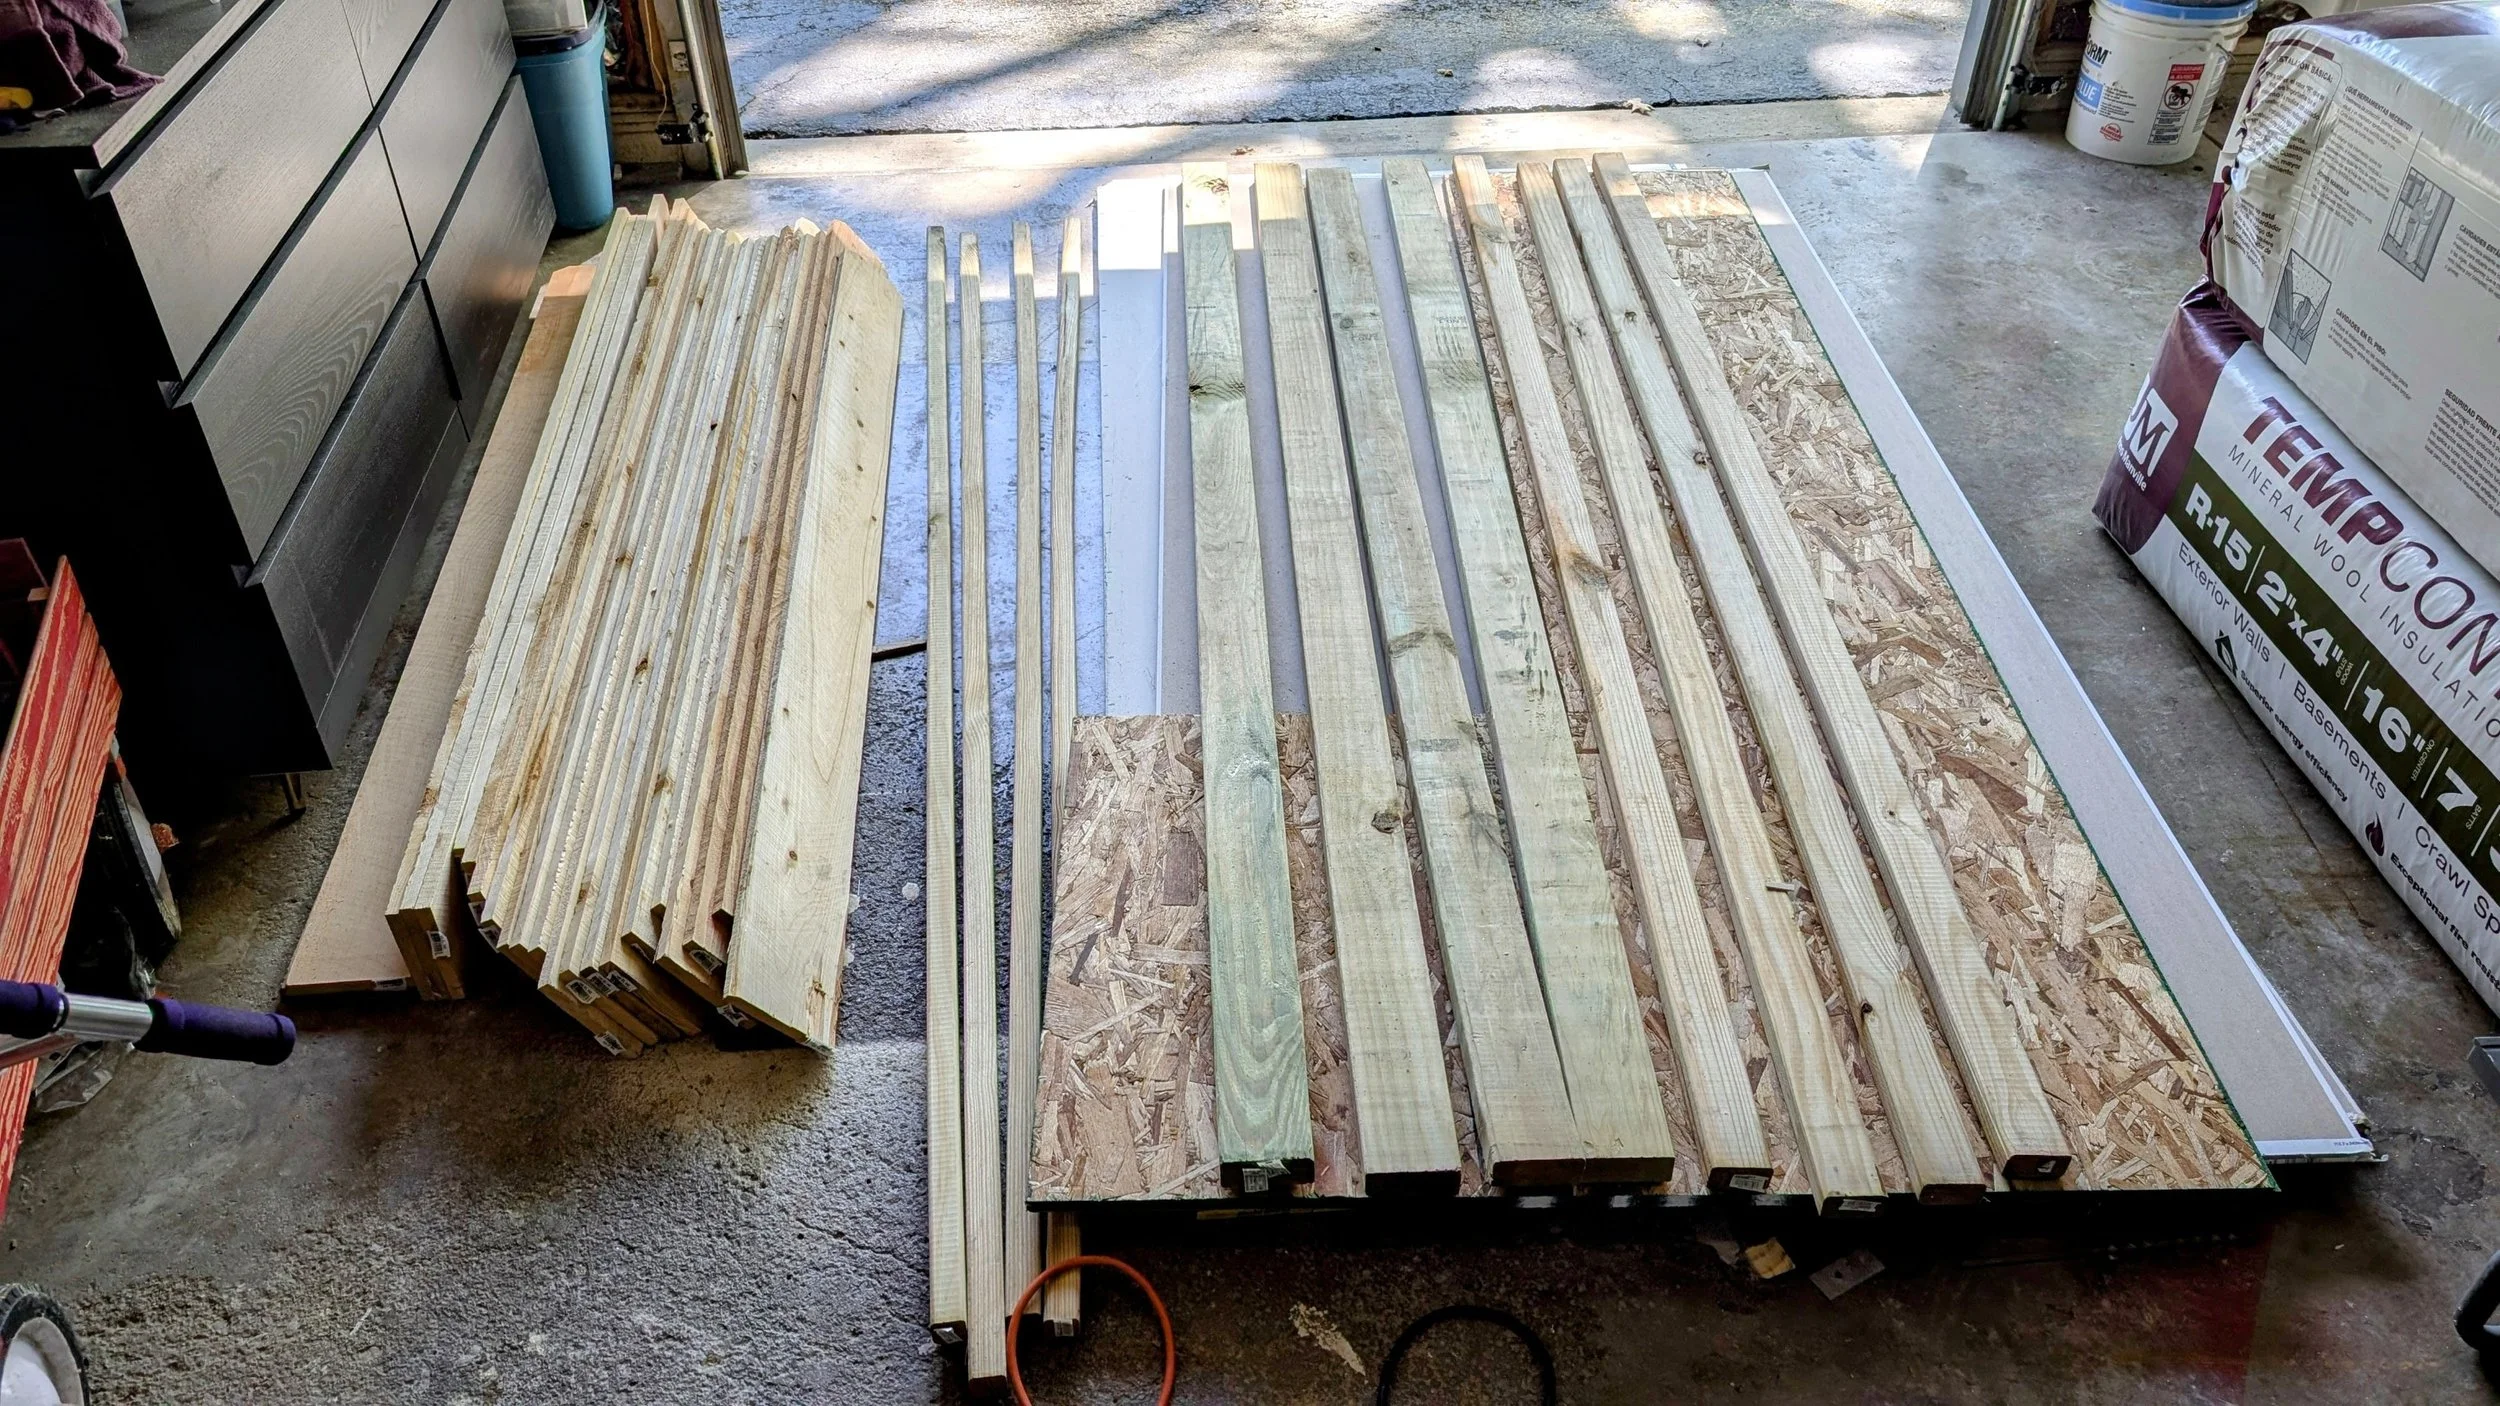
You’ll want to buy pretreated lumber for this build—it holds up better outdoors. But here’s the catch: it’s usually soaked with moisture and needs time to dry before you can work with it. I had to wait two full weeks. Yes, it’s annoying. Yes, it’s worth it. Don't skip this step unless you want warped wood and regrets.
Disclaimer: I’m providing the measurements I used in my design throughout this post, but your measurements may vary based on different factors. That’s the great thing about this project though - you can customize it to fit your space perfectly!
As an Amazon Associate, and partner with other brands, I earn from qualifying purchases. This post may contain affiliate links, meaning I receive commissions for purchases made through those links at no cost to you.
Tools & Materials
Tools
- Tape Measure
- Miter saw (or circular saw)
- Kreg pocket hole jig
- Drill
- Clamps (corner clamps are a bonus)
- Square
- Finish nailer
- 1” finish nails
- Optional: table saw (for trimming the top planks)
Materials
- (2) 2x4x8 pretreated lumber
- (3) 2x3x8 pretreated lumber
- (13) Cedar fence pickets
- (2) Plastic planter boxes (mine were 24”x12”x9”)
- Kreg 2 ½” pocket hole screws
- Exterior stain/sealant
Step-by-Step Instructions
Step 1: Cut Your Wood
Once your wood is dry, it’s time to cut. Here are the main cut sizes I used for the frame:
(4) 2x4s @ 36” for the vertical legs - 2
(4) 2x3s @ 43 ¼” for the long horizontal sides - 2
(7) 2x3s @ 12” for the short sides and internal supports - 1
(2) 2x2s @ 50 ¾” for the planter box supports - 2
If you’re a visual learner (hi, same), here’s a quick-cut diagram I created:
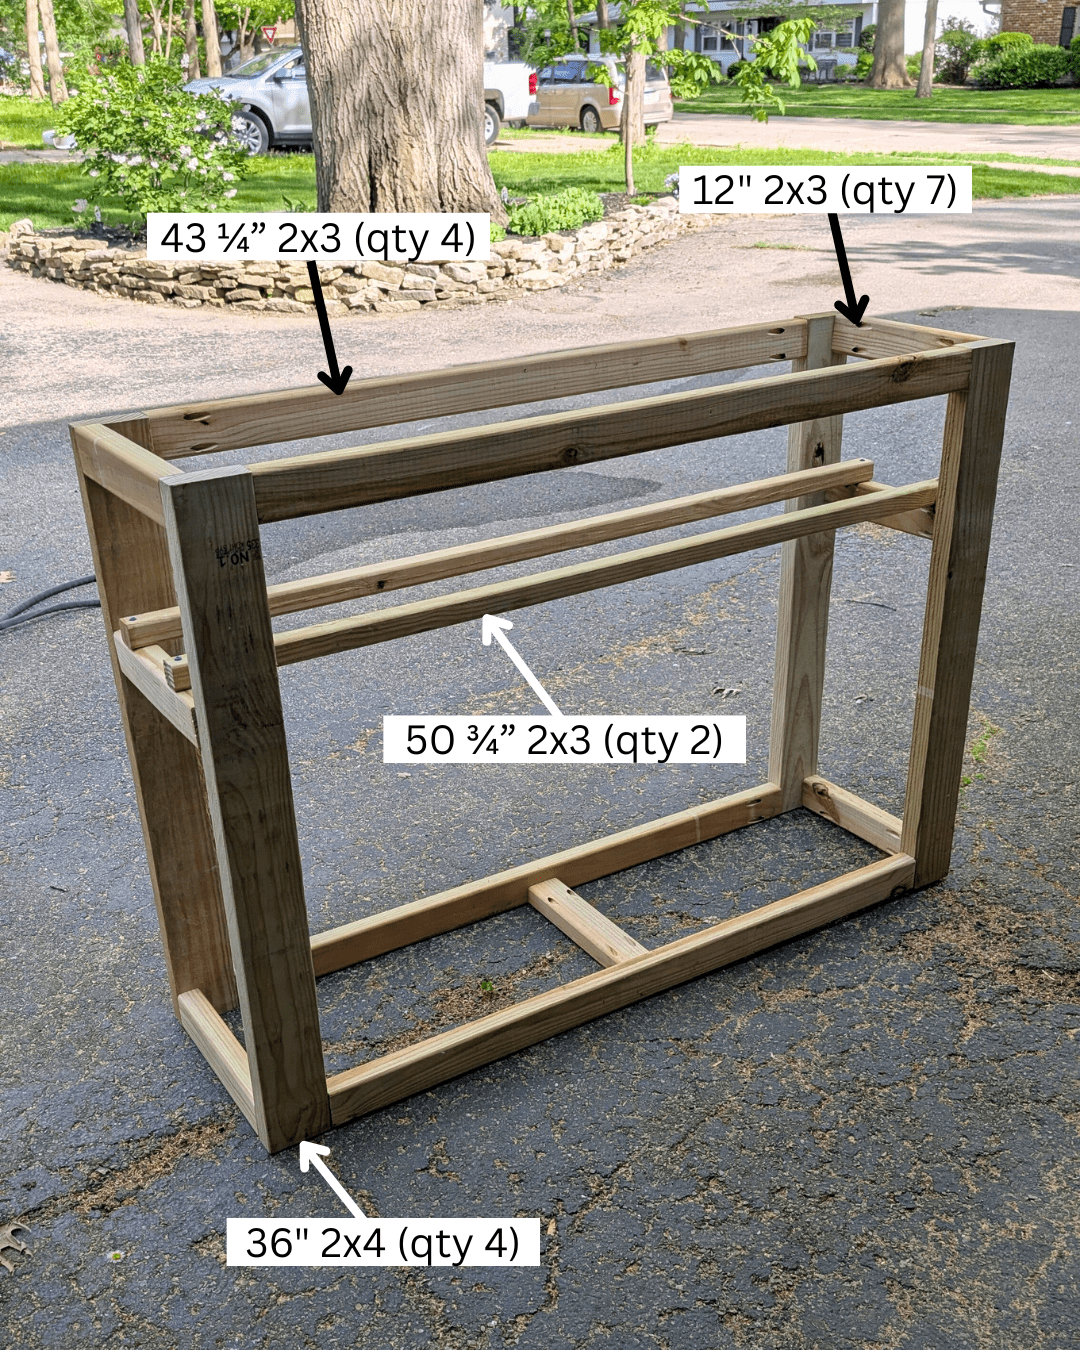
Step 2: Build the Frame
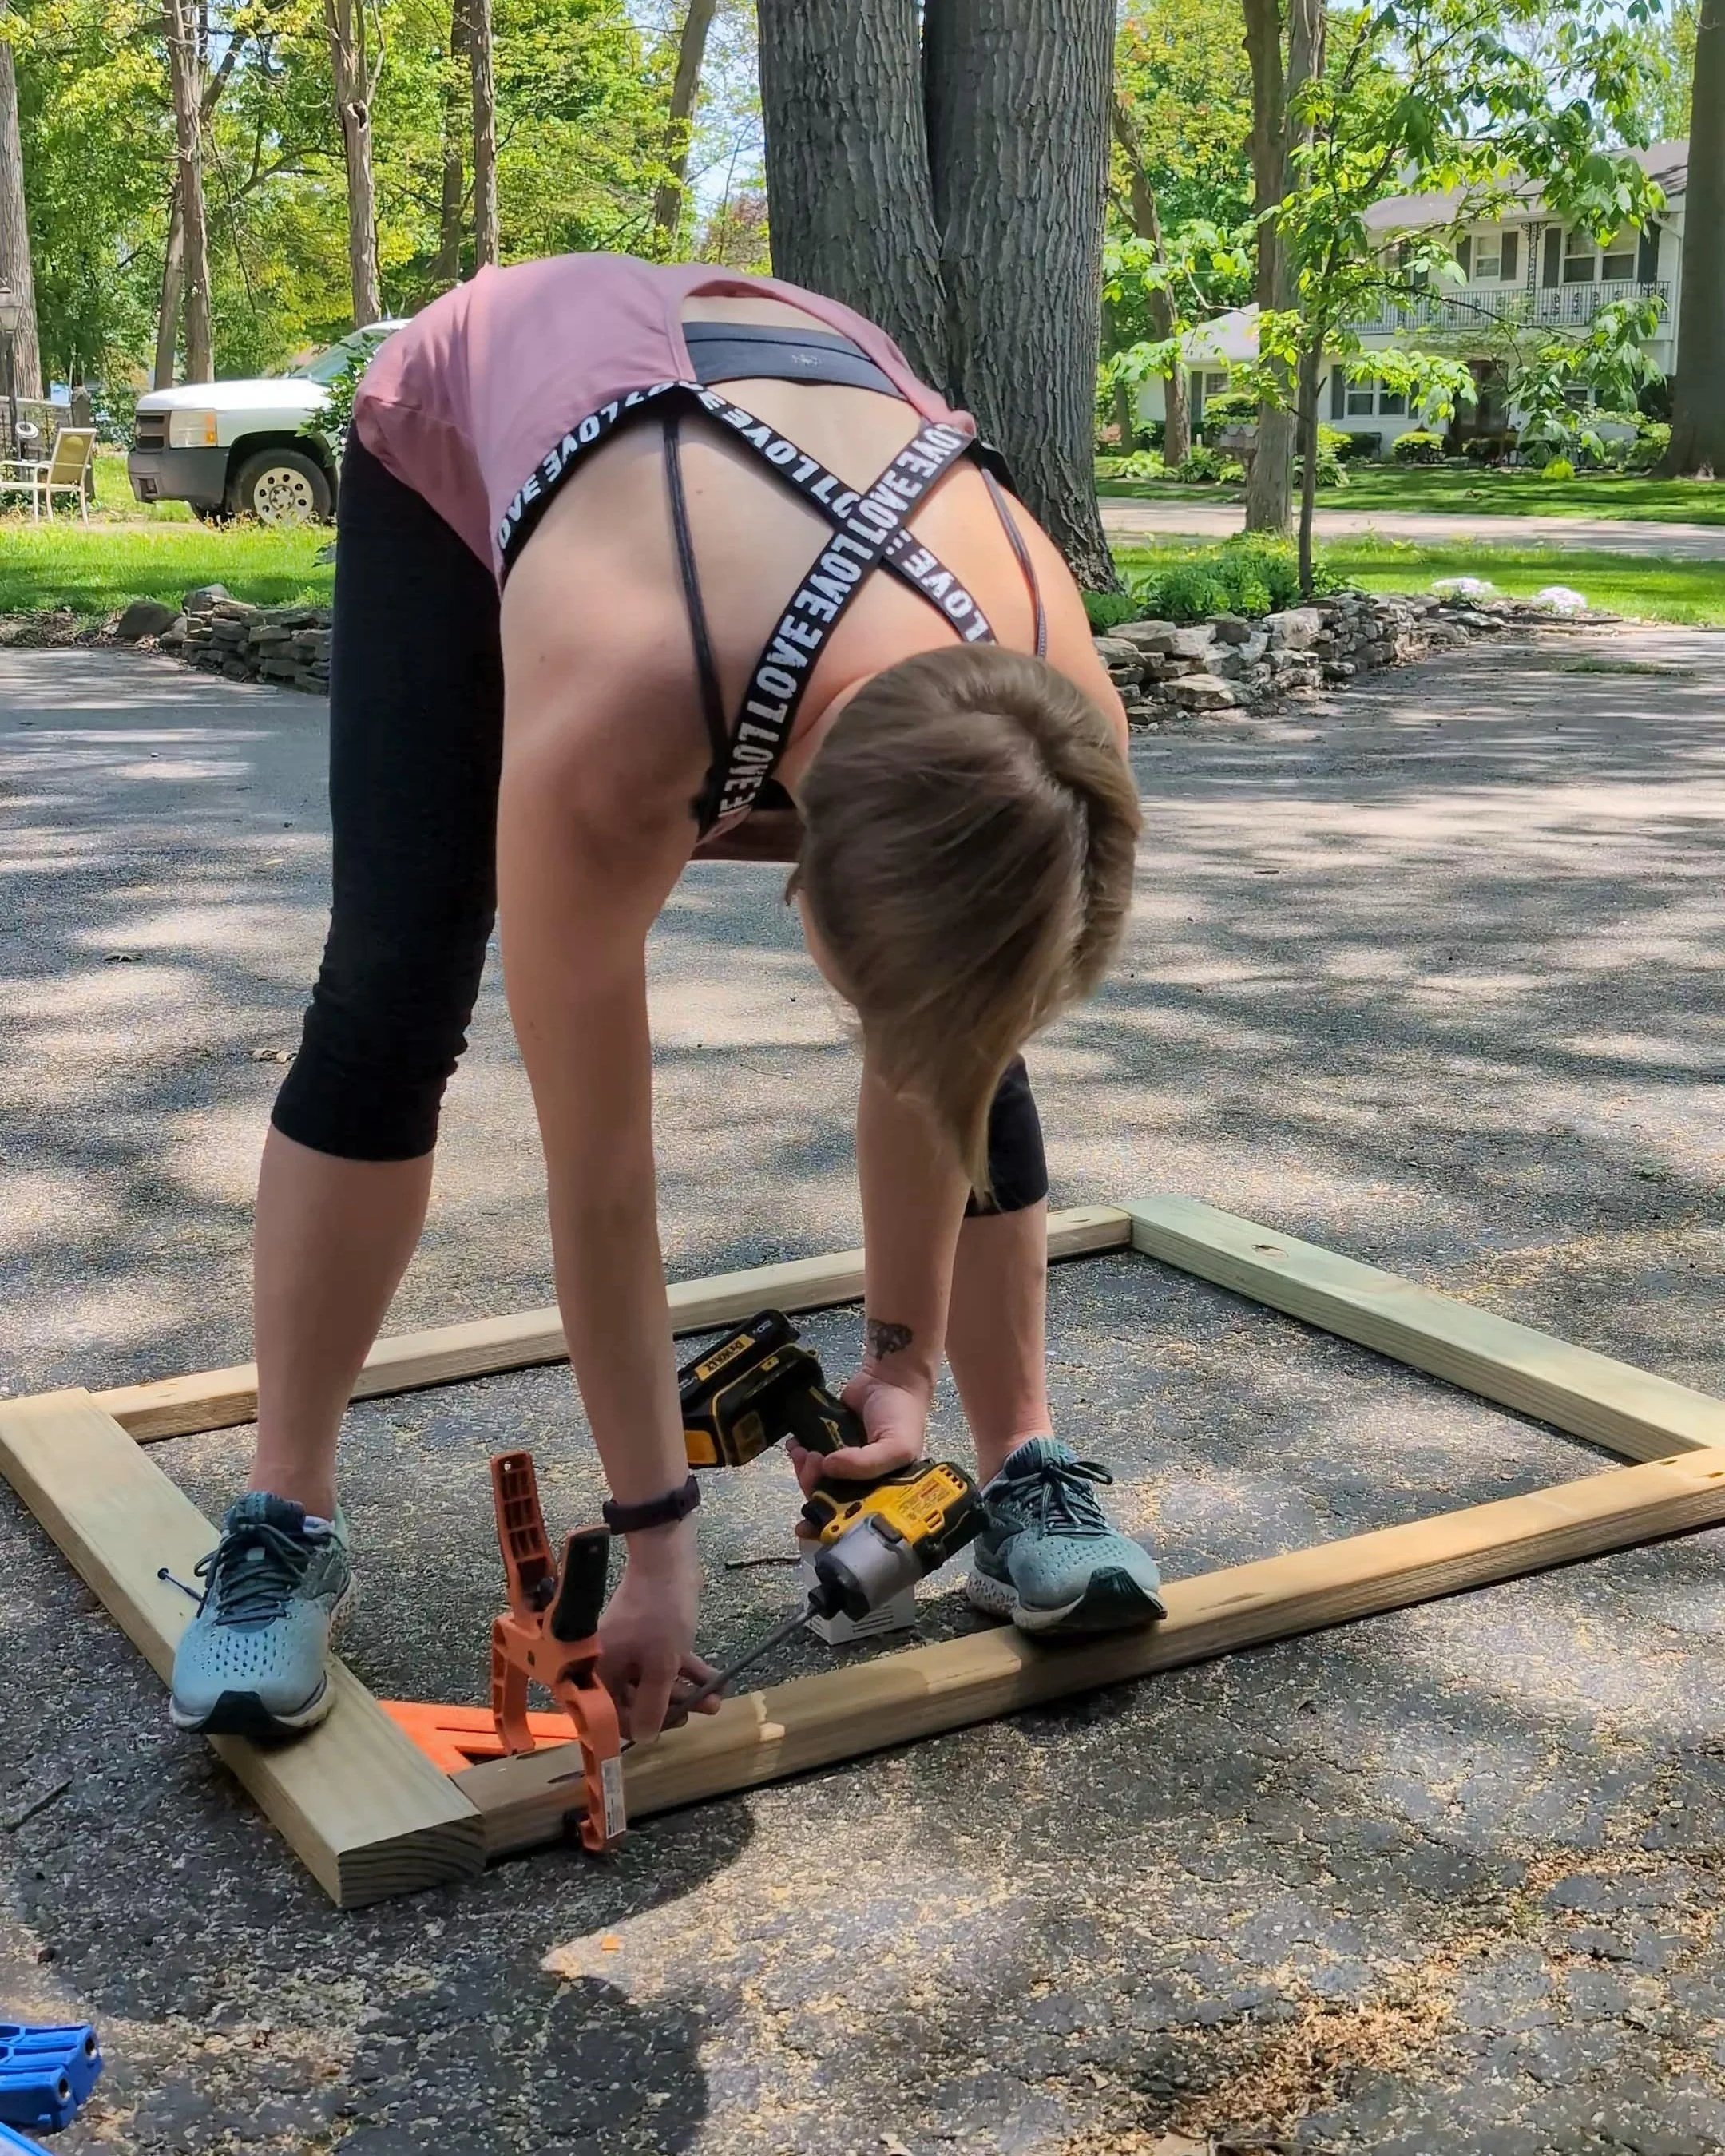
Drill two pocket holes into each end of the 43 1/4” and 12” pieces using the Kreg Jig (aka the MVP of DIY joinery).
Start by assembling the two side panels. Each panel uses two 36” 2x4s as the vertical legs and two 43 1/4” 2x3s as the top and bottom connectors. These create the long sides of the planter box.
Use clamps to keep everything square. If you, like me, don’t have corner clamps, you can fake it with a speed square, basic clamps, and sheer determination.
Once both sides are assembled, connect them using the 12” 2x3s across on the sides —two at the top and two near the bottom.
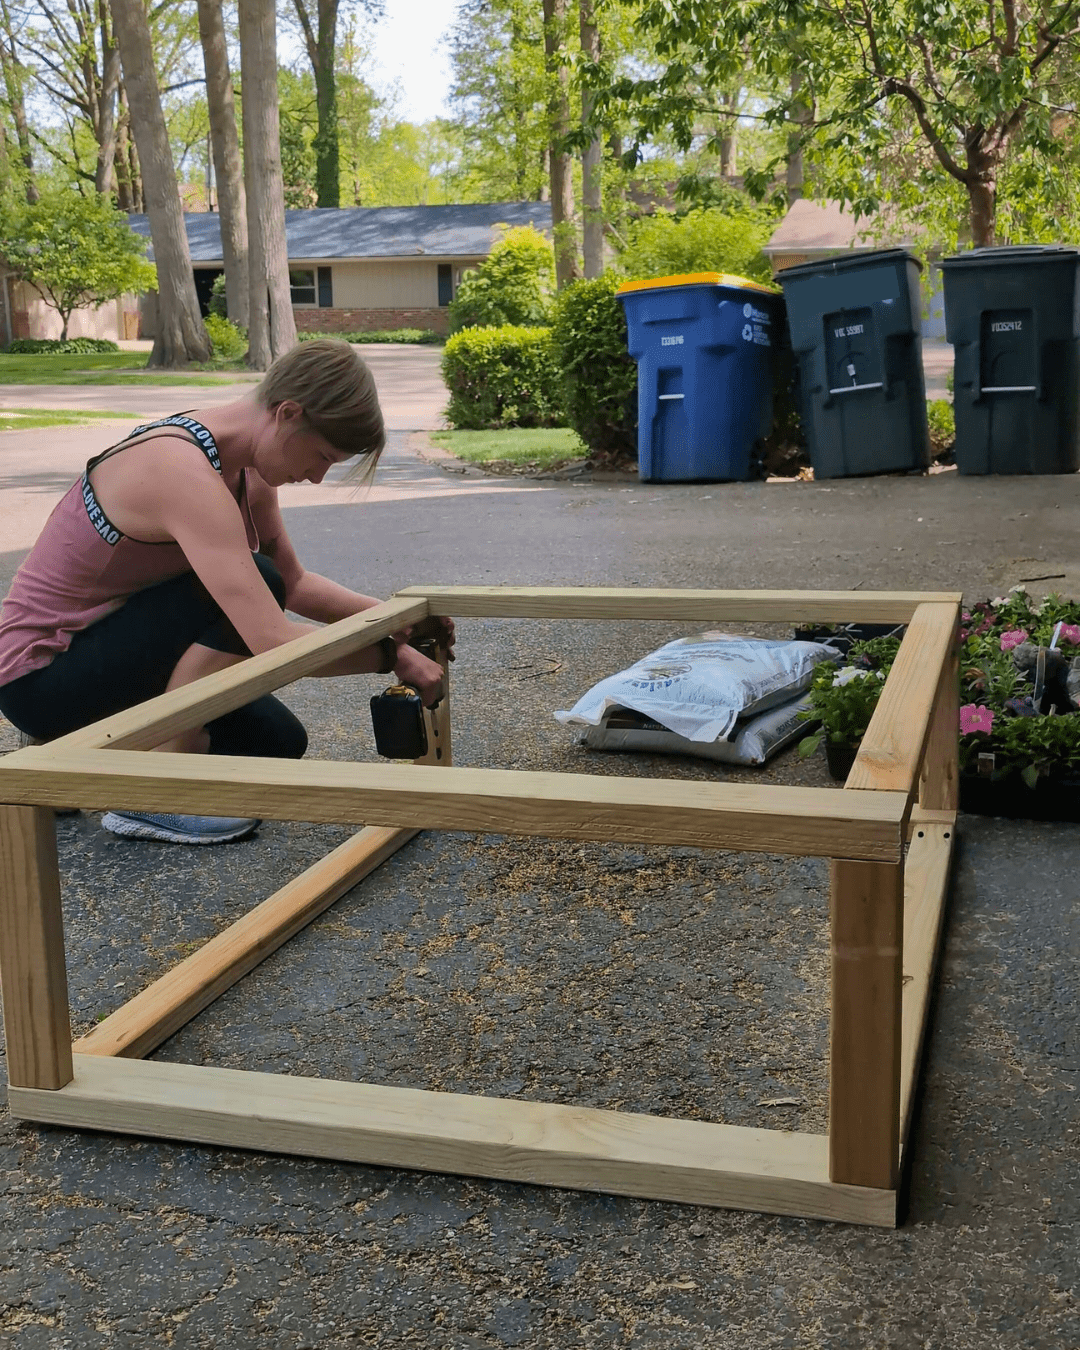
Add a fifth 12” piece in the middle of the bottom for extra support.
Step 3: Add Planter Supports
The last two 12” pieces will be used for the planter support sides.
Measure how far from the top your plastic planters will sit. Take the height of your planters and add 1½” (to account for the support boards they’ll sit on). My planters are 9” tall, so I installed the supports 10½” down from the top.
Then screw in the 50 3/4” side supports across the width. I originally used 2x2s, but they cracked—so I recommend sticking with 2x3s here for more strength.
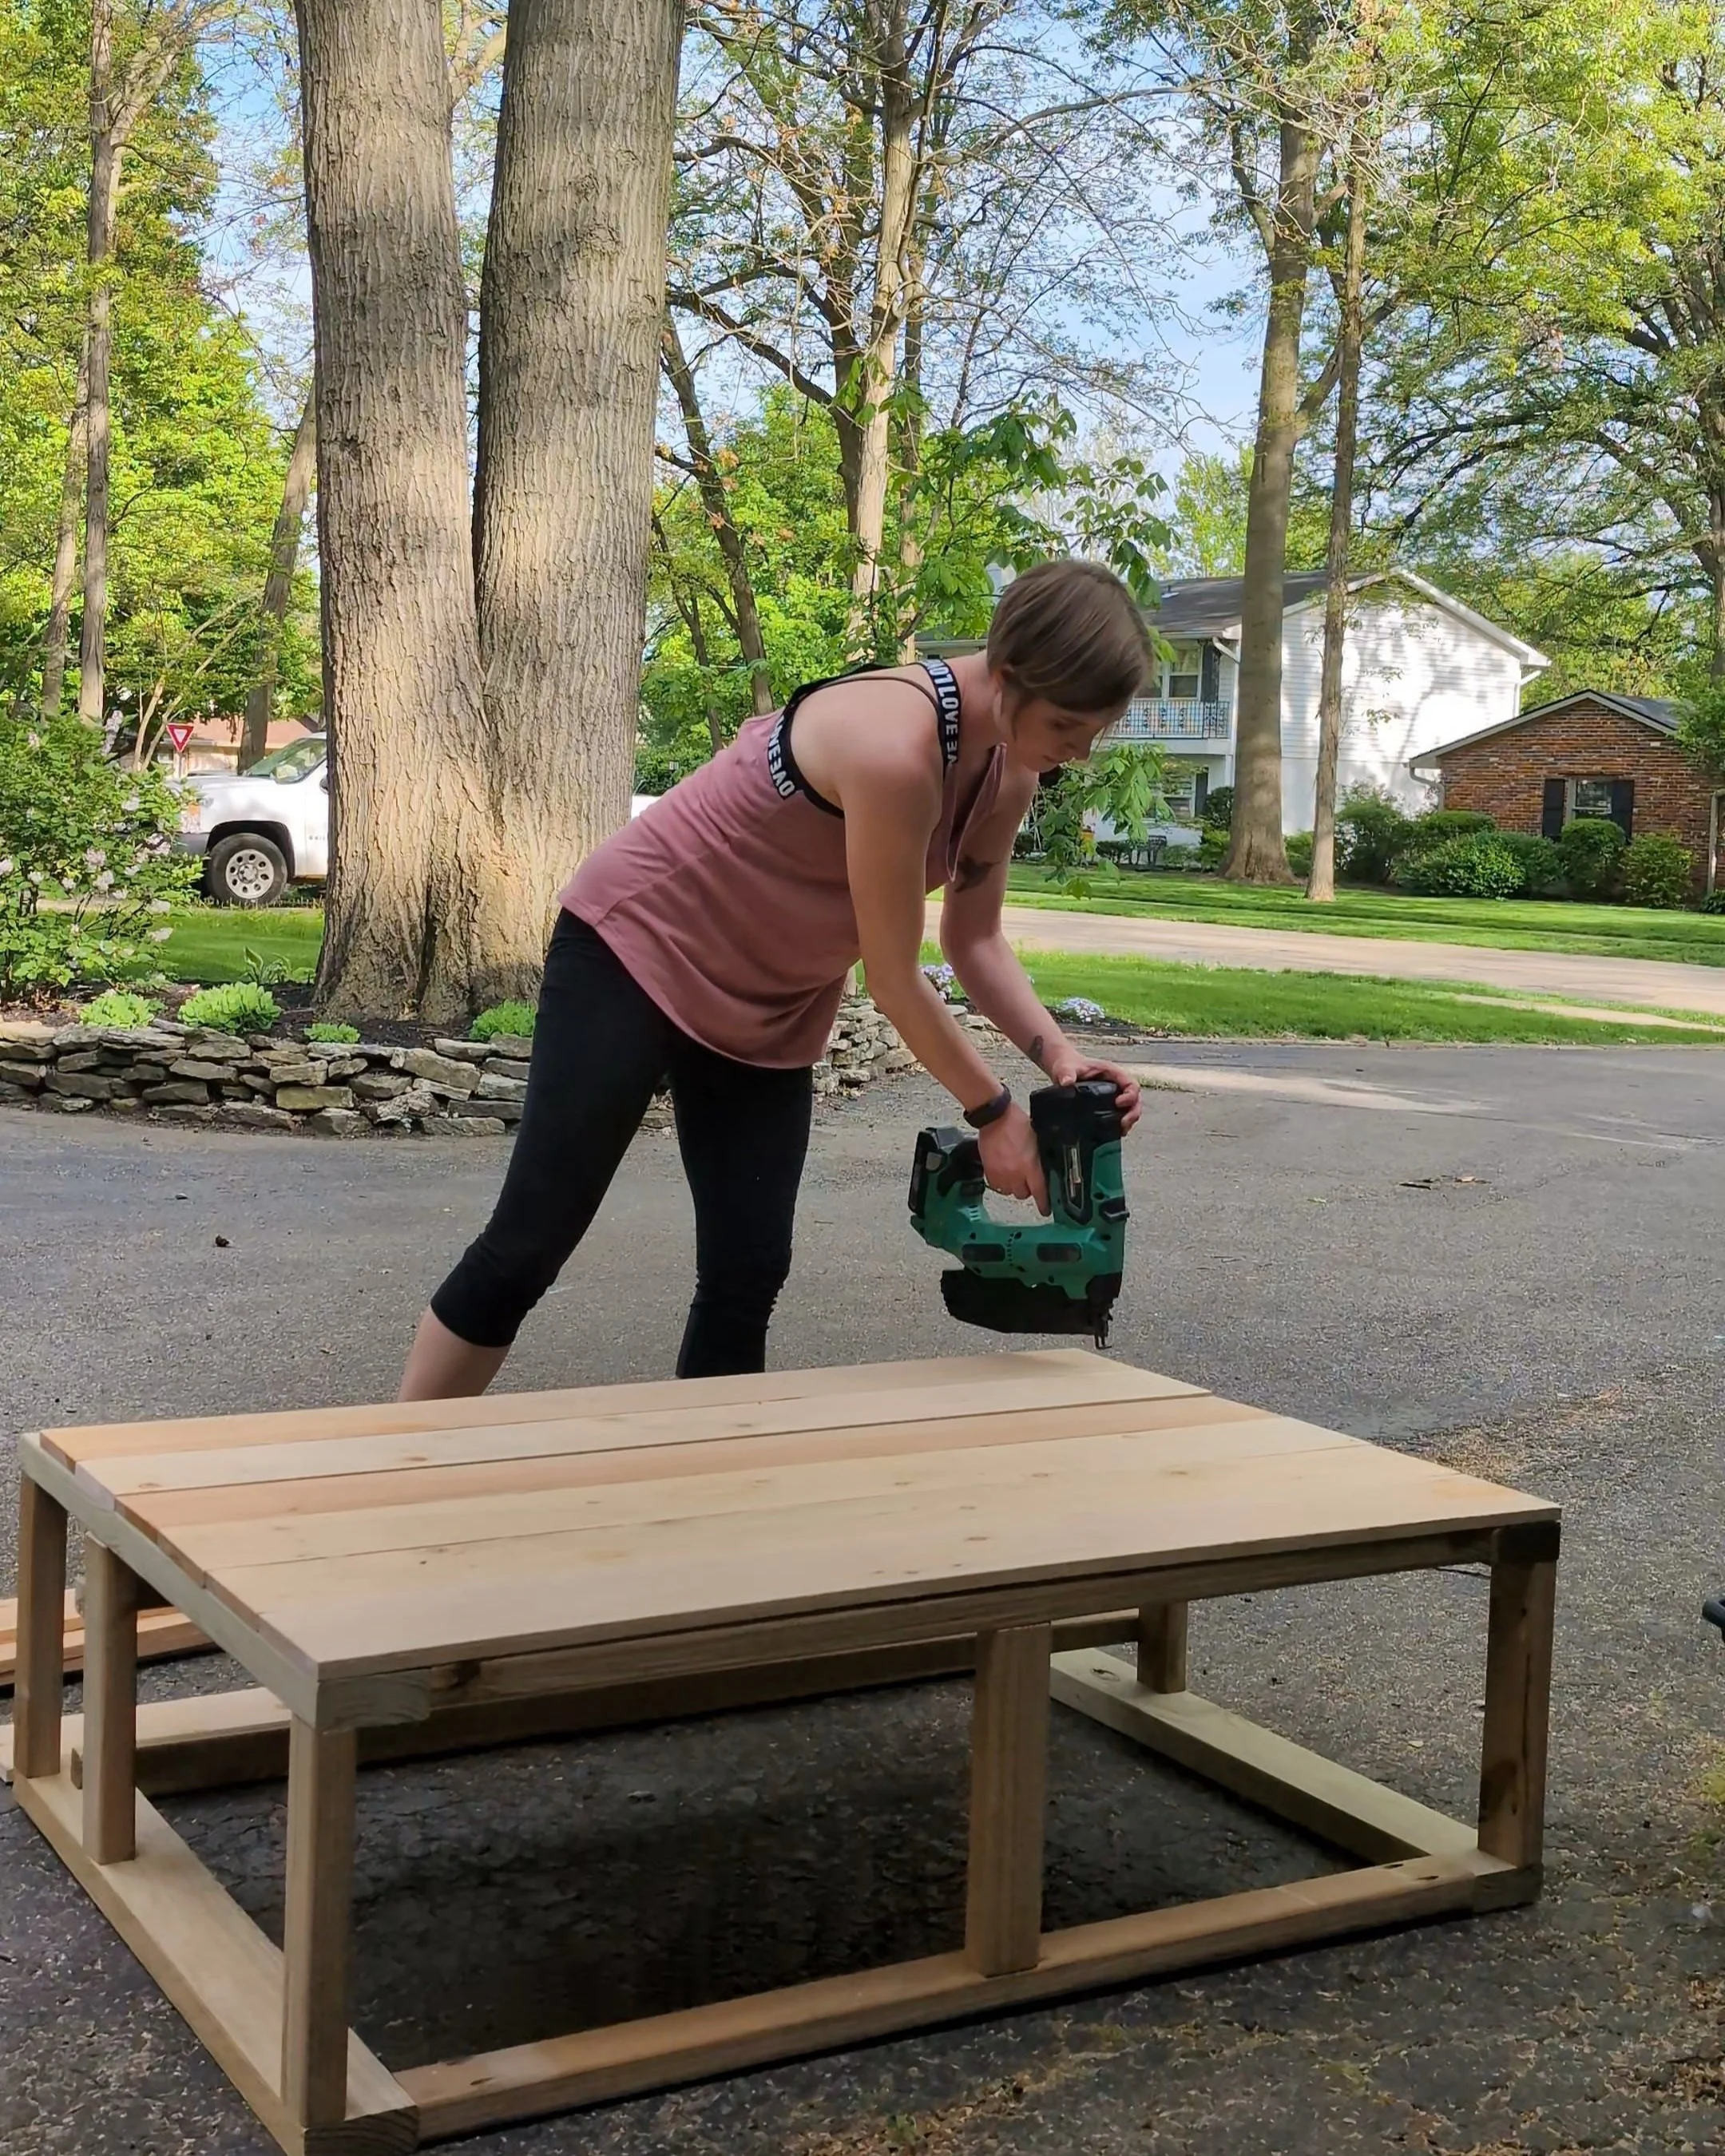
Step 4: Add the Exterior Sides
Now that the frame’s done, it’s time to make it look pretty.
Cut off the dog-ear detail on the fence pickets. Then measure the sides of the planter and cut the cedar fence pickets down to size. I was able to get one long side and one short side out of each picket.
Starting at the bottom, nail each plank in place using a finish nailer. Make sure to keep that first plank level!
You can leave small gaps between boards for a more rustic vibe, but I went for a seamless look to better match my house’s style.
Once I got to the top, I ran a couple of pickets through the table saw to cut them down to the right width for the remaining spots.
For a more finished edge, I ripped a couple more pickets to create a top trim and nailed them around the top edge for a polished look.
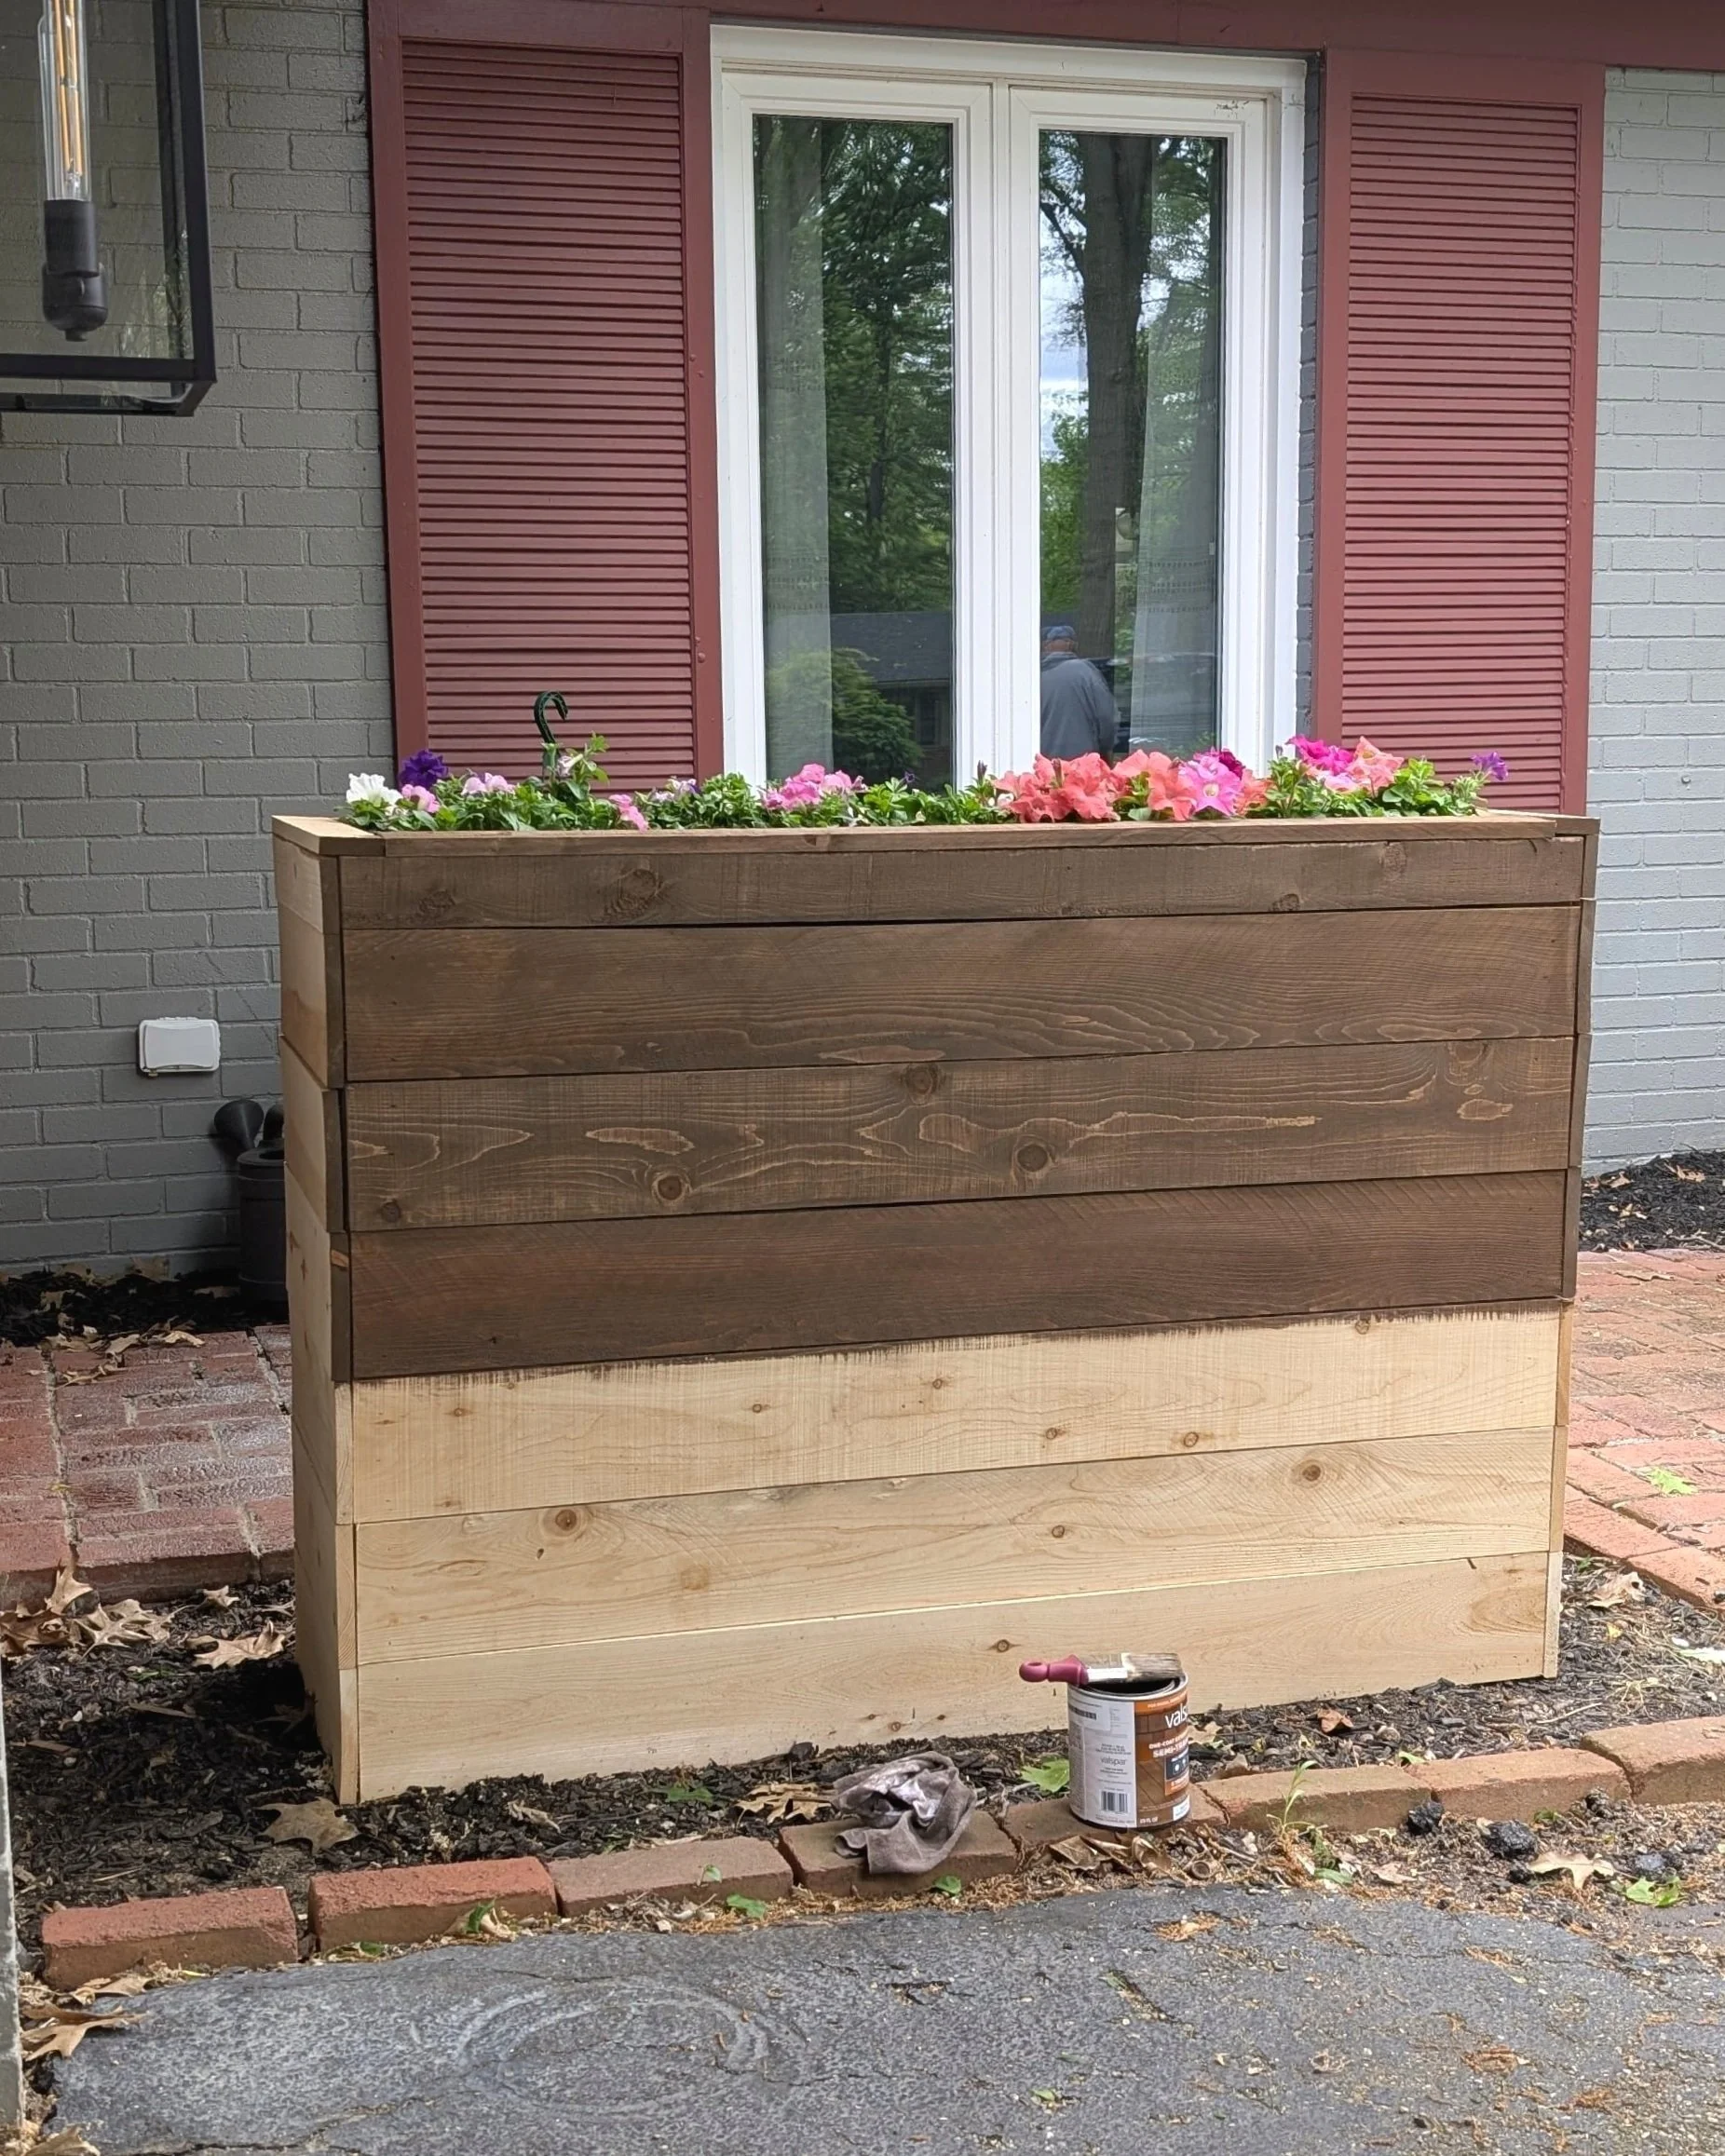
Step 5: Stain & Seal
To protect my planter from the elements and tone down the color, I used this semi-transparent stain by Valspar in Chocolate Chip. It was a little more opaque than I wanted, so I brushed it on in small sections and immediately wiped it off with a rag. This gave me exactly the look I was going for (which was lucky since I didn’t sample any other options!)
This was my first time using this stain, and I really liked it. Not only was only one coat recommended, but it’s water-based, so it didn’t completely destroy my paintbrush and was easy to clean up!
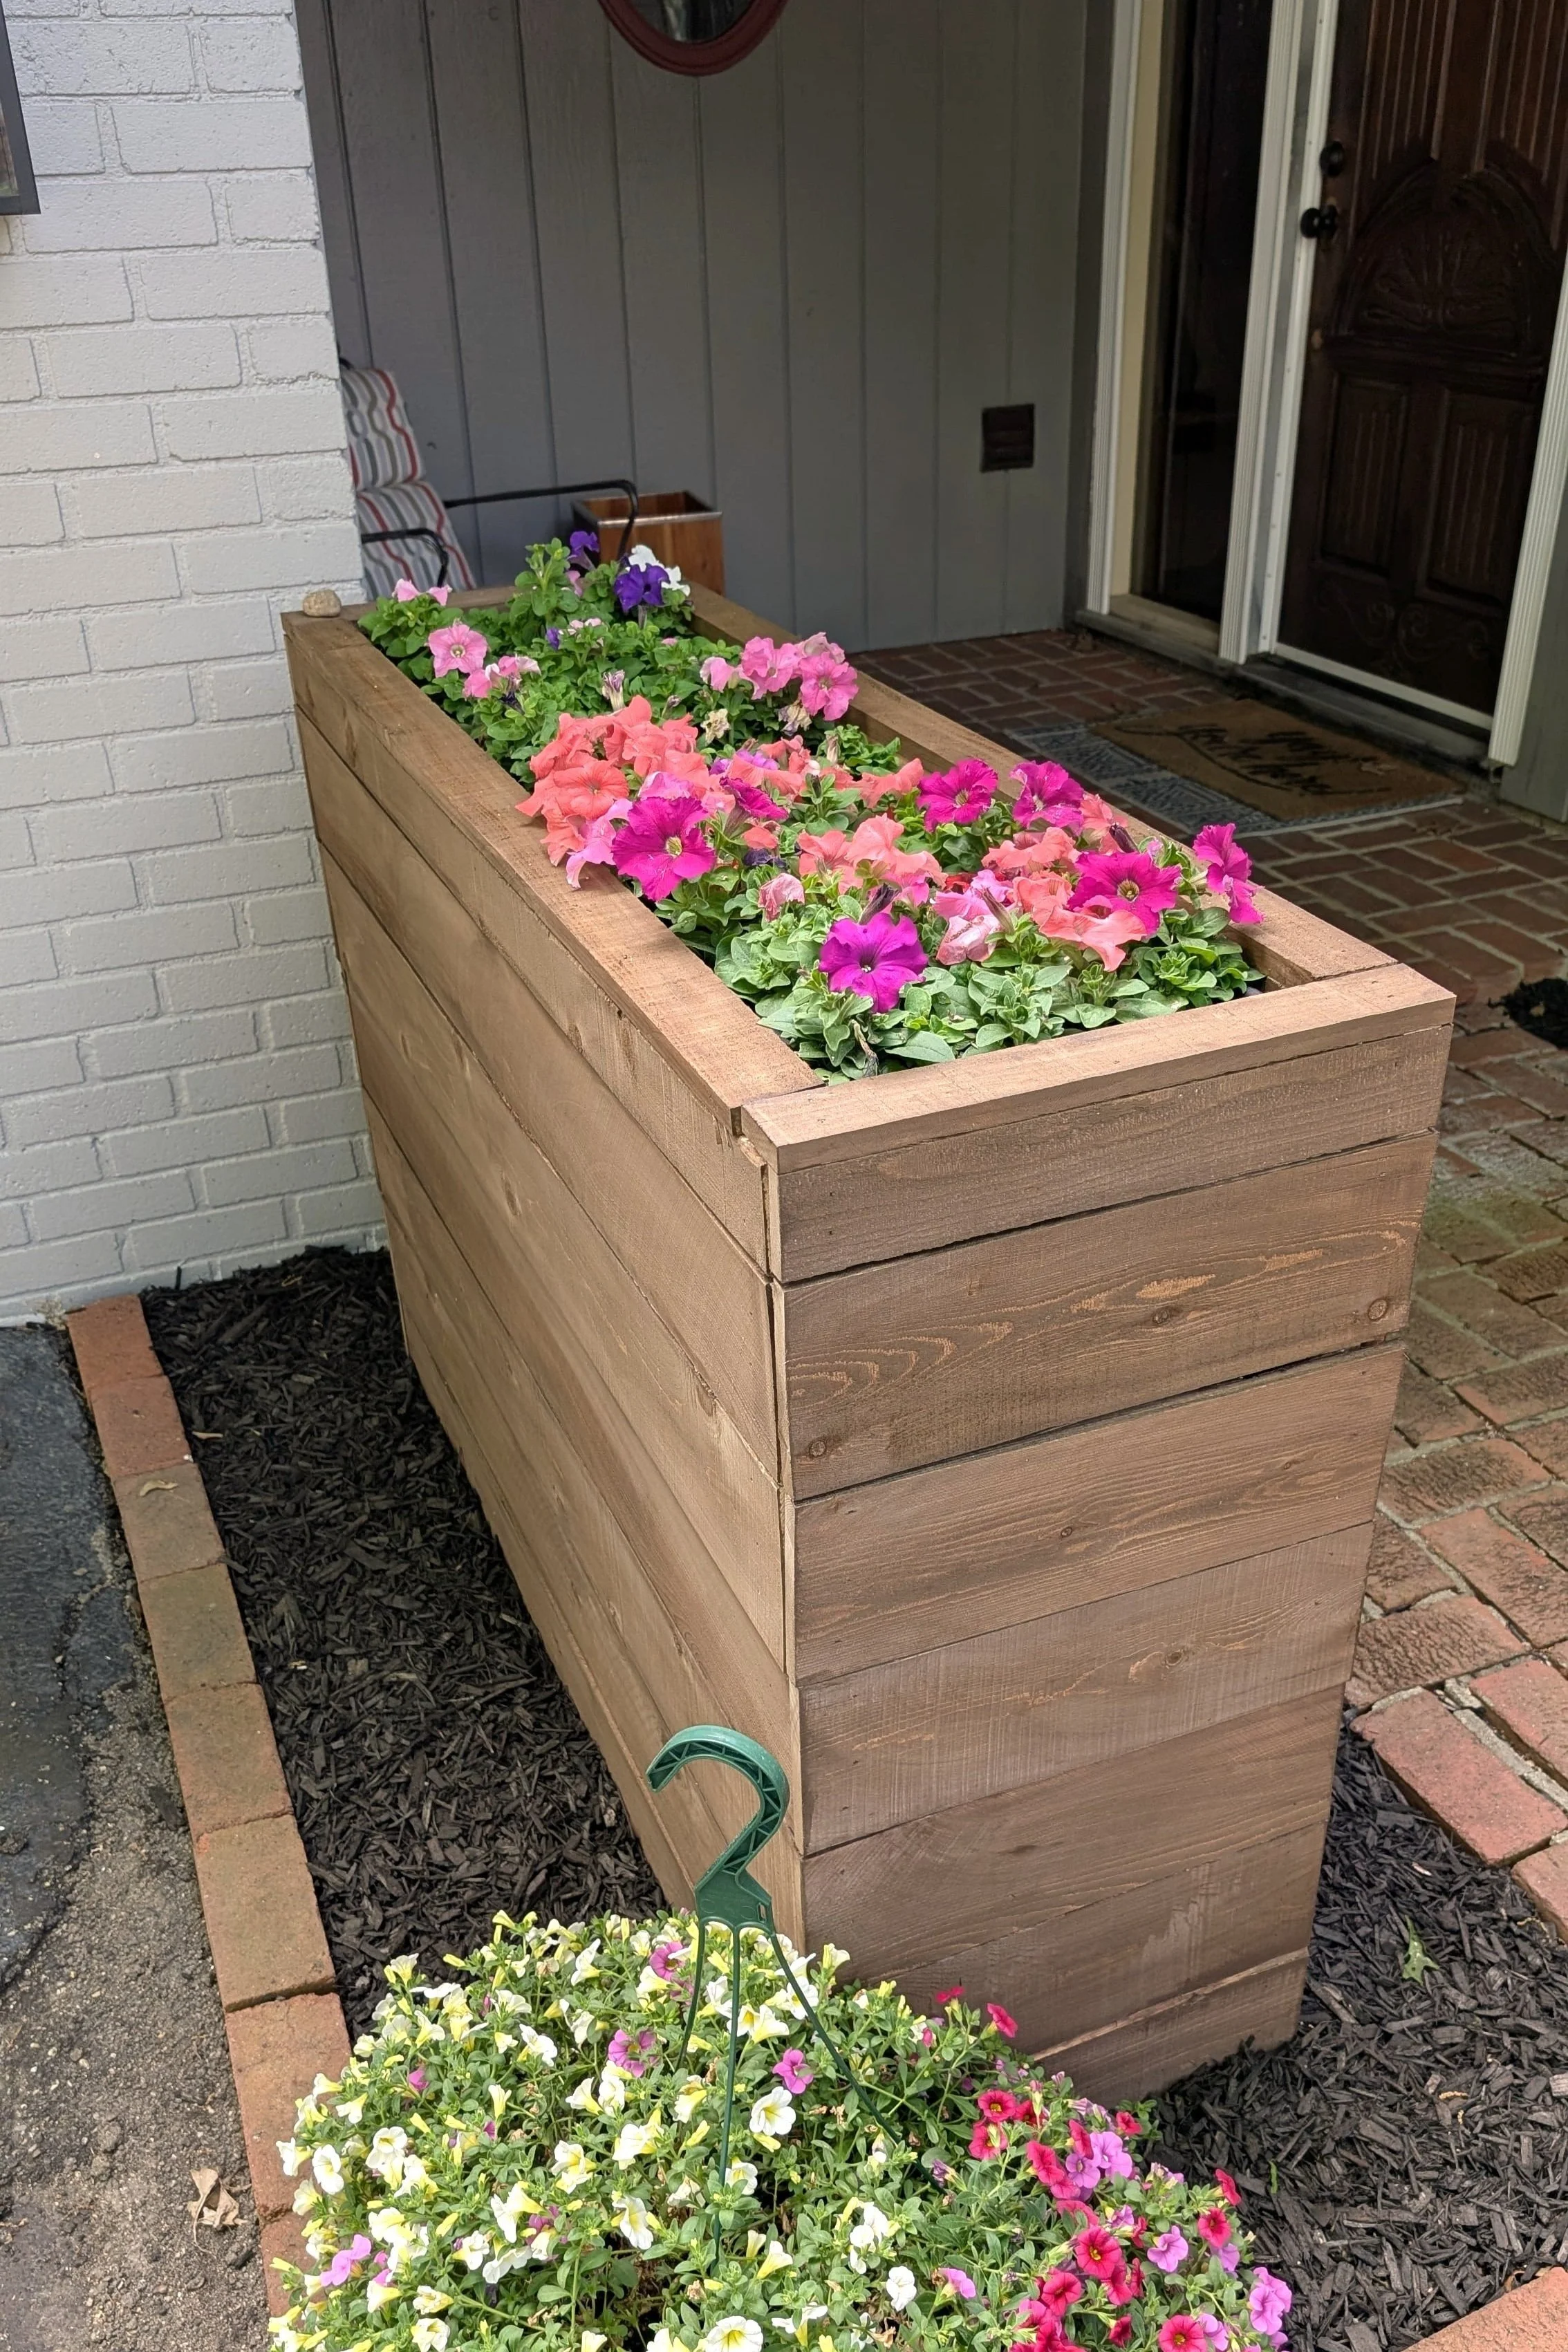
Step 6: Add Plants!
It’s time to finally fill your planter! But first, make sure you drill holes in the bottoms of your pots.
This year, I planted petunias. And because my neighborhood is overrun with squirrels, I make sure I spray my plants with deterrent spray a couple times a week.
To finish it off I spread a bag of mulch around the base.
Planter Budget Breakdown
Now, the question you’ve probably been asking: “Okay, this looks cool, but how much is it going to set me back?” Well, you’ve come to the right place!
*Note - I already had all my tools on hand, so that may be an additional cost if you need to purchase any.
Wood: $38.29
Cedar Fence Planks: $33.53 (13 @ $2.58/each)
Screws: $12.48 (box of 50)
Flower boxes: $23.98 (2 @ $11.99/each)
Stain: $21.98 (1 quart)
Total: $130.26
Not bad, eh?
Final Thoughts
Turns out, building a raised planter box for your porch or garden isn’t nearly as intimidating—or expensive—as it sounds. With a few cedar fence pickets, some basic tools, and a bit of DIY determination, you can create a gorgeous, oversized planter that’s totally customized to your space.
Ready to get started? Grab the plans, hit the hardware store, and bring your porch or patio to life with this easy outdoor planter box project. Your front yard (and your budget) will thank you.

Looking for more plant projects?
Easy DIY Trellis (perfect for Clematis!)