
Finding Thrifted Frames For Your Gallery Wall
Eclectic Gallery Wall
In my last post, I shared how to curate art for your gallery wall. But what good is all that art if there aren't any frames to ground them? That’s why in this post, I'm covering how I gathered and oftentimes altered frames for my eclectic gallery wall to create the overall look I was going for - without spending a fortune. There may even be a special trick that makes hanging artwork a breeze at the end of this post!
As an Amazon Associate, I earn from qualifying purchases. This post may contain affiliate links, meaning I receive commissions for purchases made through those links at no cost to you.
As I was gathering inspiration for my gallery wall, I noticed I was pinning a lot of images with an eclectic collection of frames. This was a big separation from my old gallery wall, which used the same type of frame throughout and hung in a symmetrical grid pattern. Neither option is right or wrong, they're just different.
For my new design, I needed all new picture frames in a variety of shapes, sizes, and colors, so I started researching options online. I quickly ran into two issues:
Option overwhelm. There were just too many to choose from! I didn't know where to start or what sizes to pick.
$$$. Frames can be expensive, especially if you're buying lots of them like I was.
Just like there's no correct way to hang a gallery wall, there's also no correct way to obtain frames for a gallery wall. You can certainly buy new frames if you're willing to spend the money and know what you're looking for. I found that thrifting frames was actually easier for me because of the limited choices - plus, the cost factor was a big bonus.
I decided to check out one of my favorite thrift stores in town, and BOY did I hit the jackpot. Here are the tips I used while gathering thrifted frames for my gallery wall.
Know your vision
My style has historically been pretty streamlined and modern, so my knee-jerk reaction was to grab frames that were as such. I had to stop myself and remember my overall vision for my gallery wall.
I reminded myself that I WASN’T looking for simple, streamlined frames. I needed frames with some oomph. I needed wood detailing, brass finishes, and a variety of sizes. I NEEDED DRAMA!
Okay, that’s a little… dramatic… but you get the point.
Keep an open mind
When you’re thrifting, it’s unlikely you’ll find exactly what you’re looking for. It’s important to keep an open mind and consider modifying items to fit what you need. Here are some tips and examples:
- Some art doesn't necessarily need to be displayed behind glass, which is good because many thrift store frames don't have it! Don’t pass up a beautiful frame just because it doesn’t have glass.
- It's no big deal if you can't find the perfect size frame for your artwork. Cutting a new mat is easy and can add an extra element to your art. You can even add a little consistency to your gallery wall by using the same color mat on several different pictures. Additionally, if you’re printing digital art you can choose a size that will fit in a specific frame.
- If you like the design of a frame but not the color, simply paint it!
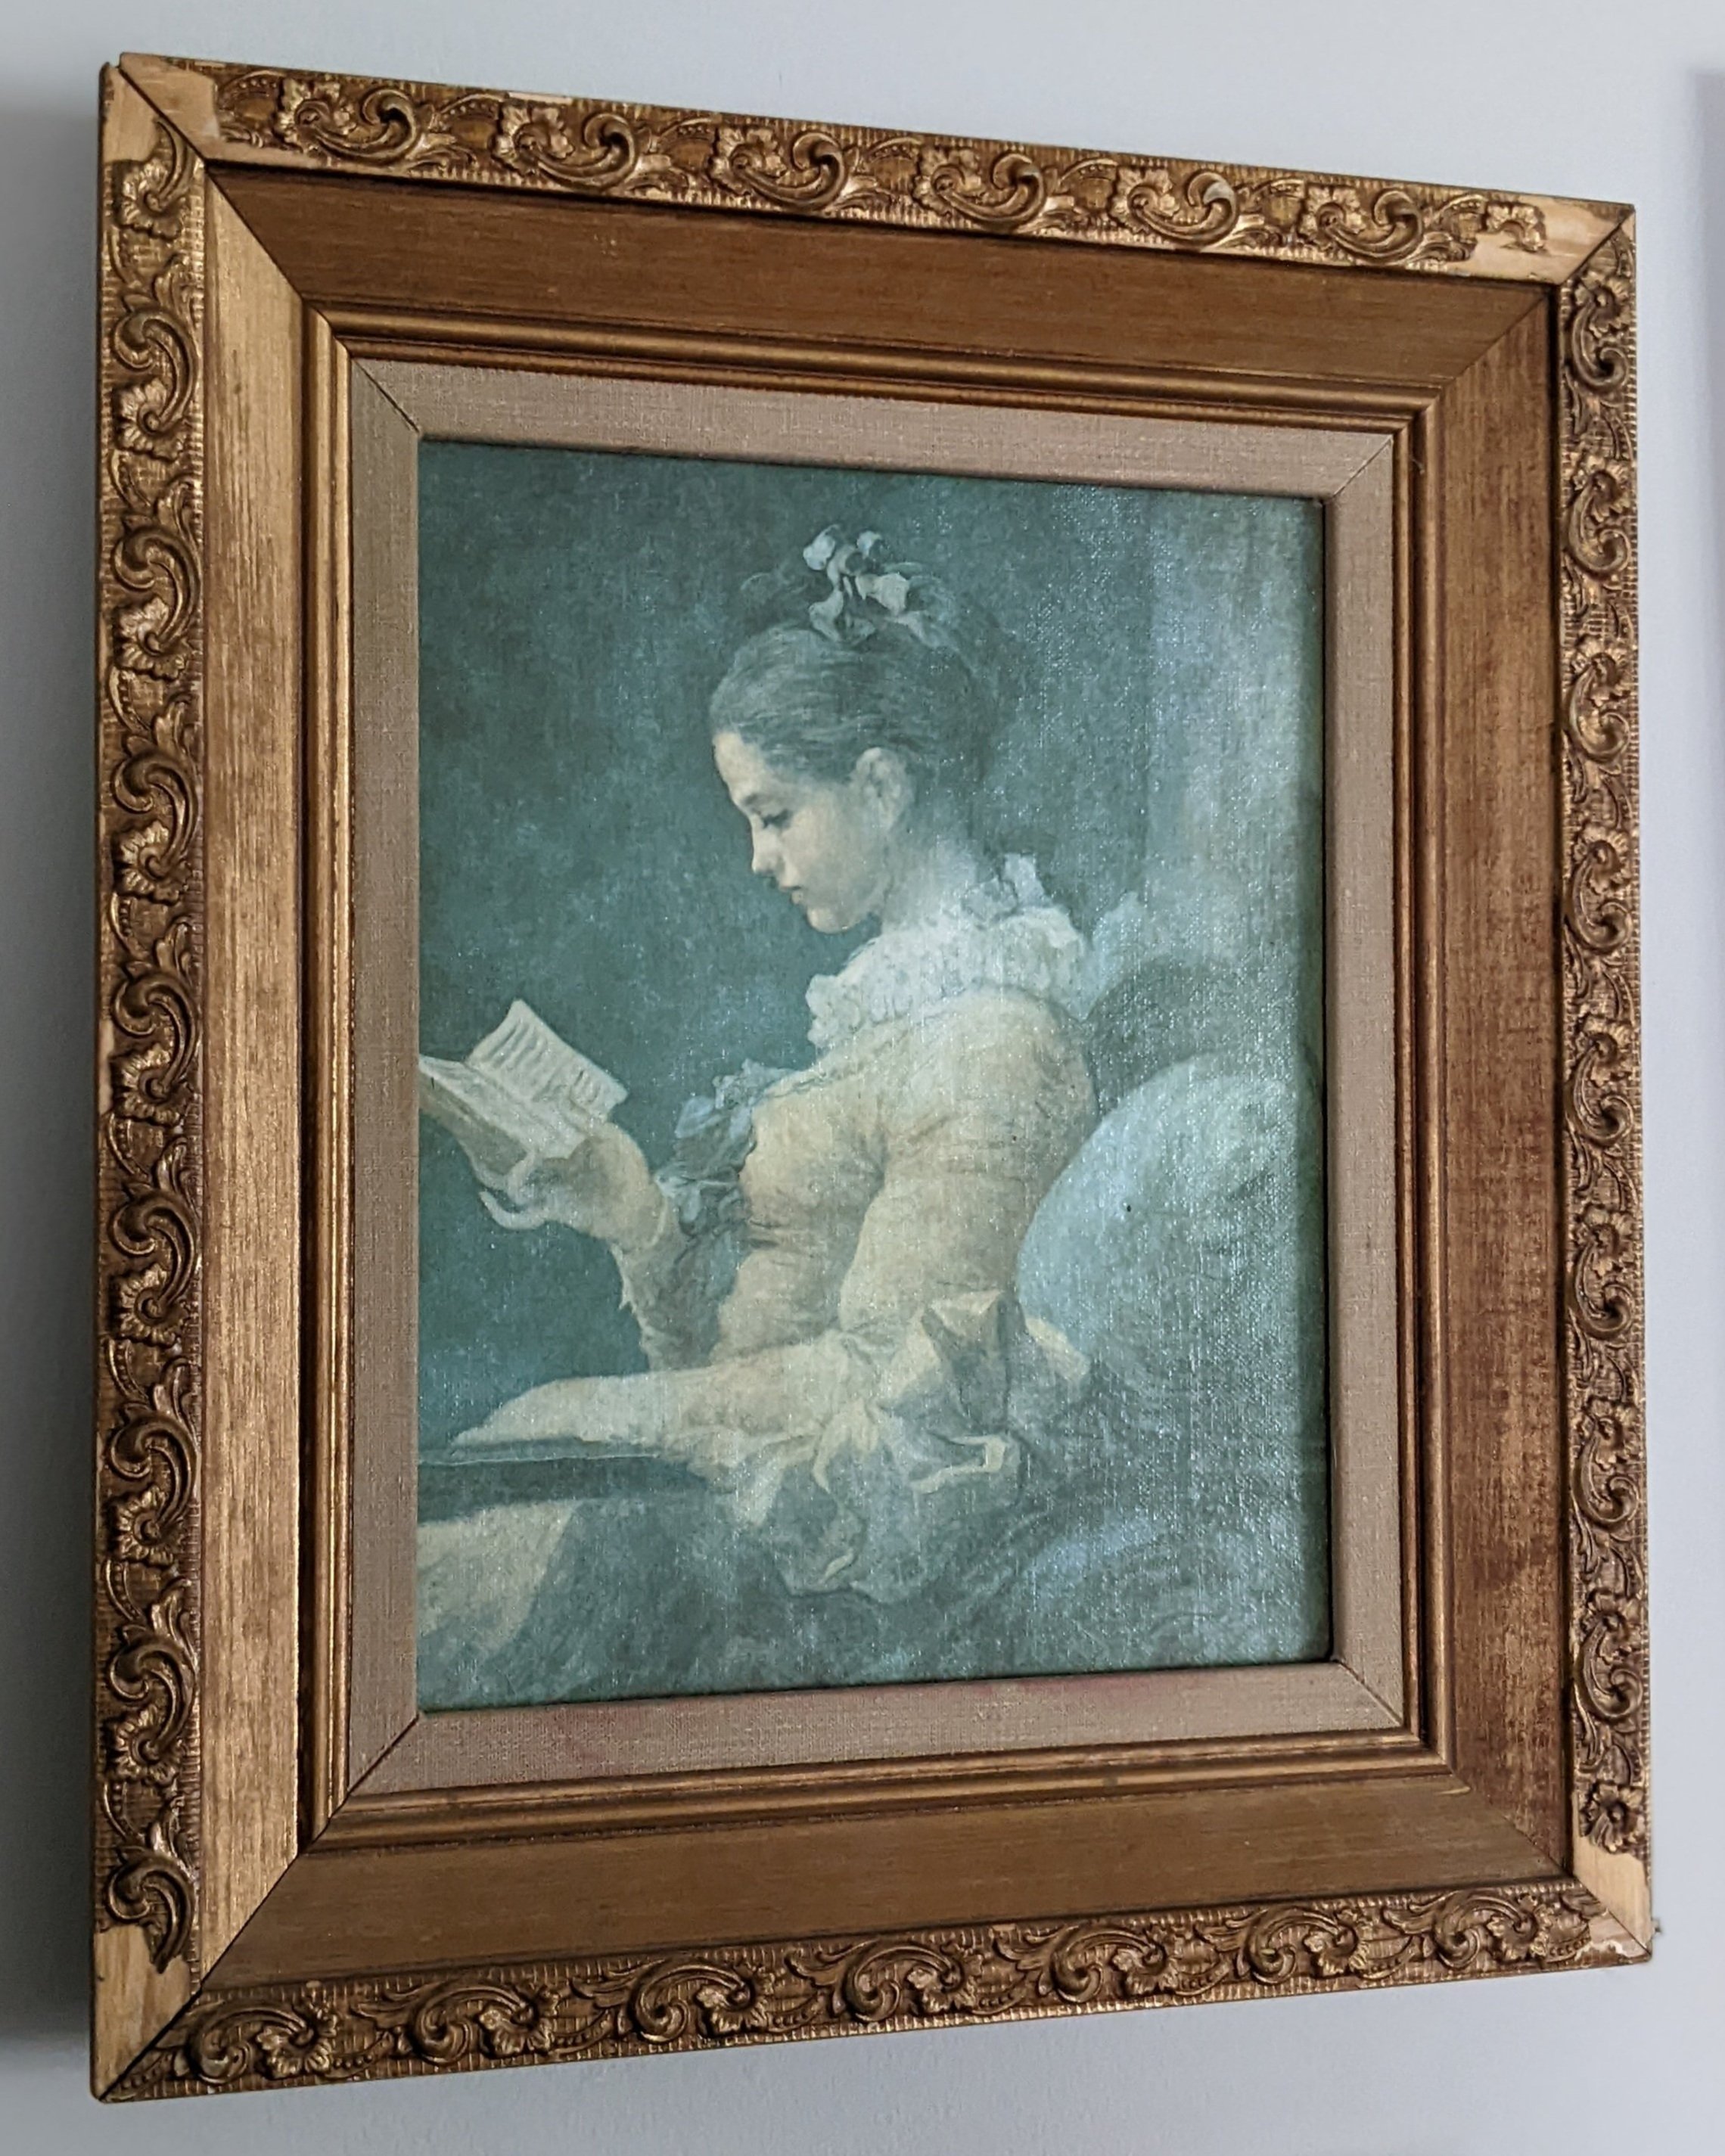
- The great thing with thrifted frames is that they're cheap. If you buy some and they don’t work with the overall style you're going for, you're not out very much money! Grab that frame that caught your eye - even if you don’t know exactly where you’ll use it. I bought the frame below hoping to use it in my gallery wall for TEN DOLLARS! It didn't end up in the final design, but I found another great place for it.
Variety, but with a theme
This is a repeat step from my last post, but it makes sense here, too!
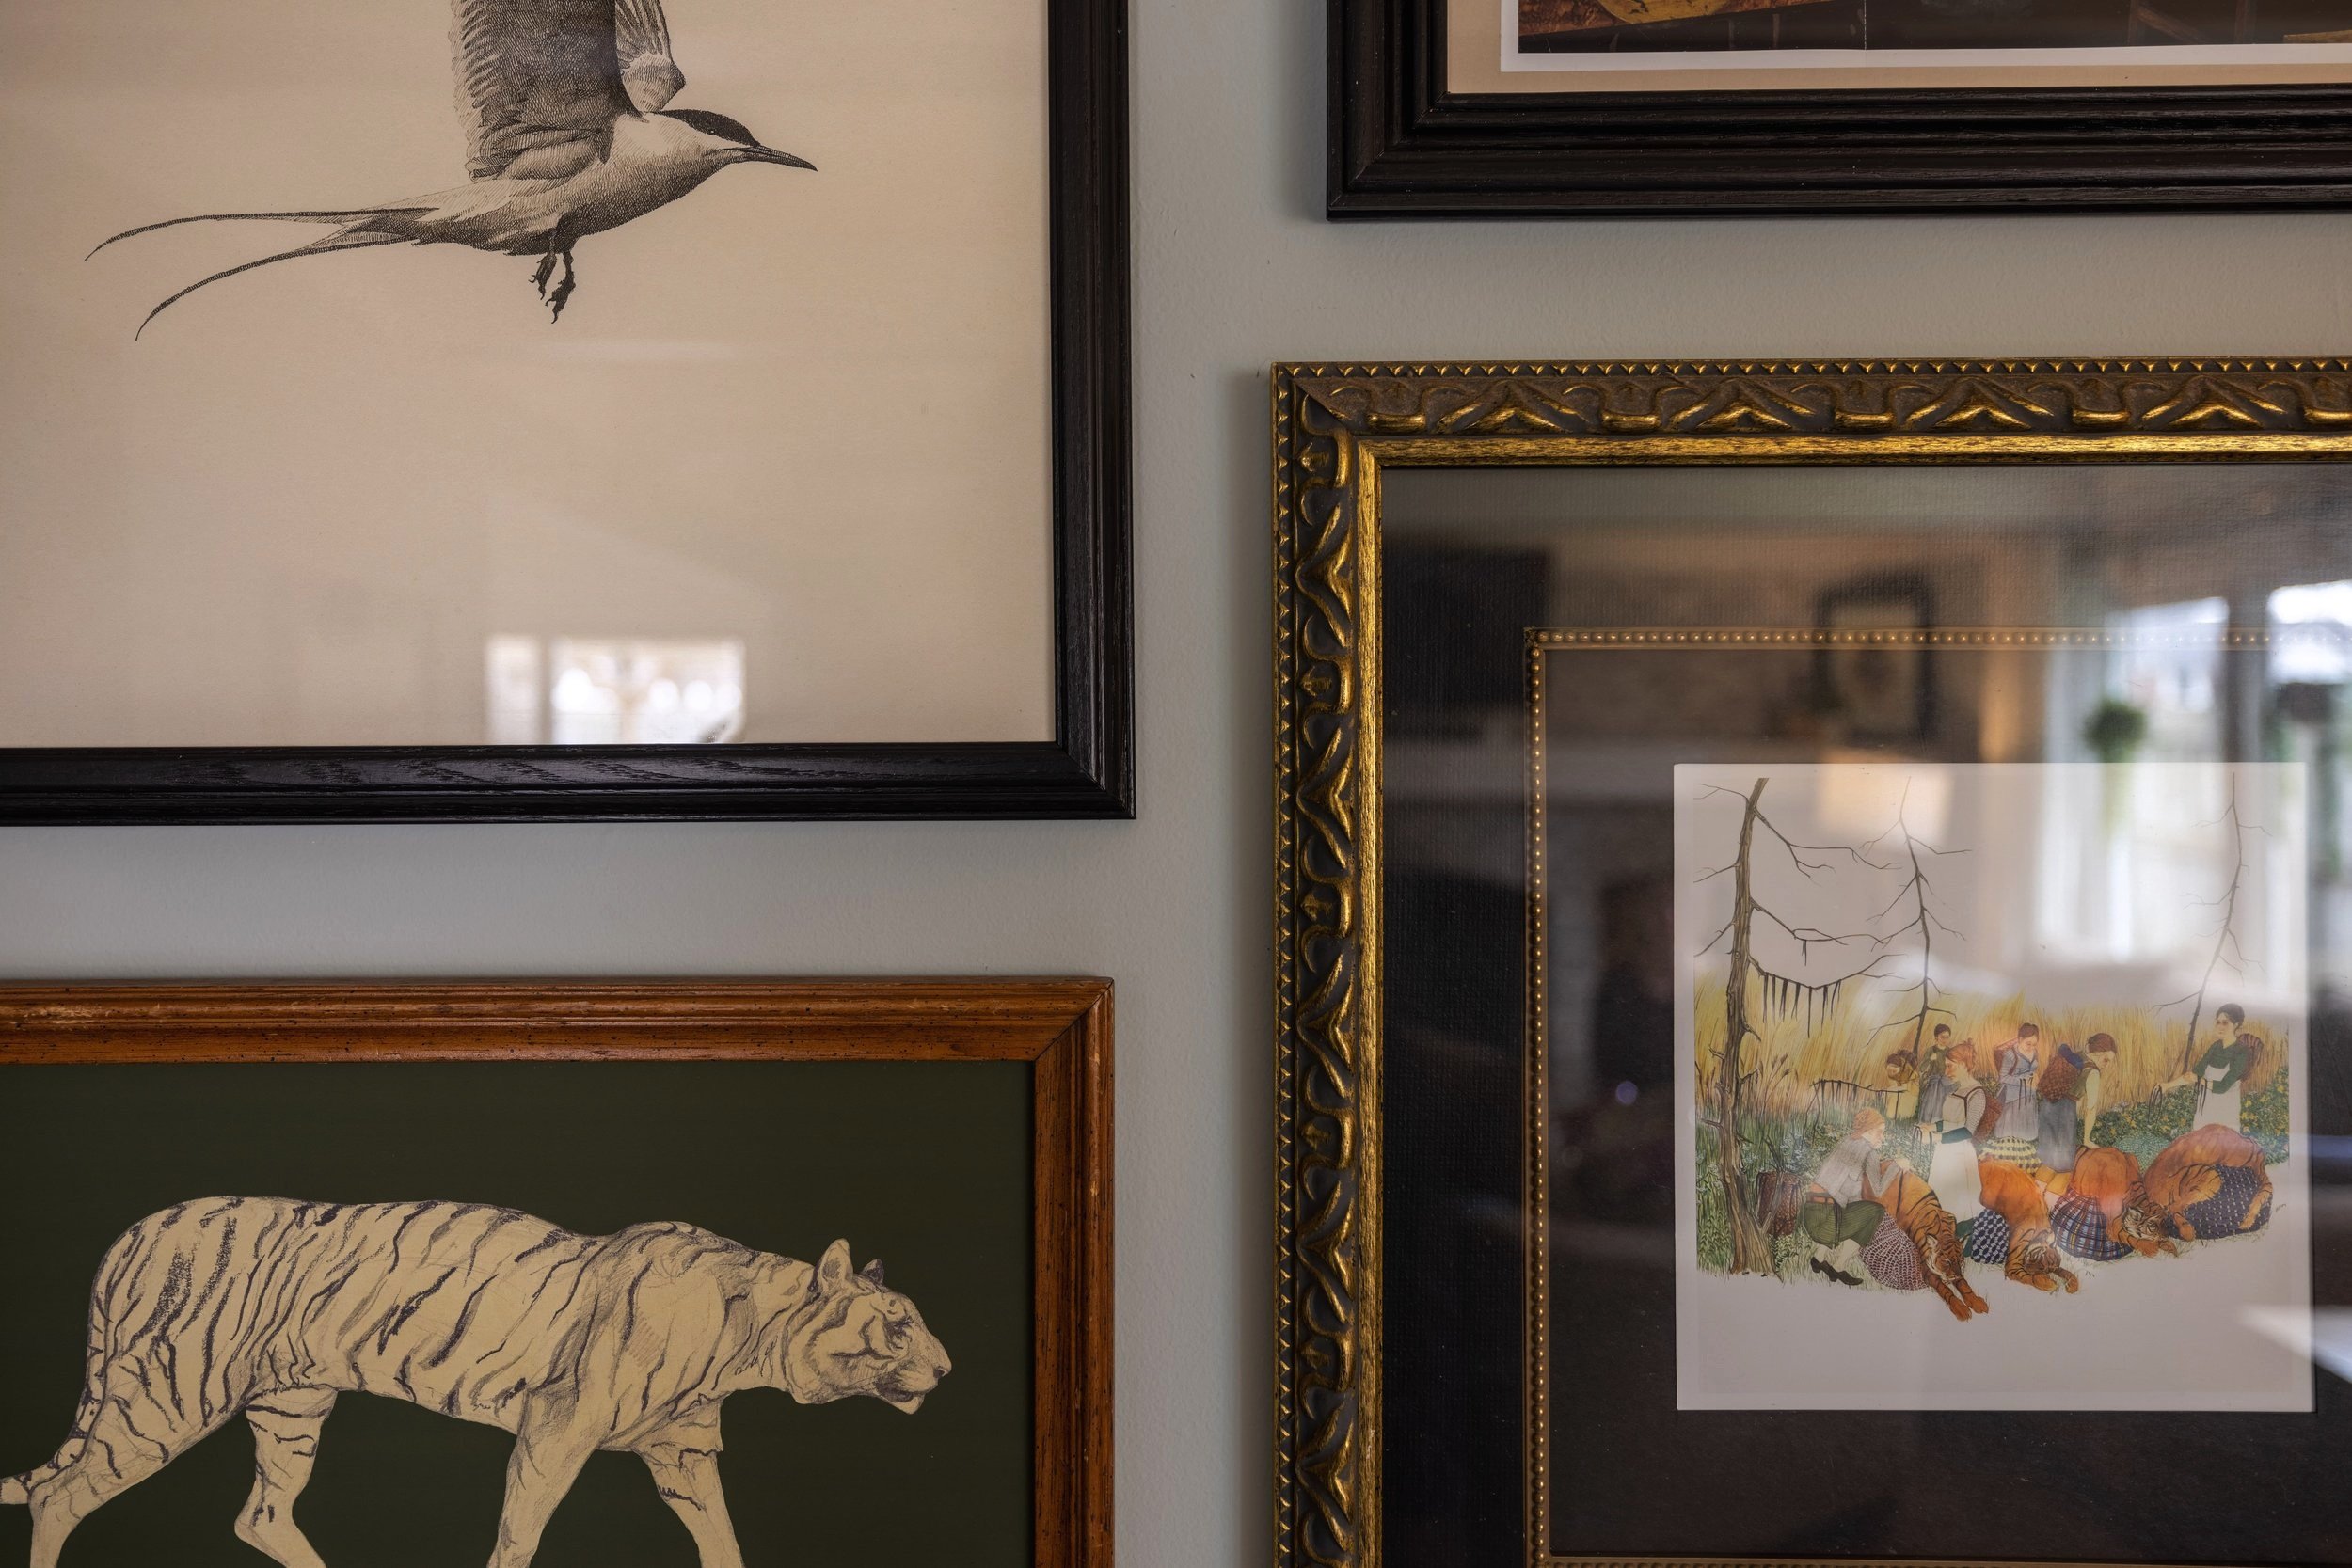
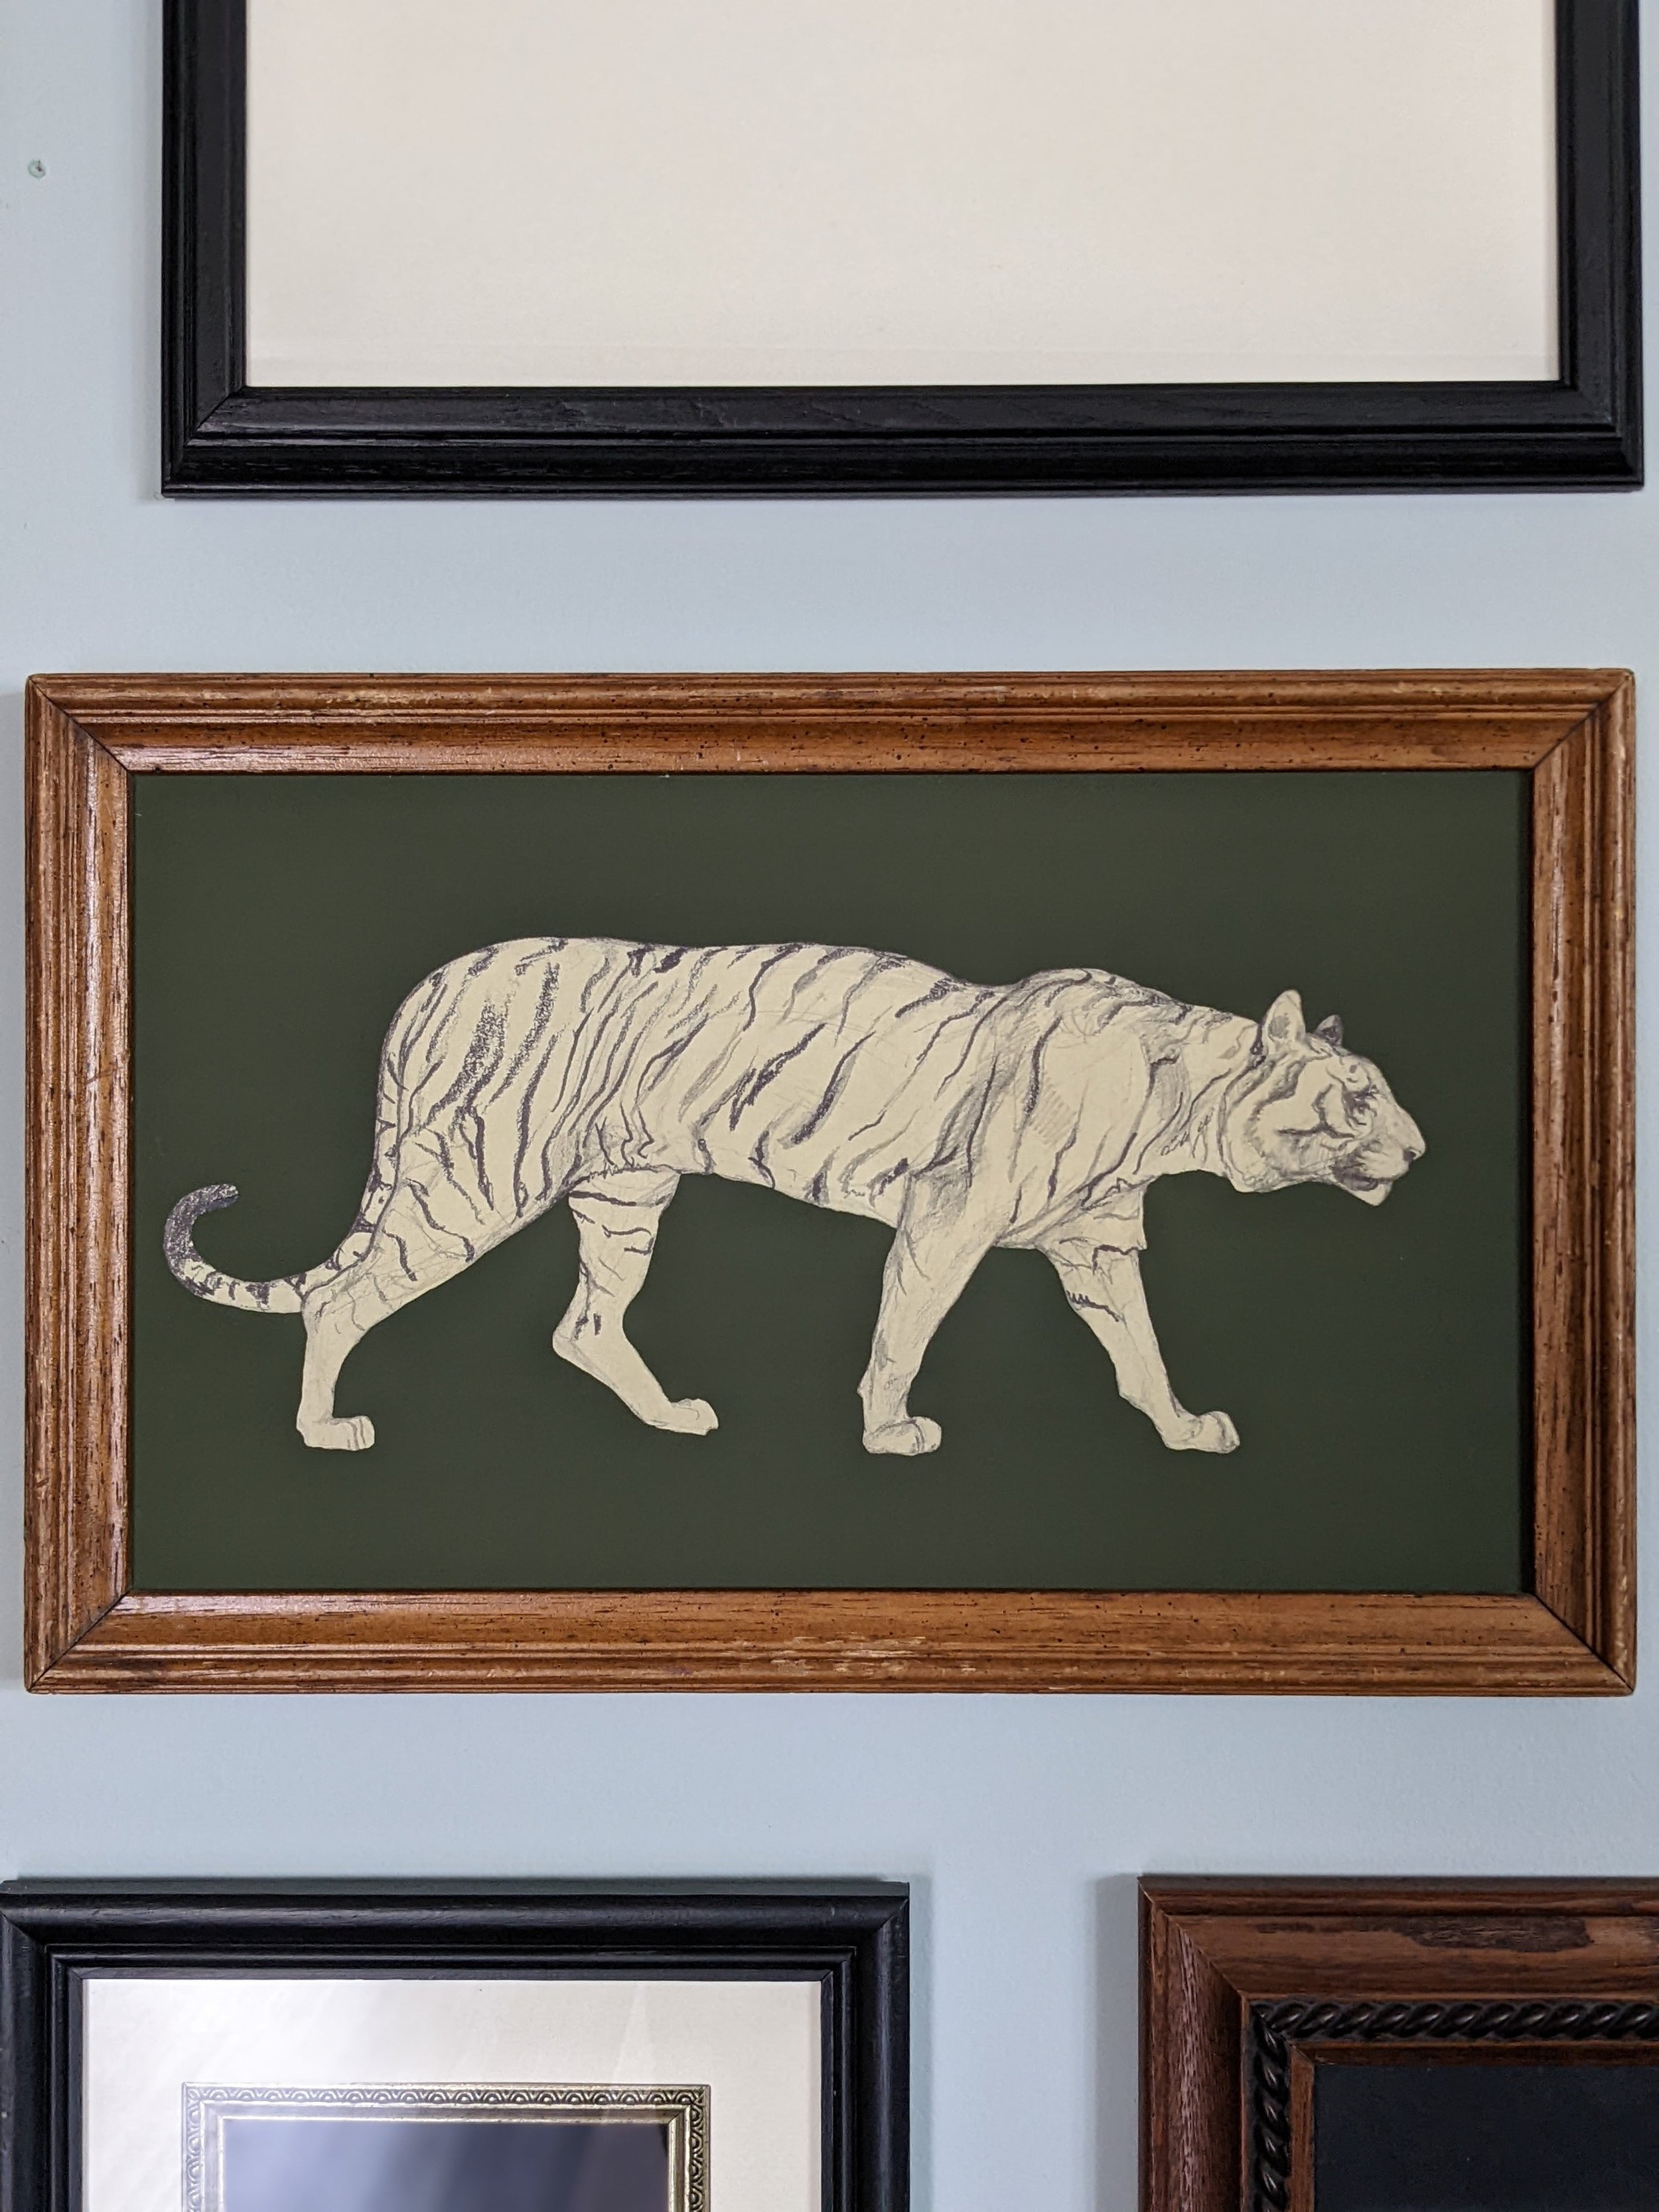
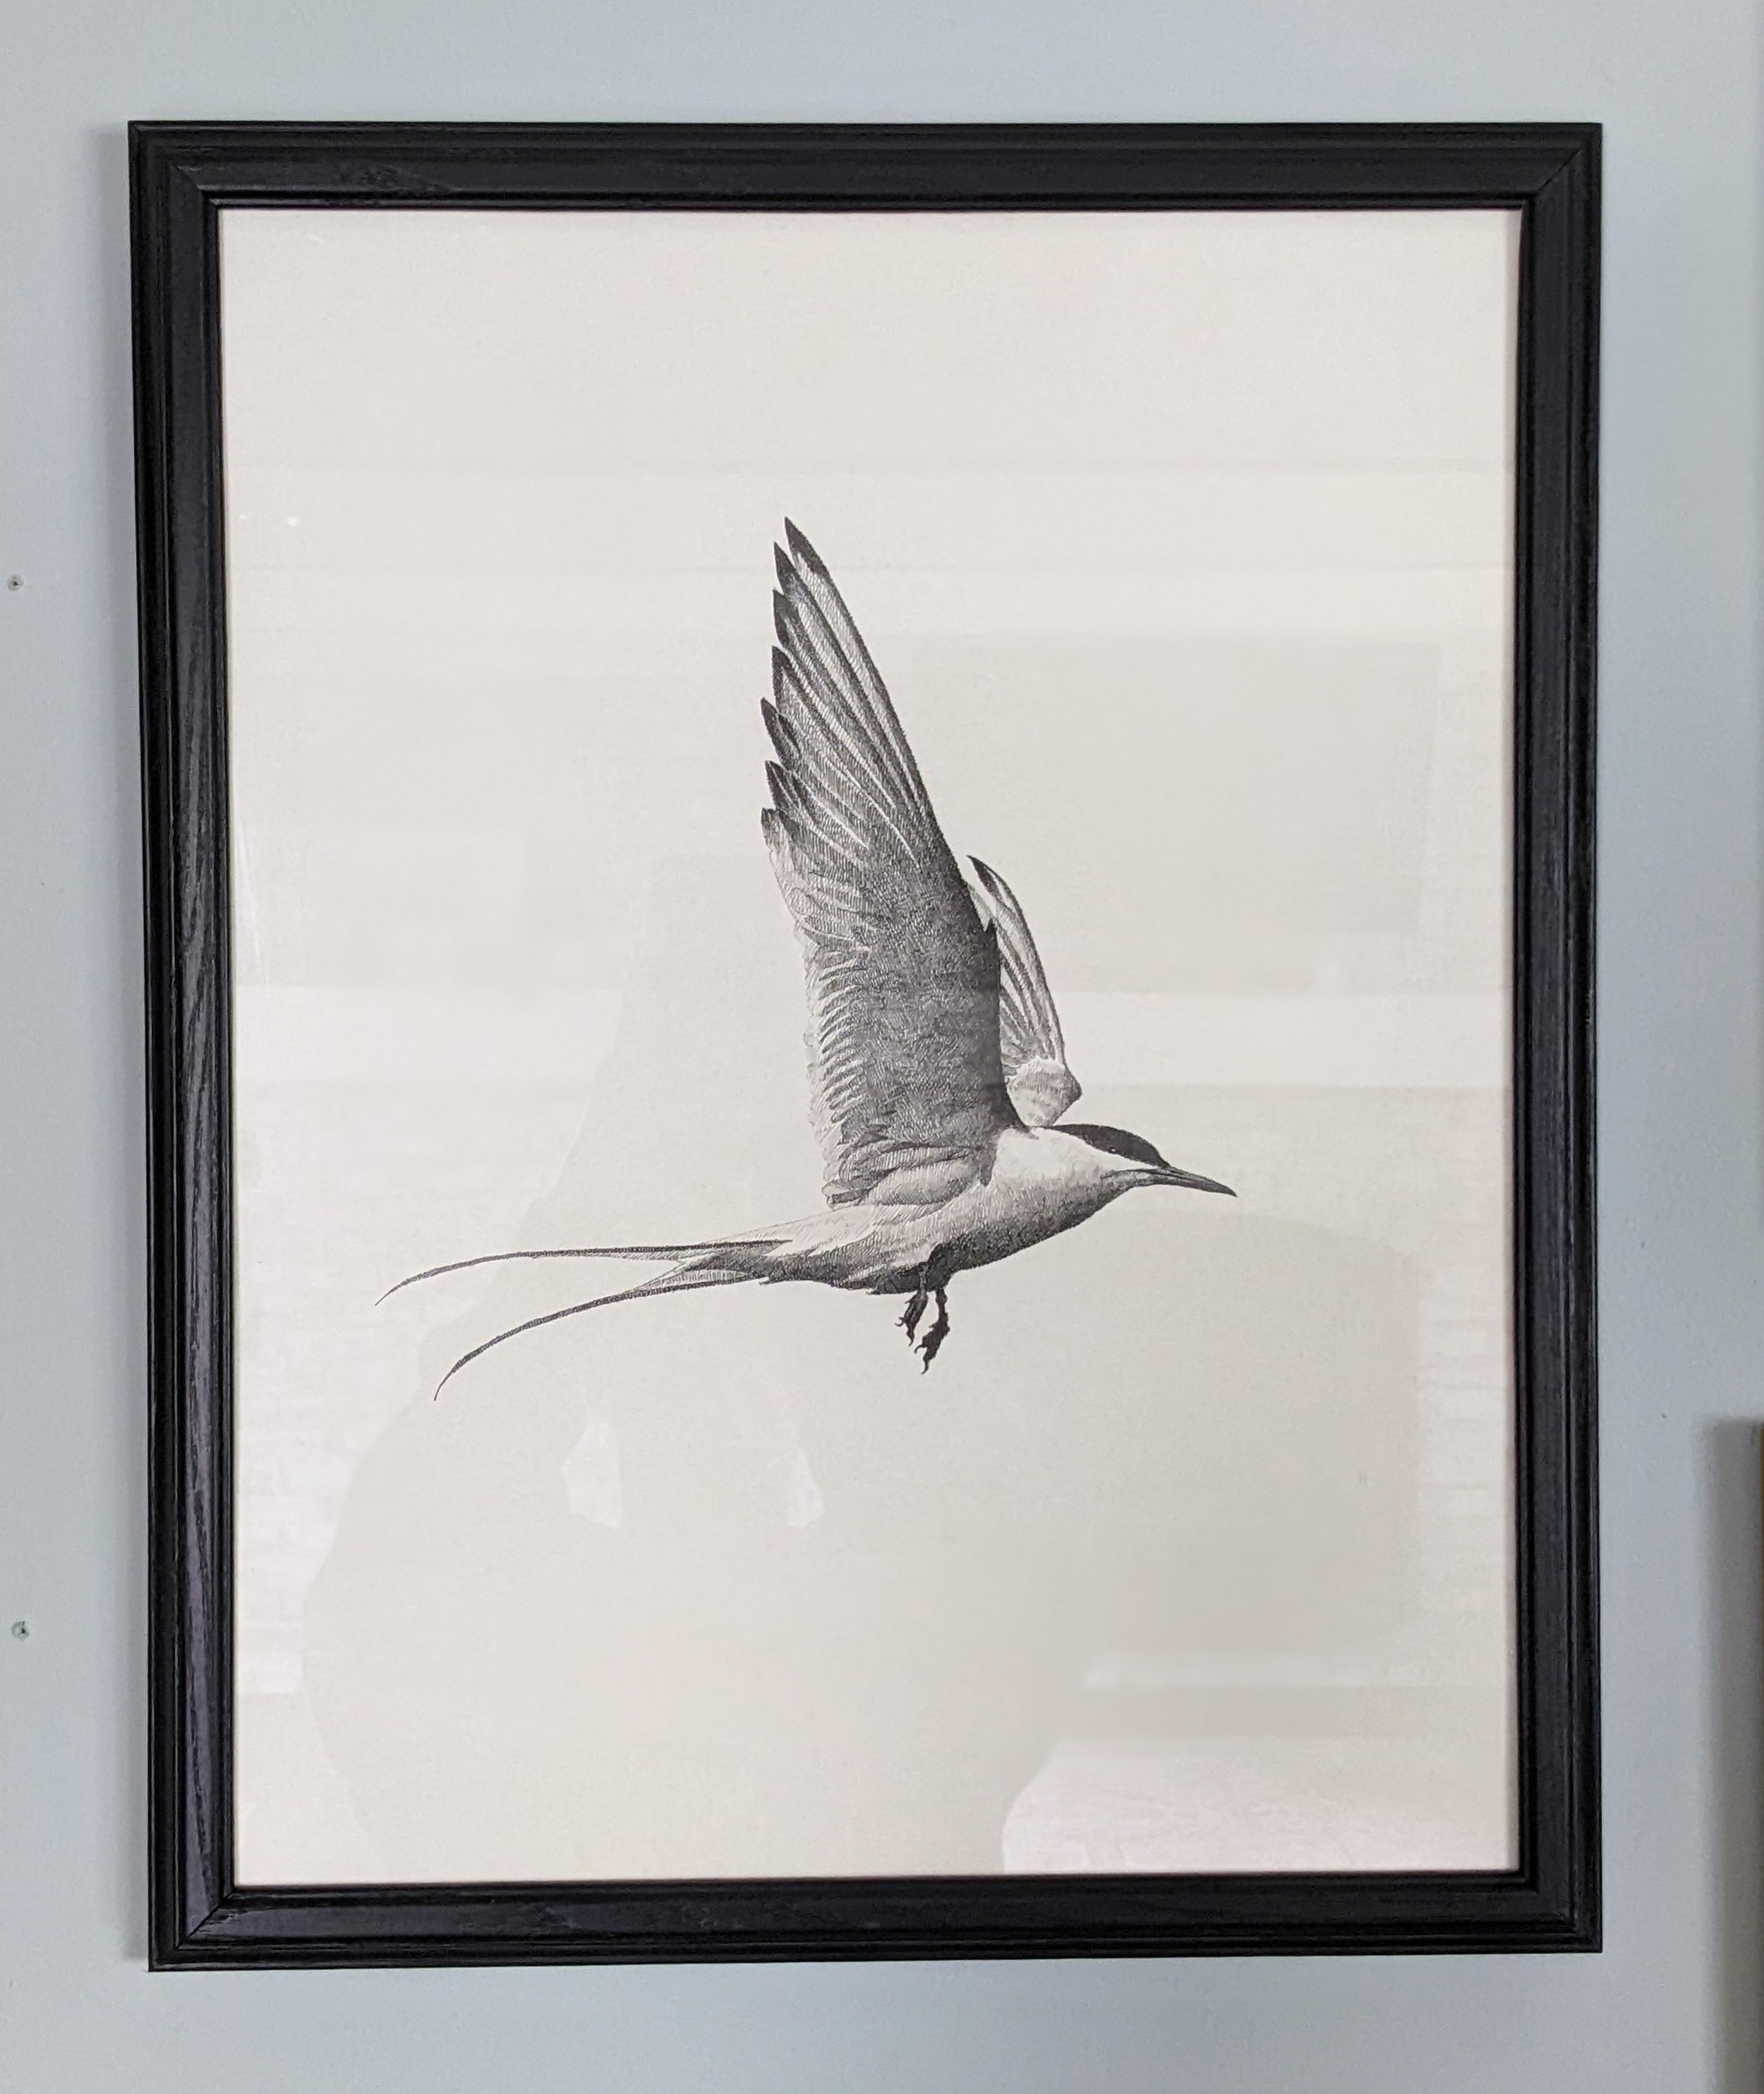
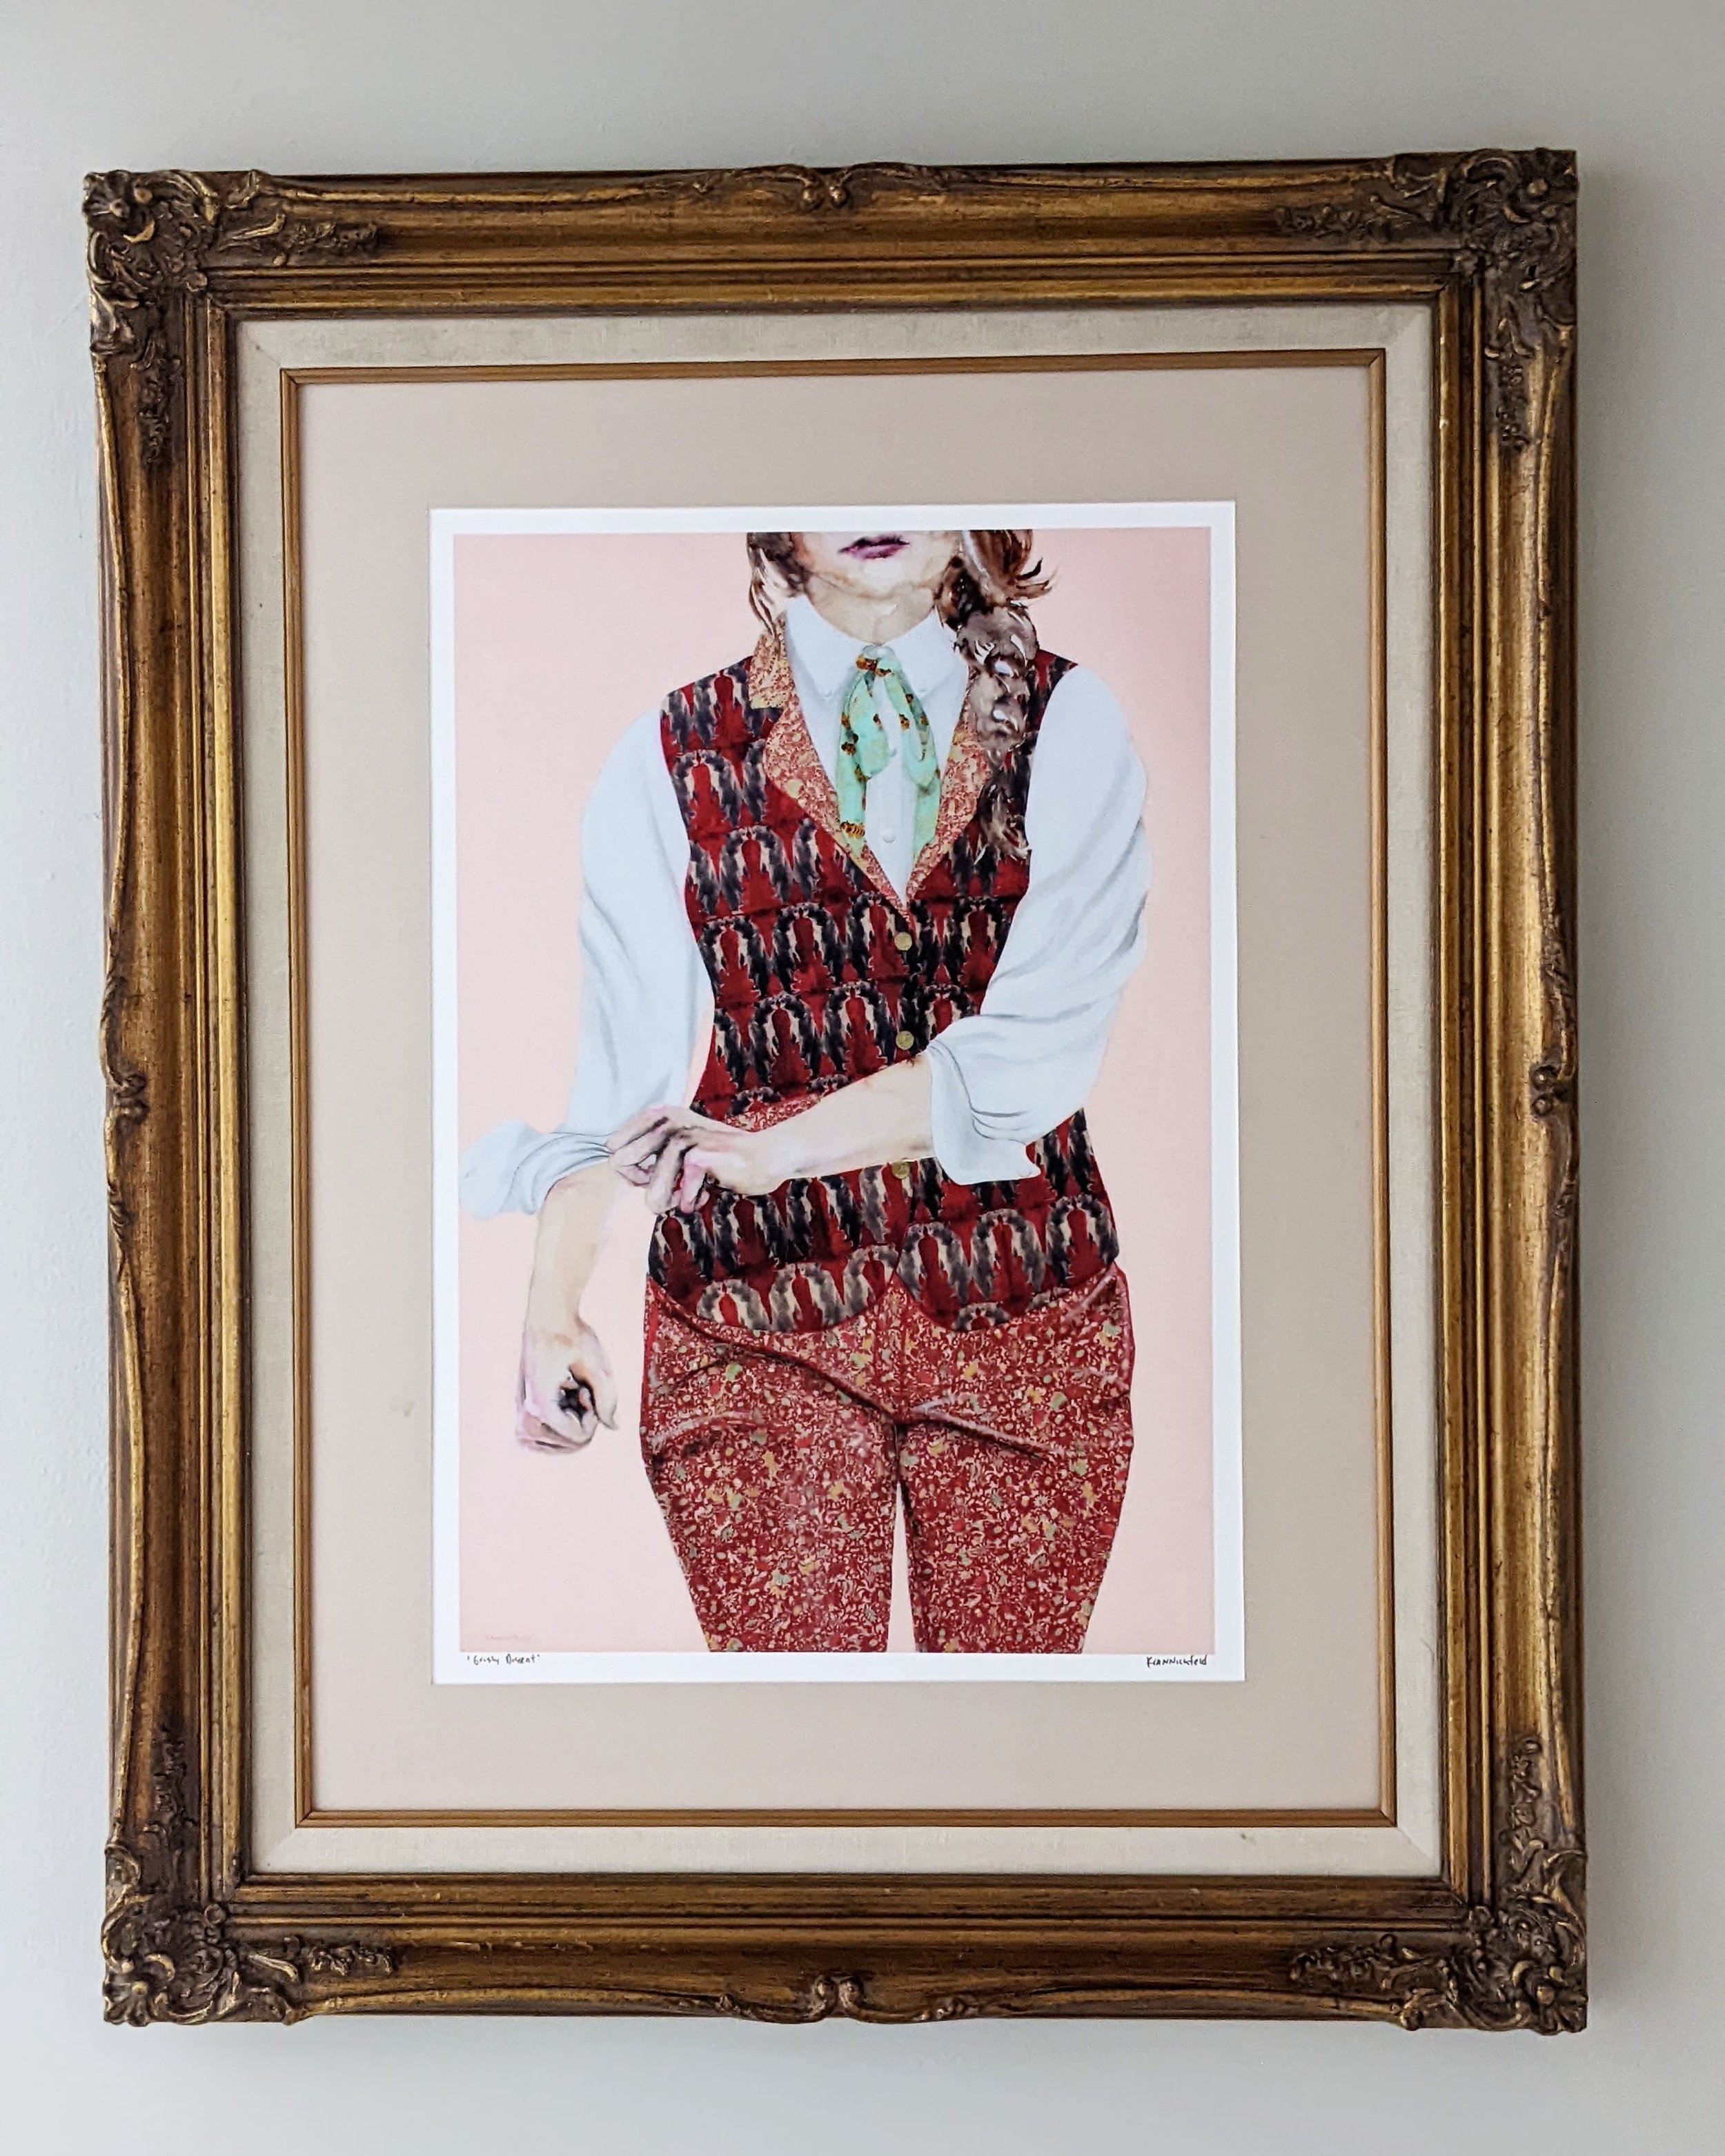
Just because I wanted an eclectic mix of frames doesn’t mean they didn’t still need to go together. To achieve this, I stuck with three main color schemes: gold, black, and wood (being sure to maintain a similar wood tone throughout the design). I also made sure there were multiple of each color, which helped keep the design cohesive.

Lastly, I paid attention to how many horizontal vs vertical vs circular frames I had and tried not to skew too far in any particular orientation.
Easy Peasy
And that’s really it as far as choosing frames based on their aesthetic - pretty simple. But what do you do when you have a frame that needs a little extra love to make it work for you?
Thrifted Frames 101
As I implied above, thrifted frames can come in a less than ideal state. When looking for thrifted frames, I suggest looking at the back for two key things:
How is the art secured?
A lot of picture frames will come with a paper backing, which makes it impossible to see how the picture is held in place. More than likely, it’ll be held in by staples, in which case, unless you have a point driver, you might want to pass on it. (A point driver is a gun that shoots those little tabs into the back of a frame to hold in your picture.)
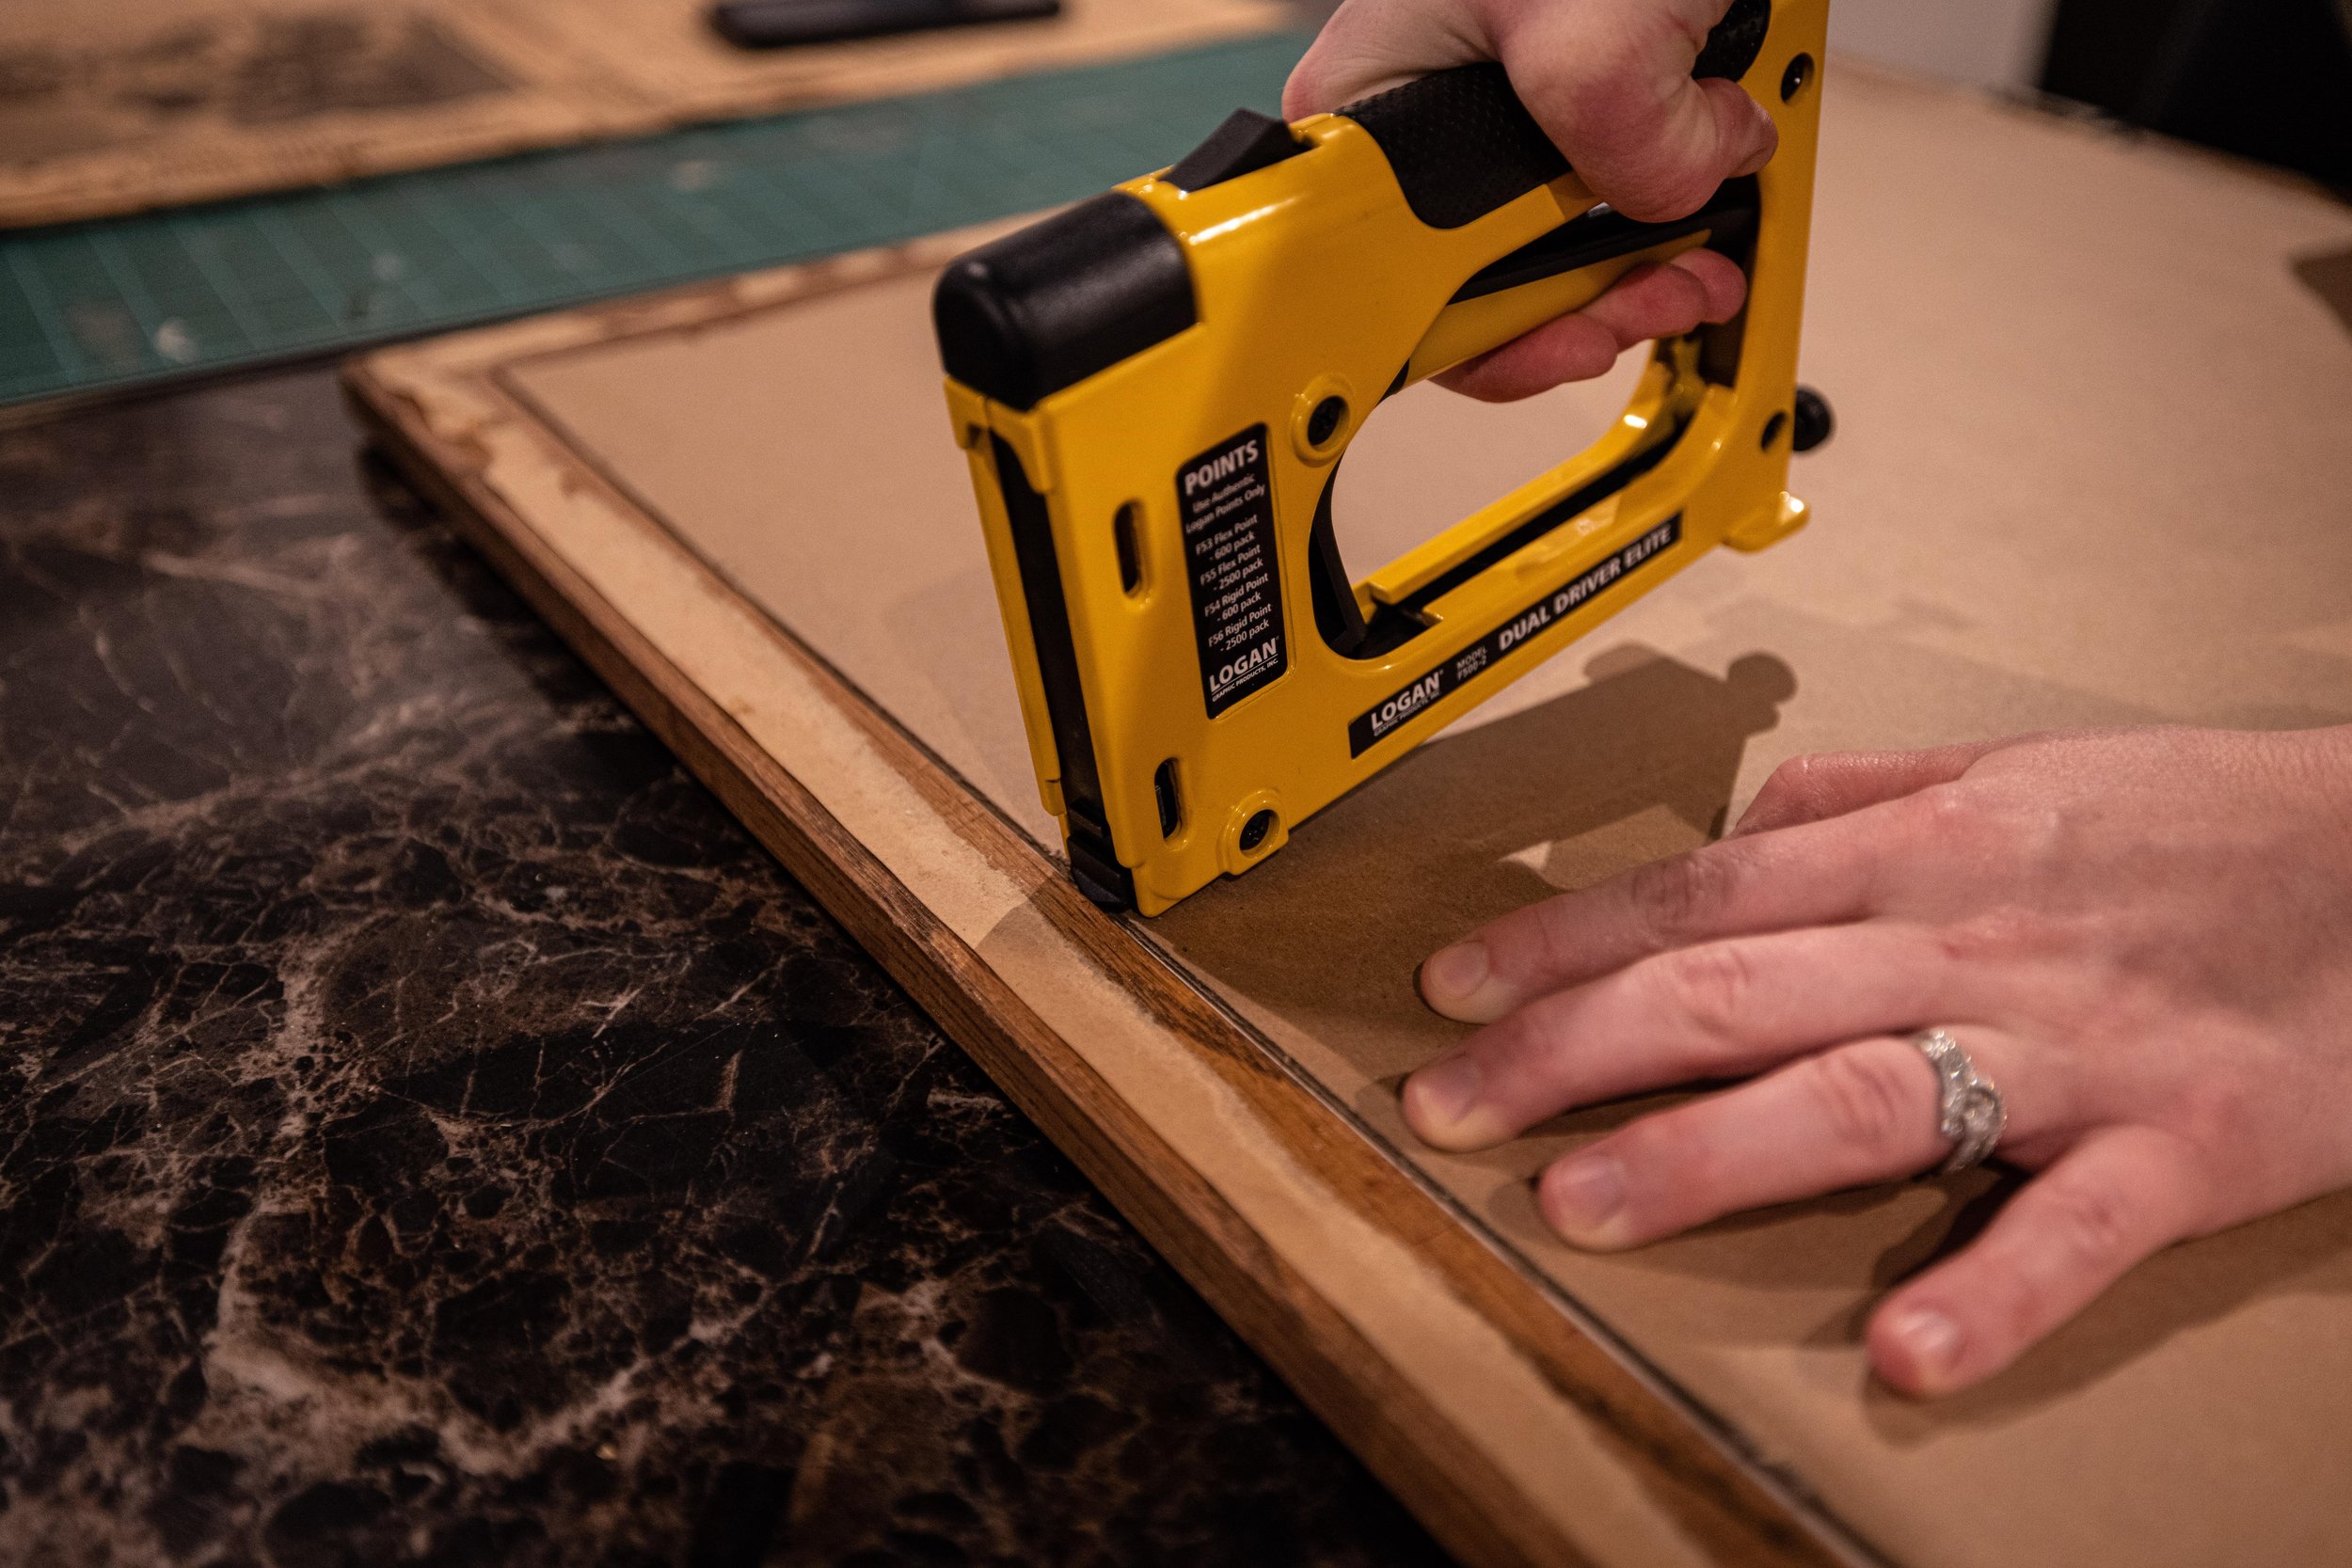
If you choose to buy the frame anyway, be prepared to pull the staples out with needlenose plyers and then find a way to resecure your artwork once you've reframed it. I've both tediously hammered tiny nails along the inside of a frame before and I've duct-taped my picture in. Neither is ideal.
I FINALLY talked myself into buying a point driver for this project and I'm so happy I did. As often as I replace pictures in my frames, I should have bought one years ago!
If you have no intention of buying a point driver, try to look for frames with points or the built-in turny things. I have no idea what they’re called, but they look like this:
How is the frame hung?
I also like to look for hanging hardware when frame shopping.
Installing your own hanging hardware is pretty simple and totally doable, but it's an extra step. If there's already hardware attached, you're good to go! (Bonus points if it's already in the orientation you need!)
Coolest Trick in the Book
And now for one last little bonus for ya - I recently saw Yellow Brick Home use this paint stir stick trick to hang some artwork. I gave it a try with my gallery wall and it made life SO much easier. No more tedious measuring, or toothpaste spots on the wall (admittedly, still a cool picture hanging hack). Here’s what you do:


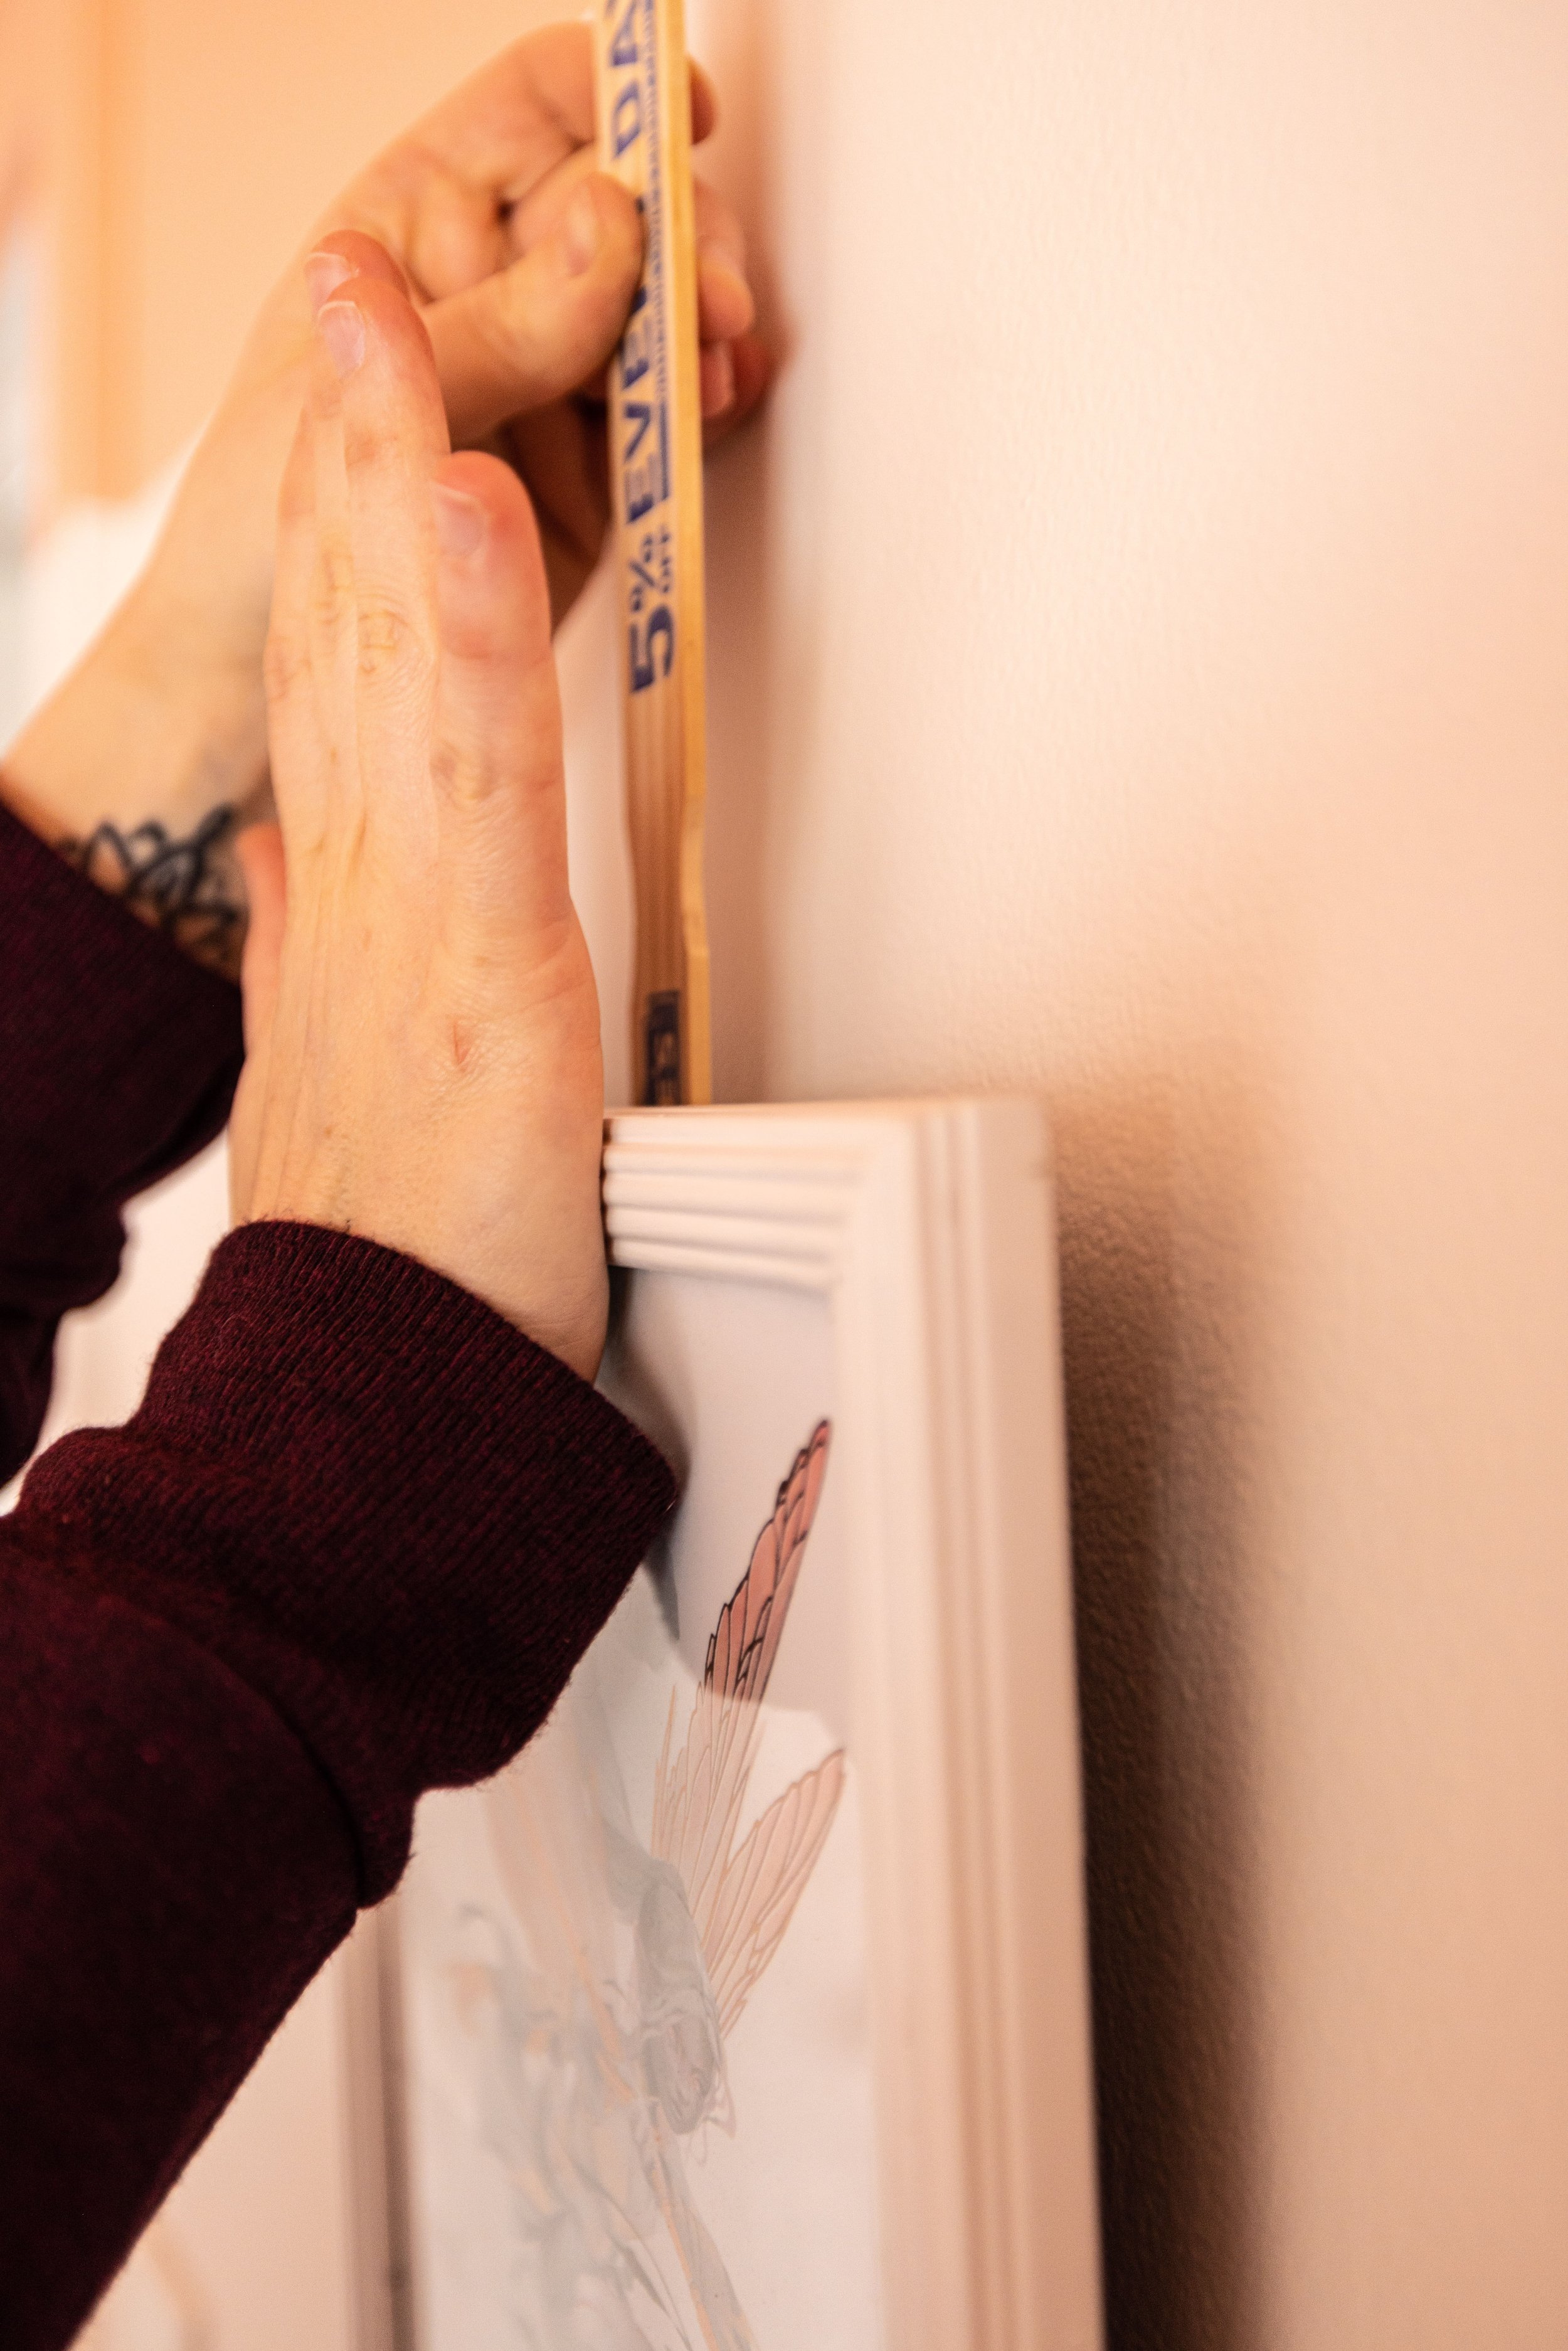

Drill a screw into the end of a paint stir stick.
Hang your artwork from that screw.
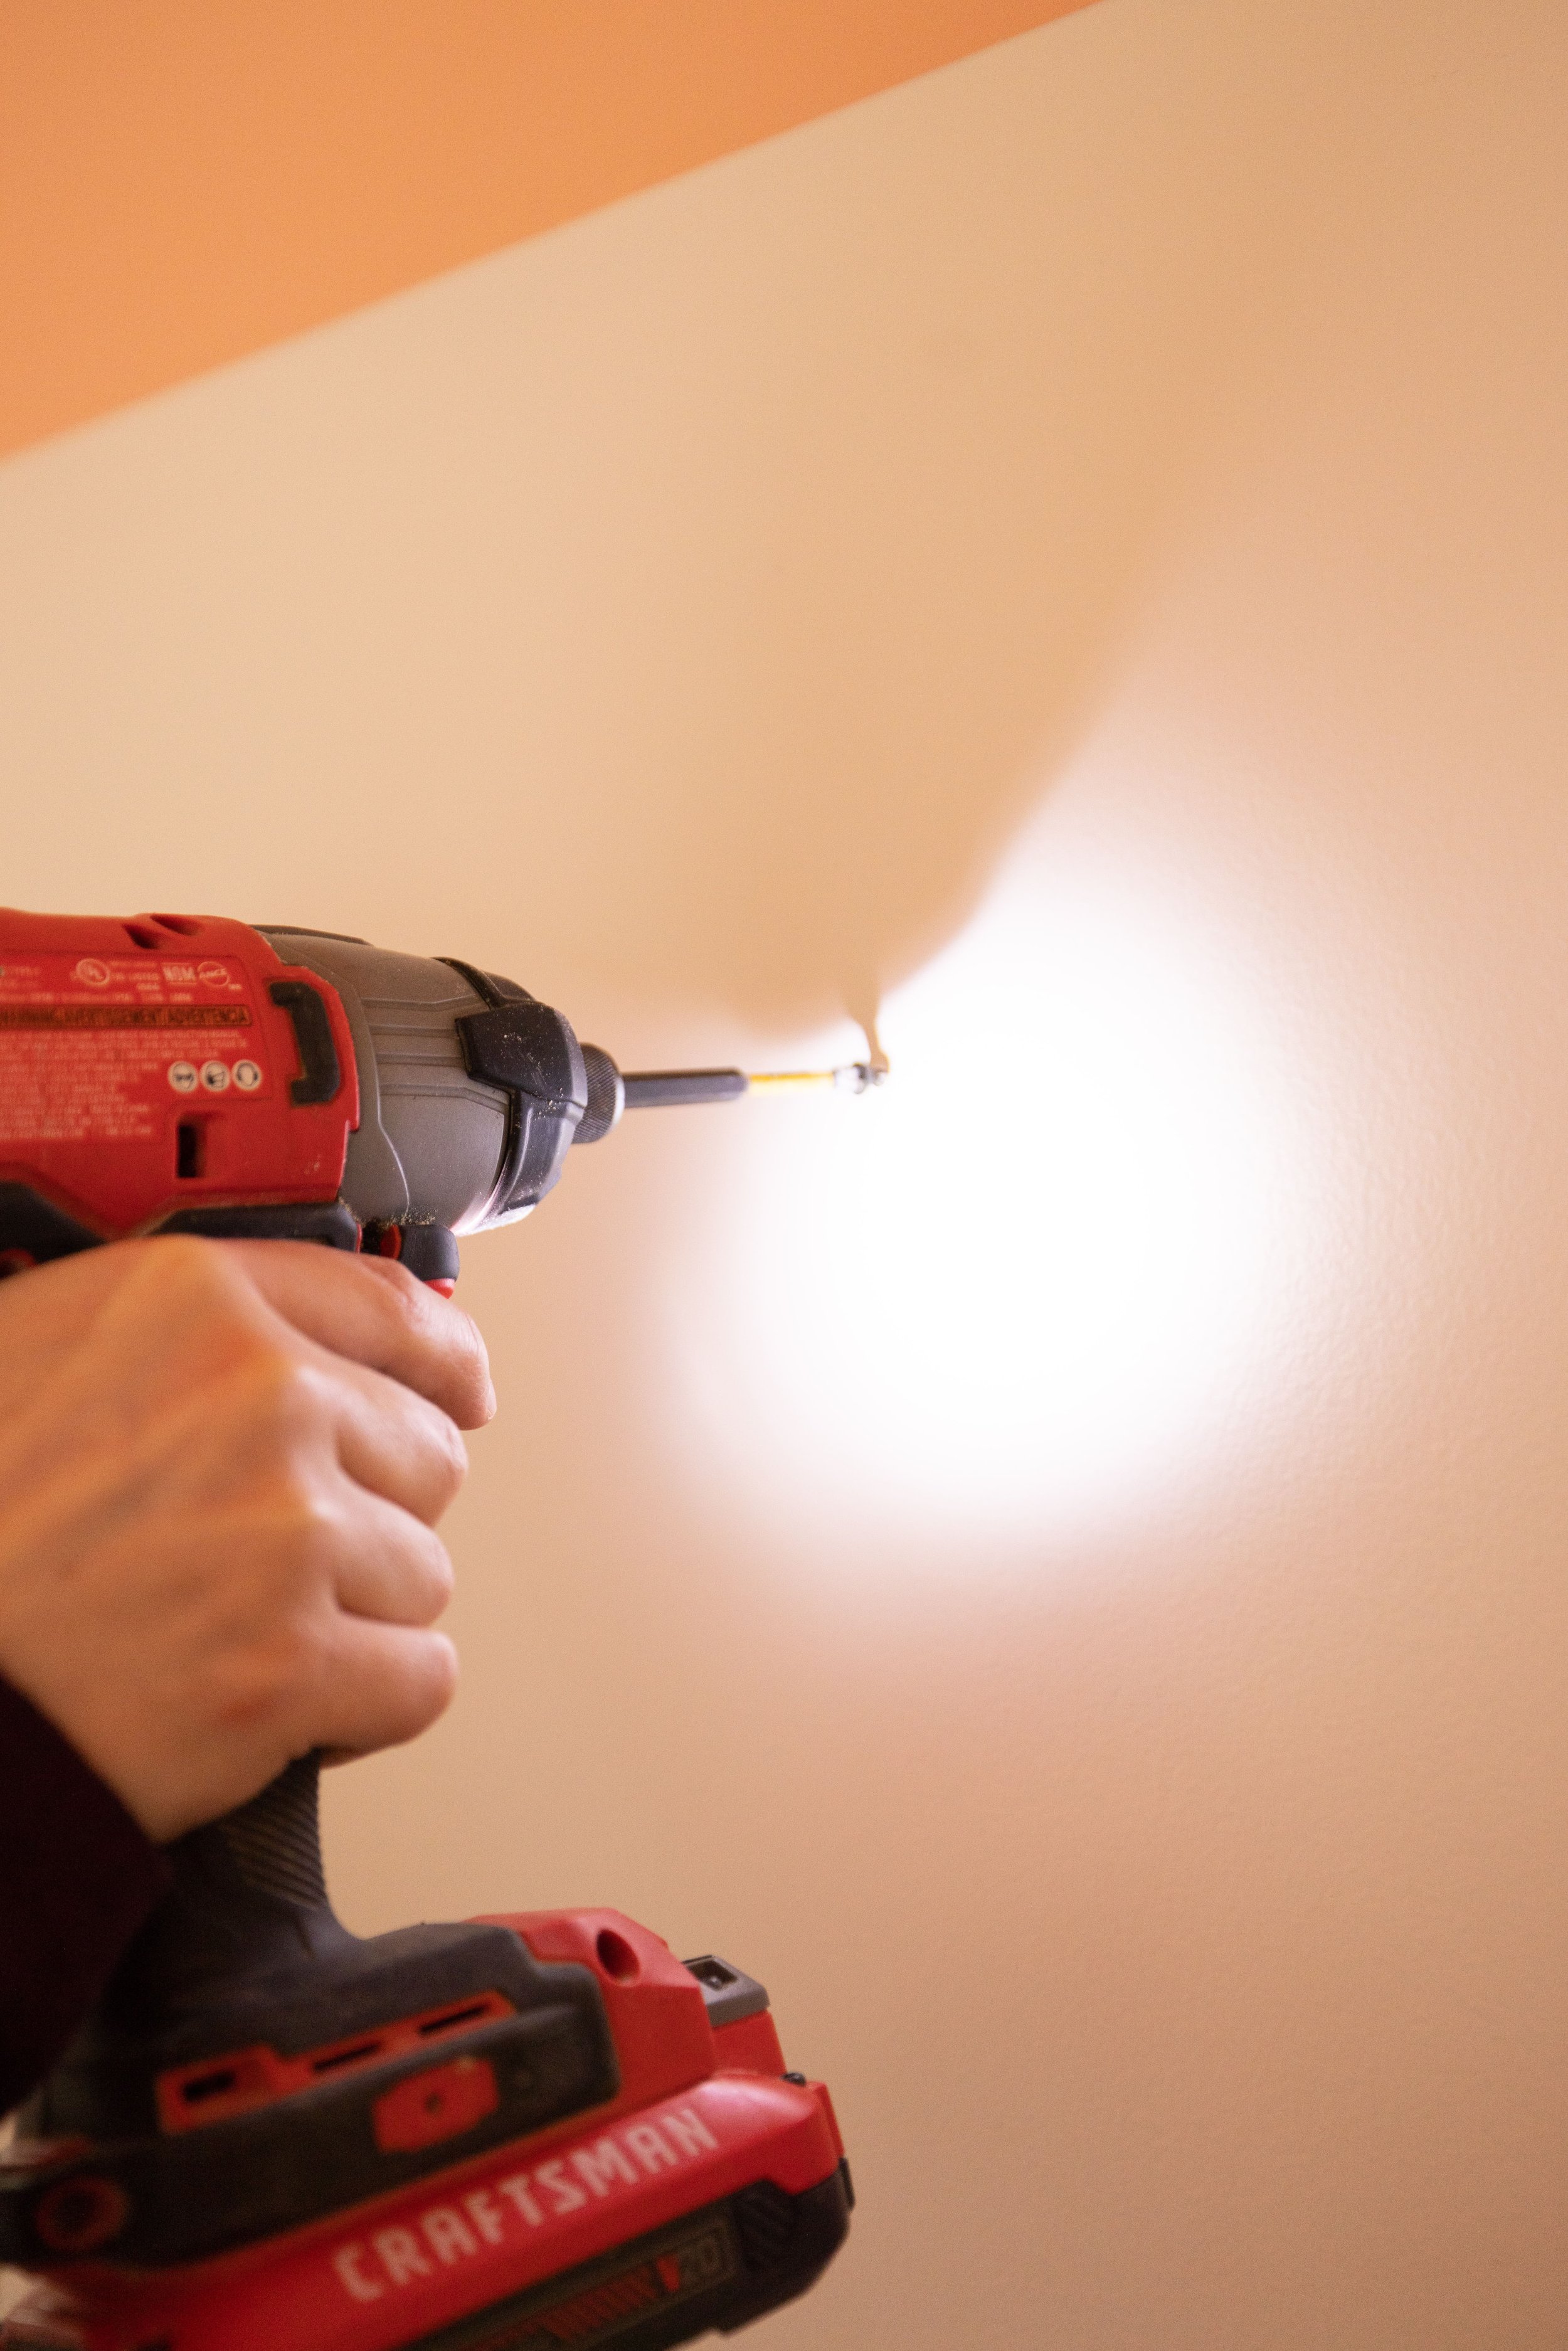
Hold it up to the wall where you want your picture hung and press. The indentation made by the screw will show you exactly where to drill.
Now all you have to do is drill your screw into the wall, hang your artwork, and voila!
Extra bonus tip: Level your picture, then stick a little Command Strip on the back so it doesn’t sway.
Final Thoughts
Whoosh, this turned into quite the hodgepodge of thrifted frame info - but hopefully, you found it useful! Have questions about how to make thrifted frames work for you that I didn’t cover? Let me know in the comments!

