
How to Plan and Hang a Gallery Wall
Hang a gallery wall with this easy step-by-step tutorial
The thought of hanging a gallery wall can be intimidating. So many pictures. So many nails. So many potential mess-ups and unnecessary nail holes! Where does the madness end!?
Have no fear! I’ve got you covered with a step-by-step tutorial on how to hang a gallery wall that eliminates the probable accidental nail hole (or two, or three).

I always seem to make my projects more difficult than they need to be. It’s a problem I’m highly aware of and I’m constantly working to improve upon.
I recently decided to hang a gallery wall in our living room. Unfortunately, true to form, I didn’t picture an asymmetrical one. Oh no. That would’ve been too easy! I envisioned a symmetrical gallery wall in a grid pattern. Meaning, it’s super-duper obvious if your pictures don’t line up properly.
Luckily, I have some hacks that made hanging my gallery wall stress-free - AND this tutorial applies to asymmetrical gallery walls too!
As an Amazon Associate, I earn from qualifying purchases. This post may contain affiliate links, meaning I receive commissions for purchases made through those links, at no cost to you.

A couple of years ago I started finding all sorts of silly quotes on Pinterest and I felt the urge to do something with them. (They’re all under my “Inspirational Quotes” Pinterest board if you’re looking for a laugh.) So, I decided to have some fun with it and play with different styles of typography while writing these quotes on some watercolor paper.

Once I had a bunch of them, I didn’t just want to stuff them in a drawer - they deserved to be displayed! So I threw some watercolor paint on them and hung them in our stairwell.

And then we moved.
Although we bought another two-story house, the staircase in our new house isn’t as conducive to this kind of artwork display. So I had to find another place to hang these pictures. A big, blank wall in our living room seemed like the perfect place! Here’s how I did it:
Materials

- Masking or painter’s tape
- Tape measure
- Level (either a laser level or manual level will work)
- Hammer
- Nails (I used some small, lightweight nails because my pictures aren’t very heavy, but of course you’ll need to use nails appropriate for your pictures)
- Paper
- Scissors
- Pen or pencil
- Toothpaste (yep, you’ll see why…)
Trace your frames and cut them out
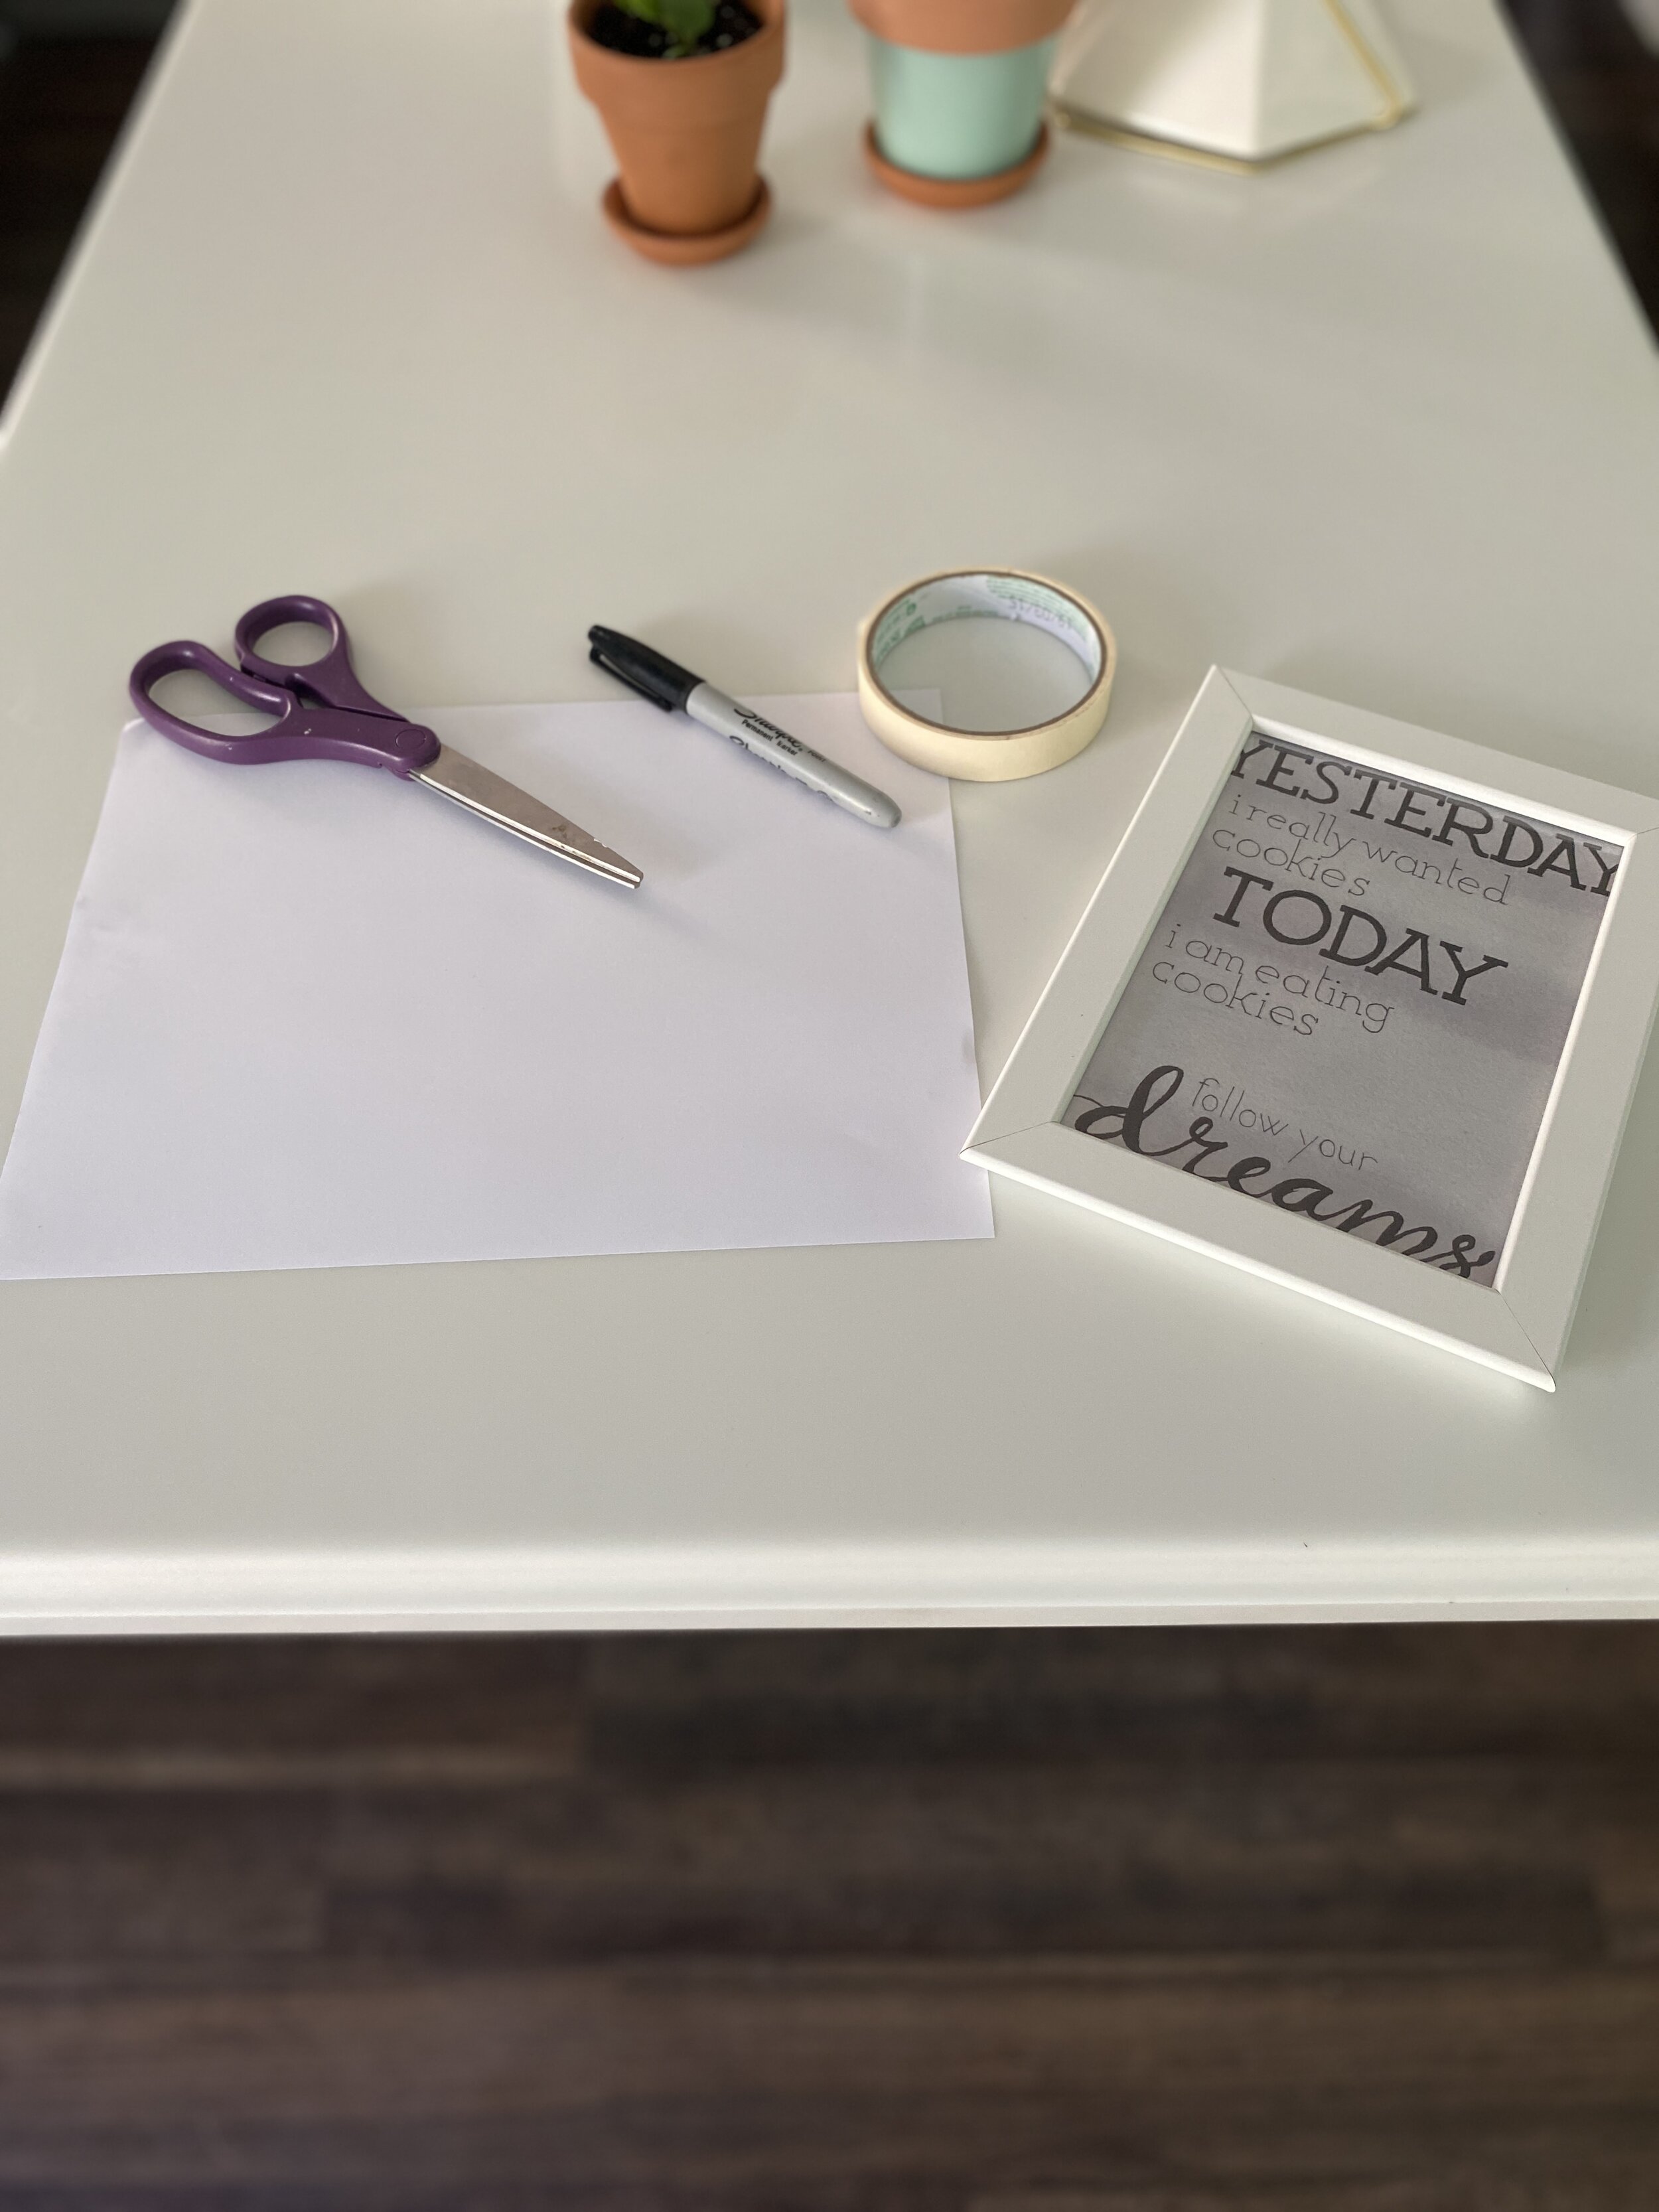
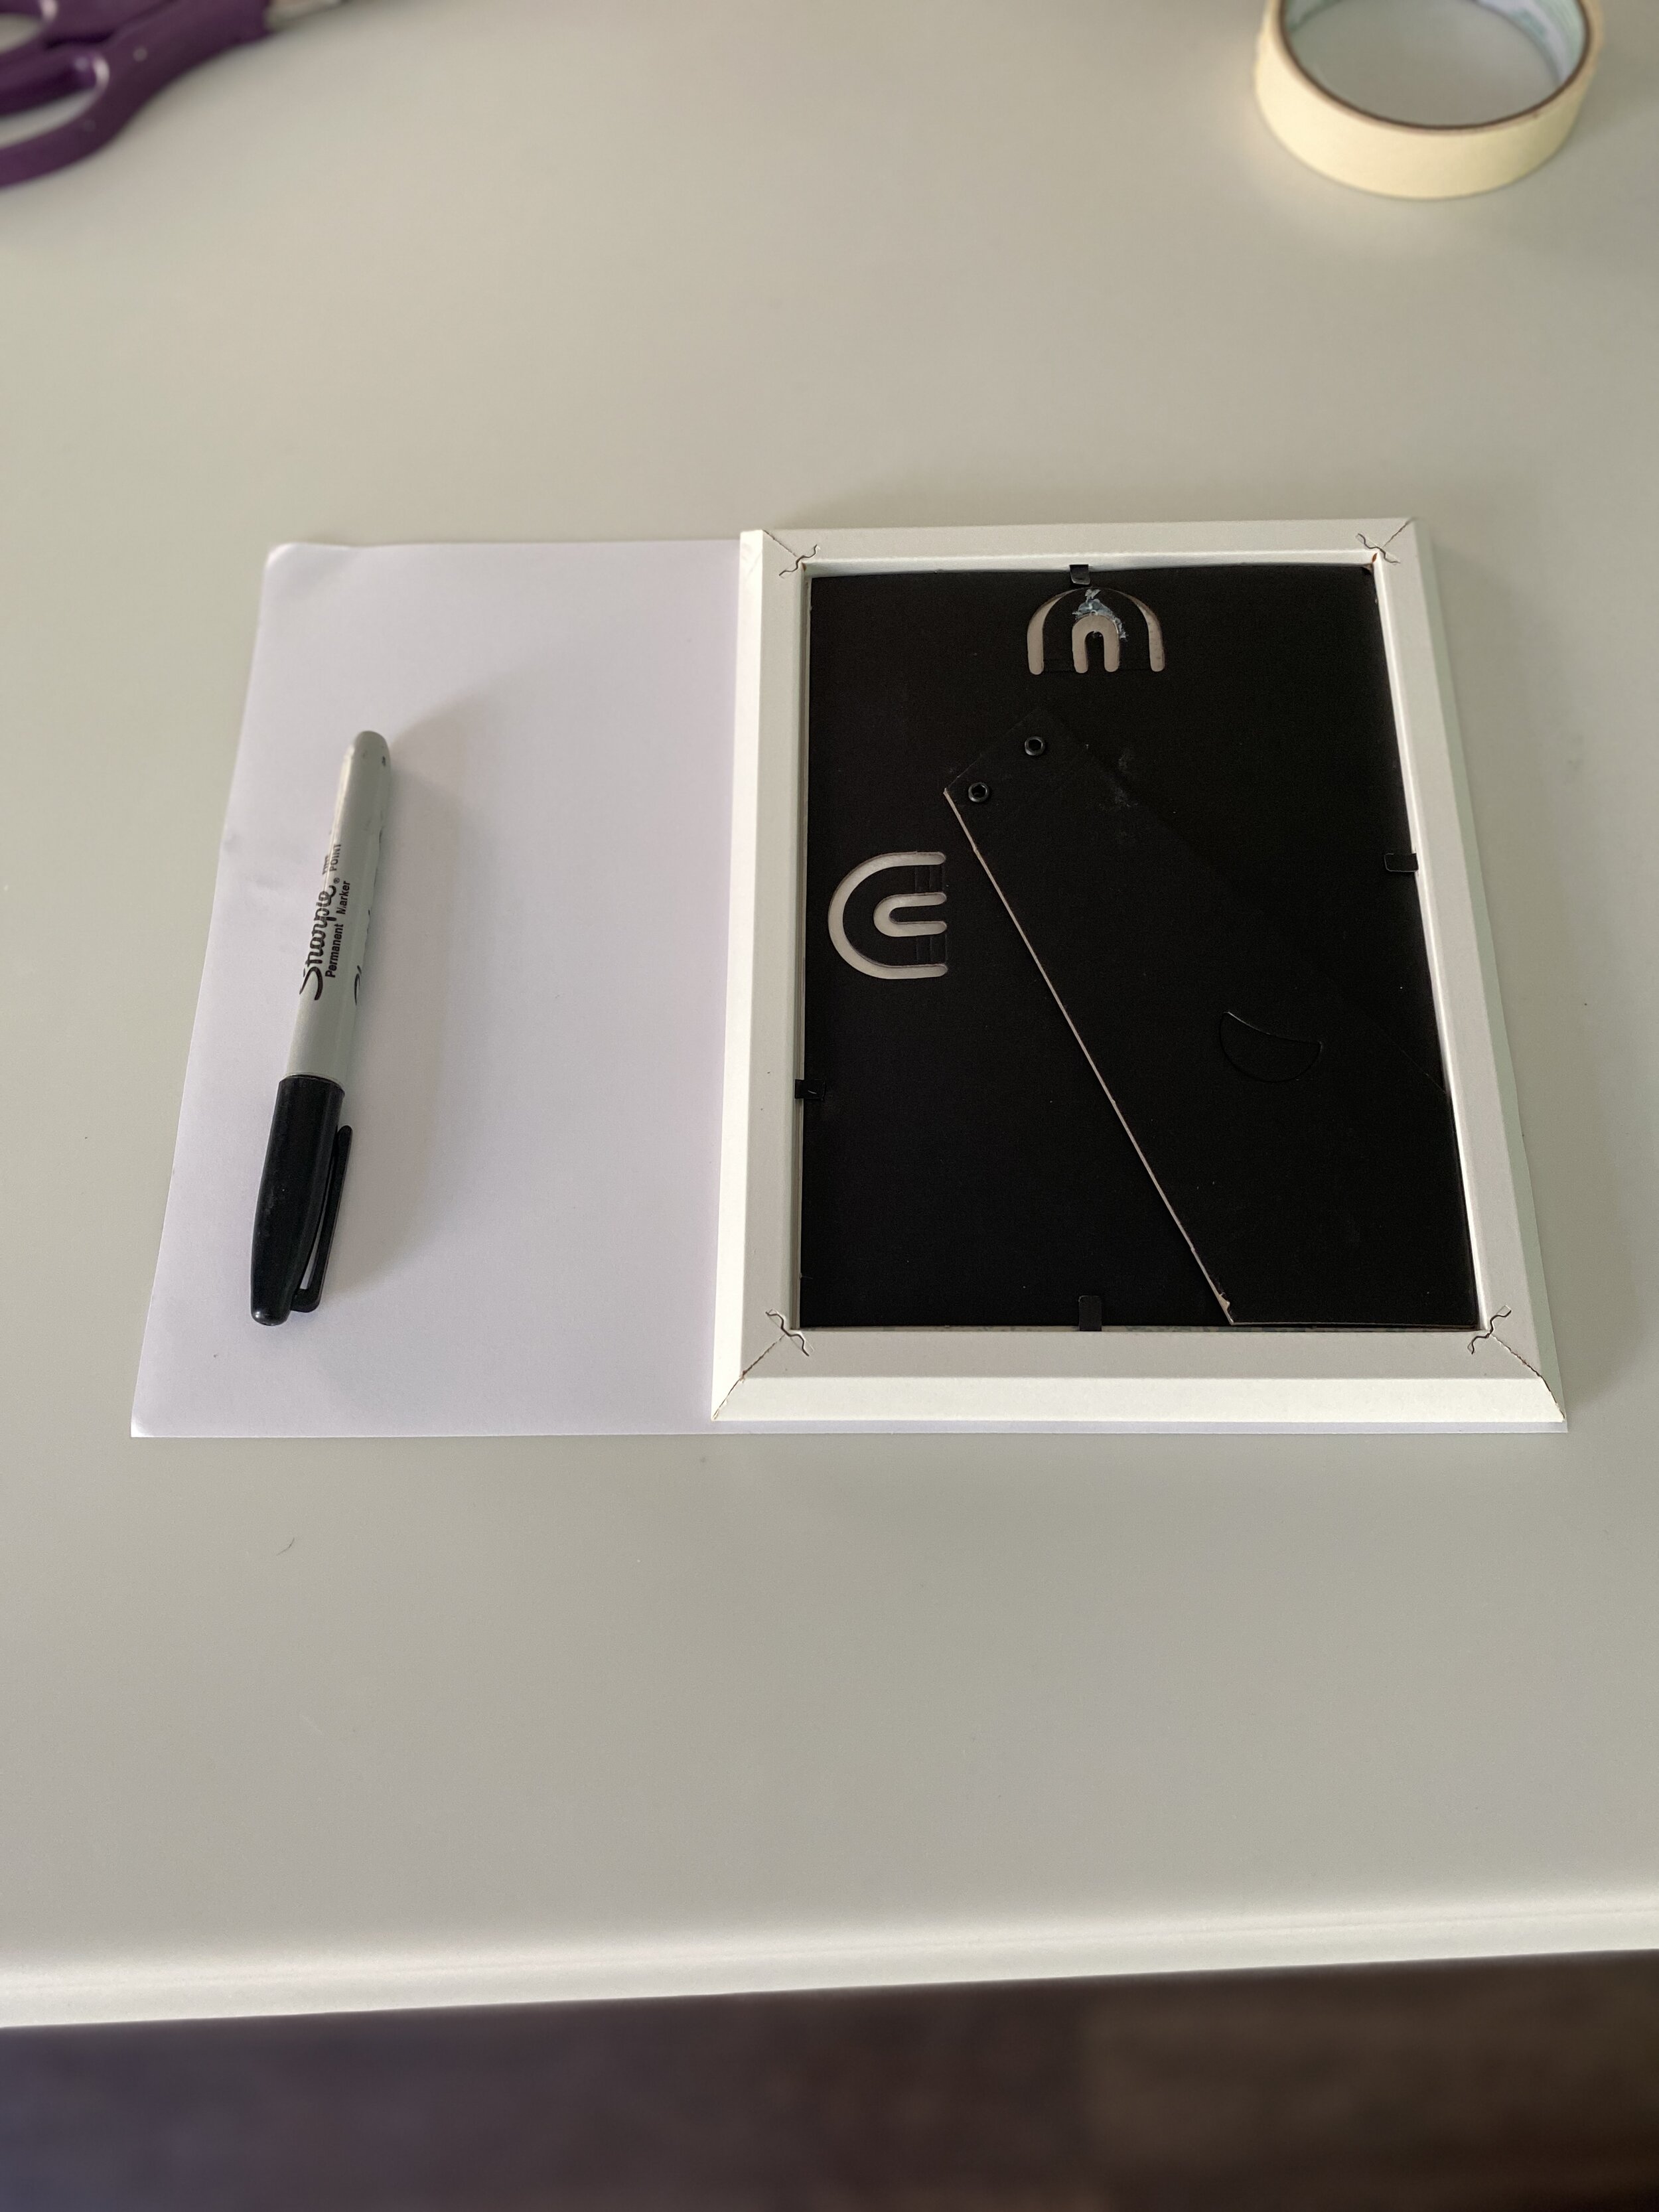
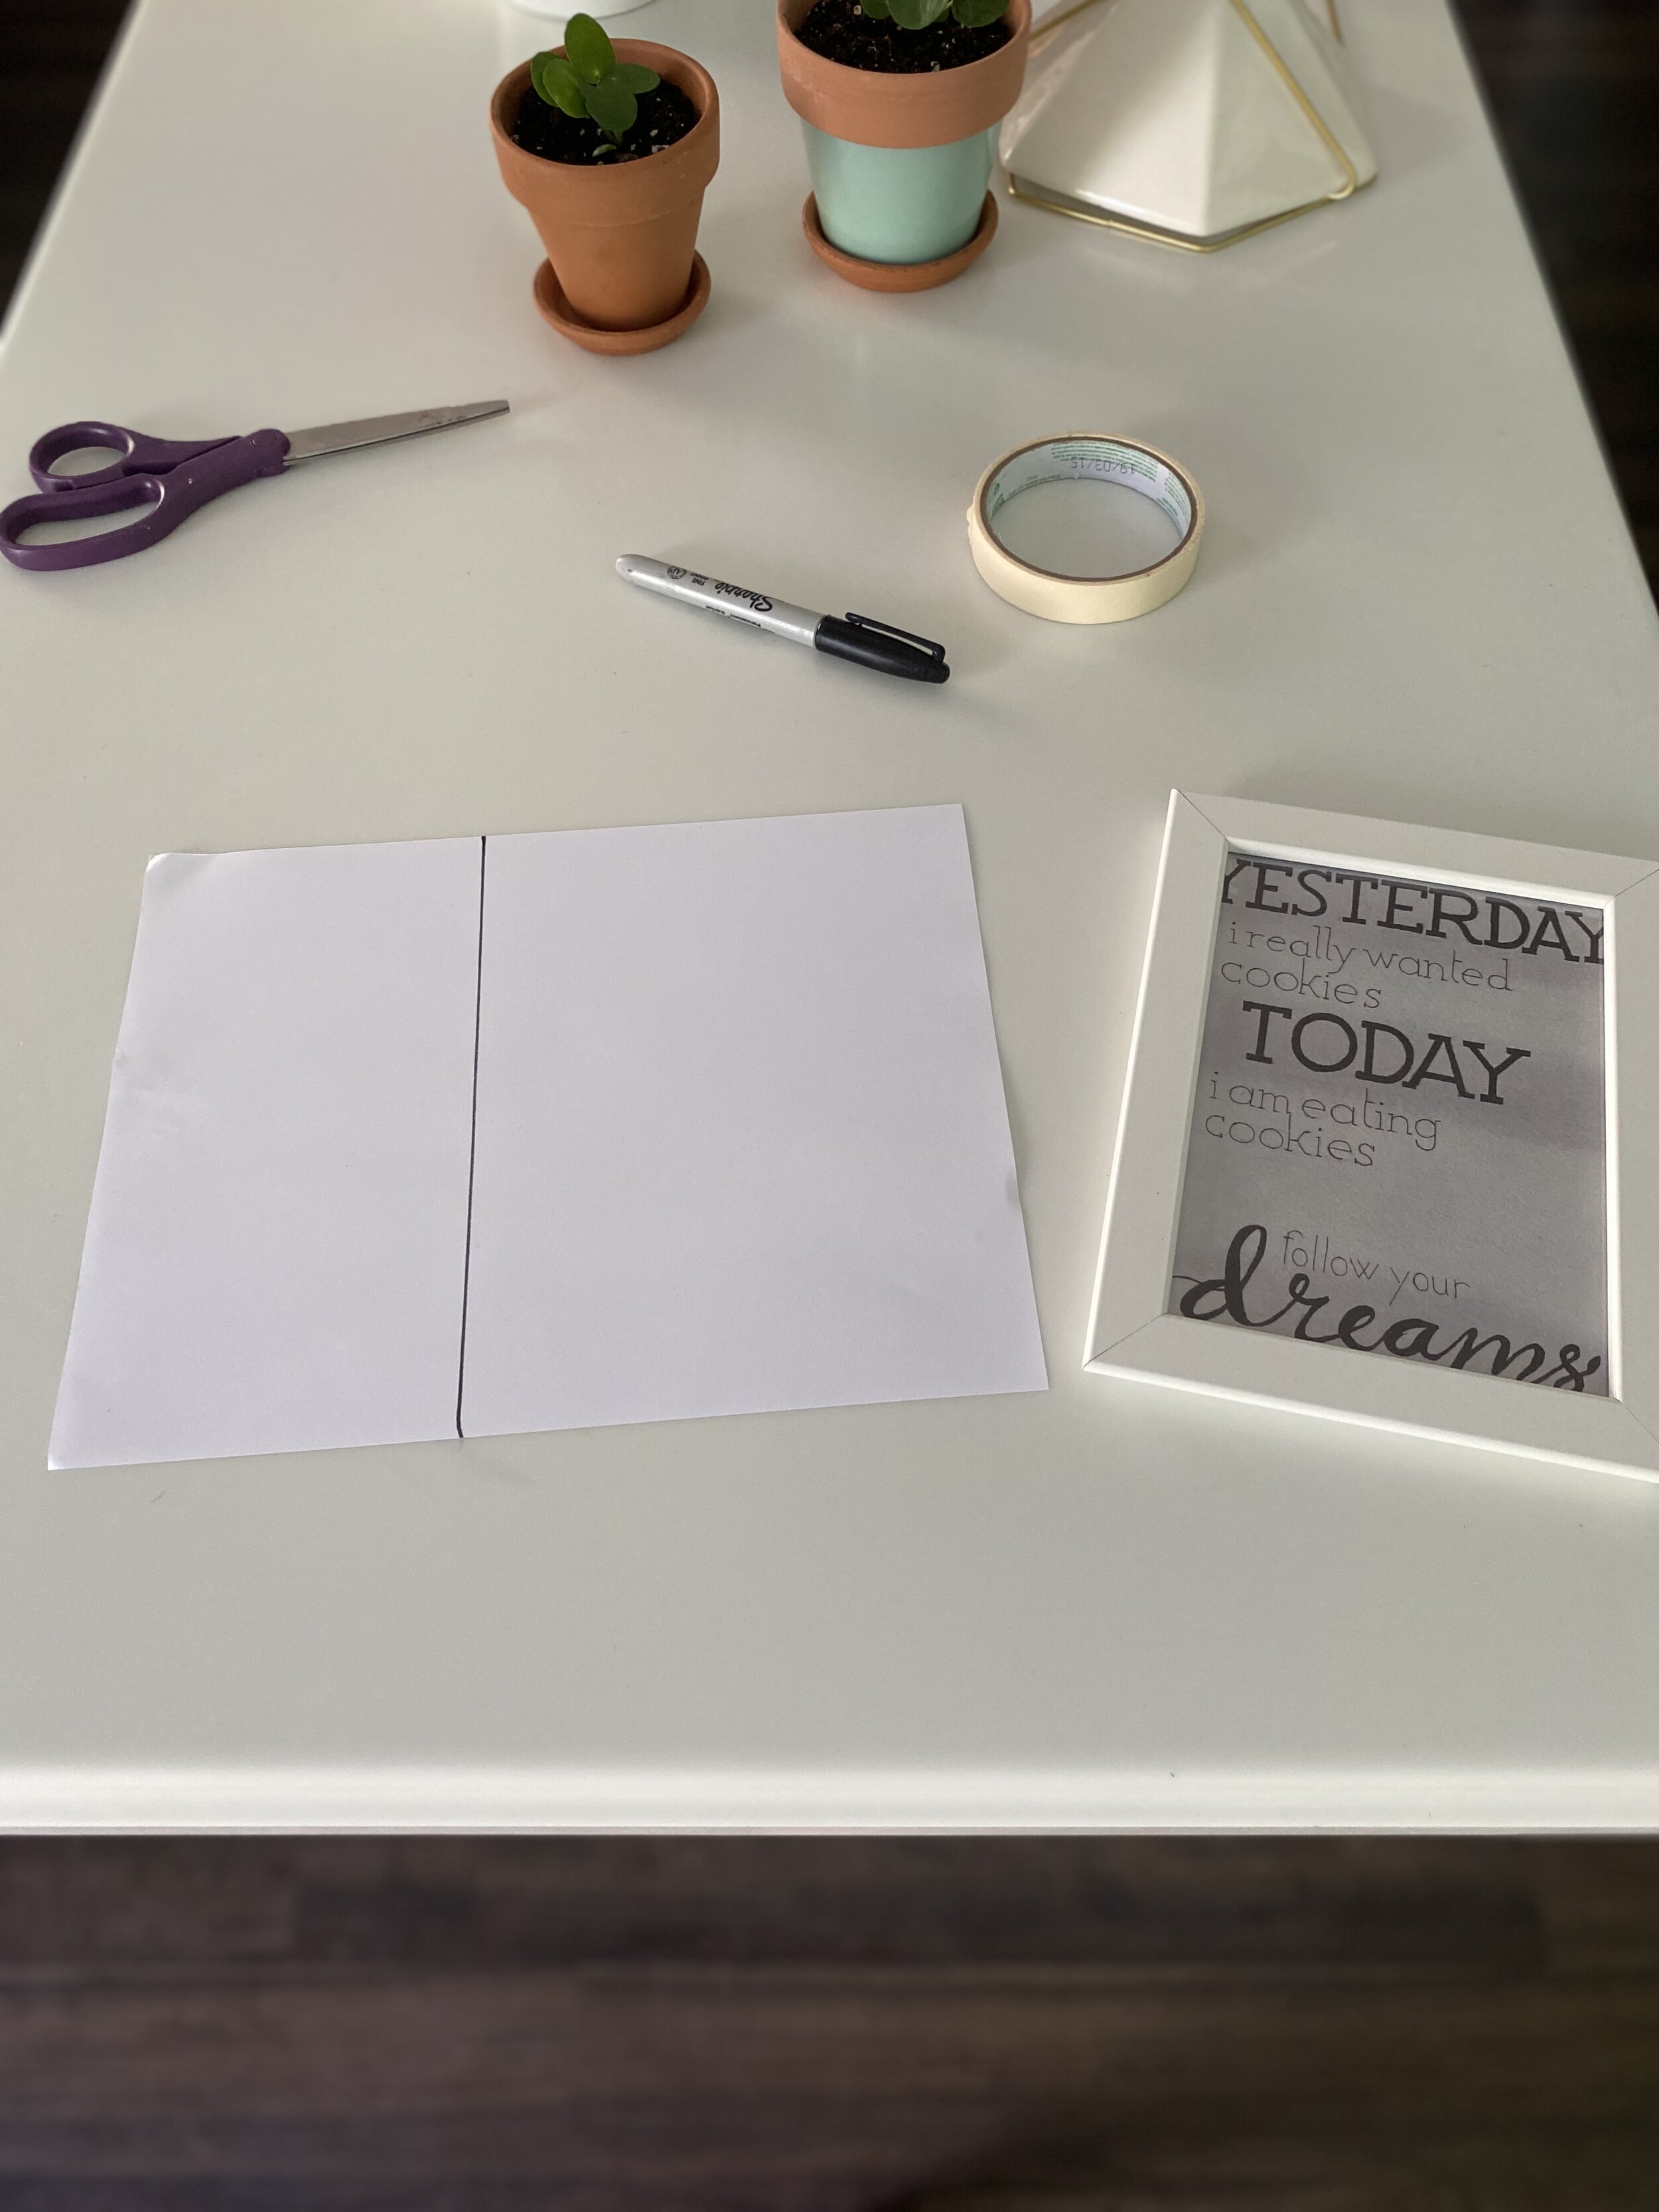
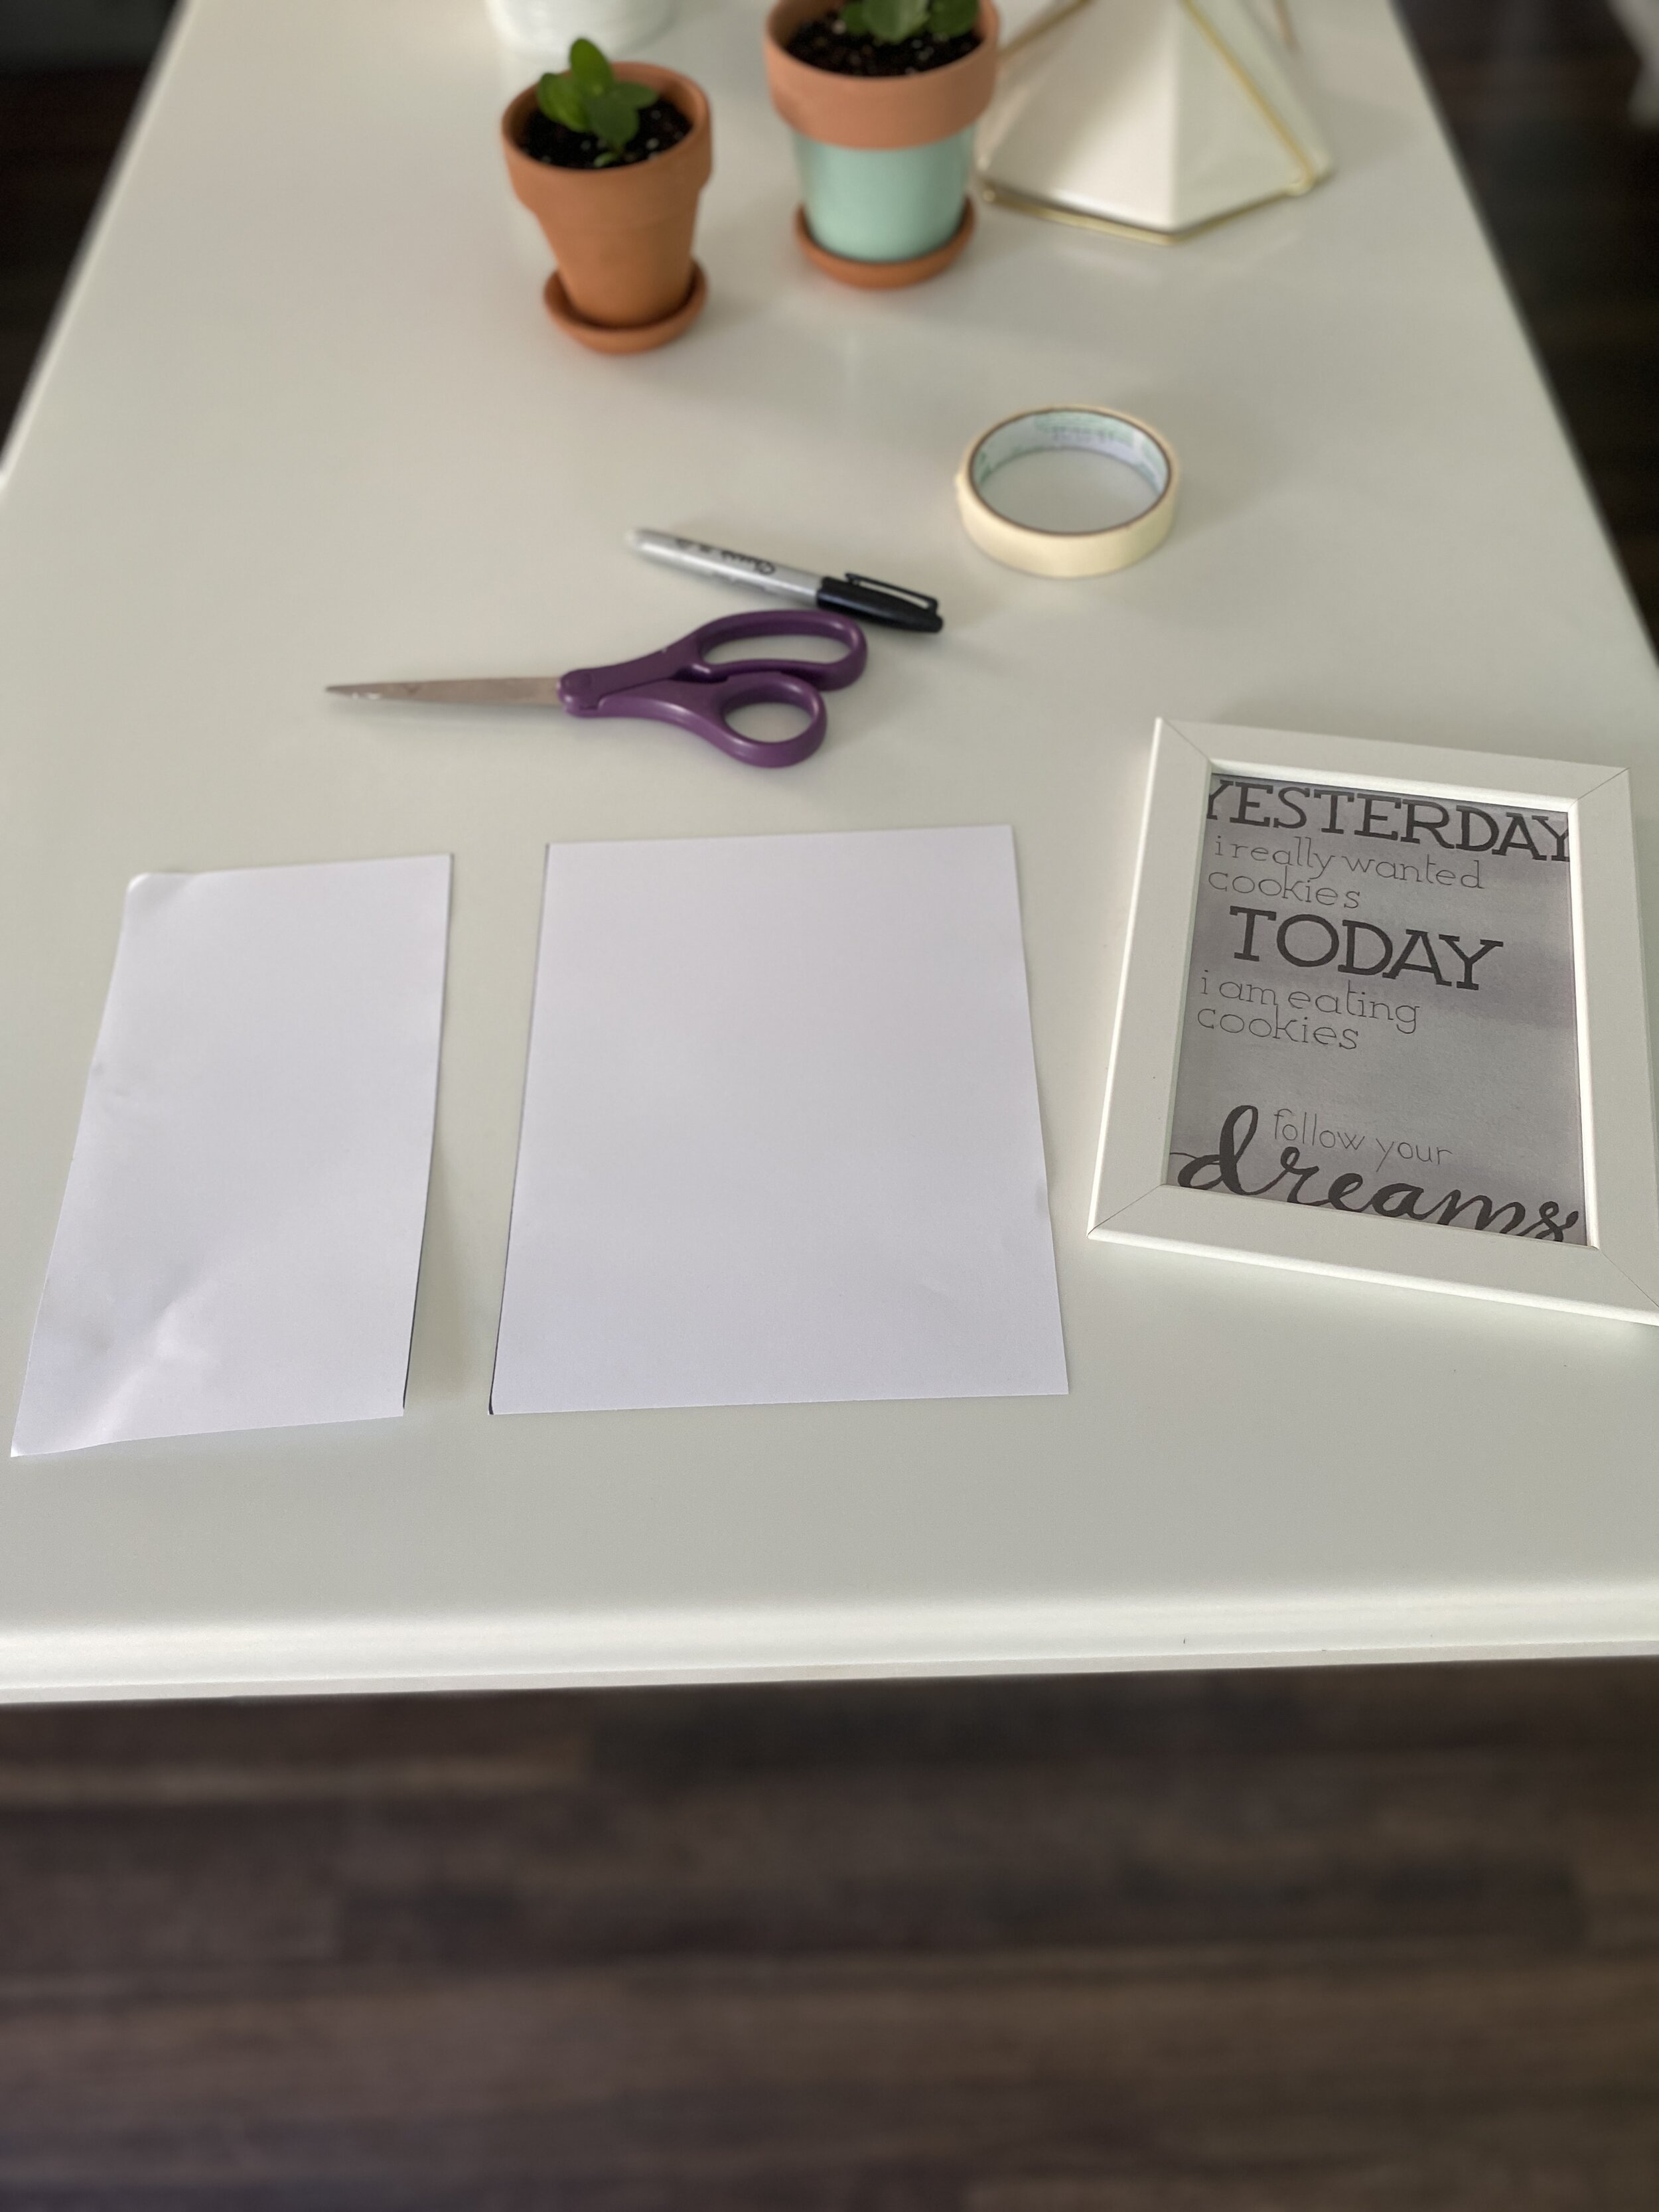
Regardless of if you’re creating a symmetrical or asymmetrical gallery wall, this step will make your life easier. Simply take a piece of paper (or tape a couple together if your frames are bigger than your paper) and lay your frames face down. Then trace around them and cut them out!
Find the focal point for your gallery wall
Measure your wall side to side and stick a piece of tape right in the middle. Then, measure up 57 to 60 inches from the floor. Move your tape to this spot. This should be where the center or your arrangement lies.
Plan your design

Now that you have templates of all your frames and you know where to center your arrangement, you can tape them up on the wall to figure out your design. Move them around as much as you need to. Take a step back and take a good hard look to make sure you like what you see.
Apparently, I didn’t take a picture of this step for this gallery wall, but oddly enough I still had a picture of the gallery wall from our previous house saved.
Space your frames
Okay, now things are getting serious… or, as serious as hanging a picture can get. Maybe tedious is a better word.
Once you have your design nailed down (figuratively speaking… we have a few more steps before we start nailing for real), you’ll want to consistently space your frames out. About 2 to 3 inches of spacing between each frame looks best. I spaced mine out 2 inches.
For asymmetrical designs, I recommend leveling your templates as you go and securing them down one by one.
For symmetrical designs, especially grid designs like mine, it’s a little more complicated…
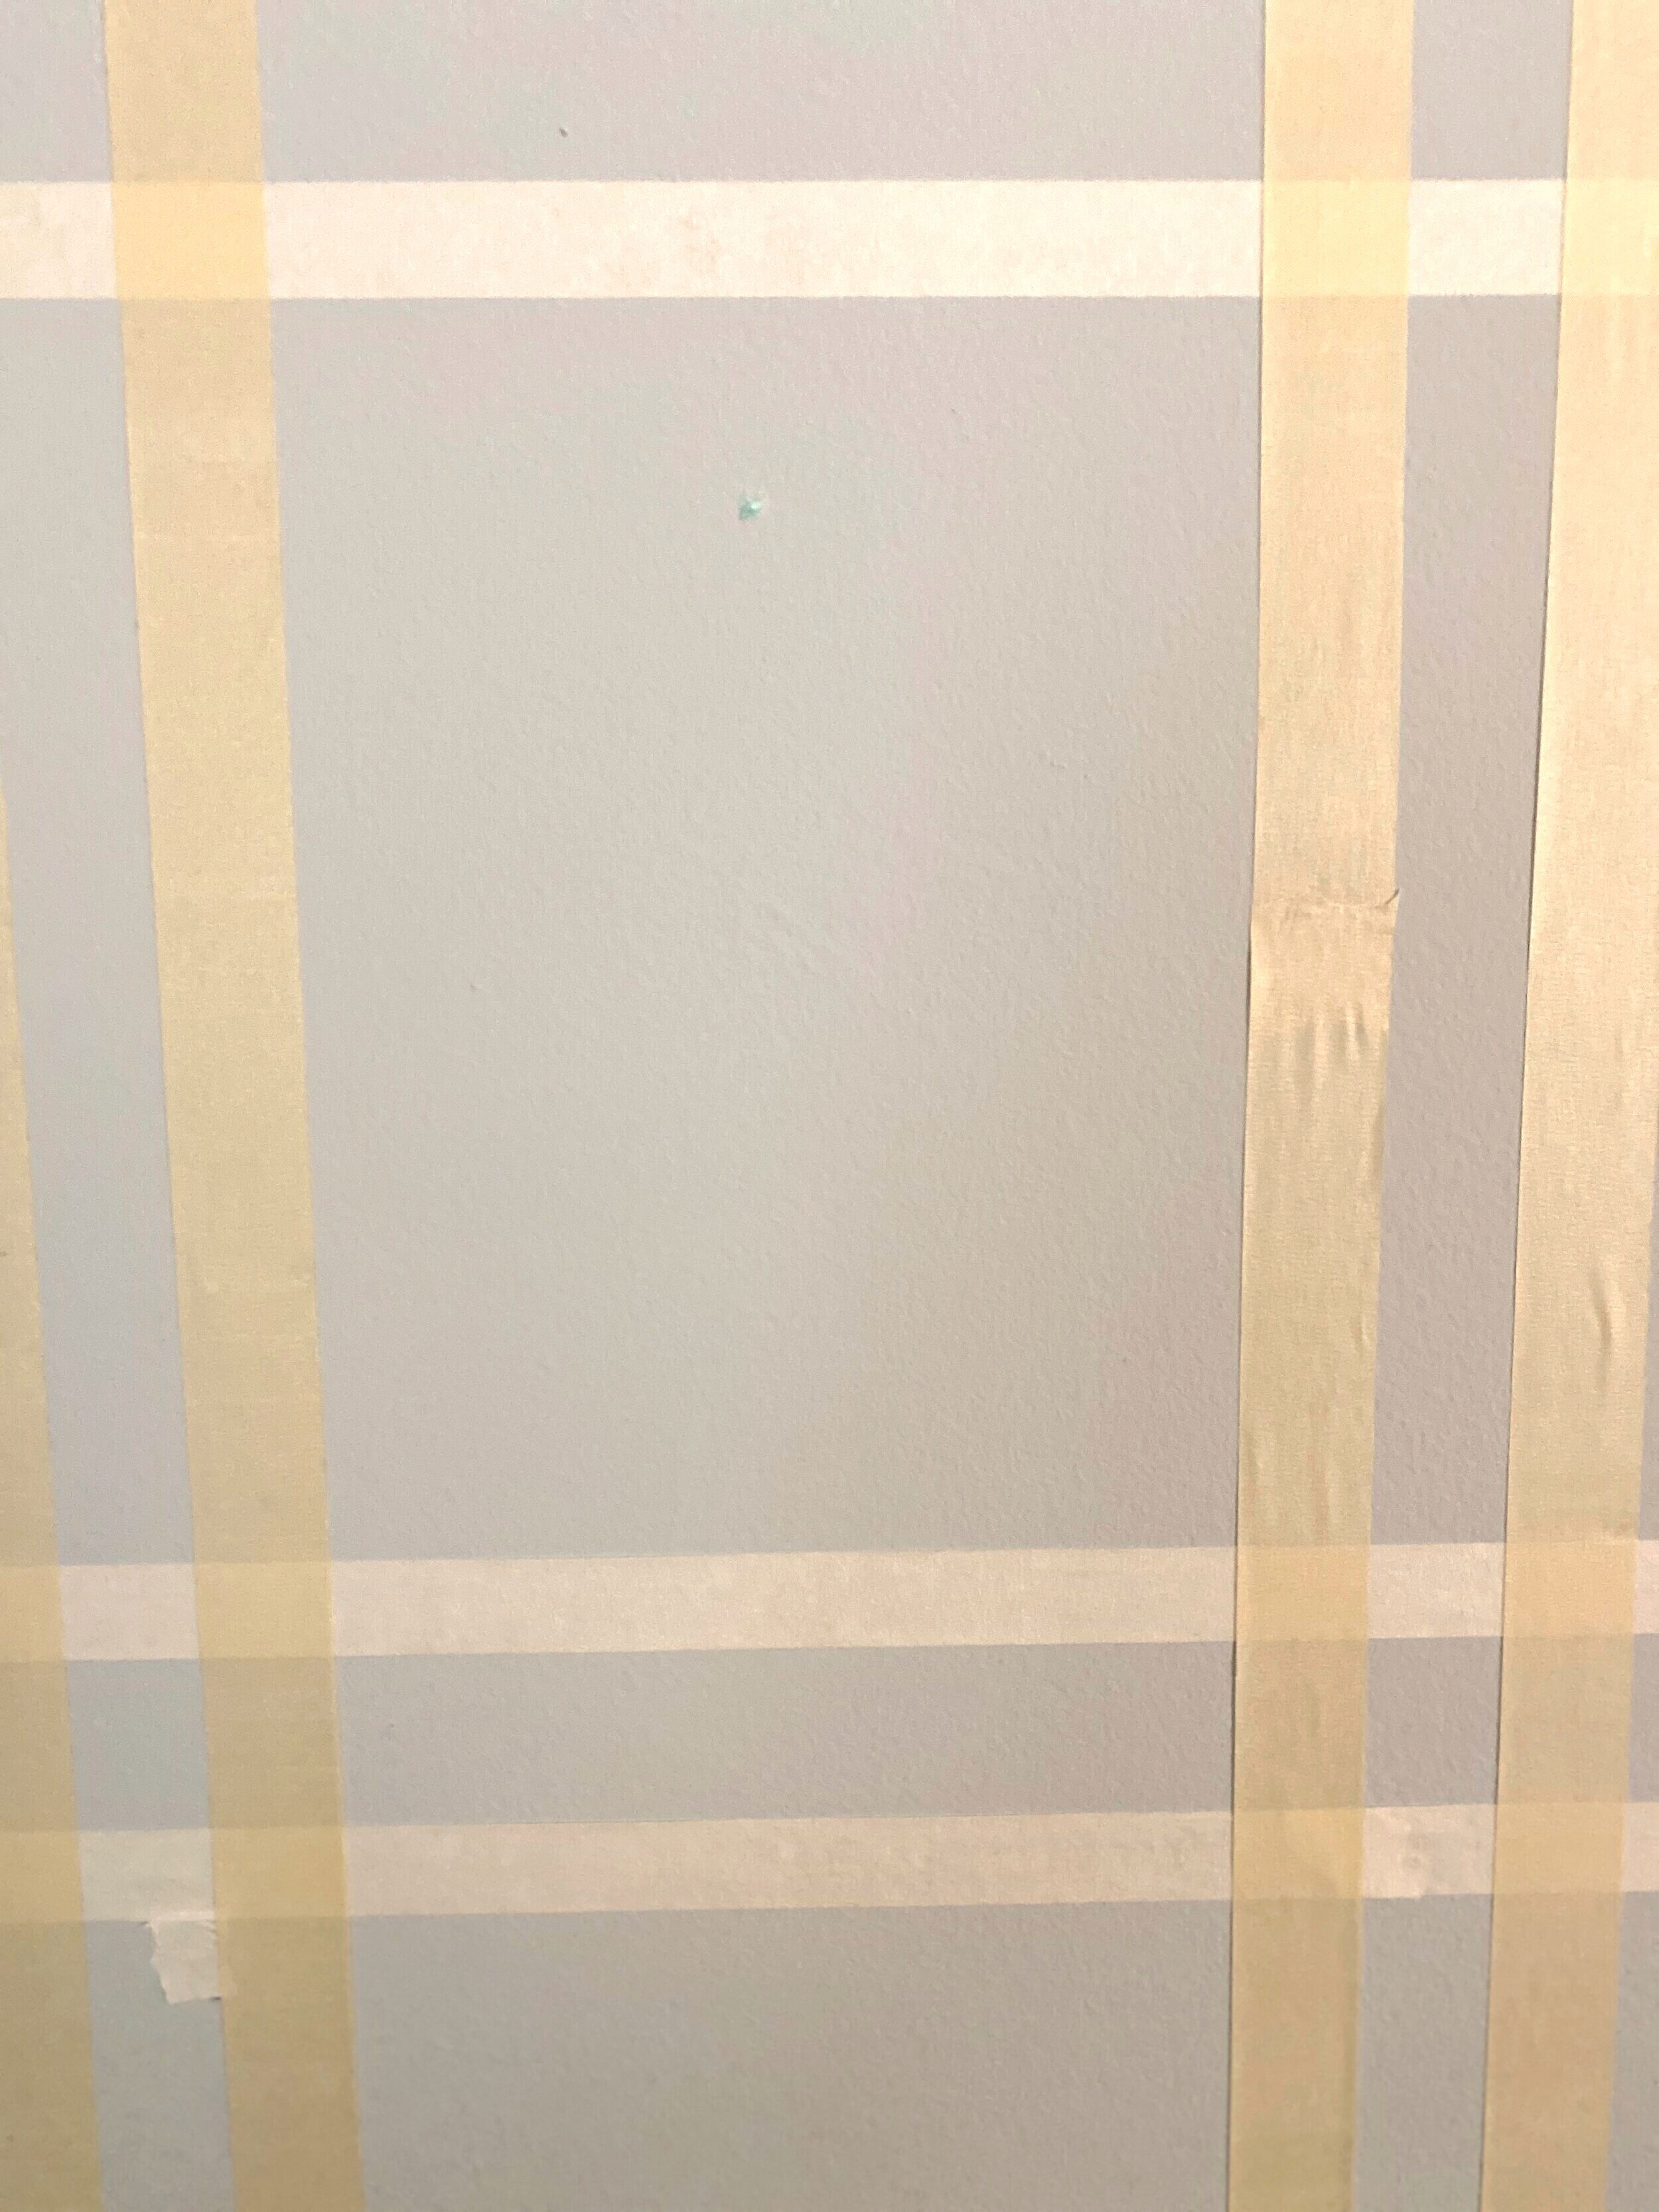
To make sure everything was level all around, I first created a grid using masking tape.
I started by putting up one strip of tape alongside one of my templates and making sure that was level.
Then I lightly put up a second strip of tape and moved it as needed as I measured 2 inches and leveled as I went. Once I knew it was spaced evenly and level, I stuck it down harder.
I followed those same steps around each of my templates and ended up with this grid:

Tip: Don’t remove your templates yet like I did above. It’s better to leave them up until you’ve placed your nails.
Determine where your nail holes need to be
This is where the toothpaste comes into play! It’s such a simple trick that makes hanging pictures way easier.
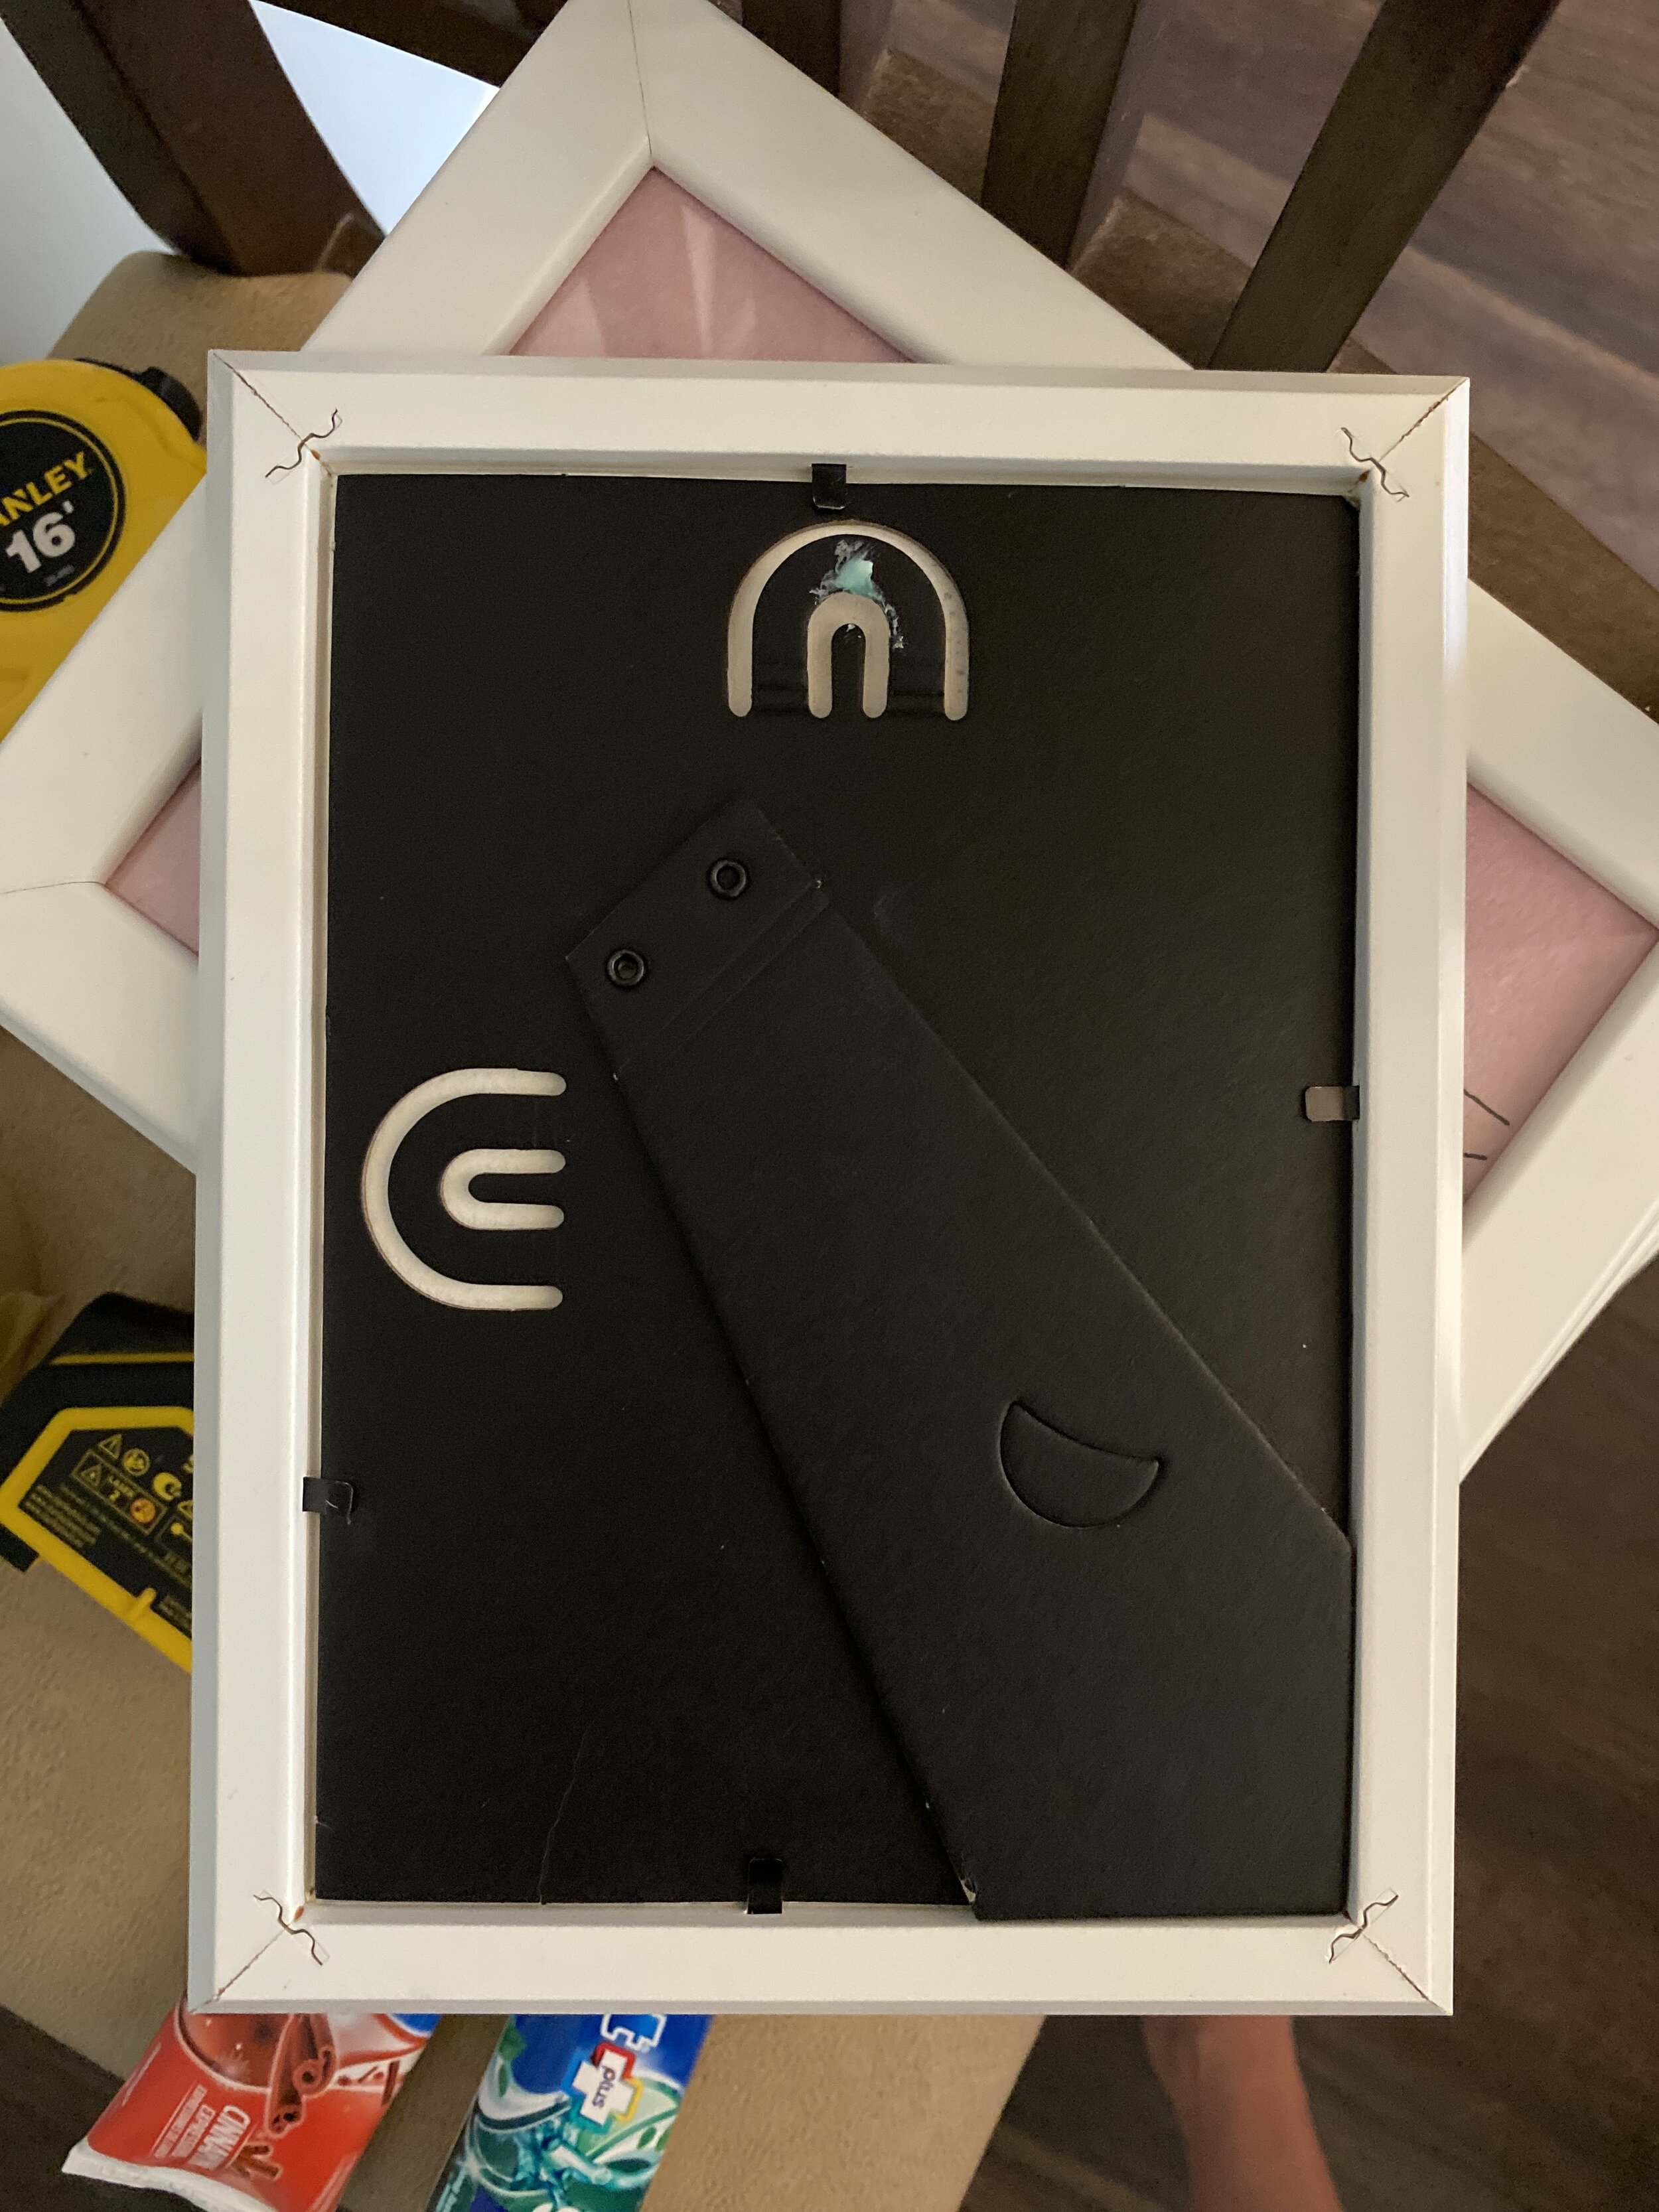
Simply take your frame and put a dot of toothpaste on the hanger on the back. Then press it onto the corresponding template. This should leave a mark where you need to place your nail.
Level twice, nail once

Folks hanging asymmetrical layouts can skip this step. But if you have a symmetrical design, listen up!
I highly recommend breaking out your level once more before you commit to making a bunch of holes in your wall. I used a laser level to make sure all my toothpaste dots lined up vertically and horizontally, but a long, regular level will work too. If I found any that weren’t level, I leveled them and marked the new spot with a pencil.
Hang your pictures!

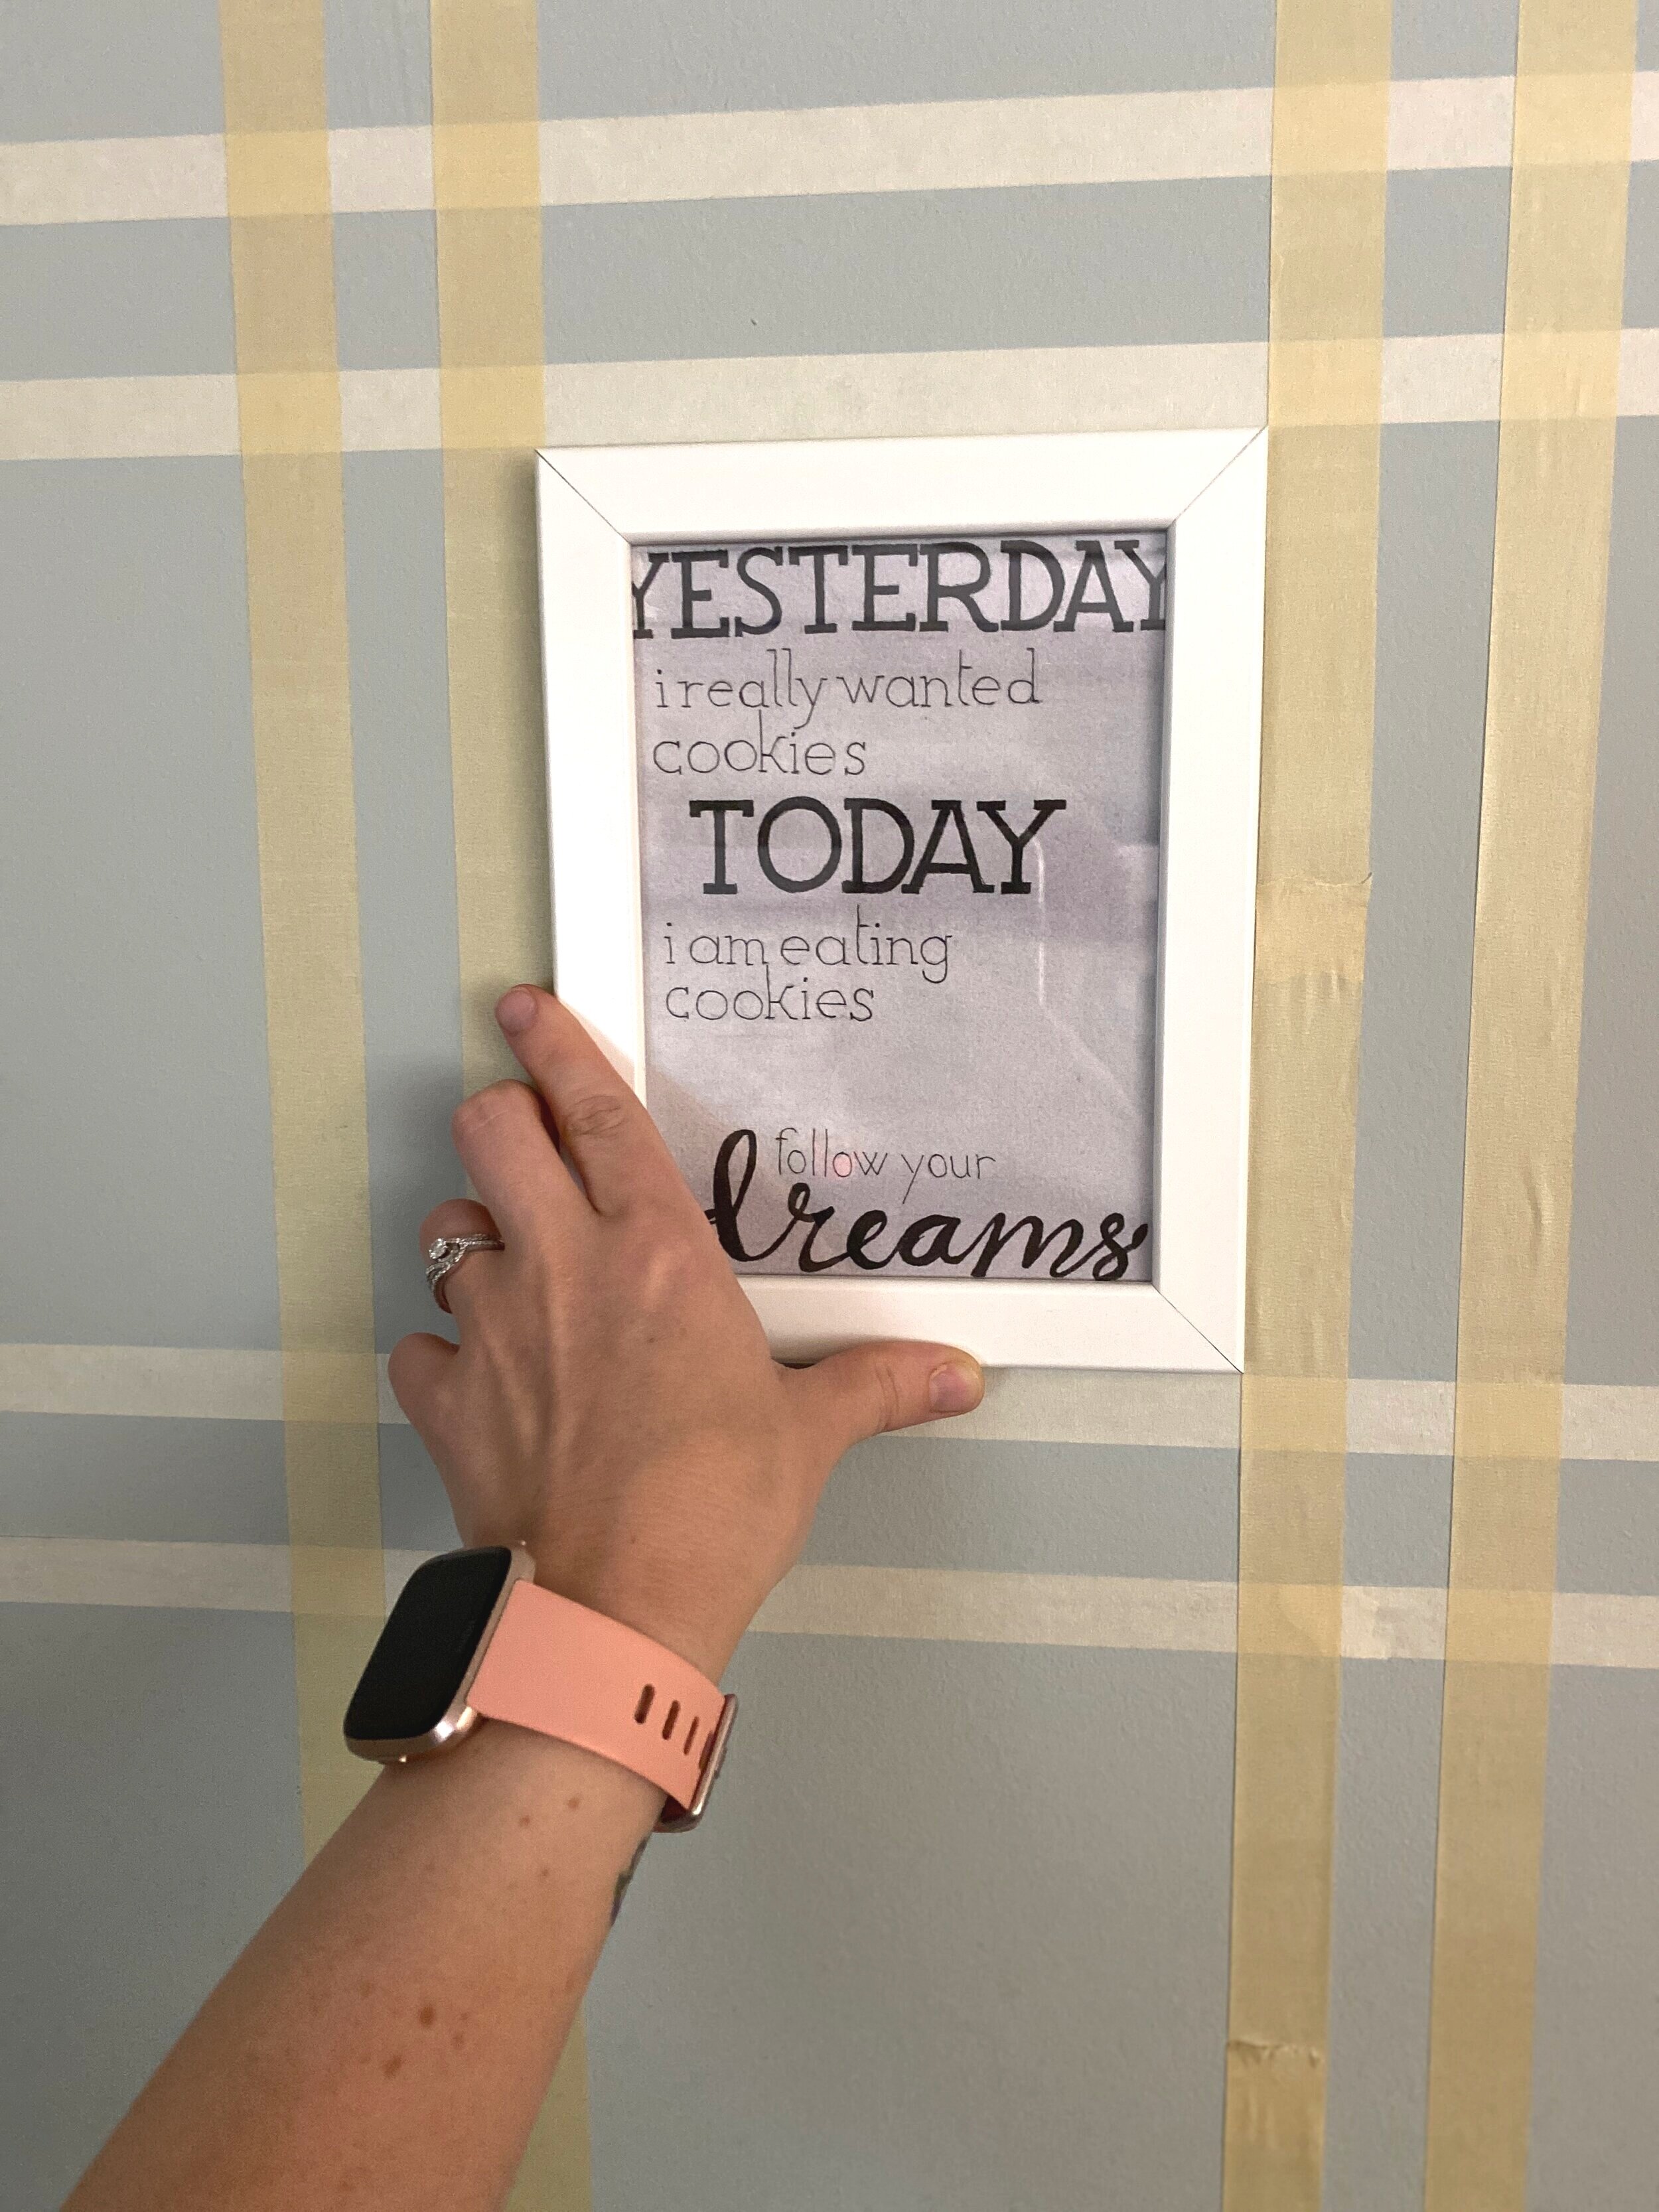
Alright, the moment you’ve been working toward… hang your dang pictures! You’ve taken the time to plan your design and mark where your nail holes should be. Now you can ACTUALLY nail them into the toothpaste dots you made and hang your pictures.
Bonus step: Secure your pictures

This isn’t required, but in a high traffic area like where my gallery wall hangs, this is a good tip.
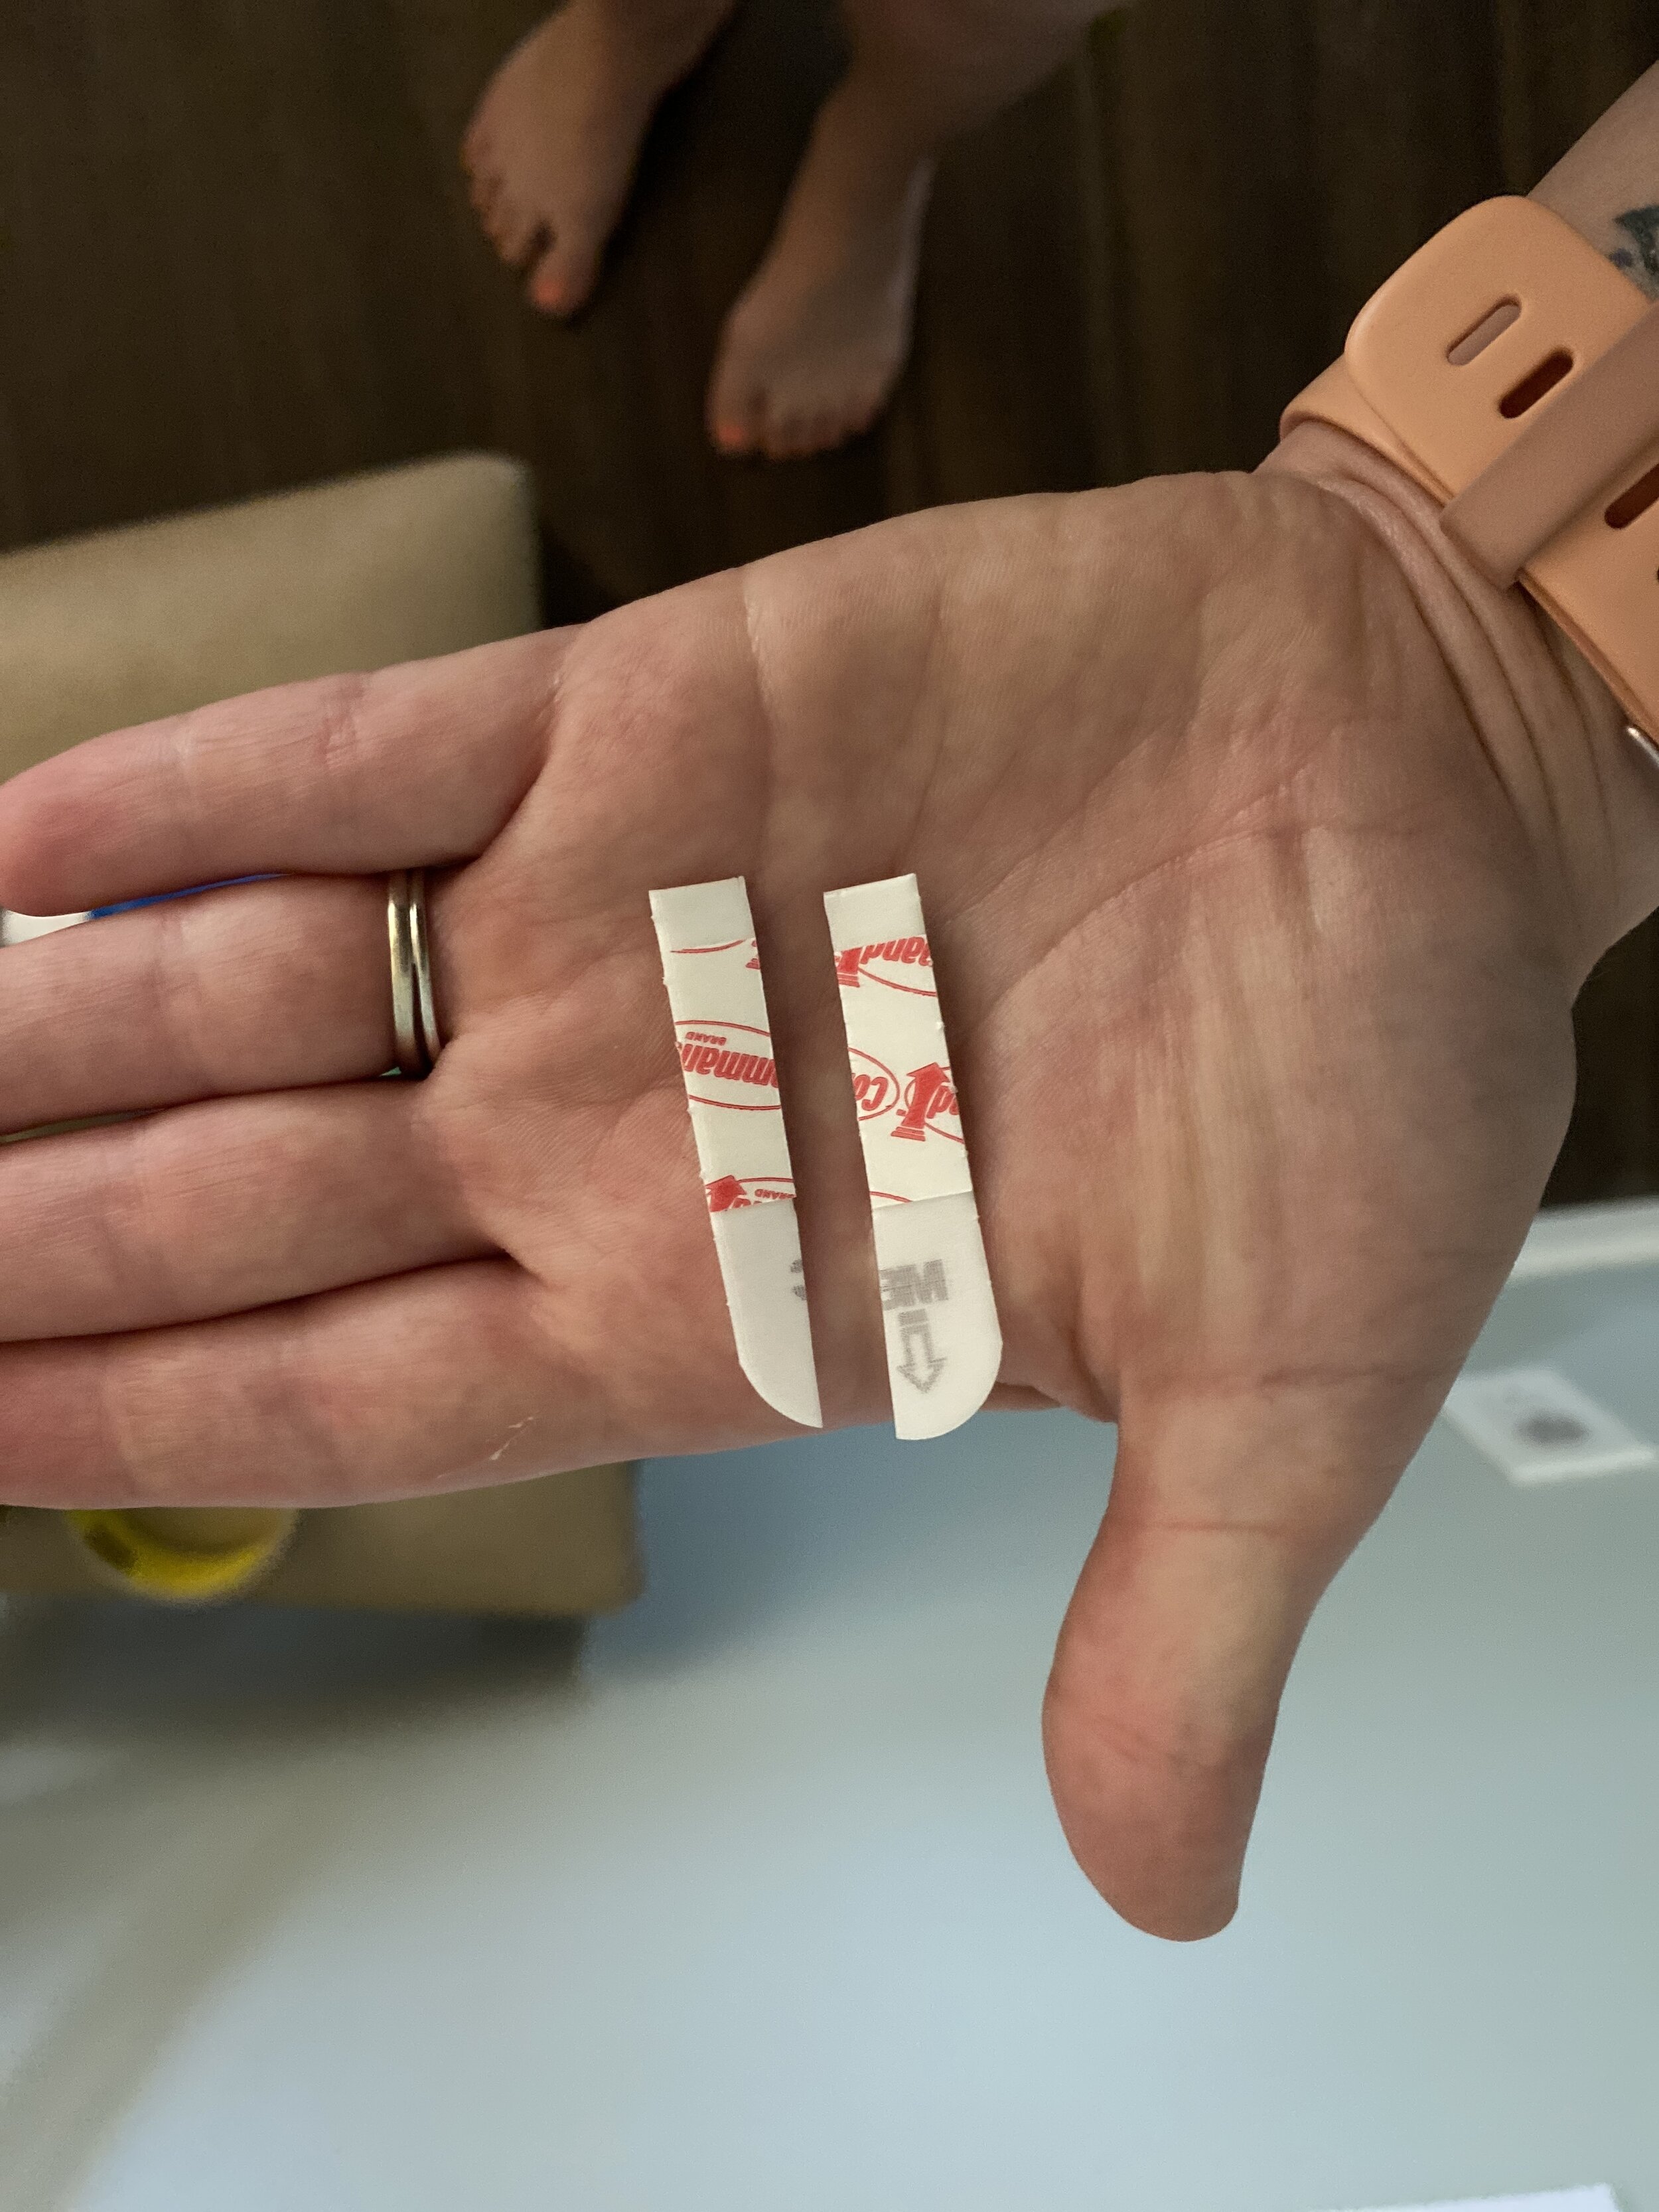
Command Strips are your best friend here. I like to take a one, cut it in half lengthwise (a whole Command Strip will work too, but why waste them?), and stick it to the bottom of the back of my frame to hold it in place. That way, when someone inevitably grazes the frames as they walk by, they don’t shift them or knock them off the wall.
Final Thoughts About My Gallery Wall
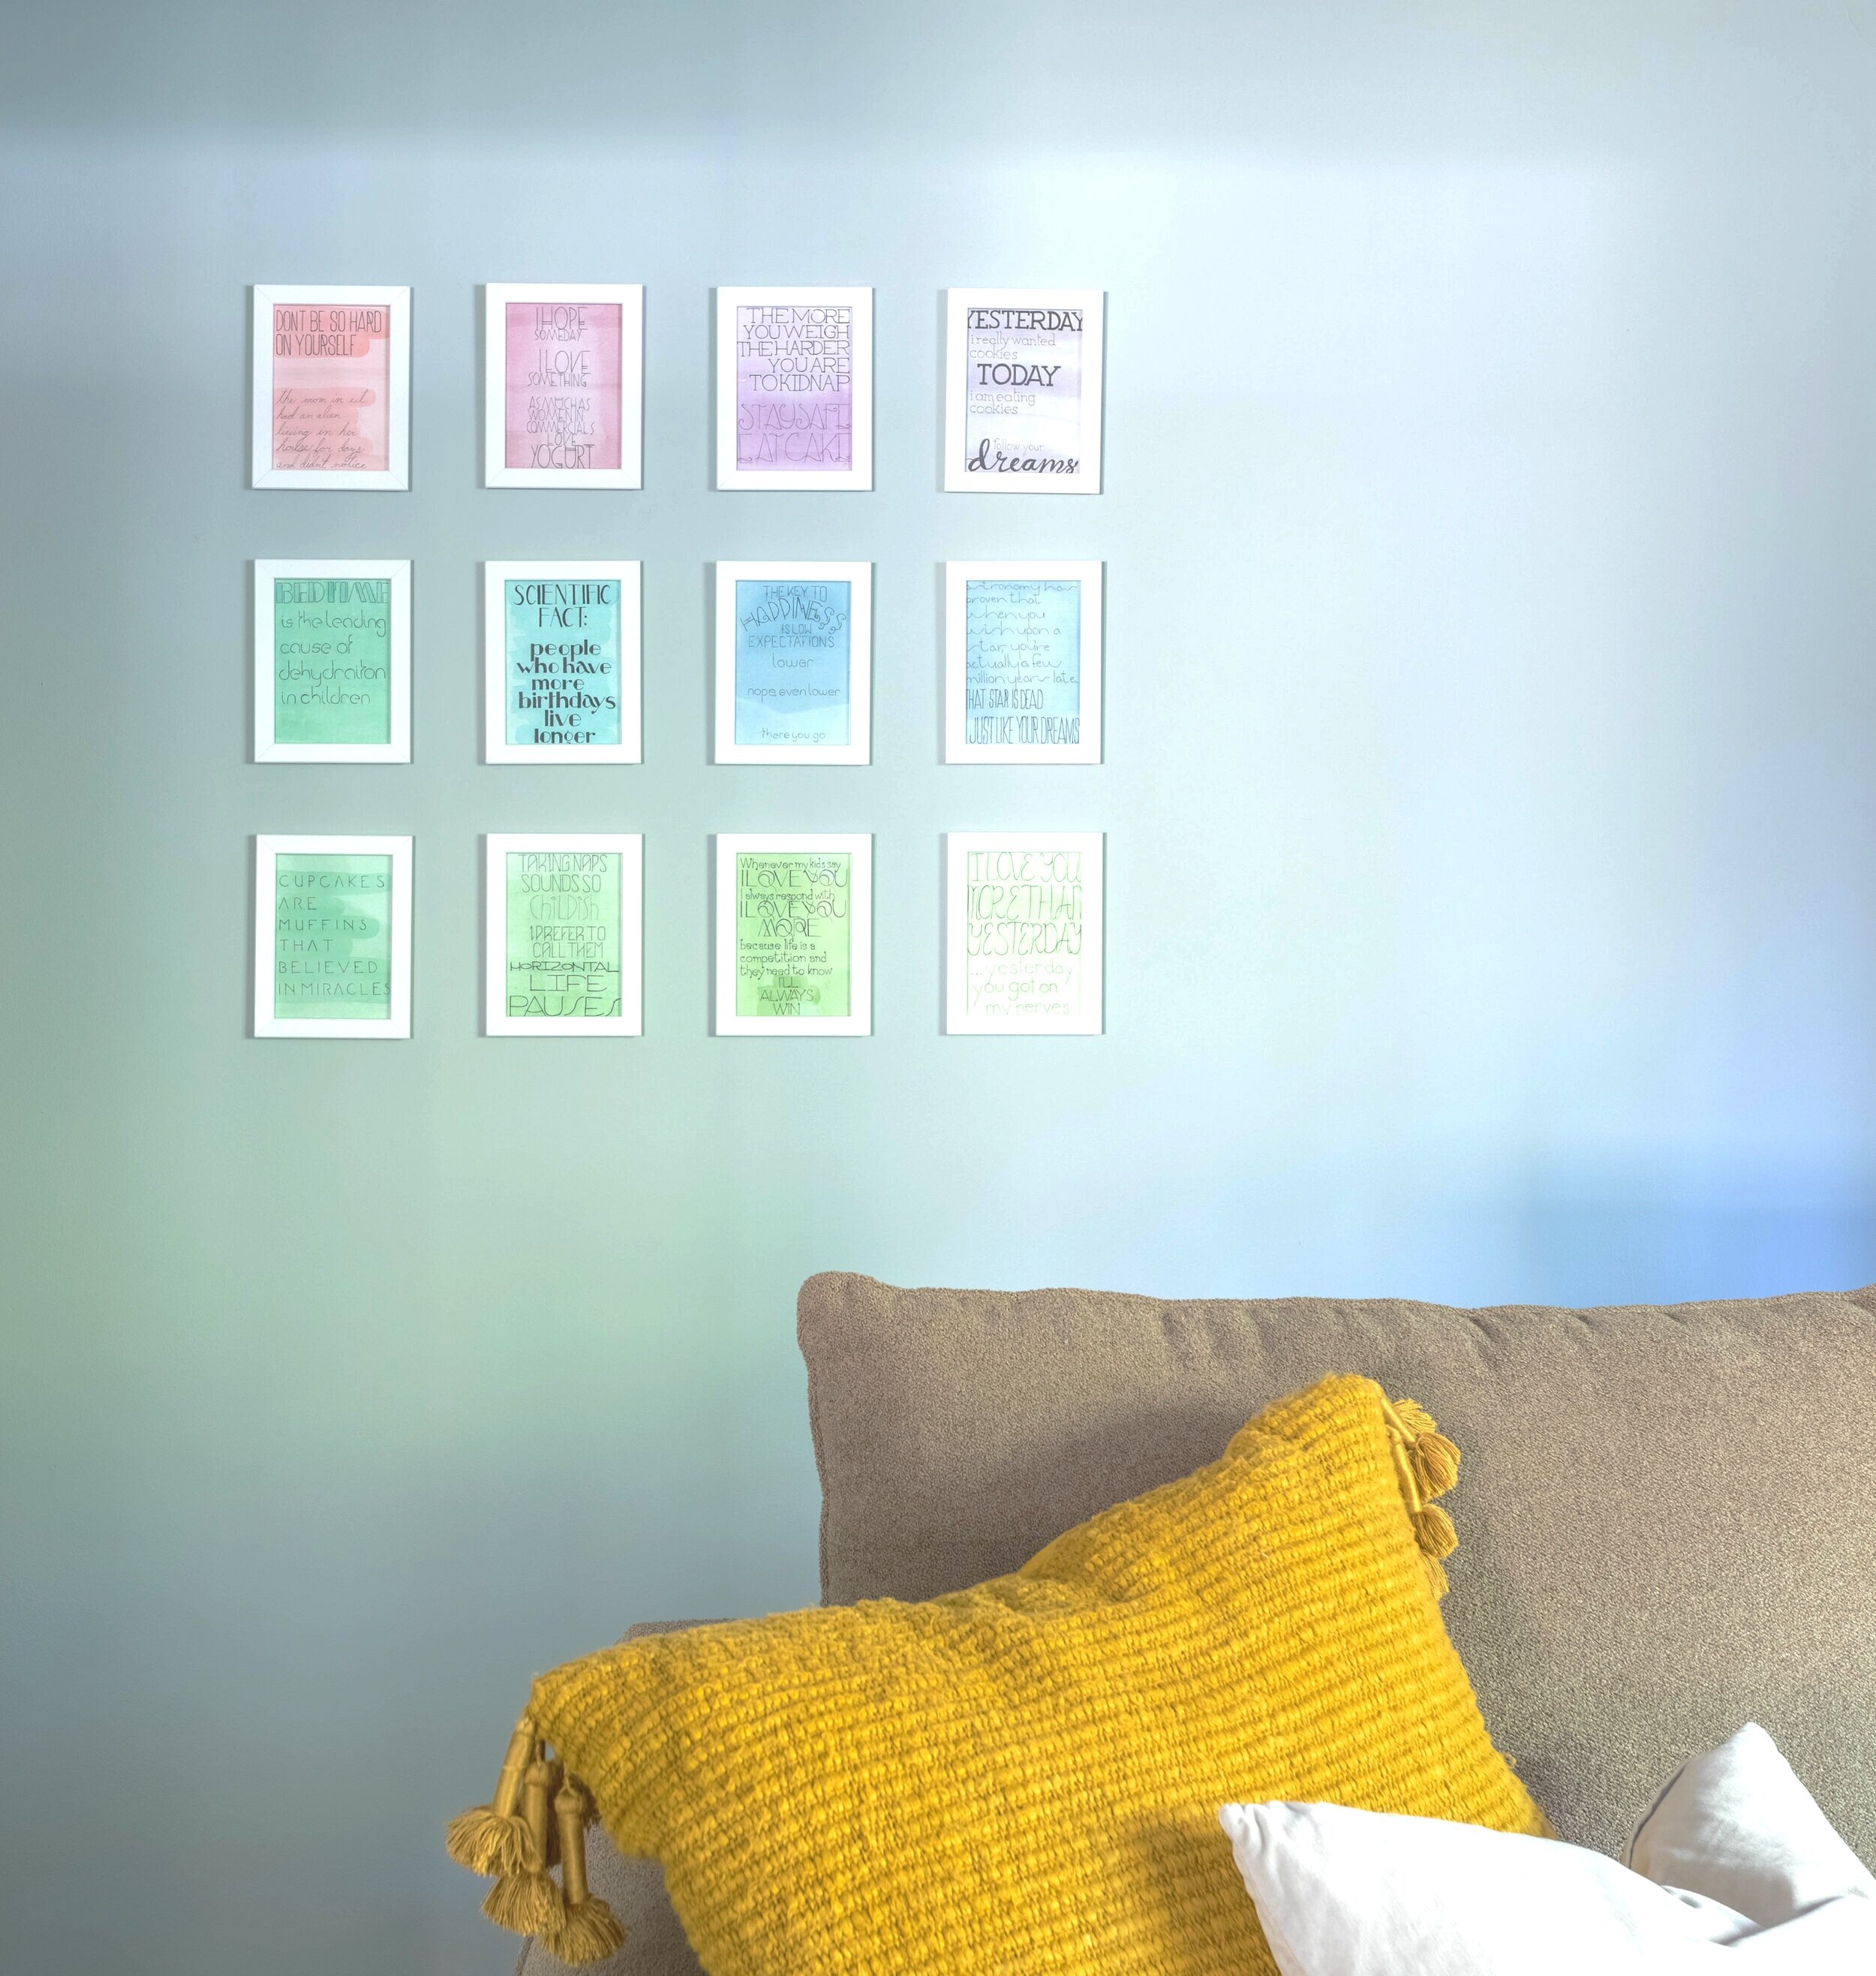
I’m loving having these pictures back up on the wall. They’re quirky and colorful and just add a bit of fun to the space. However, I admittedly should put them in larger frames with a nice white mat around them. There is more than enough space on this wall and the 4 x 6 frames they’re currently in cut off some of the text.
As I mentioned previously, I didn’t make these initially to create a gallery wall - that was just a happy coincidence. But now that they’ve become a focal point, why not make them the best versions of themselves they can be?
So, lucky for me, I’ll probably end up going through this whole process again before too long! In the meantime, there are PLENTY of other projects around the house to keep me busy - like our dining room renovation and master suite remodel. We’ve made good progress in both rooms and I’m looking forward to providing some updates really soon!