
DIY Geometric Wood Accent Wall
How to Create a Modern Wood Feature Wall
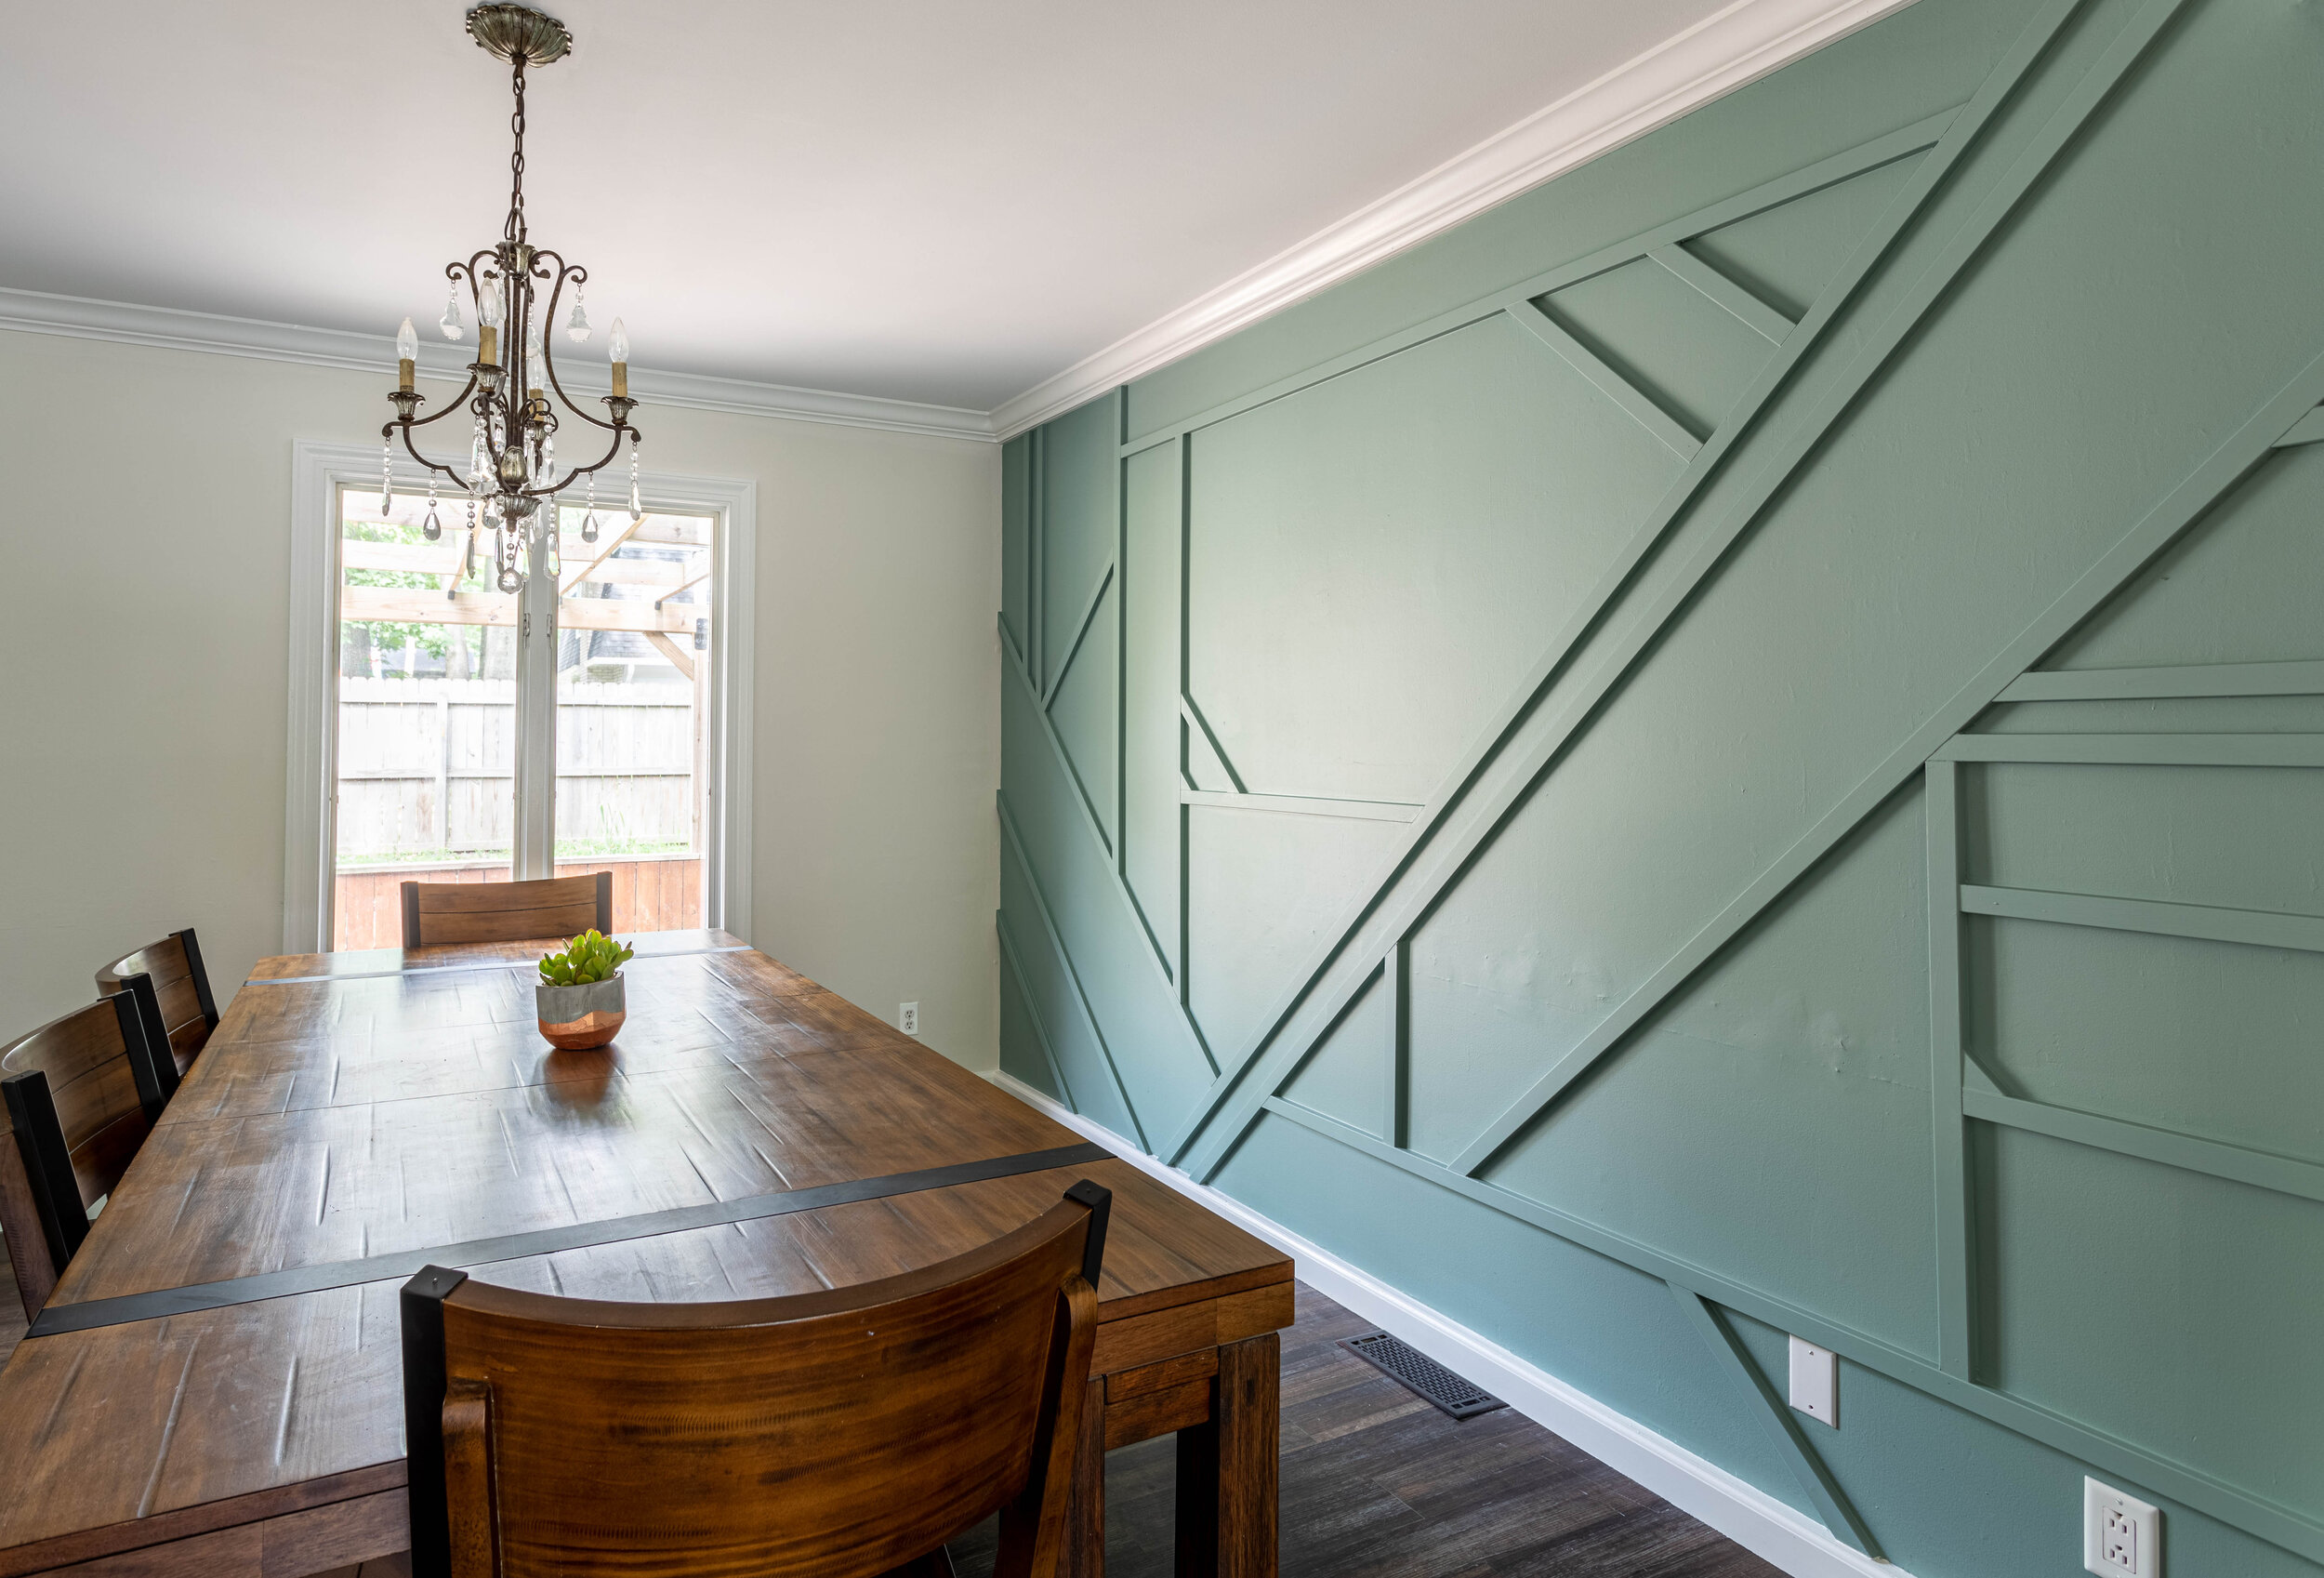
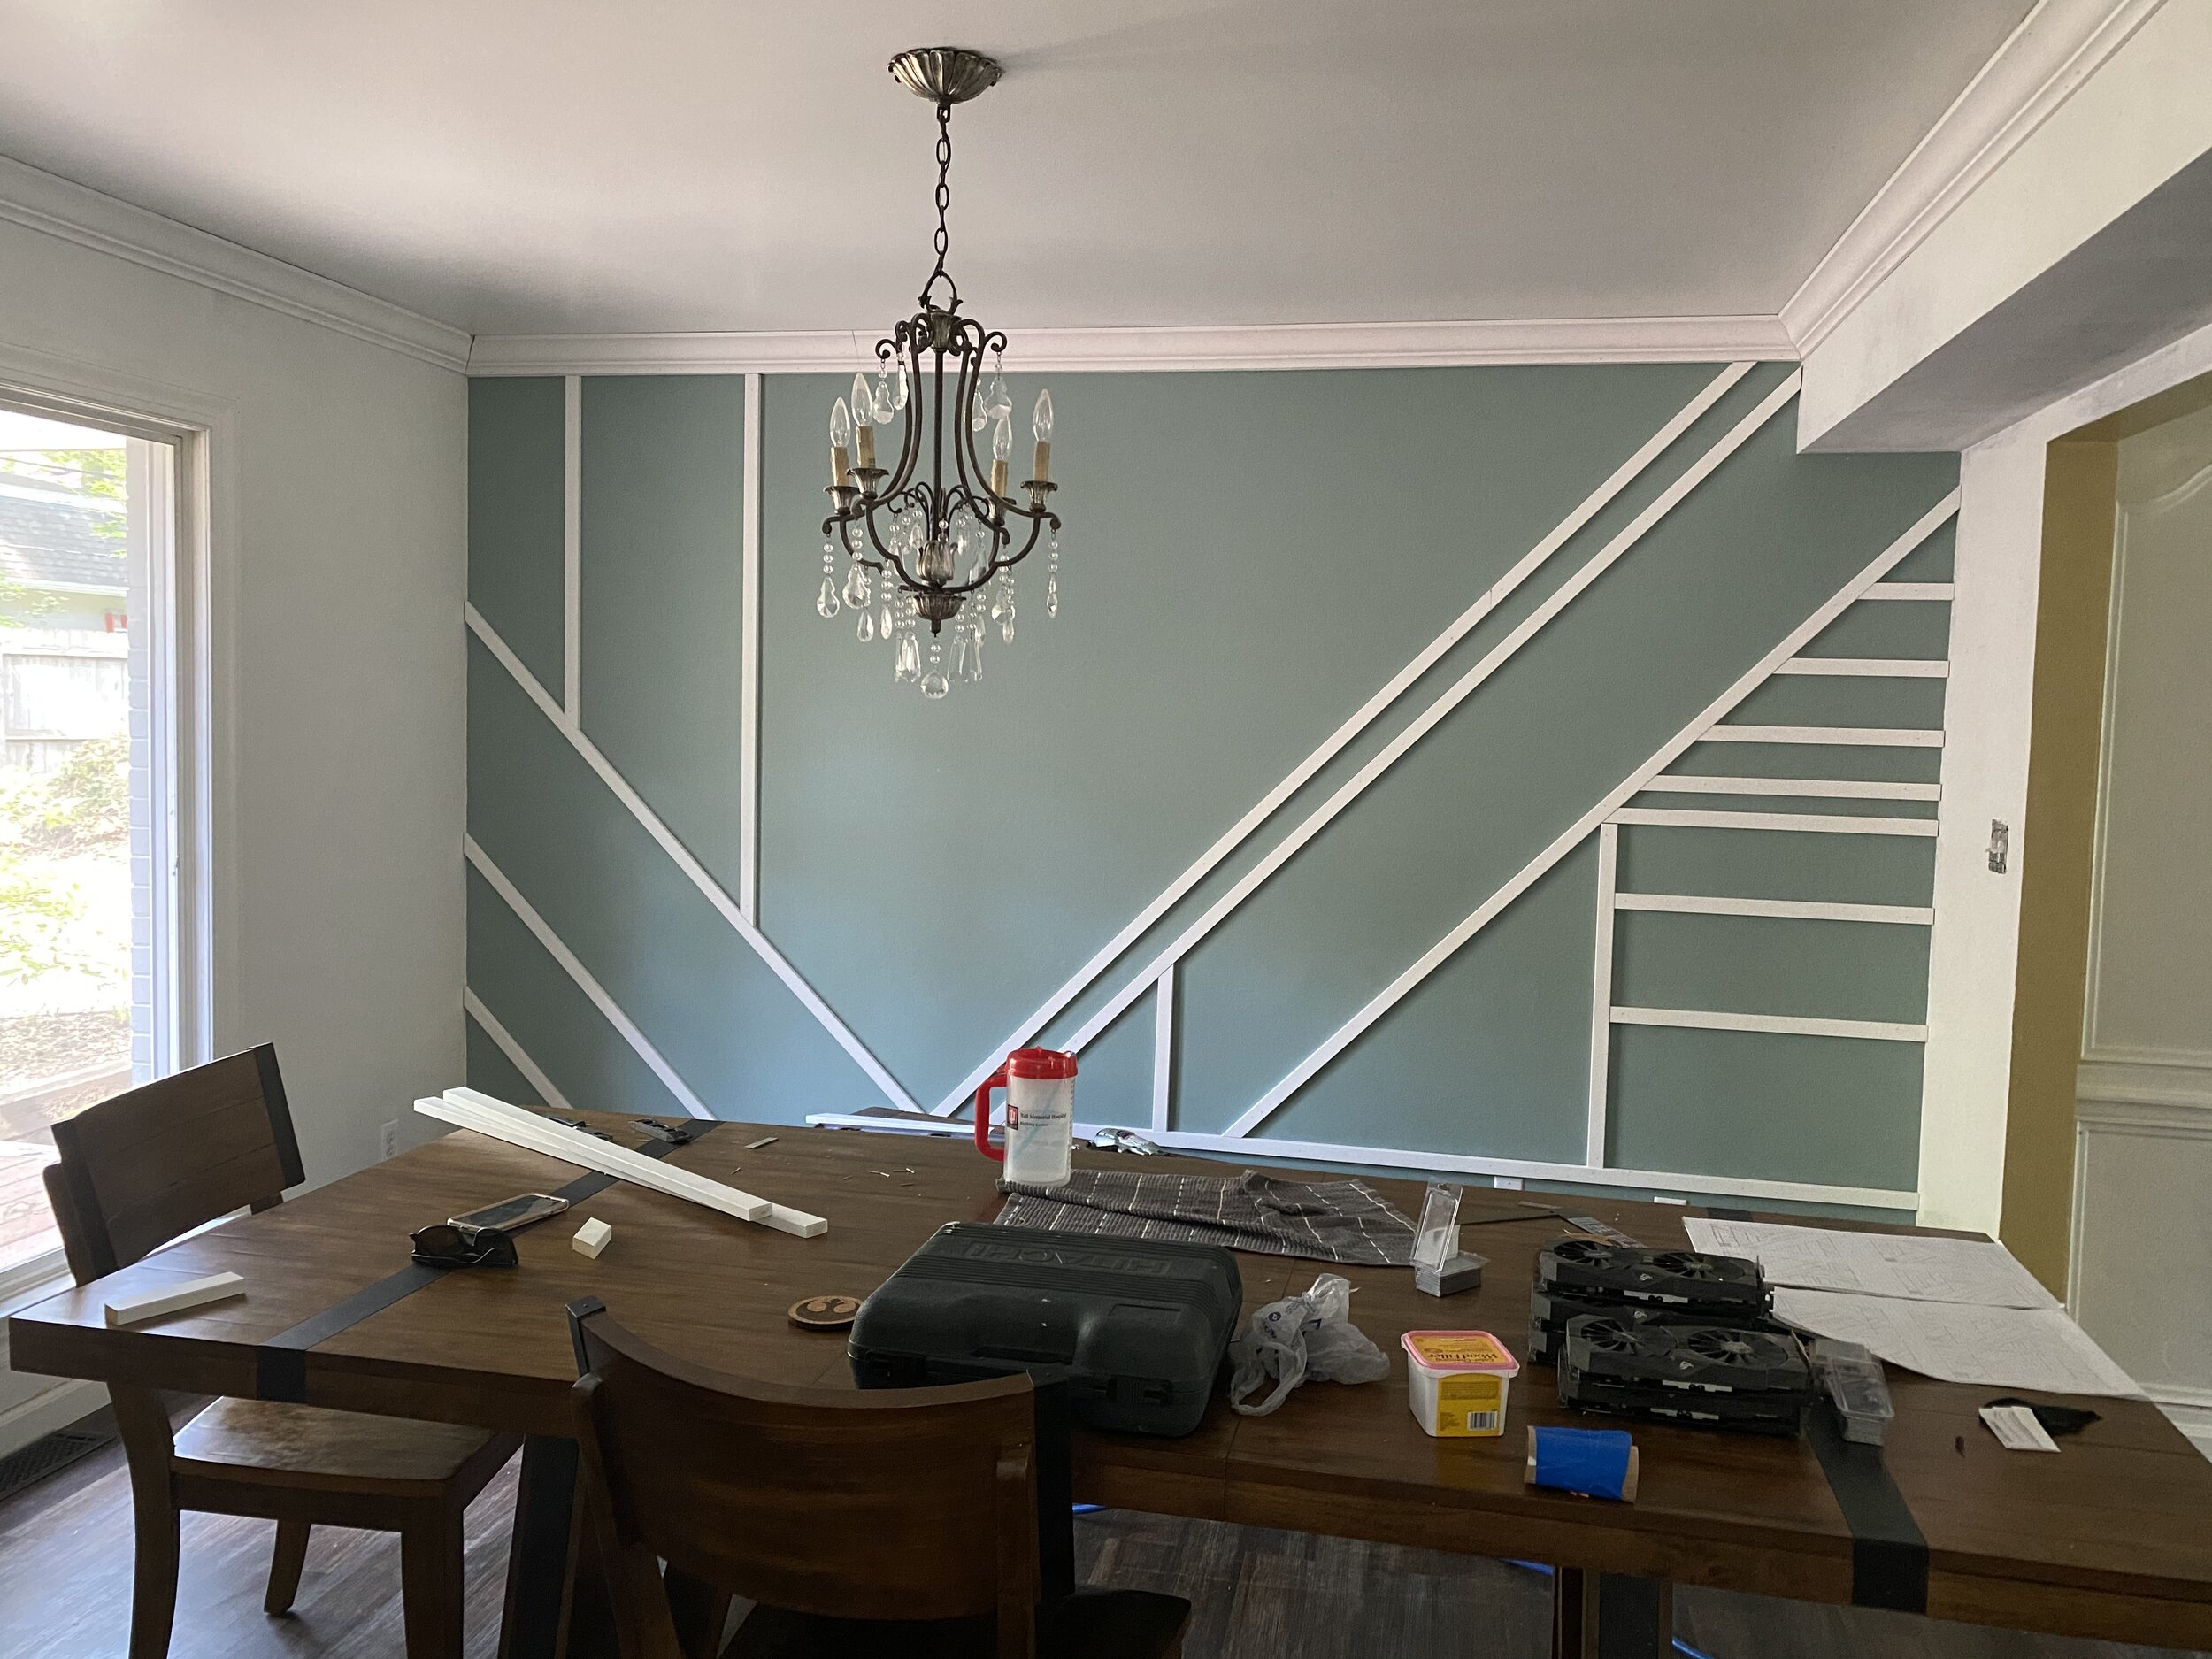
Well, we finally did it. Our geometric wood accent wall is complete and I’M SO IN LOVE WITH IT!
Waaaayyyy back in March, I started renovating our dining room. I was completely inspired by the accent wall Liz over at Within the Grove created and just knew I had to give it a whirl. And heck - I had nothing to lose considering what we started with!

But because we seriously lack focus as far as home renovations go, we got distracted working on my home office redesign, finishing the flip, and… what else?
Oh yeah, completely demolishing our master suite.
But FINALLY, we were able to take a little bit of time, find some childcare (toddlers and nail guns don’t mix - who knew!?), and put this wall up in just a couple of hours! Easy peasy. Then I just had to caulk and paint and now I spend most of my time gazing lovingly at it. I mean, wouldn’t you!?

In fact, I love the finished product so much, I wrote a tutorial about it! (Surprise, surprise). Here’s how I created my geometric wood accent wall:
Materials
As an Amazon Associate, I earn from qualifying purchases. This post may contain affiliate links, meaning I receive commissions for purchases made through those links, at no cost to you.
- Primed 1 x 2 MDF boards (the amount you need will vary based on your design)
- Brad nail gun
- Nails
- Paint
- Paintbrush
- Craft brush
- Paintable caulk
- Wood Putty
- Sandpaper
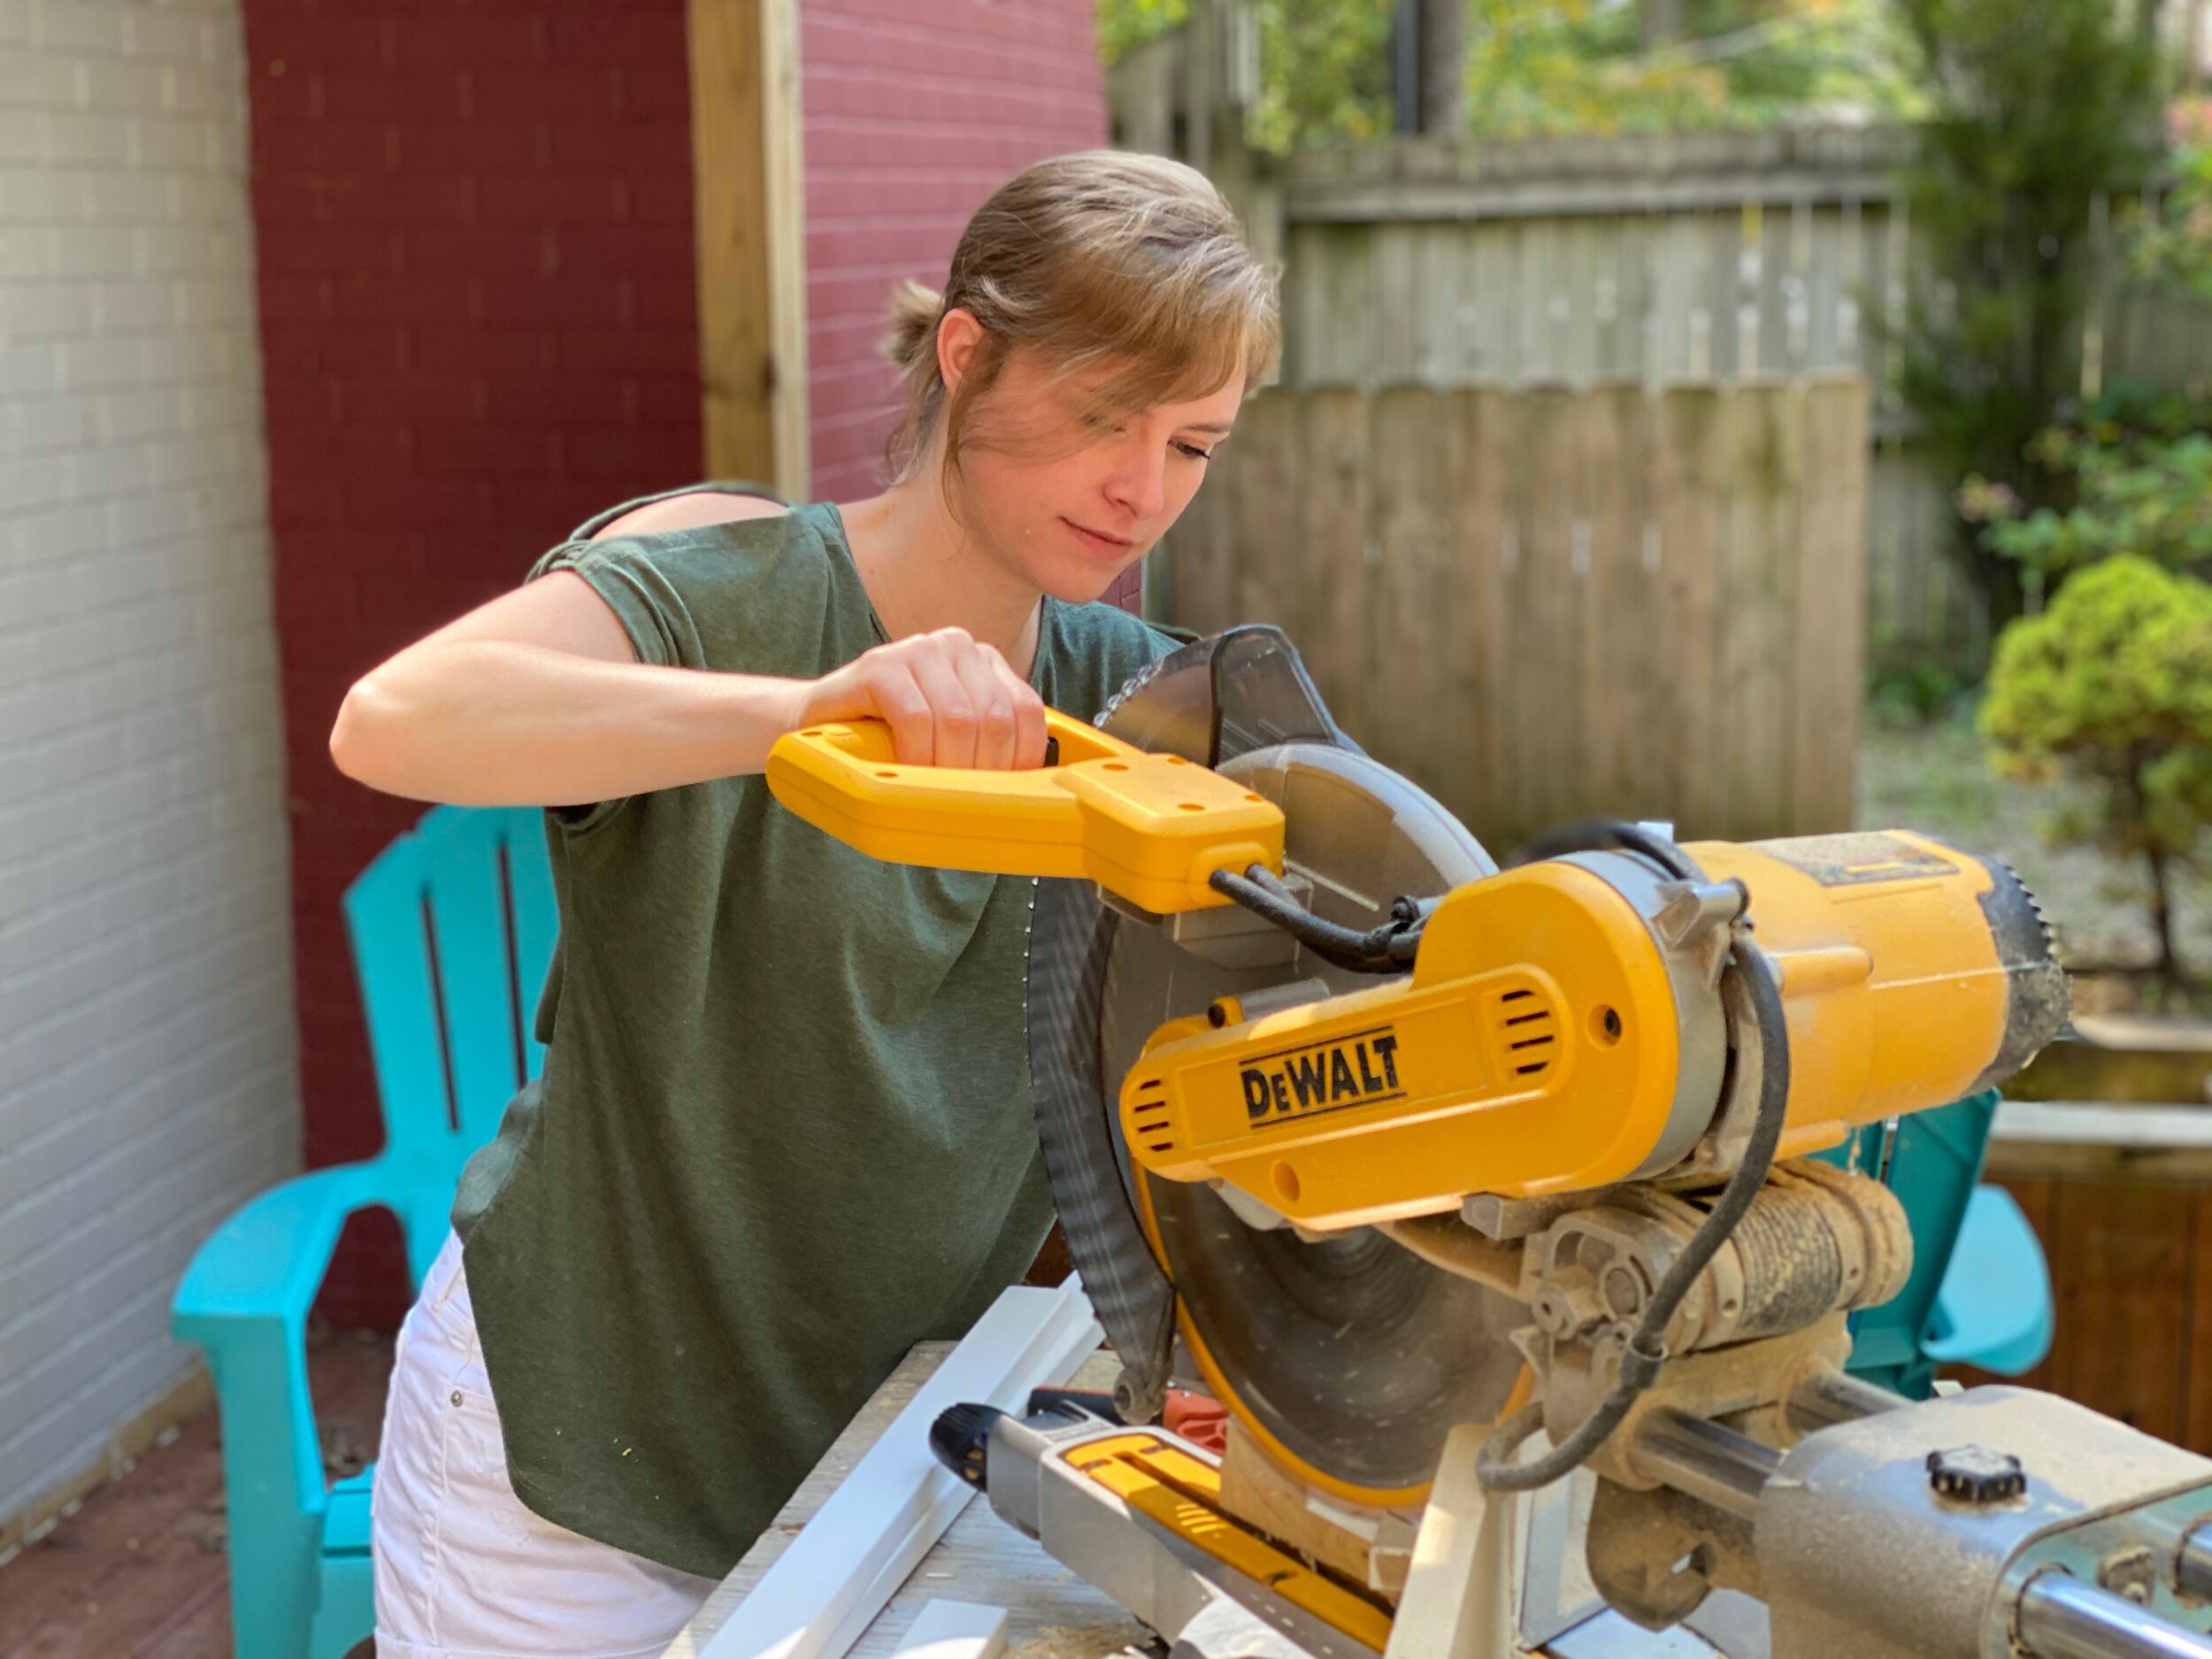
- Miter saw
- Level
Draft the Design of your Accent Wall
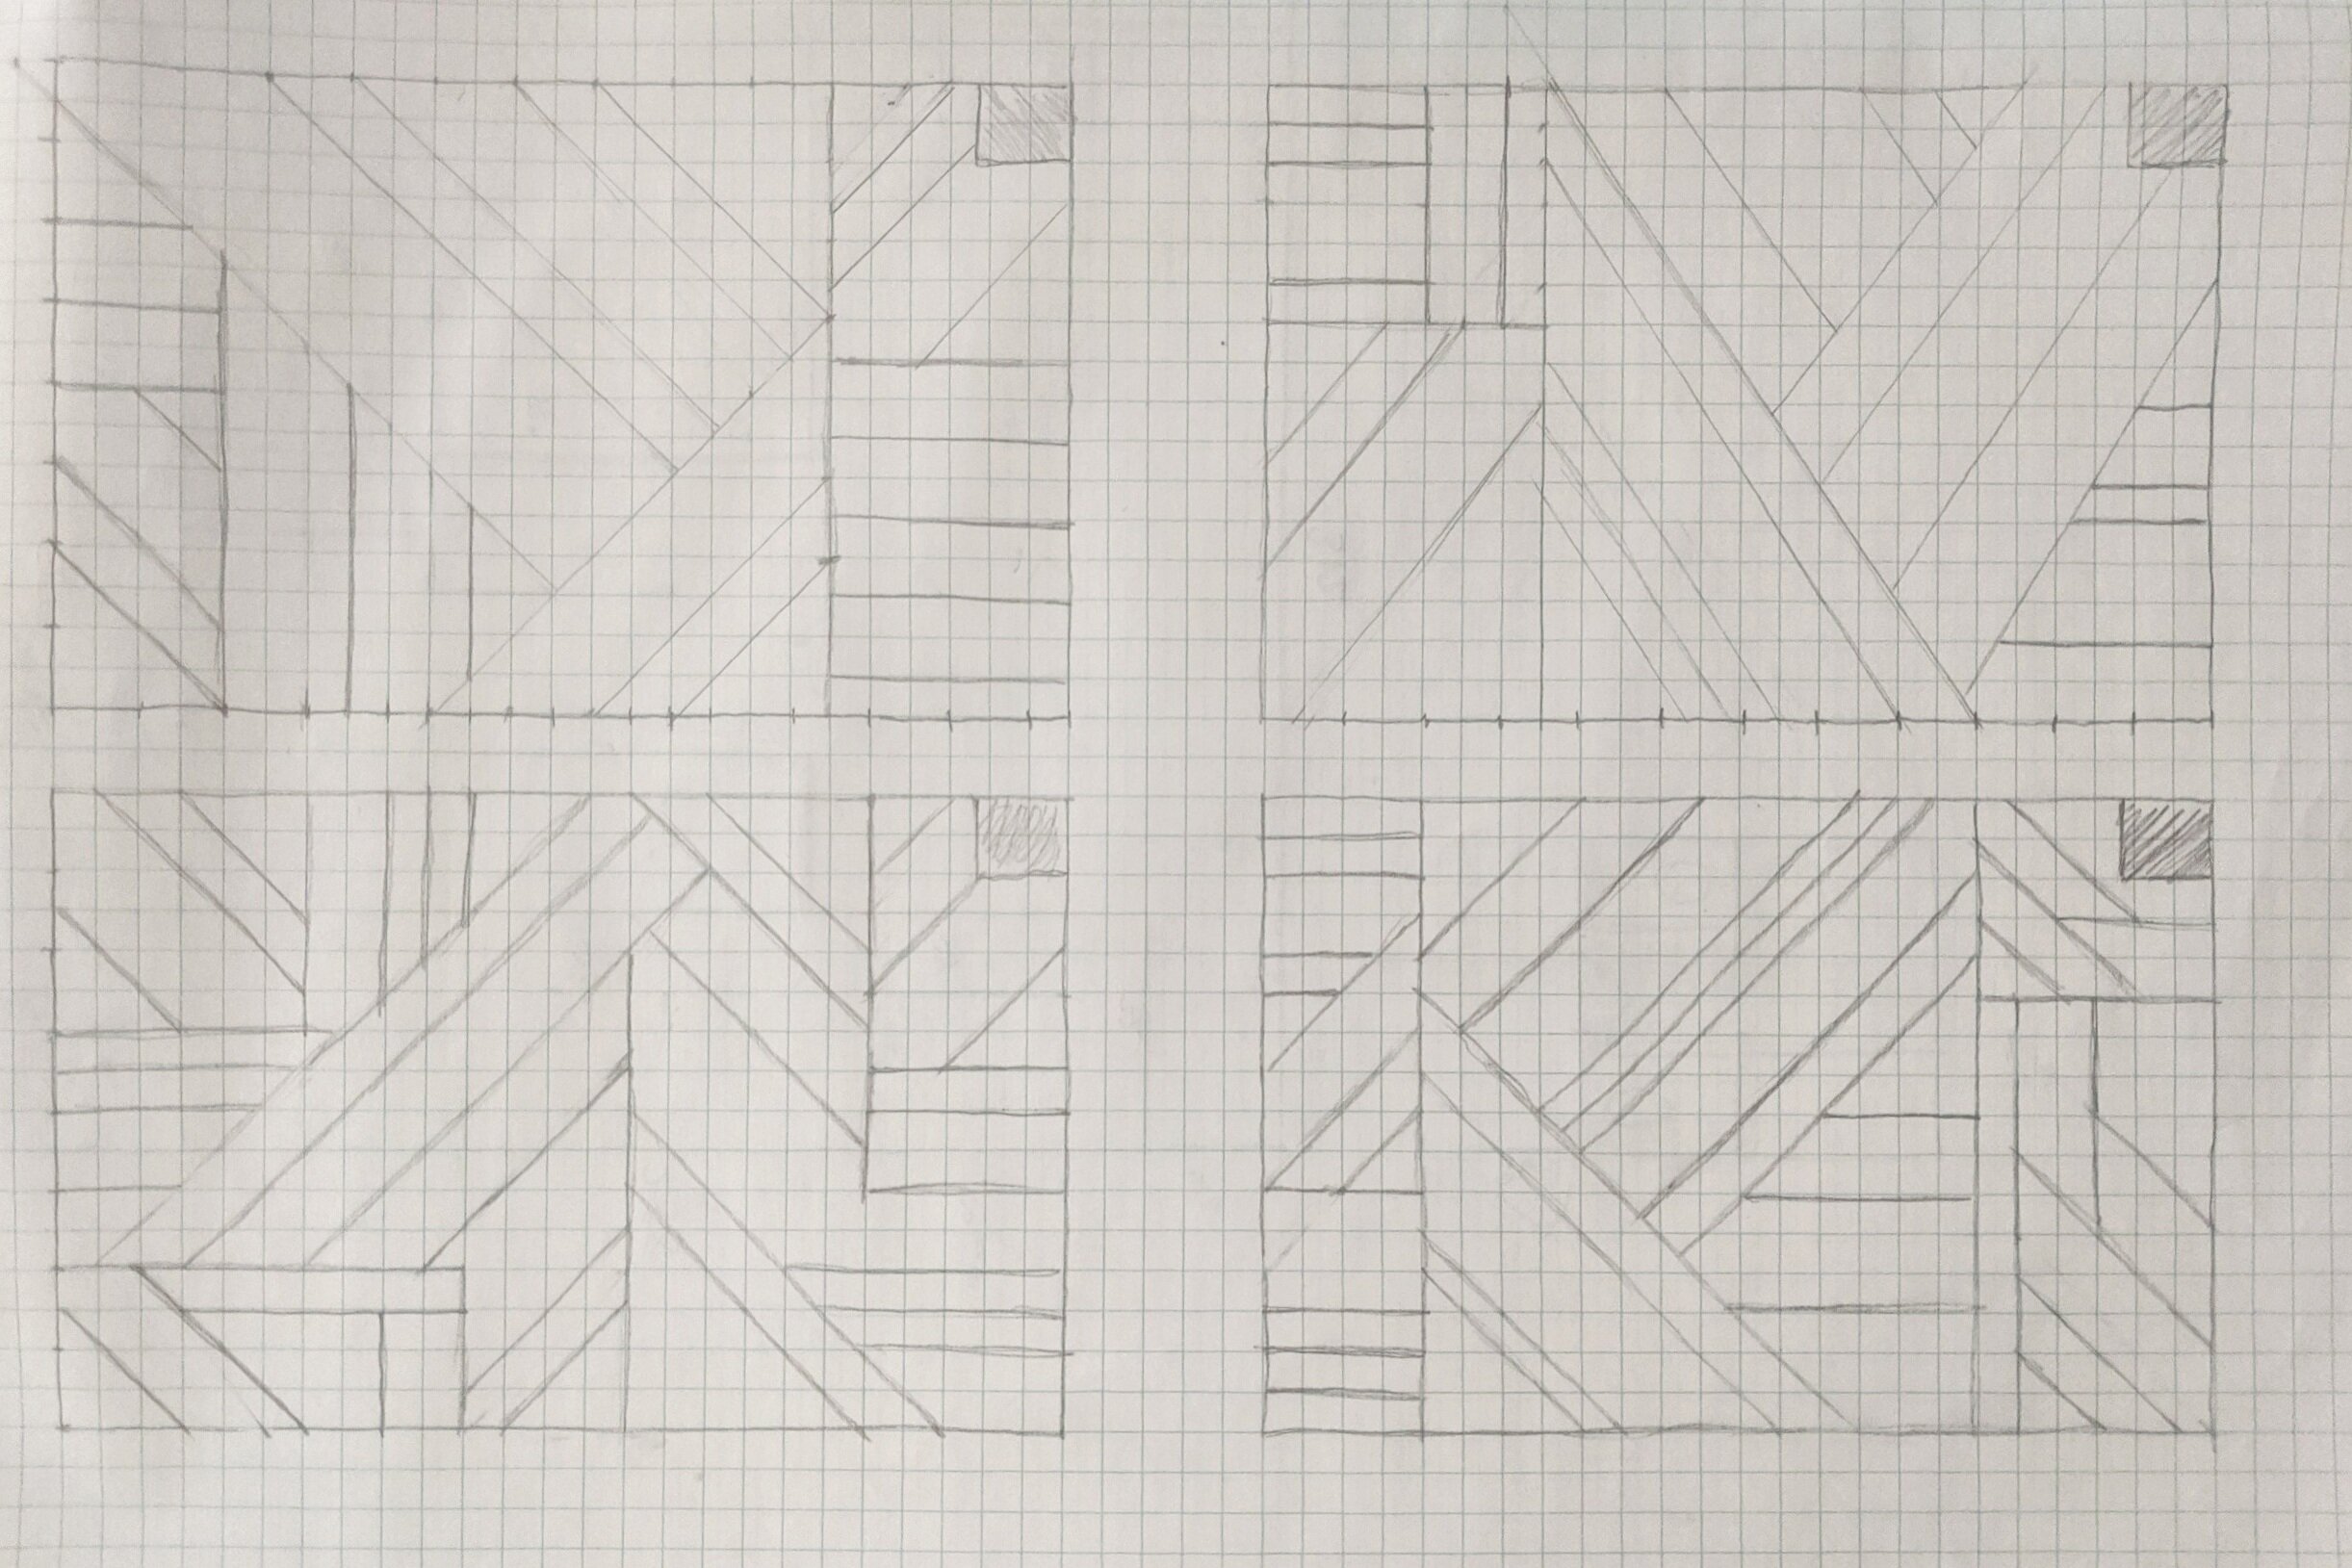
First things first, I started by drafting up a bunch of designs using graph paper. I initially drafted 4 designs and didn’t fall in love with any of them. Then I drafted 4 more. And you know what? I actually didn’t use anything I mocked up!
HOWEVER, I still think this step is important because it gave me an idea of what I definitely did and didn’t want to include in my final design.
Optional Step - Bump Out Your Crown Molding and Baseboards
This step is definitely not required, but I’m really happy we did it.
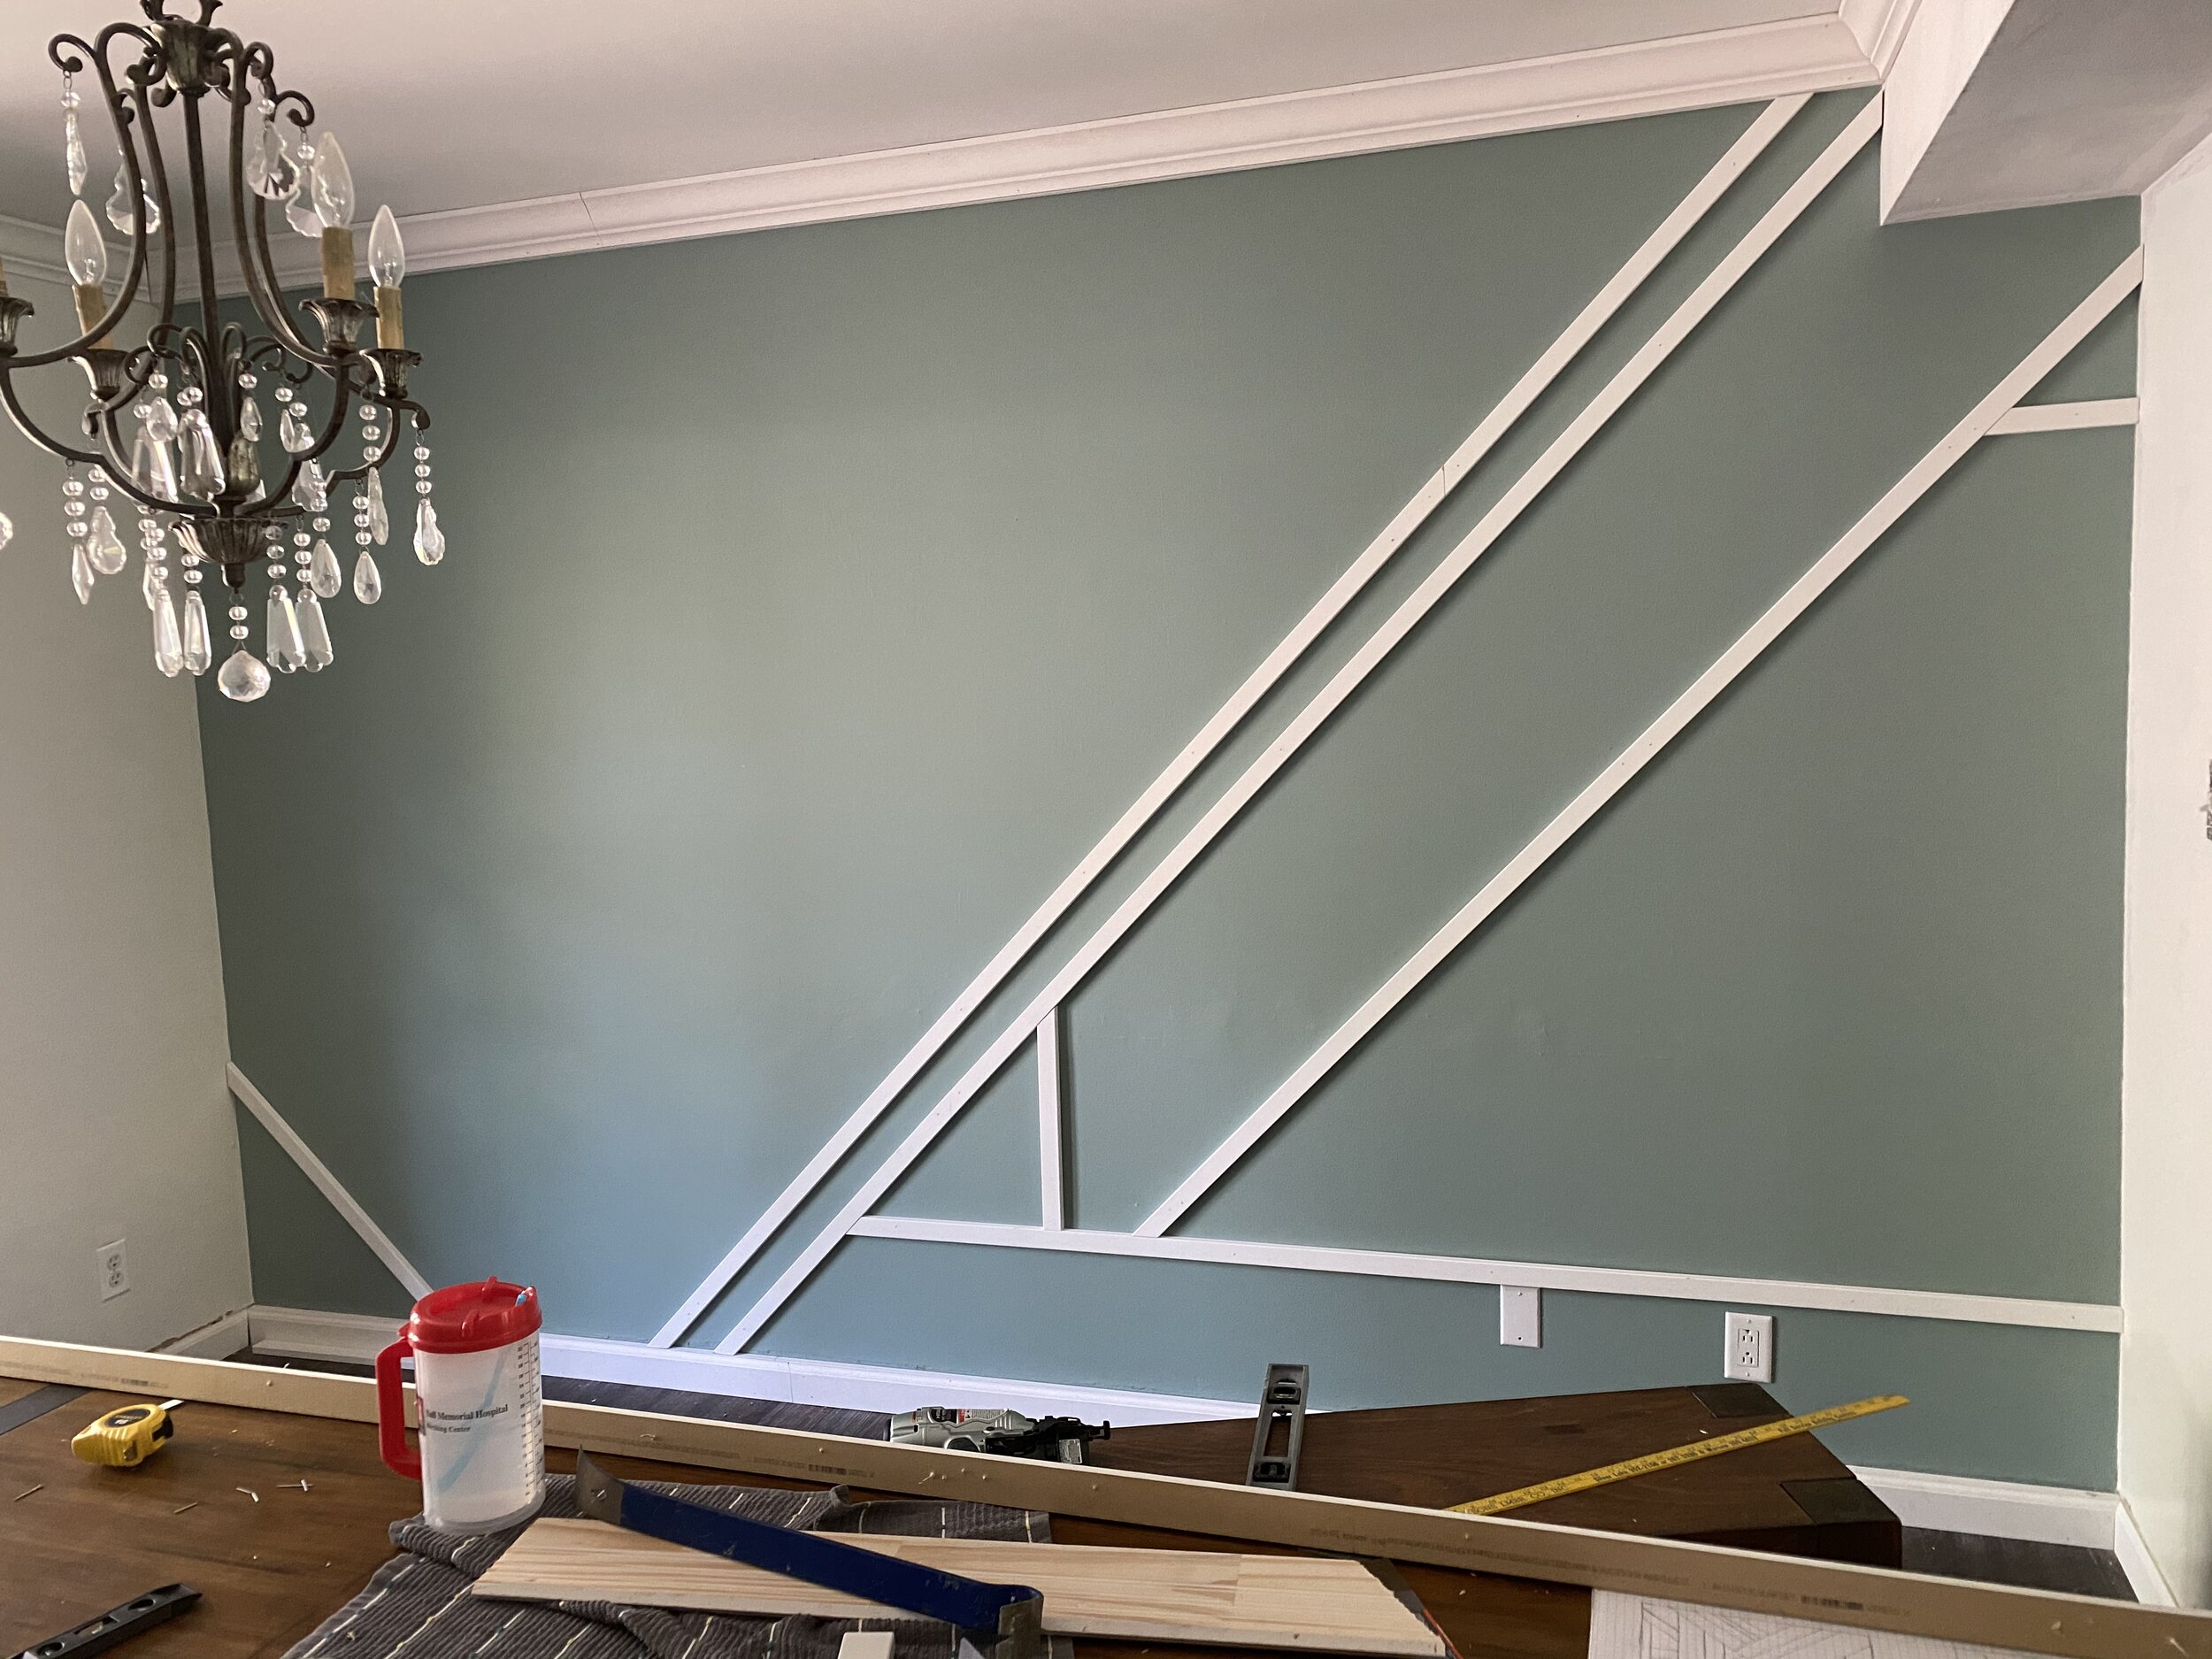
Since our crown molding and baseboards taper off on the edges, Lucius and I were concerned about how it would look where the MDF boards met up with them. Below is an example of what I’m talking about.

You see how the MDF sticks out further than the baseboard? We wanted a smoother transition. And since we were taking some of the trim off anyway to open the doorway, we just took it all down. Then on the accent wall, we put a piece of MDF up and placed the trim on top of that.

Paint
Once we had the trim finished, I painted the accent wall. This will save you time once your accent wall is installed.
My wall is Desert Lake by Sherwin Williams in an eggshell finish.
Install Your Accent Wall
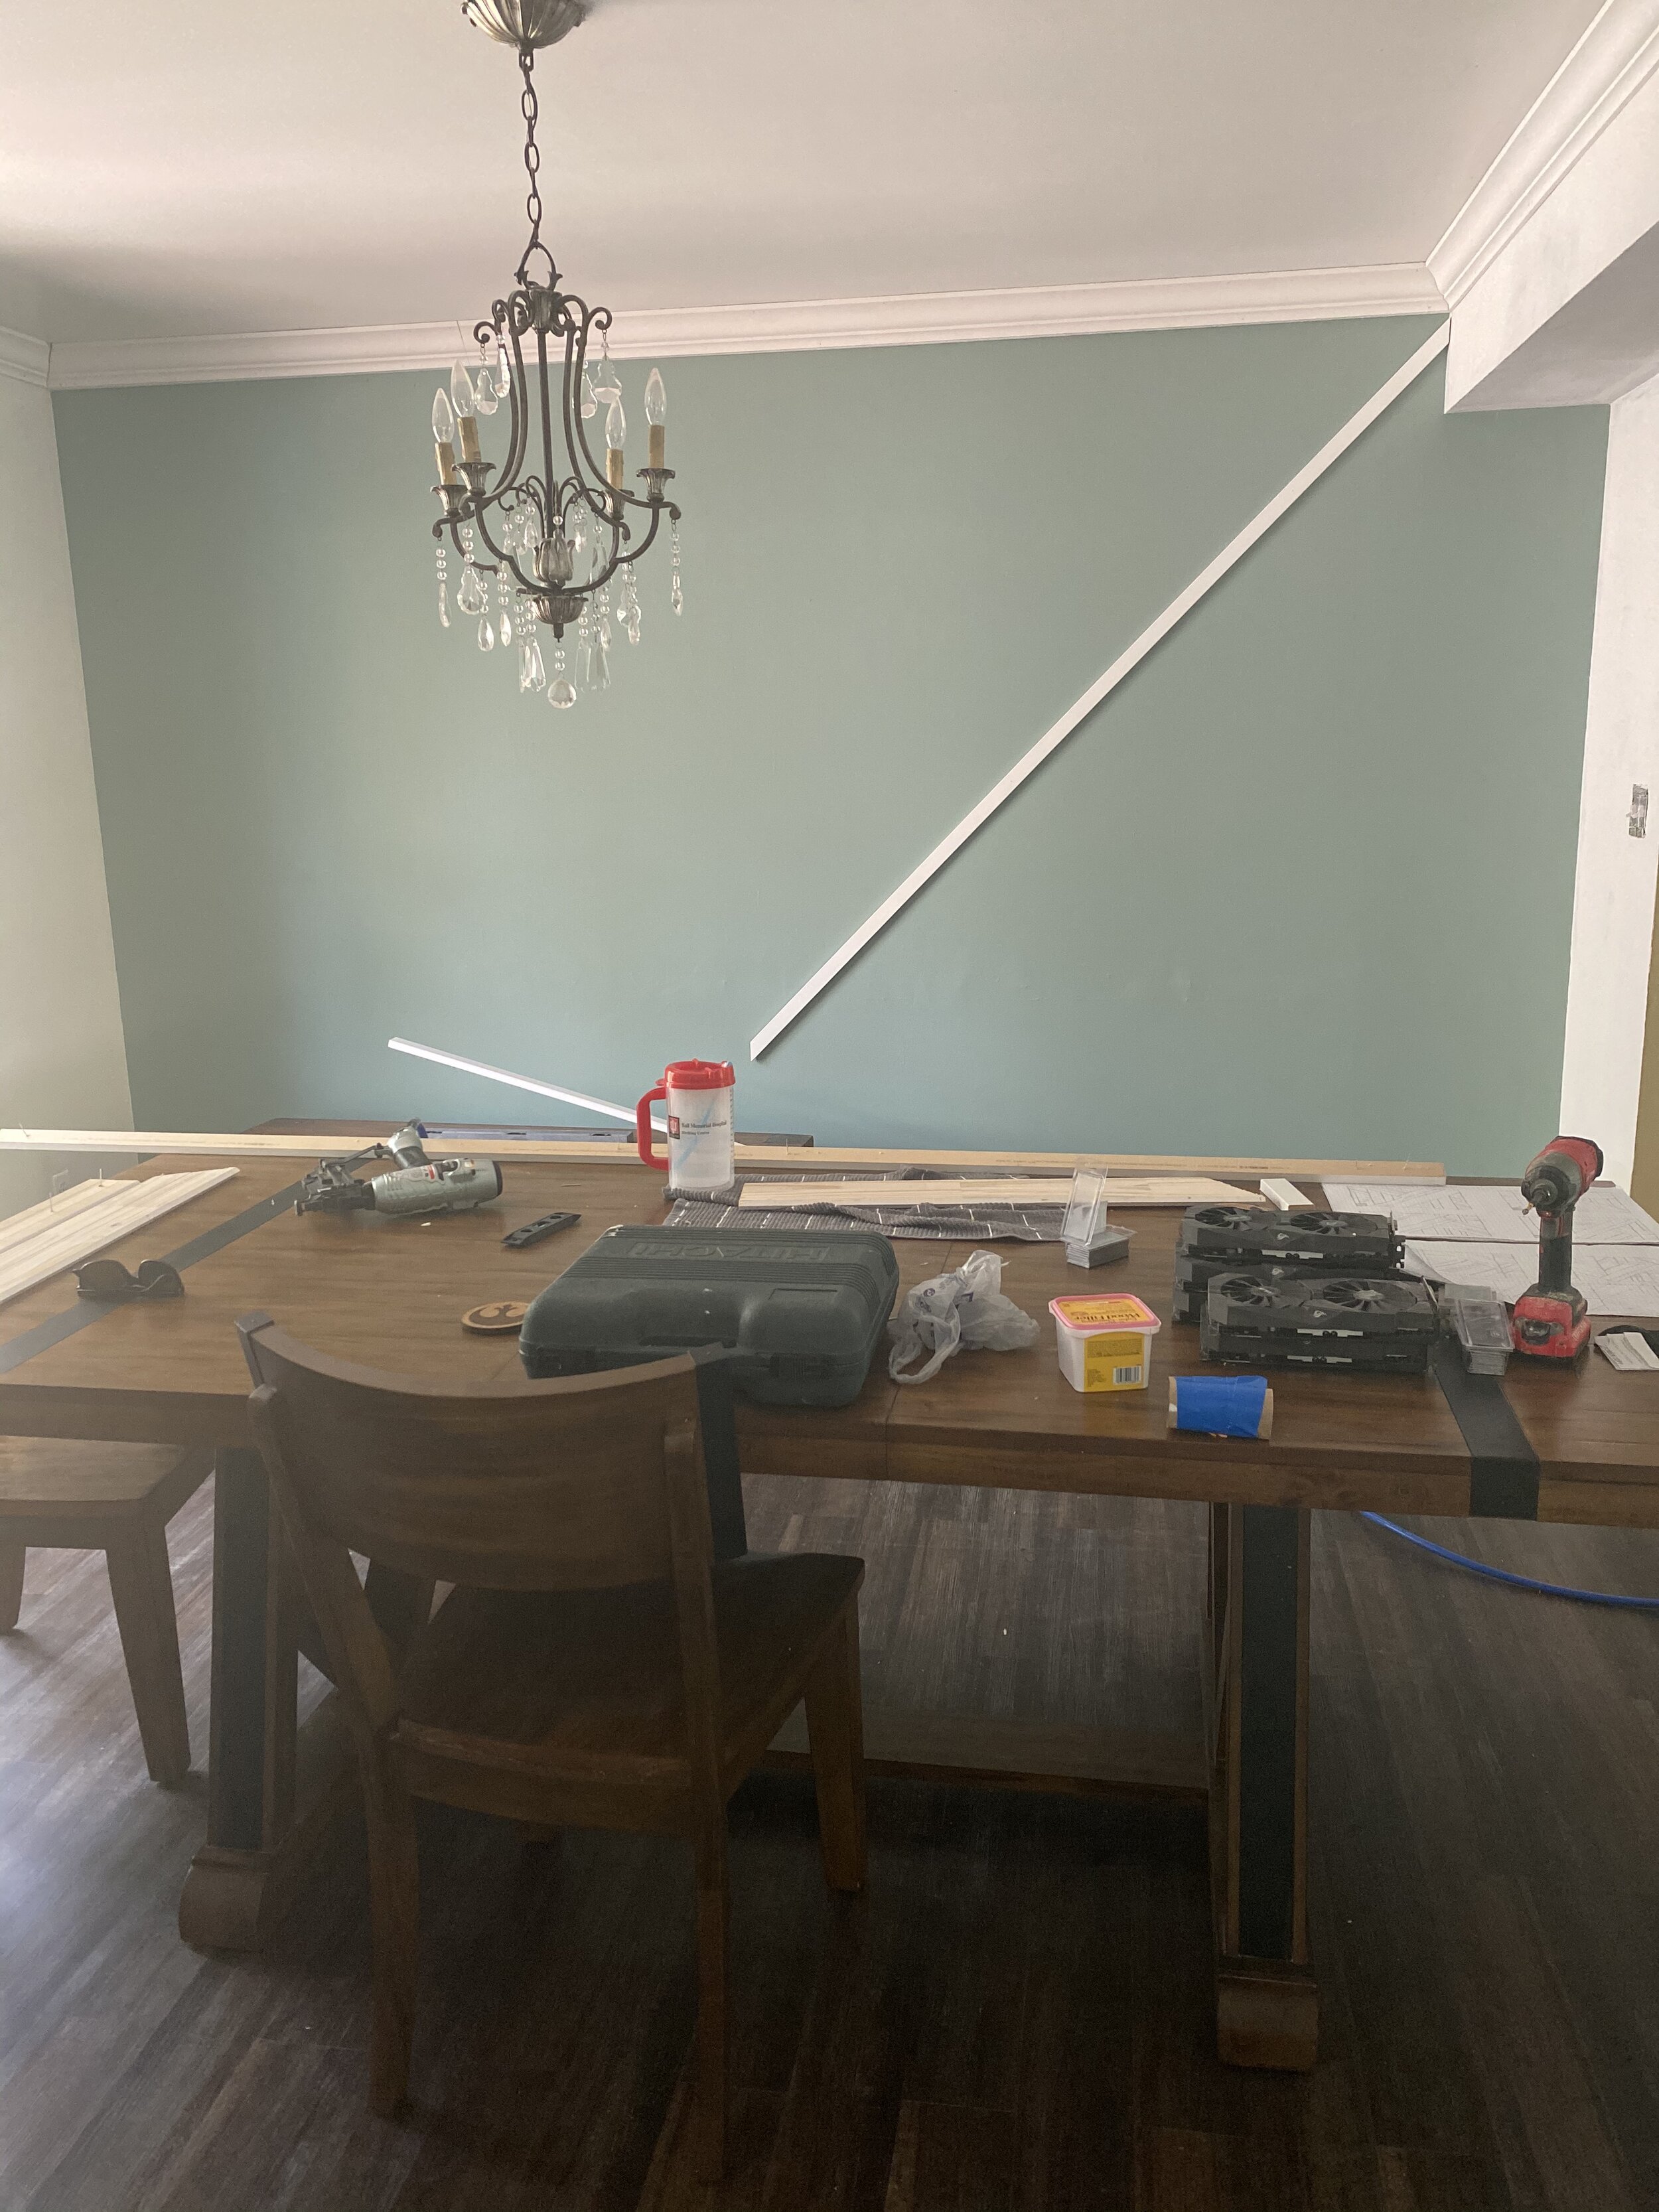
Once the paint is dry, it’s time to install your accent wall! Here are a couple of tips to get you started:
Stick with 45 and 90-degree angles
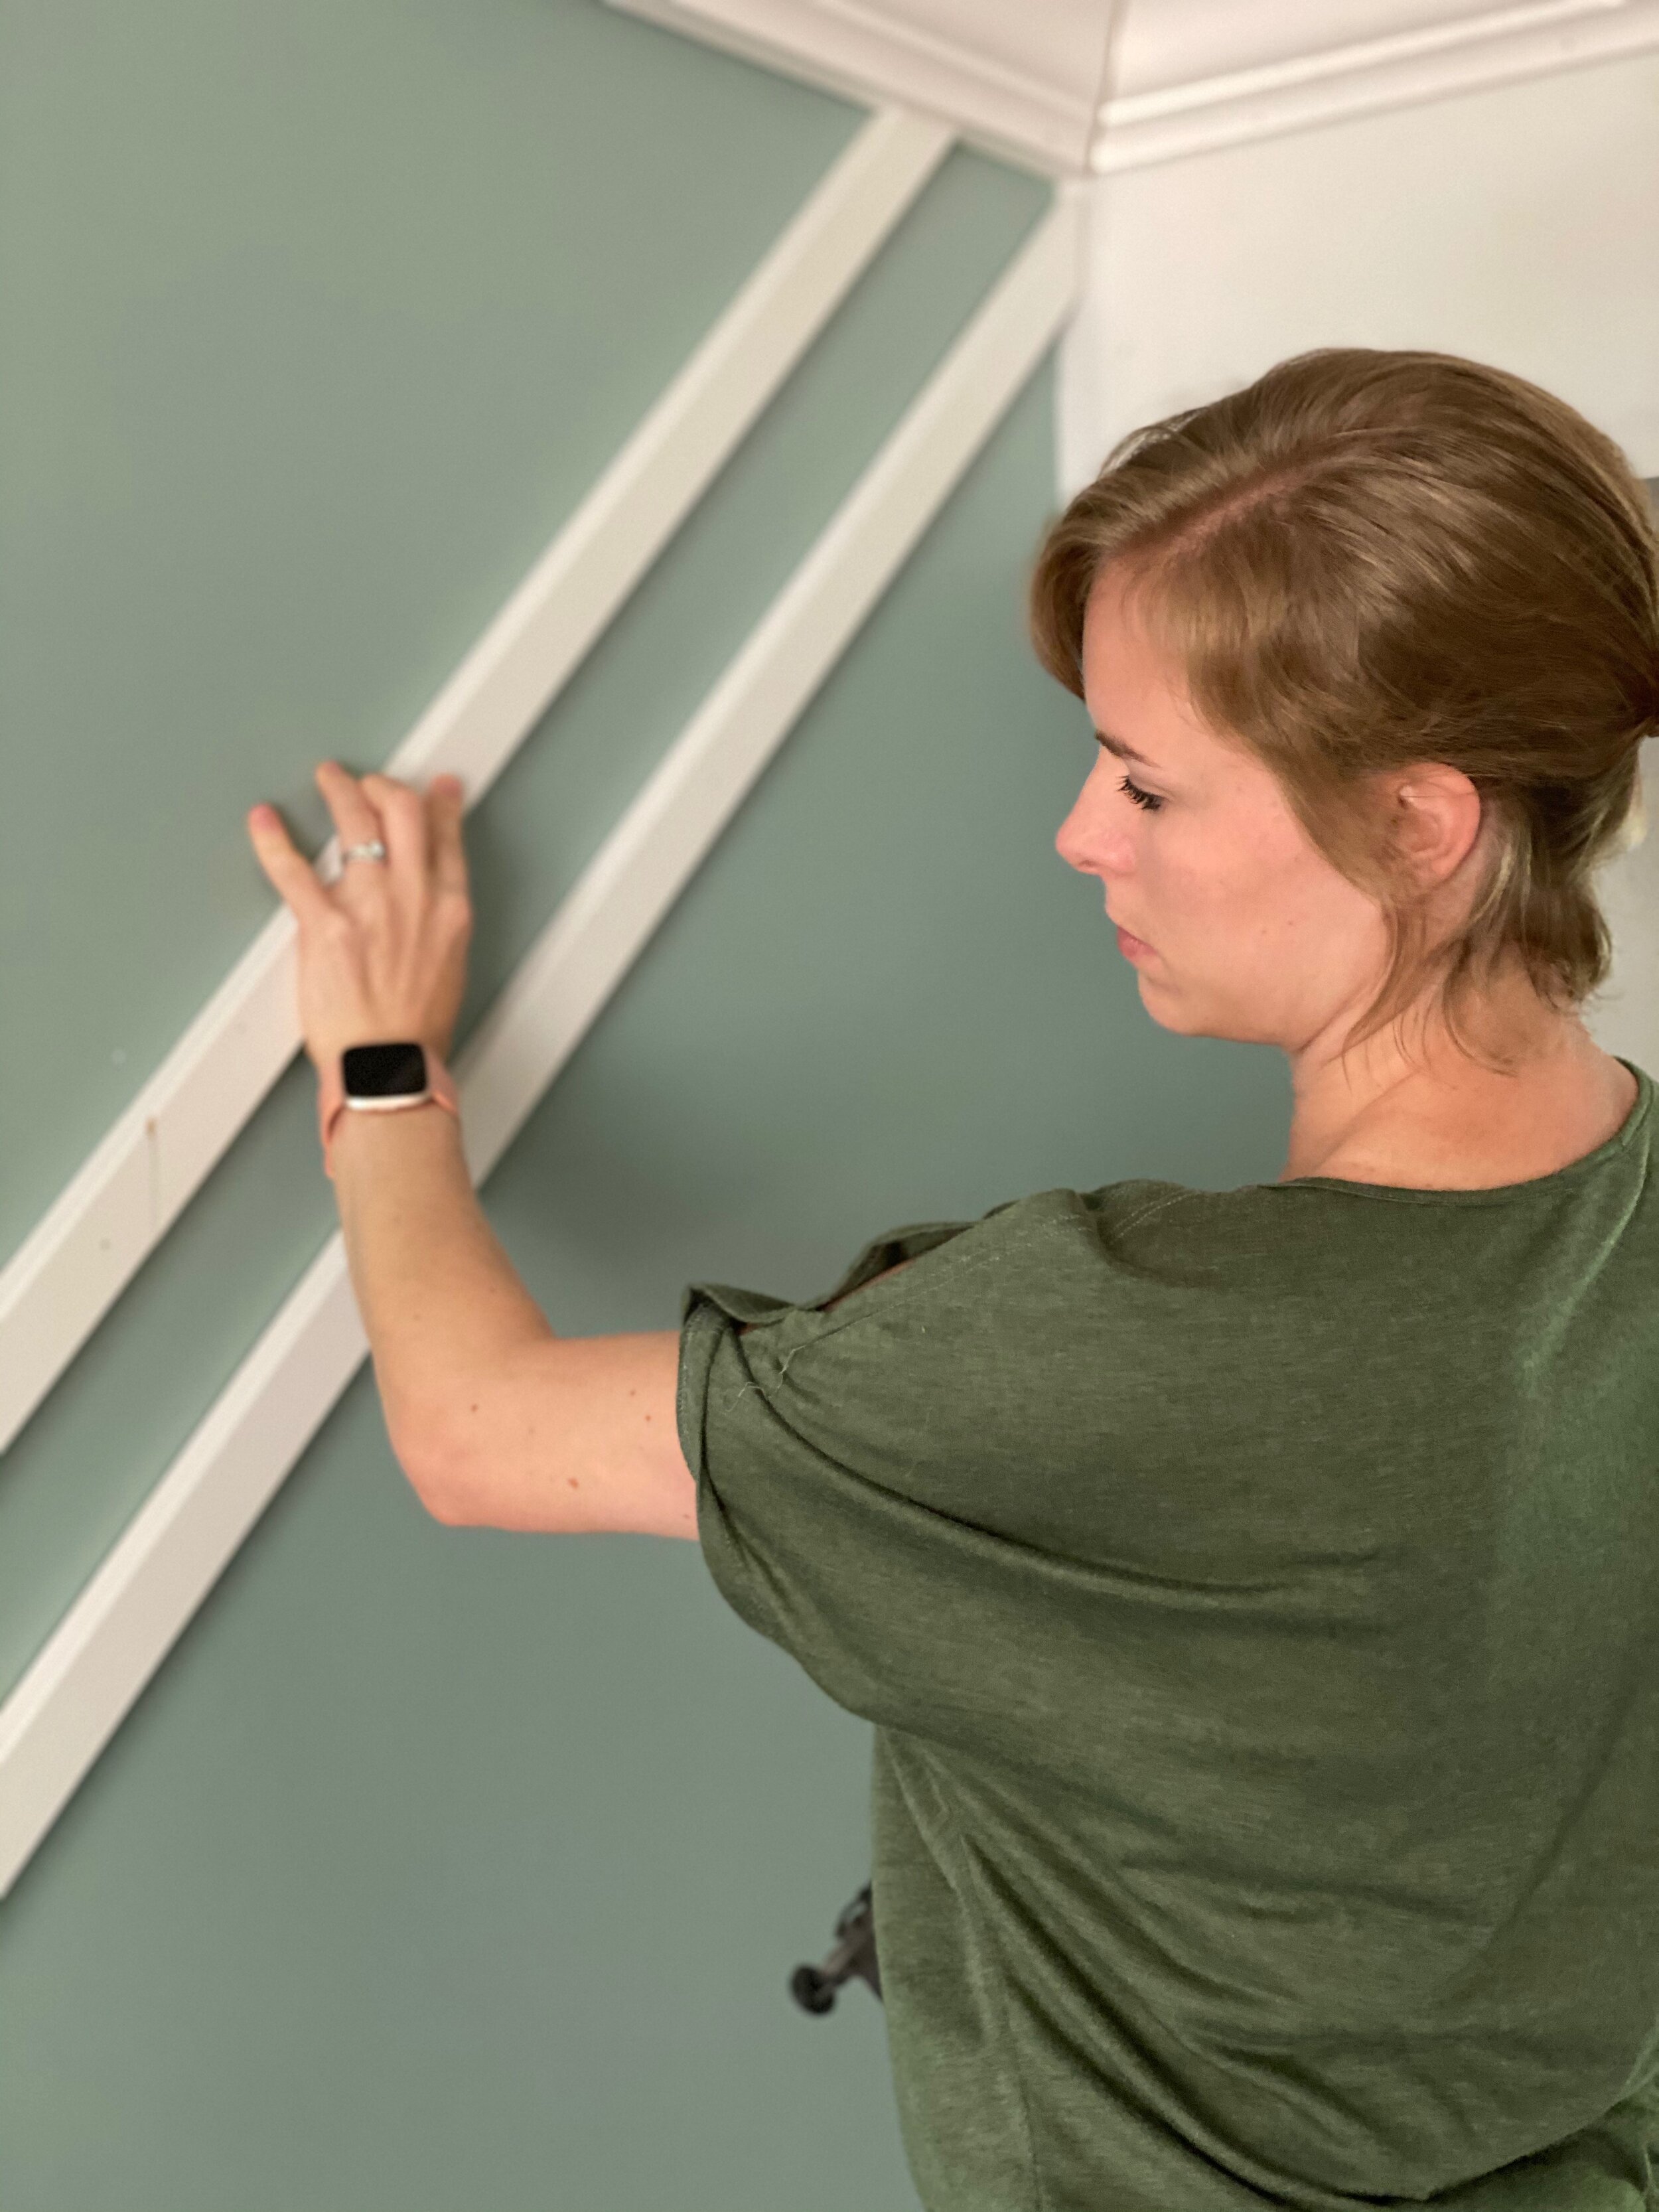
Have an extra pair of hands available (especially when it comes to leveling/nailing the long boards)
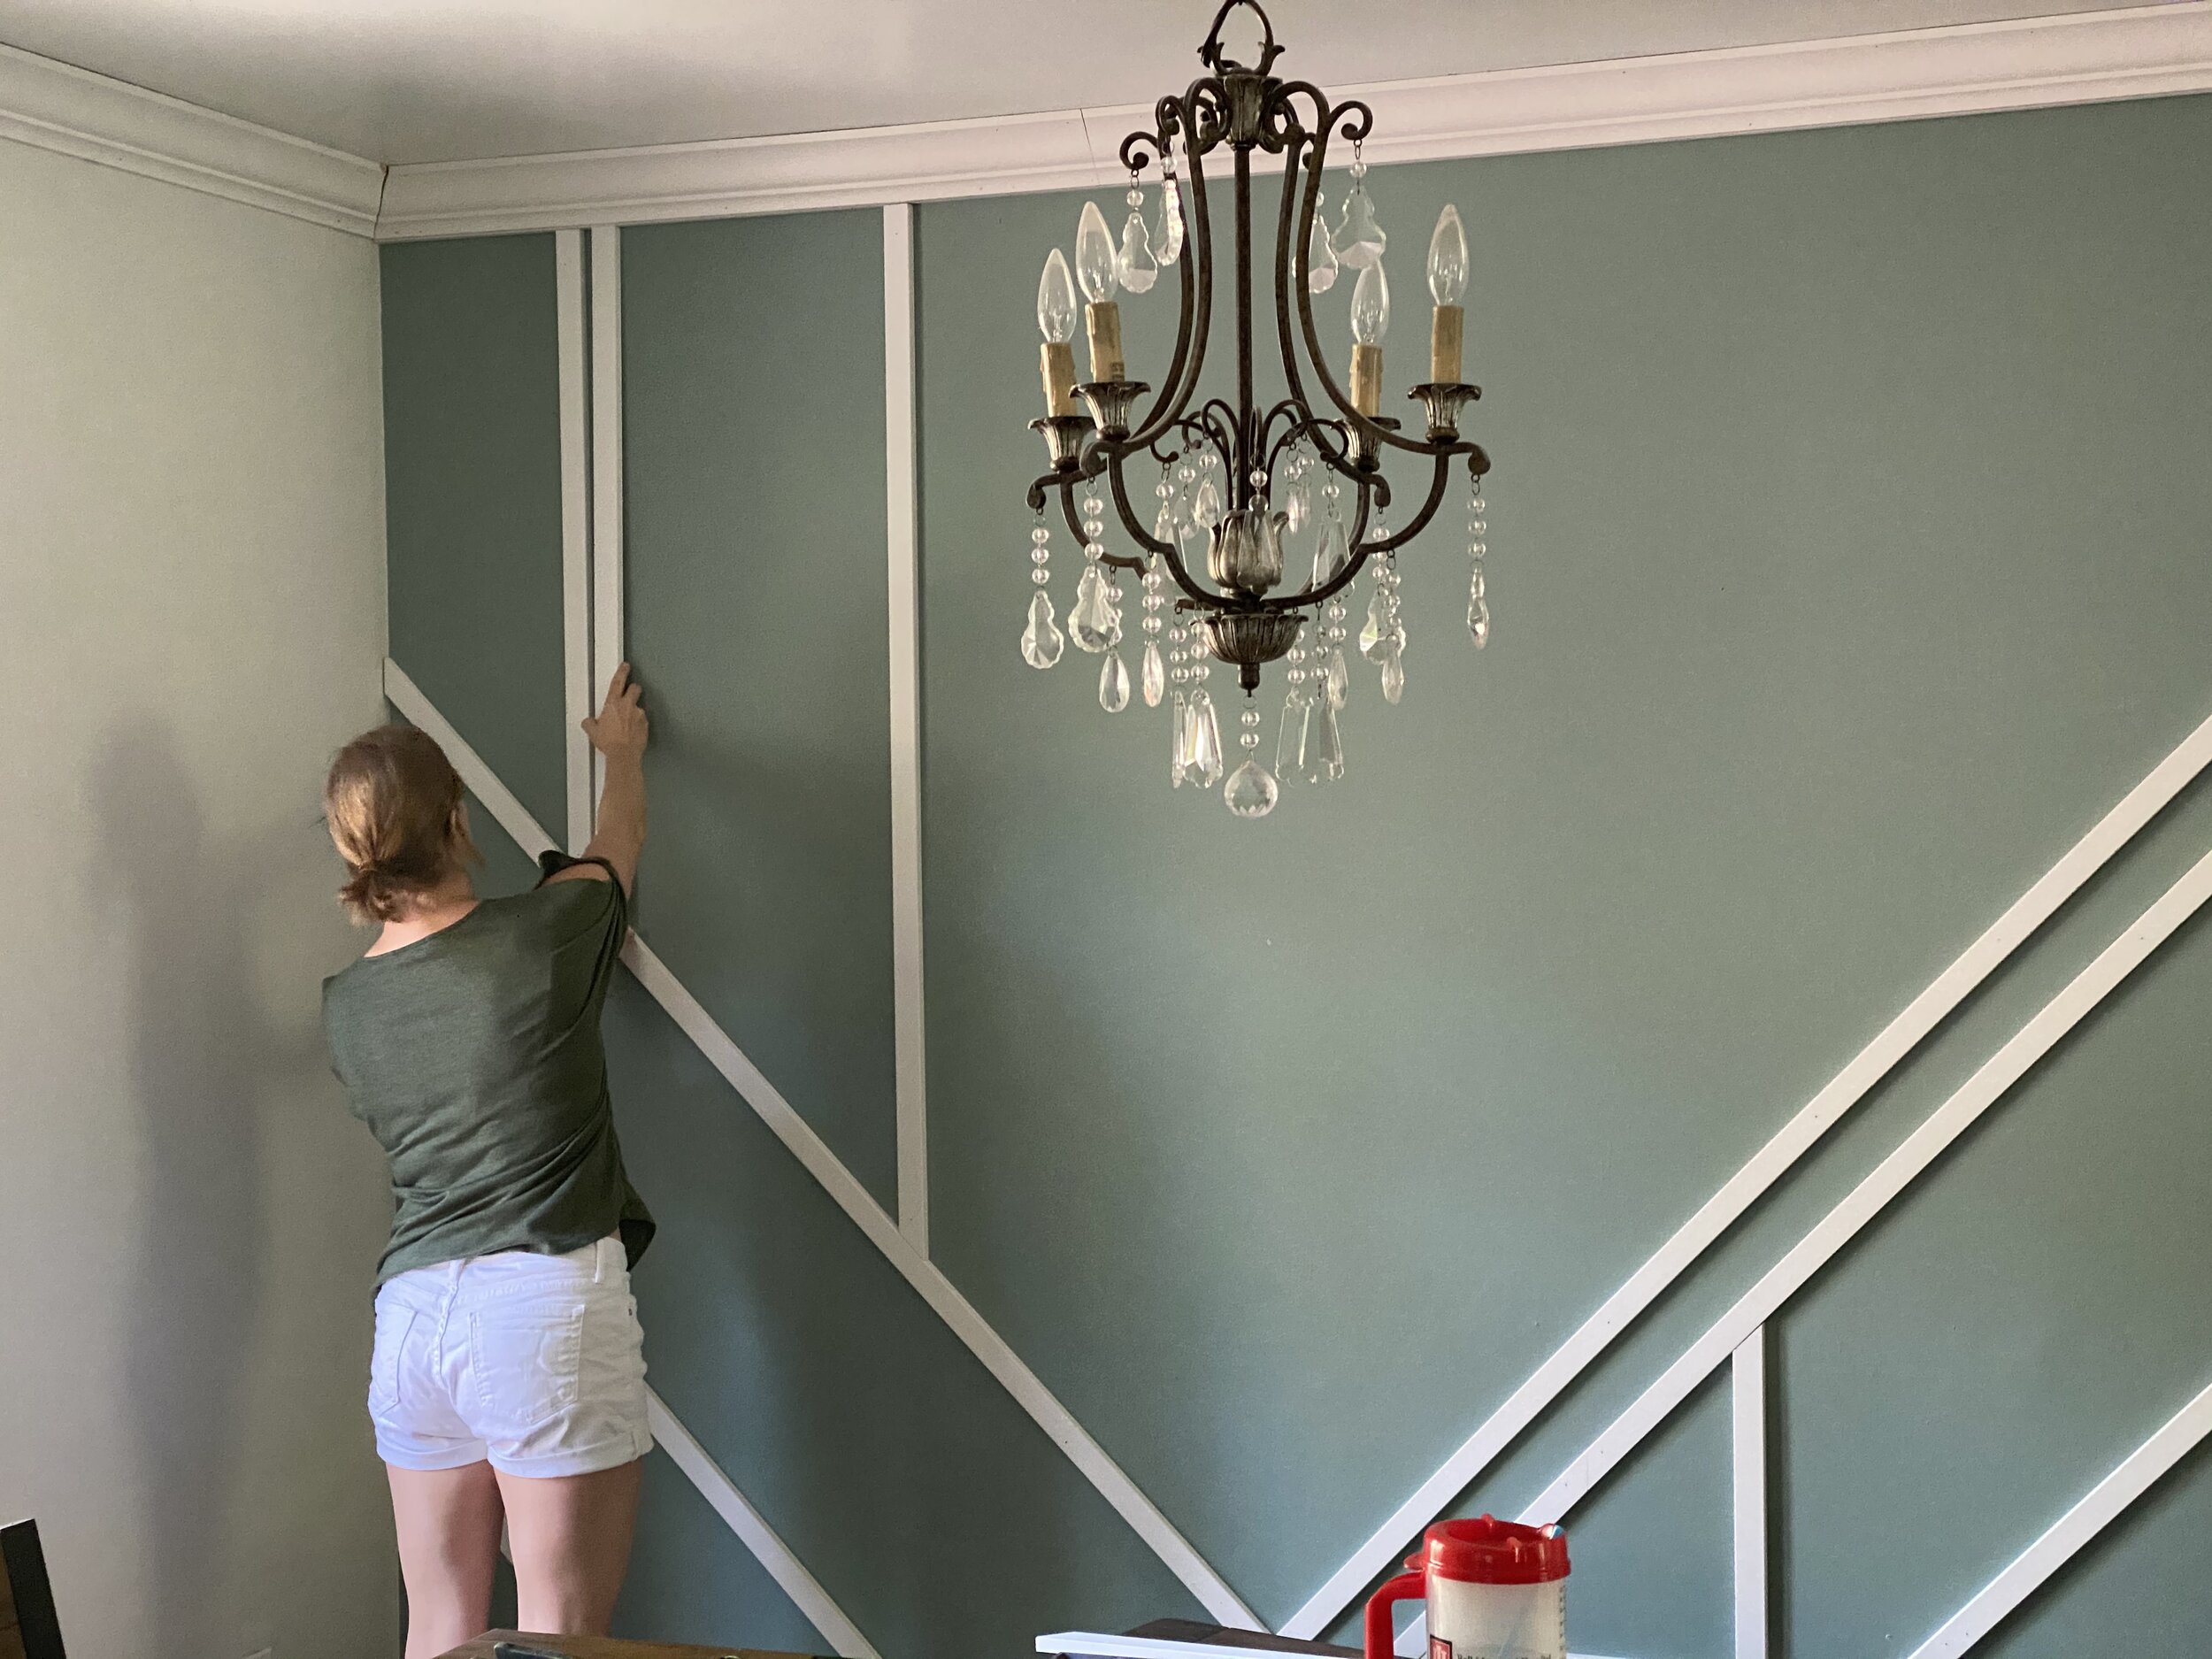
From drafting a bunch of designs, I knew I wanted one long section that went from the bottom left to the top right, so that’s where we started. This also happened to be the longest section and was the trickiest to level and nail.
And honestly, from there we just held up boards at different angles and with various spacing to see what looked and felt right. Then we leveled and nailed as we went - even using some of our scraps as filler pieces!
Once we got into a groove, the install went by really fast and ended up being a really fun project.
Fill the Gaps
Of course, installing the wall is only part of the project. Now you have to fill your nail holes with wood putty and caulk all your seams.
I caulked along the seams where the MDF met the wall. I also caulked where two pieces of MDF butted up against each other. You could use wood putty or joint compound here instead, which would probably be a smoother transition, but I really didn’t want to sand all that and I’m happy with the final product. I ended up using about 2 tubes of caulk.
Once the wood putty is dry, sand it down. And once the caulk is dry….
Paint Some More!
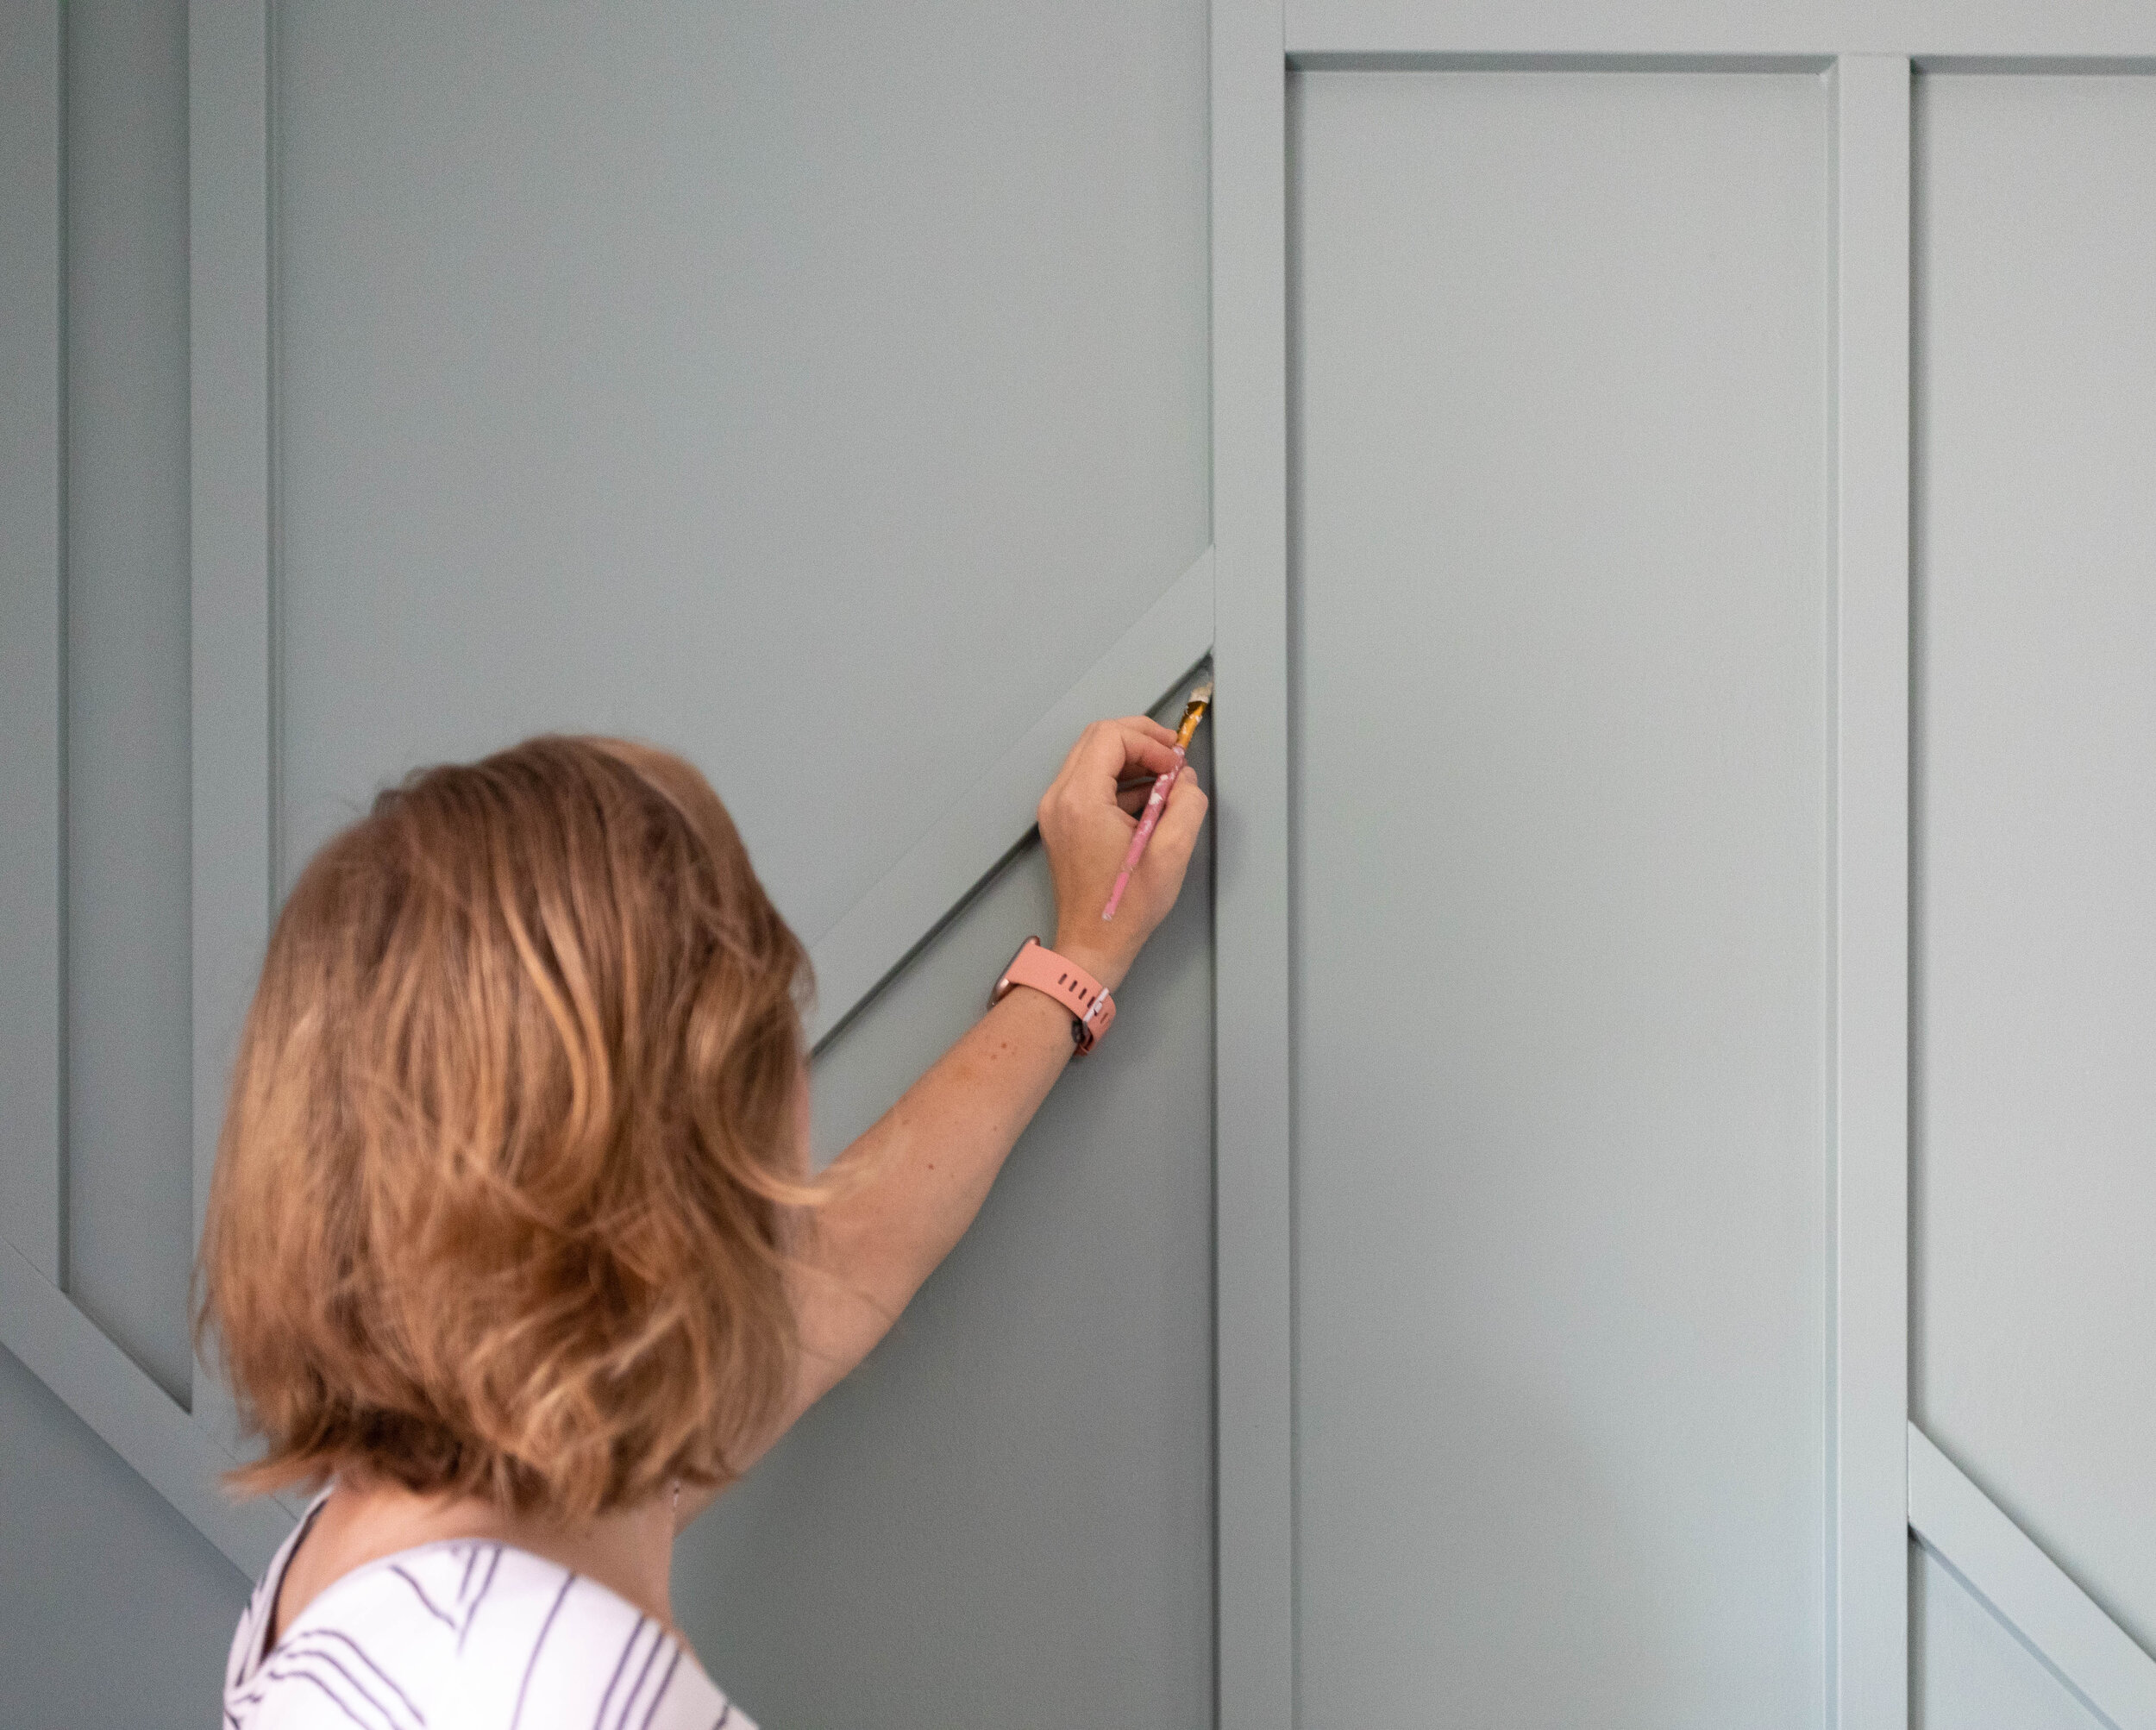
This part of the project gets a little tedious because you have to apply the rest of the paint with a brush, but you’ll get through it (I believe in you).
Make sure you get into every nook and cranny. I used a craft brush in the really tight spots where my boards met with an adjacent wall or the trim. You’ll definitely want to brush on two coats.
Once your paint is dry, you’re done! Now you can style your room and enjoy!
Final Thoughts About Our Geometric Accent Wall

I’m head over heels in love with it! Before this renovation, our dining room was so out of place. It was like it belonged in a different house. Although our house is still a bit of a mixture of different styles (there are several rooms we haven’t touched yet), it’s well on its way to having a cohesive look.
The only thing left to do now in this room is to fill it, and I.CAN’T.WAIT. And you better believe that light fixture is getting the boot! Watch for that post in the next couple of weeks!