
Dining Room Renovation Progress - A Dusty Improvement
Back in March, I posted about the beginning of our dining room renovation (holy cow, it’s been that long!?). In that post, I shared the progress of what we had accomplished so far and our plans for rounding out the room.
Since then, we’ve slowly been working on the dining room (while getting sidetracked by my office and the yard) and it’s about time for a progress report - especially because we’ve made some pretty big changes recently!

A very dusty change in plans
It may be hard to immediately tell what’s different without some background. Here’s a picture of the “before” from this angle.

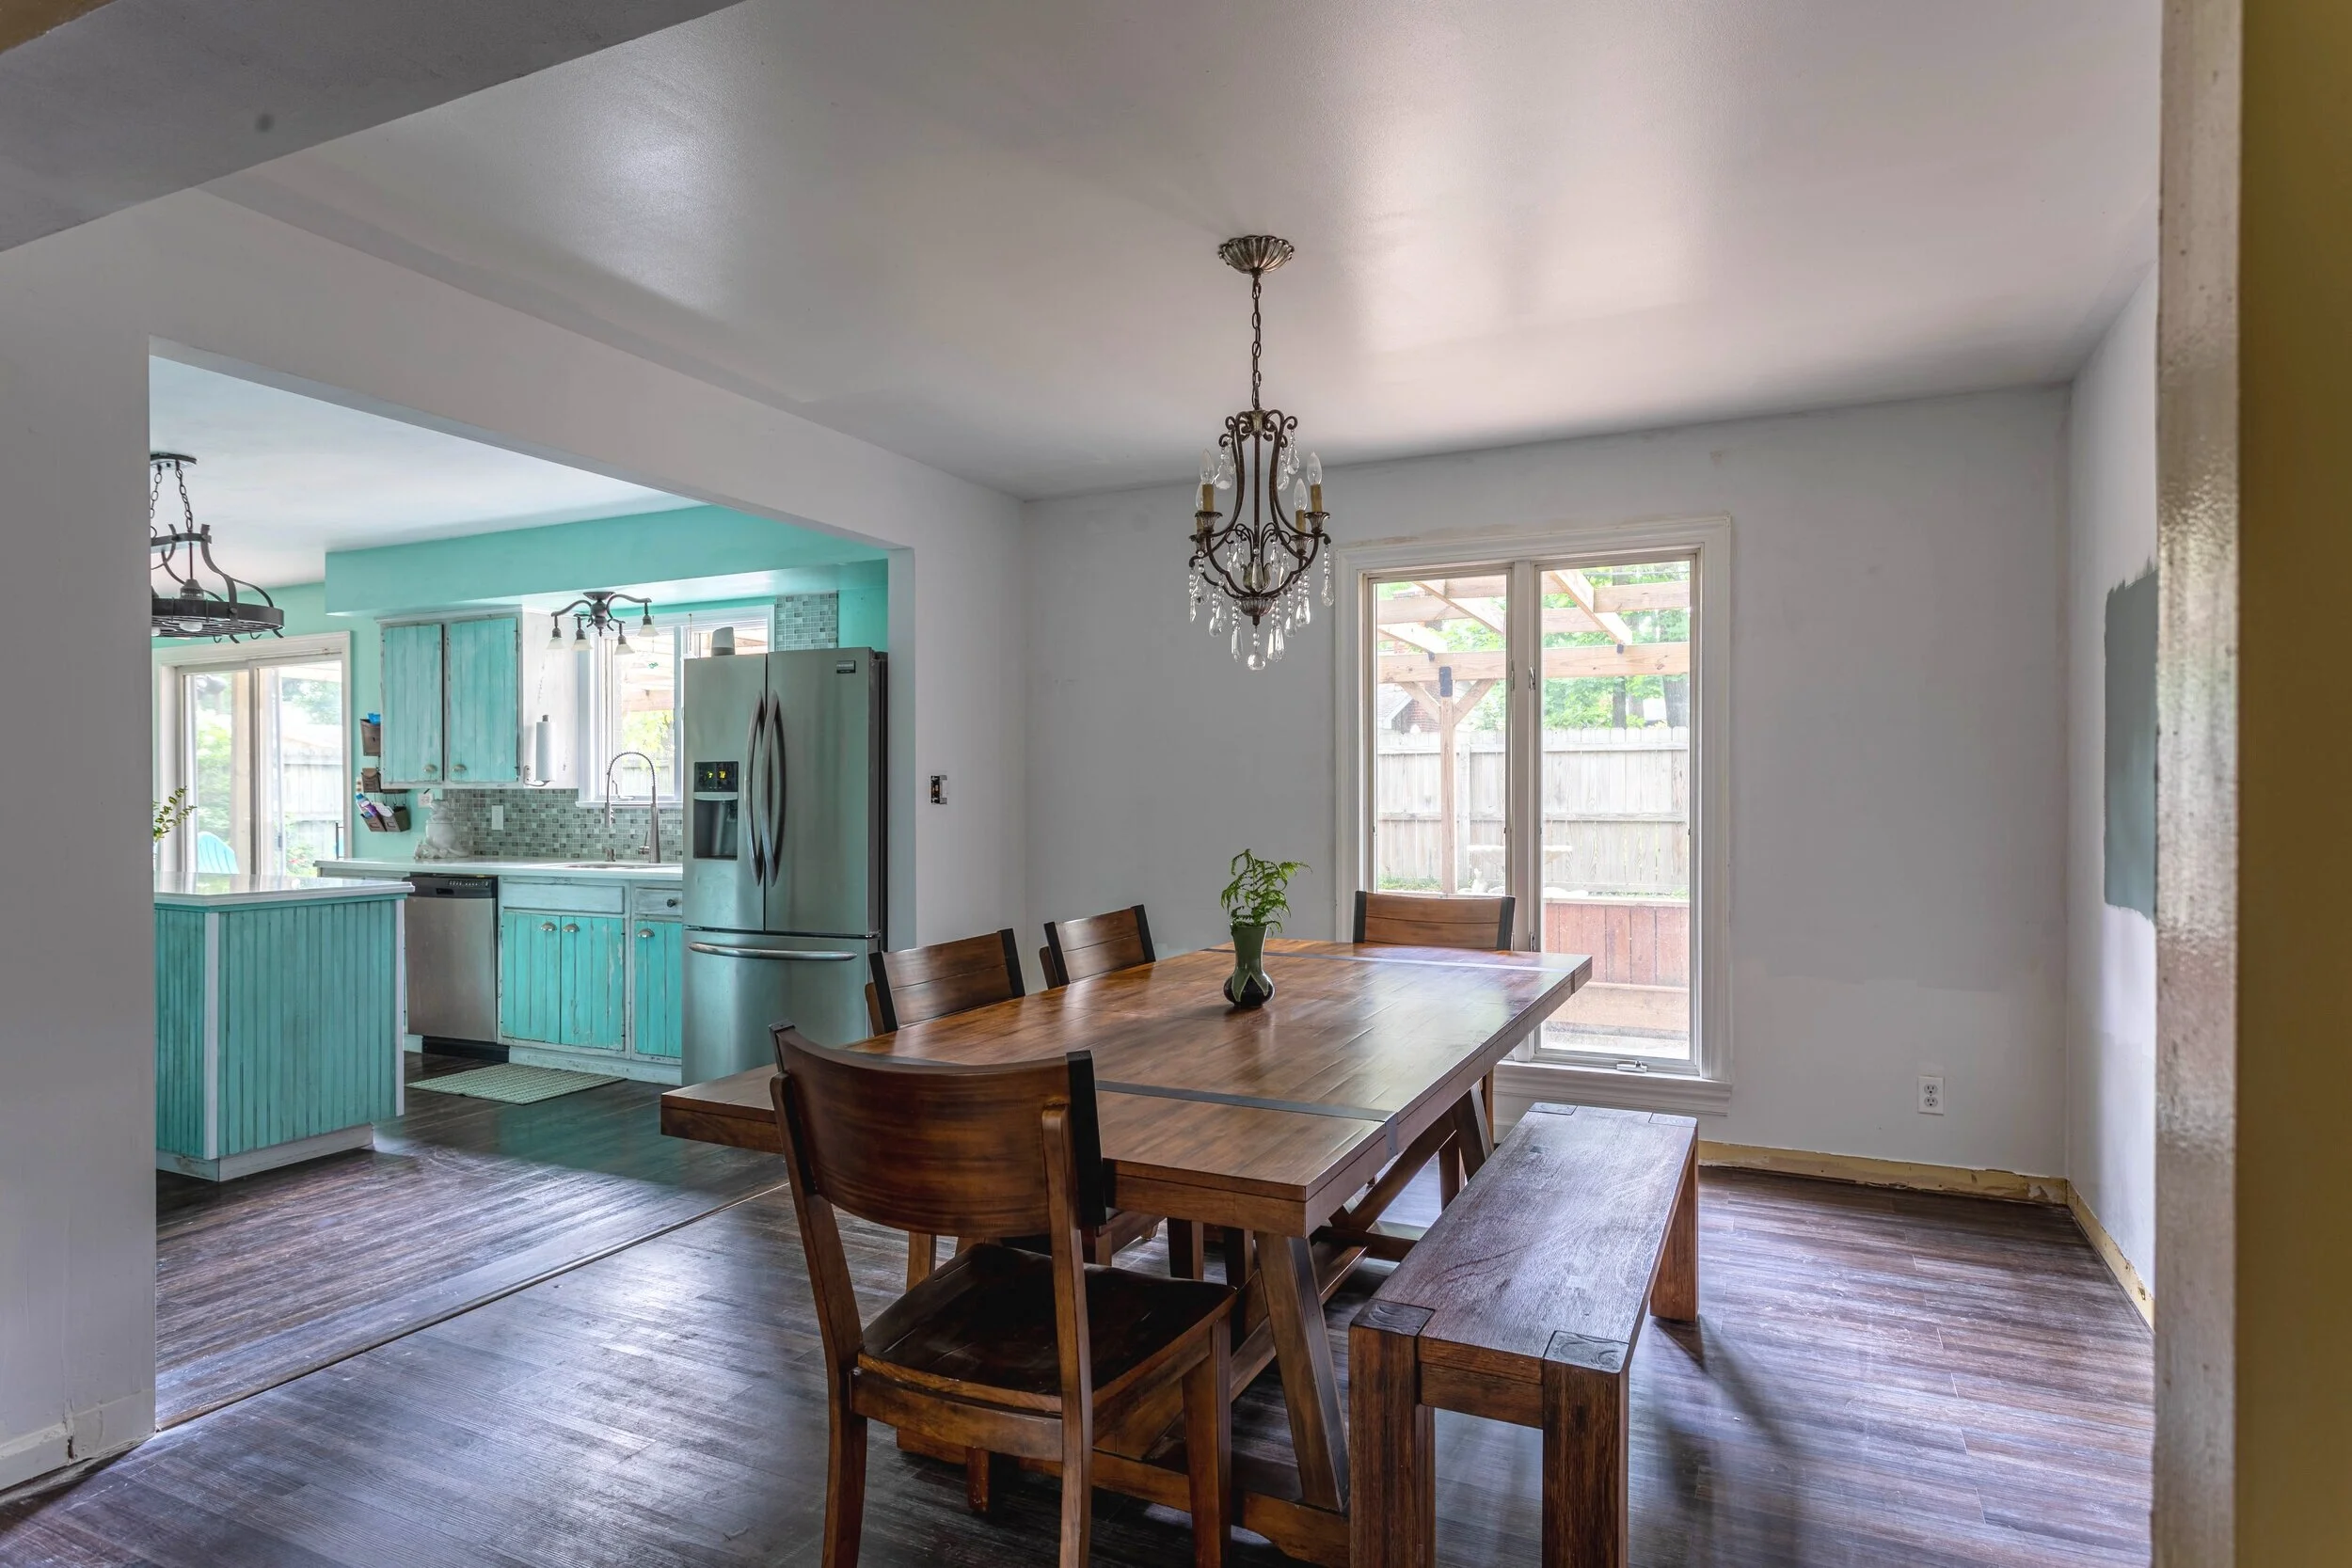
And here’s an “after” from a similar perspective.

Yup - we took out a wall! - well, mostly.
Here’s a comparison of the before and after from inside the dining room.

Lucius and I started daydreaming about opening that wall up shortly after we moved in. We used the pocket door that was there occasionally to wrangle our one-year-old, but it was infrequent and we knew it would be short-lived. We didn’t exactly know when we would swing the hammer, but as I was working on this room, I started to think about the order that I would need to tackle each area to avoid rework.
I previously wrote about the order of operations for painting a room efficiently for this exact purpose. But the dining room has a curveball to consider that I mentioned in the kick-off post - an accent wall! Something like this is what I have in mind:

To make the accent wall flow better, we decided to temporarily remove the trim anyway (that will make more sense when I cover that project). So I figured if we were removing some of the trim and painting the dining room, why not bite the bullet and open up the wall at the same time? Once I committed to the idea and put the bug in Lucius’ ear, there was no stopping him.

Check out the wallpaper we found under the trim.

Yowza


Unfortunately, before we decided to open this doorway, I had already stripped the wallpaper and evened out the walls. So we had to do a little bit of rework, but that’s showbiz, baby.
The big bummer is how much work I put into closing off the dining room to maintain the dust when I started the reno and how impossible that was to do when opening the doorway. Our house is covered in a fine layer of dust. We keep sweeping and mopping but drywall dust is relentless.
Benefits
Anywho, the rework that we’ve had to do is worth it. Having the wall opened up makes our dining room so much more functional. It’s not like the room moved closer to the kitchen, but just having it in plain view makes it way more inviting.
It has also improved the flow of the house. While our downstairs was pretty conducive to entertaining before, this update has elevated that functionality. Now whether you’re in the kitchen, dining, or living room you can see everyone in plain sight.
Not only has opening the wall improved the functionality and flow, but now I’ll be able to see my accent wall even better than I would have before!
And maybe the most important part - we can now open the right-hand door of the refrigerator all the way! #winwin
I read not too long ago that because of the coronavirus, open-concept floor plans might become a thing of the past as people try to distance themselves from one another (both for their health and sanity). That concern crossed my mind for a minute, but this house is pretty large so I don’t think any future residents will have issues getting space from one another. Plus, we don’t have plans to move anytime soon. Bring on the open-concept!
Future Plans
The Accent Wall
I mentioned above that I still plan on installing our accent wall. To get an idea of how the wall will work in our house and with the dimensions we have, I drafted a few different designs on graph paper. I used 1 square per 6 inches.
I love the design in the inspiration picture so I drew that out using the dimensions of our wall (the little shaded box in the top right-hand corner is the bulkhead that runs through the dining room).

Then I drafted three more designs to give myself some options.


I haven’t decided which design I’ll go with just yet. I’m not necessarily married to any of them and it’s probable that whichever design I choose will be modified as we install it, but I’d love to hear which design is your favorite!

Paint Colors
You also may have noticed in some of the demo pictures above that I’ve been testing paint colors. I mentioned in the kick-off post that this room lacks natural light (though that’s improved a bit by opening it up) so I wanted to avoid a super dark color like I had originally wanted. Instead, I’m planning on using something in a more medium tone.
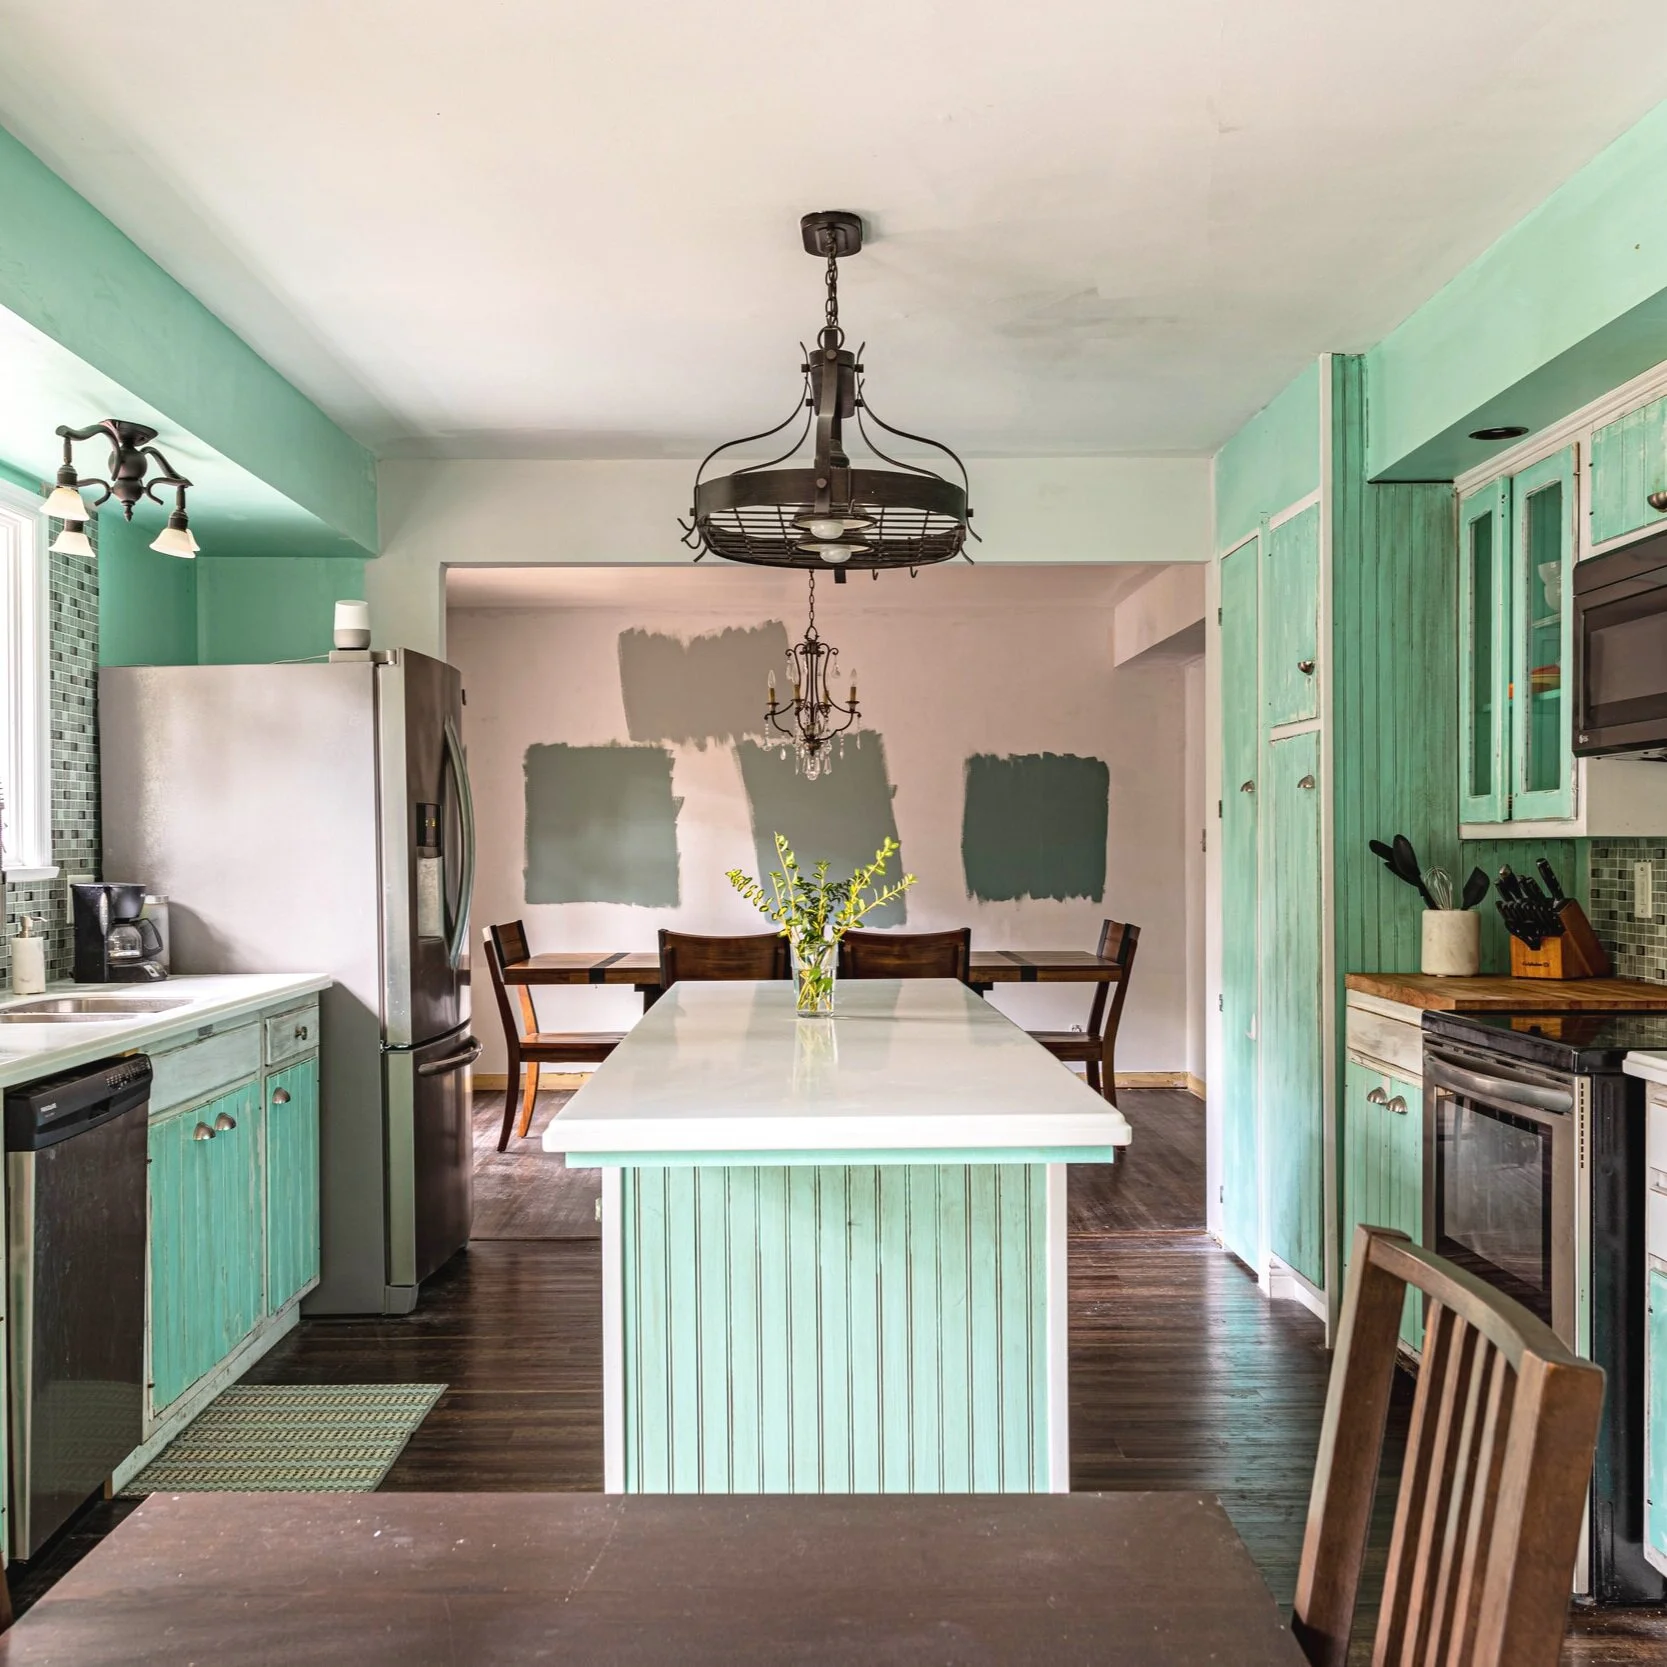
On the top is Smoke Infusion by Valspar (which is one of the colors we used in the flip). Left to right is Blue Seagrass then Desert Lake both by Sherwin Williams, followed by Secluded Garden by Valspar.
I’m leaning towards the Desert Lake color in the middle. The fact that I coincidentally bought new running shoes that are the same color solidifies my attraction to that color.

It’s probably important to note that we plan on changing up the colors in the kitchen too. Eventually the two rooms will flow seamlessly rather than feeling like two completely different houses.
The Area Rug
In my initial post about this renovation, I talked about adding an oriental rug. While that idea isn’t entirely off the table, I’m considering switching it up and putting a more abstract rug in this room instead. I still love oriental rugs and would like to use them elsewhere. But I have my hesitations that some of the strong lines in an oriental rug will compete with the accent wall. Instead, I’ve been ogling rugs like this:
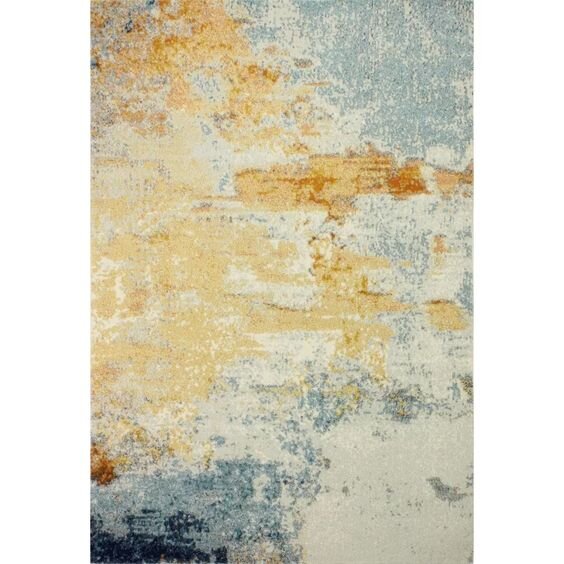
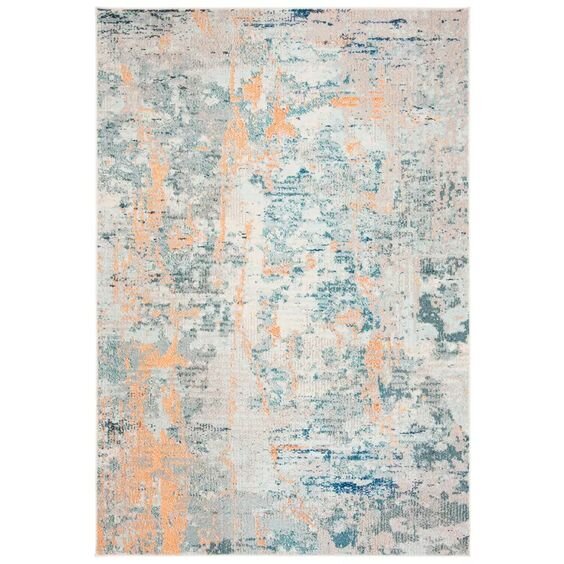
Source - Rug 1; Source - Rug 2
Now that this room has made some big strides, I’m even more excited to get it done (and to finish drywalling so we can finally get rid of all this dust)! There’s still a lot of work to do, like replacing the trim and crown molding, painting, installing the accent wall, and about a million other little steps between there, but the end product will absolutely be worth the effort. I can’t wait to share another update soon!
Pst - don’t forget to weigh in on which accent wall design you’re most drawn to!