
How to Paint an Ombre Wall in 5 Easy Steps

Unlike most people, I love painting. I love it so much I got my BFA in painting - true story! Not only do I love painting paintings, I also love painting rooms. I love the process of turning my mind off, getting in the zone, and drastically changing the look of a room in just a few hours with a gallon or two of paint. Let’s be honest - some of that might be the paint fumes talking.
Although it’s not appropriate in all rooms, I love trying new things with paint. Whether it’s adding a simple accent wall that’s a couple shades darker than the main color or painting a room a bold, dark, moody teal to creating a stencil to make a design or (in my most recent room makeover) painting an ombre wall.


As I mentioned in this post, once I got sucked into the world of ombre walls on Pinterest, I knew I had to give it a try. Ombre walls are definitely trending right now, and as with any trend there’s always the fear that it’ll go out of style. You know another thing I love about paint? It’s SO easy to change if that happens! Plus, I figured if I could pull it off, it would look amazing. So off I went!

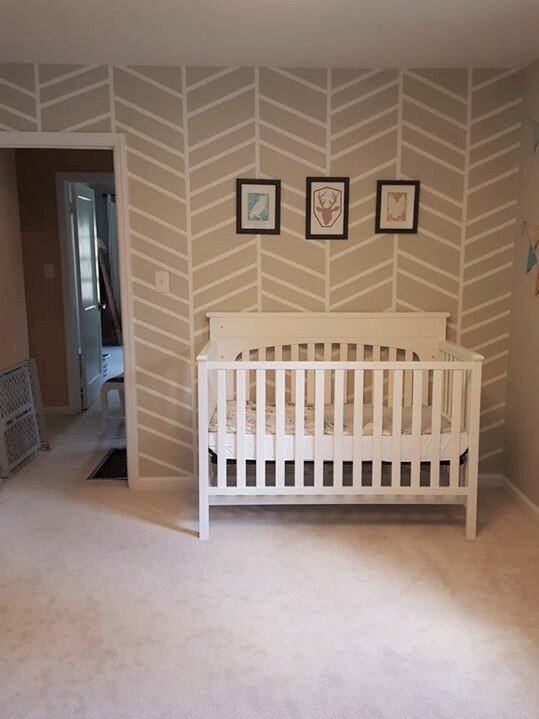
I was so excited to work on our daughter’s room and take it from the dark, light-sucking blue/gray we inherited to something bright and girly.
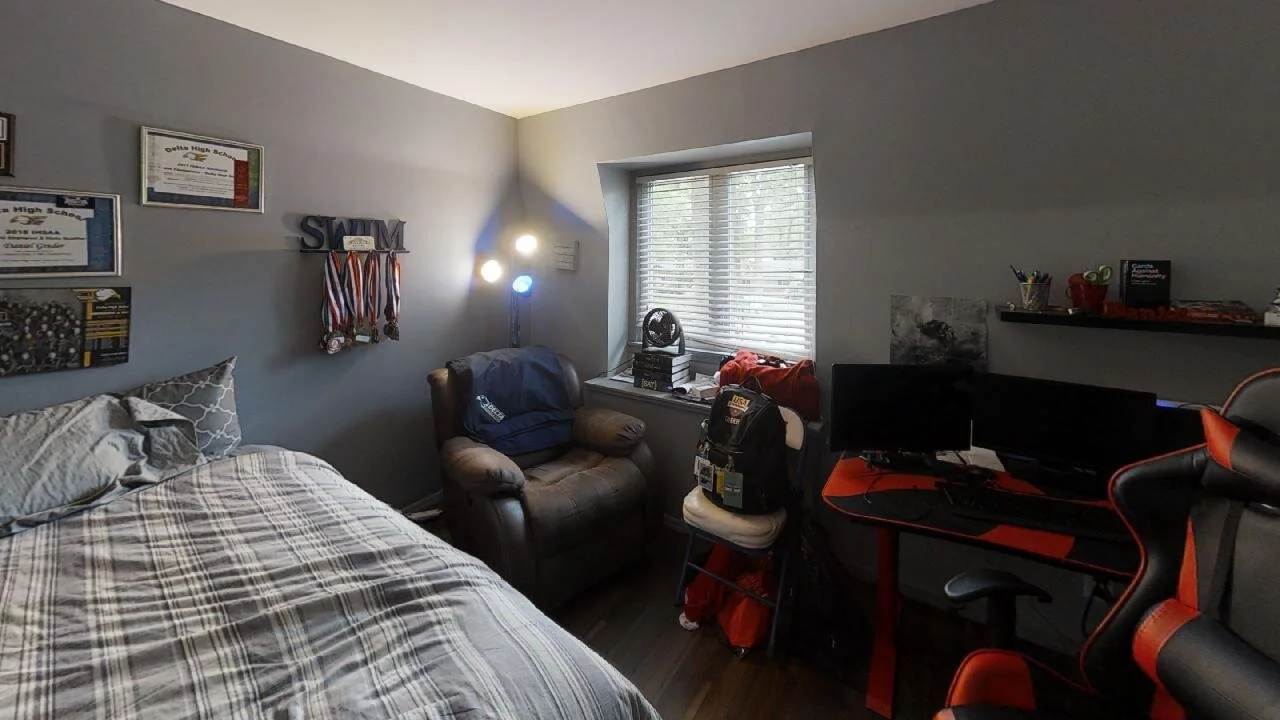
This is our daughter’s room from the listing photo. It worked for the teenage boy who resided here, but for a four-year-old girl? No way.
Picking a color
For some reason I couldn’t shake the idea of using pink and teal in this room, so then it was just a matter of picking the exact paint colors.
I love to hang out in the paint section at Lowe’s. I take so many paint chips that I might just single-handedly keep someone in a job constantly restocking them. I actually created our younger daughter’s mobile with paint chips I collected over time and for some reason felt the need to keep. (You can check out how I made the mobile HERE.)

This project was no different. I headed over to Lowe’s and grabbed a whole bunch of colors in the family I was thinking of and taped them to the wall.
Then I let them hang out there until I got a chance to paint a few weeks later. Sometimes my paint chips only stay up for a day or two, but typically it’s much longer. I’ve had paint swatches on our living room wall for a few months, with no real timeline of taking them down. I actually like to leave them up so I can see how they look in all different sorts of light.
In the end, for this project, I went with the lightest shade of blue on the first blue swatch on the left (Tame Teal by Sherwin Williams) and the middle shade of coral in the first swatch in the second row (Coral Mist by Valspar).

Usually, once I decide on a color, I get a sample container of paint and paint big swatches on several different walls. Then I let it hang out for at least a couple of days to once again see how it looks in different light. I can be very indecisive, and paint colors can change drastically during different times of day, so I feel like these steps help me to be sure in my decision and not waste money on paint.
A gallon of paint isn’t that expensive, but it can definitely add up if you keep repainting because you don’t like the color you chose! Those little sample paint containers are only around $5 each and are well worth it if it helps you commit to a color. I know I said I love painting, but that doesn’t mean I want to paint the same wall over and over again.
In this room, I actually felt confident in my paint choice just by looking at the paint chips and didn’t end up following my own rules. I just grabbed a couple of gallons and went to town!
The Process
I painted all the solid walls first since those were run-of-the-mill and straightforward. Then it was a matter of painting the ombre wall.
I researched a lot of different tutorials and used the steps that I thought would work best. The step-by-step process is below including what I wish I had done differently.
One quick note - if you want a smooth transition from color to color, you have to work FAST. This can be intimidating. I pictured myself breaking a nervous sweat trying not to mess up the wall, but honestly, once I got started I just went with the flow and I love how it turned out.
Start by making light marks on the wall where you want your colors to transition.
Grab 3 paint trays and 3 rollers. Pour one color into one paint tray and the other color into another. In the third paint tray, pour equal amounts of both colors.
Make sure you mix enough of the combined color so you don’t have to mix more partway through (working quickly is the name of the game here), and so you don’t risk your new mixture mismatching the original.
Then, paint your color of choice on the bottom and the top. Since the goal is to have a smooth transition from one color to the next, don’t worry about taping anything off or painting a harsh line where the colors change.
Apply the mixed paint to the middle section of your wall, blurring the dividing line of color.
Using the roller you applied your mixed paint with, lightly dip your roller into the color on the top of the wall and start to soften the transition. Now do the same with the color on the bottom of the wall.
The most difficult part of this project, that no tutorial seemed to talk about, was what to do with the edges of the wall. Since your roller can’t get all the way to the edge, I used a brush to blend as well as I could. If you’re not good at cutting-in edges, apply painter’s tape to the adjoining walls before you begin.
And there you have it - how to paint an ombre wall. If you’d like to paint one in your house, I say, give it a try! It’s only paint, after all. If it turns out poorly, you can always paint over it. Easy peasy. Below is a list of supplies to help you get your ombre on. Enjoy!

Supply list
3 paint trays
3 rollers
1 paint brush
painter’s tape
2 gallons of paint (1 of each color) - this should be more than enough for one wall and you’ll have a lot of extra, but a quart won’t quite be enough.