
Bold, Functional Interior Design
Blog
All Articles
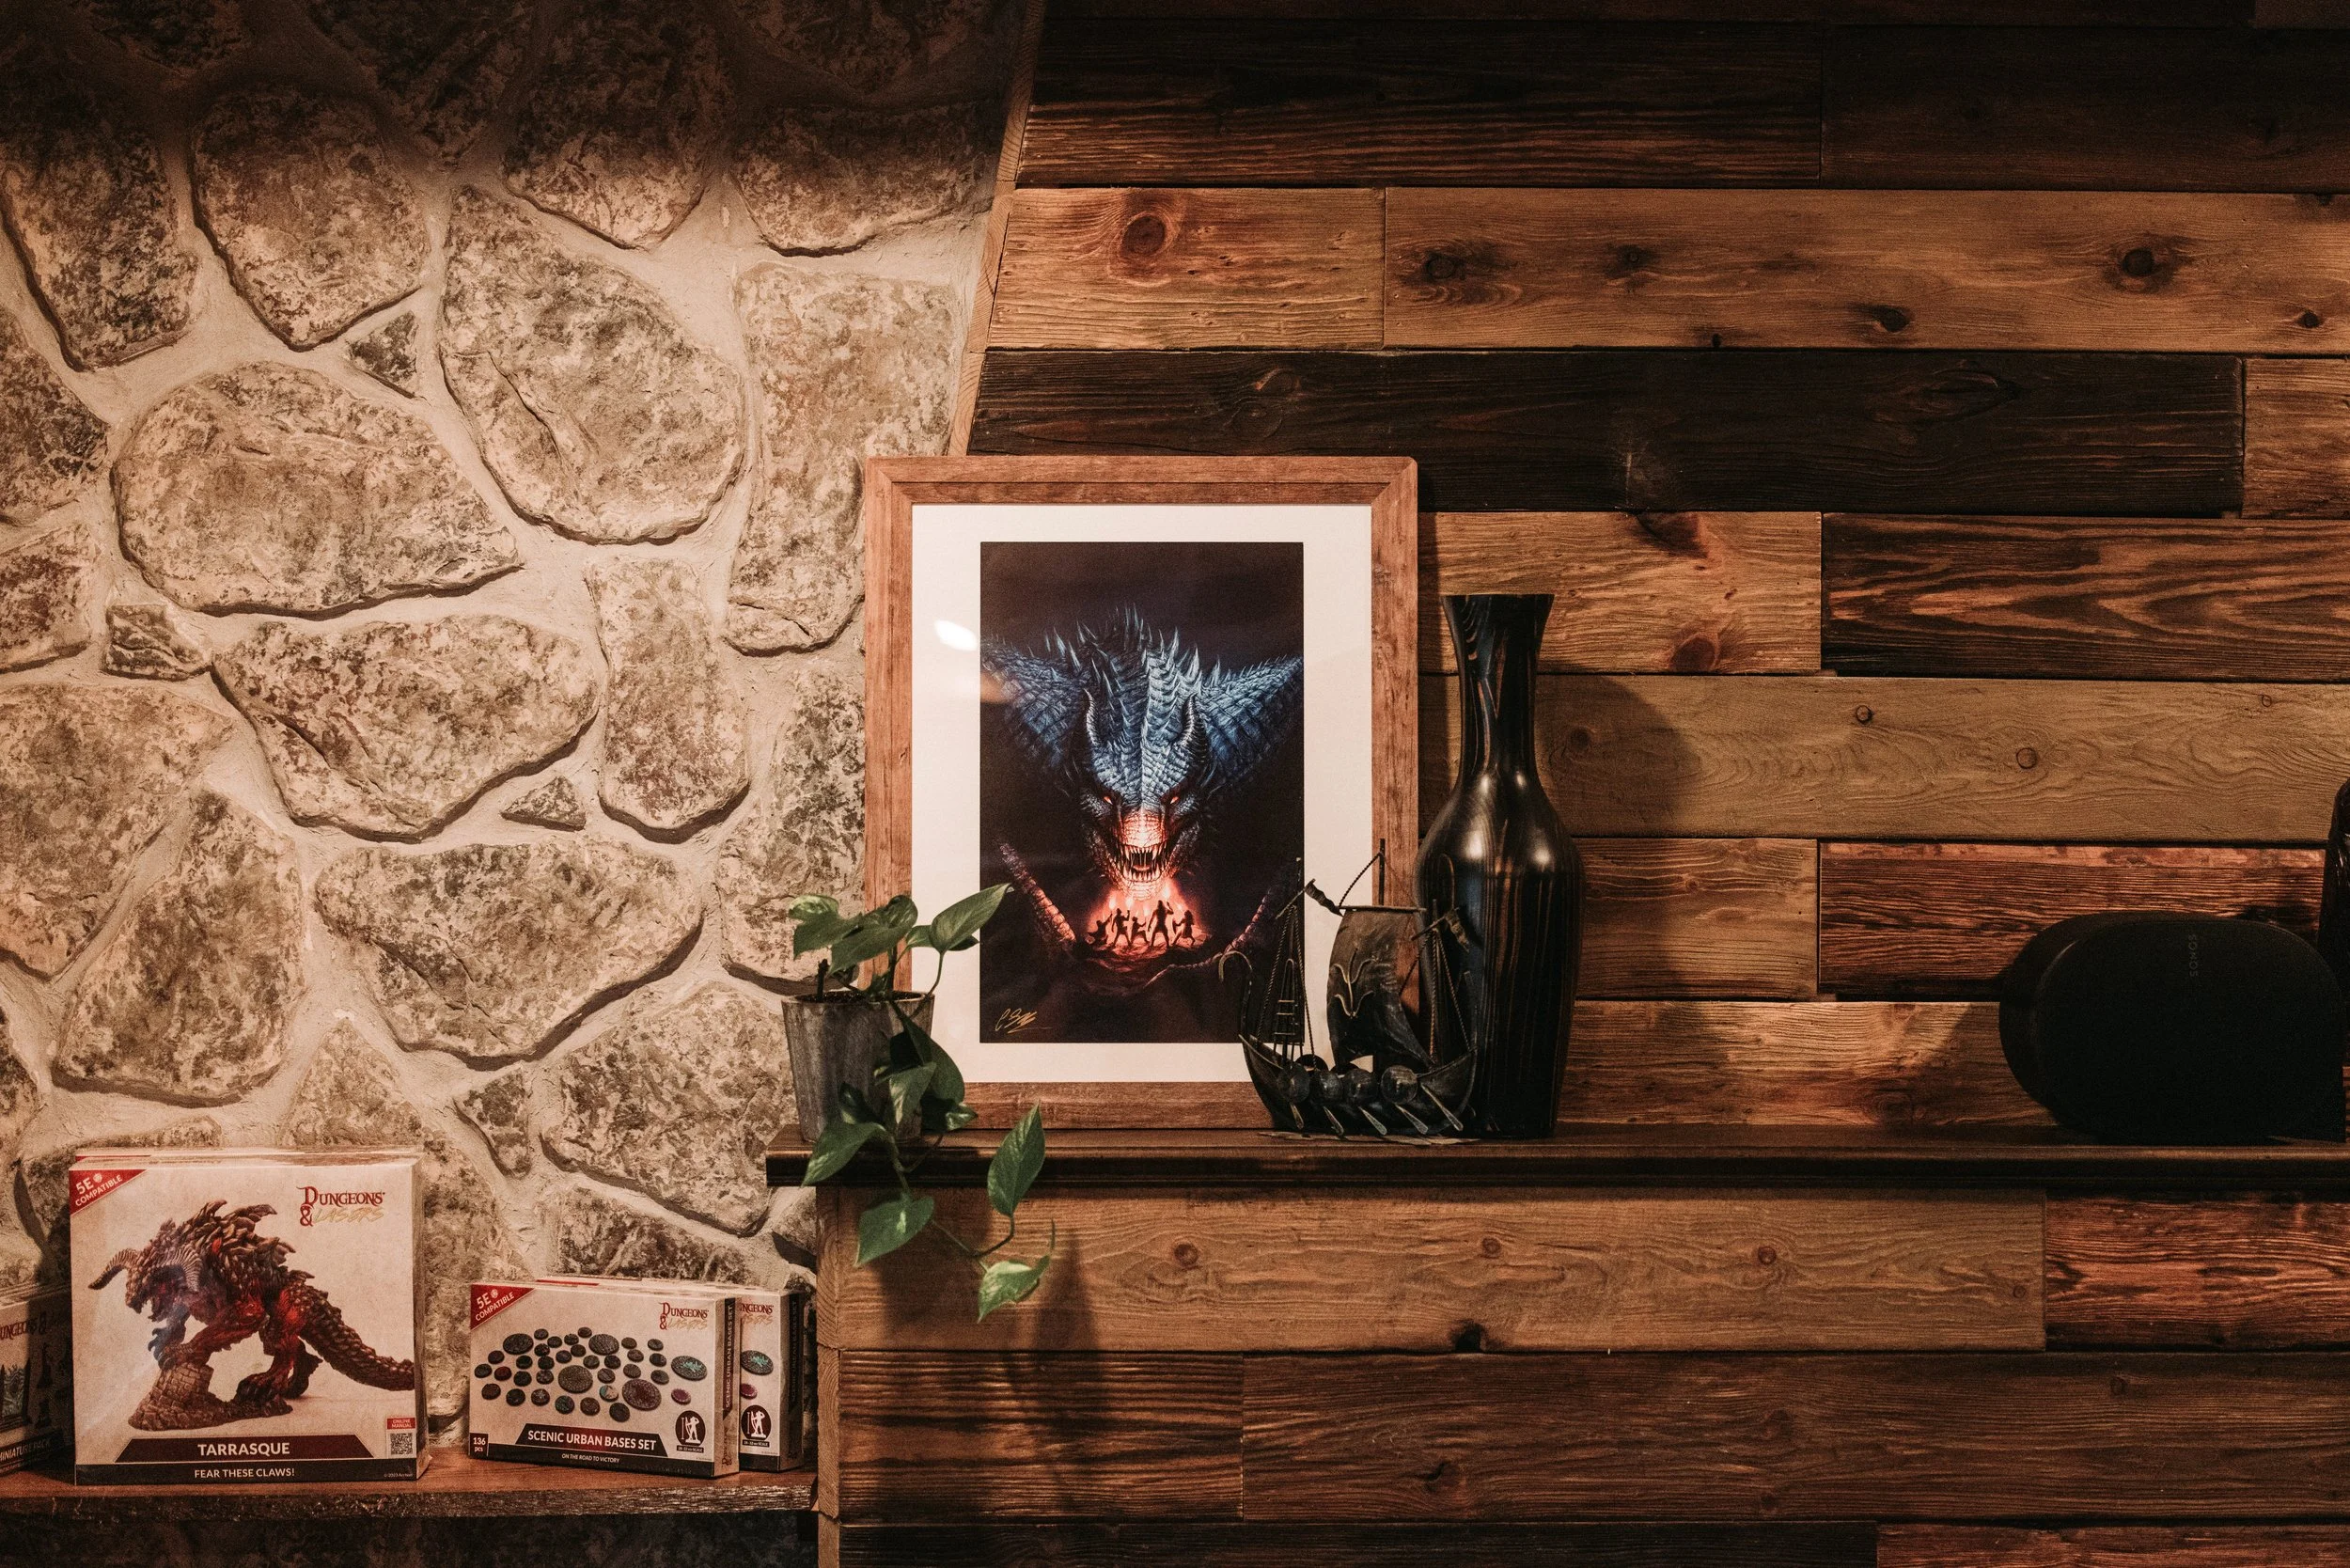
When my husband first floated the idea of turning the front two rooms of our real estate office into gaming retail space, I'll be honest, I wasn't exactly thrilled. We'd just finished renovating this building. The idea of tearing into it again, this time for a category of design I'd never touched before, felt like a lot.
But I started researching anyway, because that's what I do.
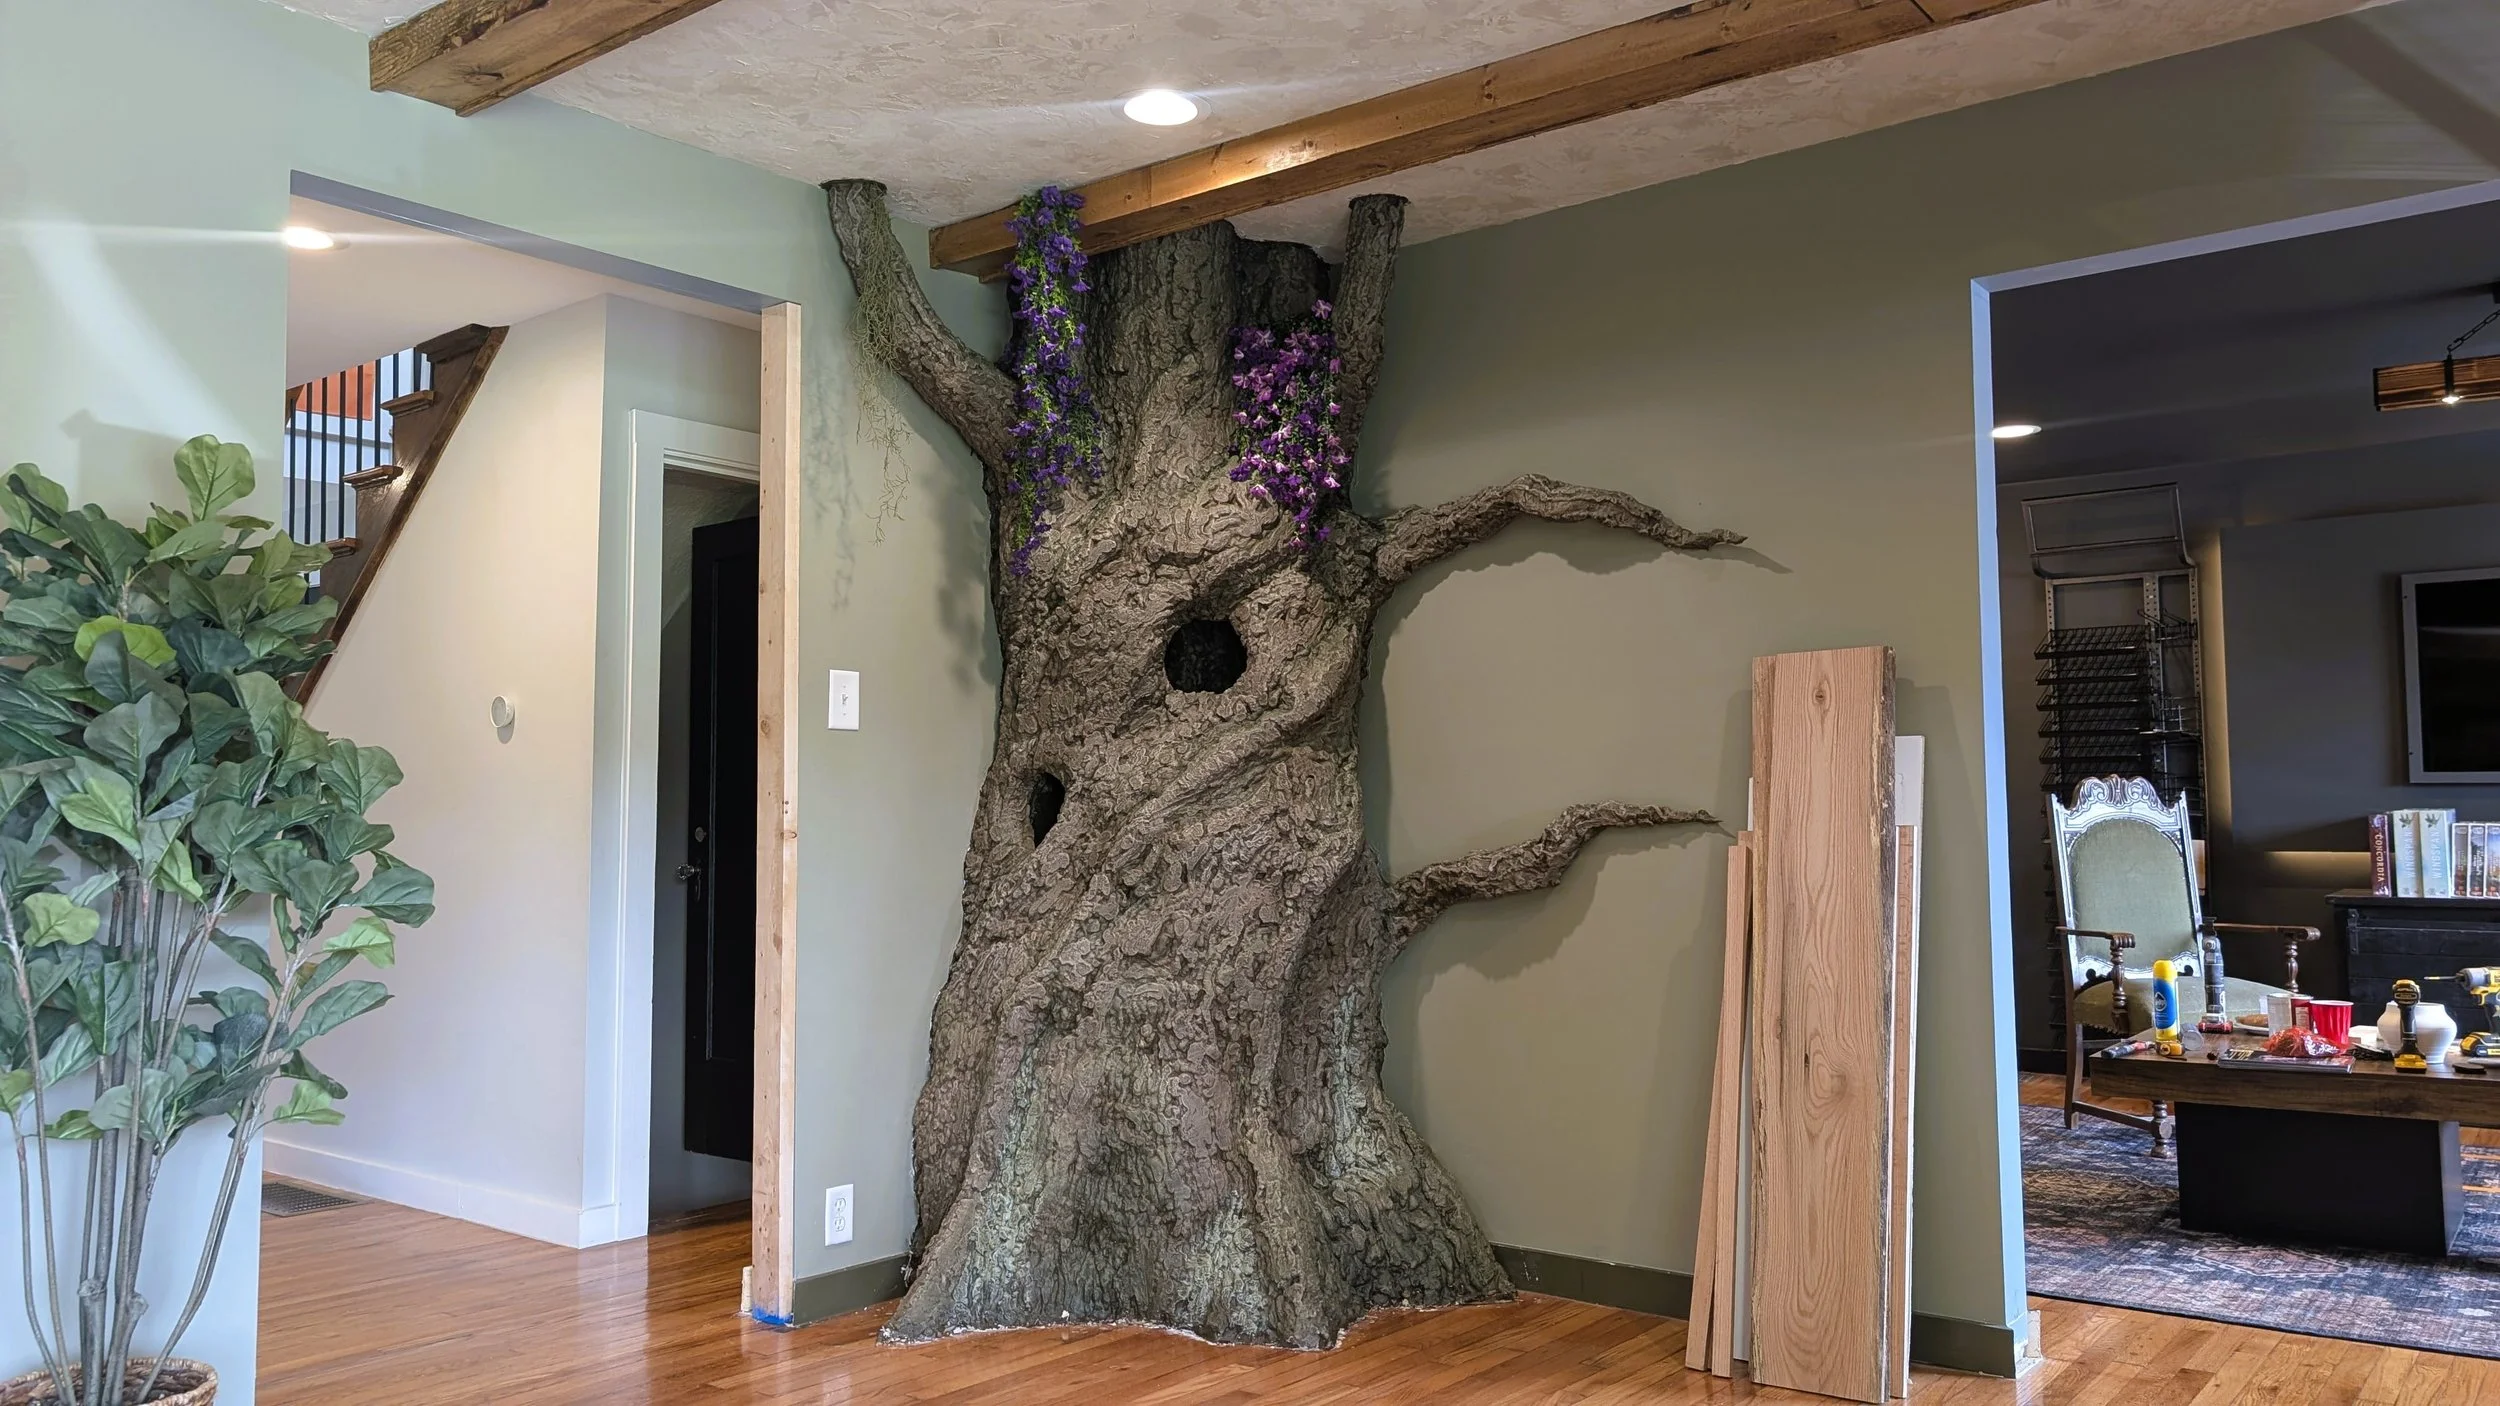
The D20 retail space is coming along, and there have been some major developments since my last update—including a complete design pivot that I think made this project even better.
Here's the new plan, why we pivoted, and what's coming next.
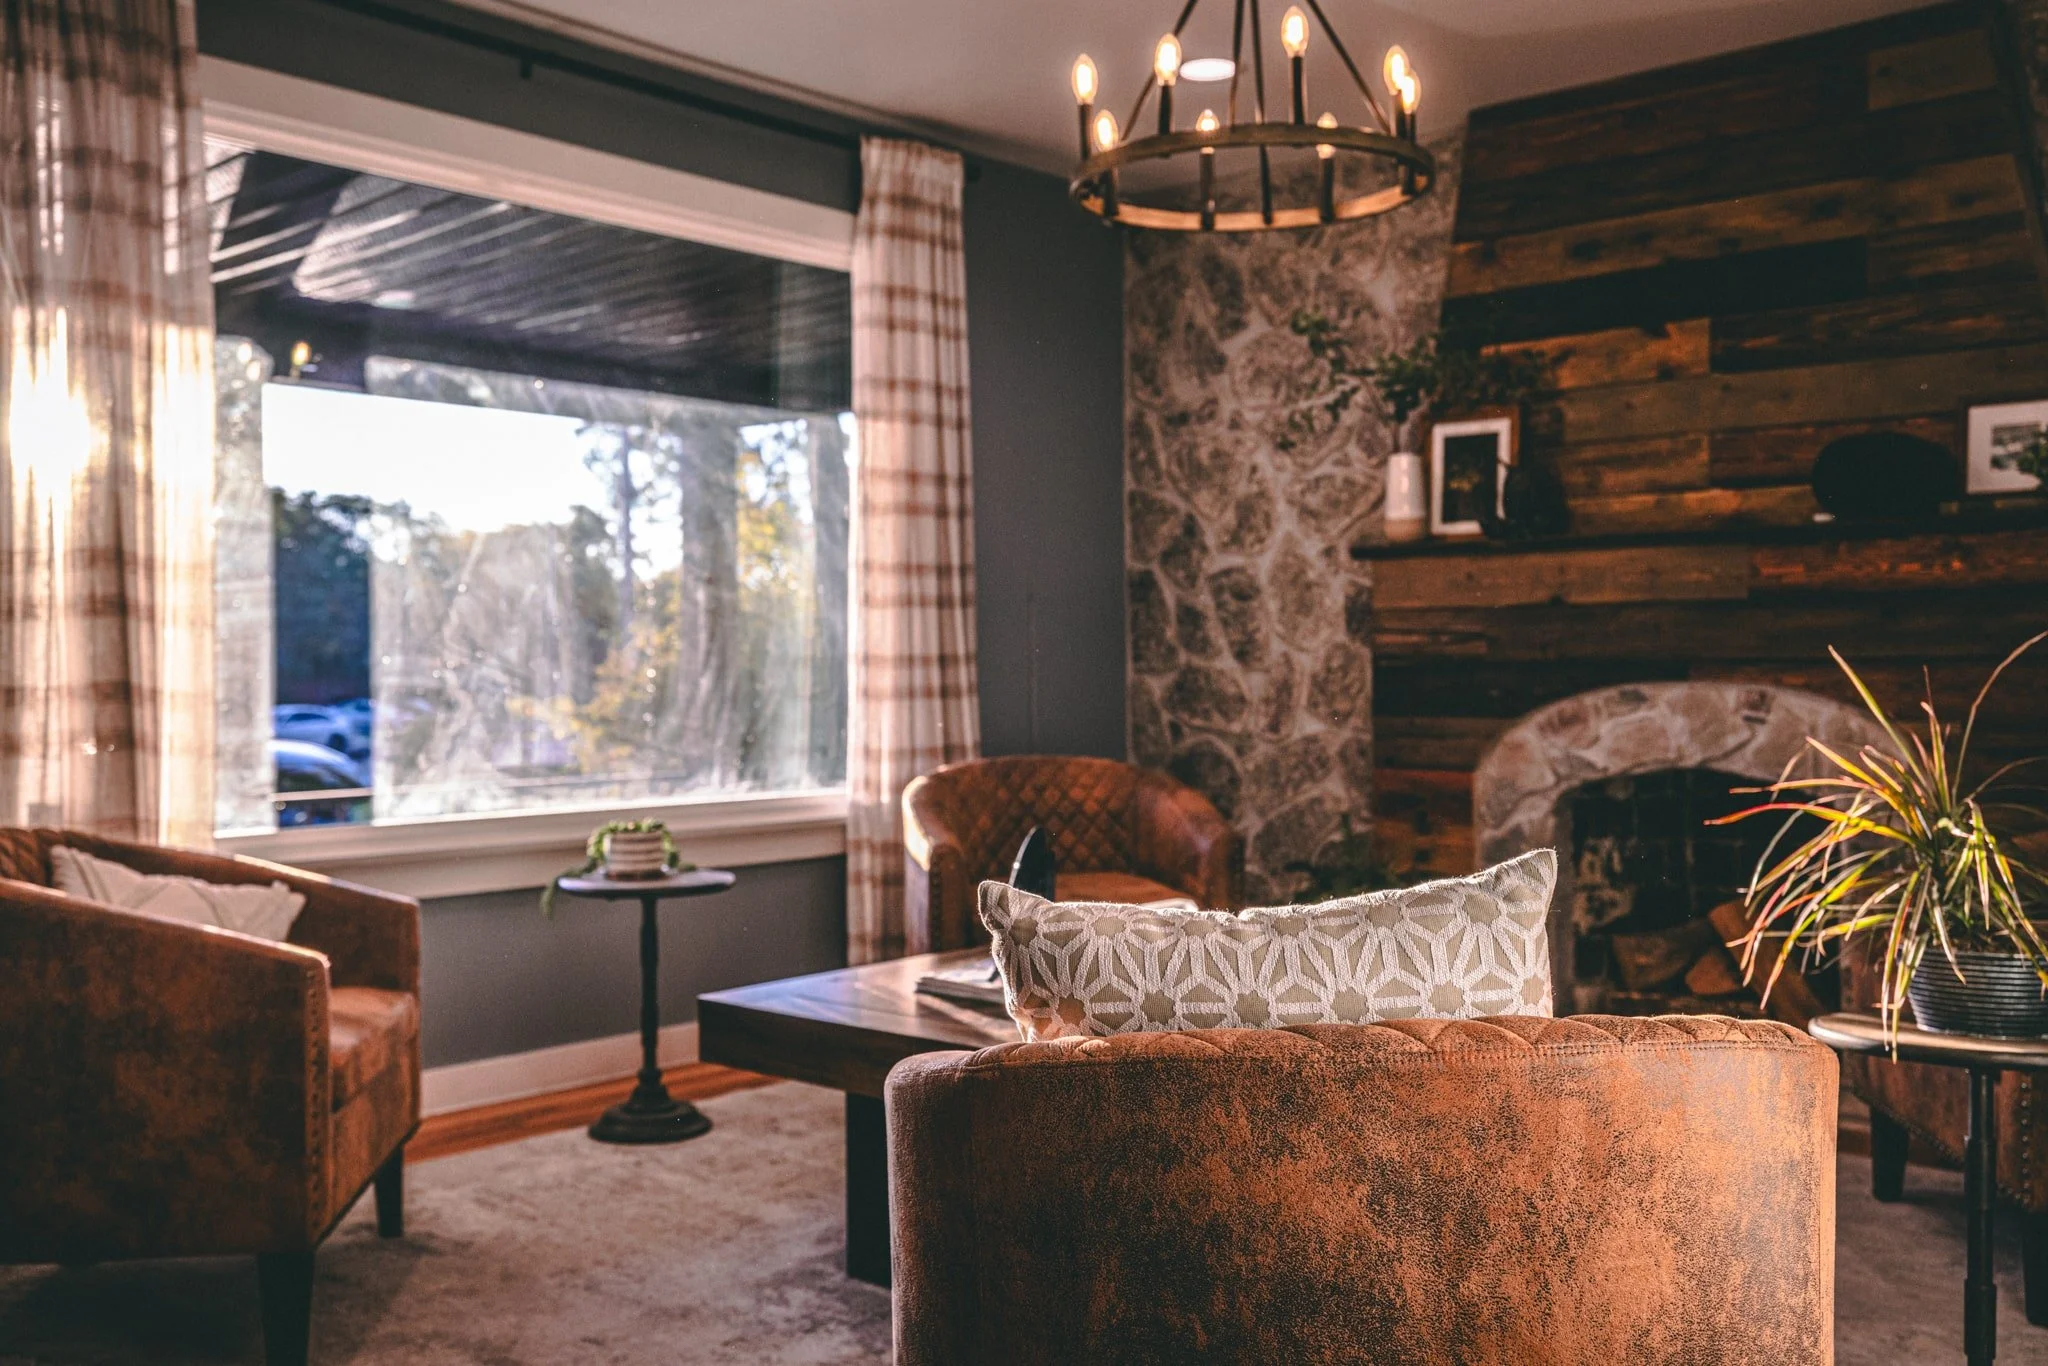
Renovations are one of my favorite things. Transforming a space into the vision I see in my head is incredibly rewarding, especially when the transformation is extreme. But sometimes, even the best-designed spaces aren't meant to last—they're meant to evolve.
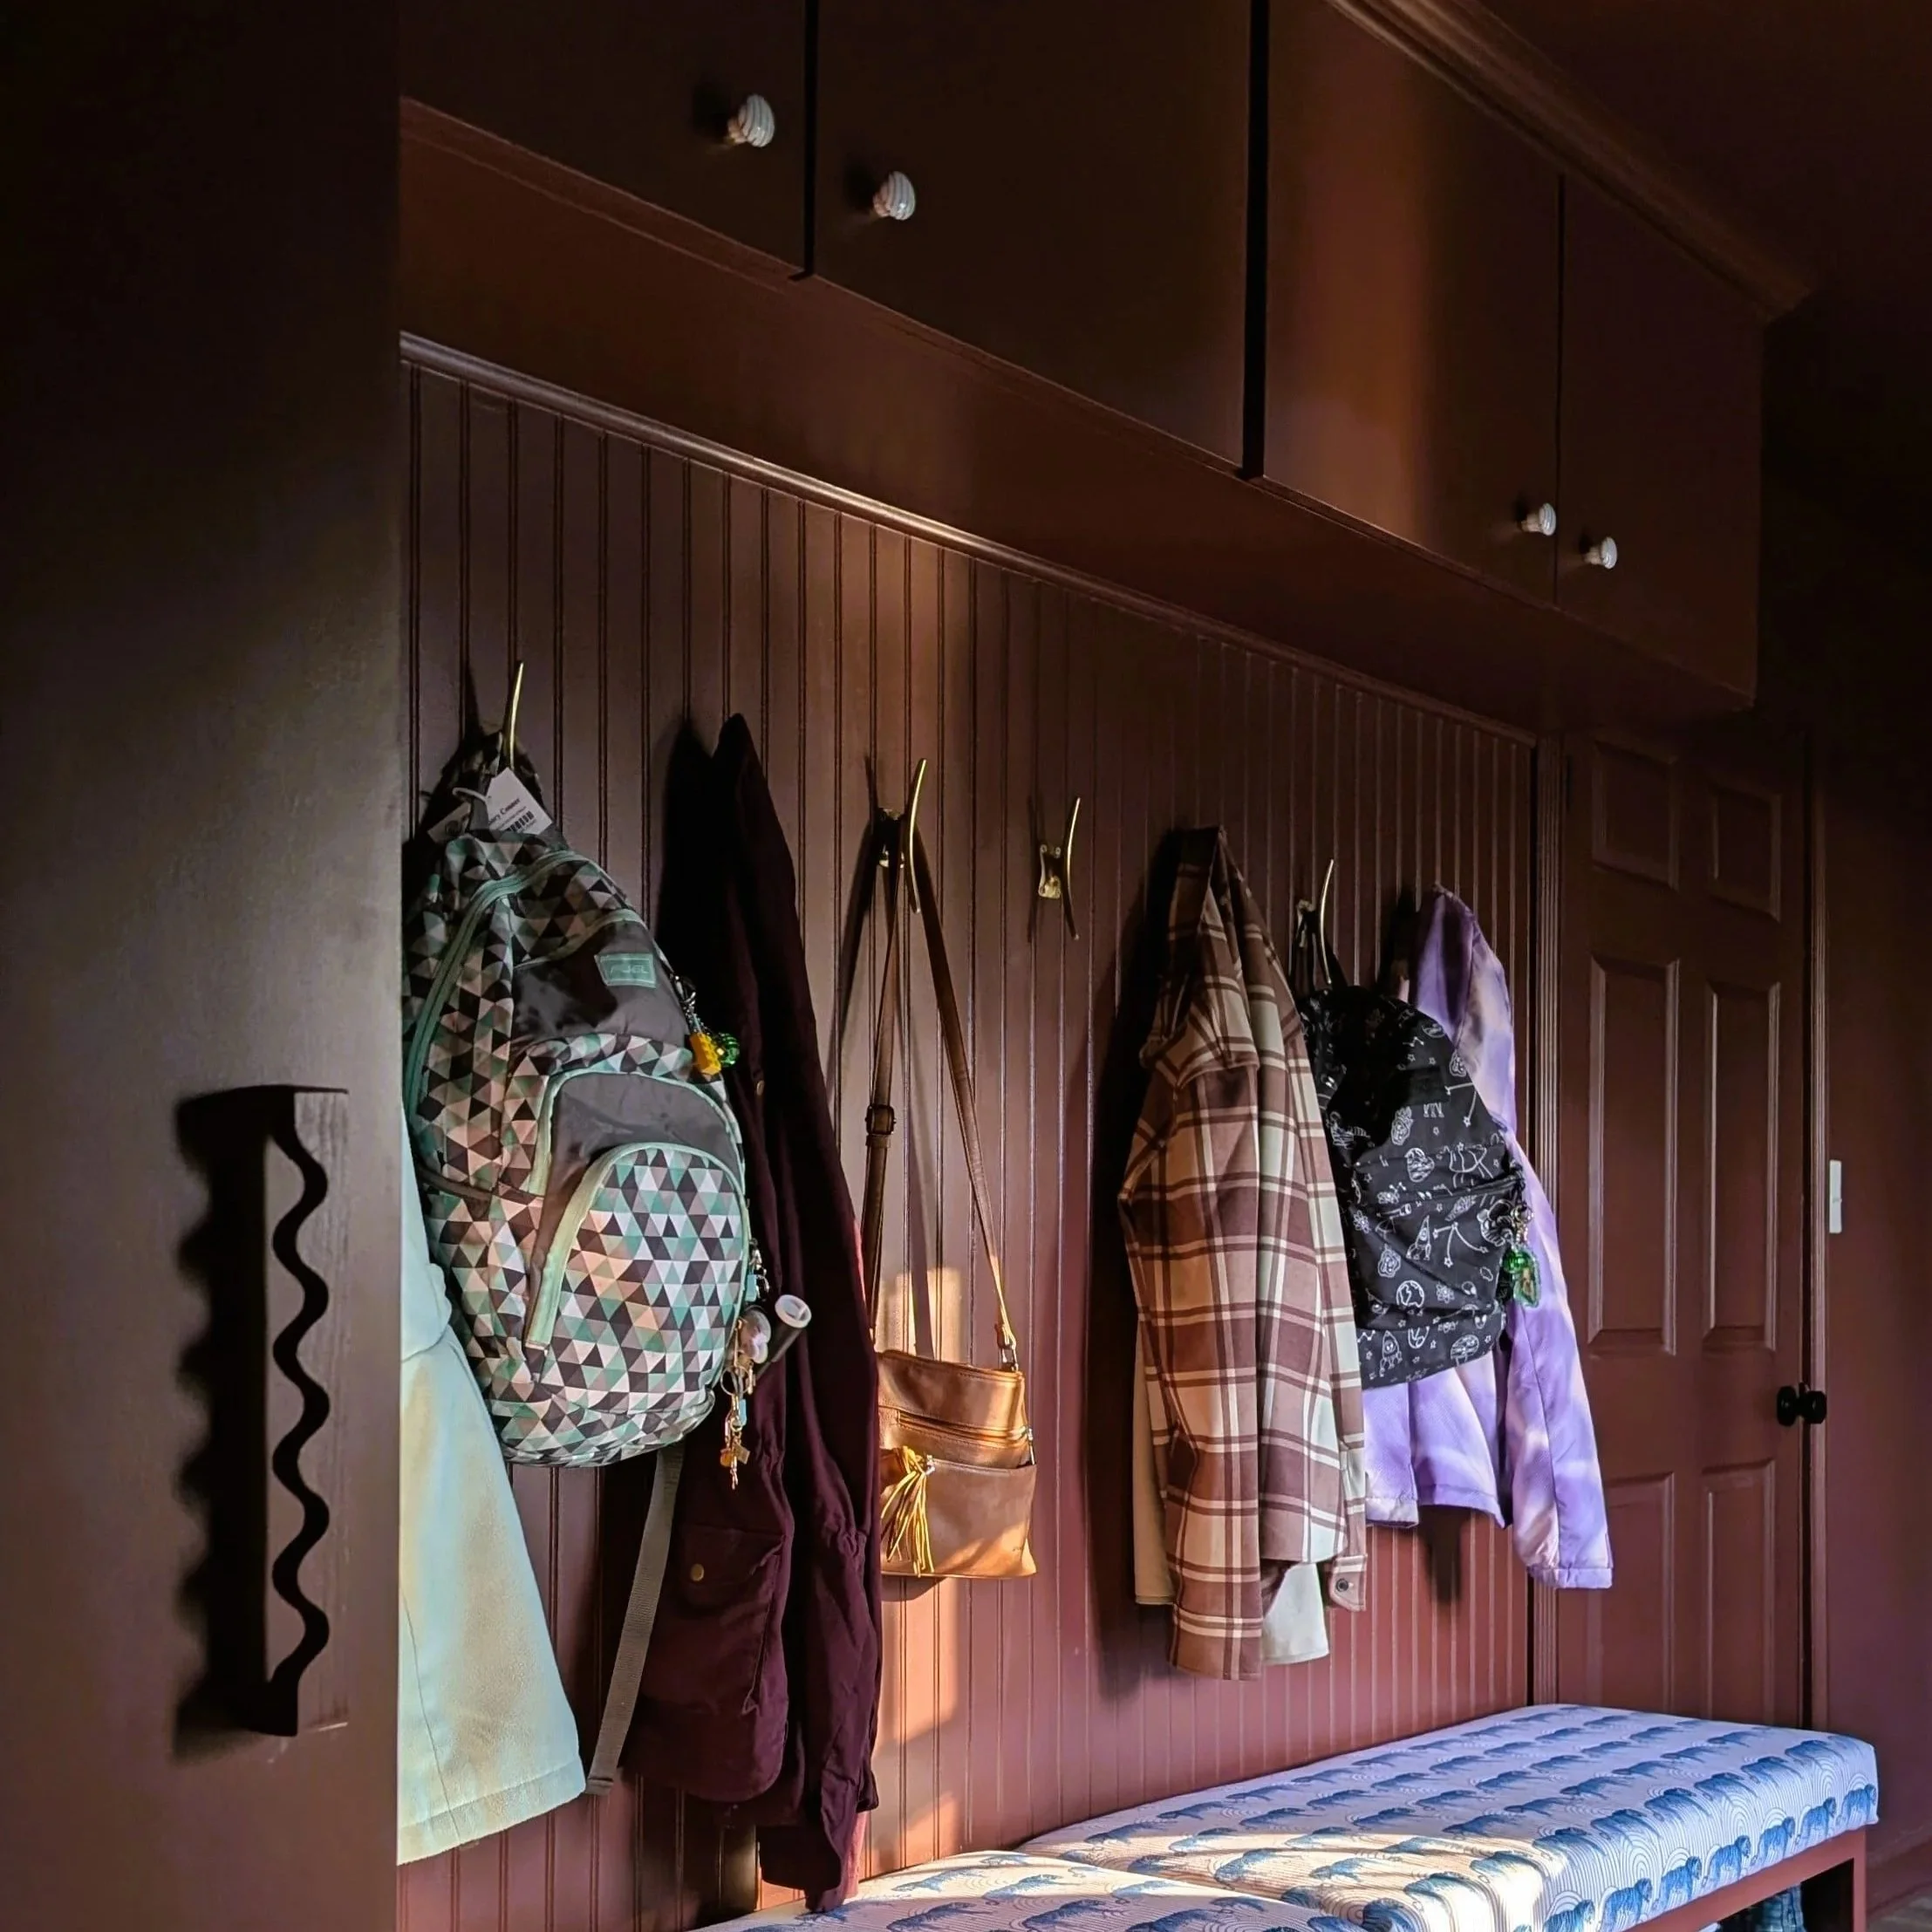
If mudrooms had movie trailers, this would be the dramatic close-up moment: the lockers are DONE. And honestly? They’re a dream come true - bold design, functional layout, and fully customized for all the “Mom, where’s my—” items.

Looking to up your Halloween decor game? You’ve come to the right haunted place. This 3D skeleton picture frame DIY is easy, inexpensive, and seriously spooky. Perfect for anyone who wants to make a big Halloween statement without spending a fortune.

They say the devil’s in the details—but in design, I think that’s where the magic is. My mudroom has been begging for custom storage for years, and now that I’m finally building my own DIY locker built-ins, I’m realizing just how many small design choices can take this space from “functional” to “freaking fabulous.” In this post, I’m sharing all the plans for how I’m turning a blank wall into a thoughtfully designed custom storage moment.
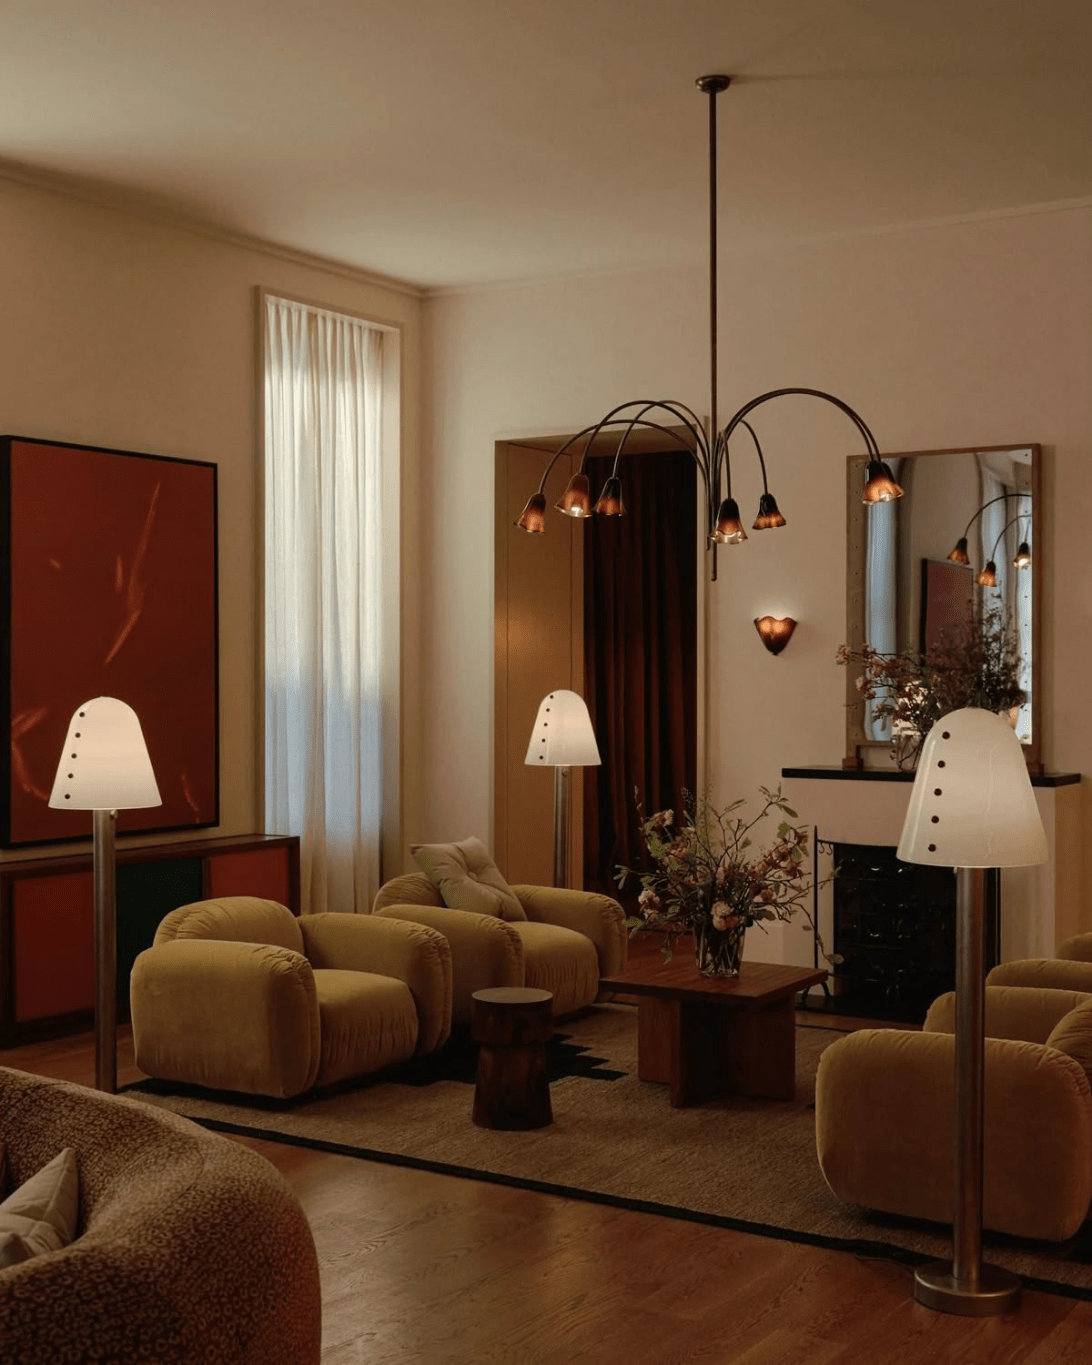
If you’re dreaming of a moody color drenched space but you’ve got an open concept floor plan, I hear you. It’s a common conundrum—especially with how popular open layouts have become. One of my readers recently asked this same question. Here’s my take.

Want the look of a designer light fixture without the price tag? I DIYed a $140 version of a $340 AllModern fixture using a tube of Rub ‘n Buff—and it turned out so good.

My once “meh” mudroom is starting to give serious main character energy. Let’s dive into the three big updates that changed everything.

Let’s be real—planter boxes are expensive. And the bigger they get, the pricier they are. And of course, I needed a large one, but couldn’t dropping big bucks on something I could build myself. So I rolled up my sleeves and took on this DIY planter box project.

Ready for your space to feel bold, curated, and completely reimagined? Then color drenching is your next design power move. Dive into color - and this blog - to learn how to make color drenching work in your space.

We’ll, we’ve lived in our house for over 5 years now, and the mudroom STILL hasn’t been renovated. Now it’s time for that to change. Join me as I share my design plans for creating a gorgeous and functional mudroom.

I love a reveal, and this one is especially sweet because I designed this room with my daughter’s help - because it’s hers! She’s entering her tween years and wanted something a little more mature. My response? “Say less.”

Wavy upholstered headboards are having a moment, and it’s easy to see why—they’re bold, fun, and full of personality. When I couldn’t find one that fit my budget, I decided to make my own, and guess what? It’s easier than you think!

You may have heard the phrase “tone-on-tone”. But what does it mean and how do you implement it in interior design? I’m answering all that and more in this comprehensive blog post!

How do you even design a tween bedroom during that odd stage of life when your child isn’t a little kid anymore, but isn’t an adult? In this post, I’m sharing the design plans for my latest project: making over a tween girl’s bedroom.

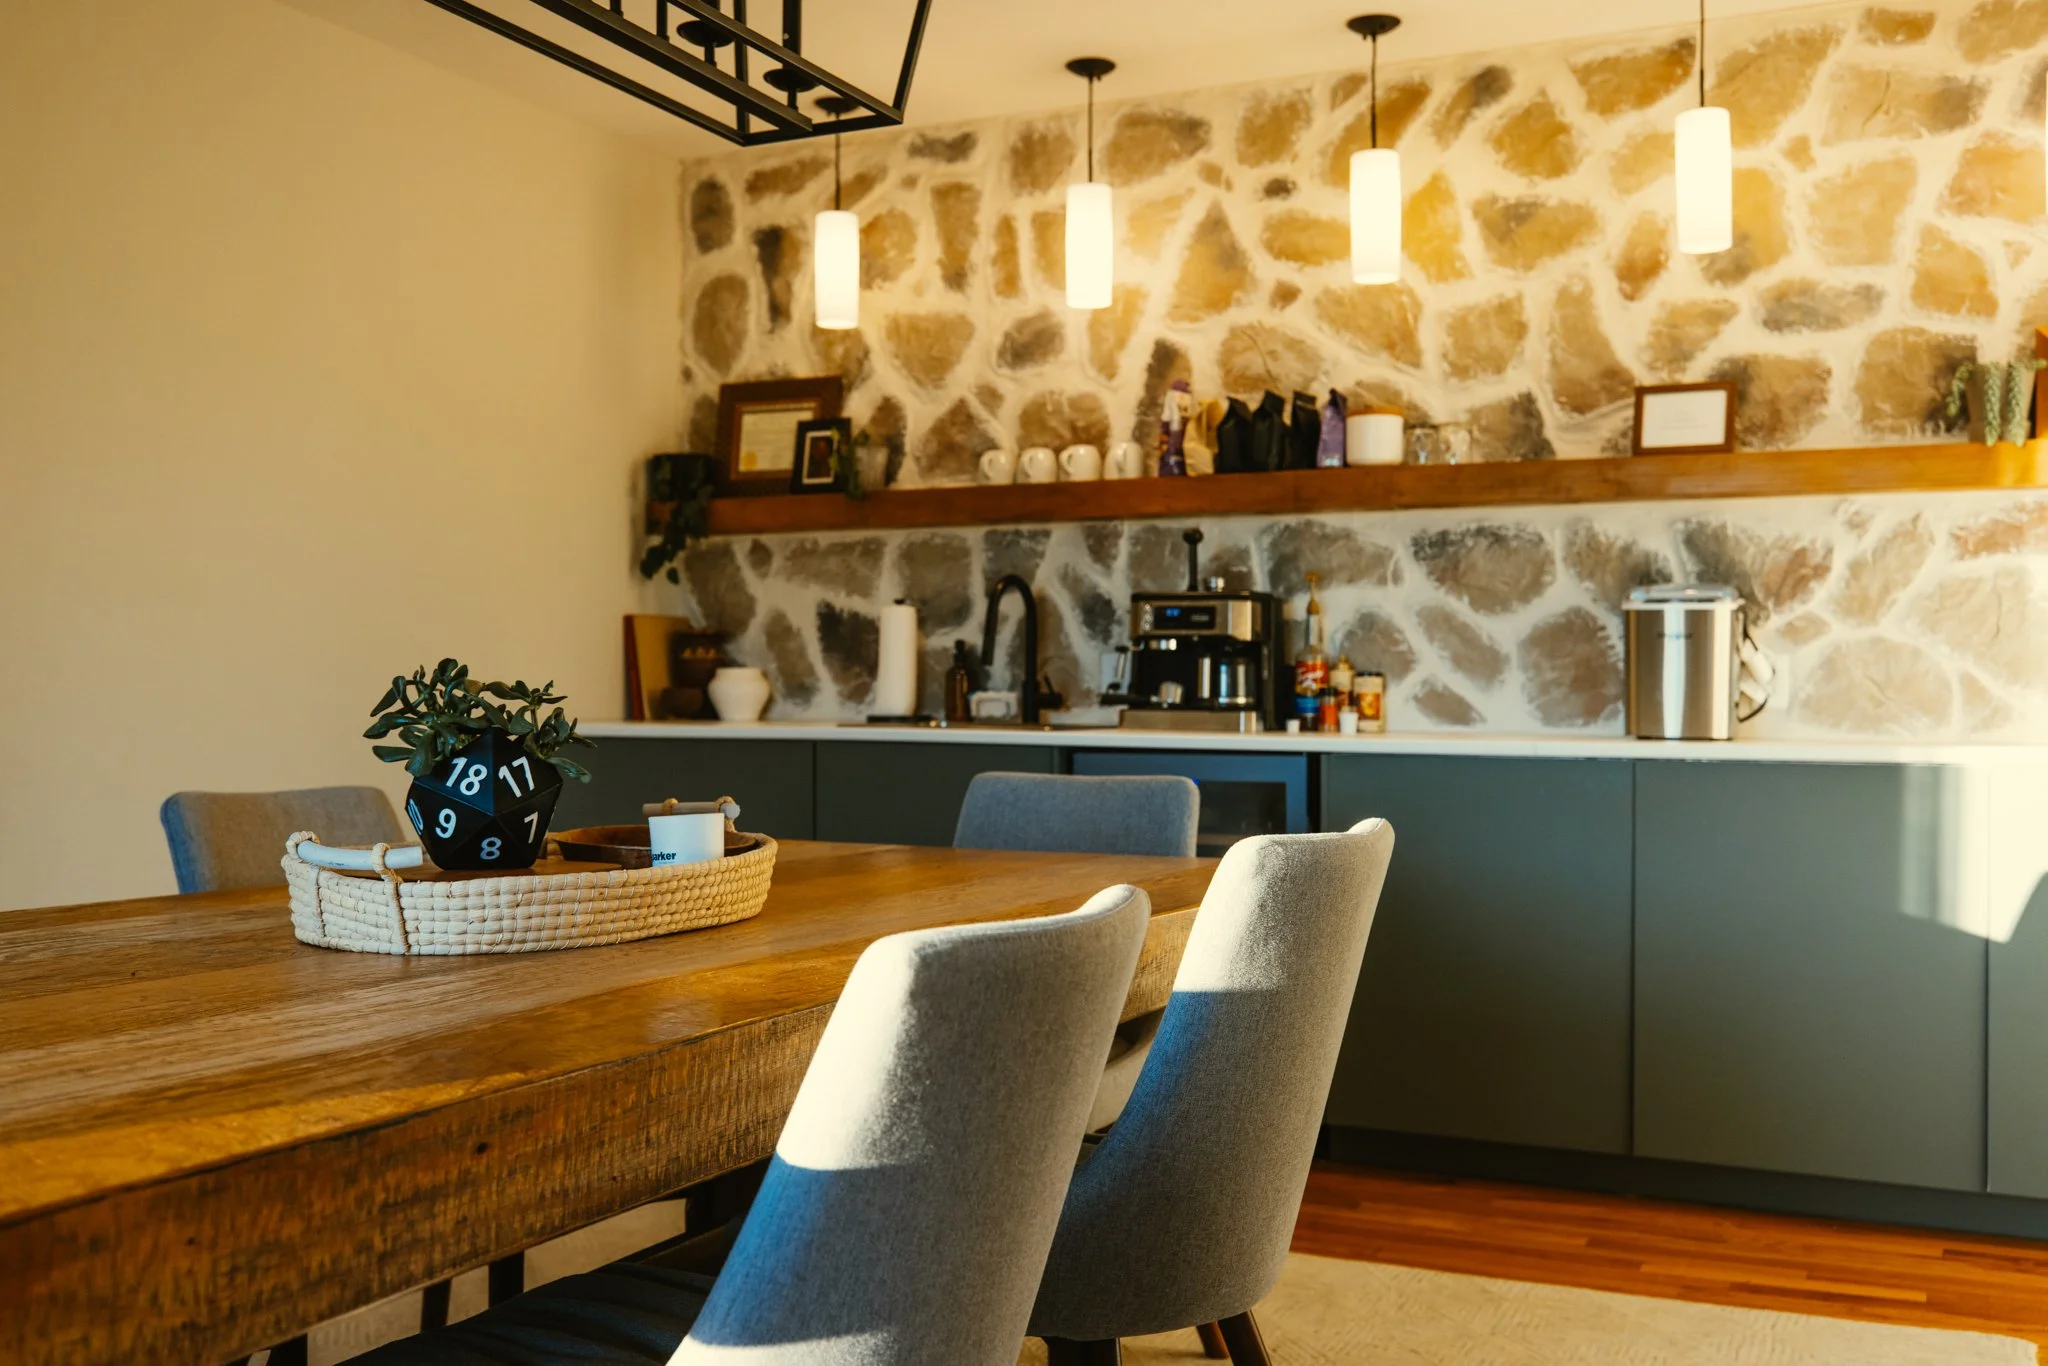
What would make your next D&D session even better? If you had an awesome venue to play in, of course! In this post, I’m very excited to present to you the reveal of the D20 Dungeon - a fully immersive event space now available to rent for your own gaming adventures!

Who in their right mind would give up their laundry room for a storage closet!? In this post, I’m covering our latest renovation: turning our old laundry room into a functional (and much-needed) storage closet with DIY shelving - and why we did it.

Stone veneer is an excellent way to add texture, dimension, and rustic charm to a room. Plus, it’s budget-friendly, makes a big visual impact, and is totally DIY-able! Stick around for my step-by-step guide on how to install stone veneer yourself.

What do you do when you have a formal living room, but you’re not exactly formal living room people? You turn it into a playroom! Dive in to see how I reimagined this space to work for our family.

I’m gonna go out on a limb and assume you’ve heard of DND before. Or, more widely known as Dungeons & Dragons. But why in the world would I be talking about it? Well, that would be because my husband has roped me into designing a fully immersive Dungeons & Dragons space in the basement of our office building.

If you’re anything like me, you’ve taken notice of the fluted furniture trend and you LOVE it… but not the price tag that comes with it. Don’t worry - I gotchu! In this post, I’m sharing how I created fluted cabinet doors for my built-ins with just some plywood and a table saw!

It’s that time of year again to step back and take a look at what we actually worked on all year long. And maybe even share some loose plans for next year, too!

With the powder room renovation complete, you may be wondering what project is next on my list. And the answer isn’t necessarily what’s next. It’s what’s already been happening…
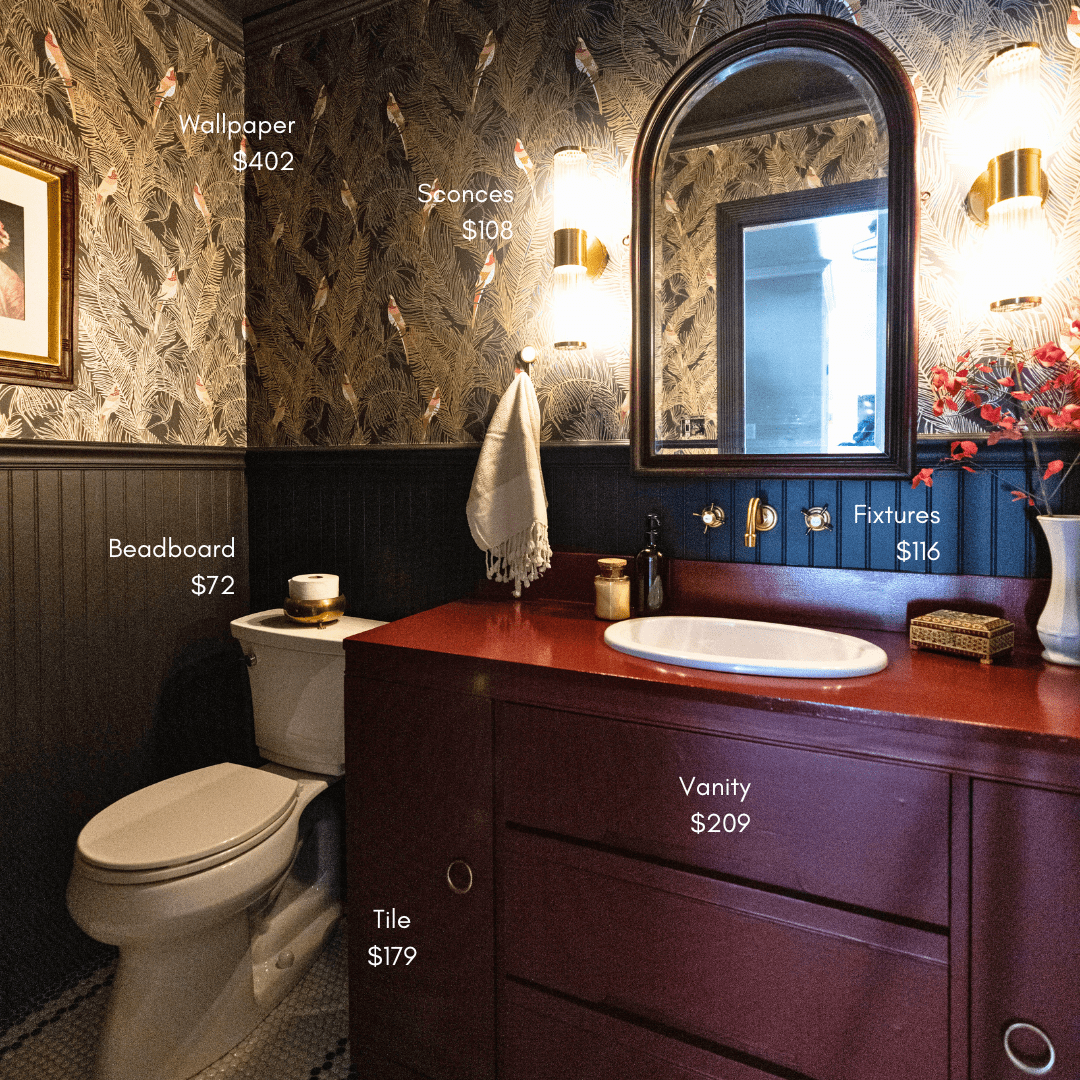
Wanna know how much it really cost to completely renovate my half-bathroom? Find it here with an itemized breakdown!

Sometimes gift ideas come easily. Sometimes I remember to write them down throughout the year to refer back to right about now. But, to be honest, most of the time I need a little help. If you’re anything like me, gift guides are the perfect cheat sheet for getting your wheels turning, so I’m sharing what I came up with this year. Enjoy!
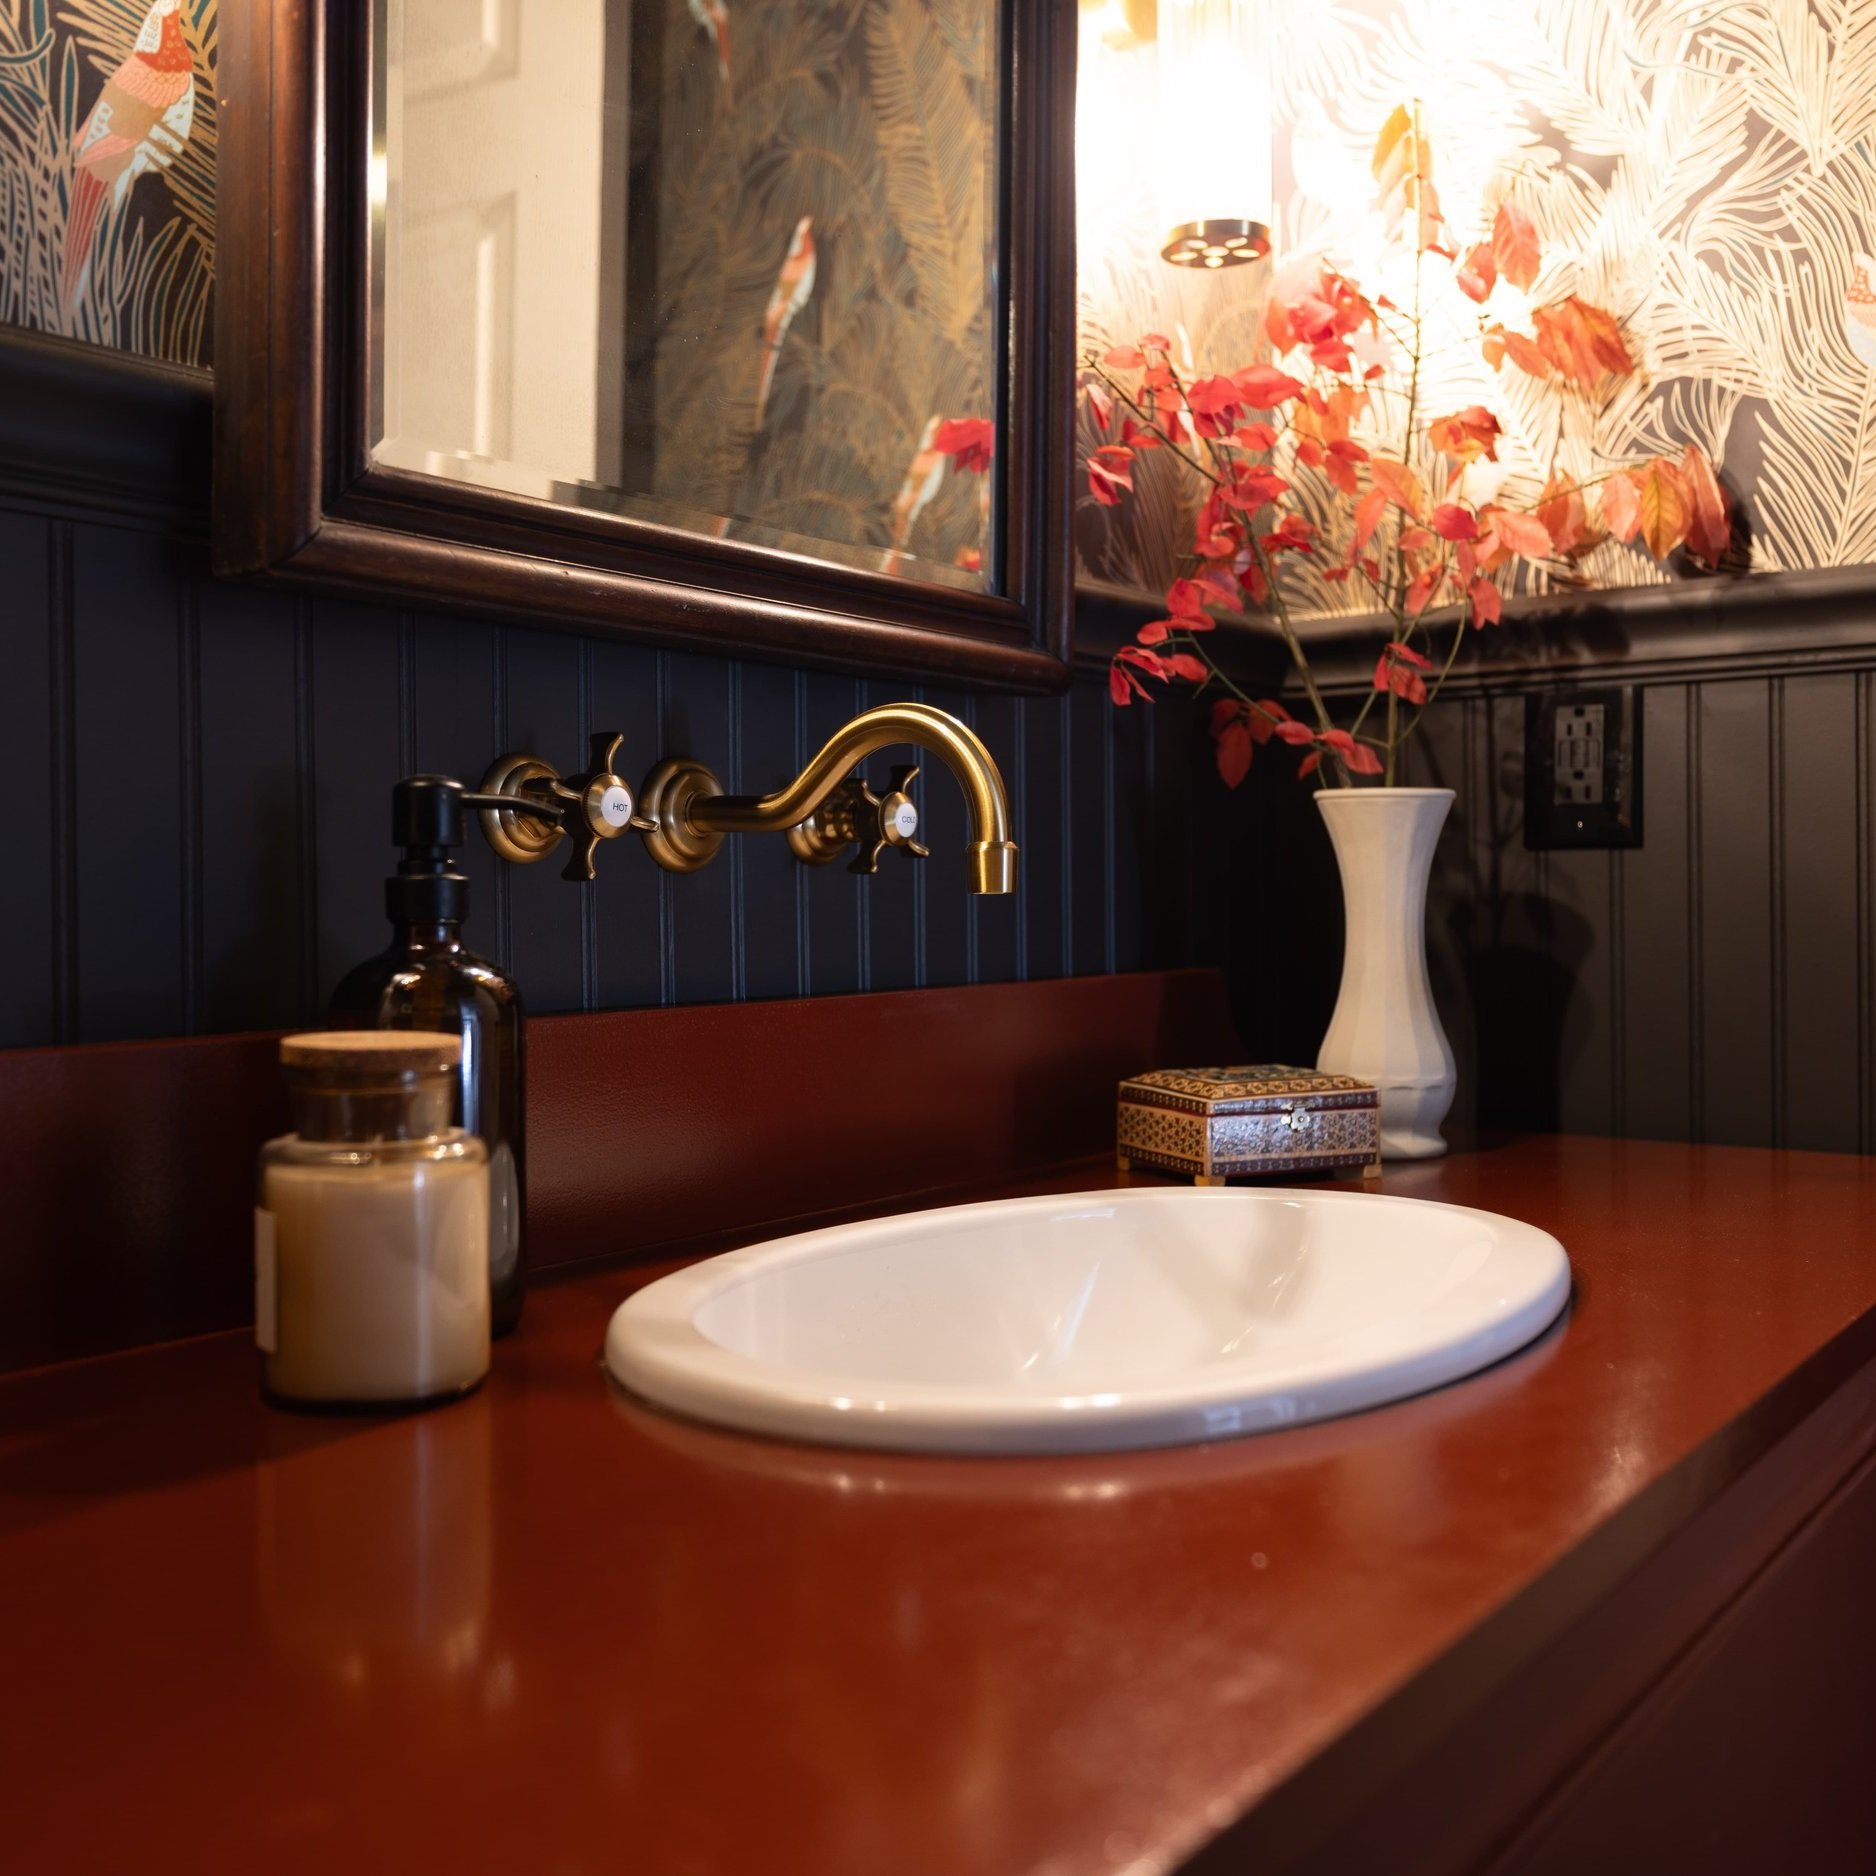
Looking for a dramatic before and after reveal? Then you’re in the right place! Dive into this post to see how I took my powder room from boring and outdated to dramatic and sophisticated.

Converting an old piece of furniture into a one-of-a-kind custom vanity is a great project to add a unique style to your bathroom. In this post, I’m sharing the step-by-step process for how I turned a dresser into my new bathroom vanity!
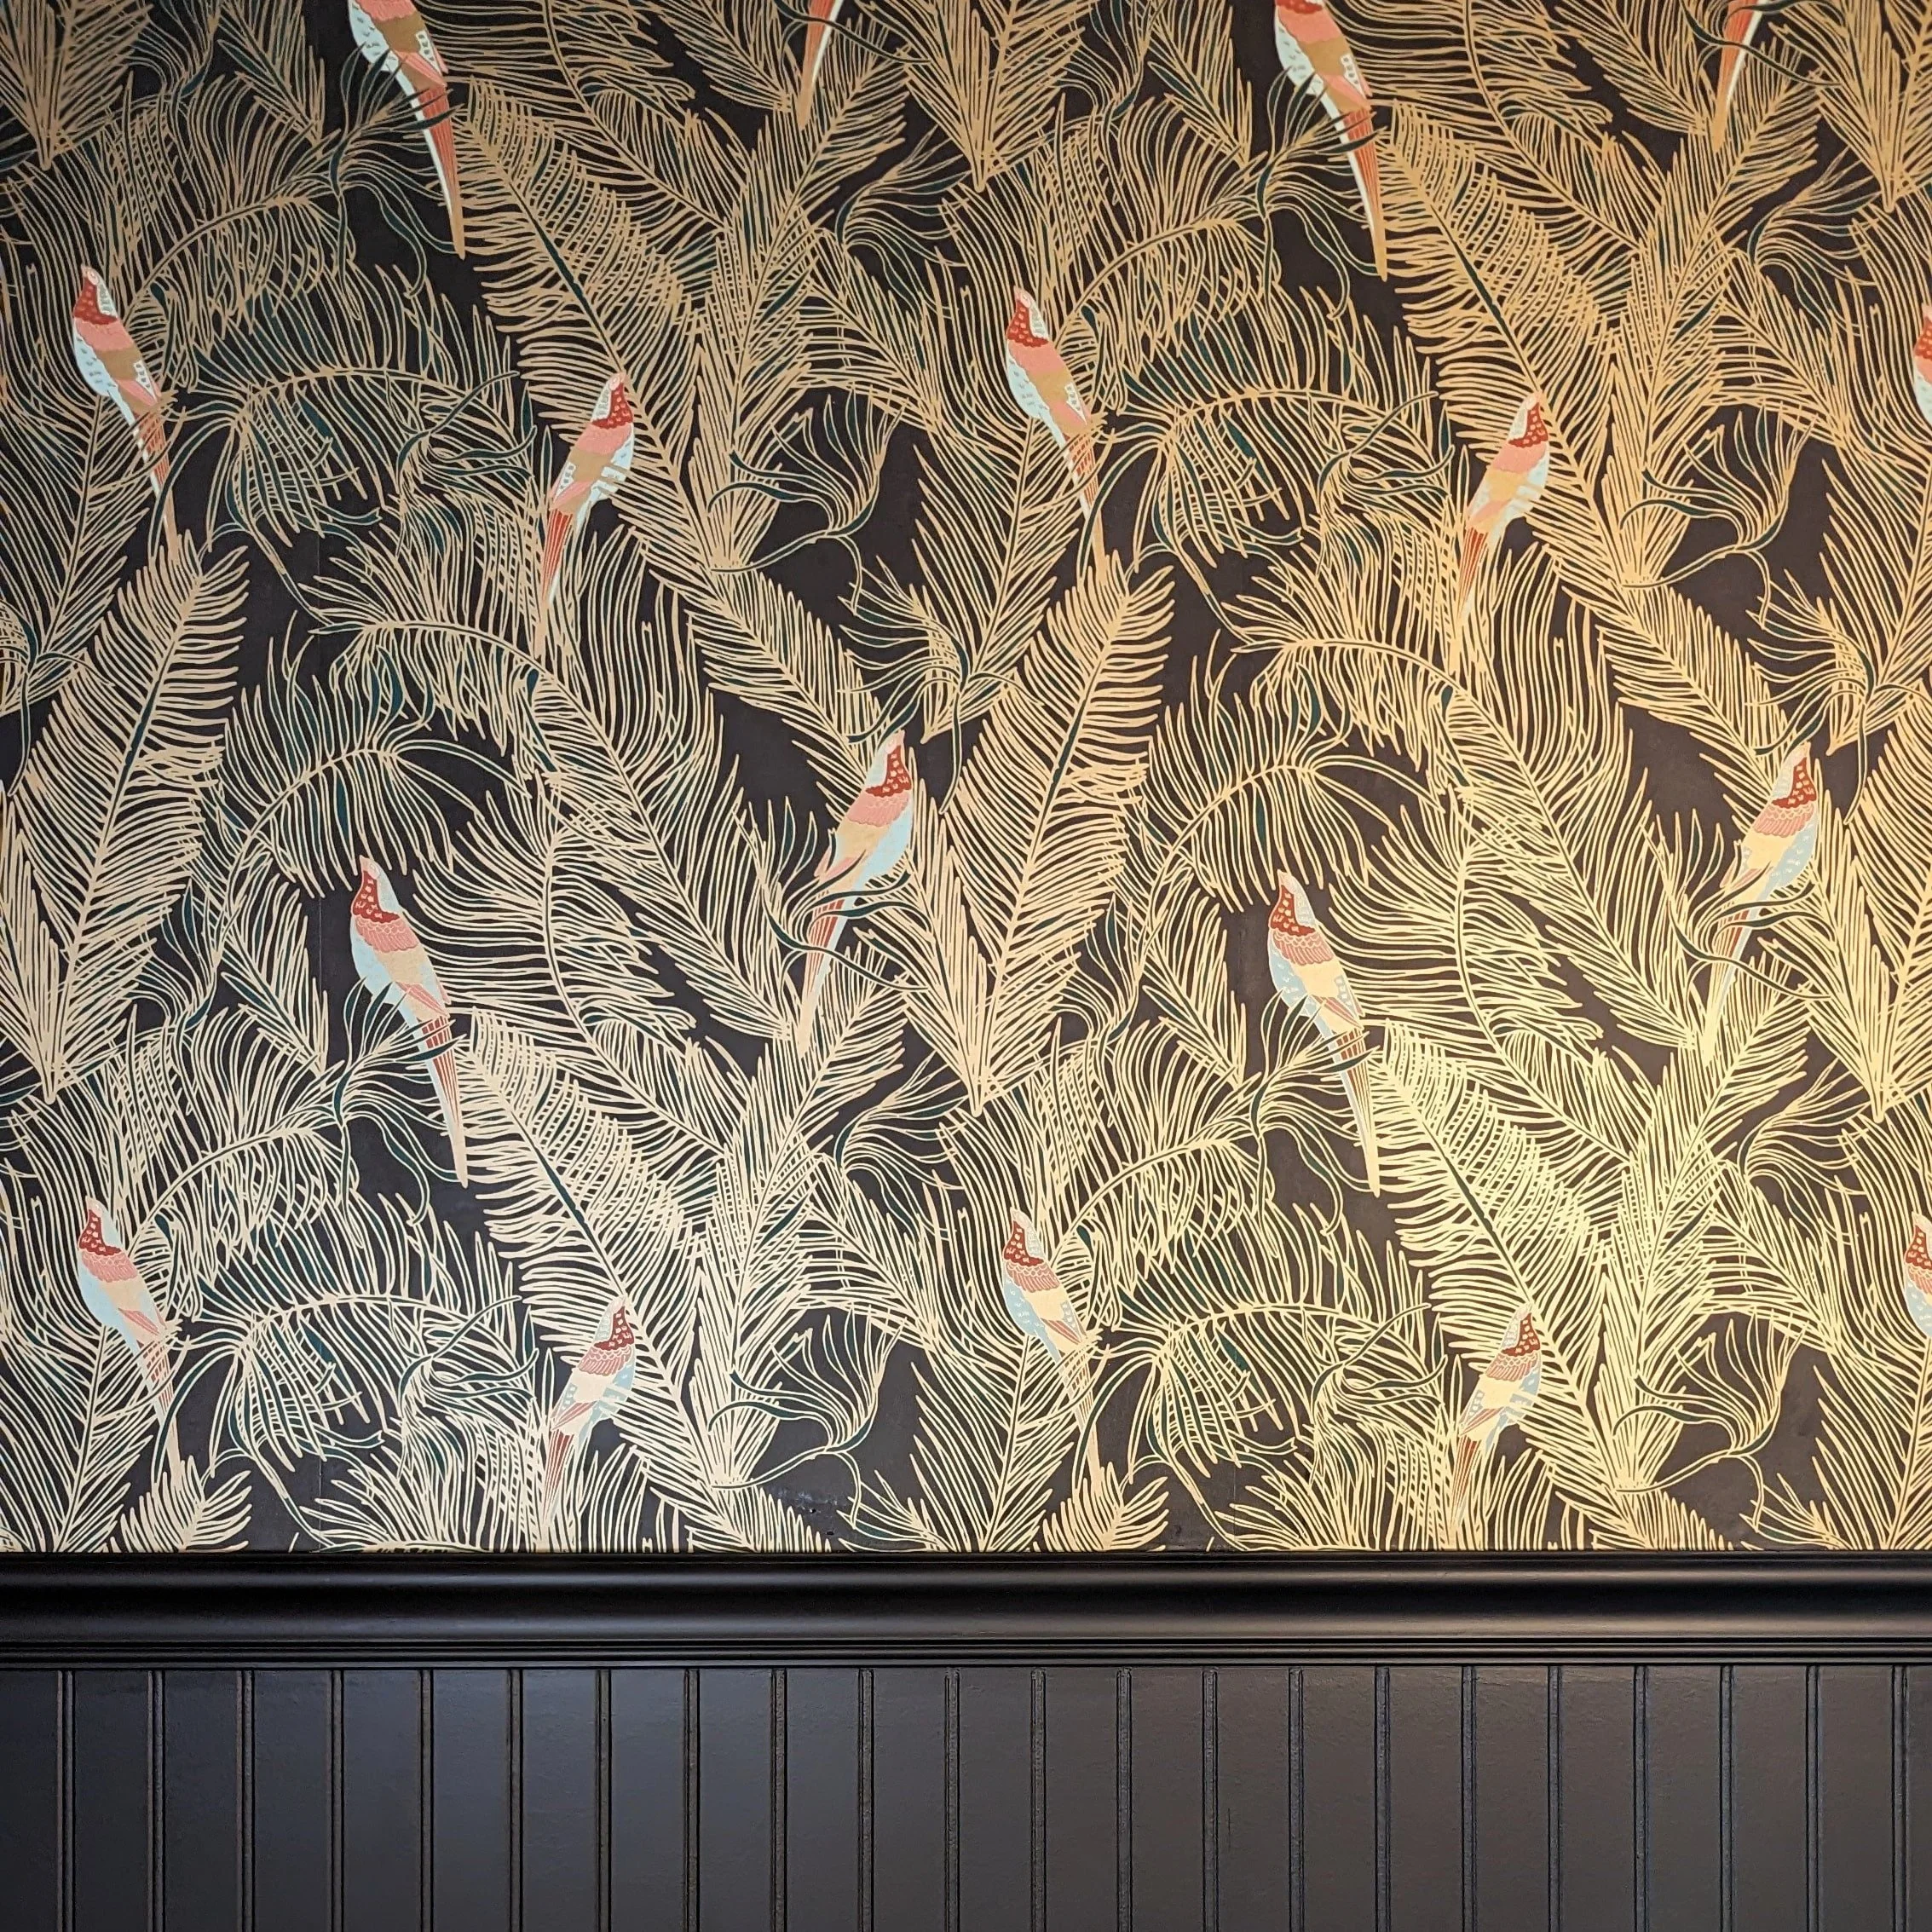
Several years ago, I hung peel-and-stick wallpaper in my (still unfinished) closet thinking it would be the easiest kind of wallpaper to install. Boy, was I wrong! Although I wouldn’t go so far as to say any wallpaper is “easy” to hang, the experience between hanging paste-the-wall vs. peel-and-stick is worlds apart.
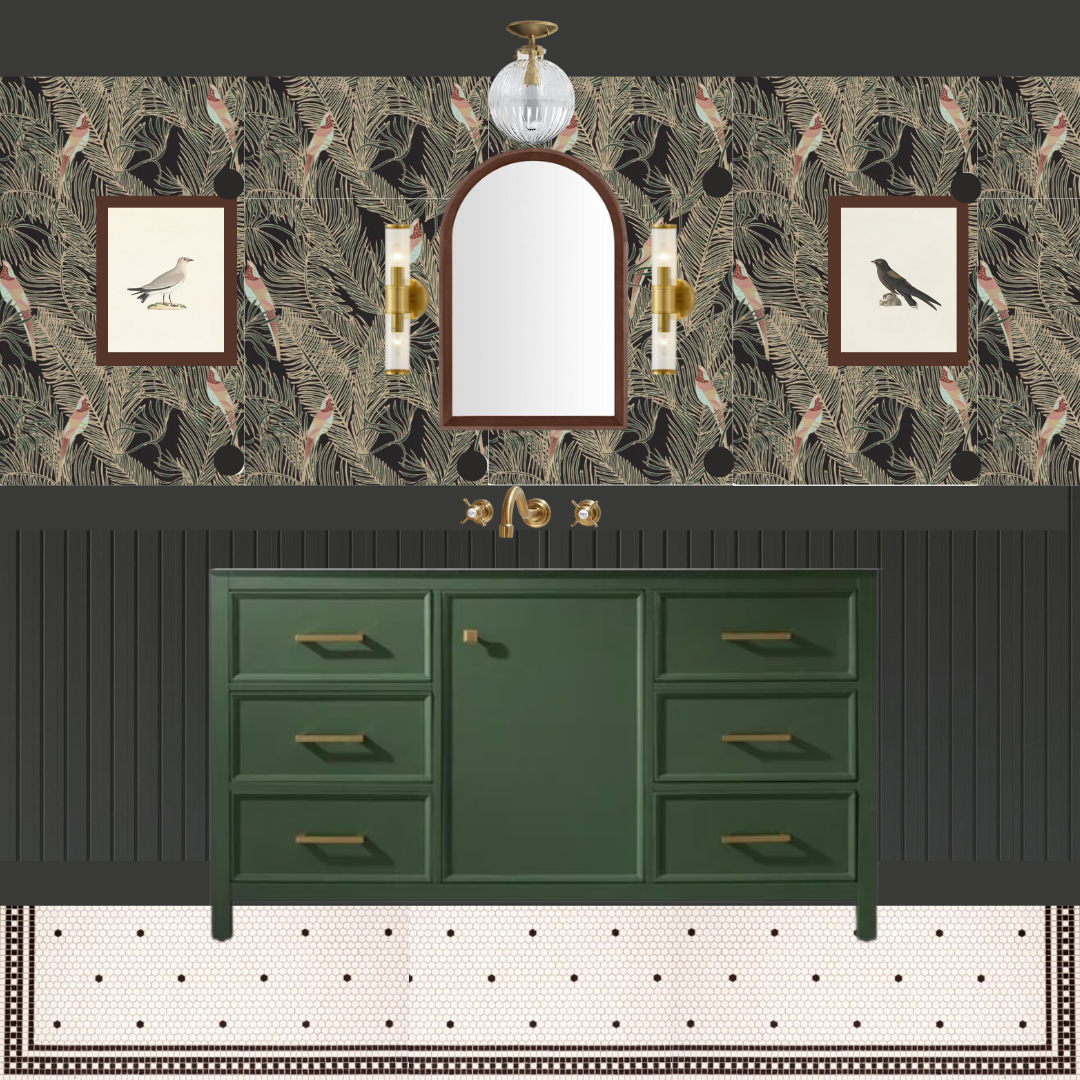
I’m excited to announce that I’m participating in the Fall 2024 One Room Challenge! I’m even more excited to share that a total half-bathroom makeover will be the focus this time. In this post, I’m sharing the current state of the bathroom, the design plans, and the inspiration!
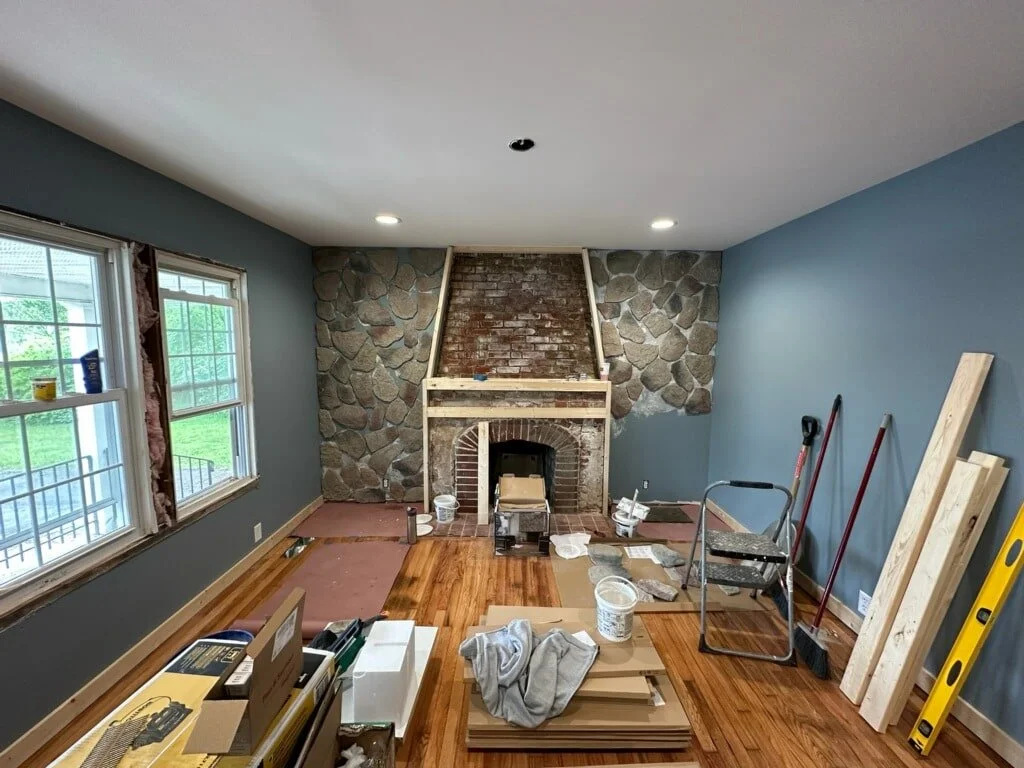
It definitely wasn’t my intention to take the summer off of blogging, but the office renovation needed as much attention as it could get - so that’s where I’ve been just about every day. While I’m not officially ready to reveal any of the rooms, you’ll get plenty of updates and sneak peeks in this post. Keep scrolling!
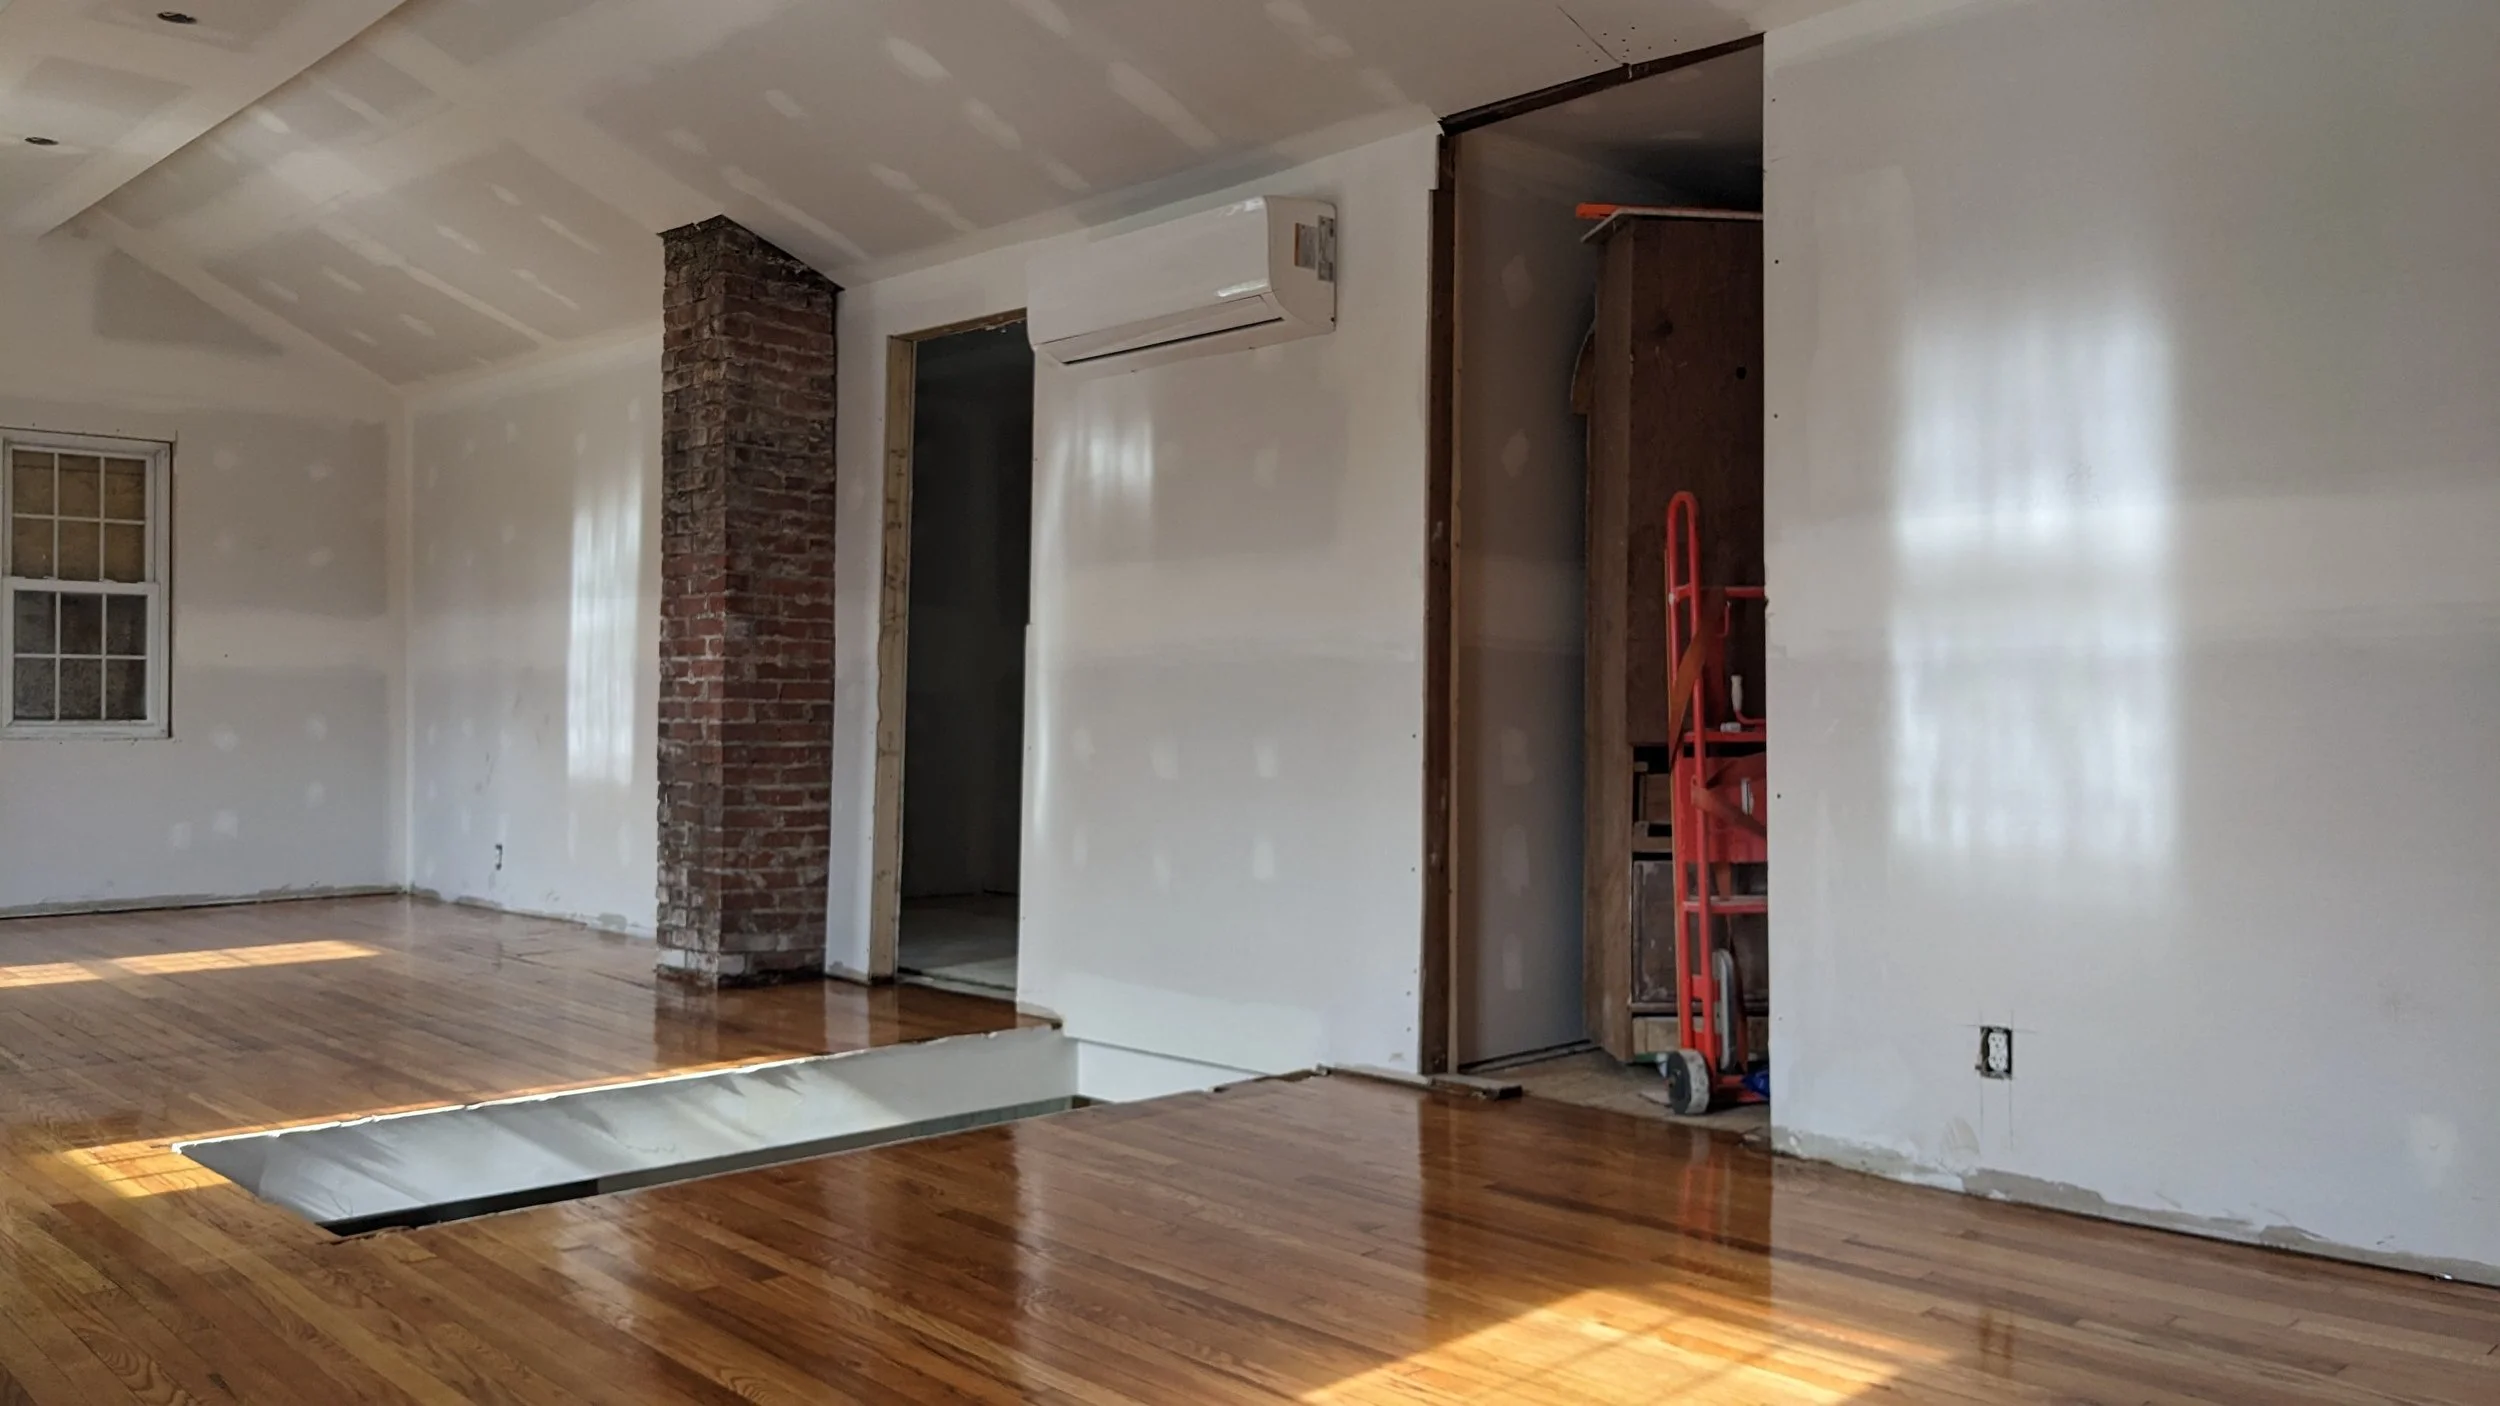
Recently I’ve been busy sharing the designs for most of the spaces in our office building, like the lobby and reception area, the kitchenette and conference room, and the agent office. Today I’m wrapping up this series with the bathroom, loft, and remaining spaces.
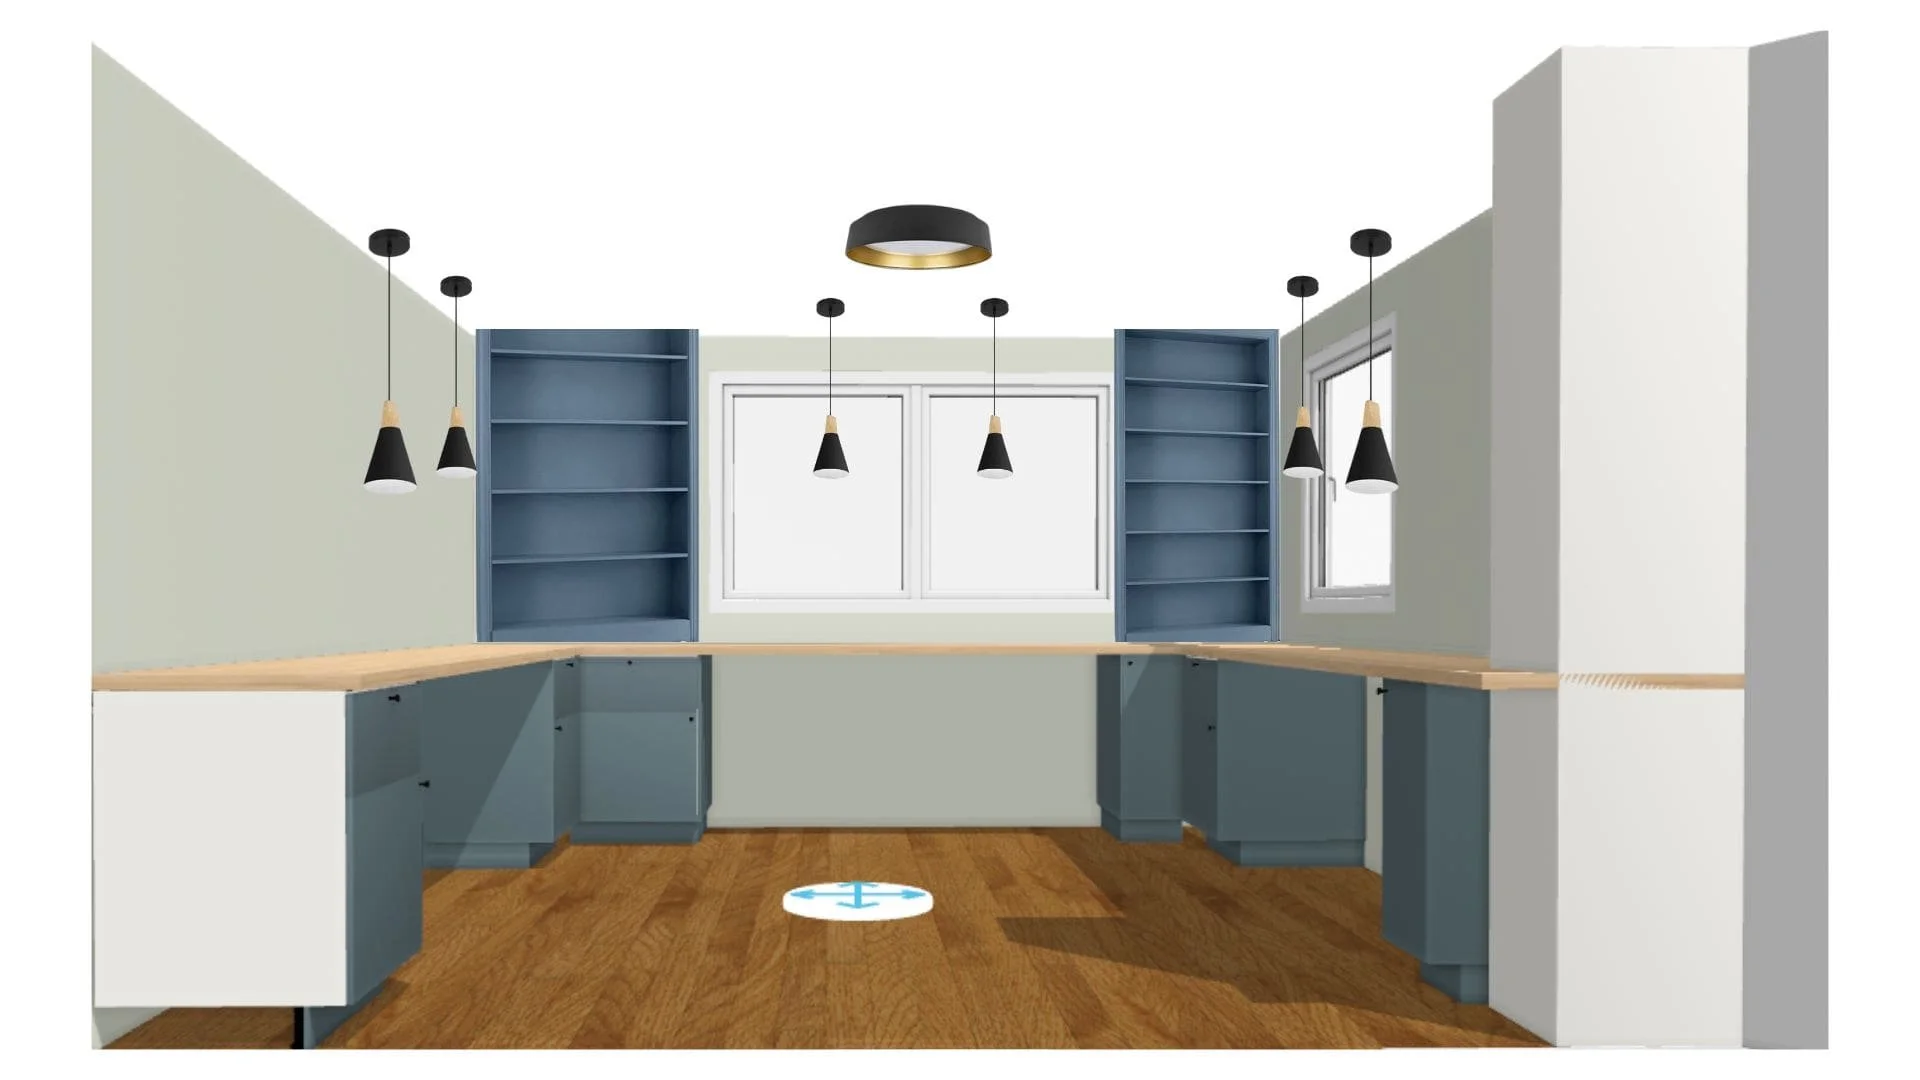
I’ve shared the designs for the lobby and reception area, as well as the conference room and kitchenette in the office building we’ve been renovating. Let’s keep that trend going. Today, I’m sharing the design for the agent office!
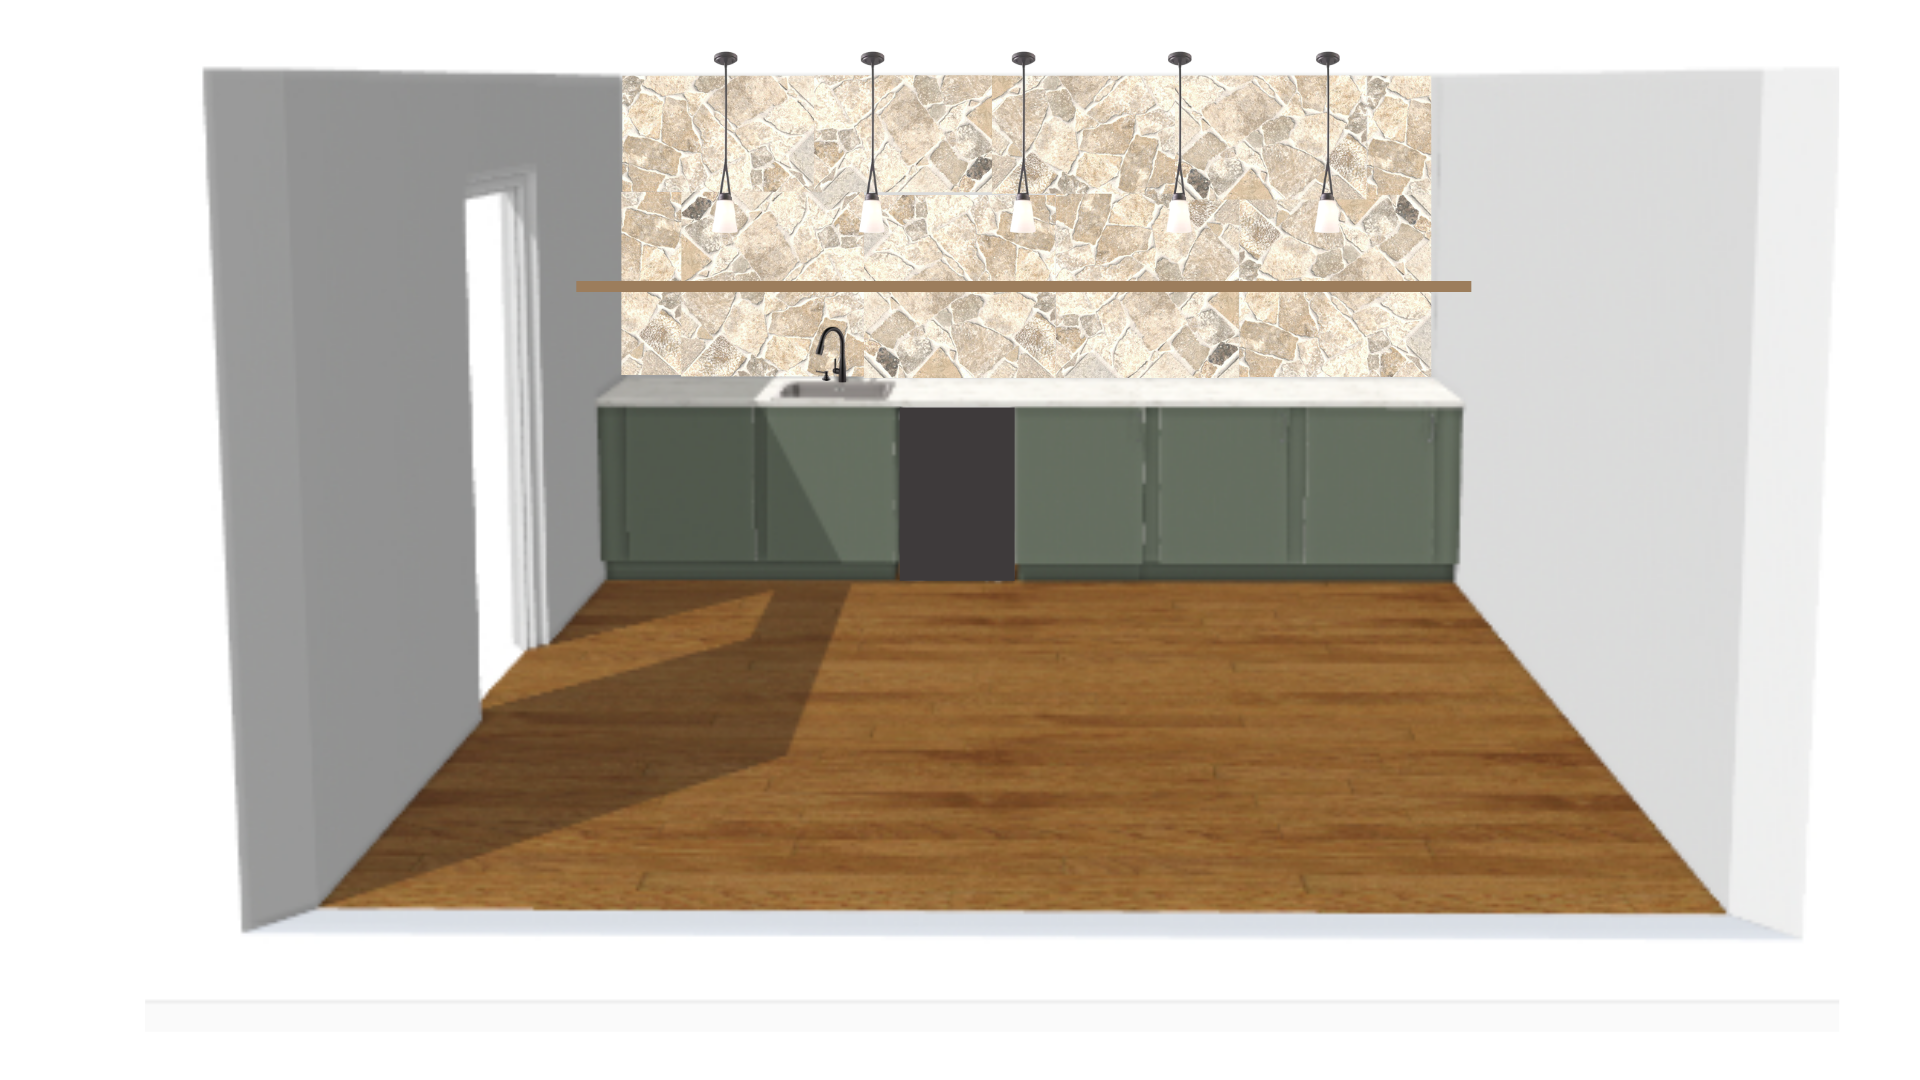
Last week I shared that drywall is finally being installed at the office! And as exciting as that is, I’m even more excited for what’s to come. I’ve been working hard behind the scenes on the design of this building. Today we’re diving into the conference room!
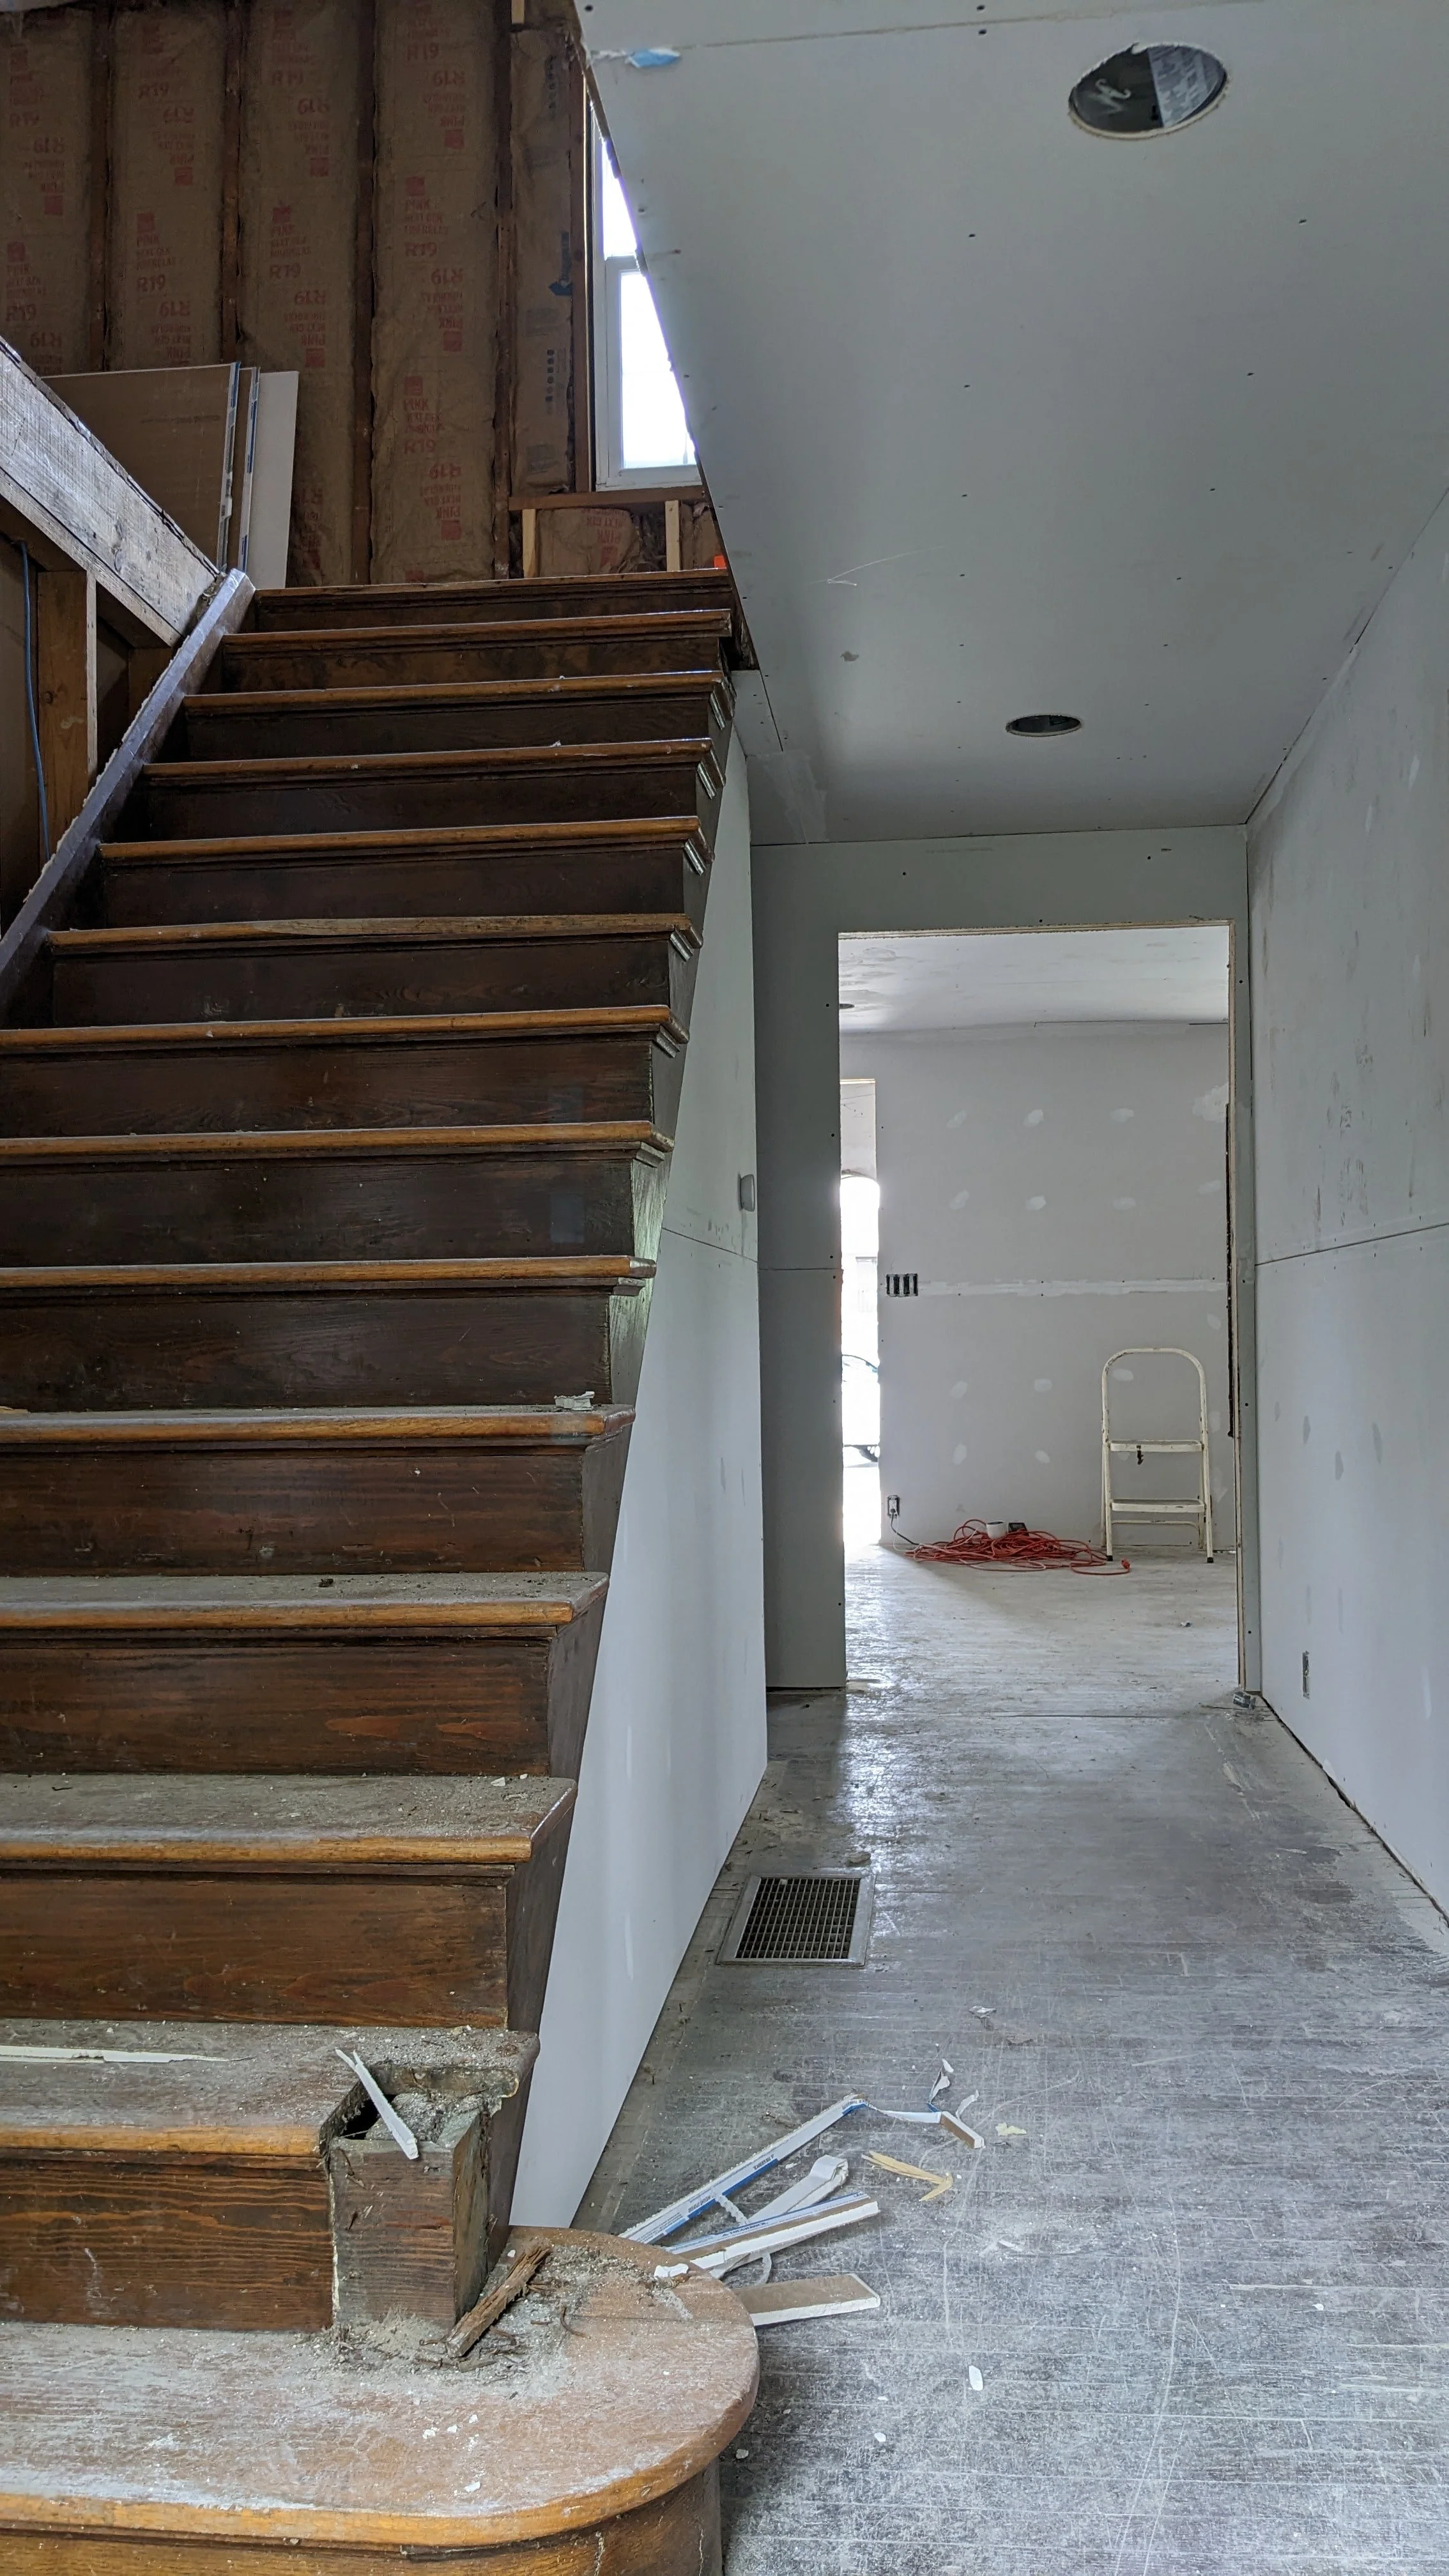
It’s hard to believe, but the last post I wrote about our new office building was four months ago! In that post, I shared the design for the lobby and reception area. In real life, we were deep in the demo phase. We’ve made a lot of progress since then, so in this post, I’m sharing what the building looks like today!
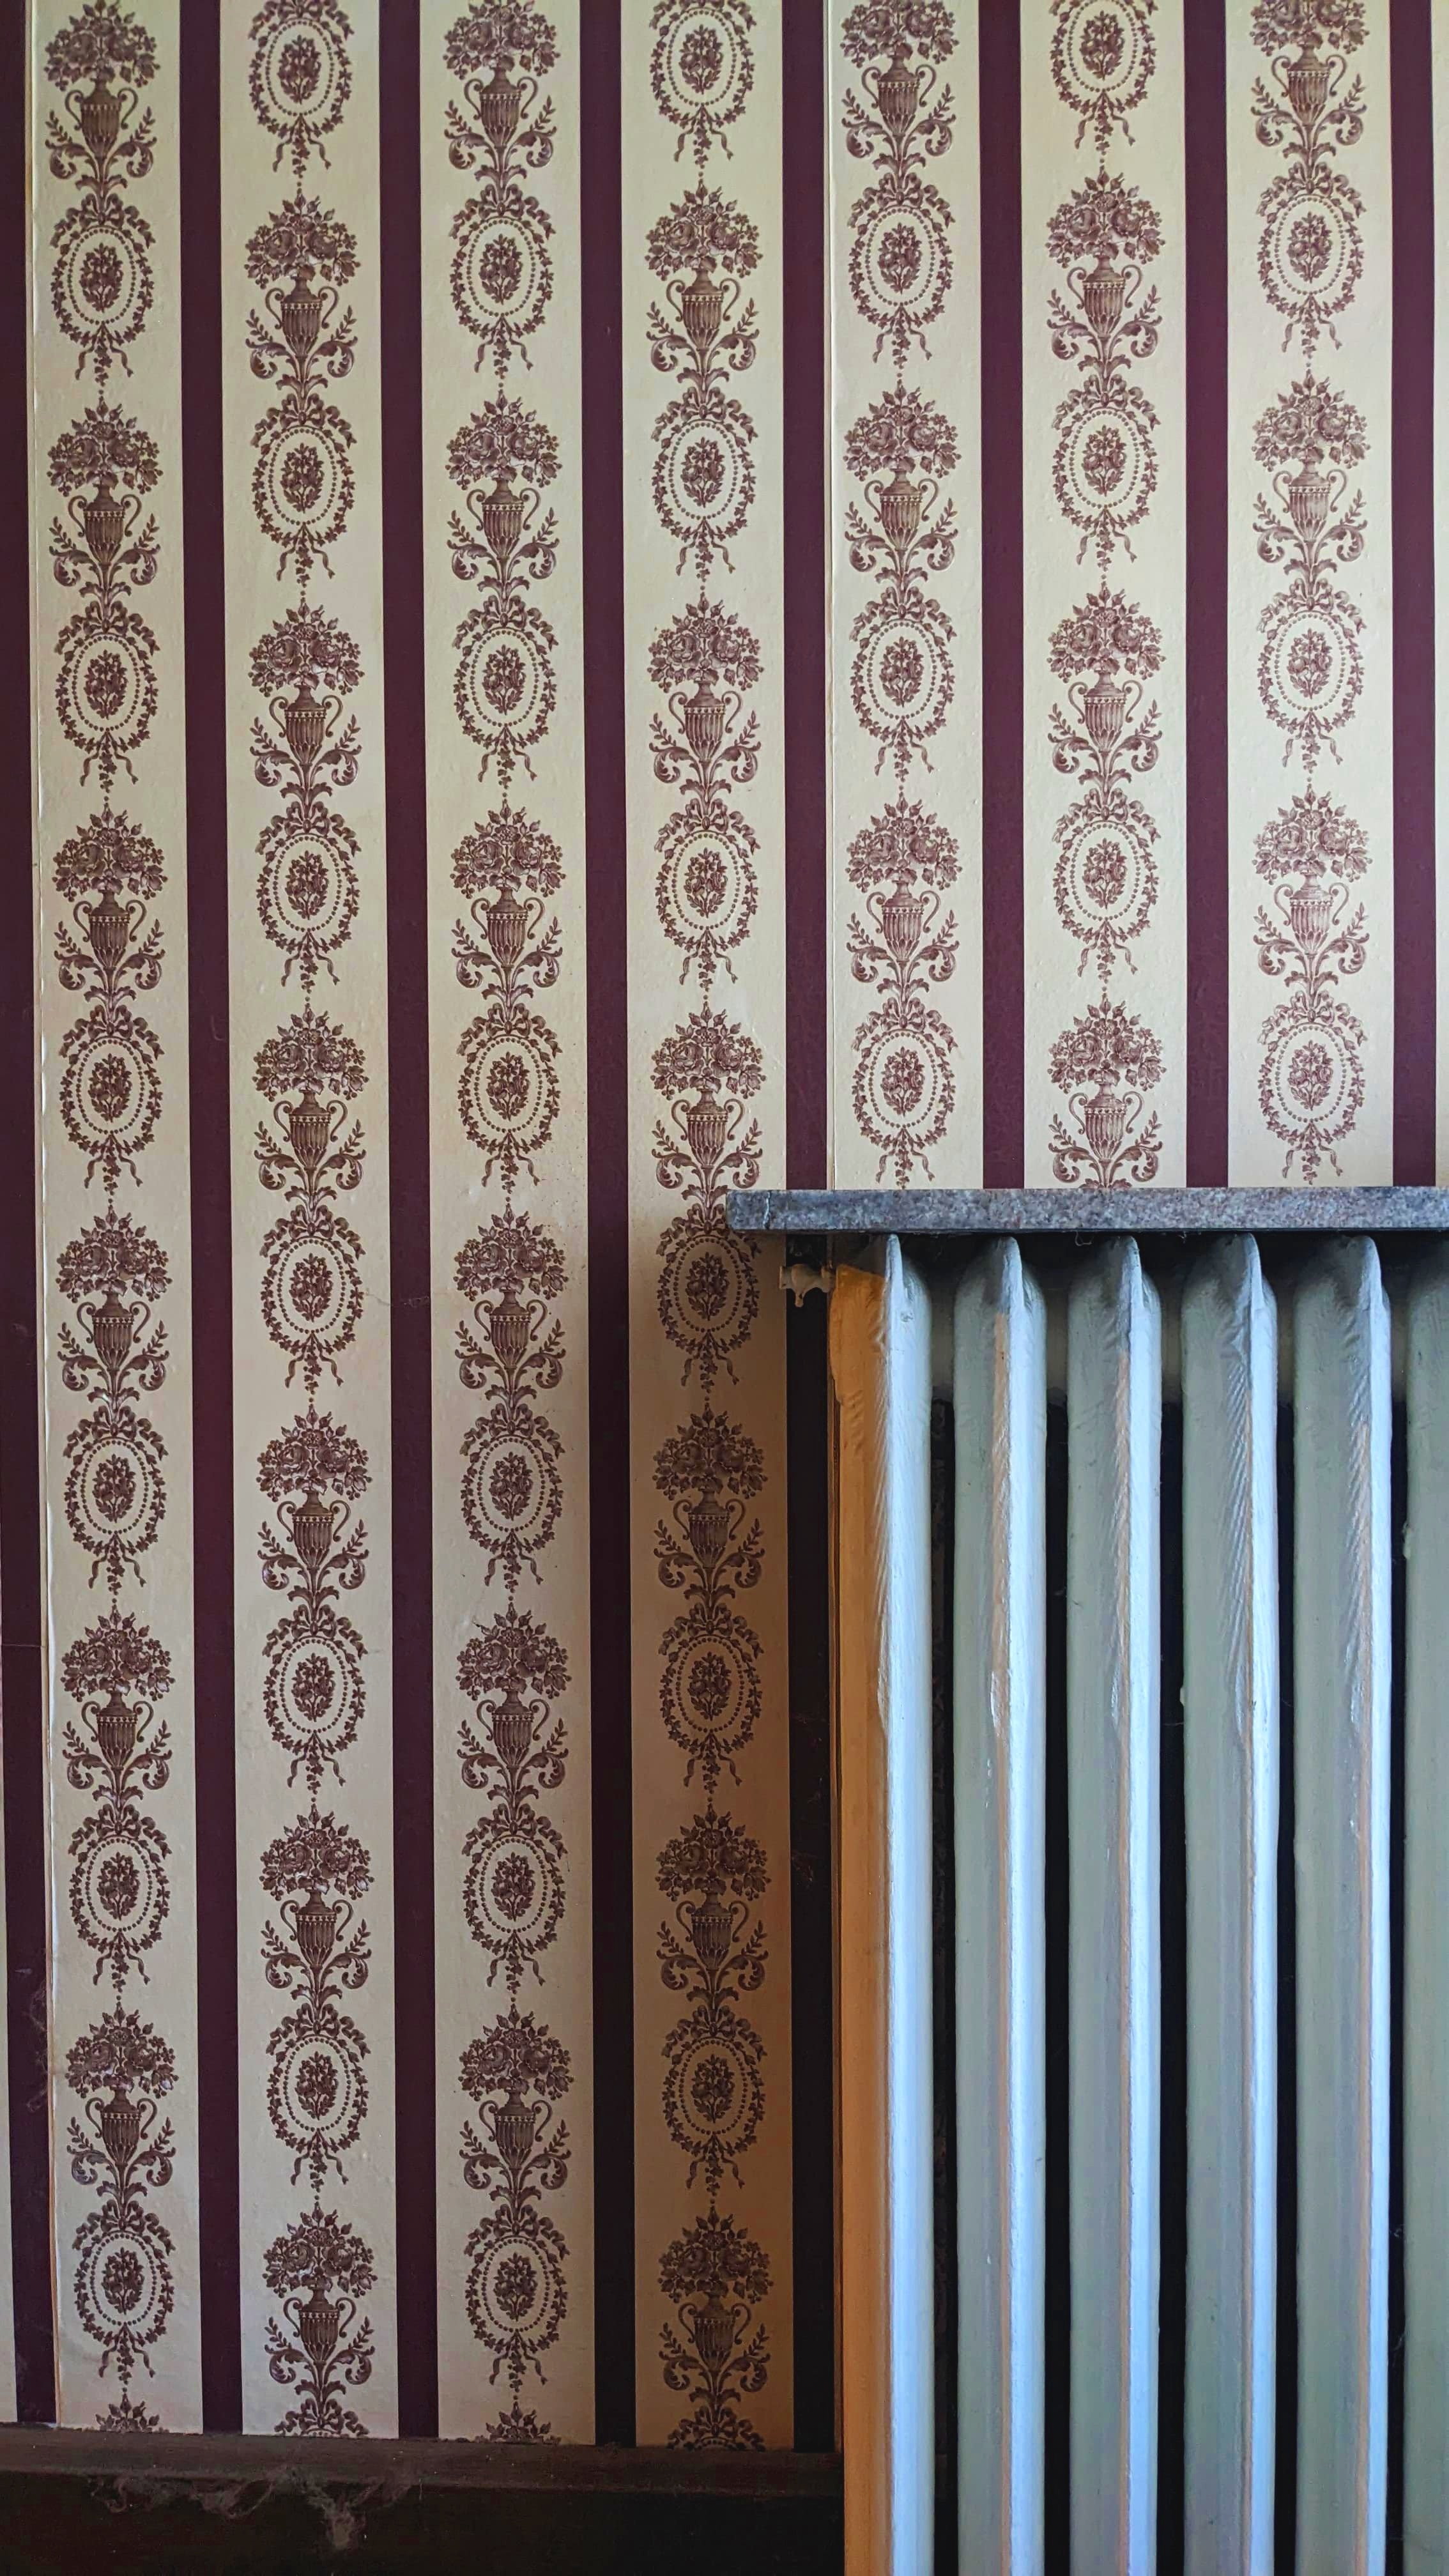
We’re already about five weeks into having possession of Charlie Foursquare and are moving full steam ahead! So, I figured now would be a good time to share what needs to happen to prepare this property for the next steps.

If you’ve been following along, you’ll know that we recently purchased a dilapidated hair salon that we’re renovating into an office space. While that property is still very much a work in progress, we like to keep ourselves on our toes - so we added another one to the mix!
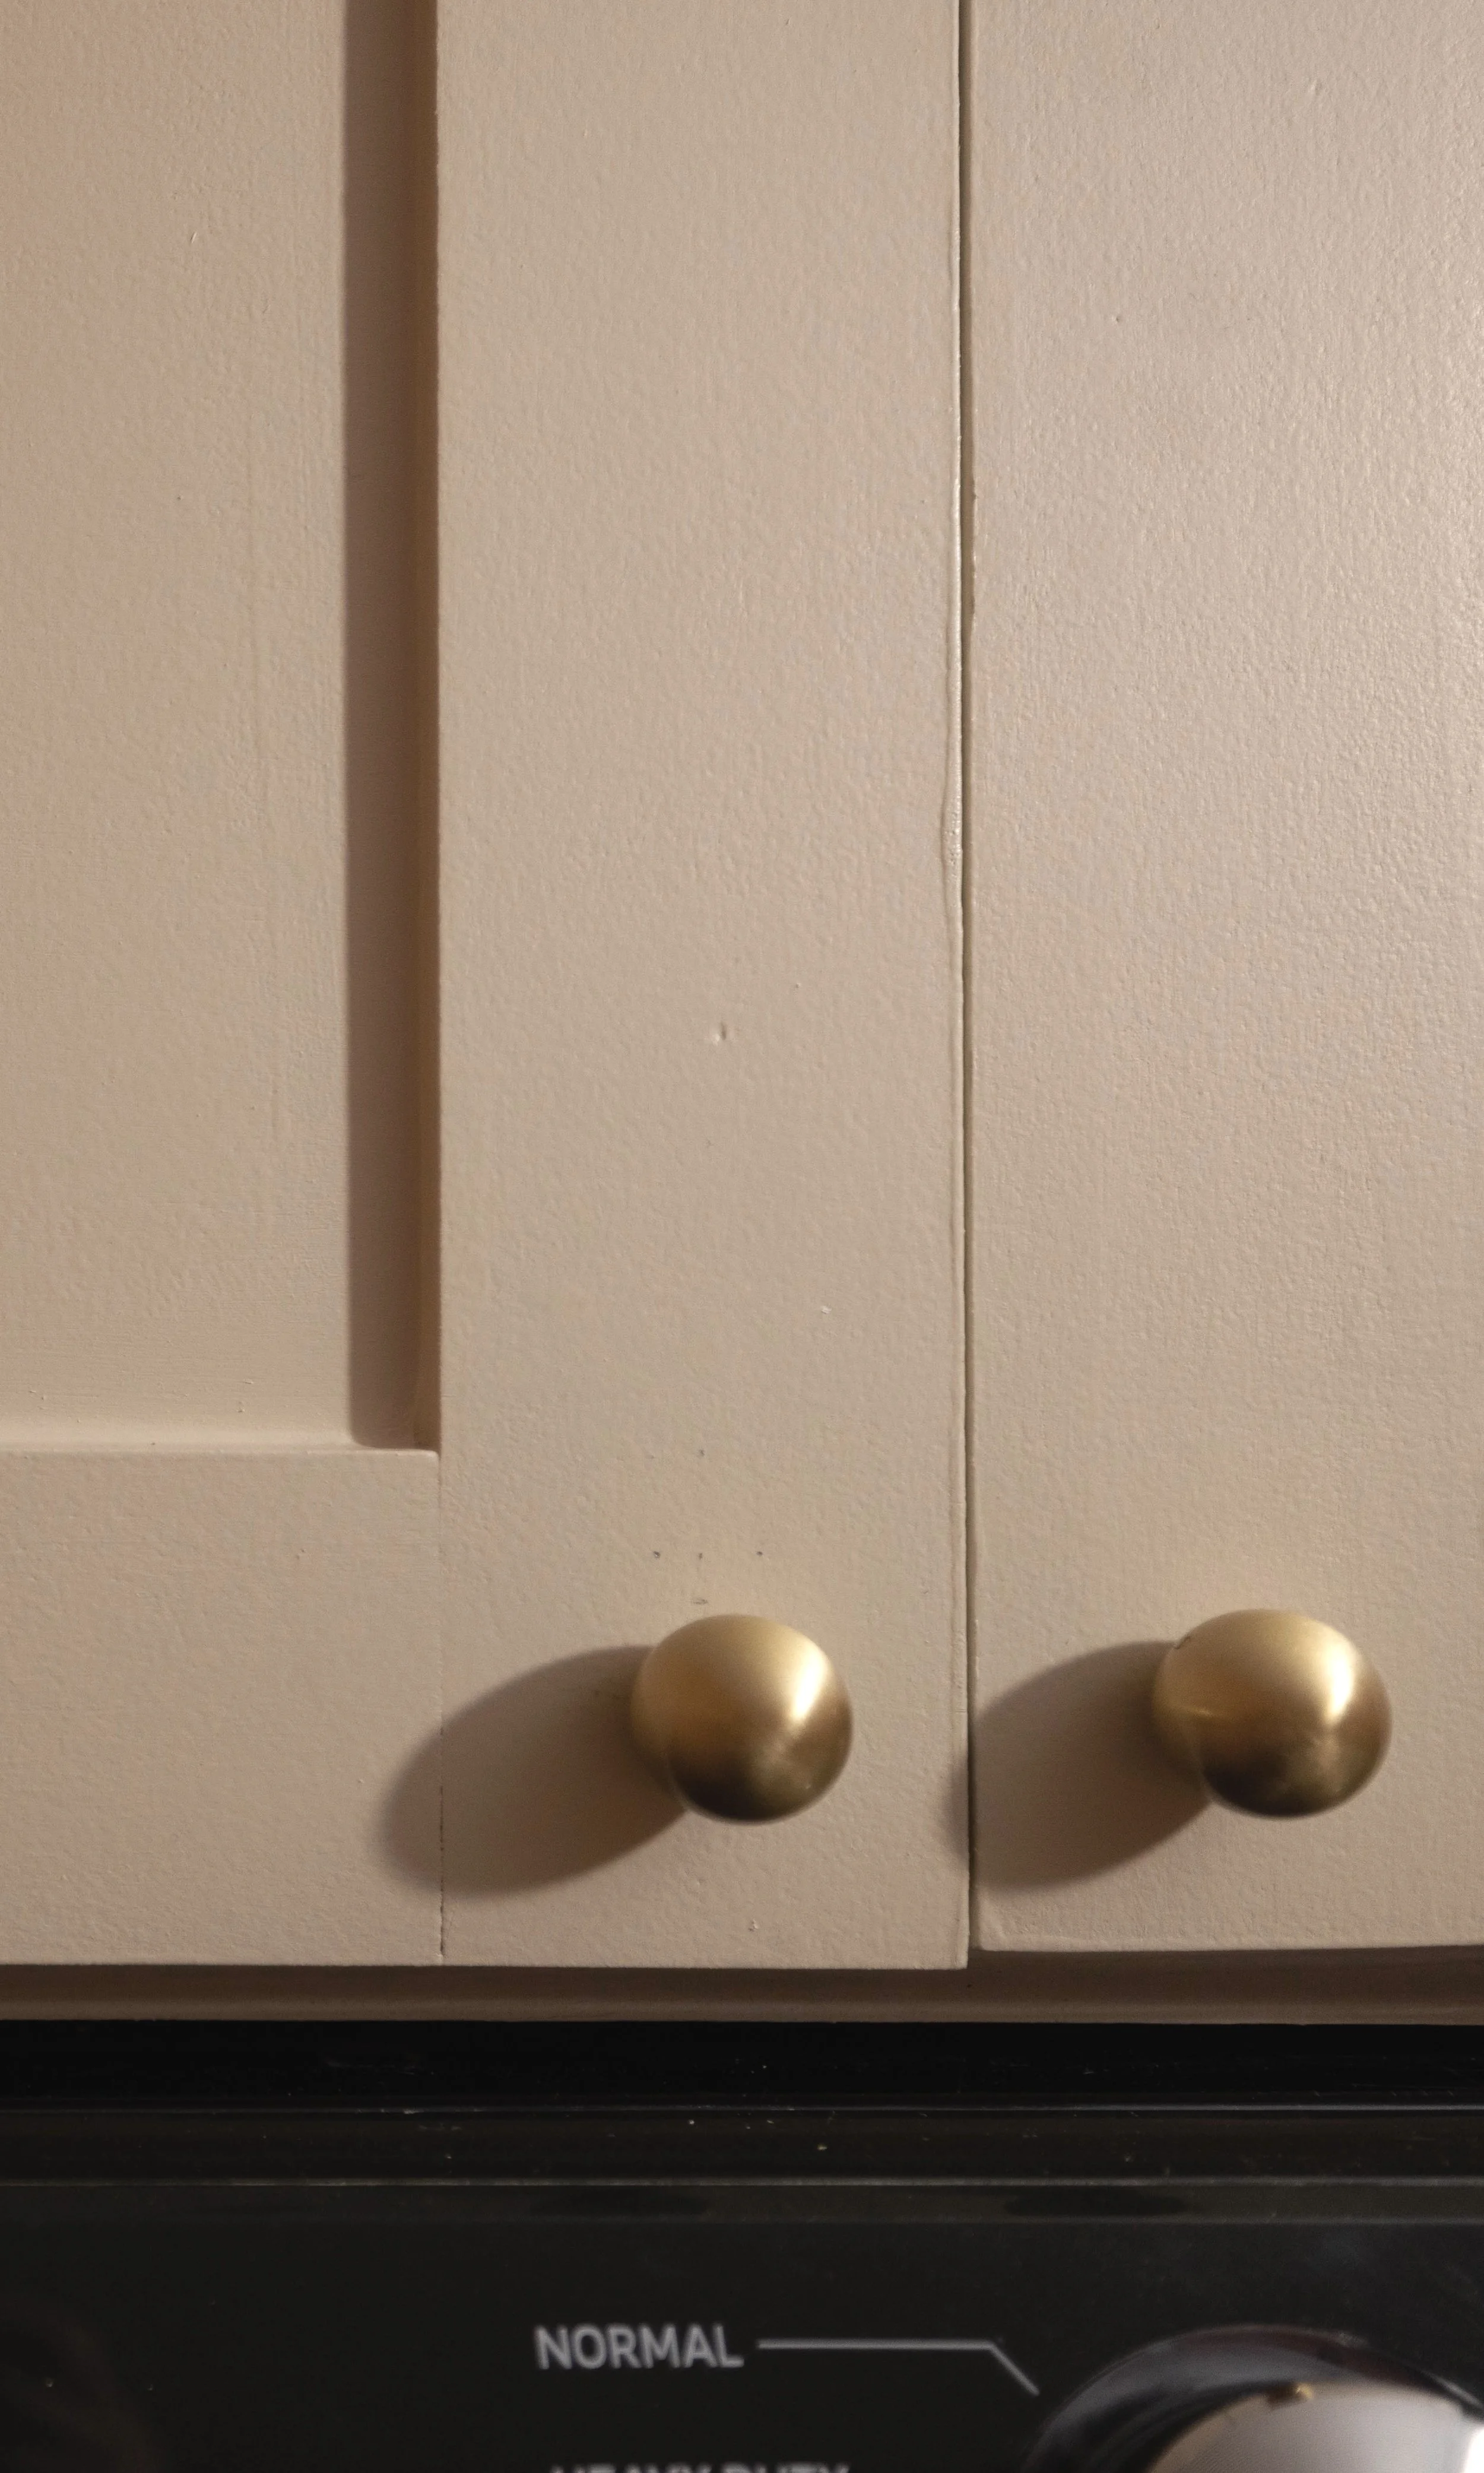
When I finished up the 2022 fall One Room Challenge (ORC) a few months ago I mentioned that there were a couple of outstanding items I didn't get to before it ended. One of those items was building doors for the cabinet above the washer and dryer. Well, I'm excited to say that they're now complete!
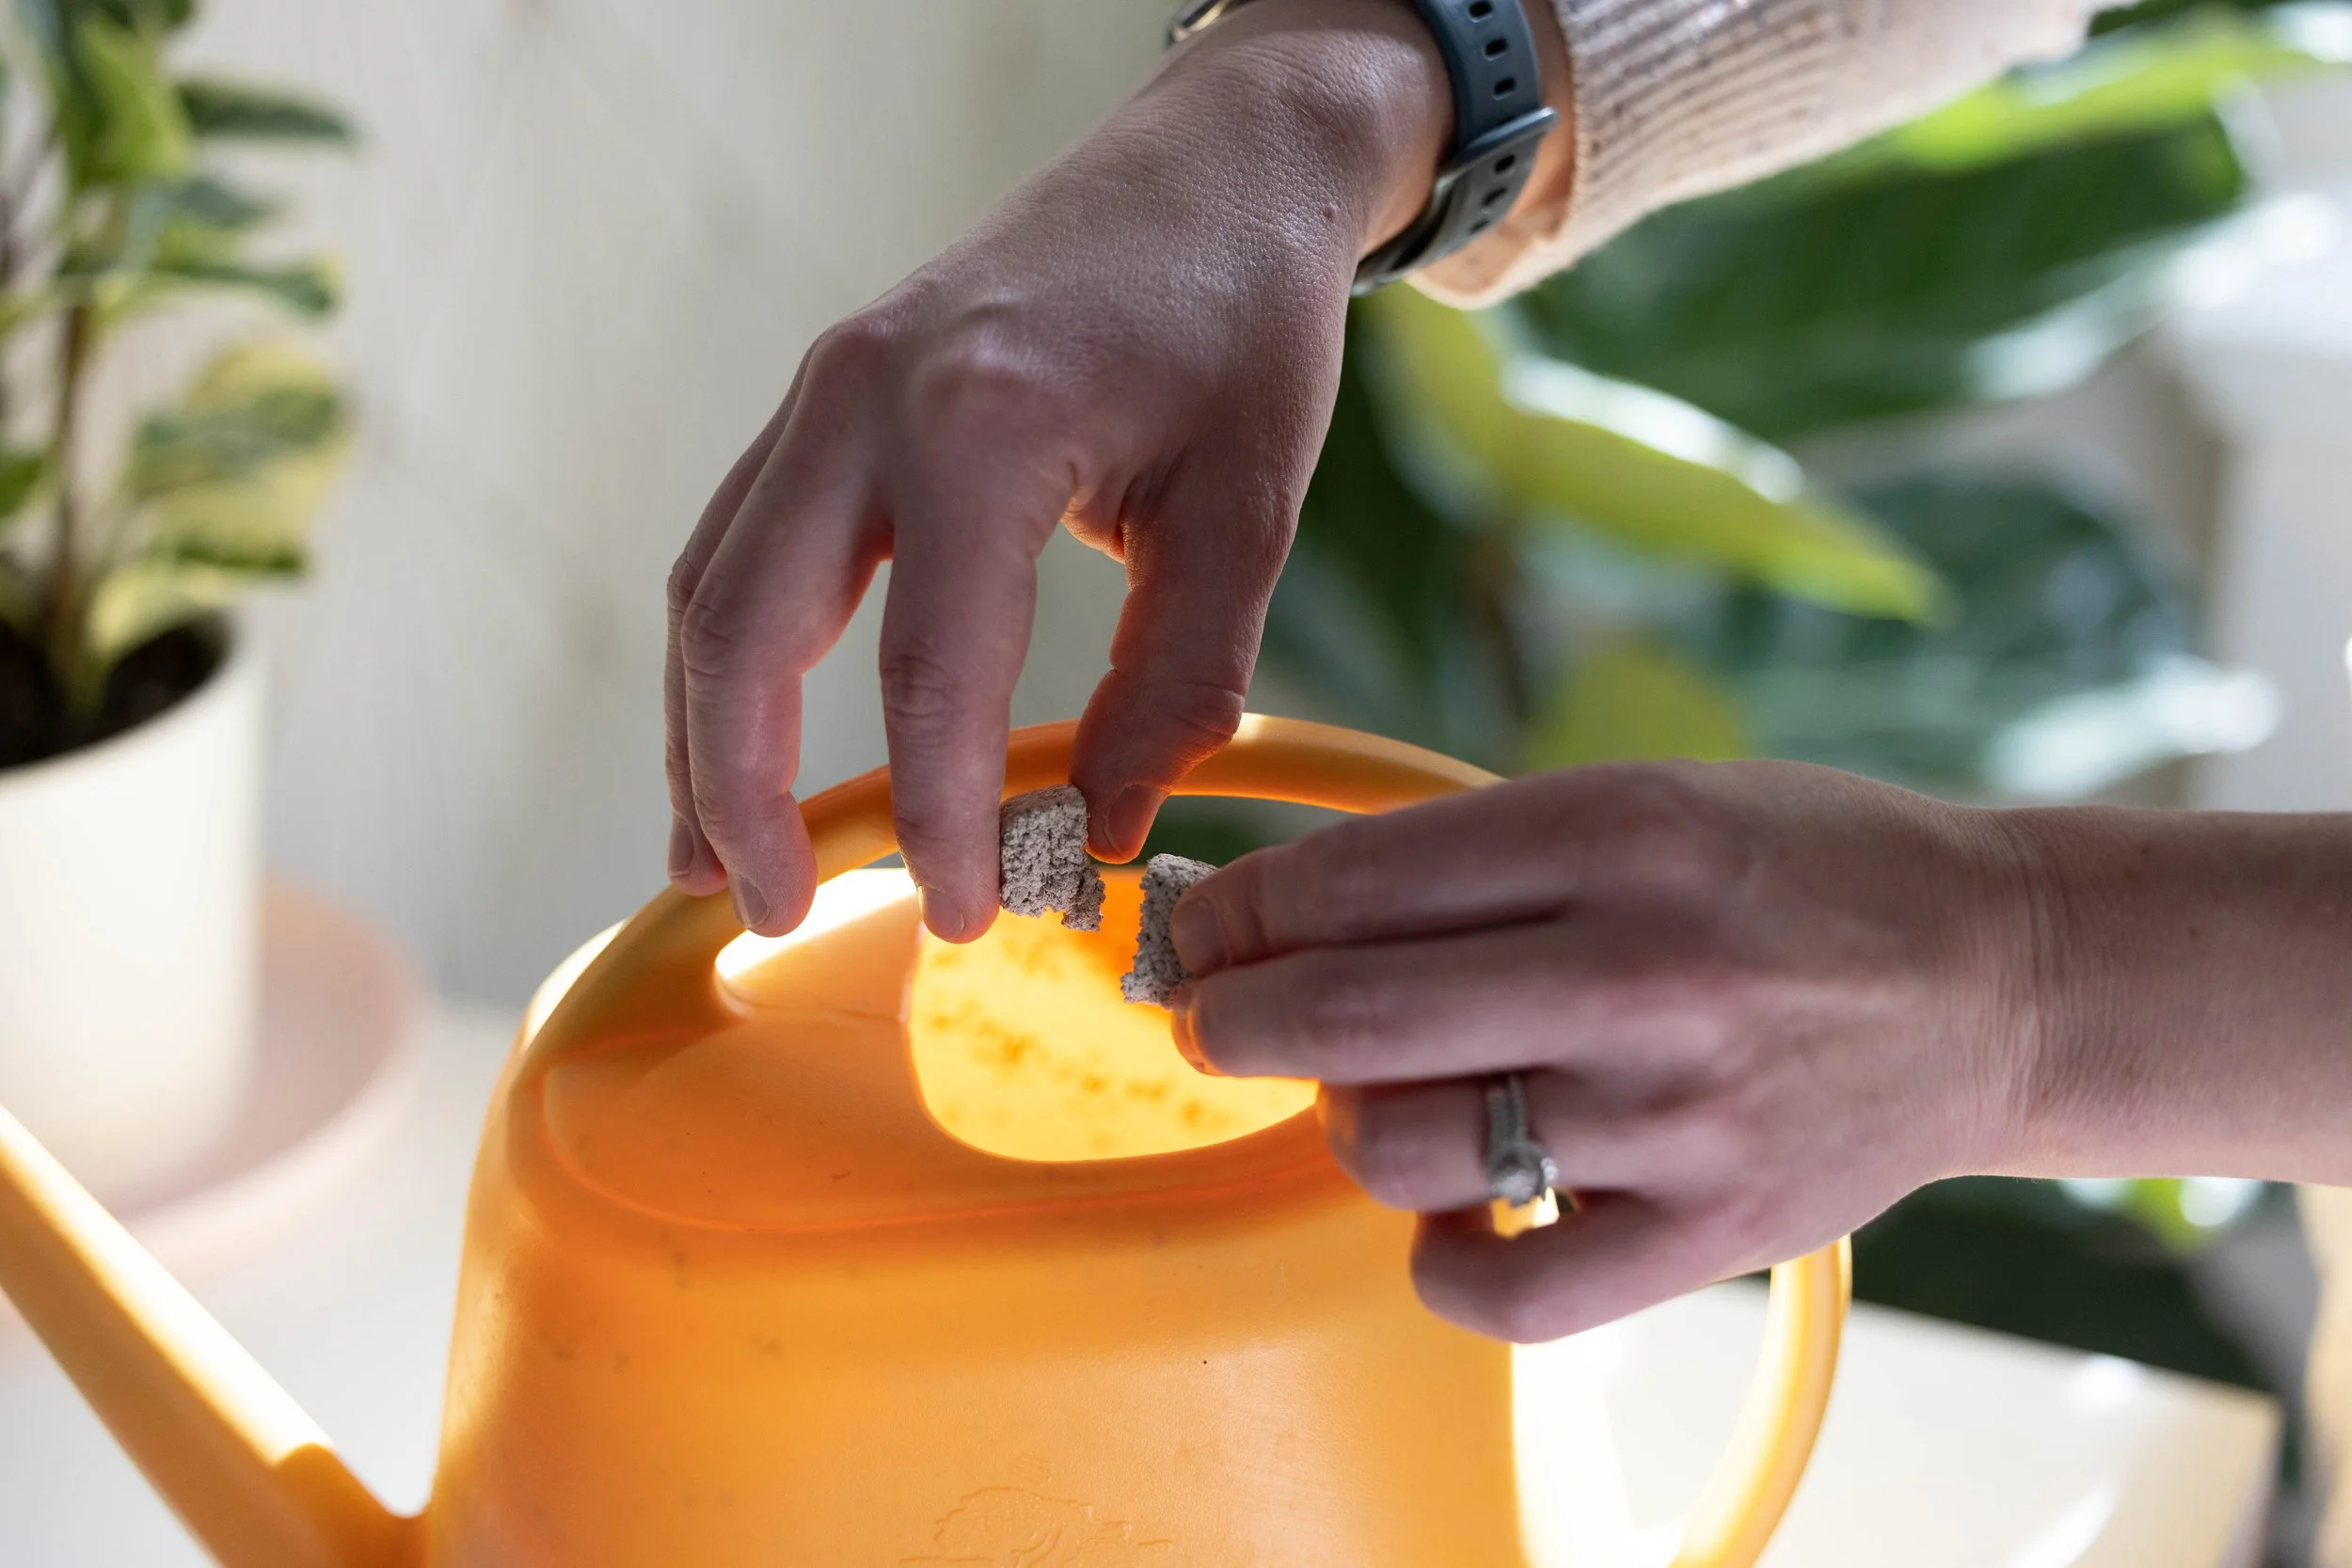
Everyone has been bothered by the occasional gnat flying around their face. But if you have houseplants, that little gnat could actually be a big problem. In this post, I’m breaking down how I eliminated my fungus gnat infestation, and how to prevent it from happening again in the future.
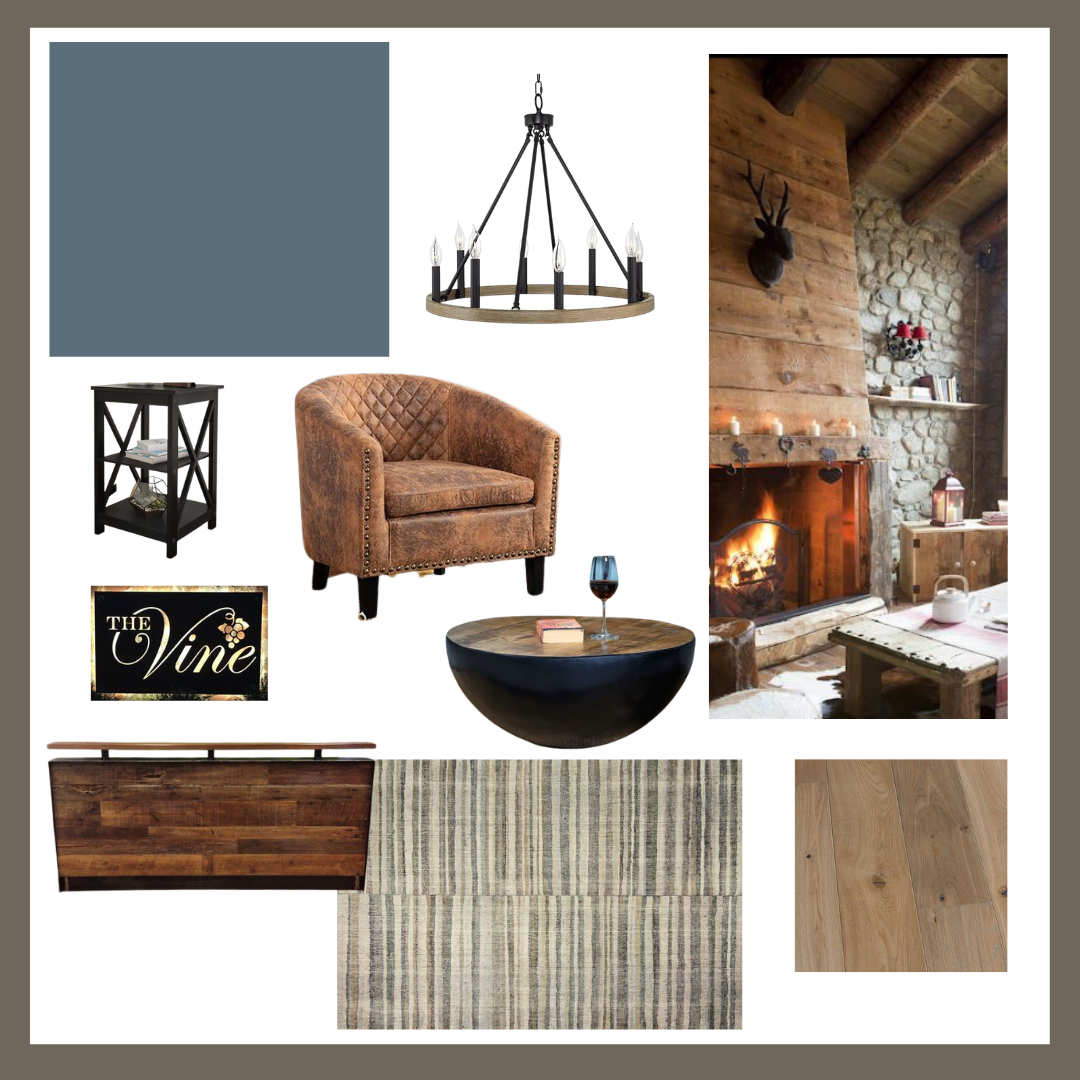
Last week I shared that we bought a new building that will be used as my husband’s real estate brokerage - and it needs a LOT of work. Today I'm sharing the design of the first room we'll be tackling: the lobby and reception area!
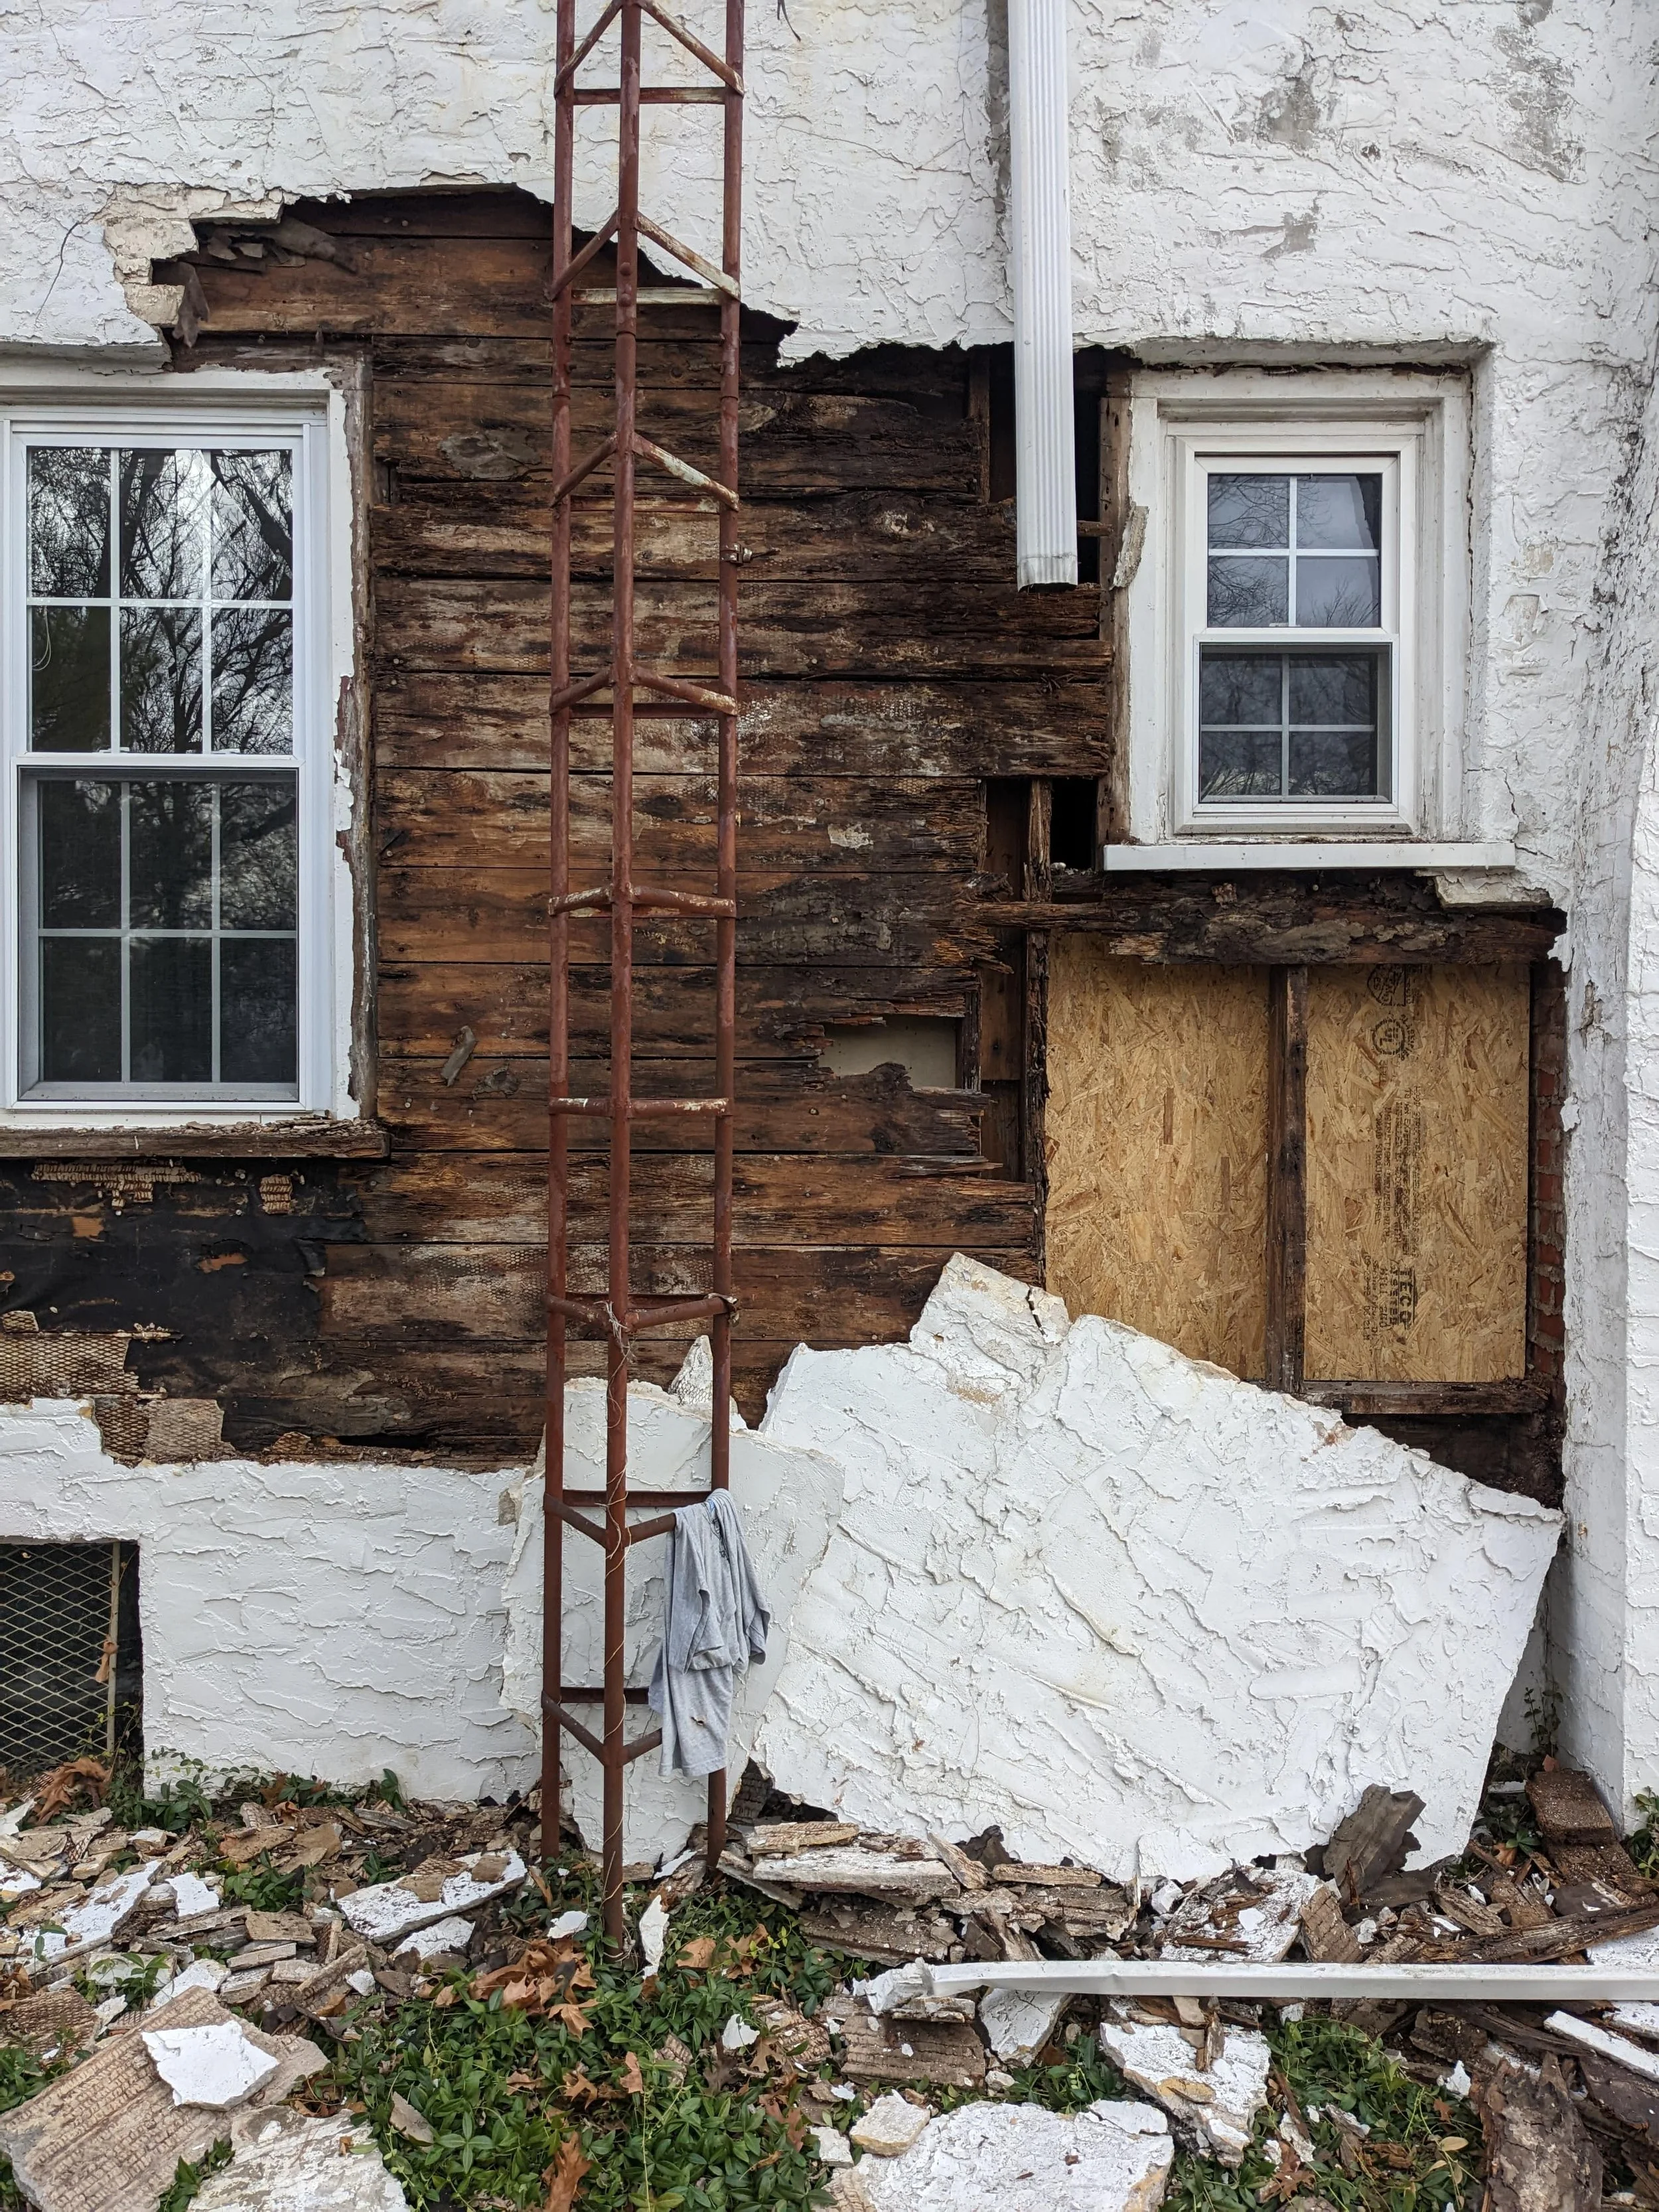
Yes, folks, you read that right. We bought a hair salon! Are we getting into the hair styling business? Nope! Let me give you the skinny.
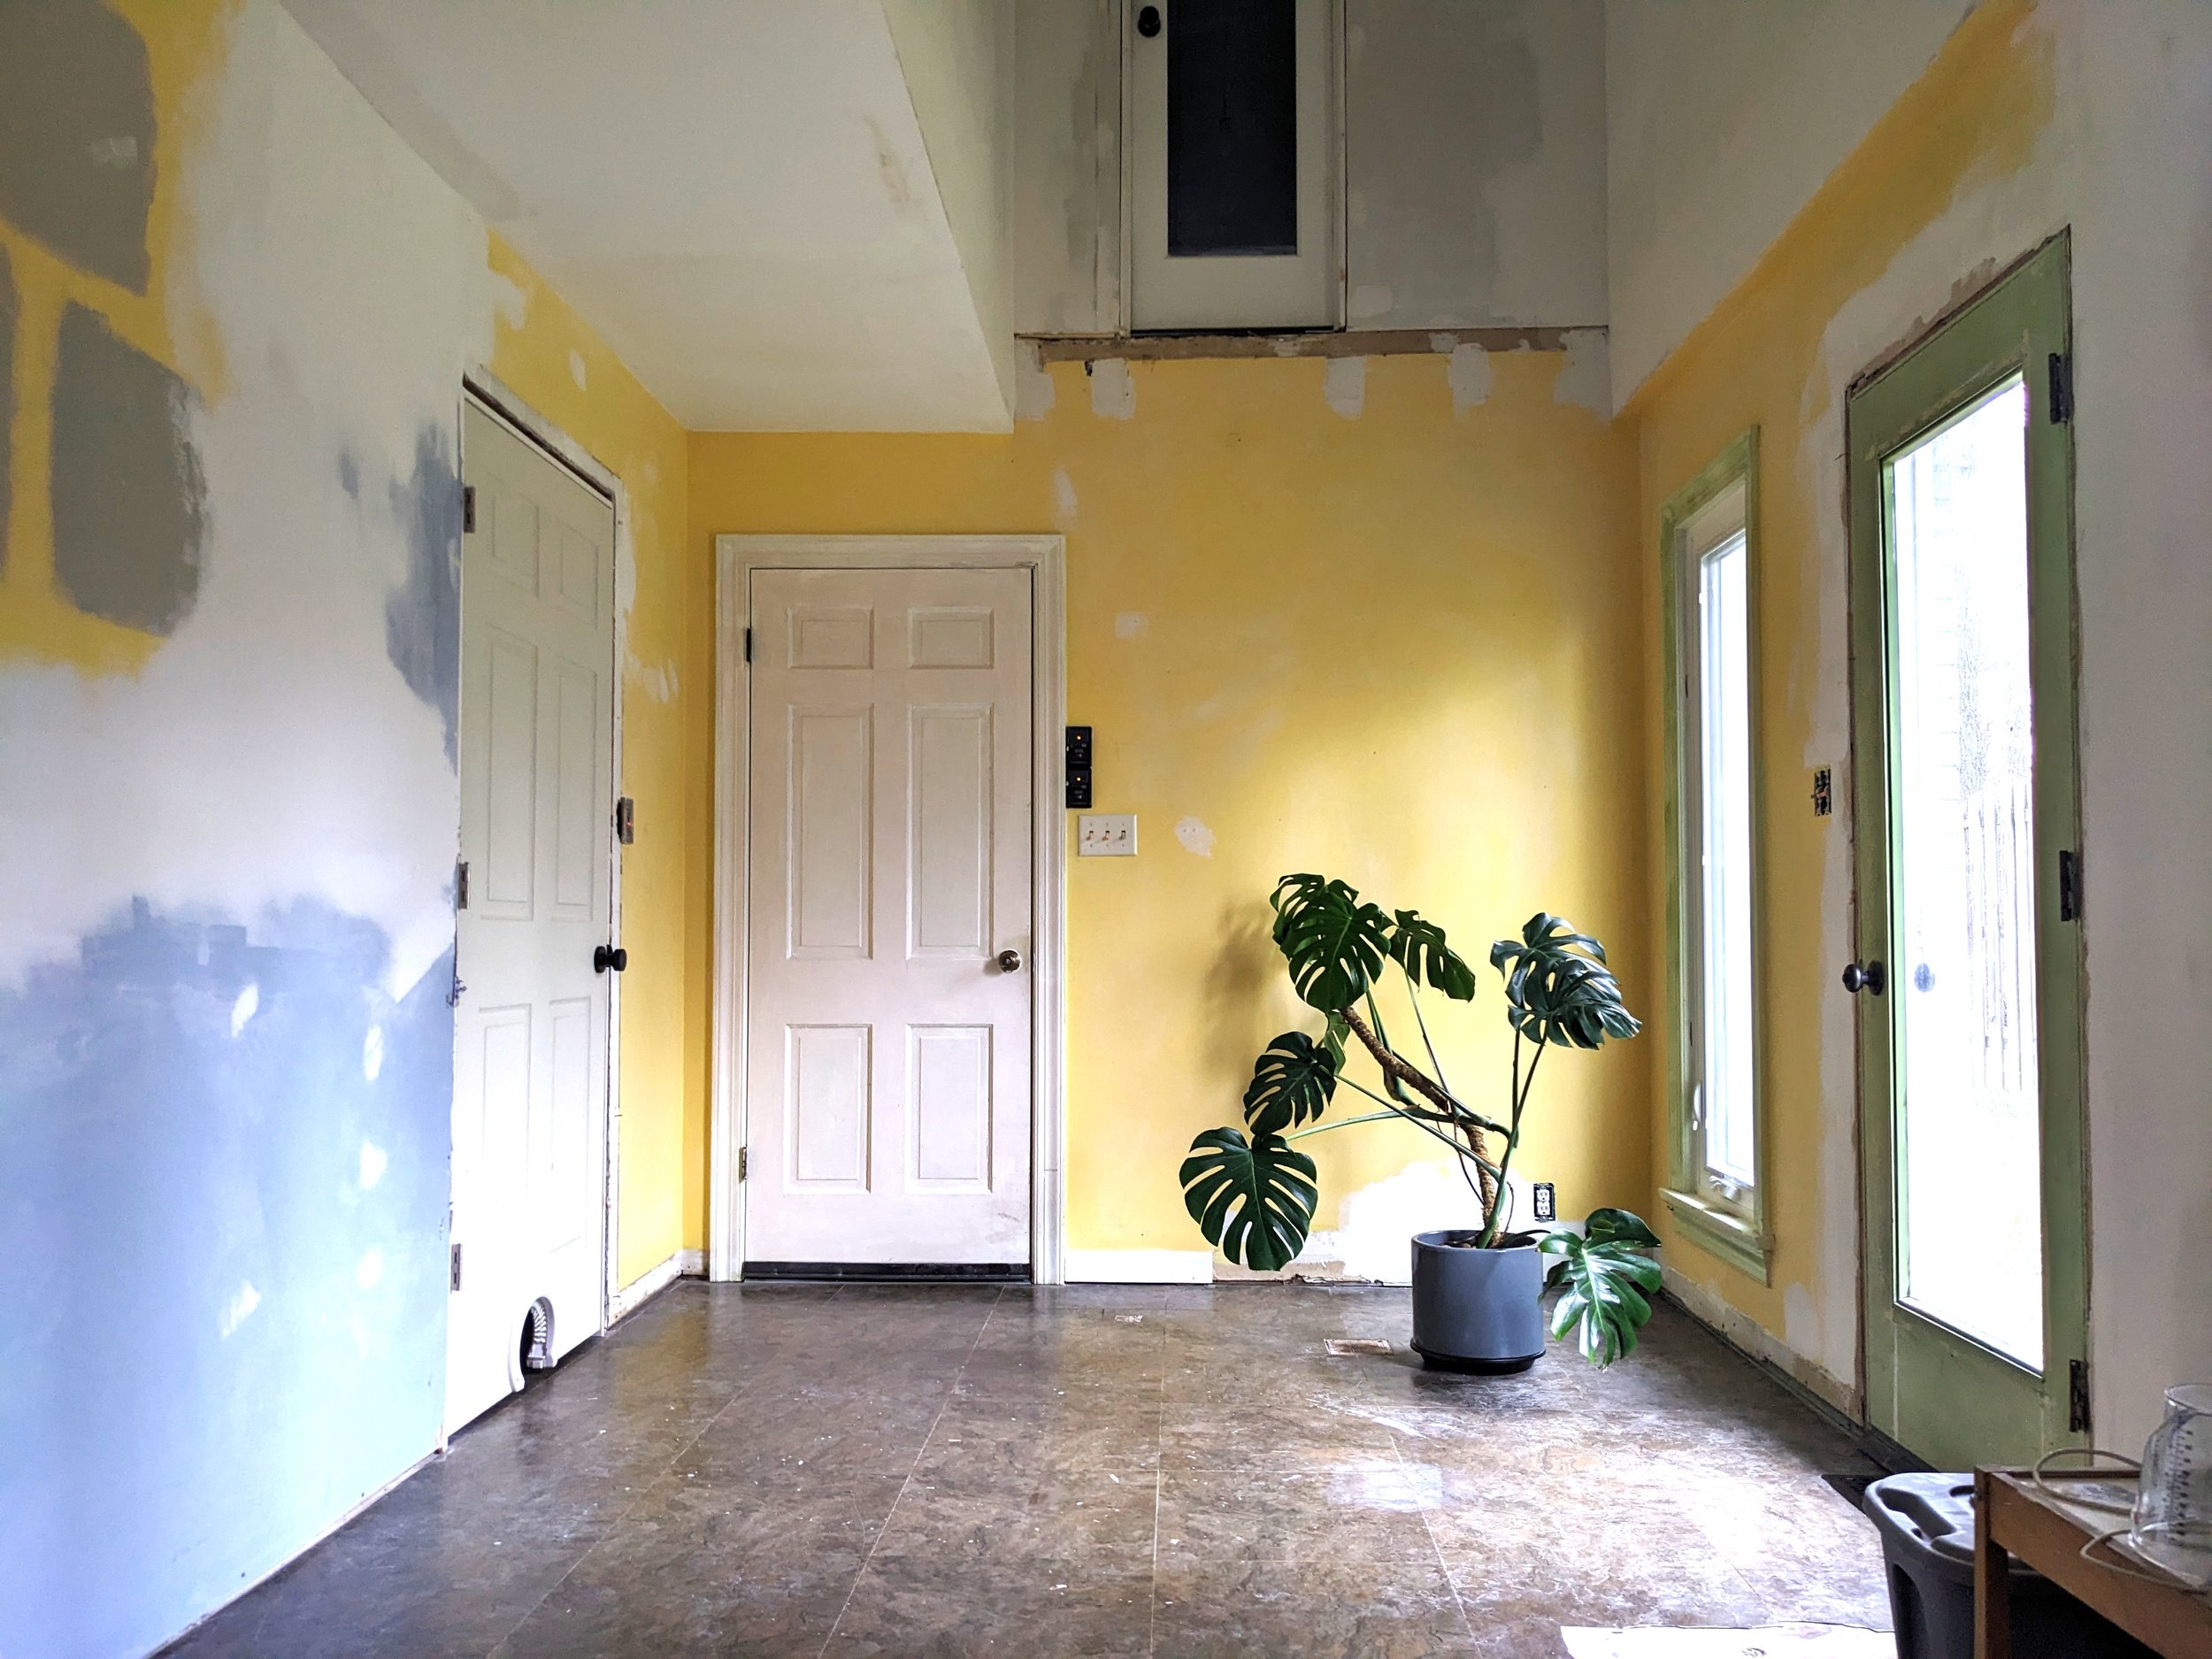
When you’re always working on a home project, sometimes it feels like you never actually accomplished anything. That’s why I like to pause at the beginning of each year and reflect on the projects we tackled the previous year to get some perspective. This is that post!

Last week I shared the reveal of our loft kitchenette - but how the heck did we hang shelves on the brick veneer? While hanging shelves on any sort of tile is terrifying - it’s totally doable! In this post, I’ll teach you the step-by-step process of how to hang shelves on a tile backsplash.
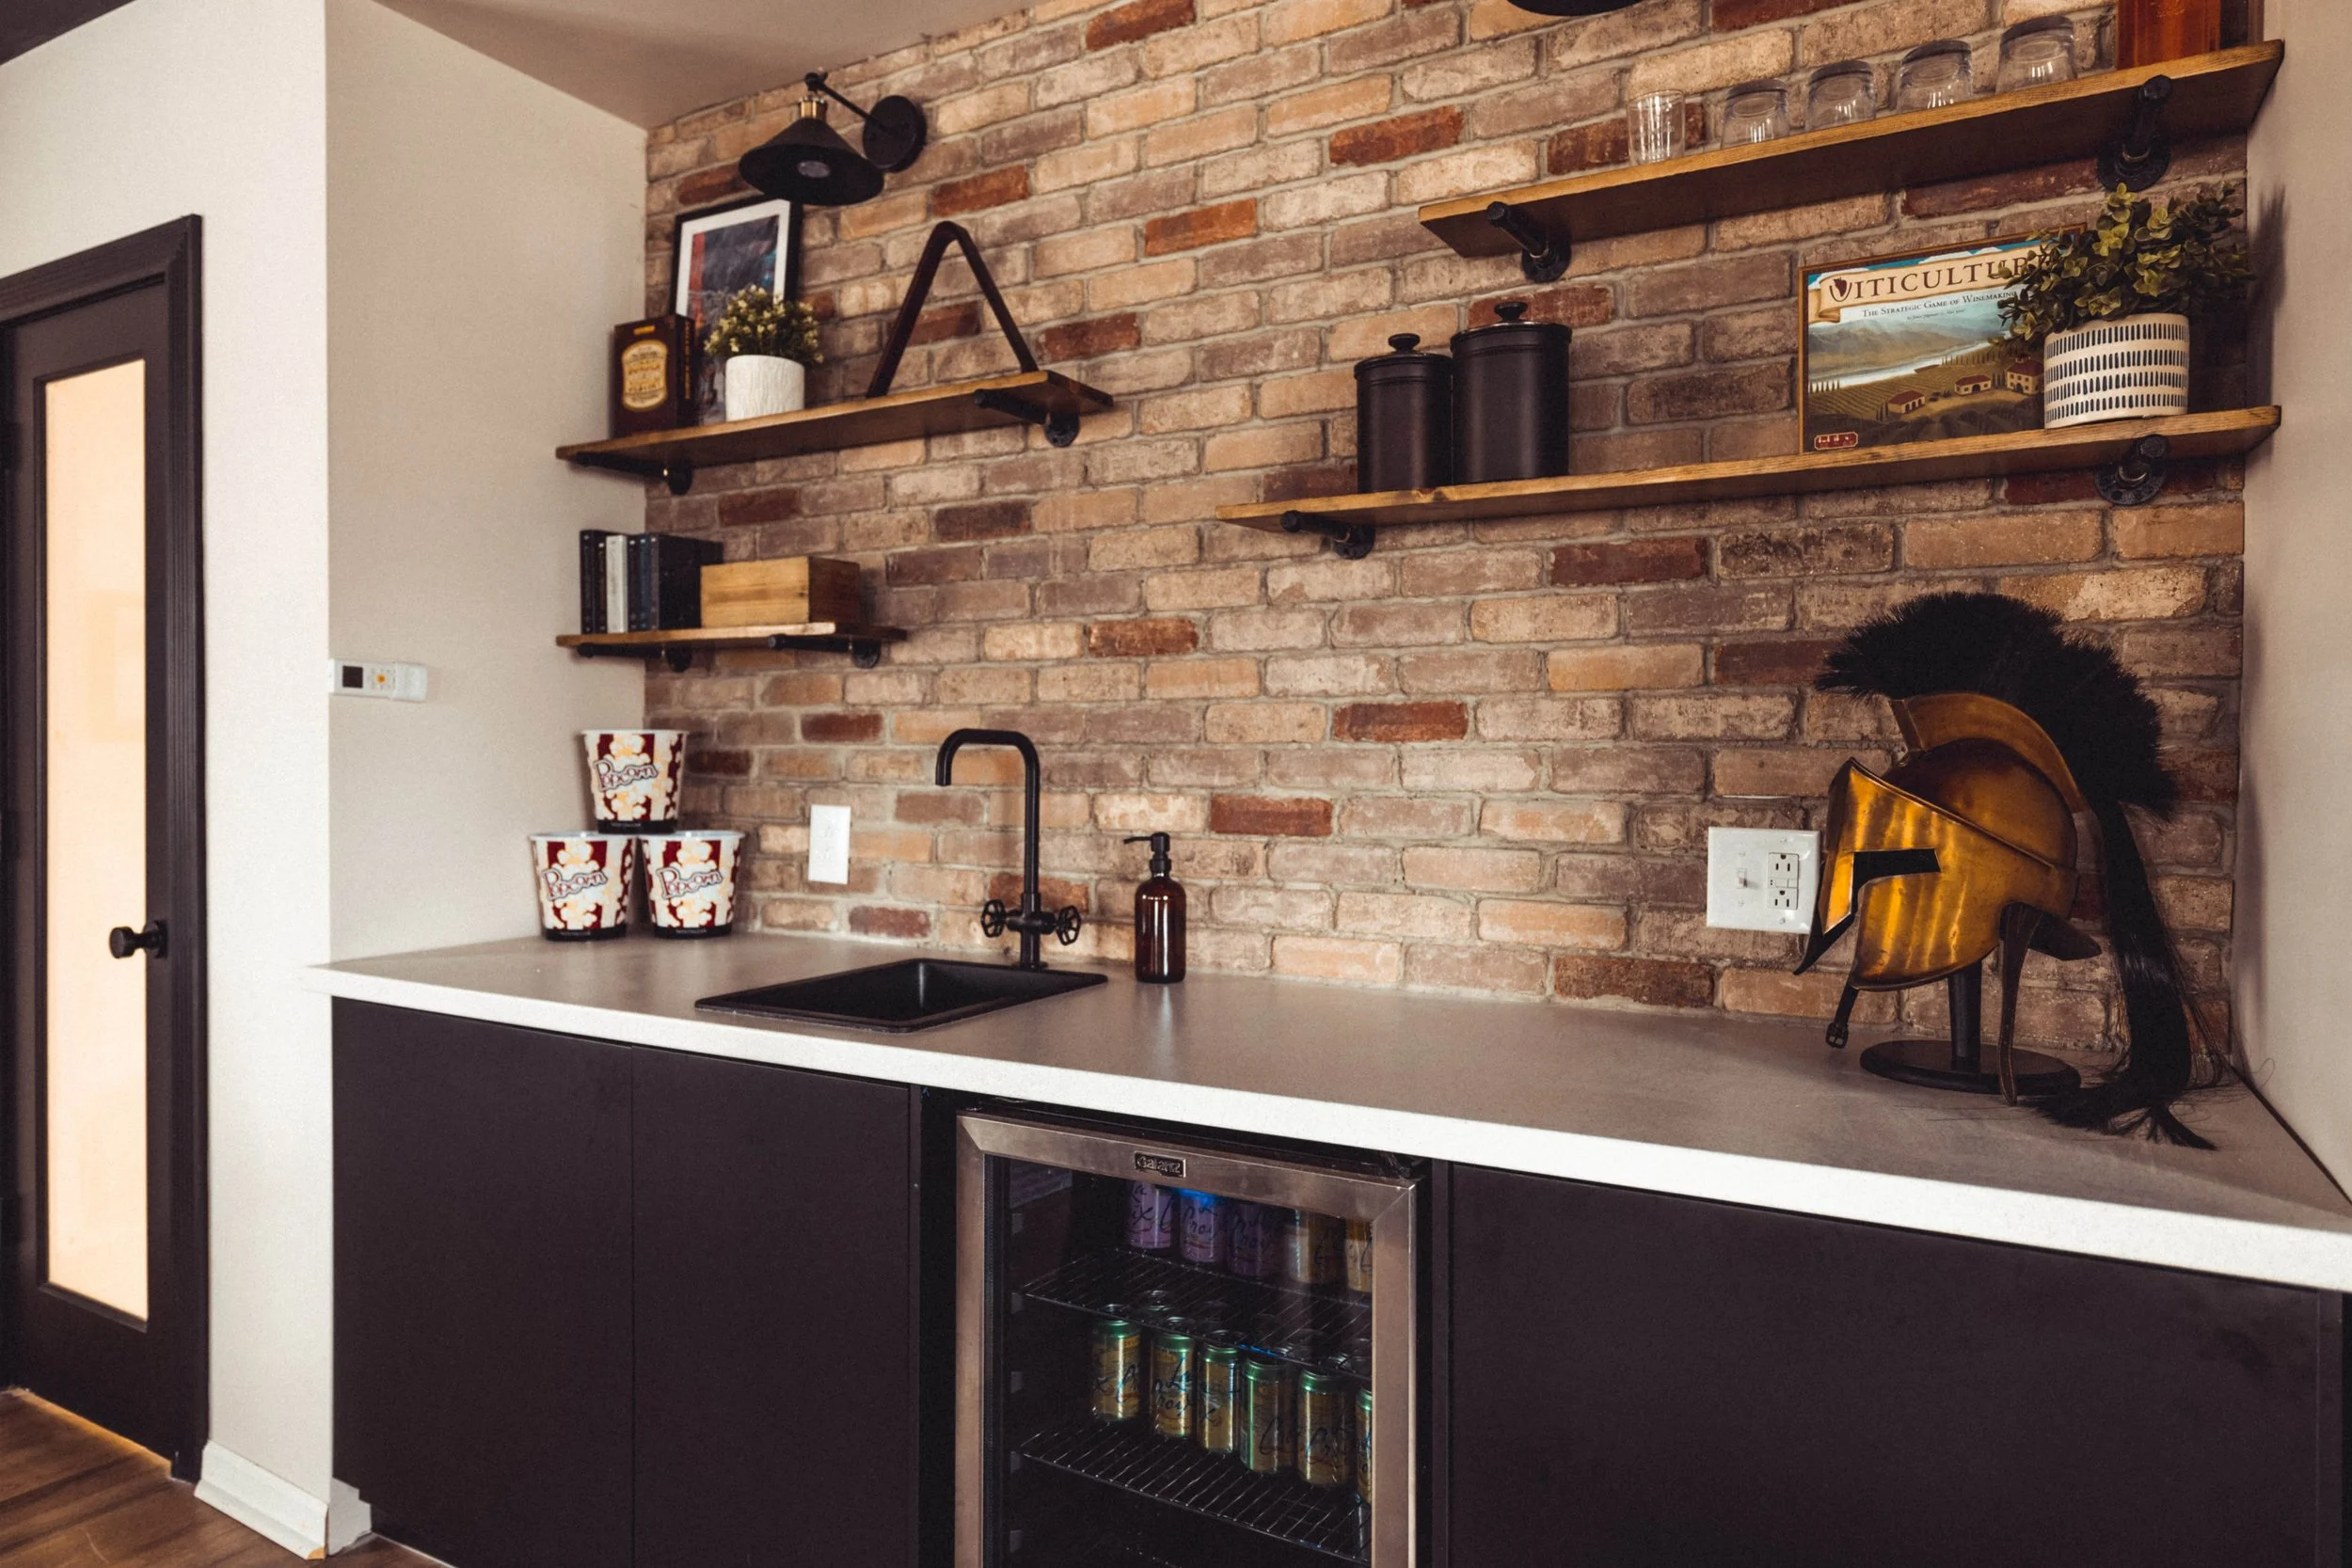
Before I created an entirely new laundry room for the One Room Challenge, my focus was finishing up projects around the house. One of those projects was the outstanding items in the loft. And while I’ve looped back around to working on it, I’m not ready to call the whole loft complete just yet. But I am excited to say that the kitchenette is finished!

Are you a late shopper? Me too! But there’s no need to panic - I’ve got you covered with these last-minute gift guides filled with items that you can still have delivered by the holidays!
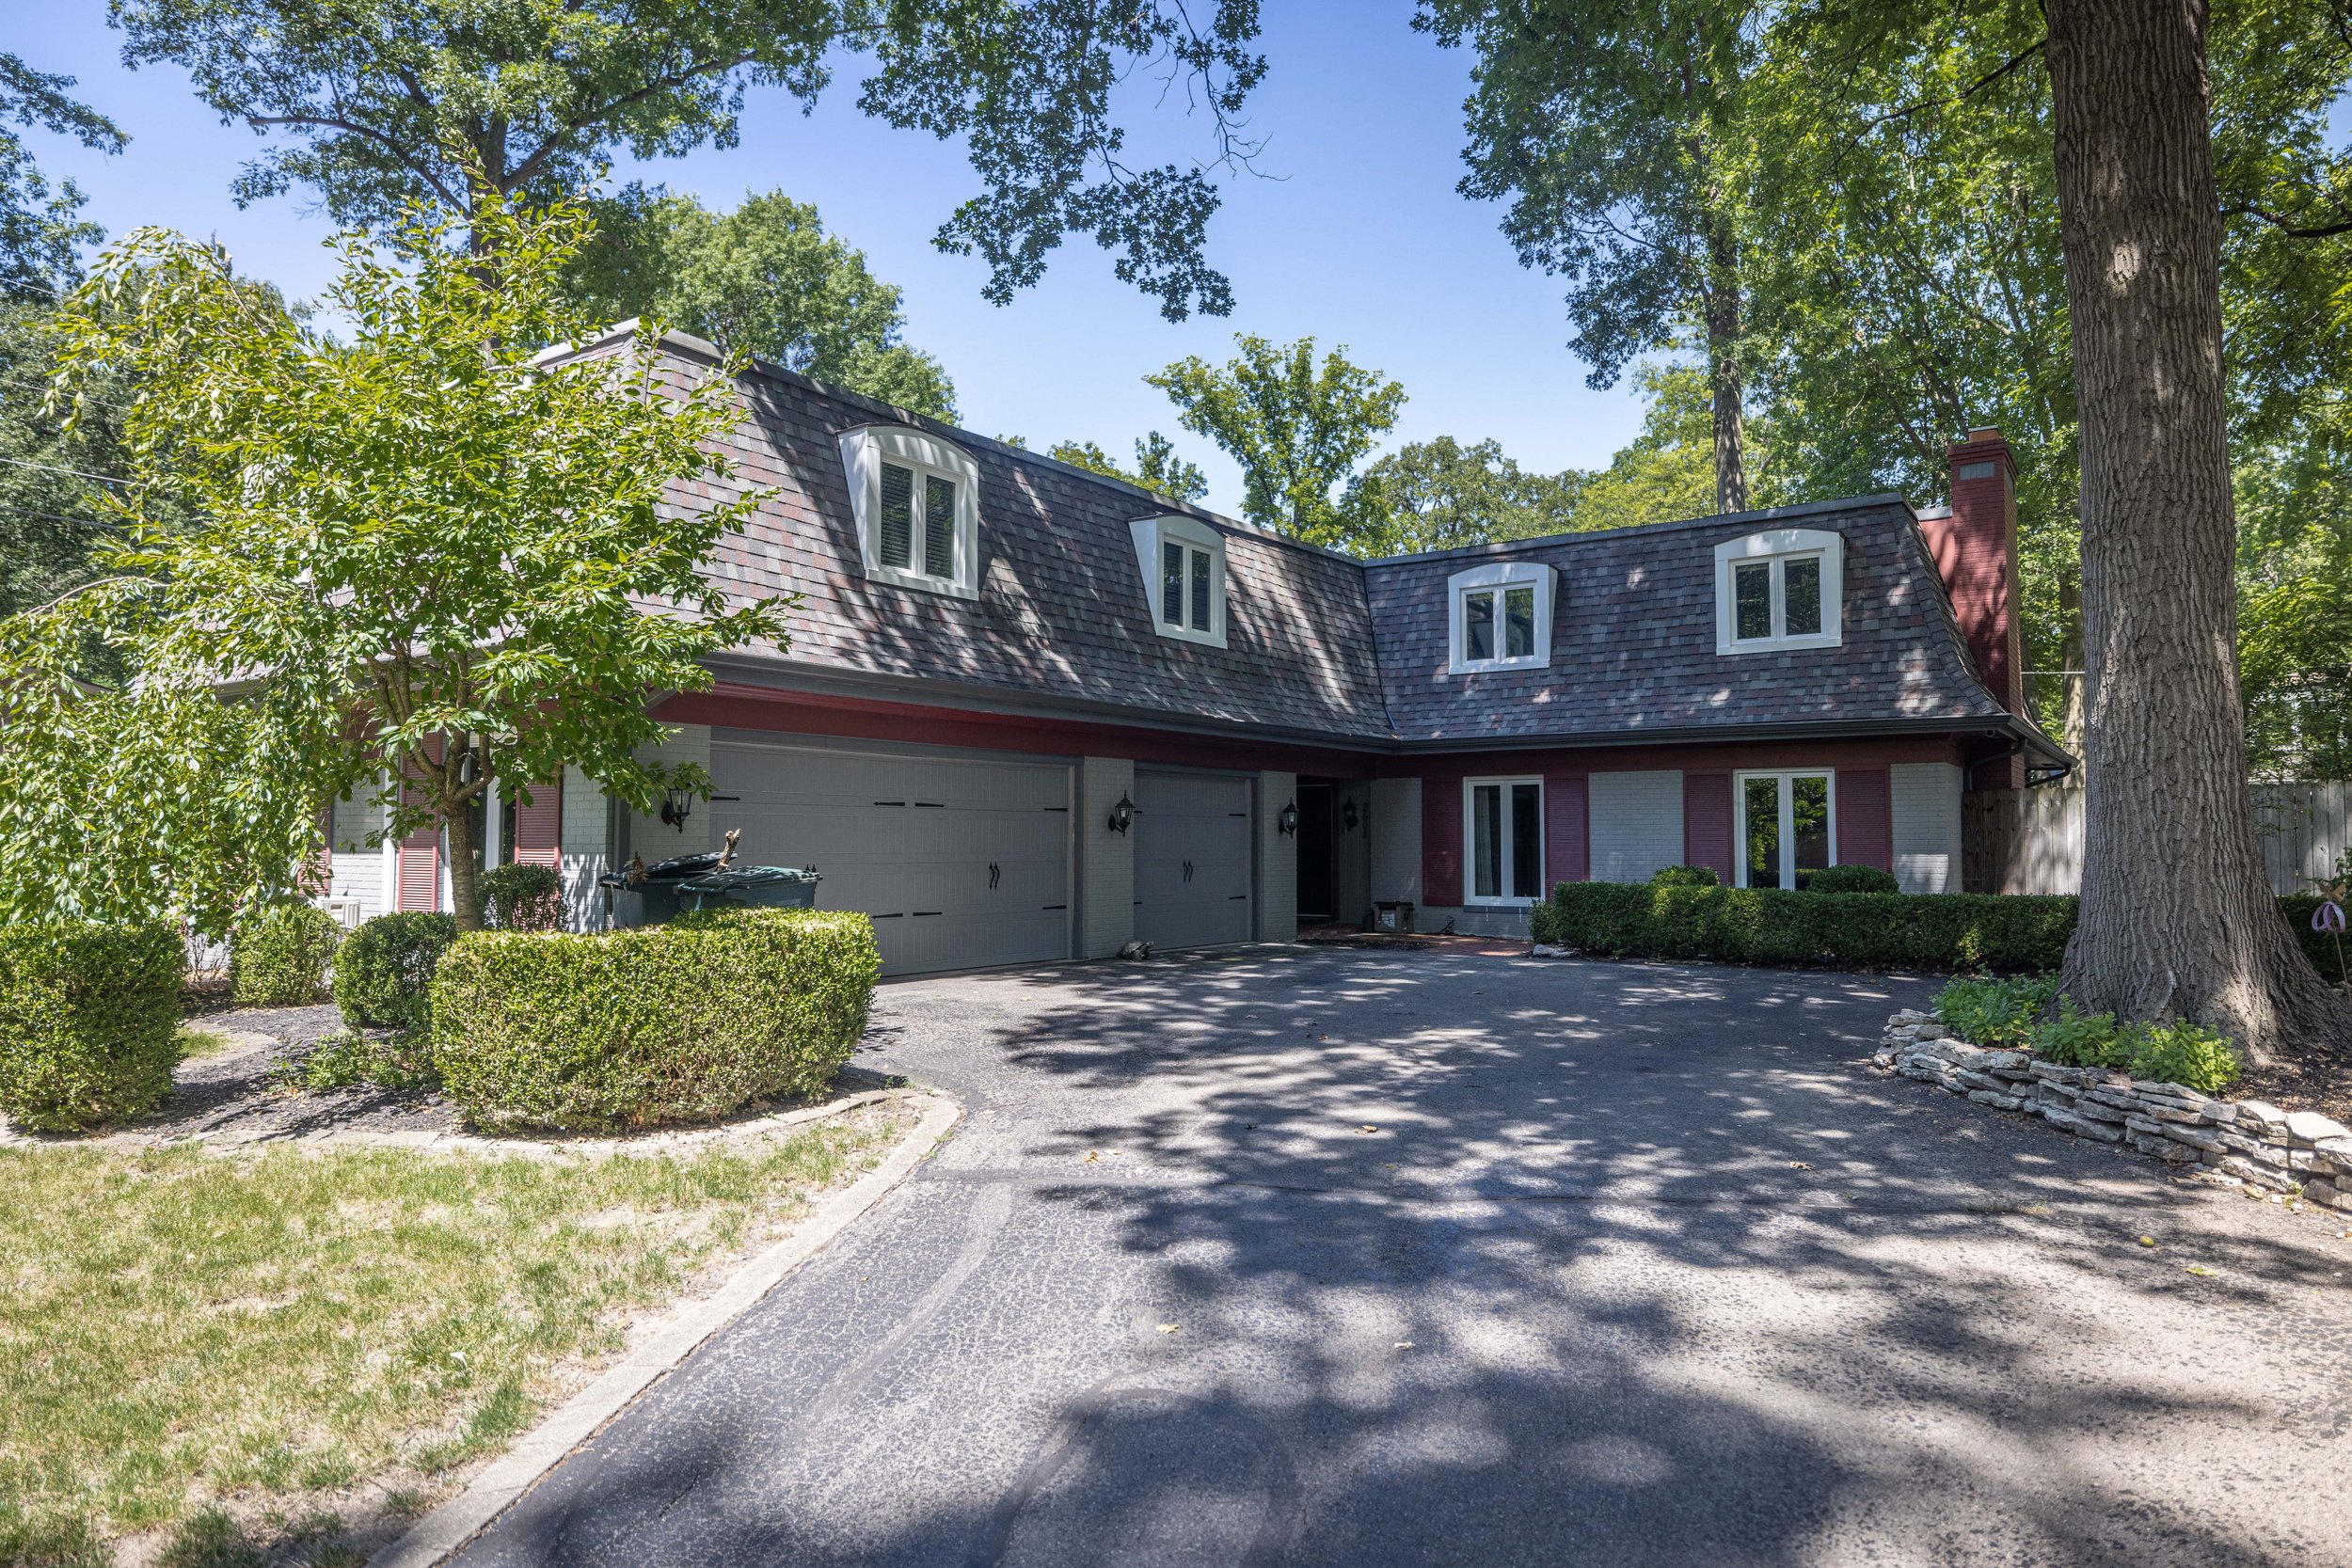
t’s been a good three years since we moved into this house and A LOT has changed. Although I share bits and pieces of various rooms as we’re working on them, I’d say it’s about time for a good old house tour! Complete with lots of before and after comparisons, because those are just so dang fun - let’s jump in!
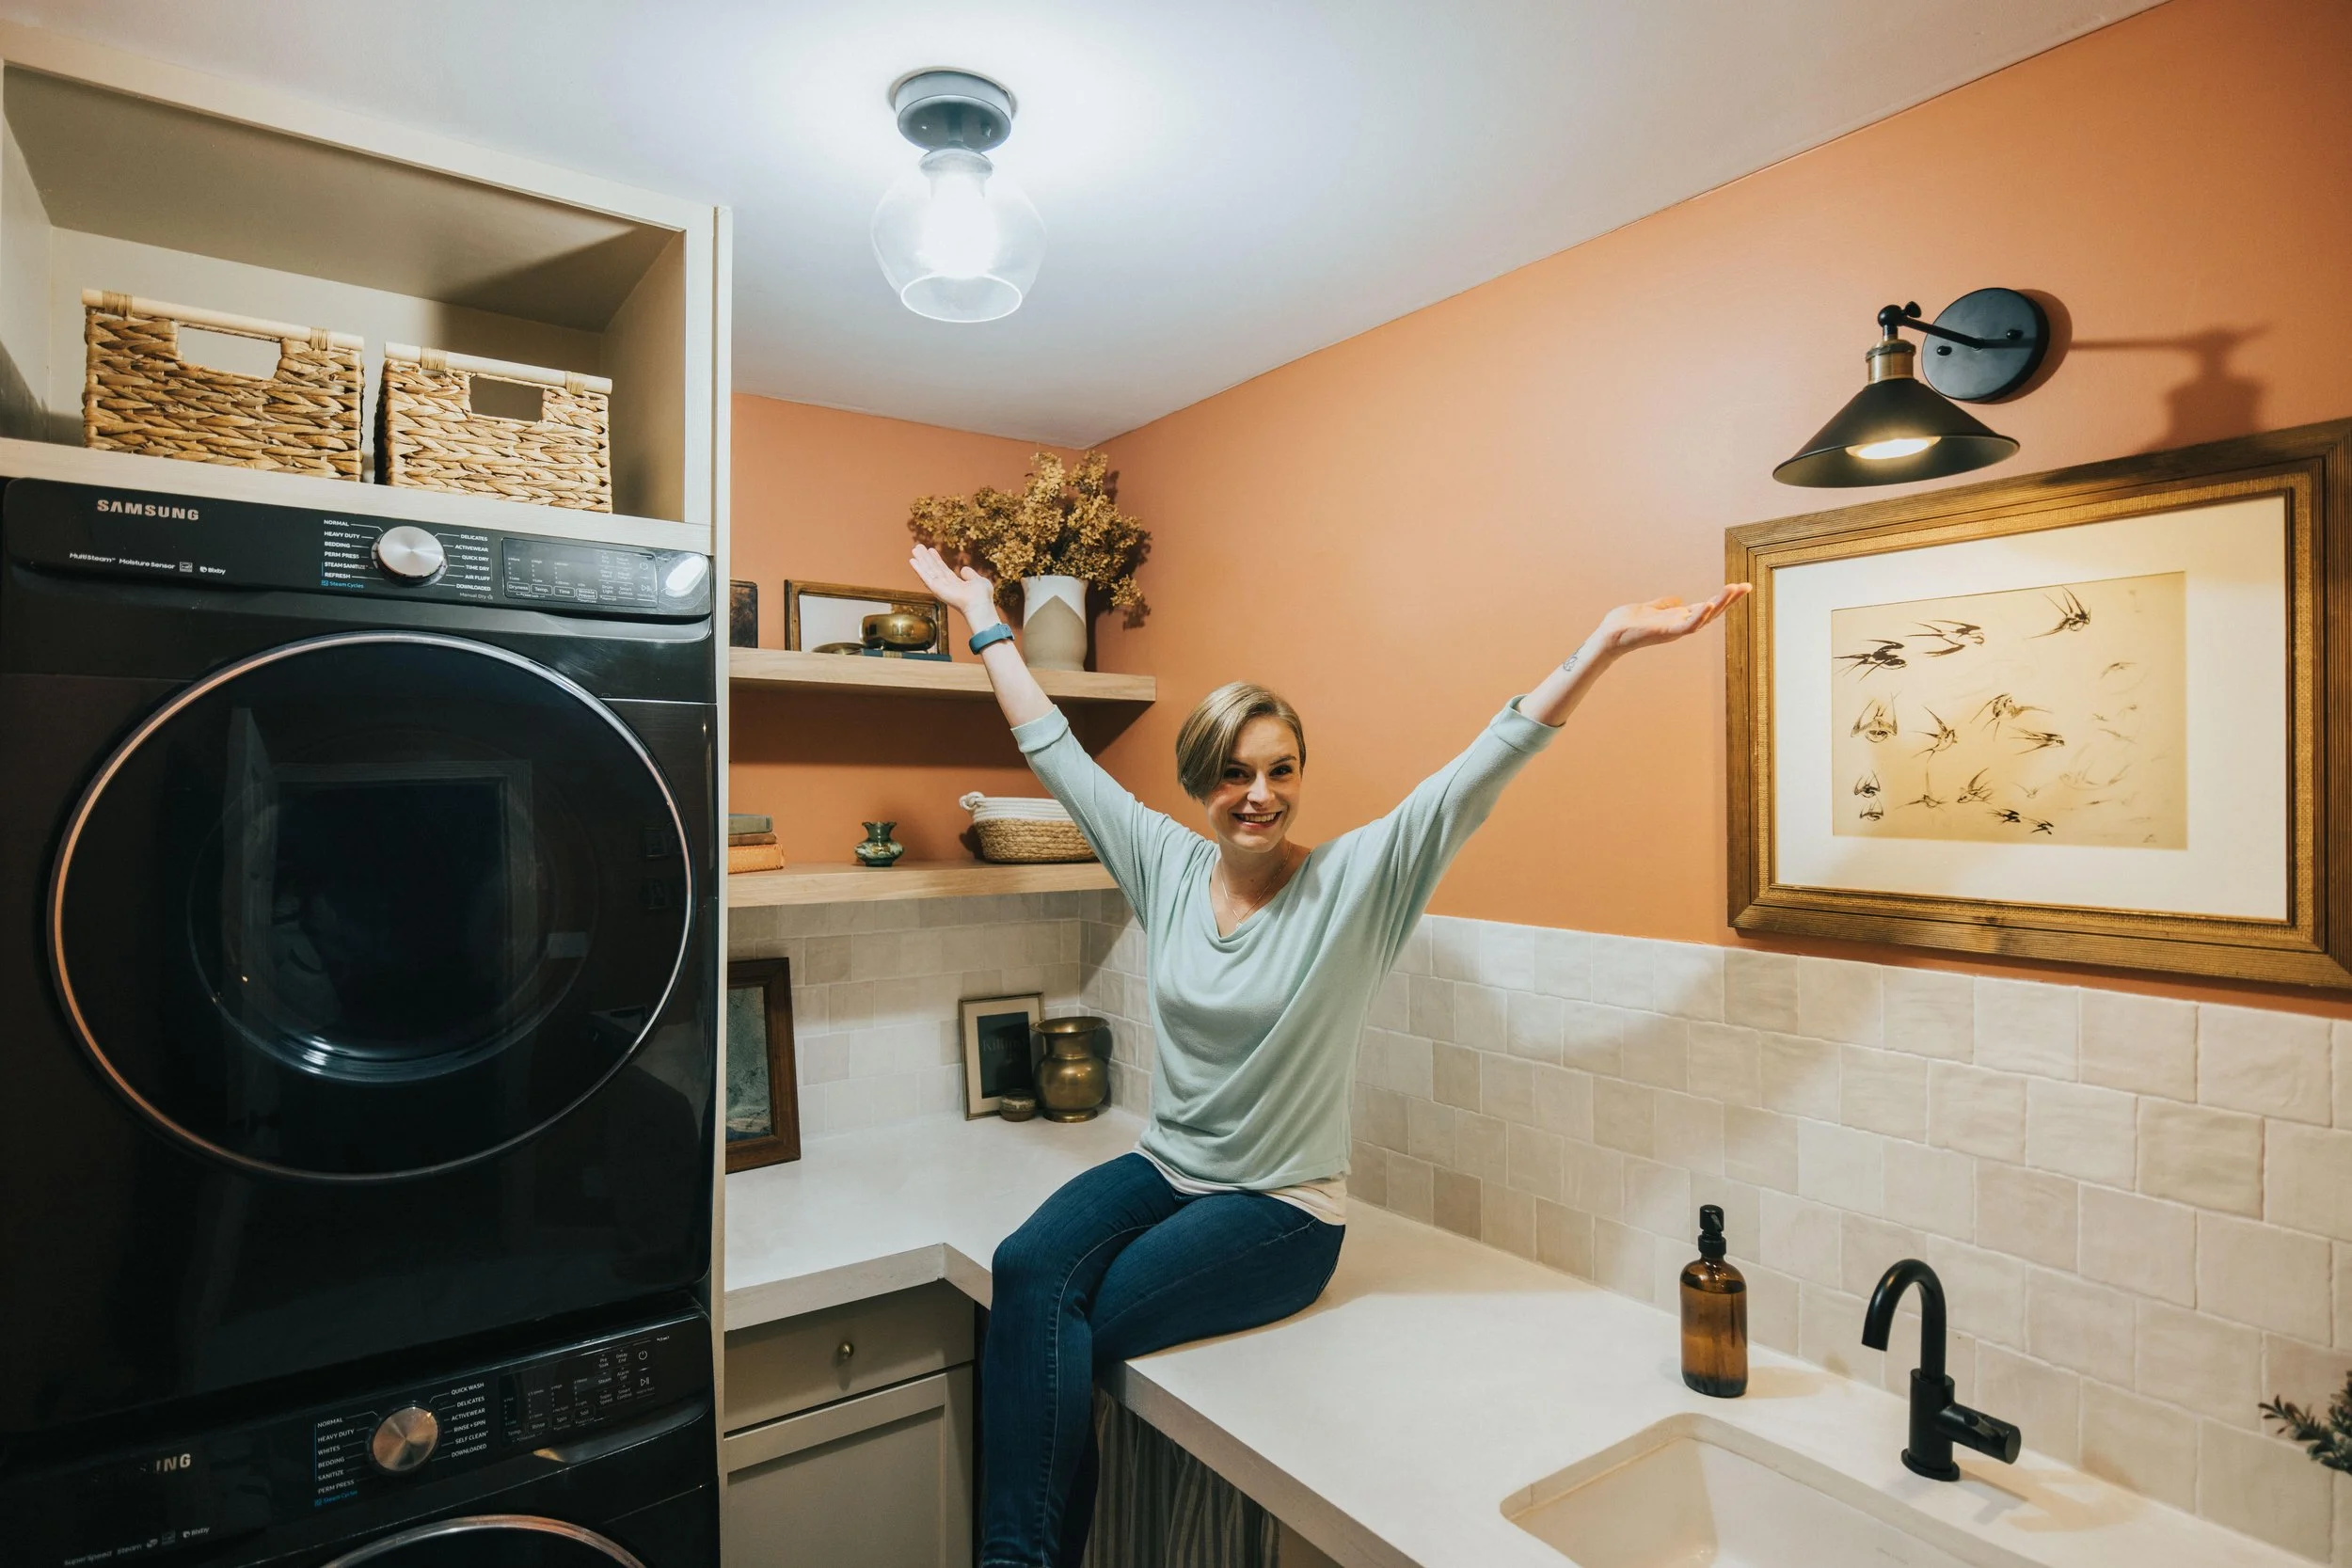
It’s hard to believe it, but we’ve reached the end of the One Room Challenge and the laundry room is done! Well… almost. I’ll get into that later.
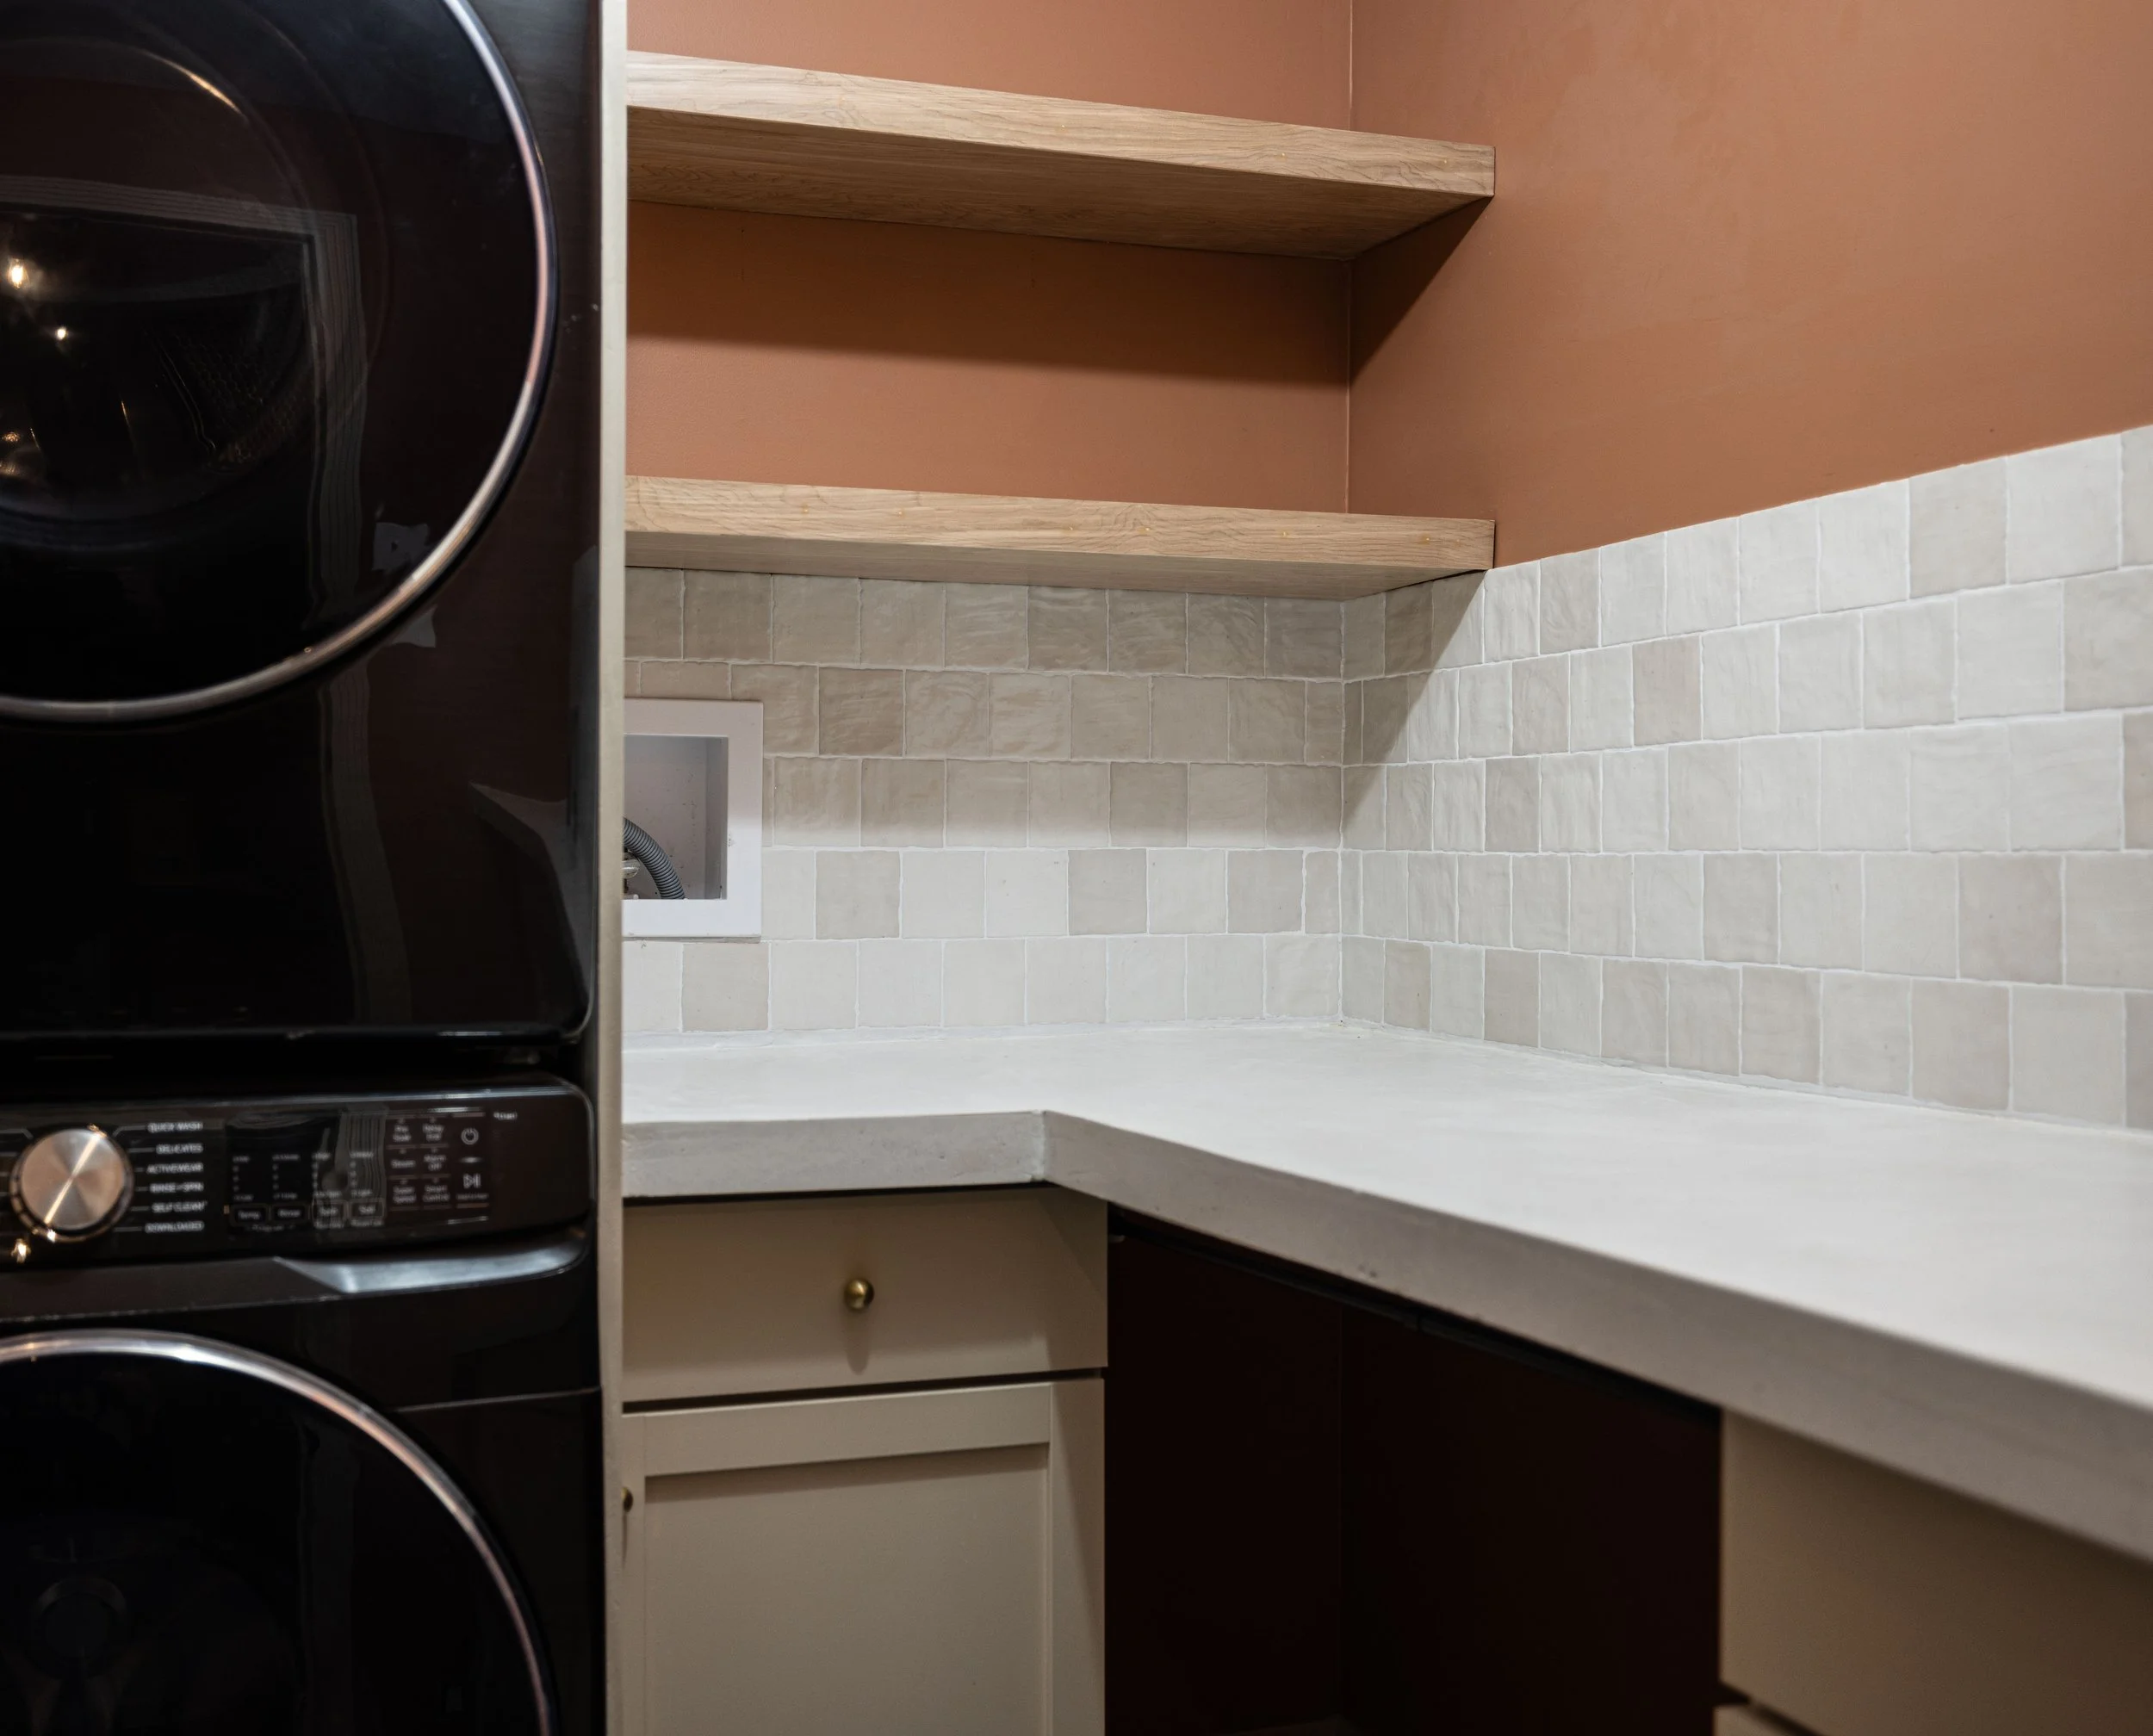
Floating shelves are pretty stinkin’ cool. I mean, how are they even attached to the wall!? Looks like magic, if you ask me. Well, I uncovered the mystery this week when I made some for my laundry room renovation for the One Room Challenge. In this post, I’m sharing the step-by-step process I used to build my floating shelves!
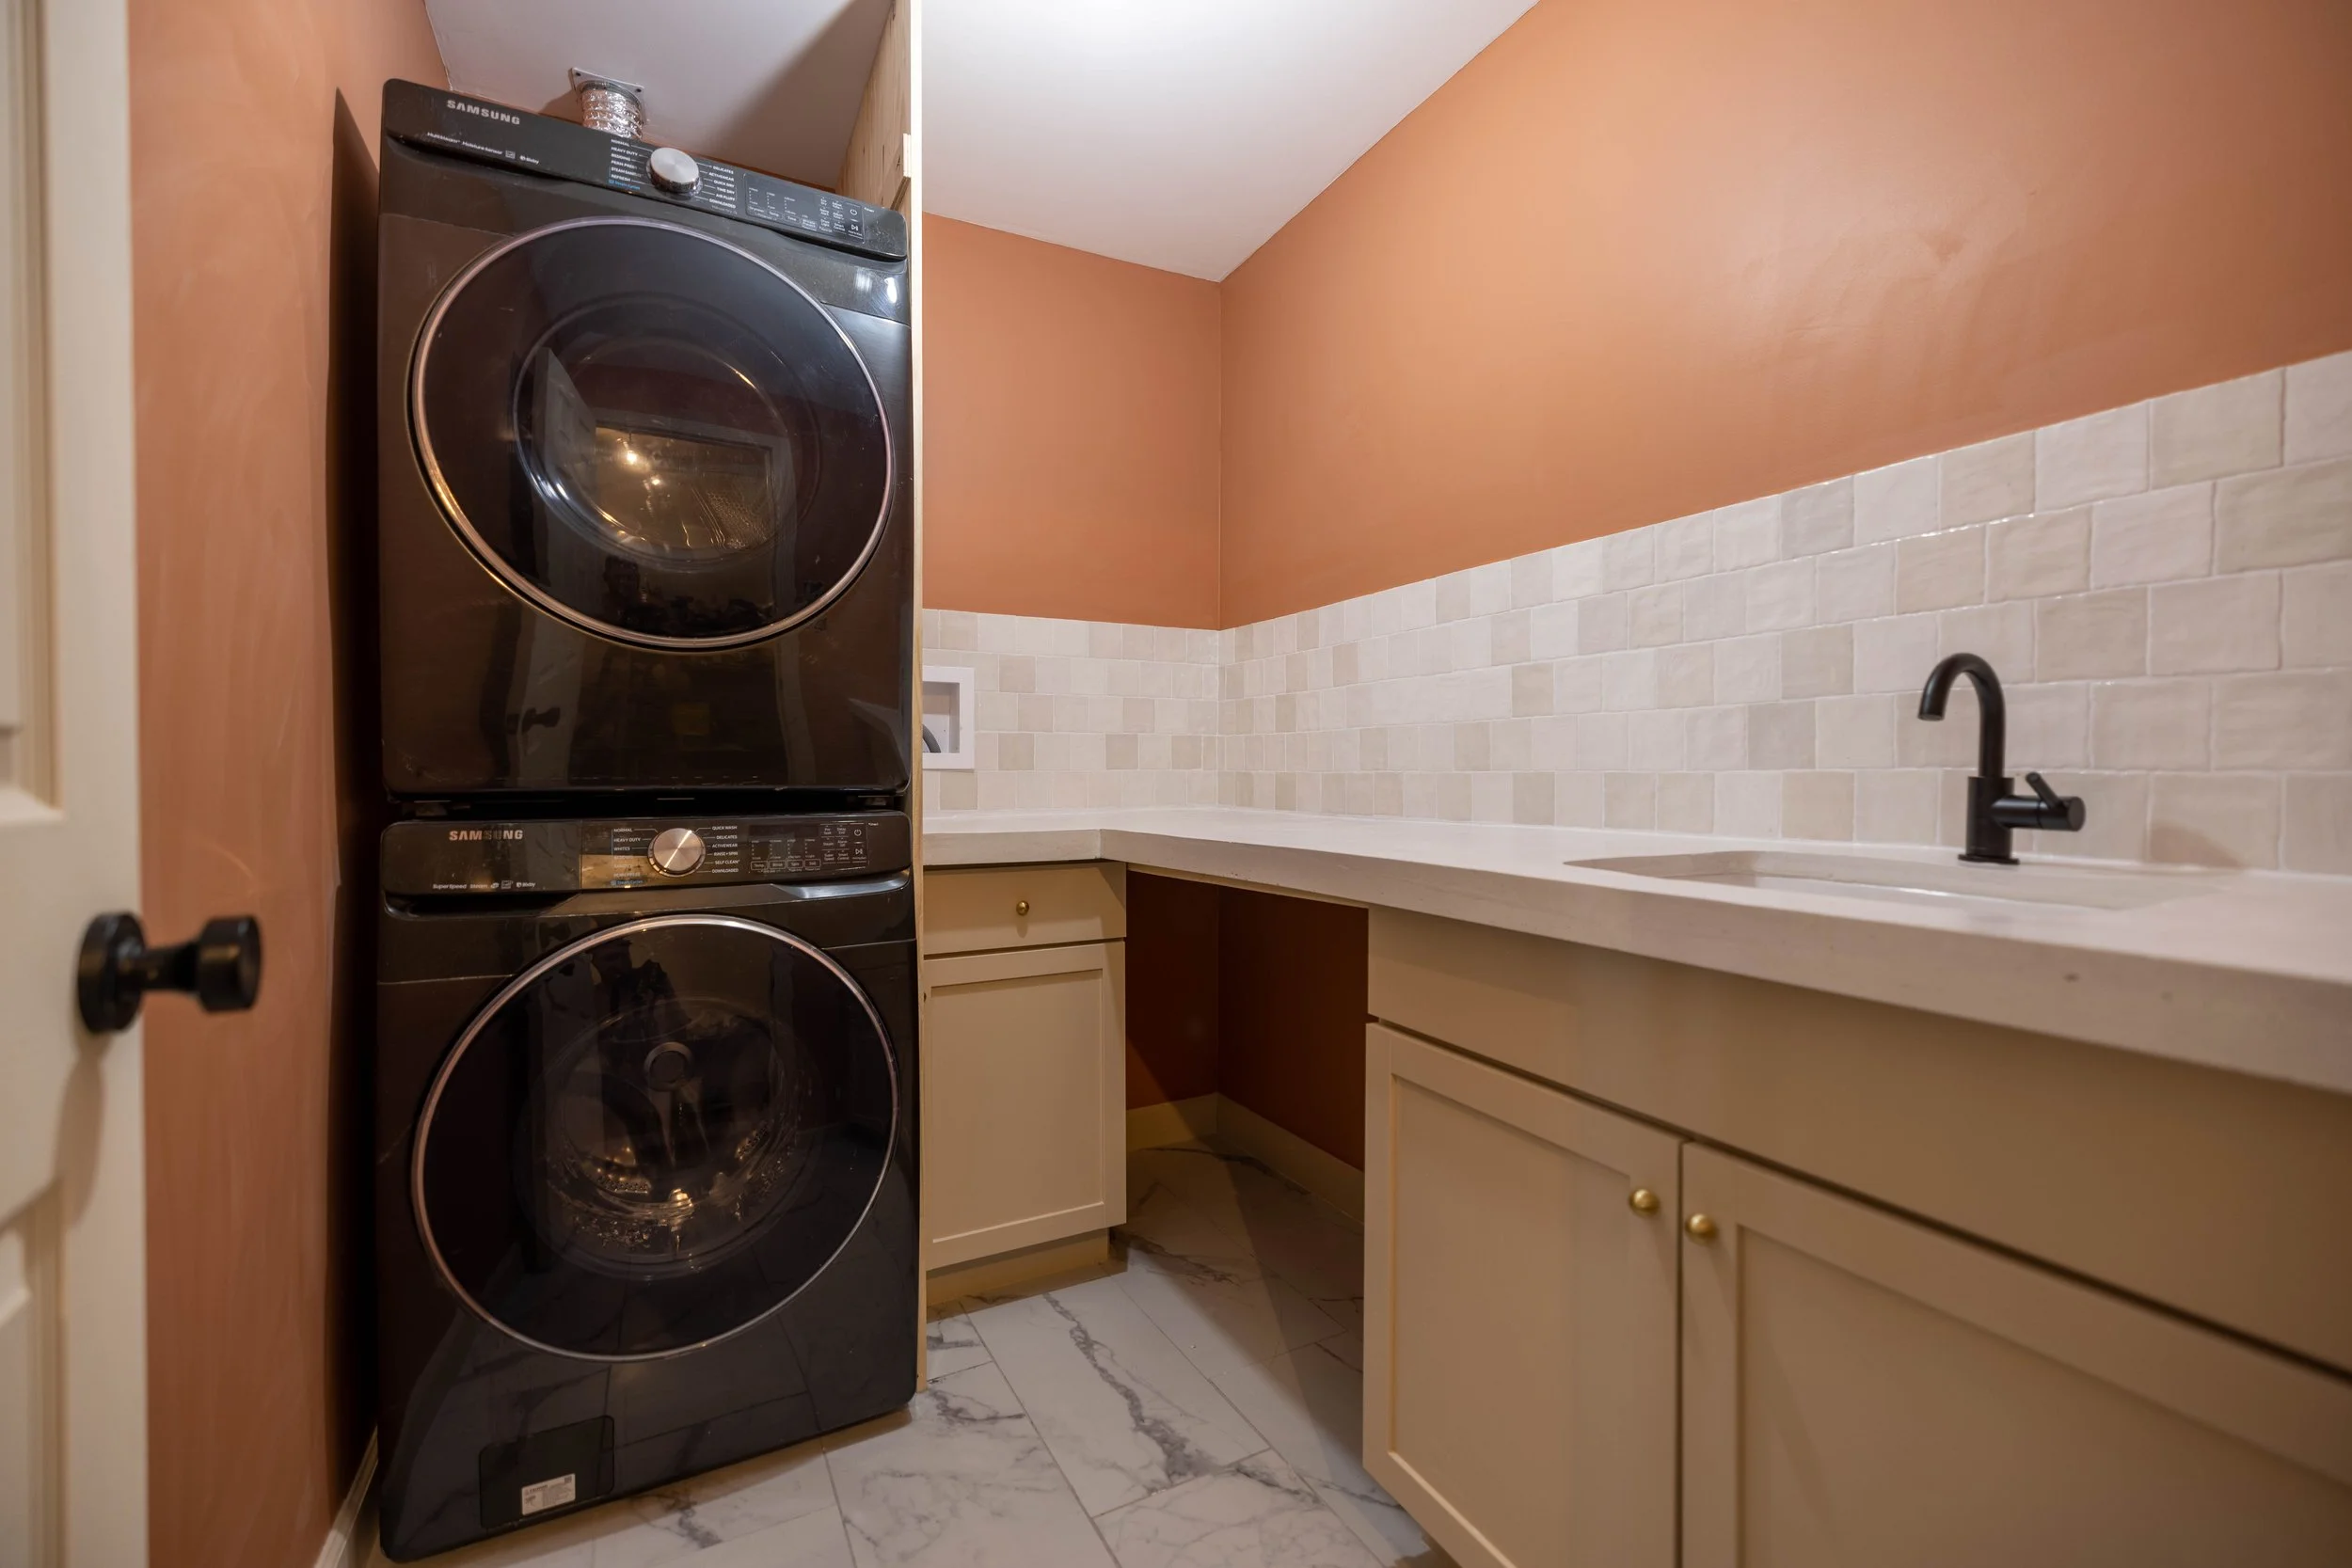
There’s a first time for everything - and this week of the One Room Challenge marked my first time at tiling! And you know what? It’s a super beginner-friendly project that makes a really big impact! In this post, I’m sharing the steps I took to tile my laundry room backsplash.
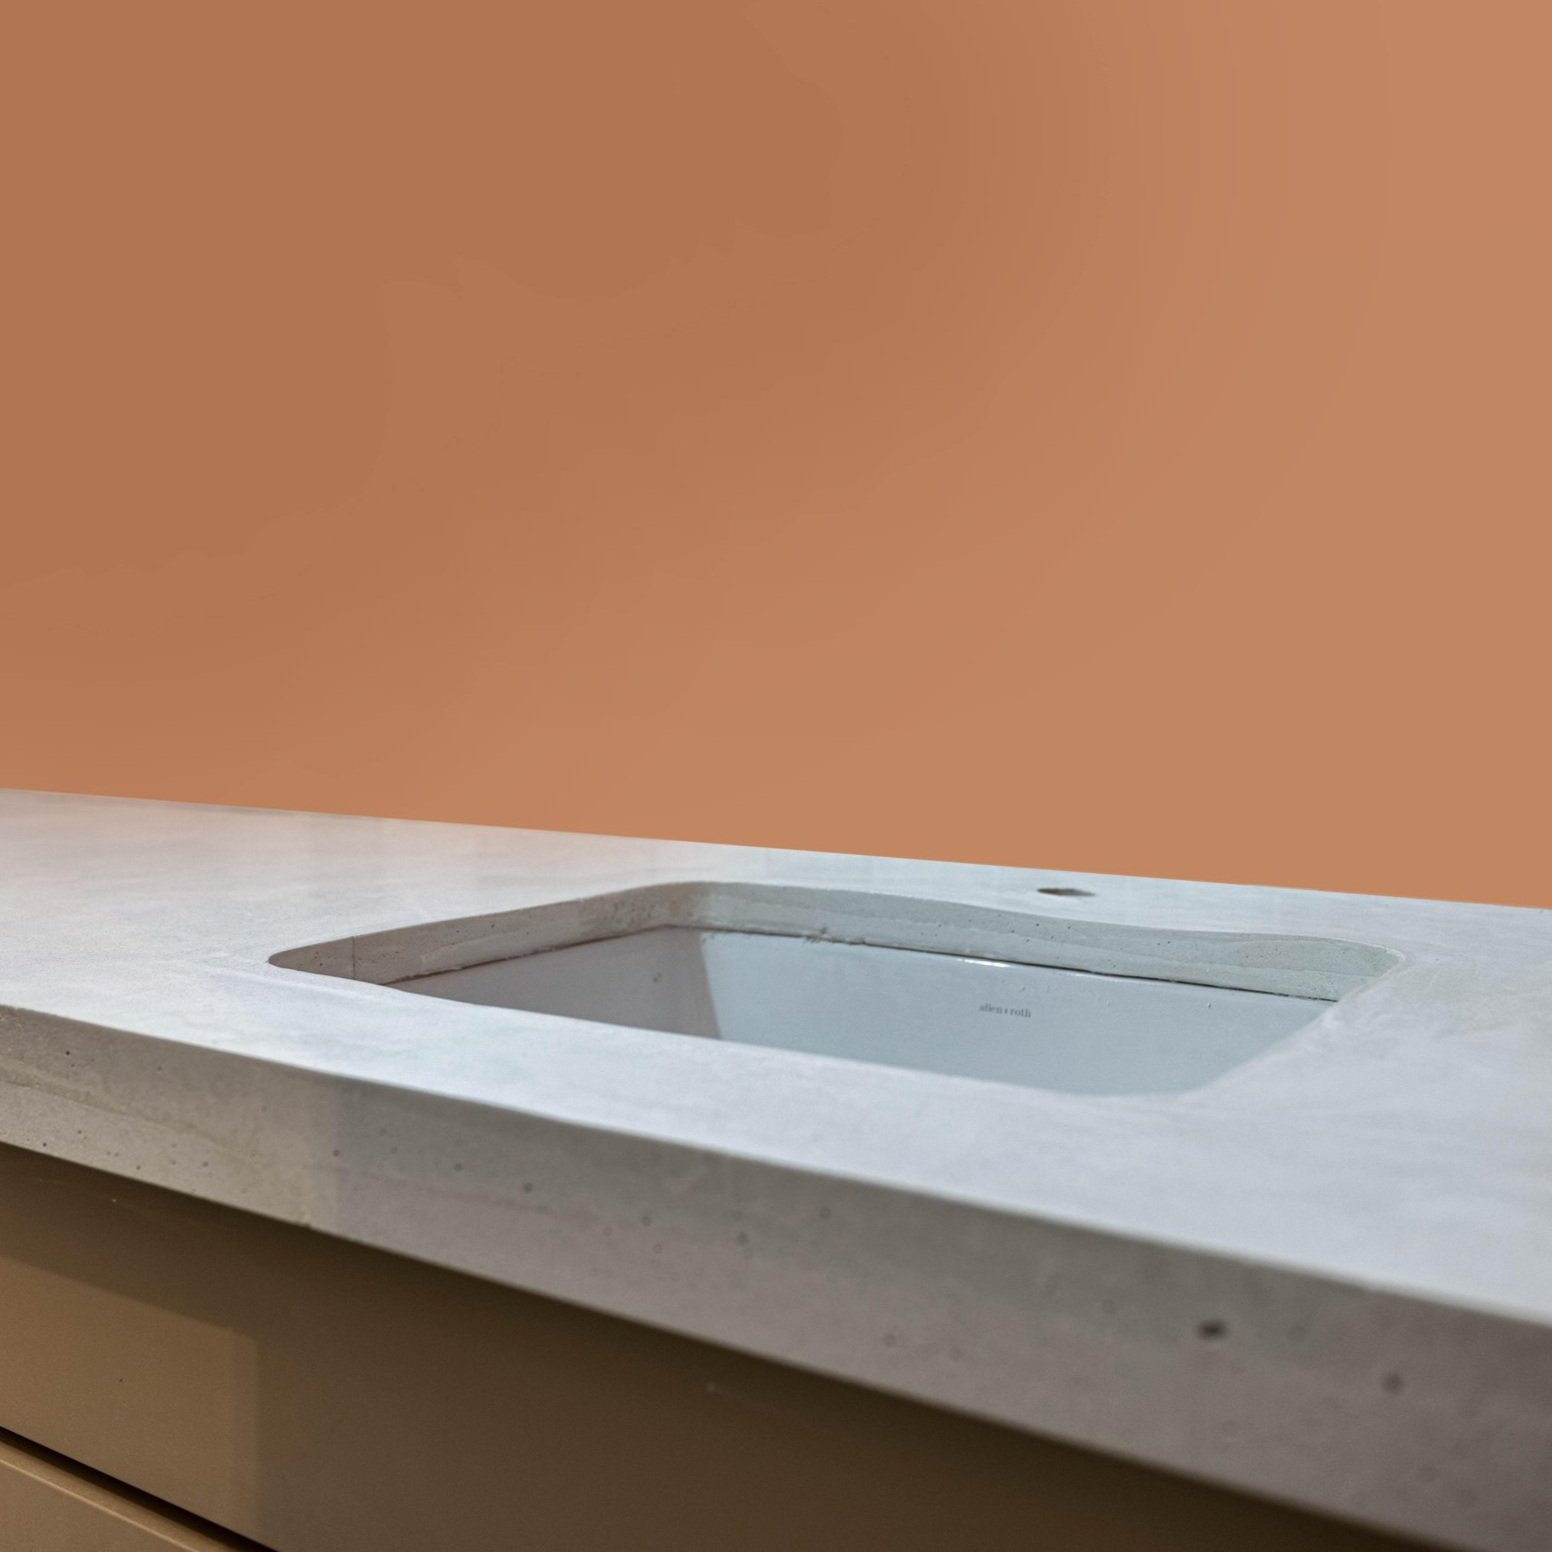
Are you looking for beautiful and unique countertops that don't cost thousands? Give concrete countertops a try! In this post, I'm sharing the step-by-step process of how I installed white concrete countertops in my laundry room as part of the One Room Challenge.
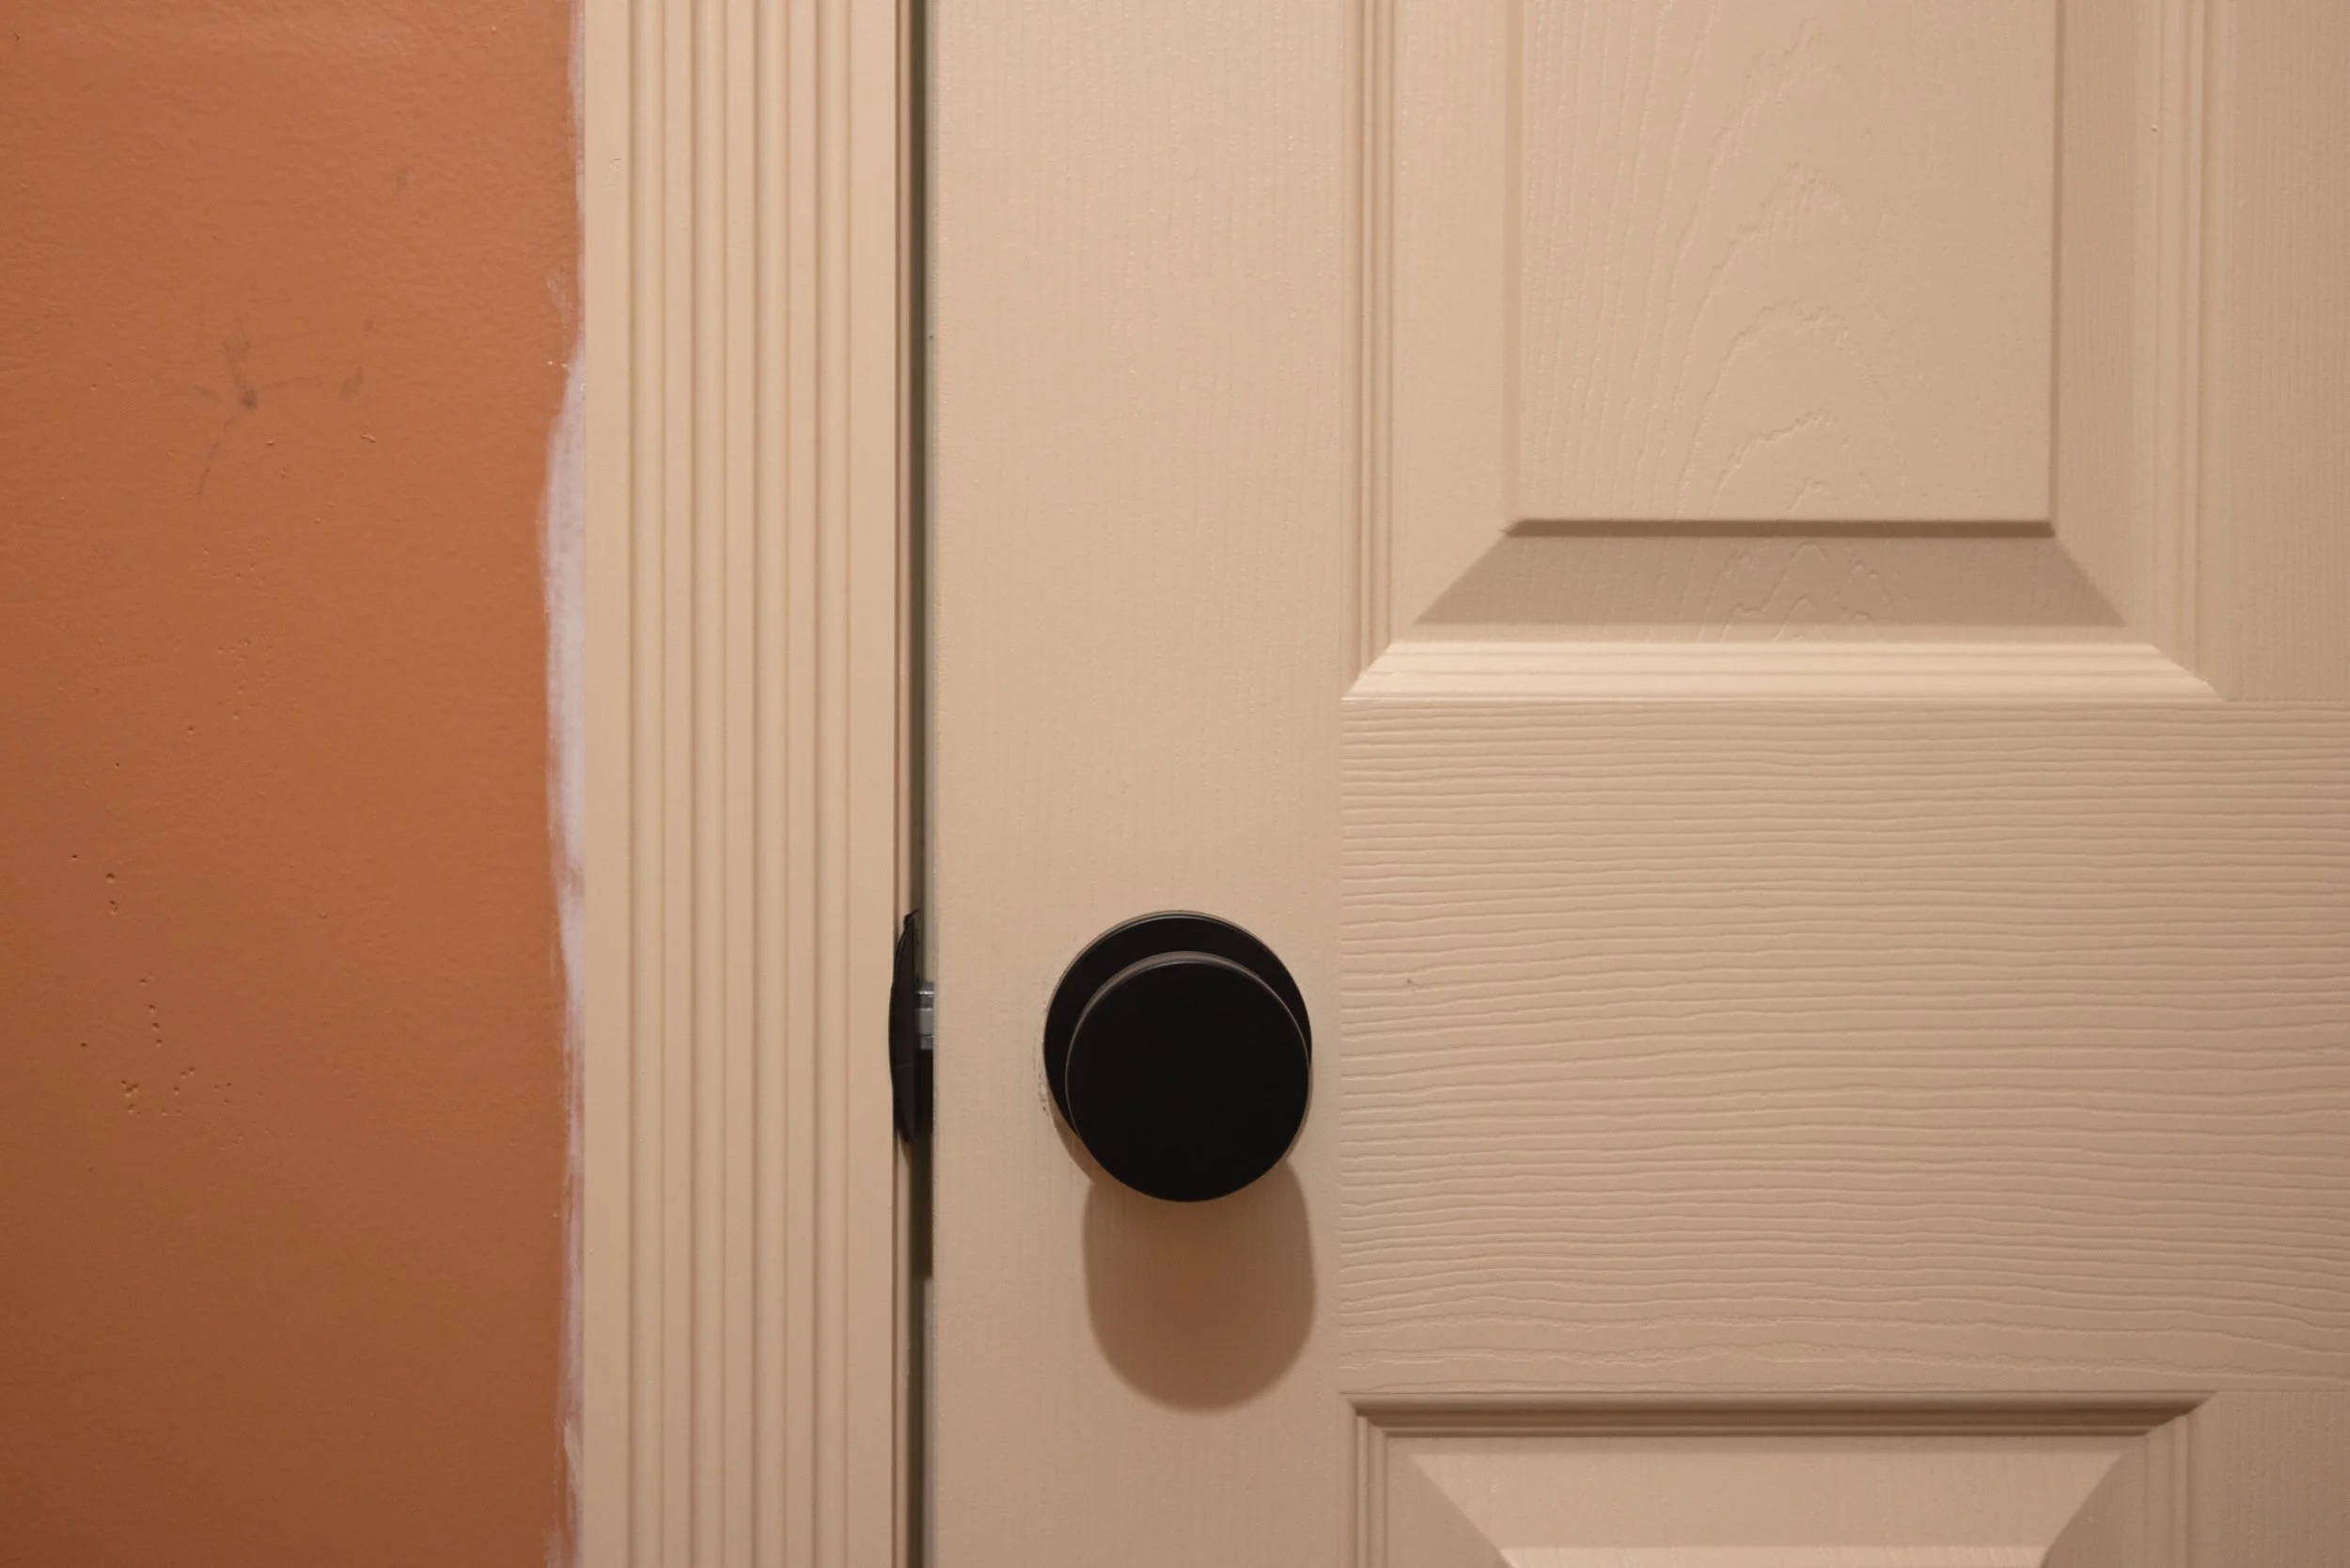
It’s week 4 of the One Room Challenge and we’re officially halfway to the finish line! This week the laundry room got a big upgrade when we installed the freshly painted cabinets, a new door, and the trim!
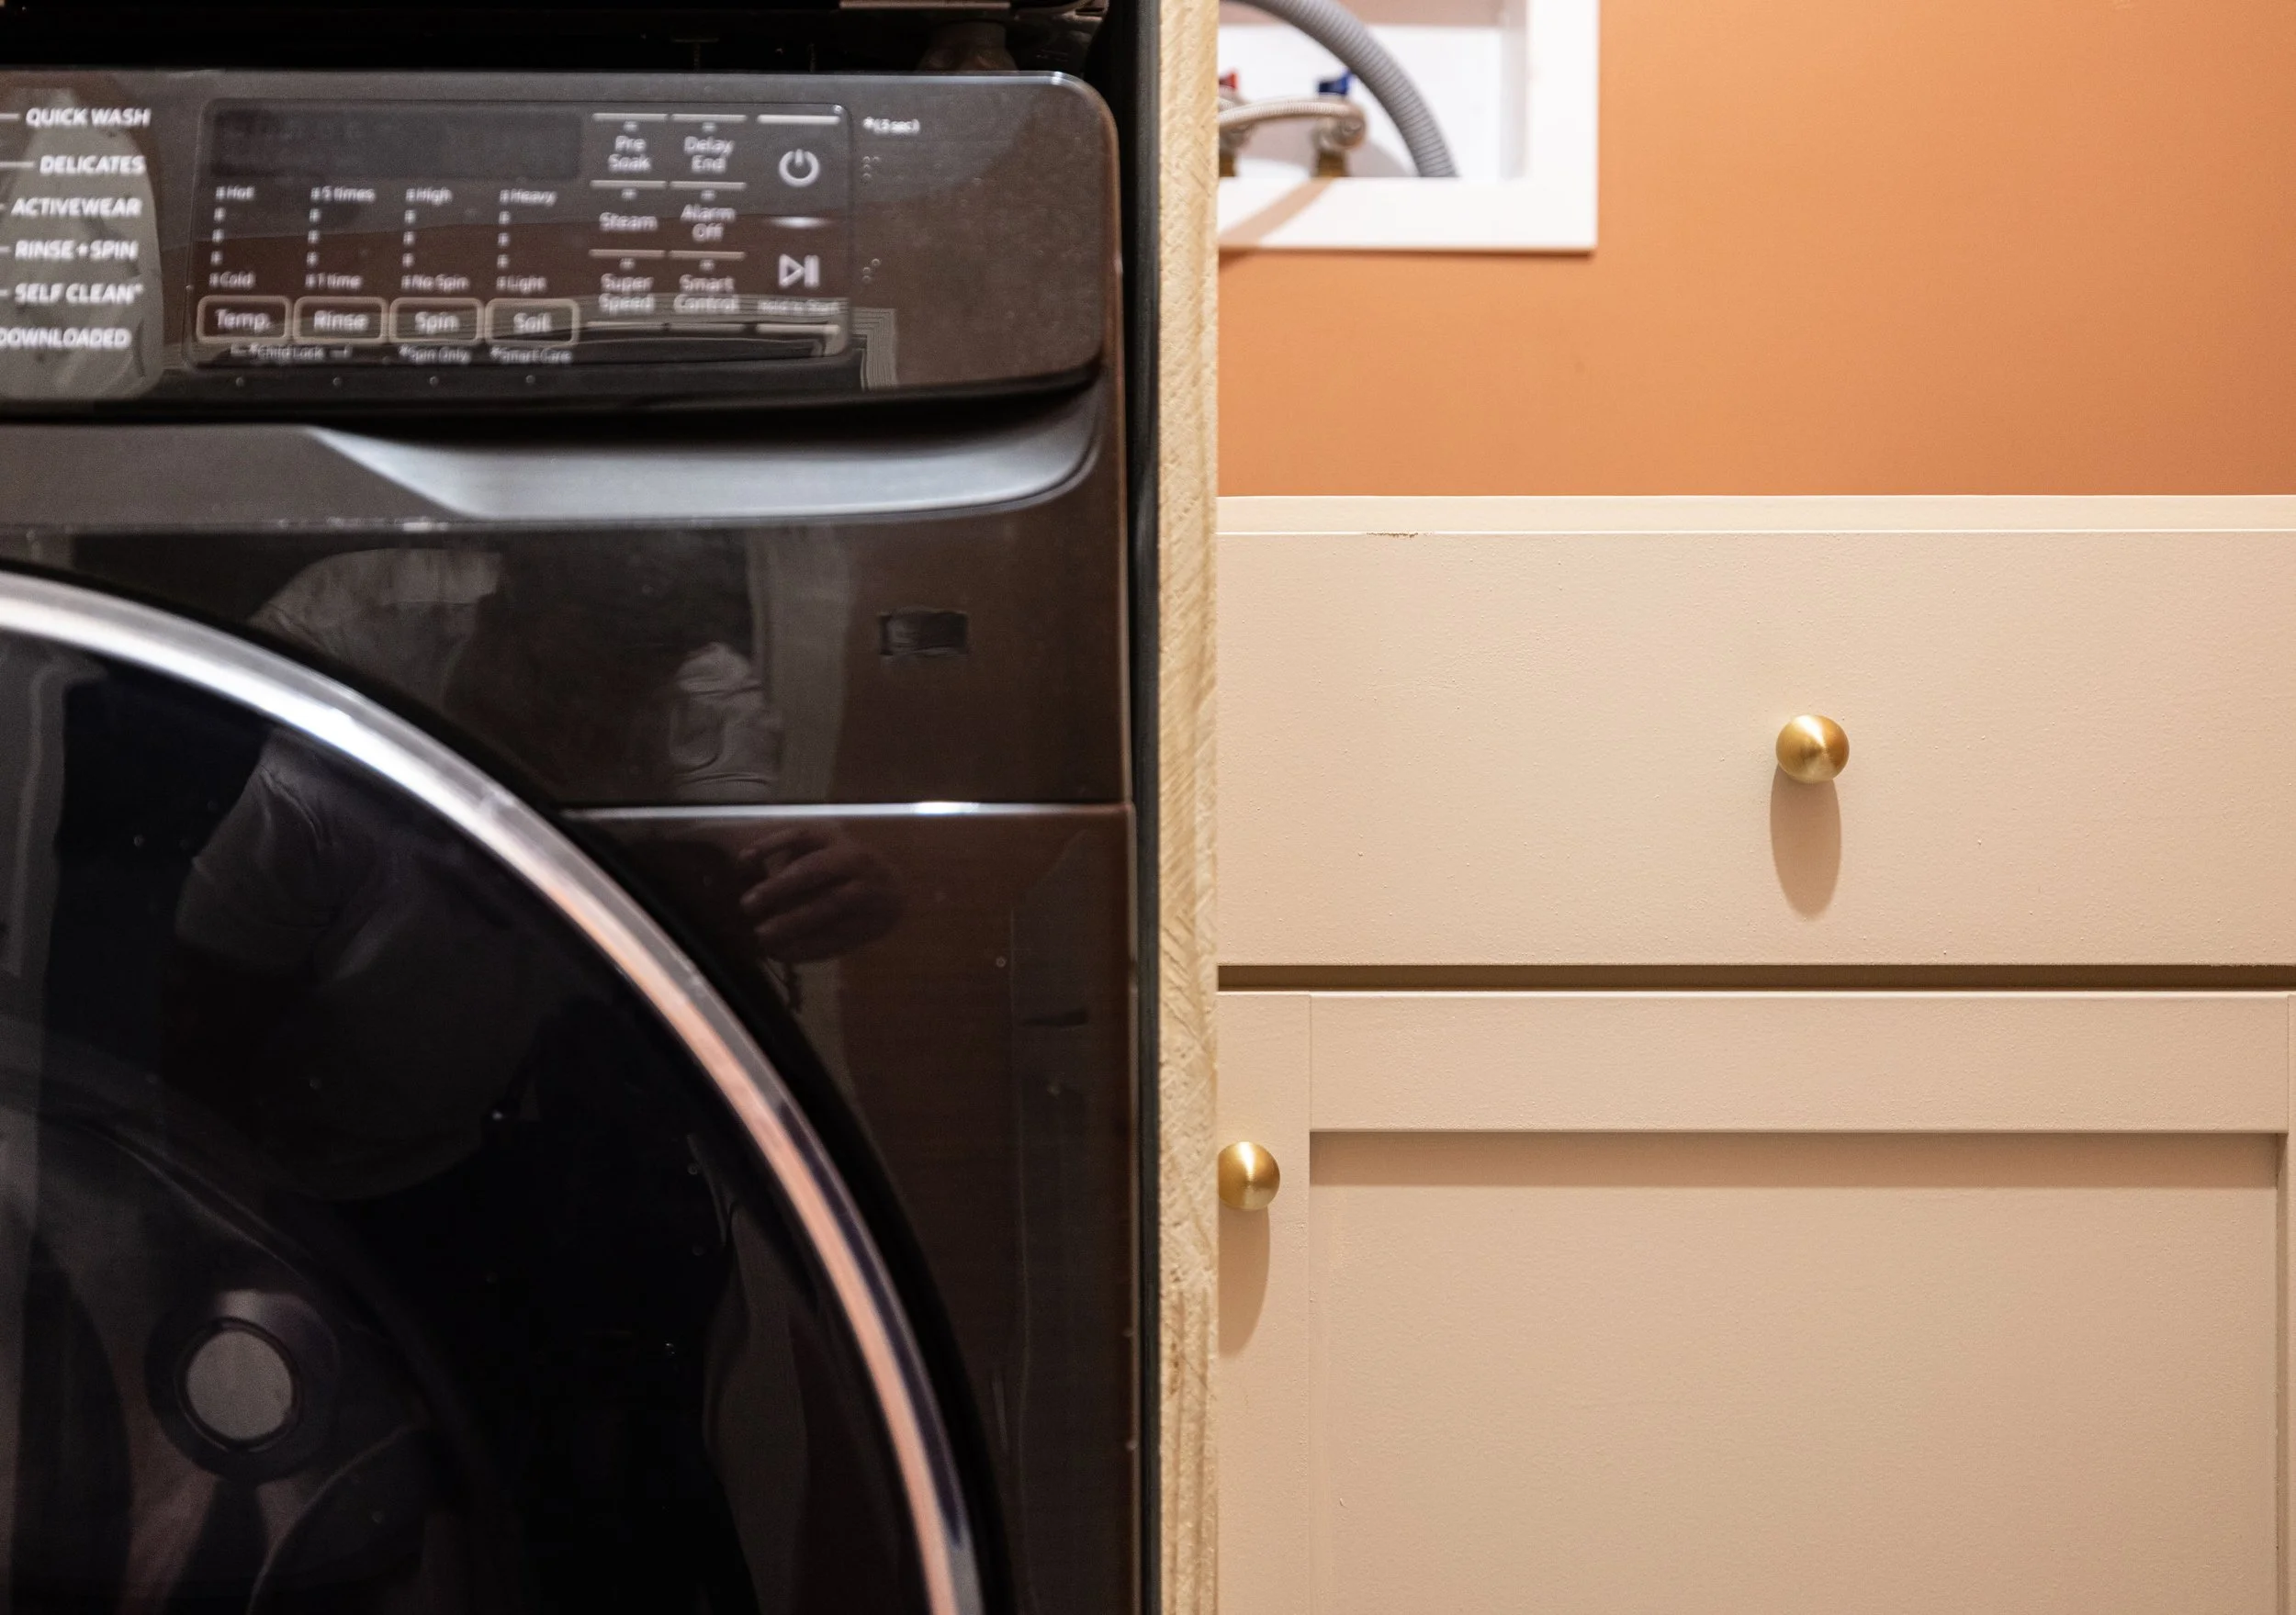
At this point, I've painted 4 kitchens worth of cabinets and have learned A LOT along the way. Since I was painting the cabinets for the laundry room this week anyway, I figured this would be the perfect opportunity to share my process for painting cabinets - breaking down what does and doesn't work so you get the best finished product.
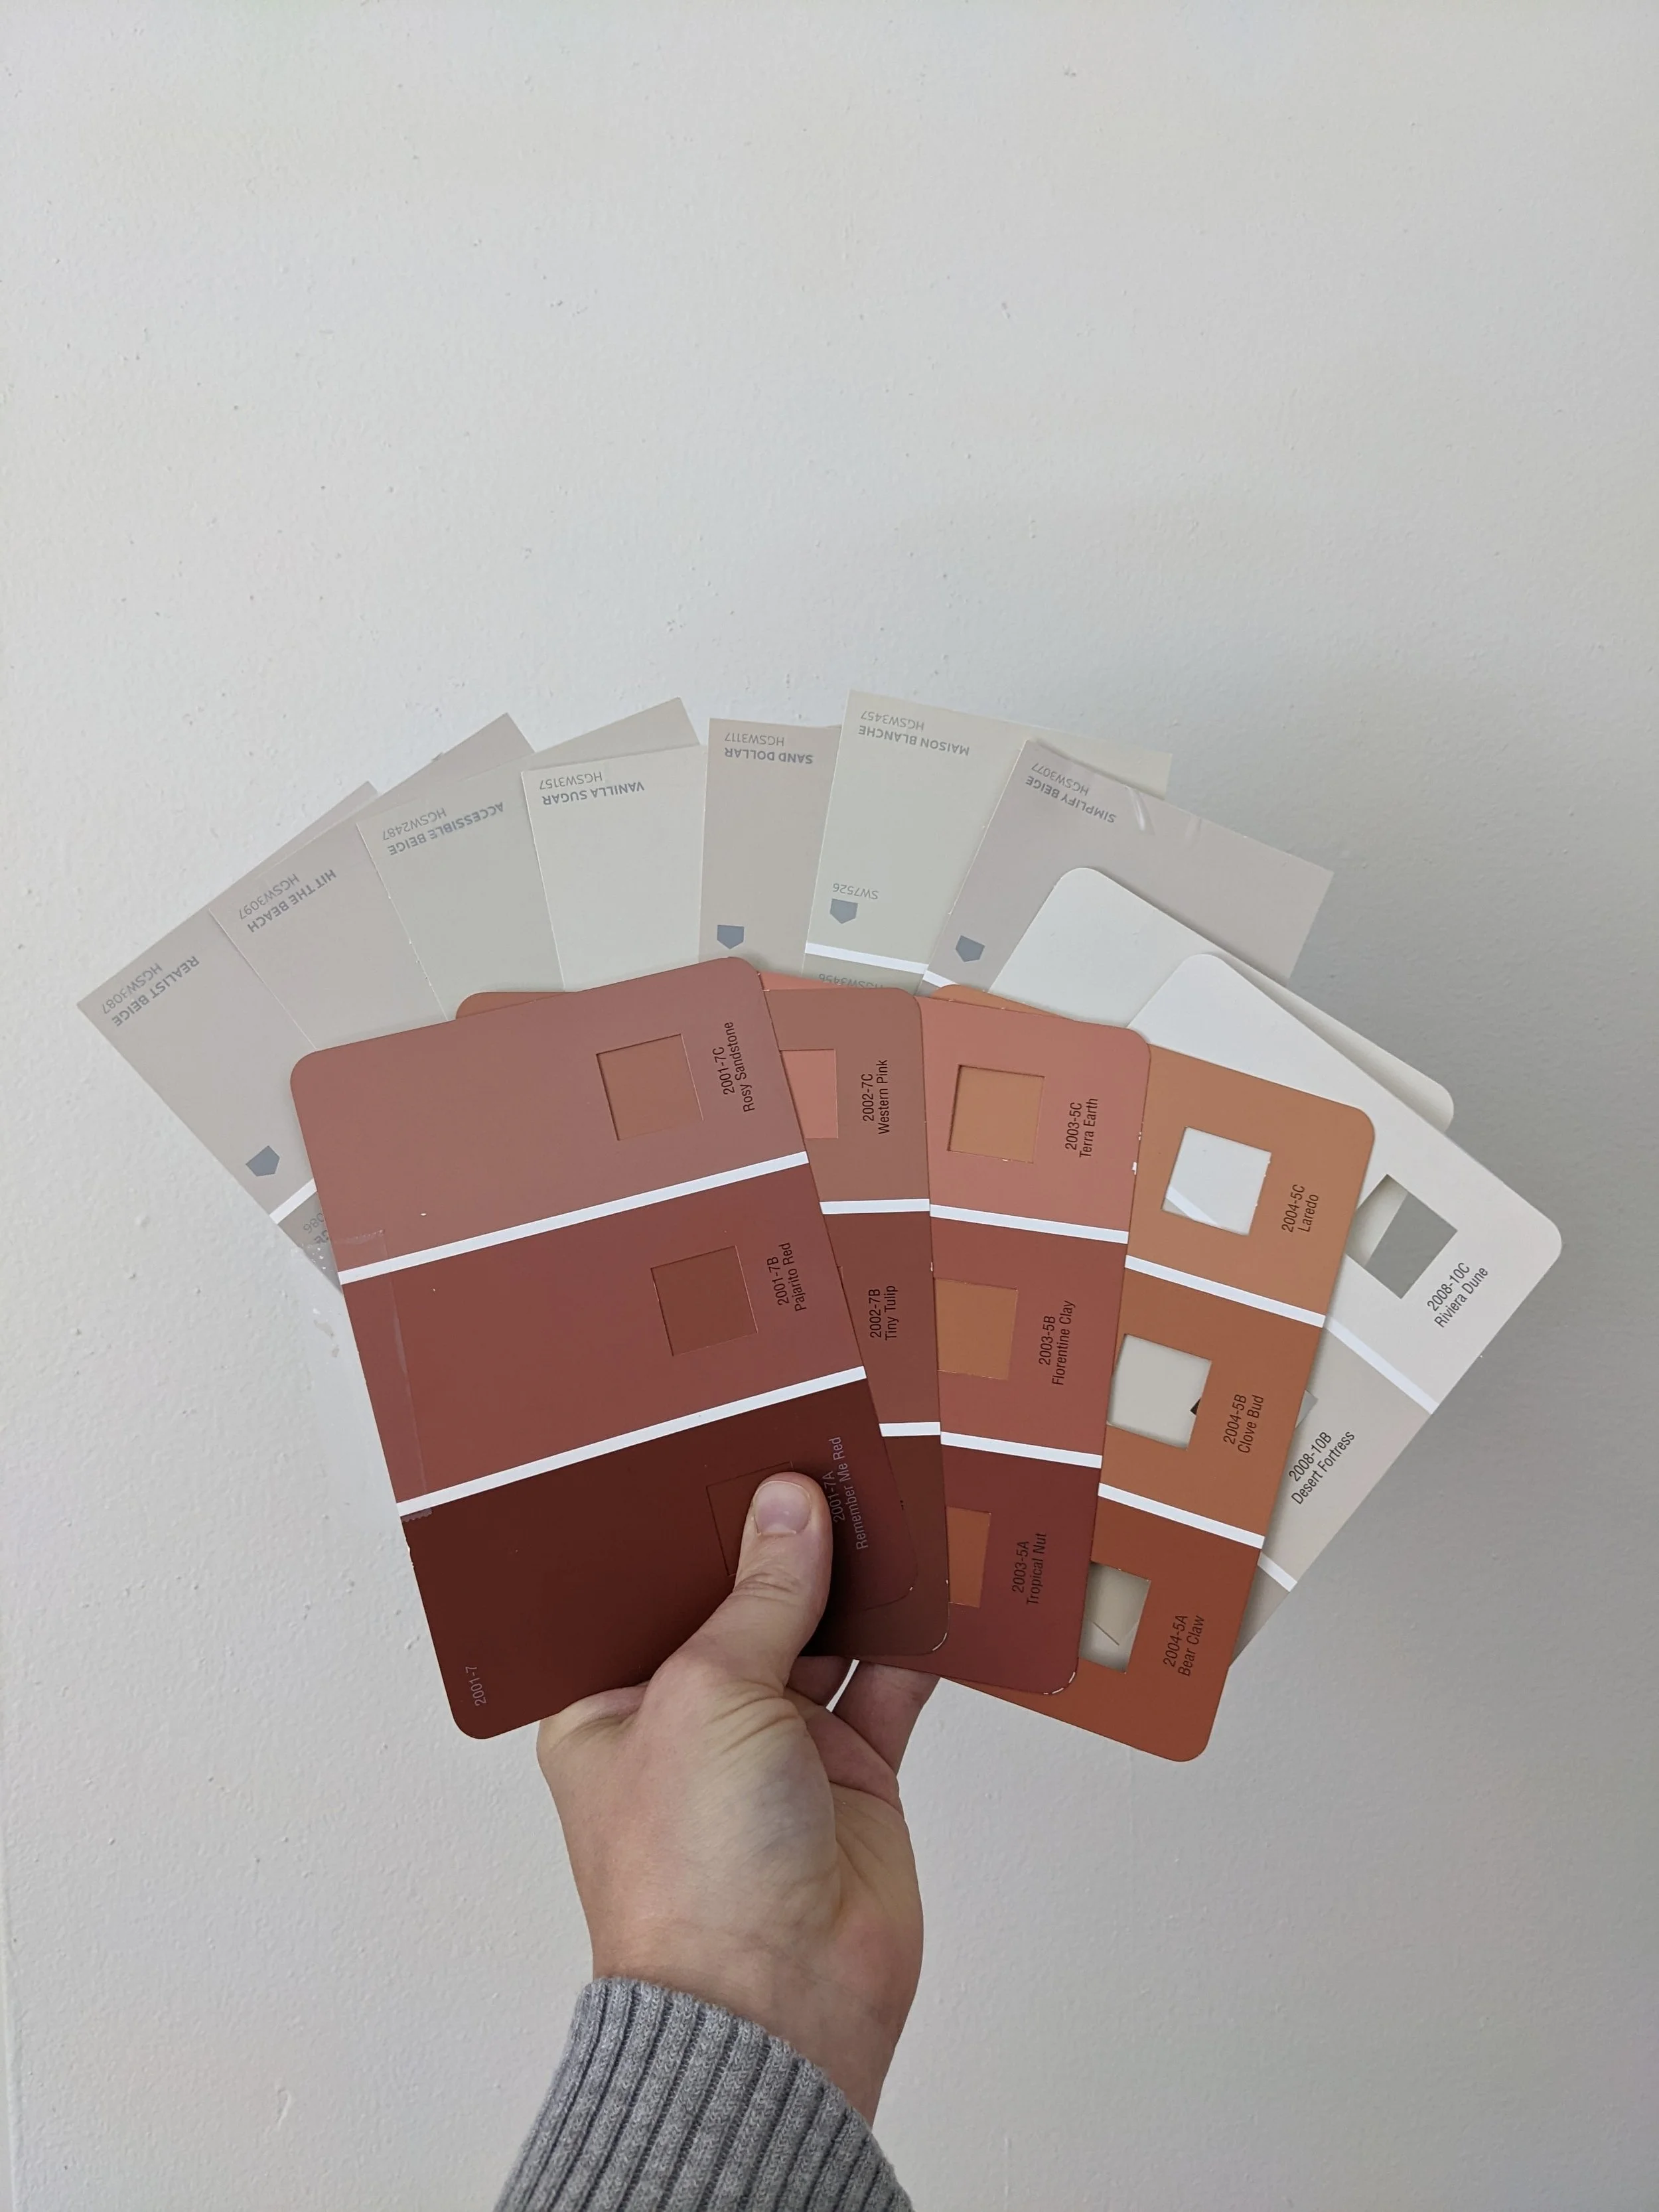
In last week’s post, I shared the design I’ve had rolling around in my head for the laundry room renovation that I’m tackling for the One Room Challenge. This week, I shifted my attention to picking the perfect paint colors for the walls and cabinets - and thought it would be fun to bring you along for the ride!
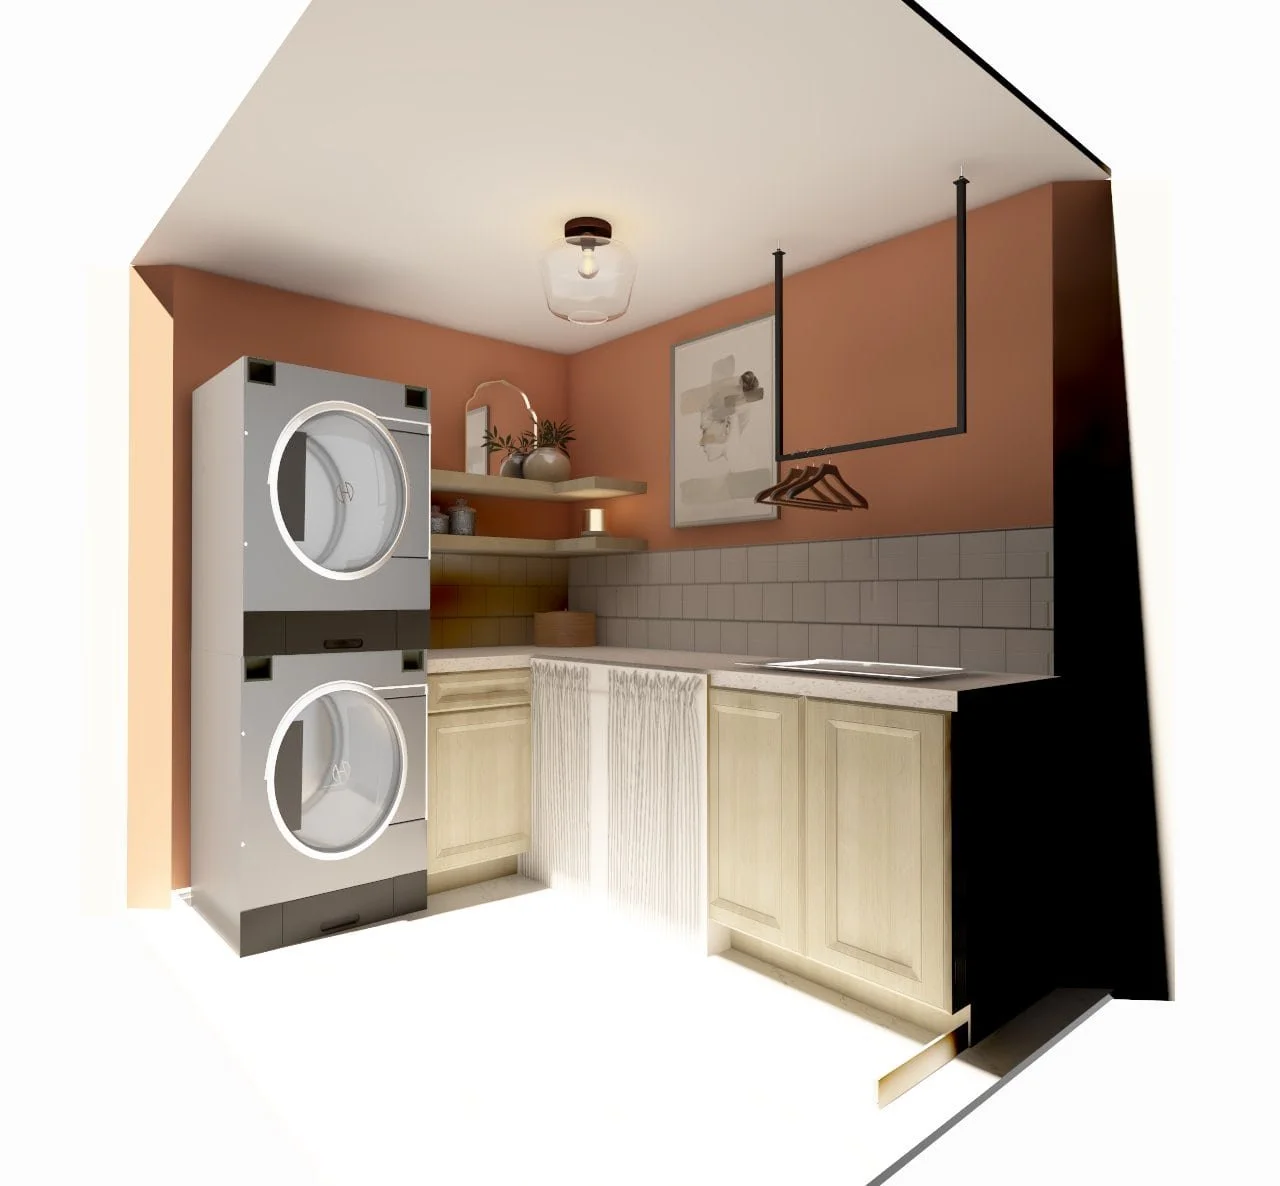
I often share pictures of rooms as we're working on them. What you don't see (and what I strategically choose not to share on the regular) are the rooms that have sat unfinished - like our laundry room.
That’s why I’m super excited to share that our next project will be finishing the laundry room as part of the One Room Challenge! I'm kicking things off in this post with my design plans for this space.
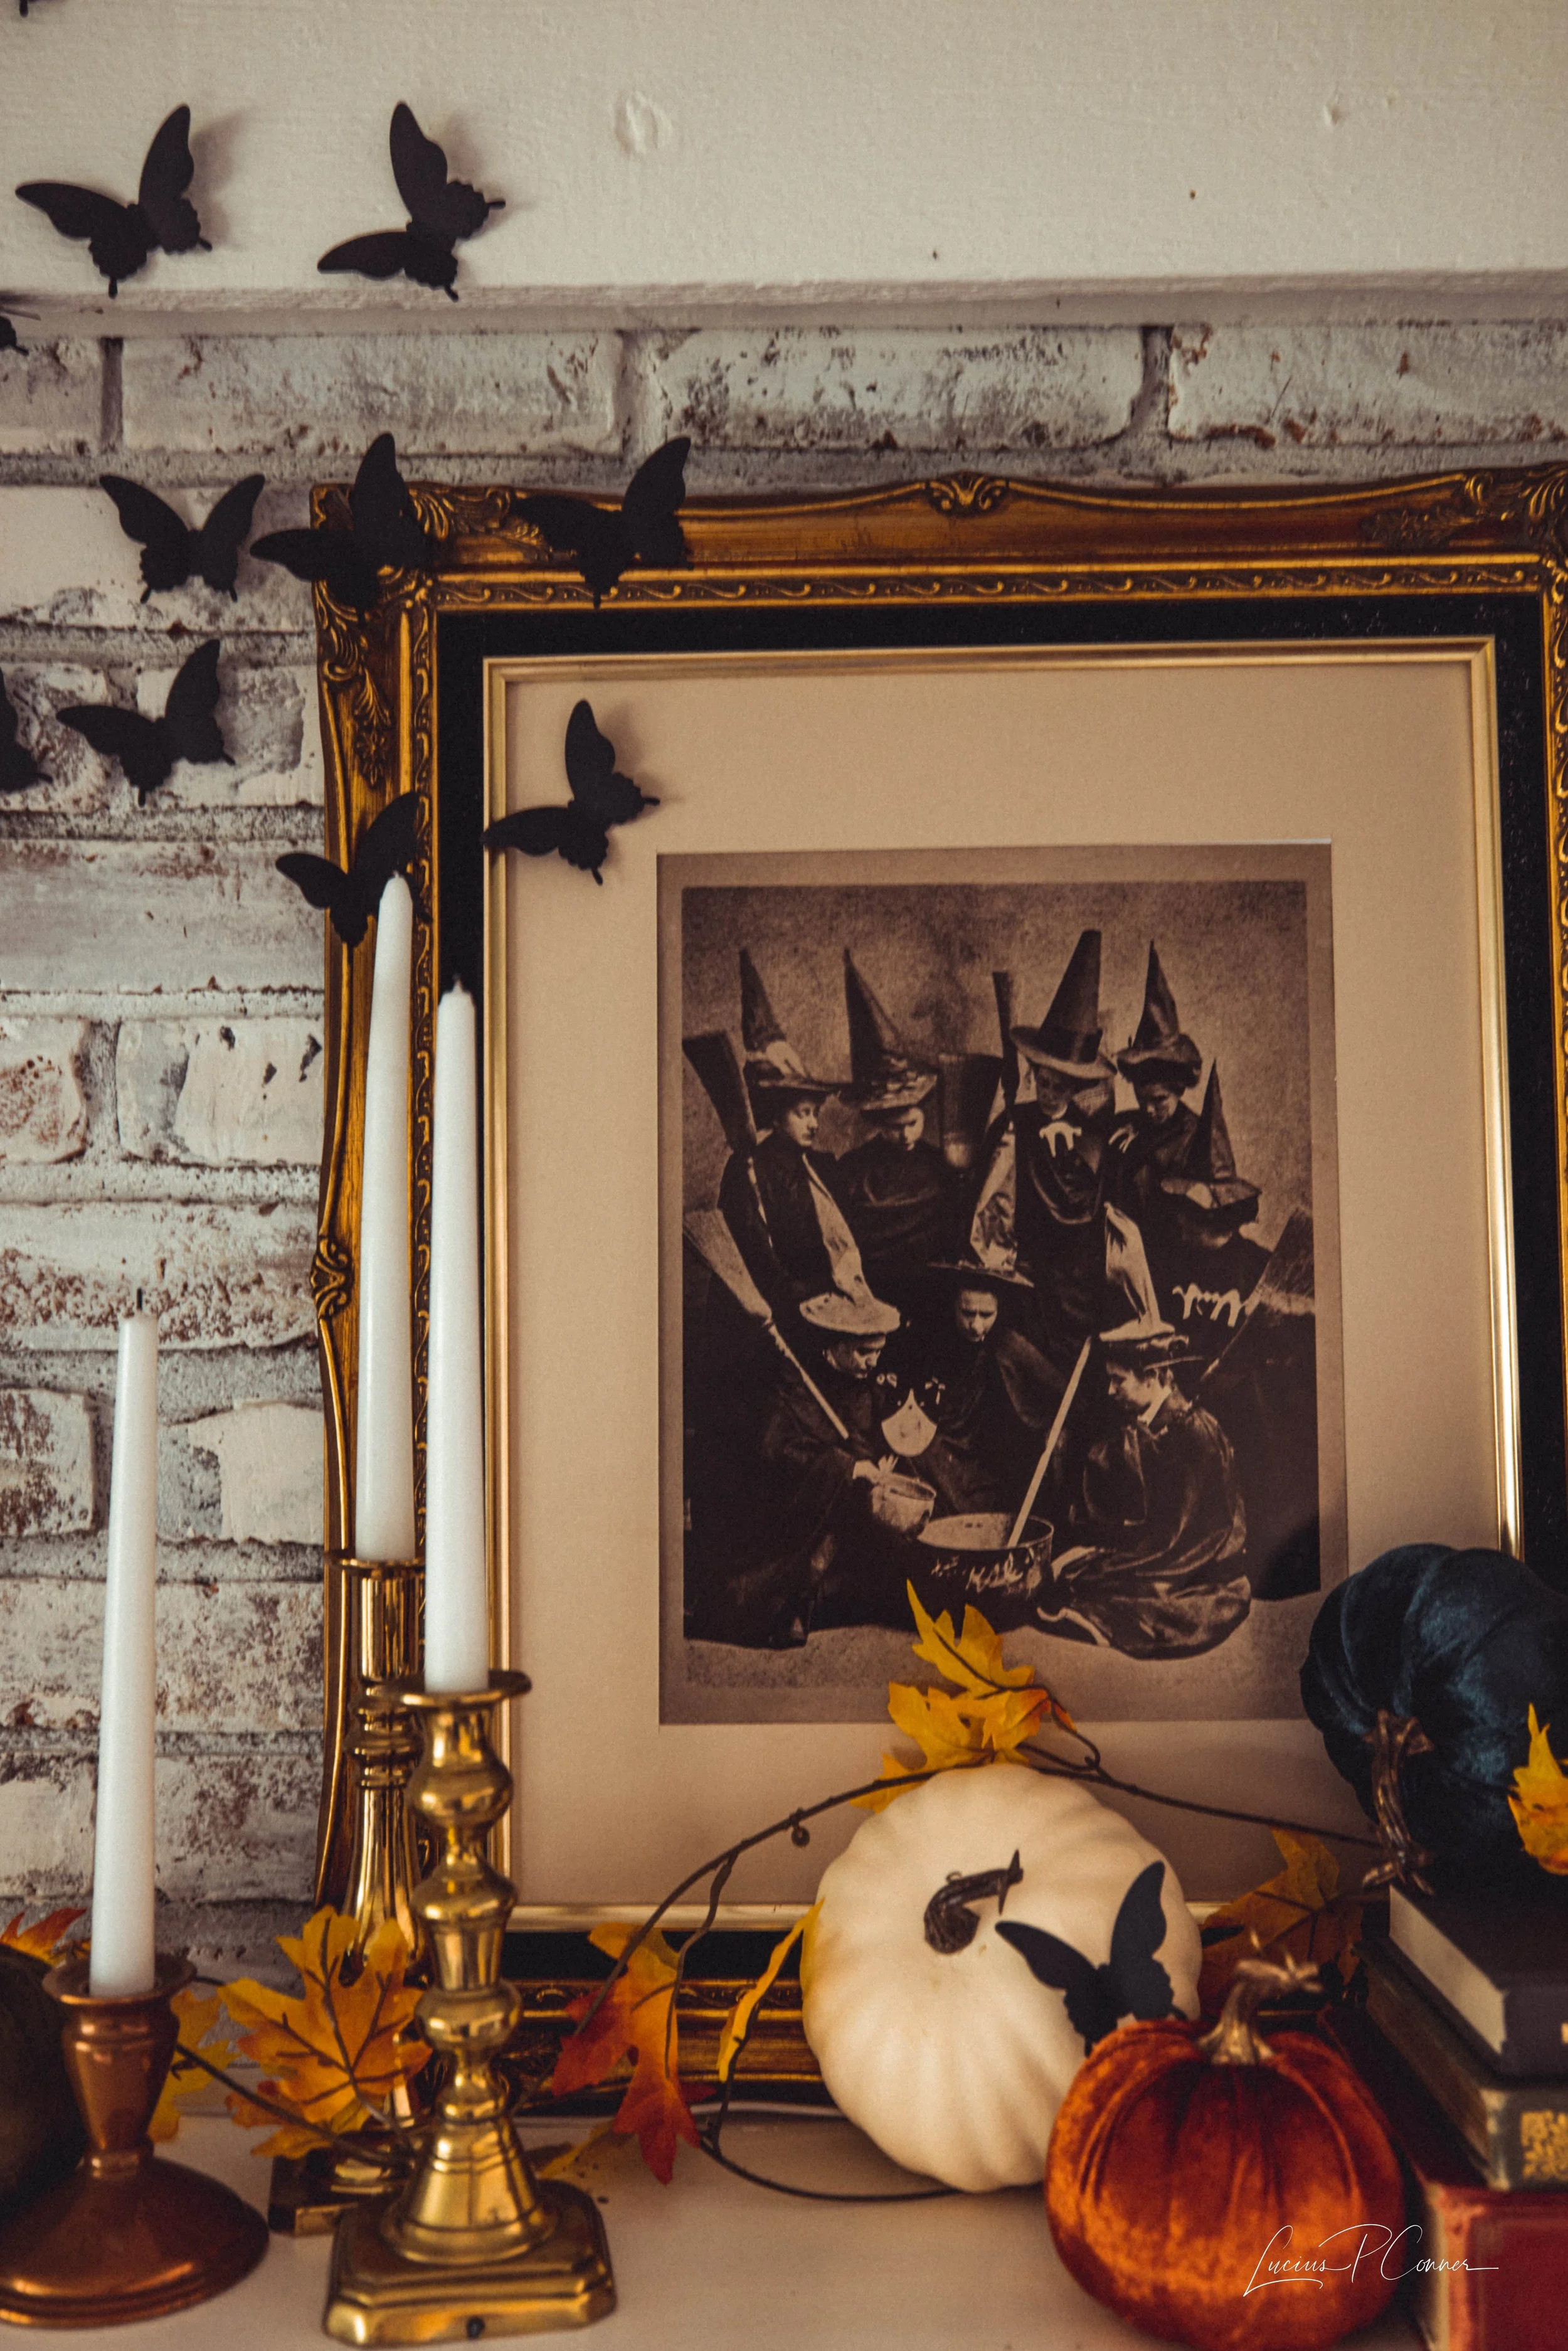
Spooky season is here!
As a self-proclaimed summer-lover, I was caught off guard when this year I actually had to restrain myself from decorating for Halloween before Labor Day! (Who even am I anymore!?) You better believe as soon as I felt it was a little more socially acceptable, I broke out the spiders, pumpkins, and bats in a hurry! In this post, I’m sharing how I decorated our home for Halloween and a tutorial for a cute kid-friendly DIY you can do to up the spooky factor in your home.

I’m not usually a fan of antique-looking decor, but when I first saw this antiqued mirror I wanted it right away! It’s not available for sale anymore but let me tell you, it was too expensive for my blood. So, naturally, I made my own antiqued mirror! Here’s how…
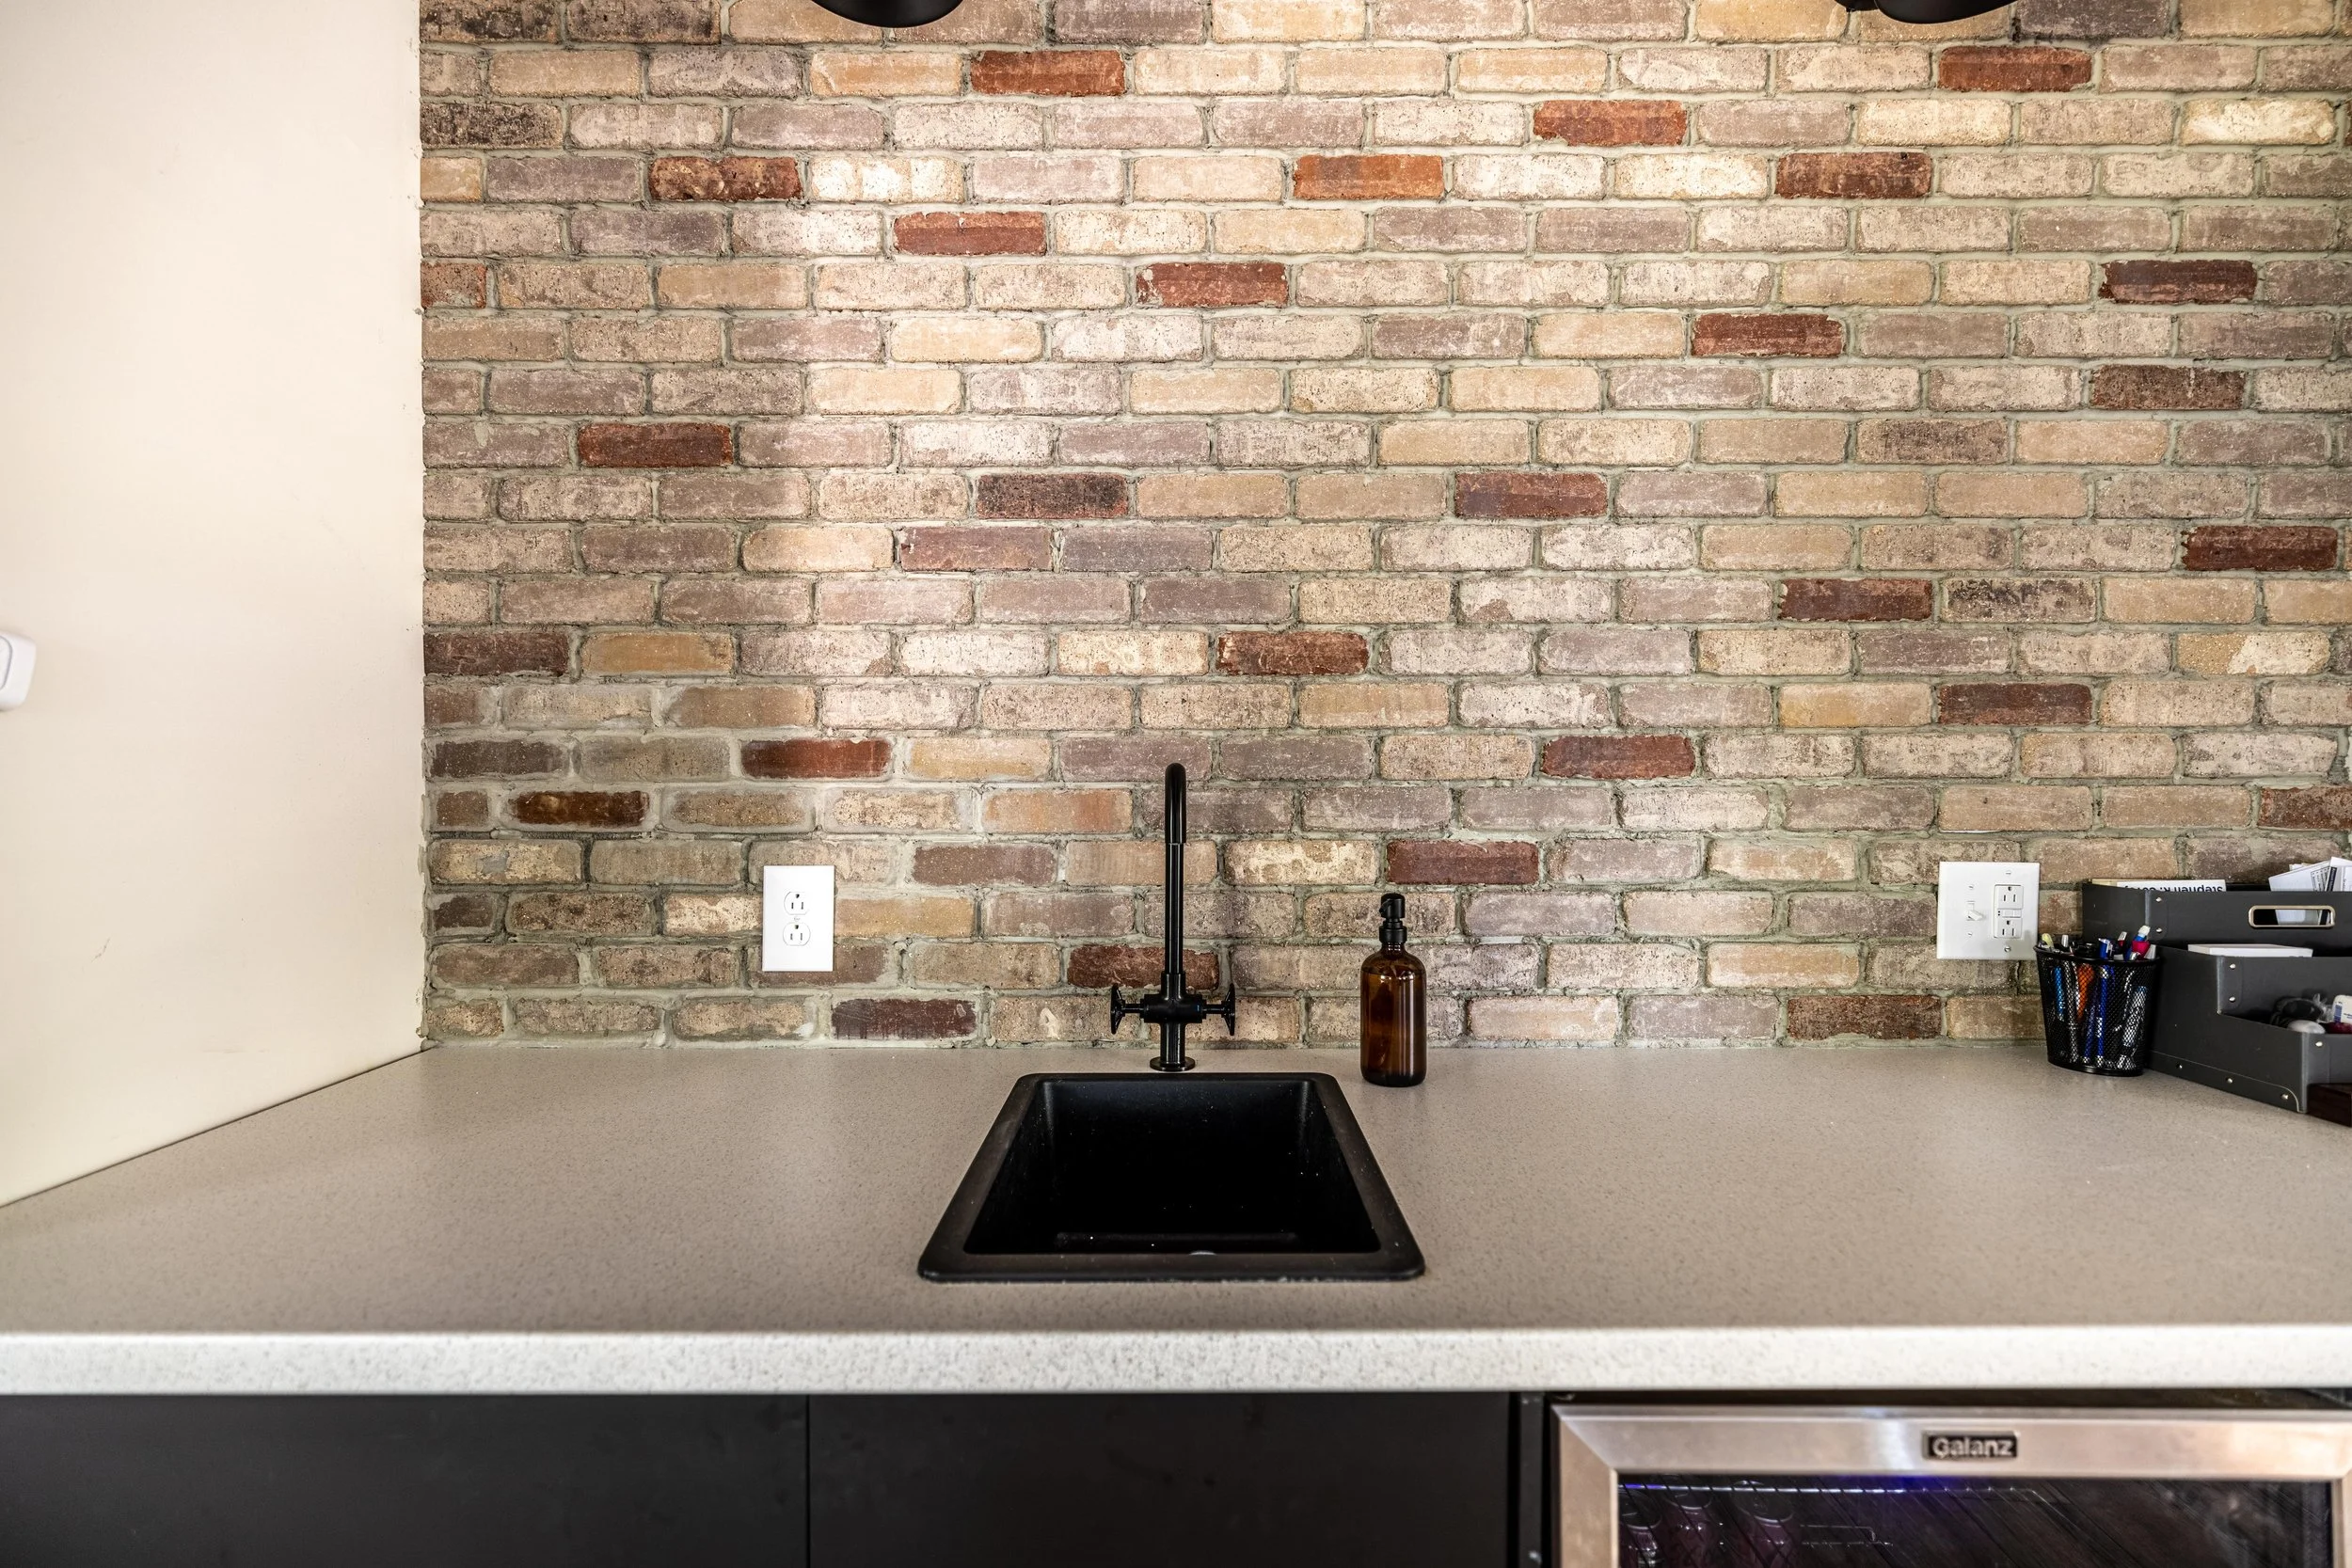
It’s been SIX MONTHS since my last loft update. What!??? That’s why I’m so excited to report that we finally installed the brick veneer above the kitchenette in the loft! And I can’t wait to show you how we did it. Oh, yeah, and we also installed the kitchenette!

Plants have a way of effortlessly bringing a pop of color, life, and energy into any space. If you haven't noticed, I have quite the collection of plants (30 as of writing this post!). And now that everything is in full bloom and thriving, I figured it might be fun to share some of my favorites and how I do my best to keep them happy and healthy.
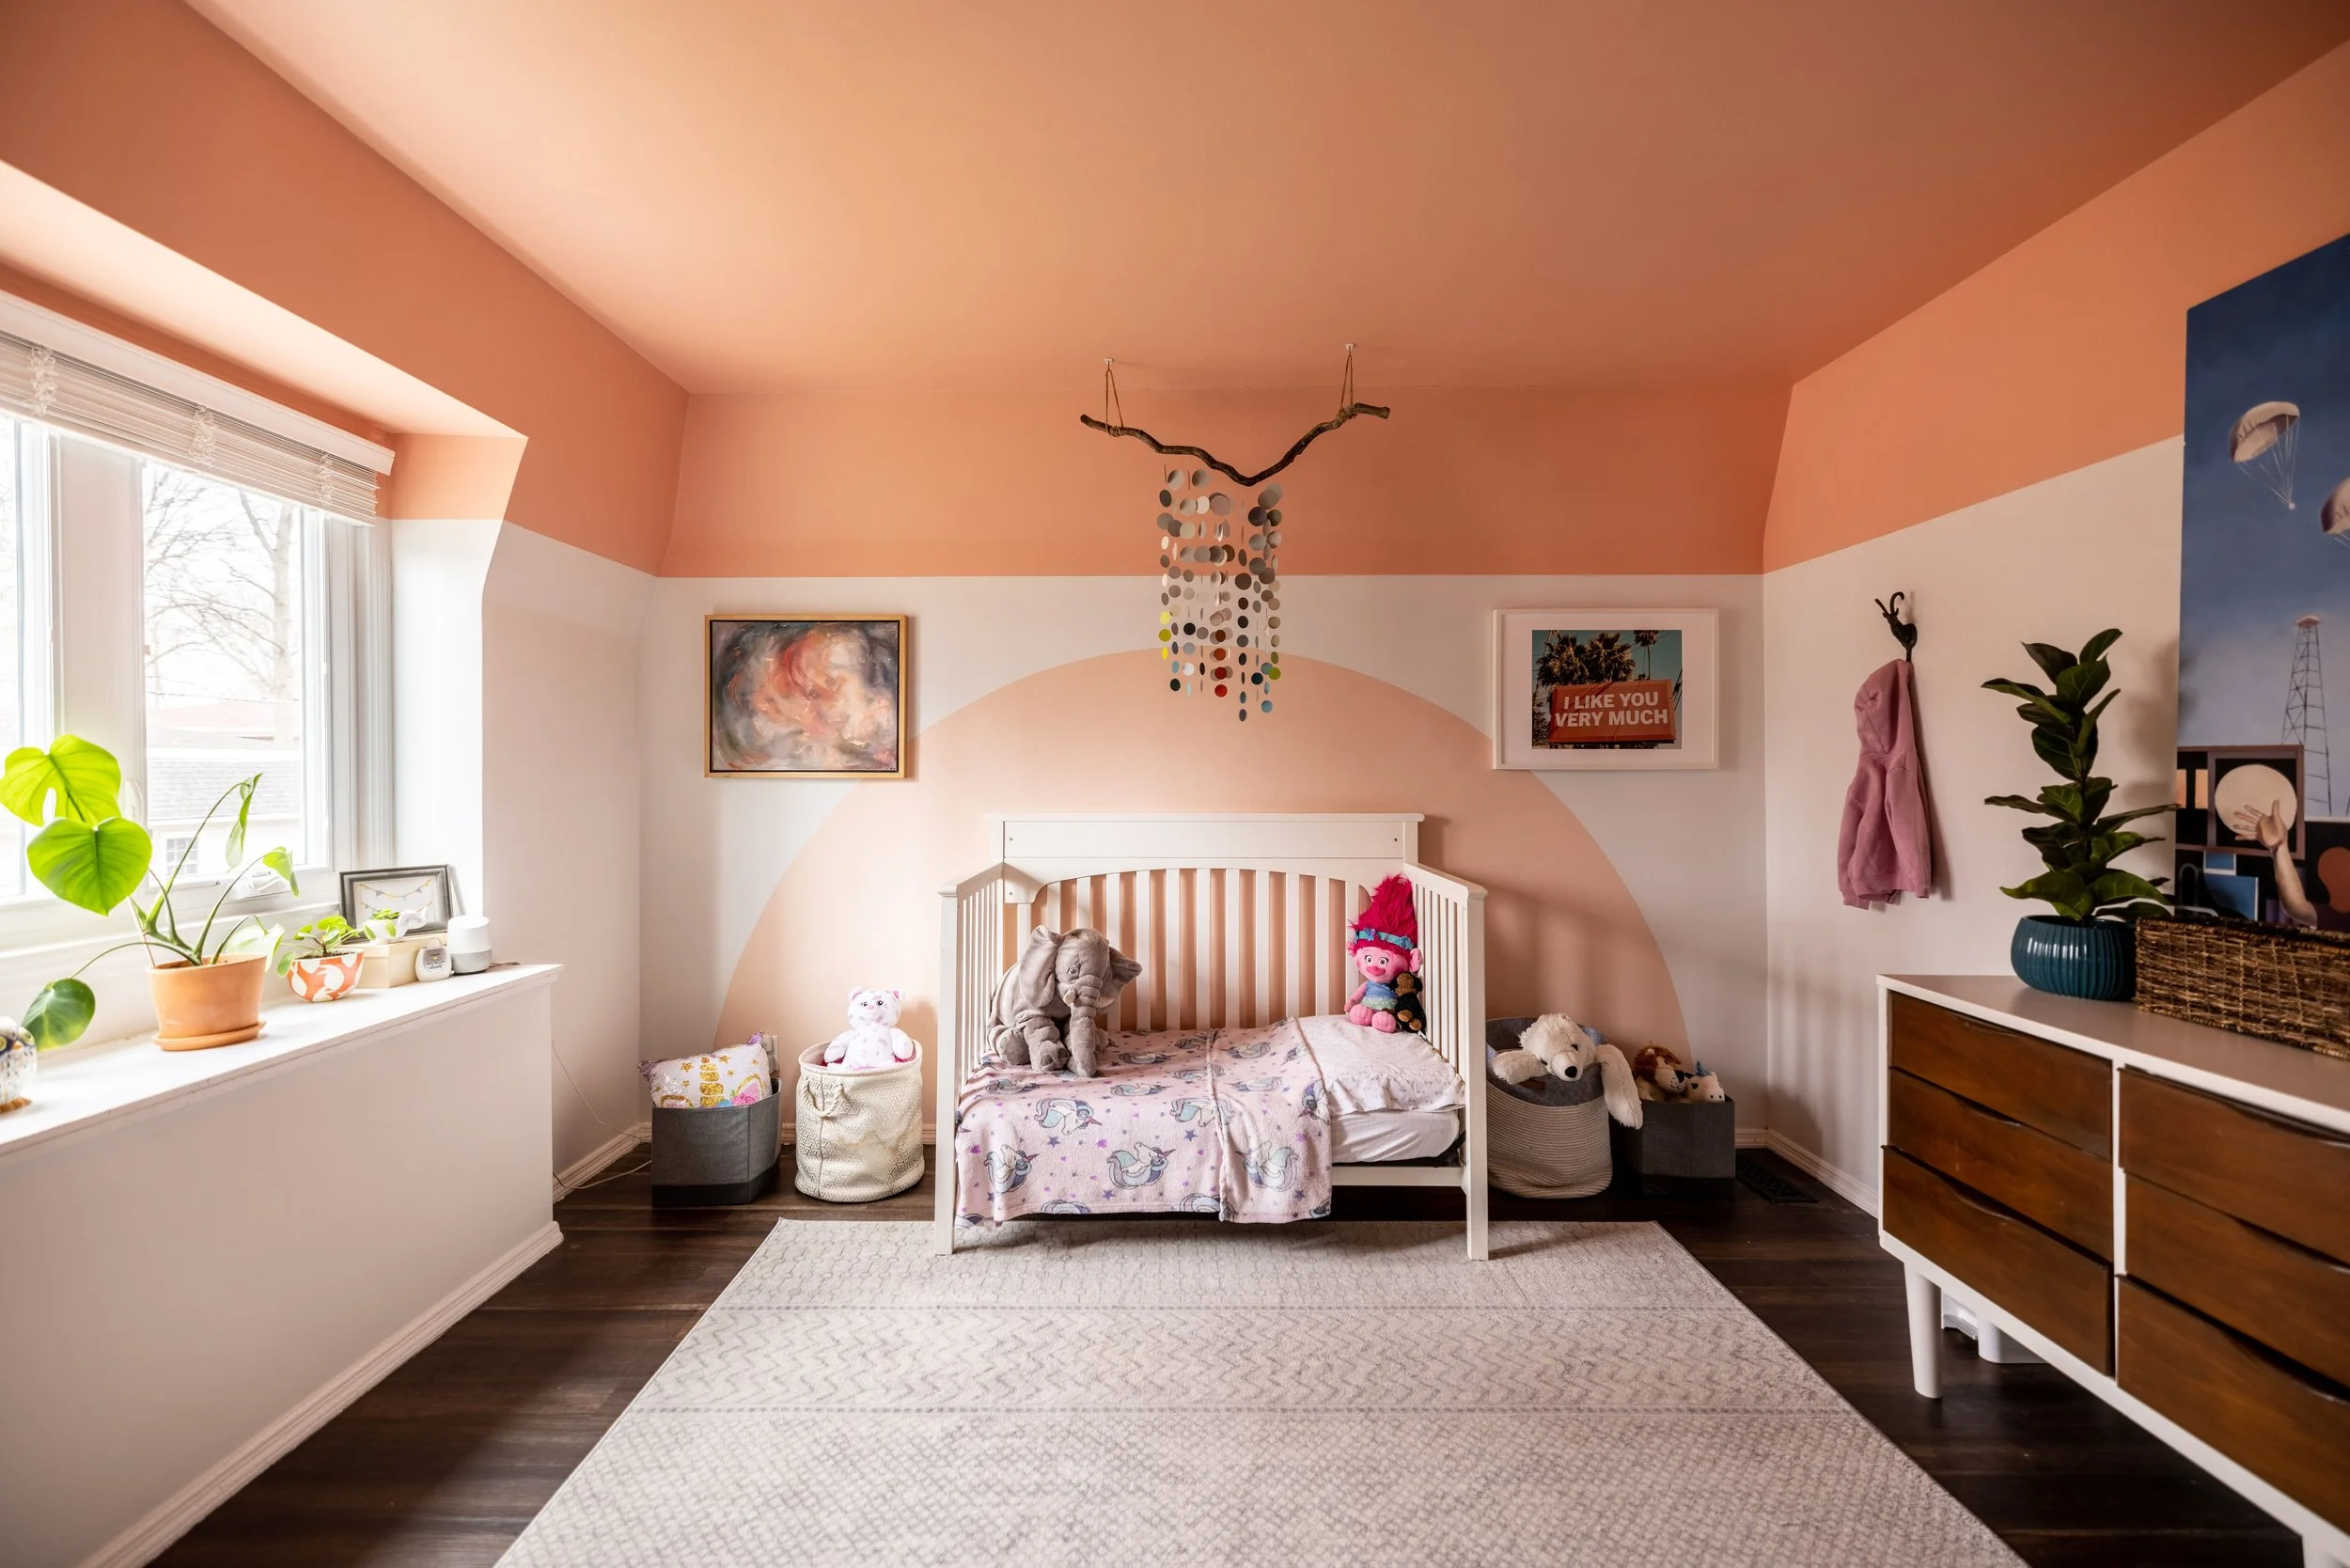
When I wrote the post outlining our project goals for this year, I mentioned that our younger daughter’s room was on the list. Given that this was declared the year of finishing projects, we didn’t really plan to tackle it so soon (if at all). Yet, here we are.
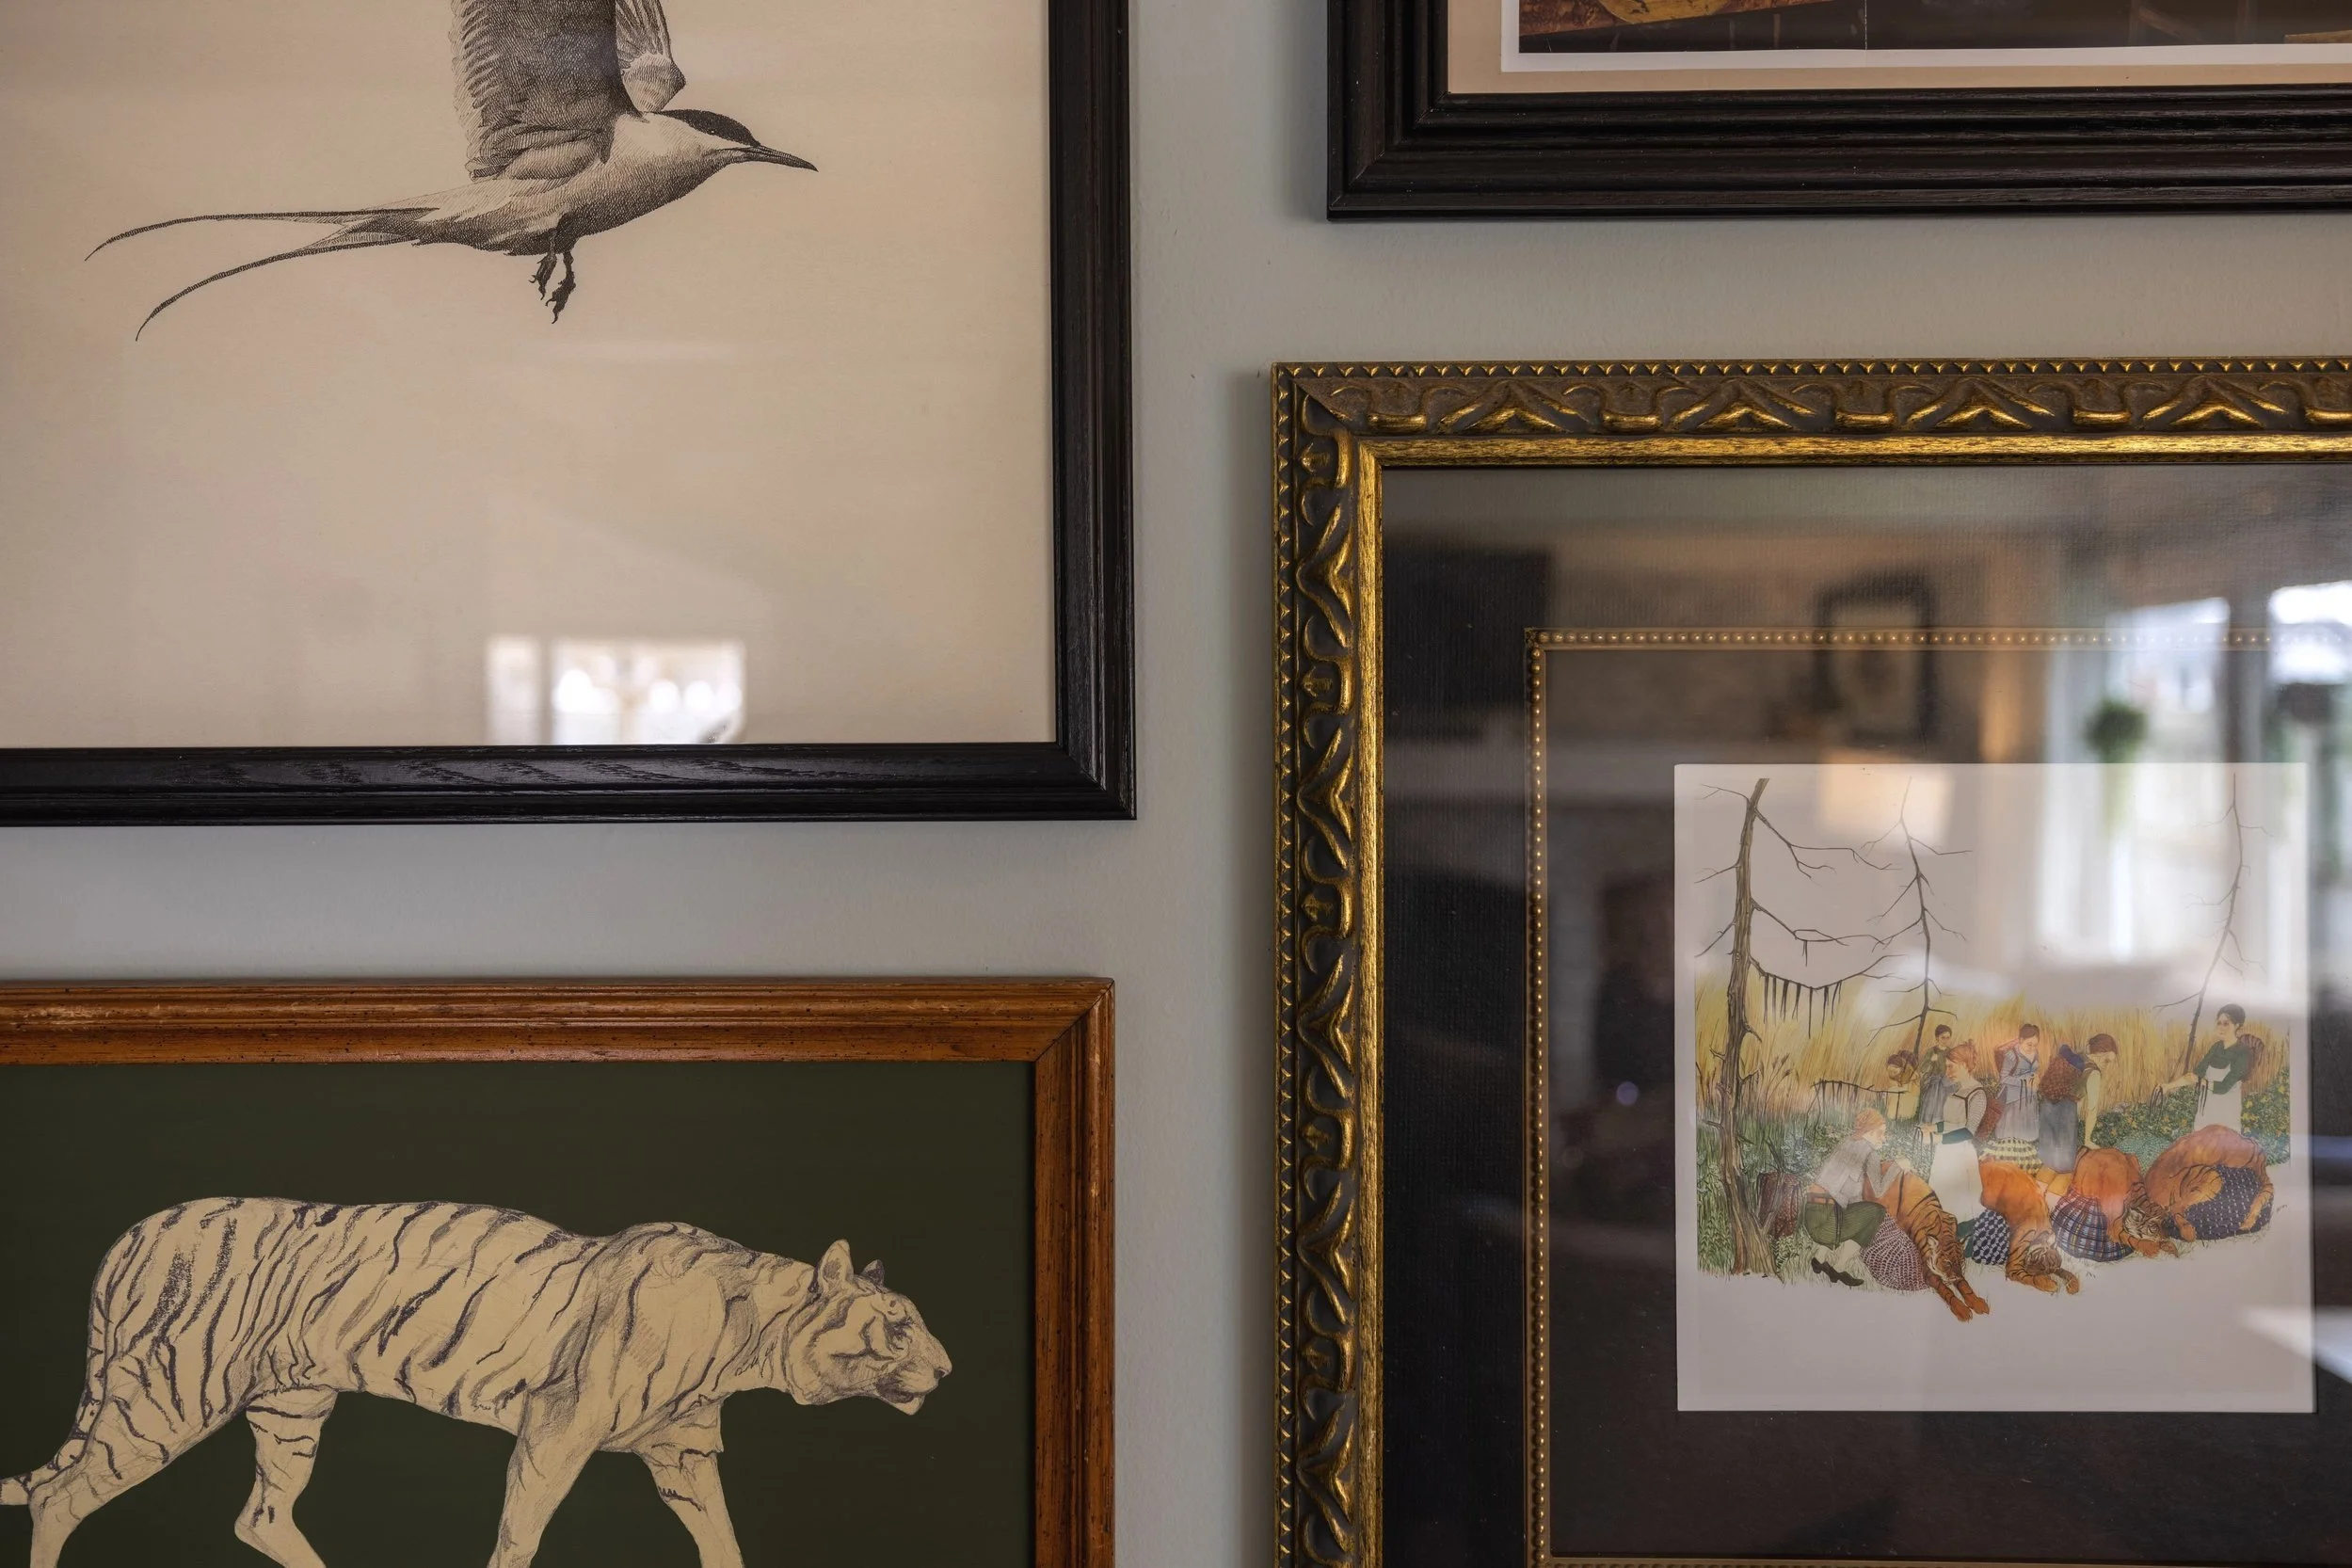
In my last post, I shared how to curate art for your gallery wall. But what good is all that art if there aren't any frames to ground them? That’s why in this post, I'm covering how I gathered and oftentimes altered, frames for my gallery wall to create the overall look I was going for - without spending a fortune. There may even be a special trick that makes hanging artwork a breeze at the end of this post!
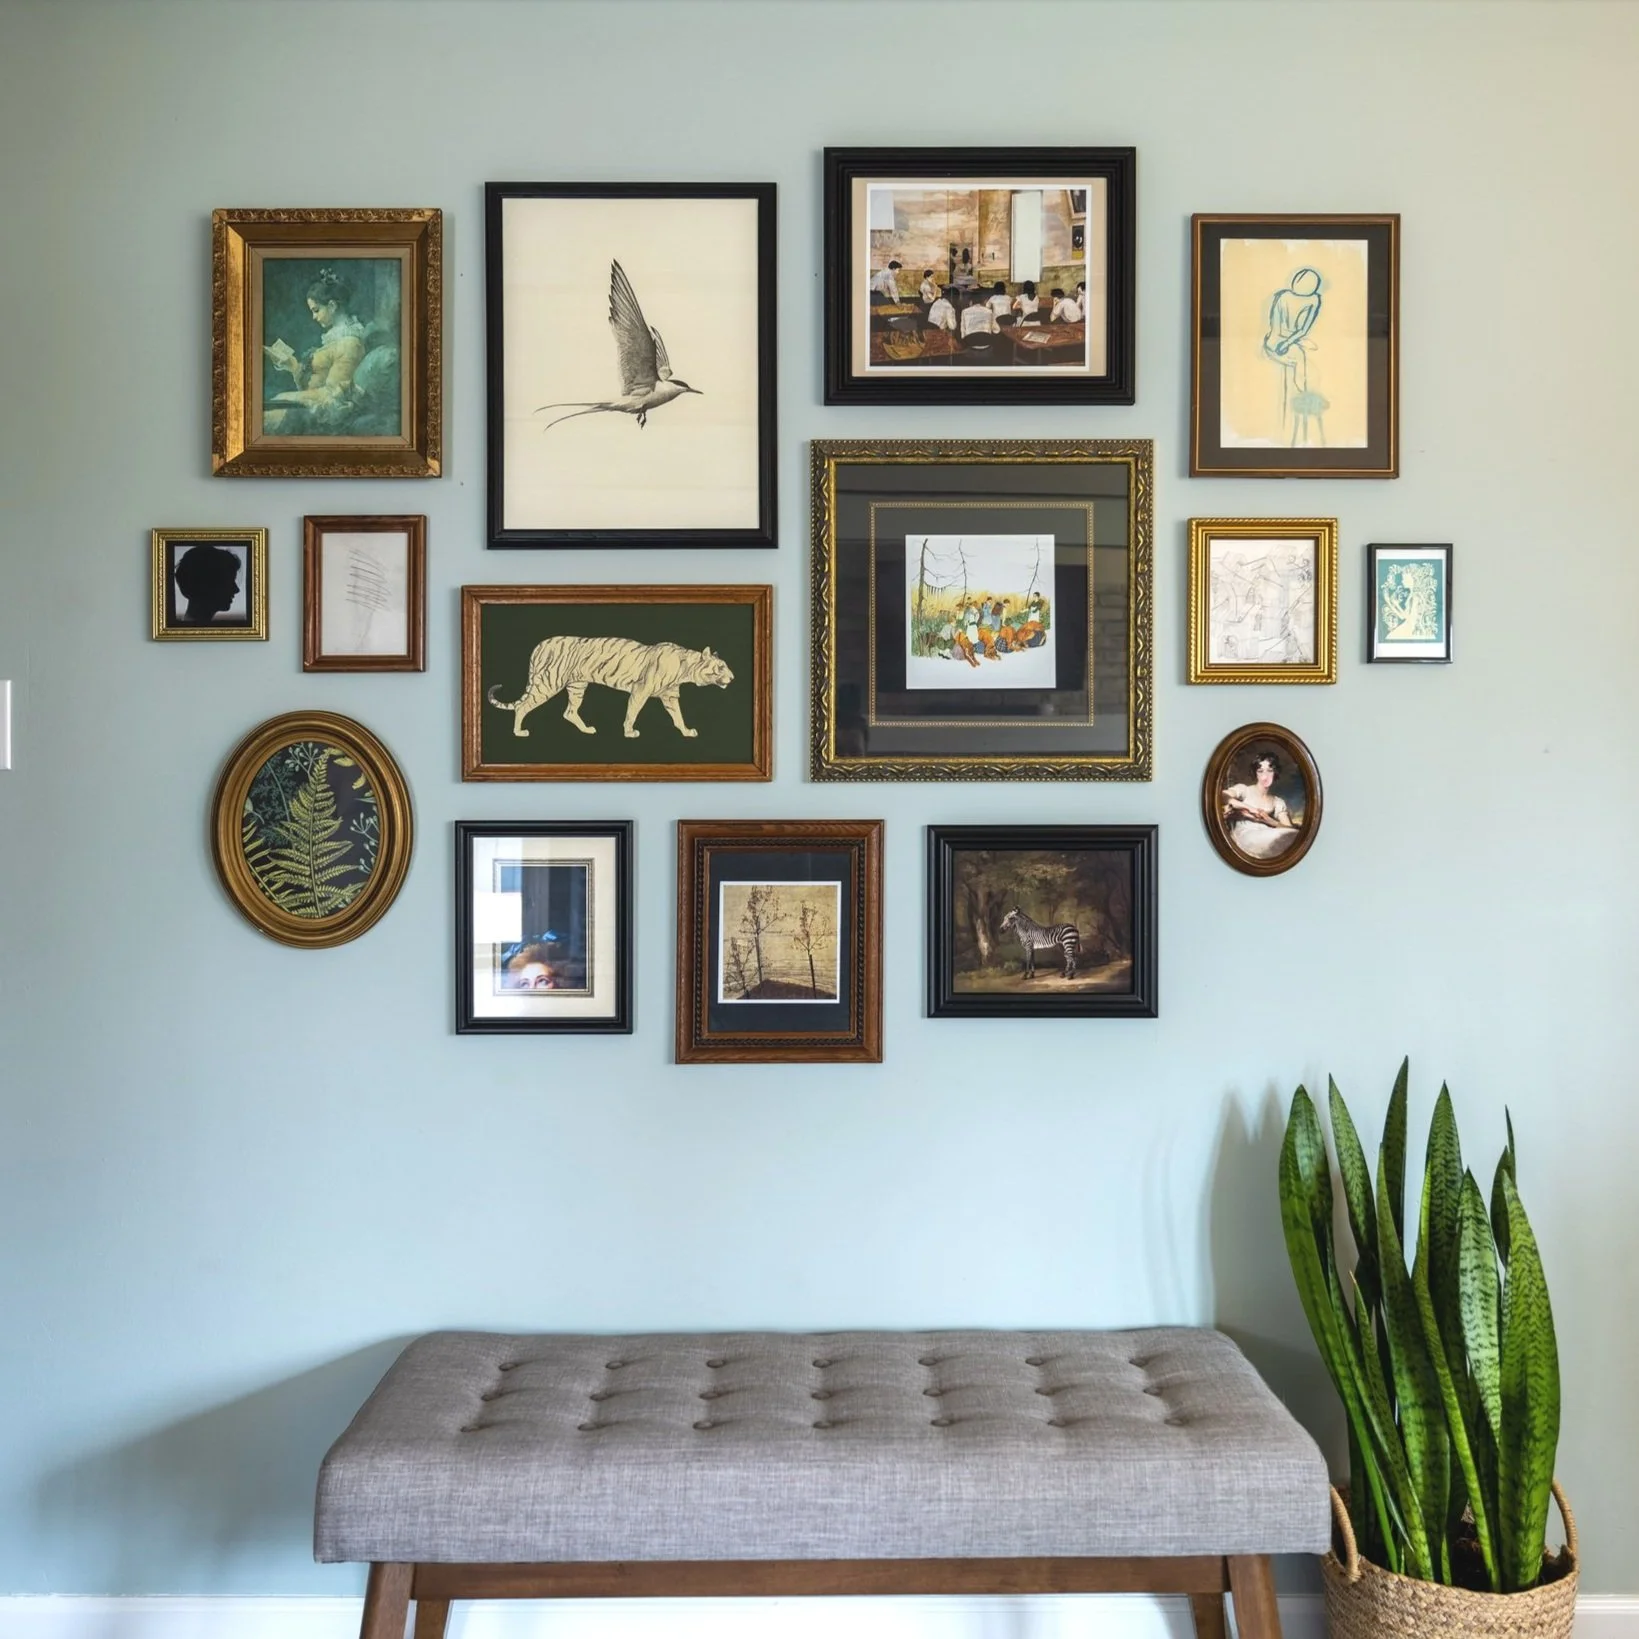
Want to add more art to your home but don’t know where to start? I feel you - I was you. I recently decided to revamp a gallery wall in my home and quickly realized how overwhelmed I was with art options. But now that my gallery wall is finished, I put together this post to share the tips for curating art for your home I learned along the way.
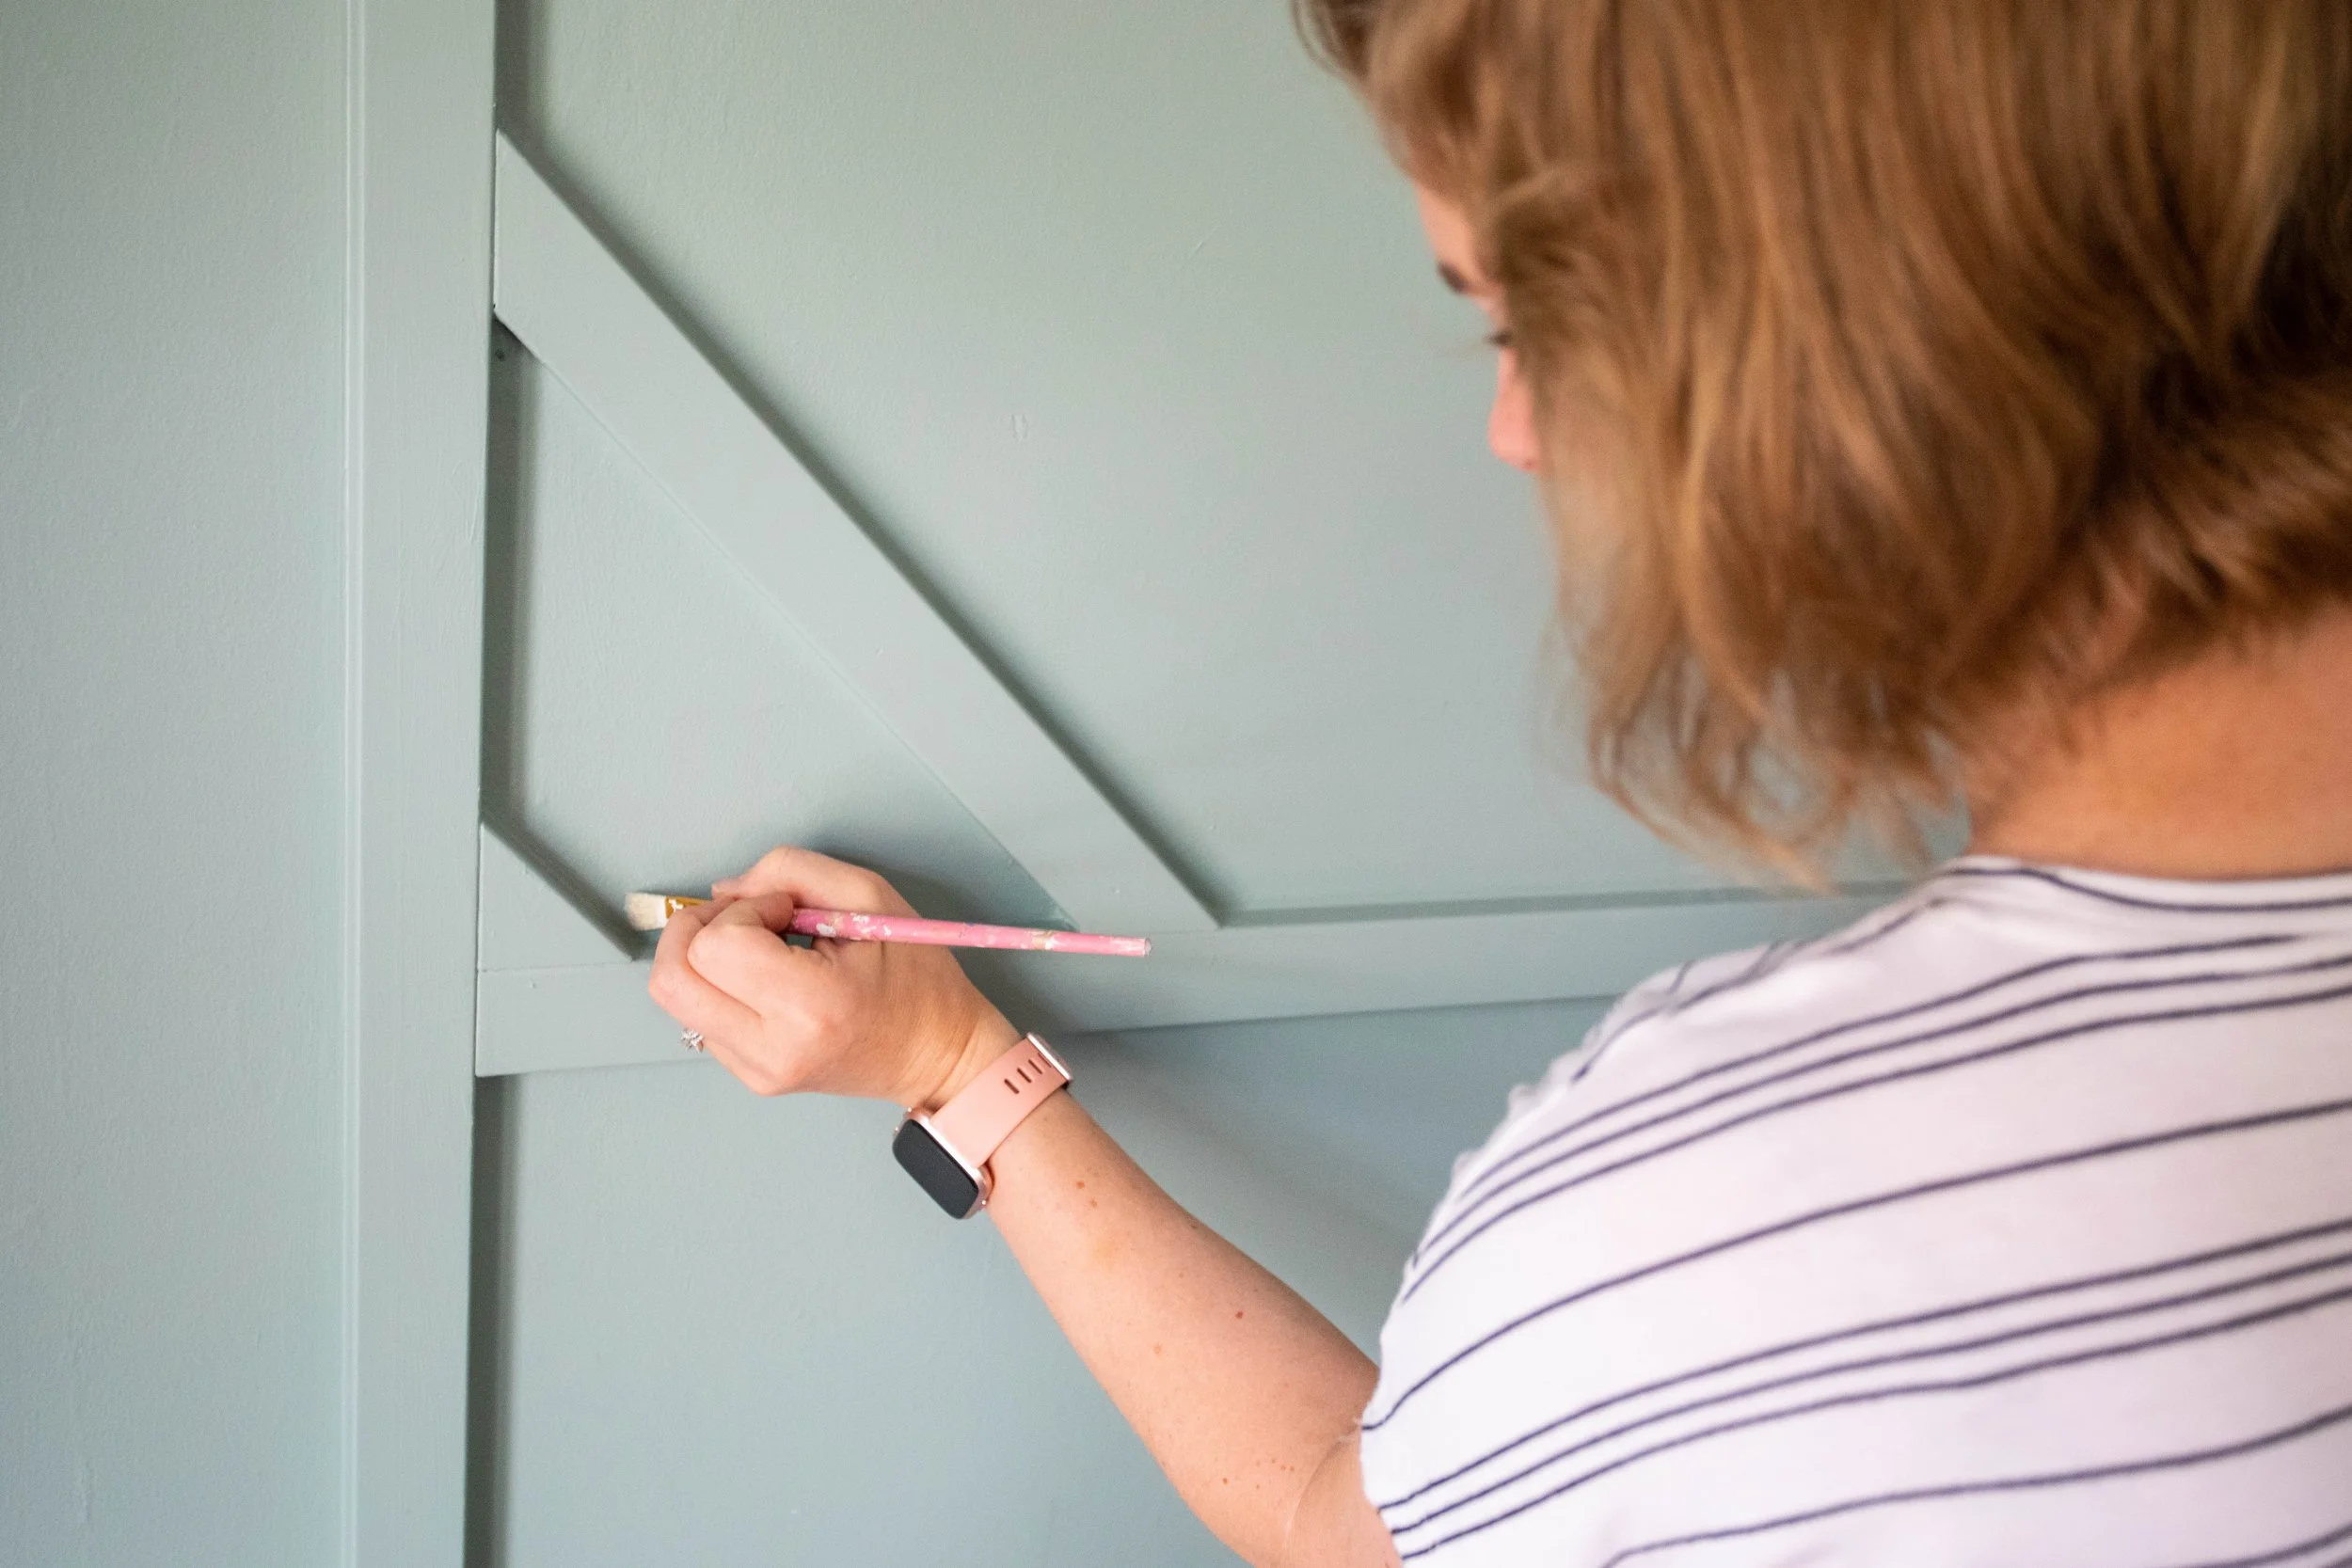
When it came to painting our loft, I was intimidated. It’s a BIG room - around 900 sq. feet. The thought of rolling paint on the ceiling alone had me Googling local chiropractors in preparation for the aftermath. But then Lucius and I realized that with the loft completely empty, this would be a good opportunity to finally invest in a paint sprayer. So invest we did!
And now that the job is done, I’m excited to break down how using a paint sprayer compares to rolling paint, and to answer the question you might be asking, “Should I use a paint sprayer or a roller for that project?”.
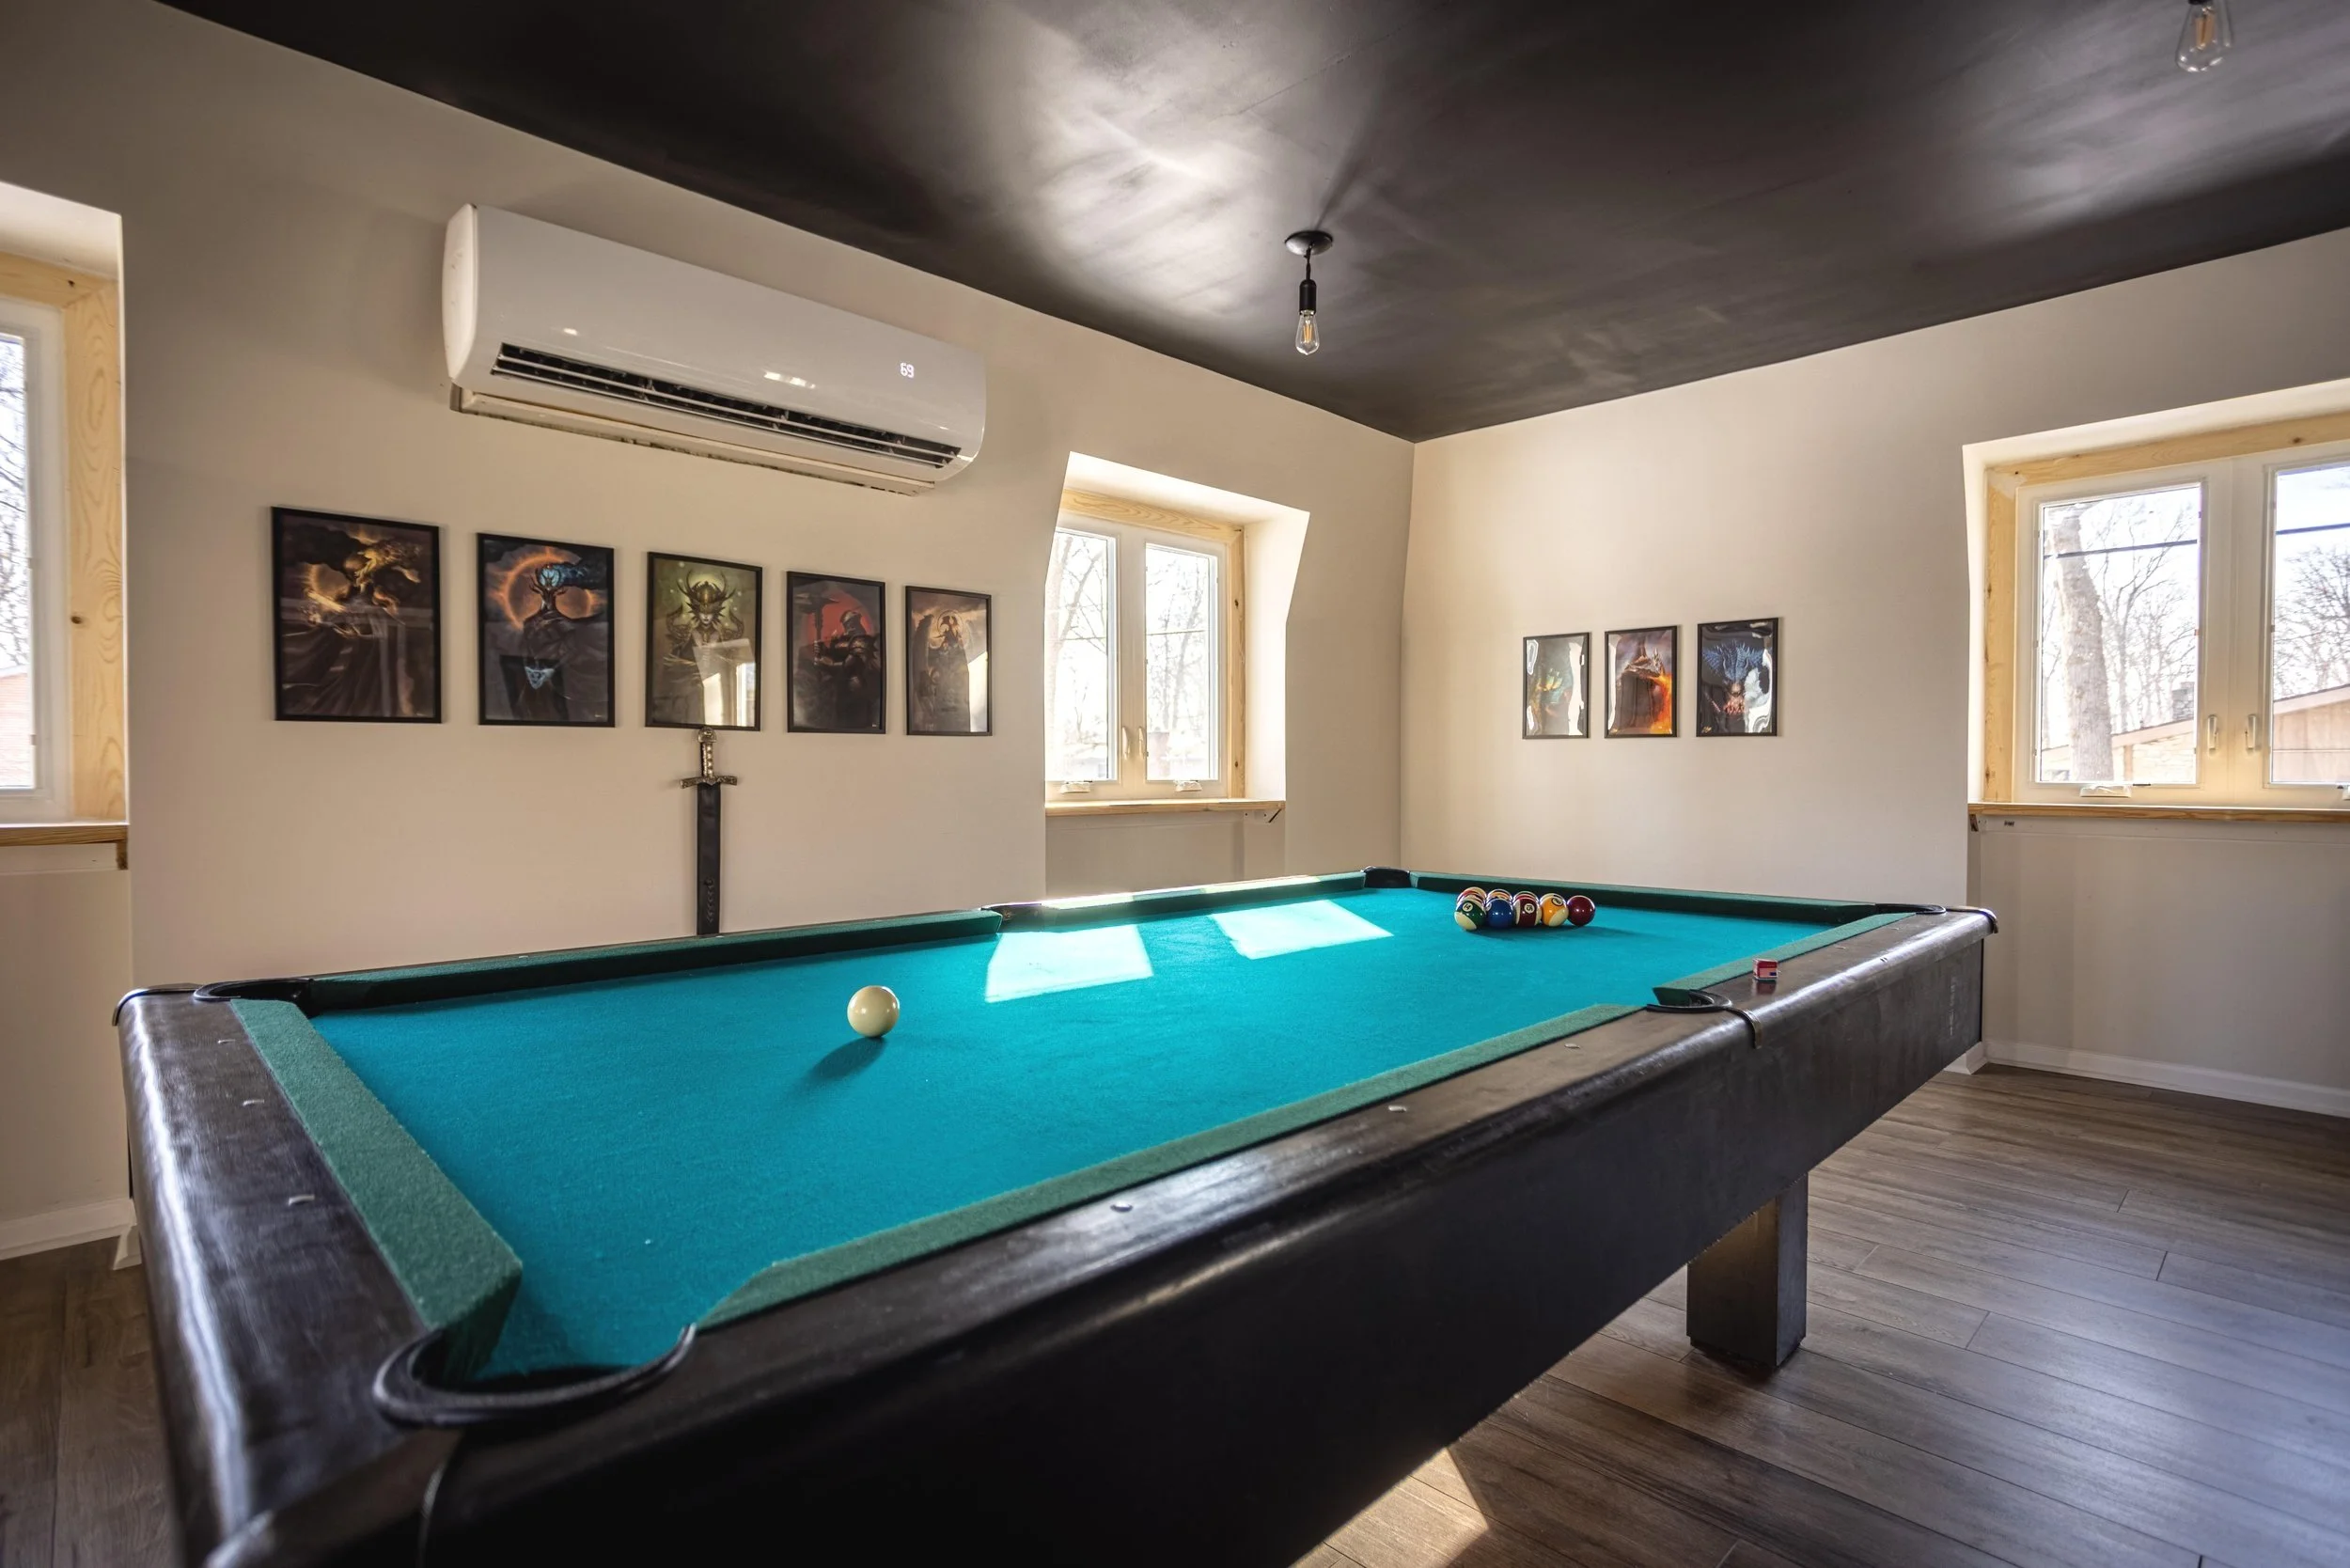
I can’t believe how long it’s been since my last post about the loft! The most recent changes happened in such quick succession, it didn’t register how much has changed until, um… now. But a LOT has changed! So, in this post, I’ll walk you through what we’ve done to the loft since my last update, what’s still left to do, and some new ideas we’ve been throwing around!
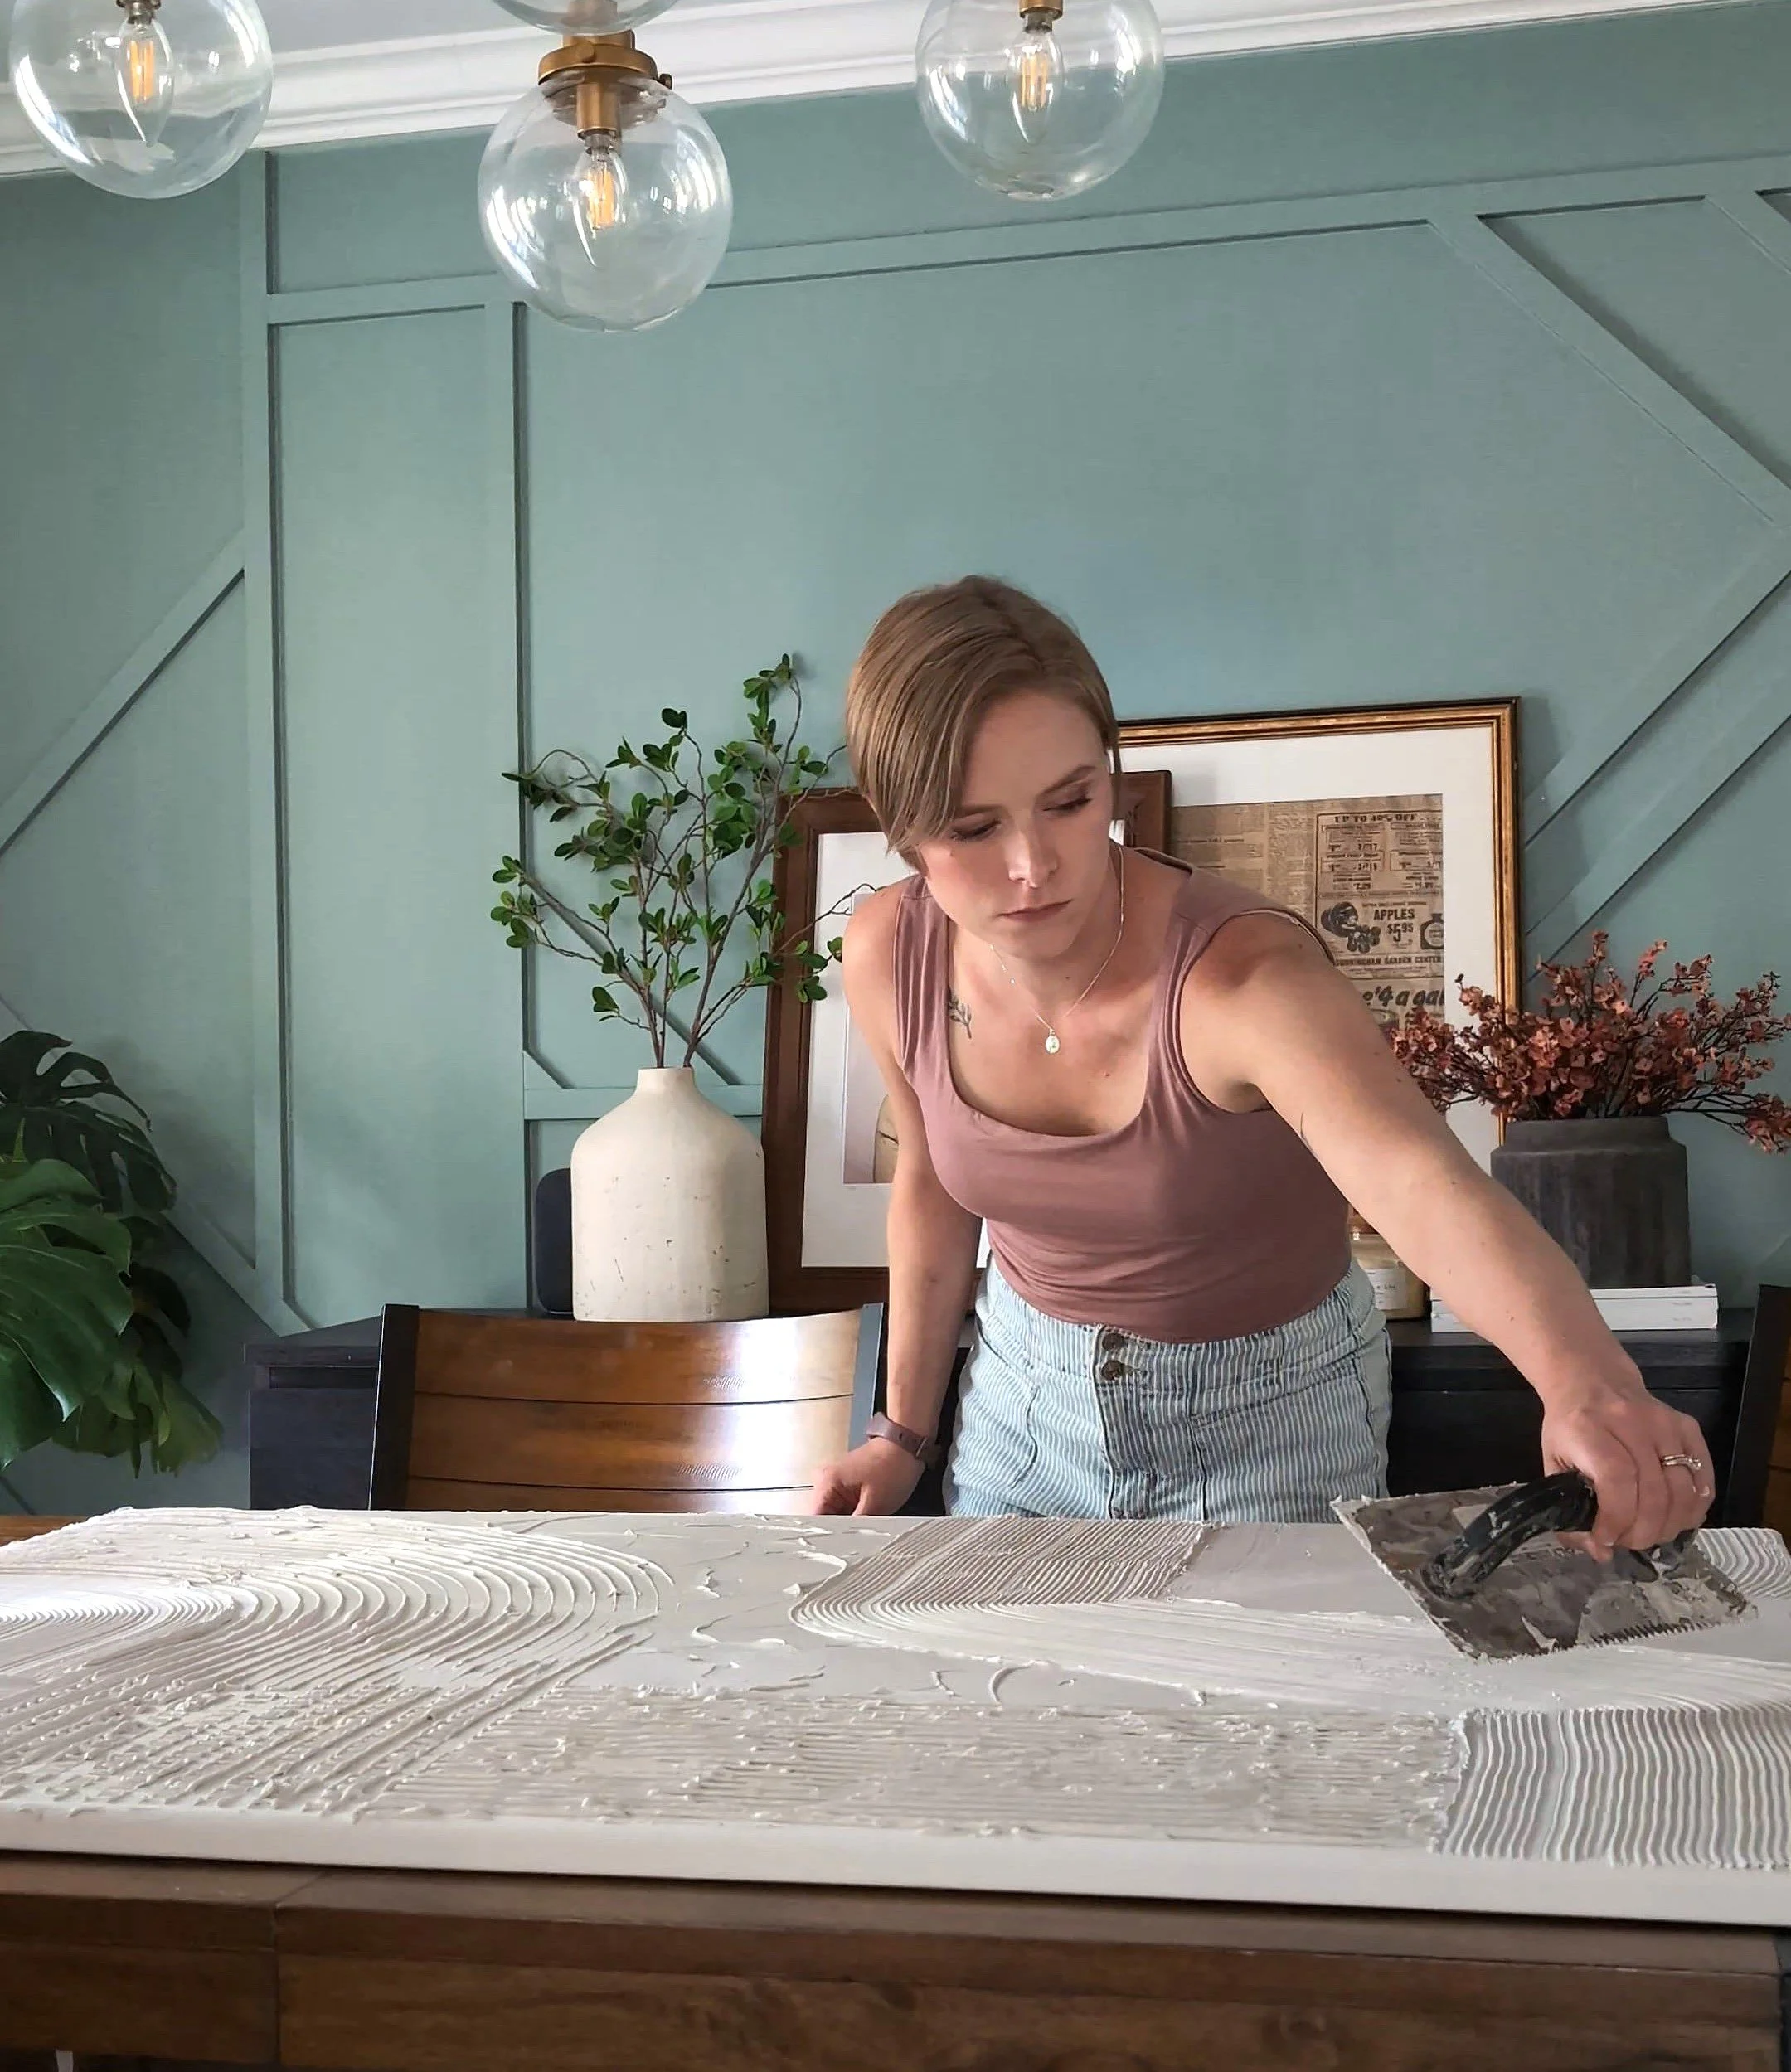
You've probably come across textured wall art at a big box store and liked the look of it, but not the price tag. But did you know you can easily make your own for a fraction of the cost? In this post, I’m sharing exactly how to make textured canvas art!
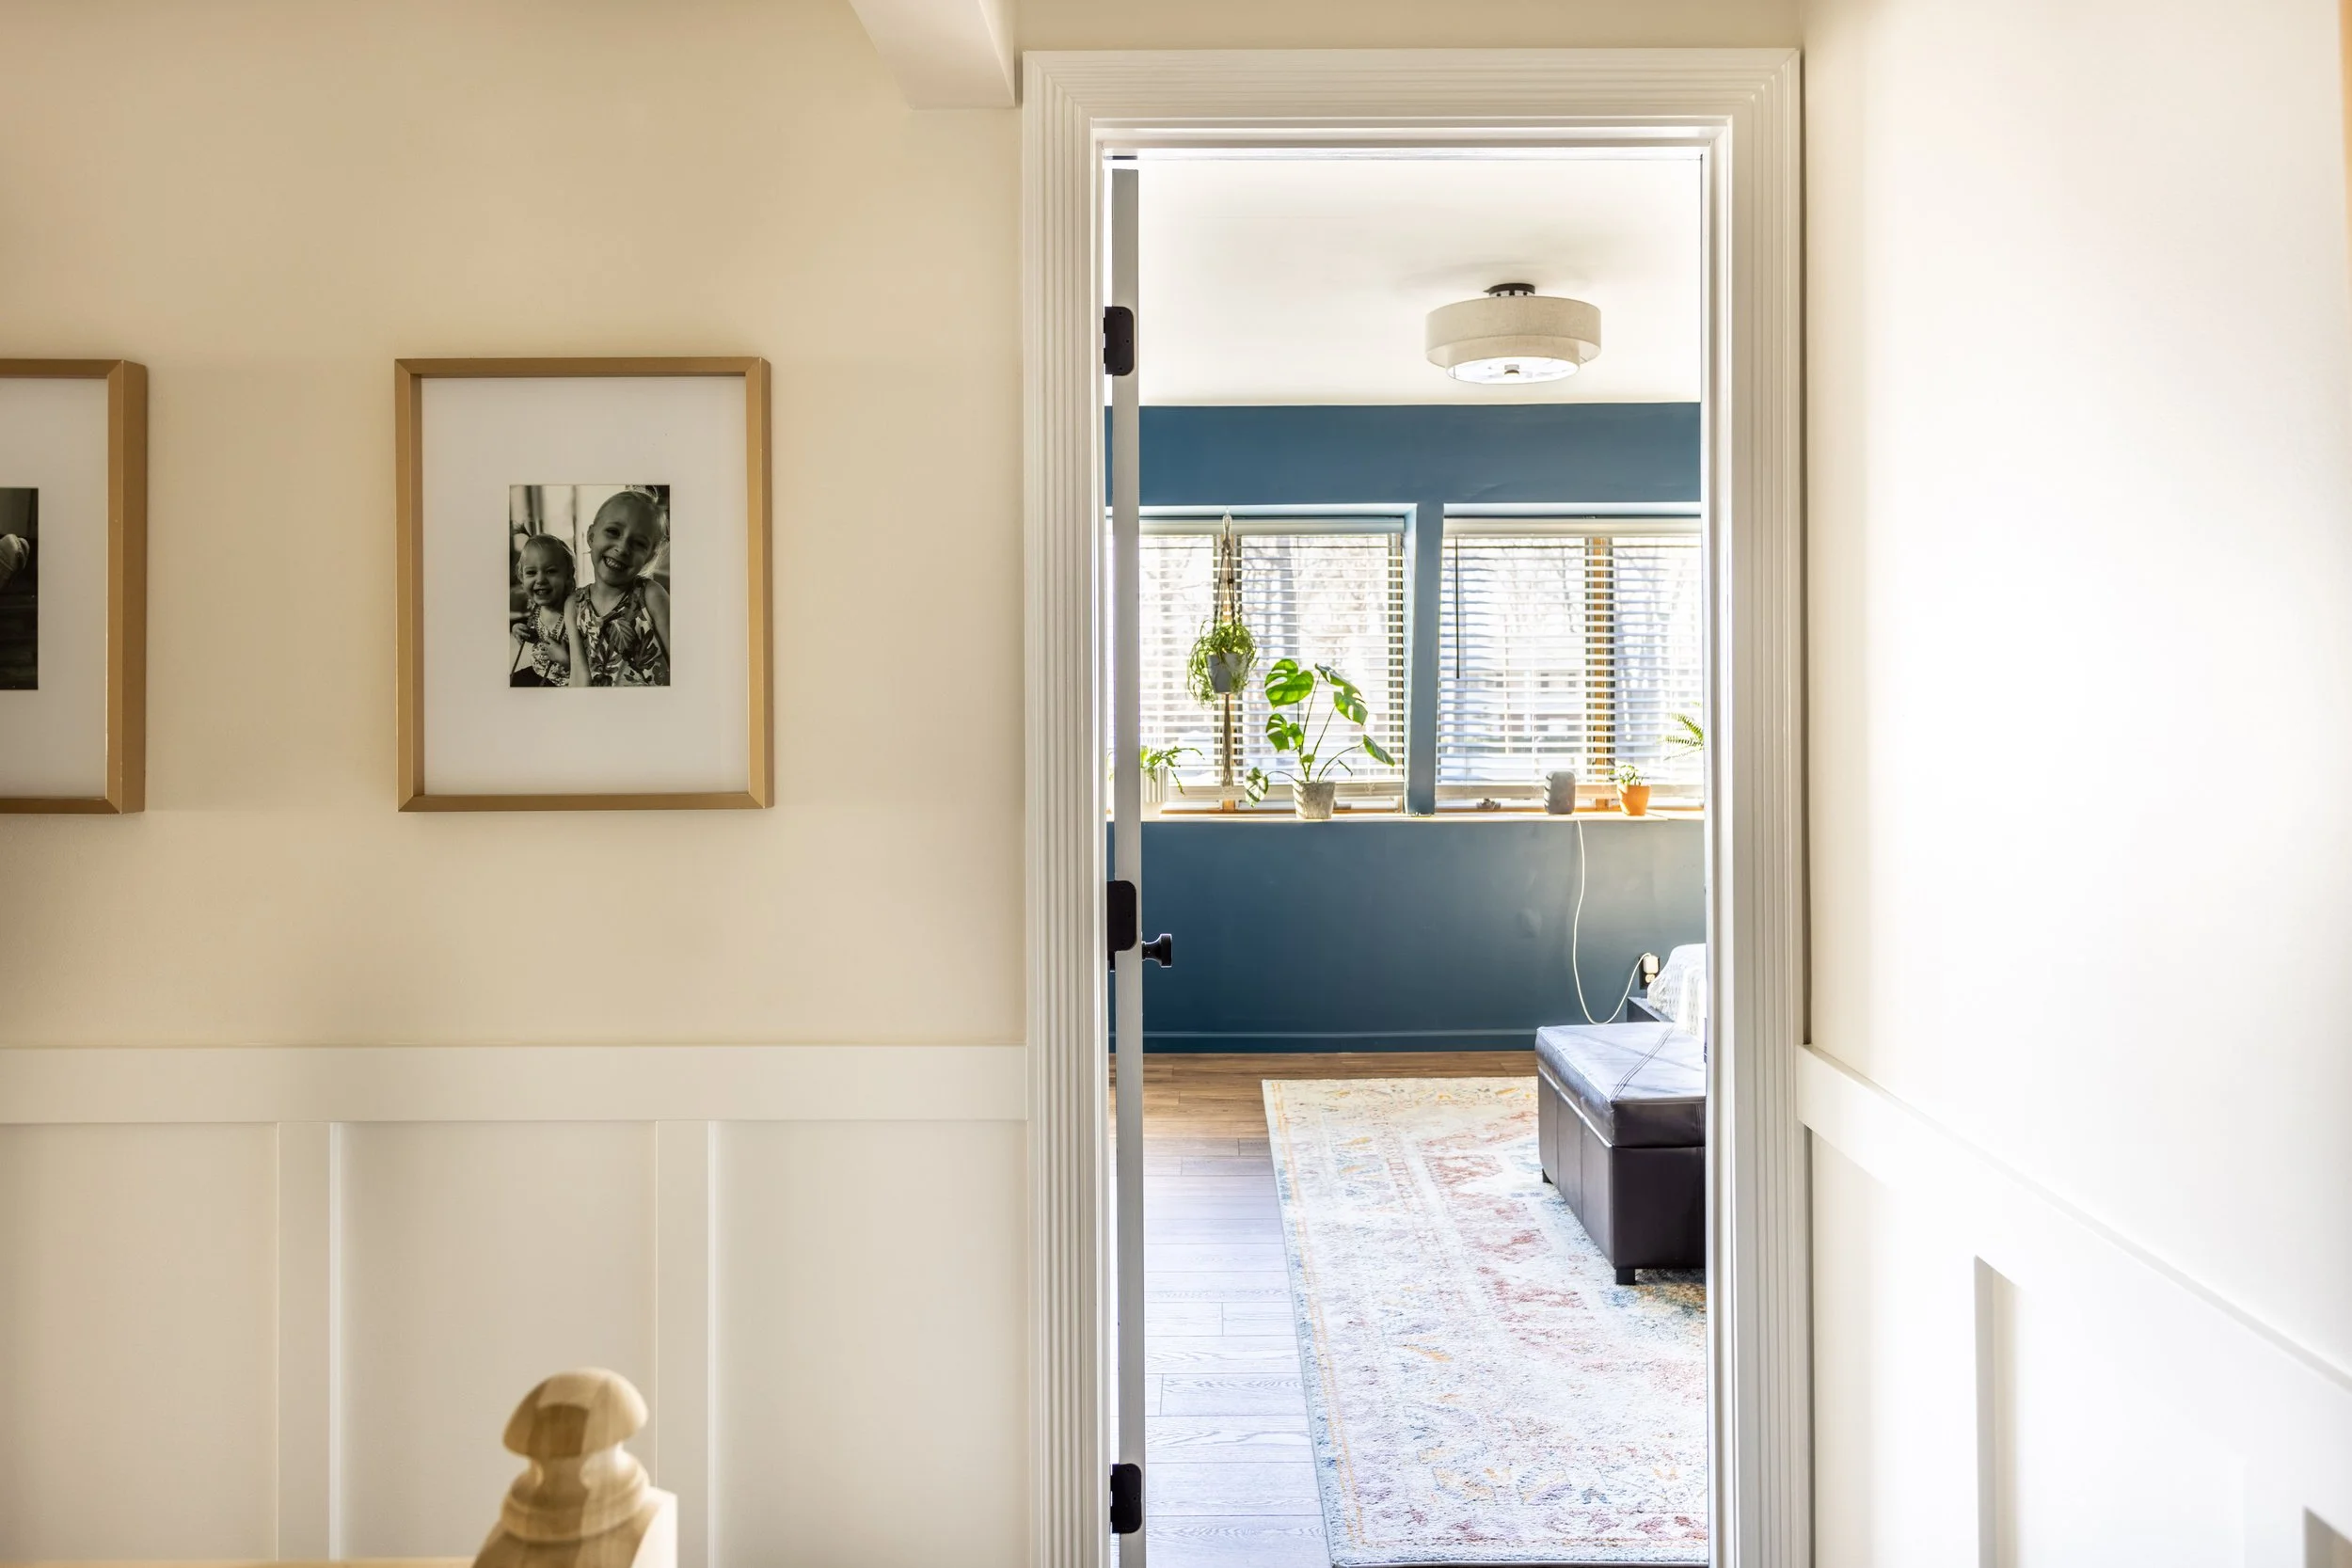
As you may have read in the last update about the hallway, or if you’ve been tuning in on Instagram stories, or if you’re my friend, an acquaintance, or even a simple passerby at the store, you may have heard that I finally installed board and batten in the hallway!
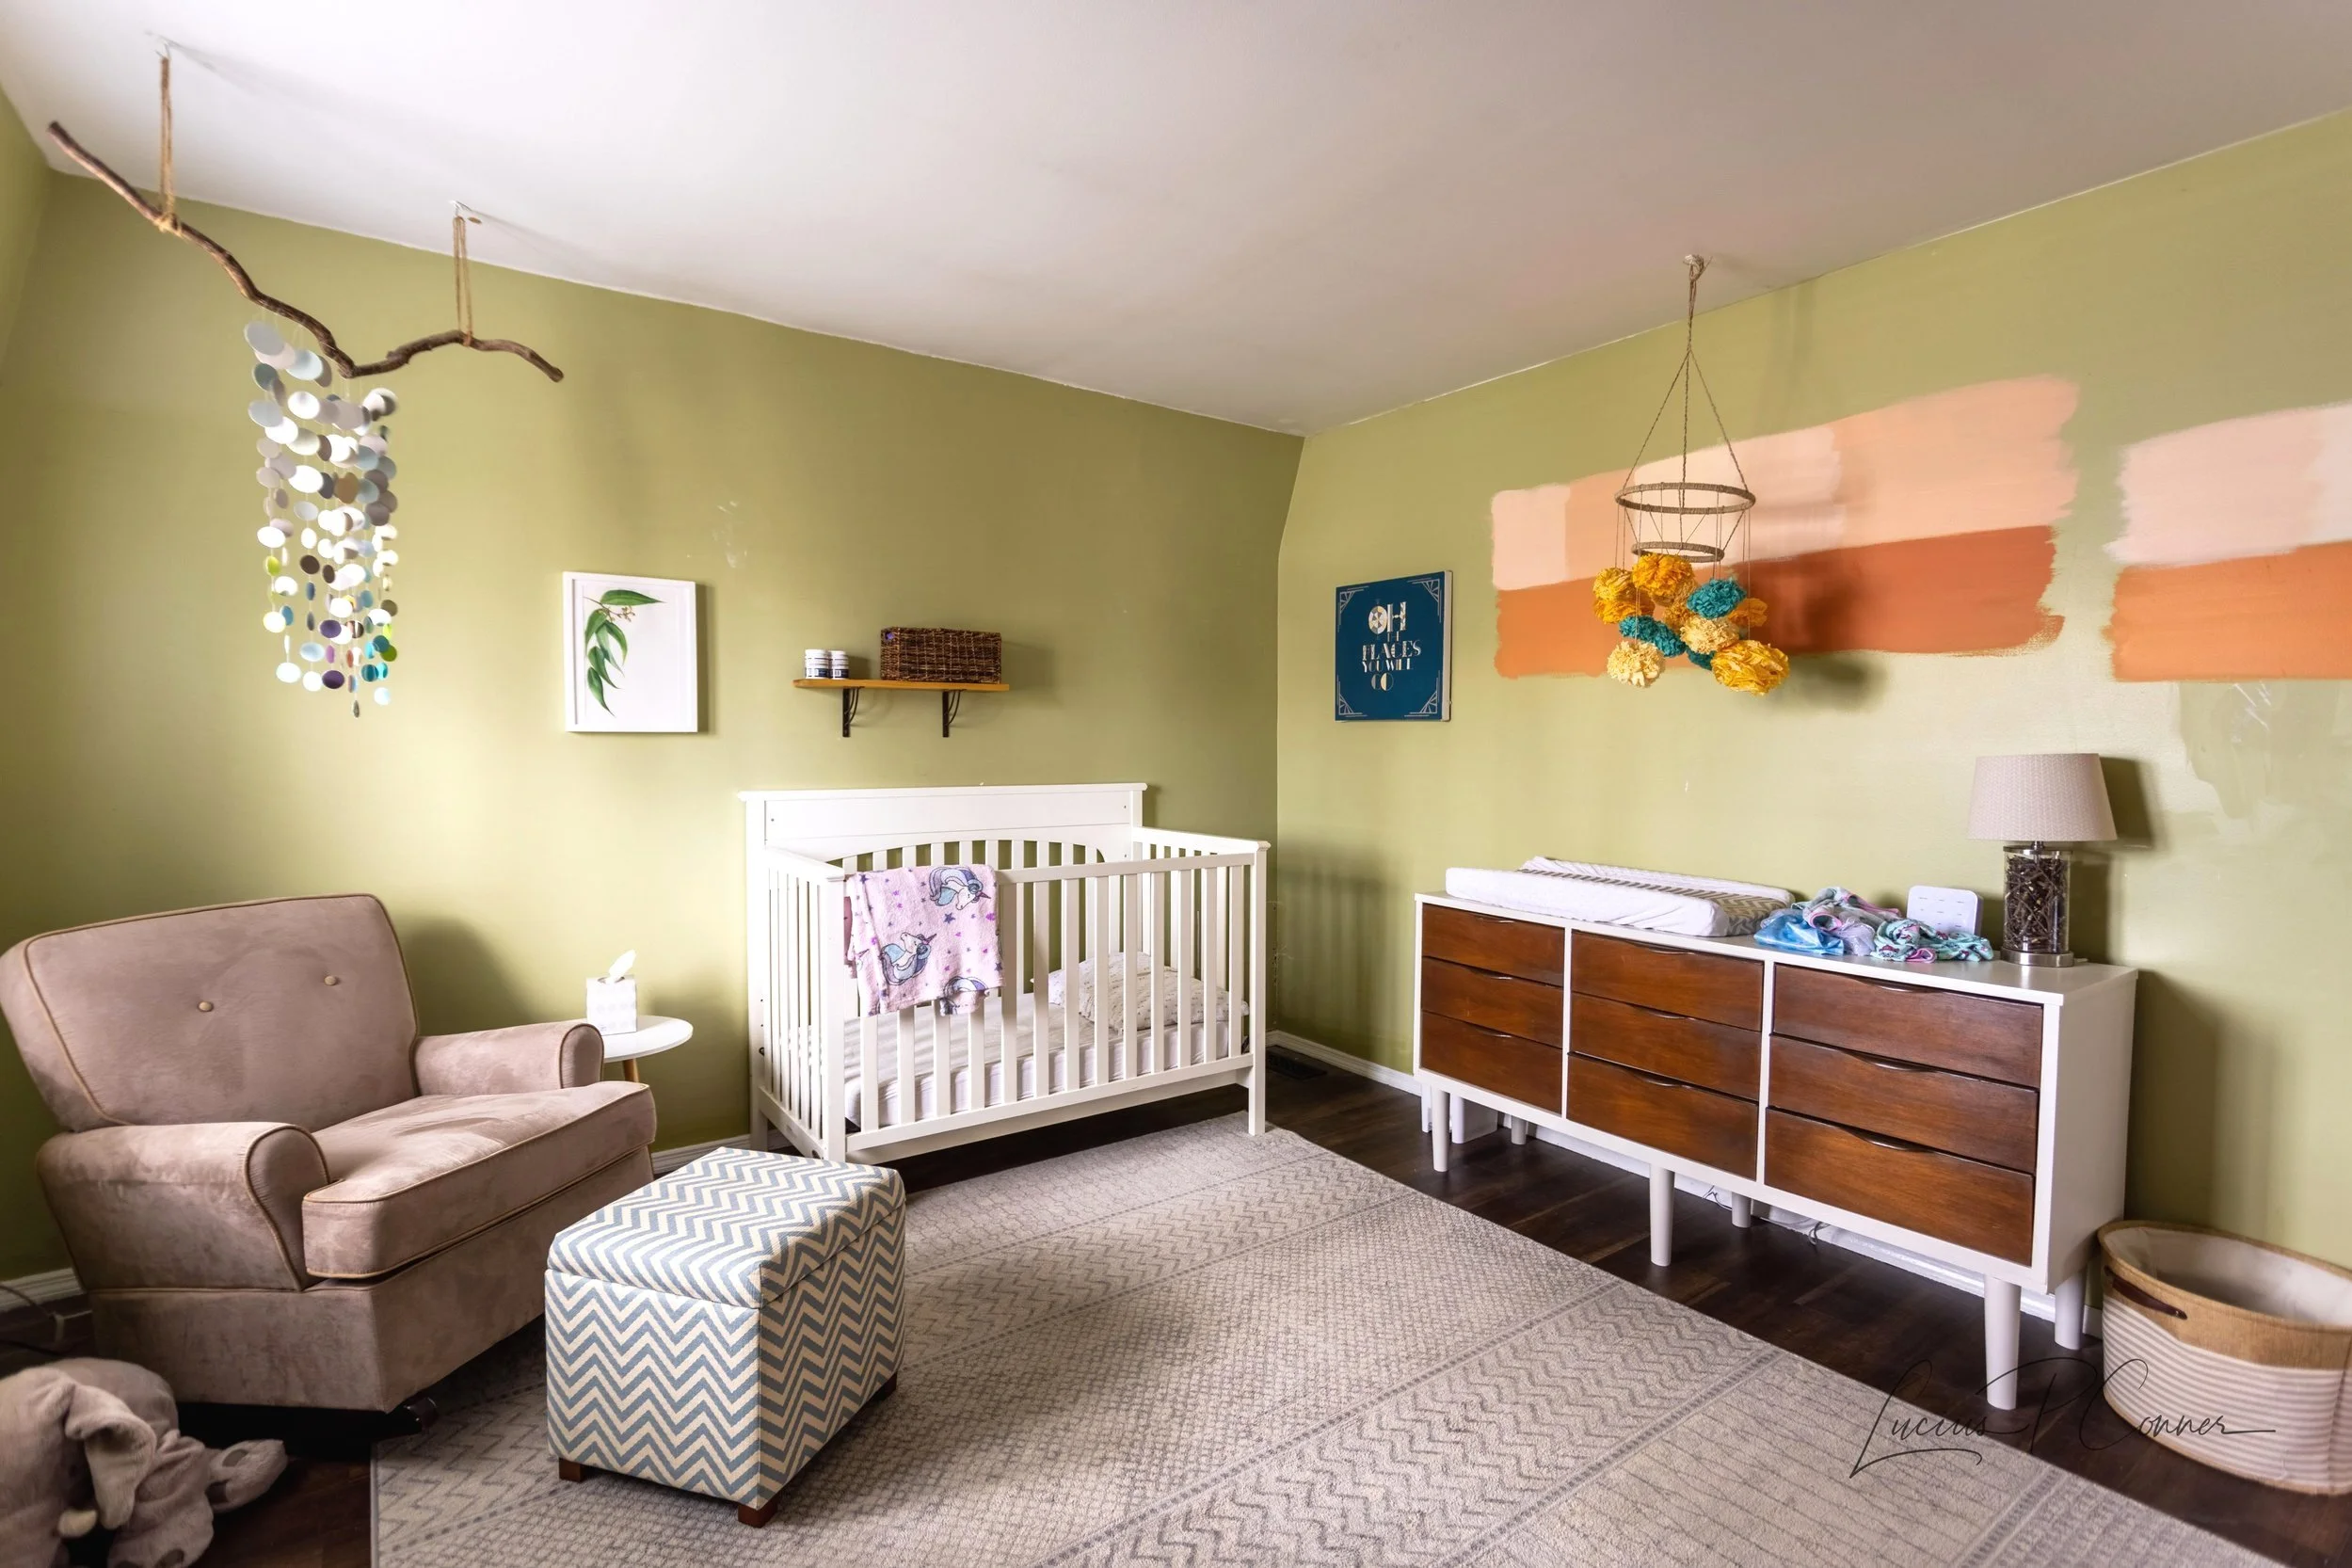
Now that I’ve covered all the projects we accomplished (and what’s still left unfinished) in 2021, I can focus on all the projects we want to tackle in 2022!
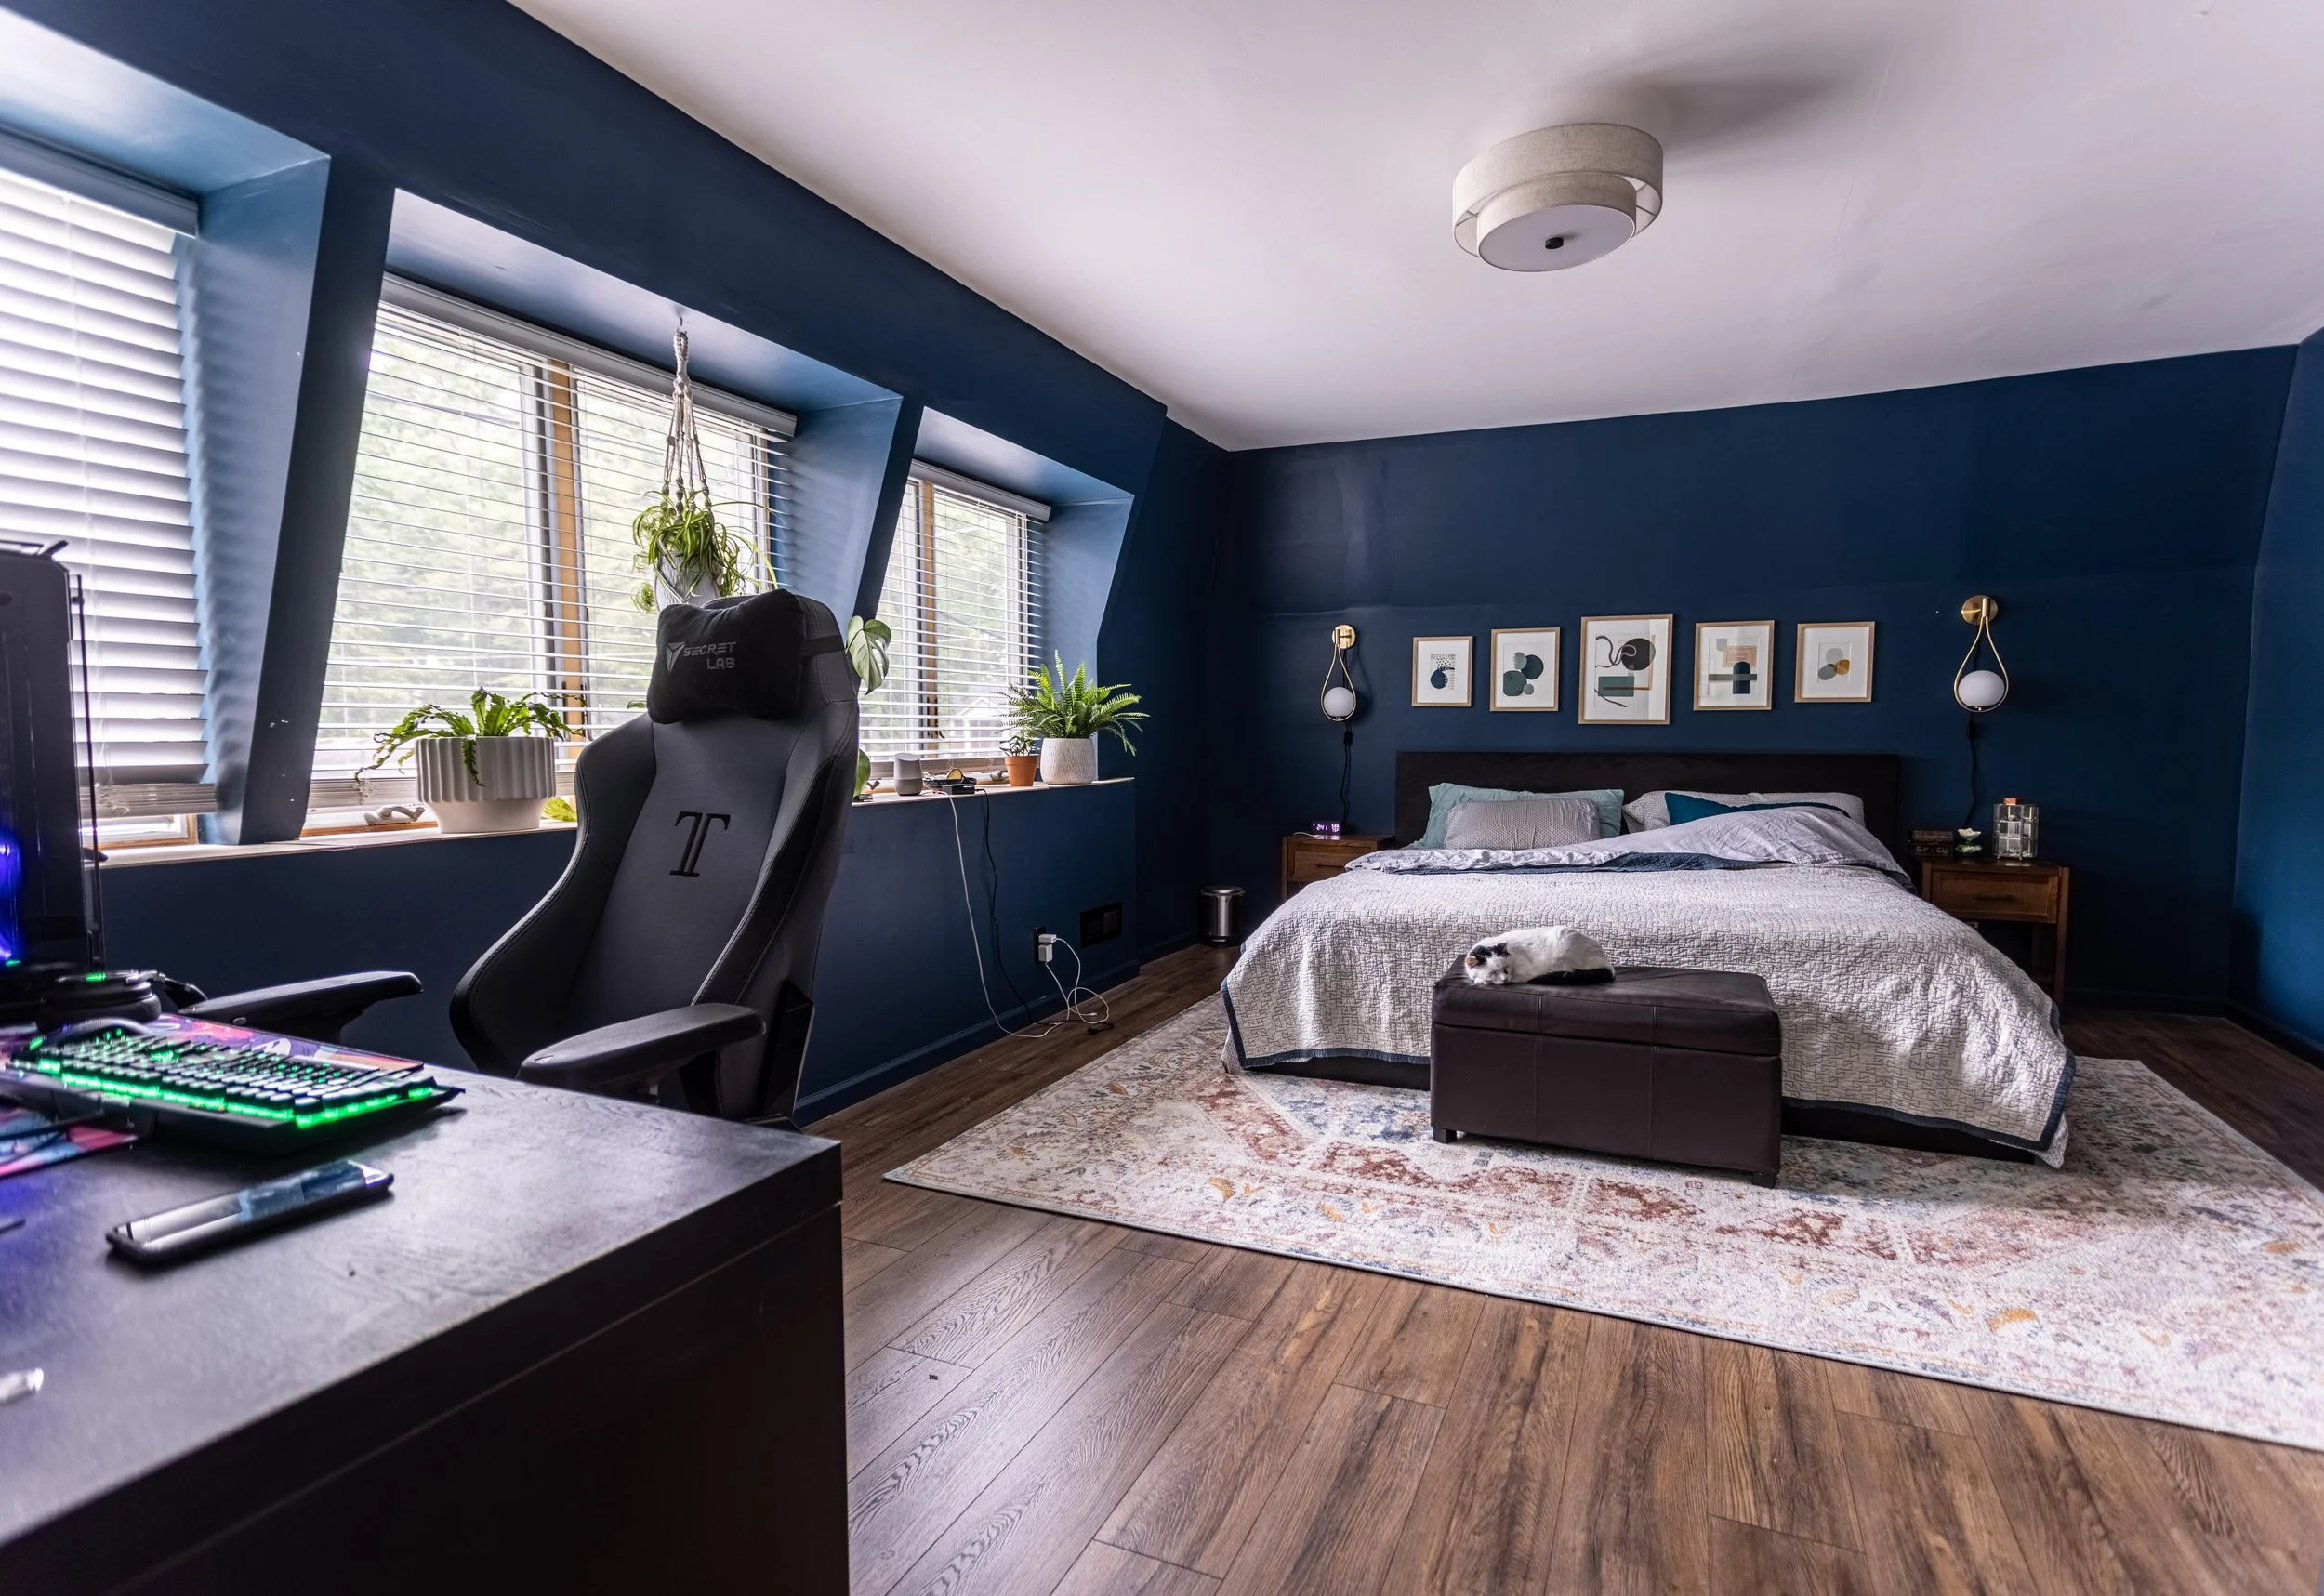
At the beginning of 2021, I took a look back at the projects we completed in our first year of living in this house. I also shared our project goals for the rest of 2021. I thought this year it might be fun to break down where all those planned projects ended up, including the project we tackled that didn’t even make our original list! Let’s dive in.
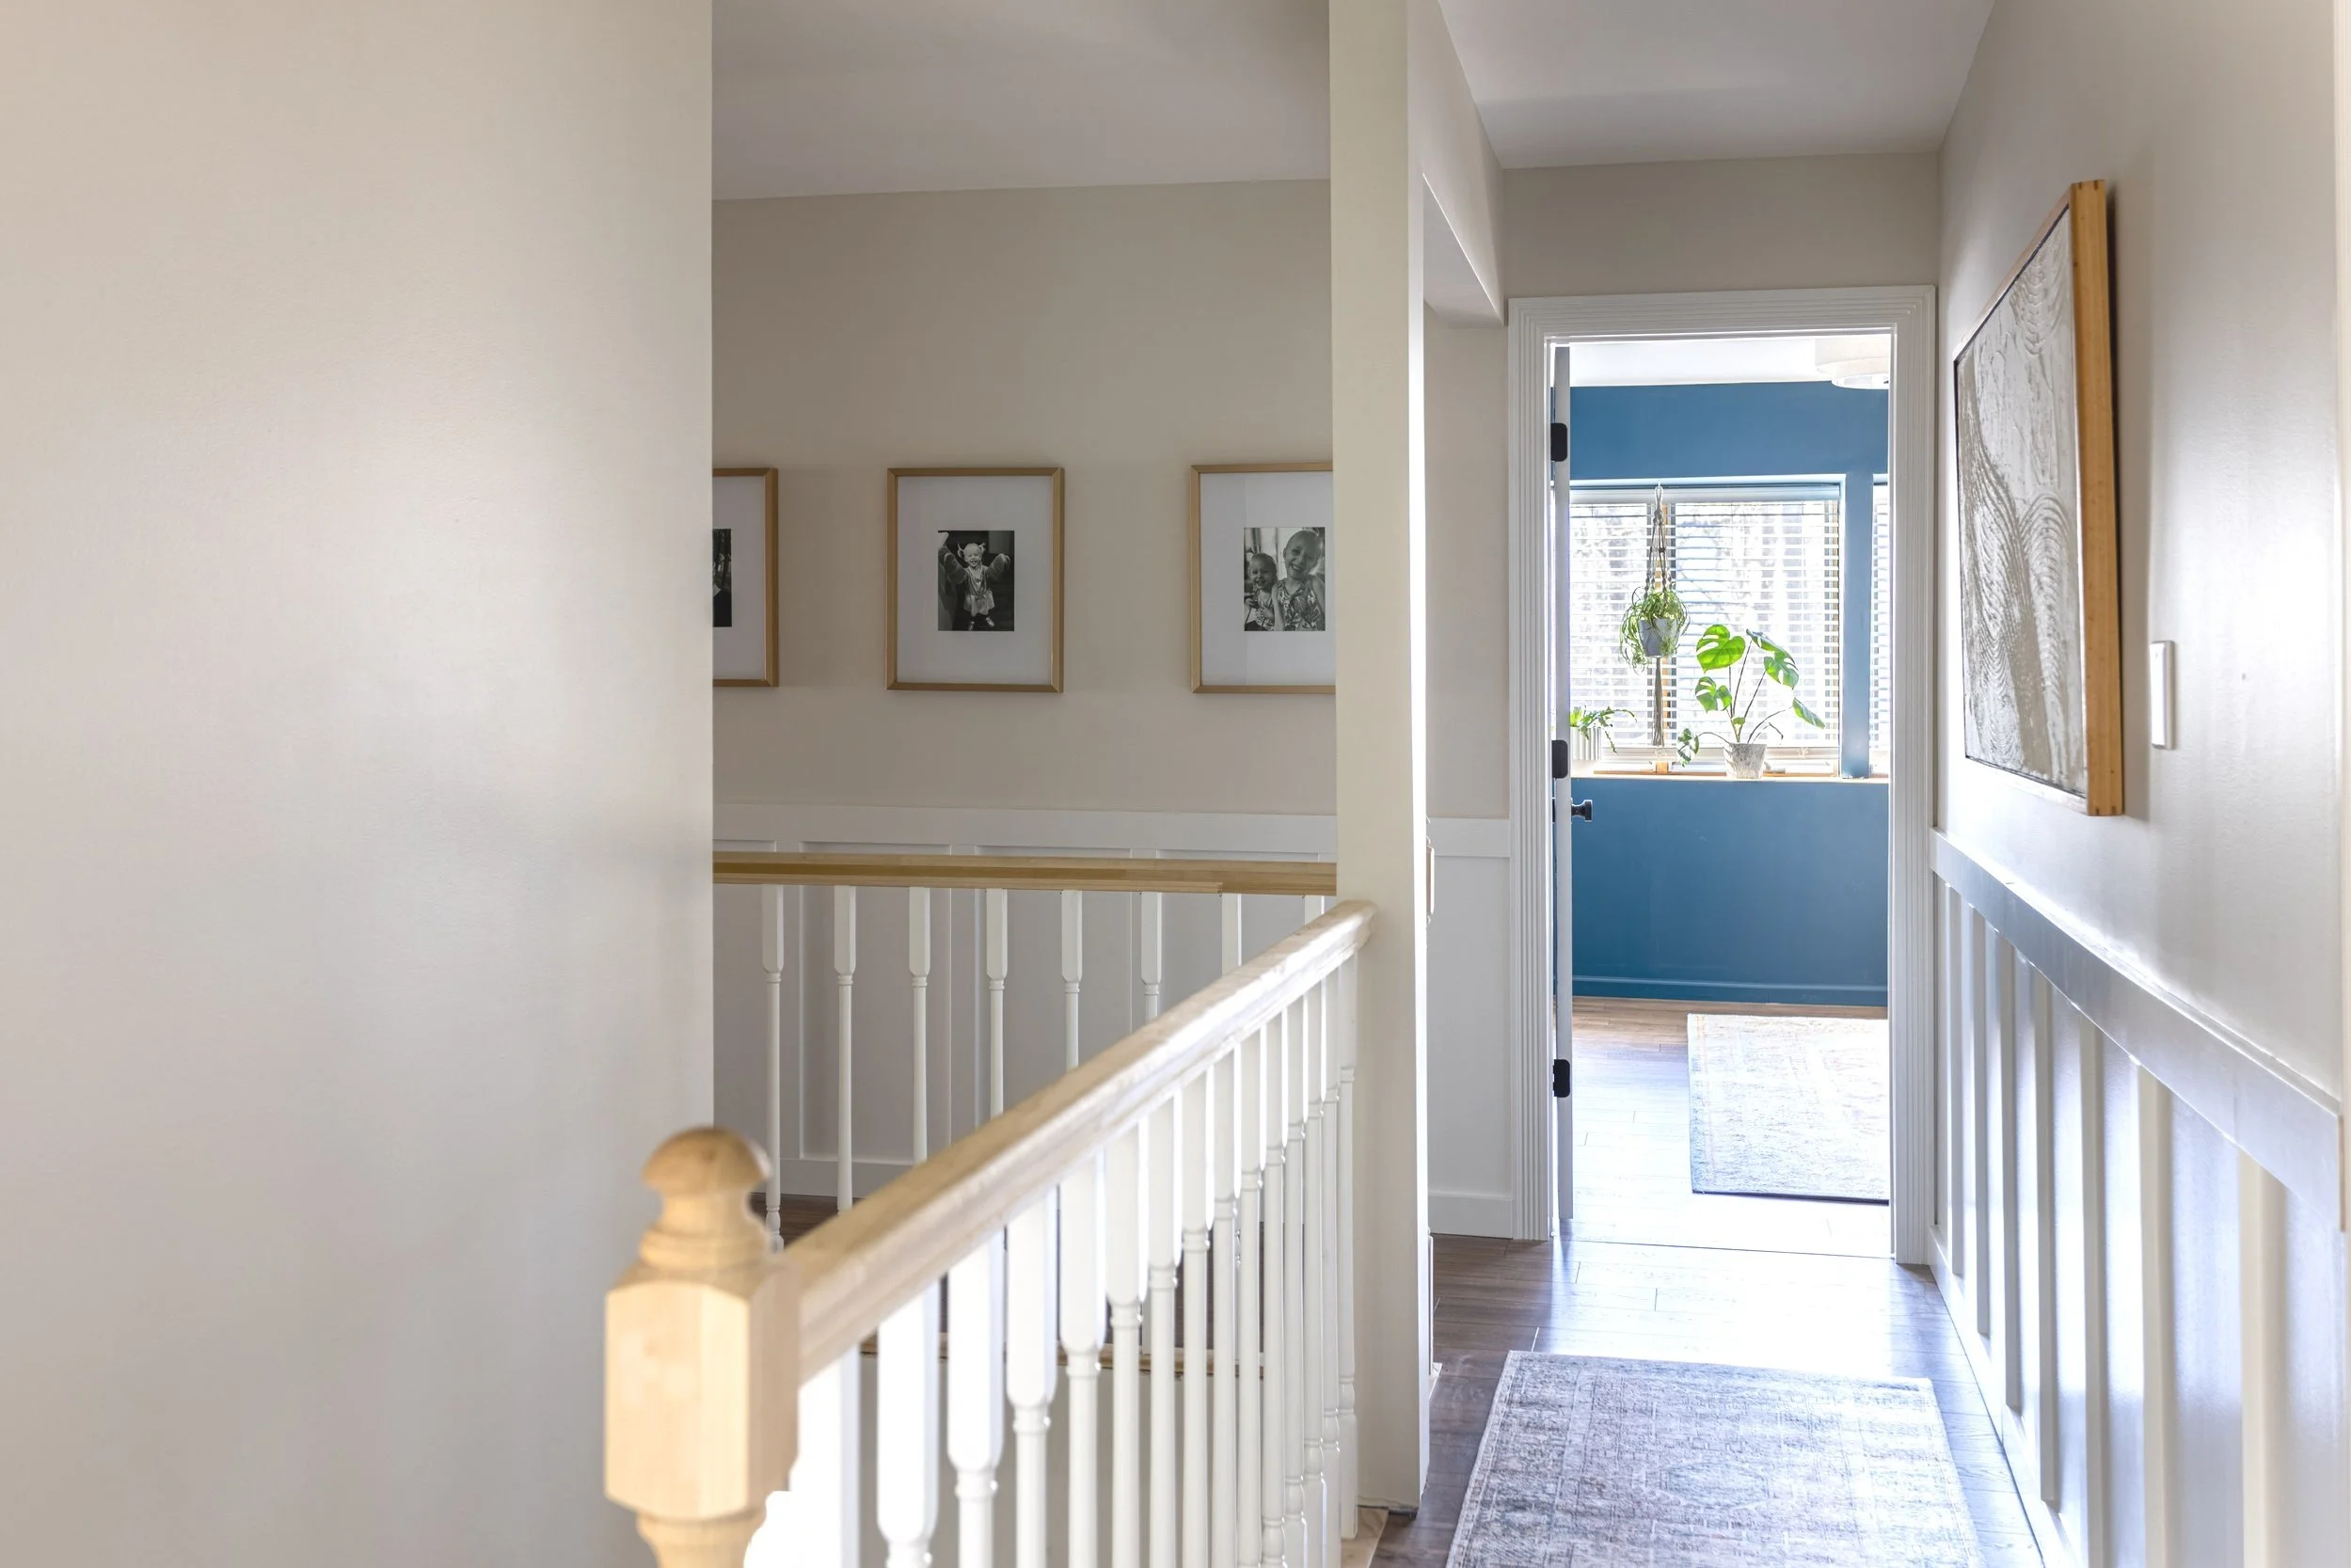
If you’ve been following along, you know that we’ve been renovating the loft and the drywall was recently finished. Well, during the 3+ weeks it took for the drywall to be completed, I kept myself busy doing as much as I could in the hallway - and I have updates!
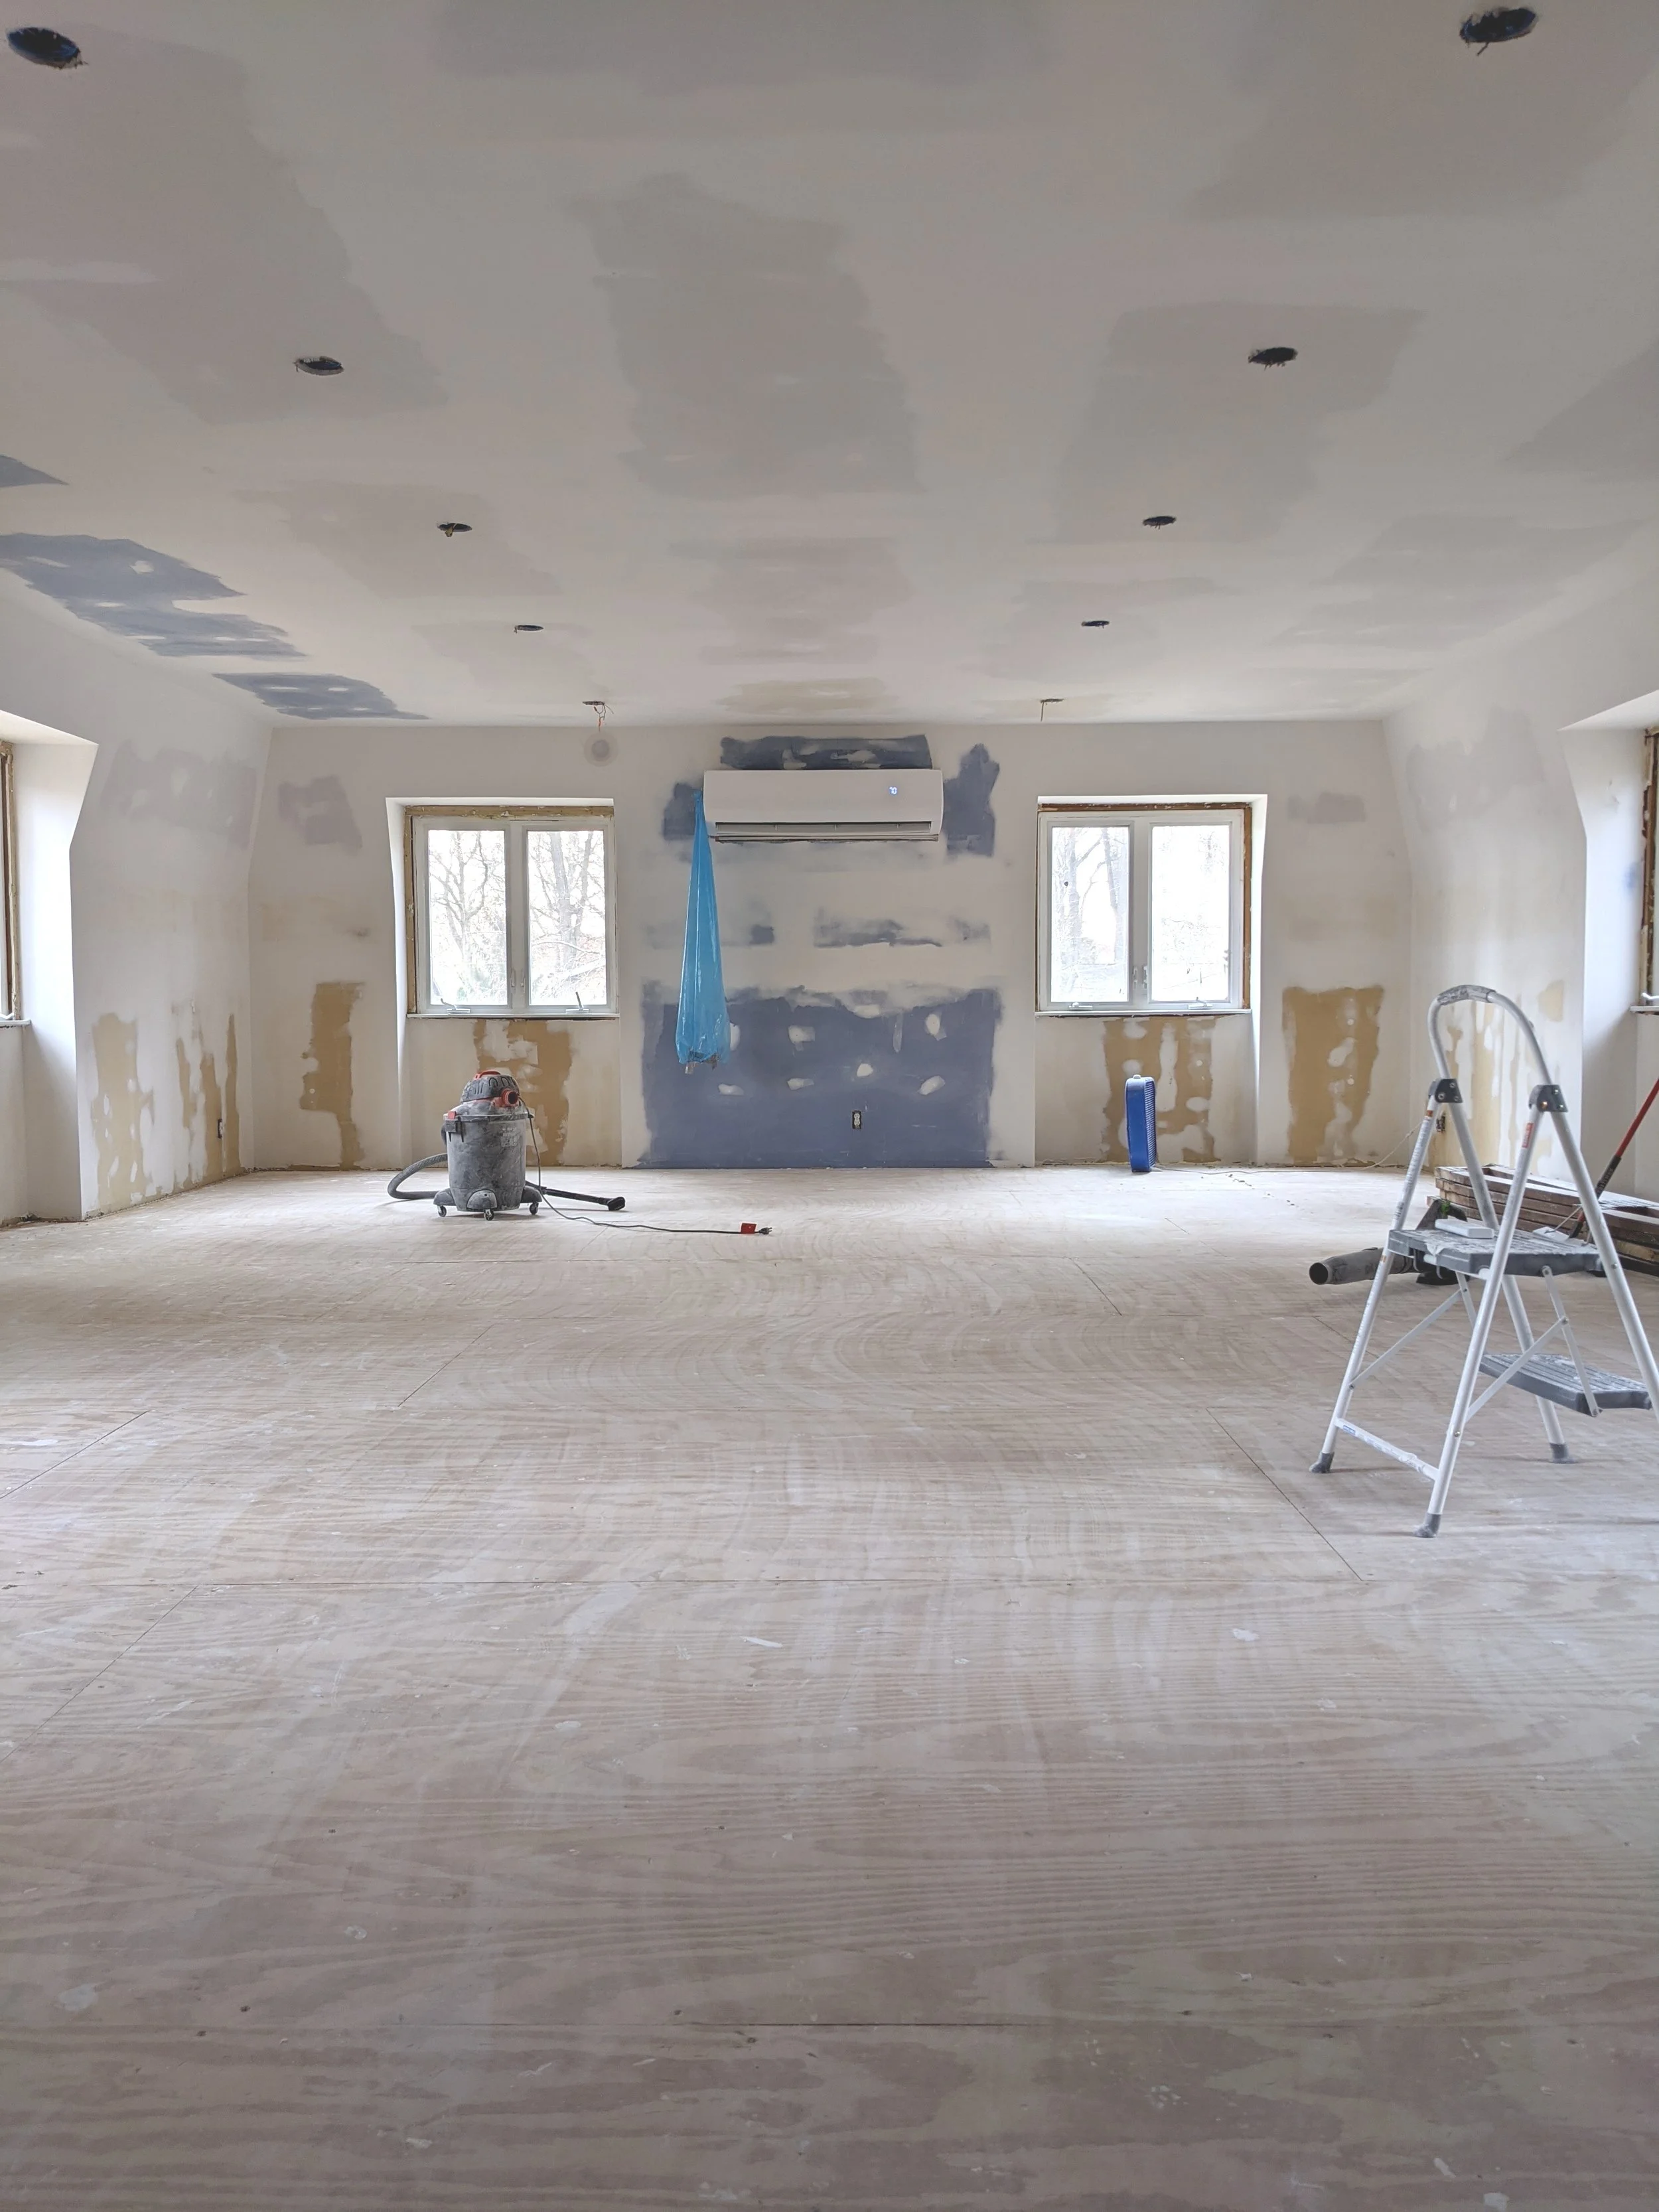
The loft has made some big progress since my last update, so let’s dive right in and see what’s been going on!

In case you haven’t taken notice of the color blocking trend yet, hold on to your butts! Because in this post, I’m going to take you on a deep dive into the wonderful world of color blocking!
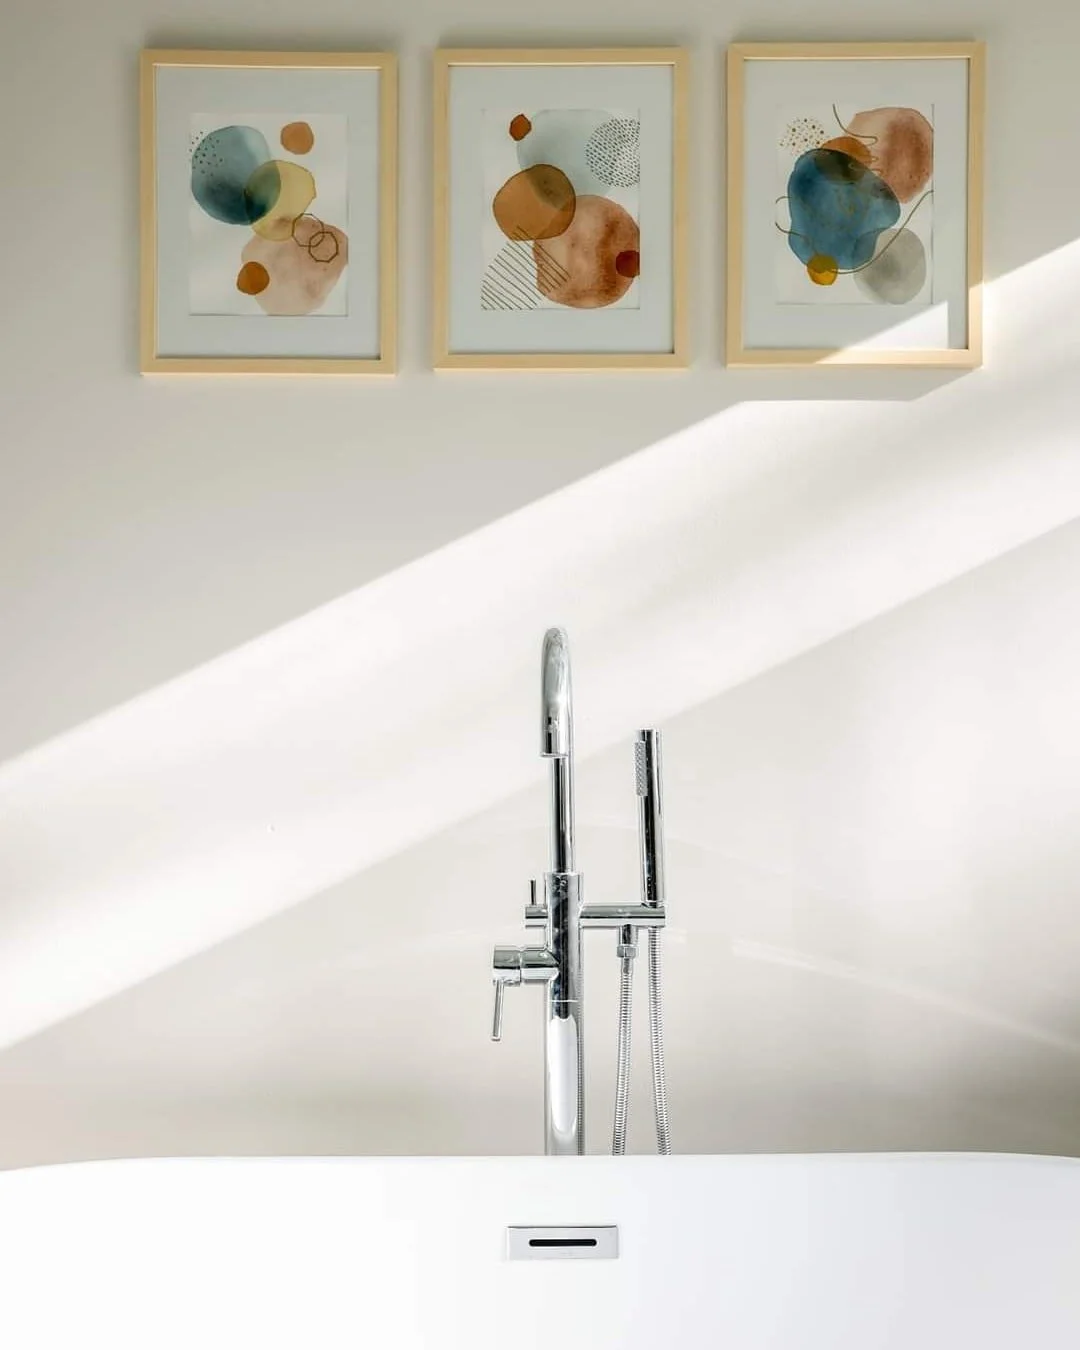
It’s been a loooong road, but I’m ecstatic to say that our master bathroom is complete! Actually, it’s been complete for a couple of months but we just got around to taking pictures. We’re busy, you know, finishing other projects and starting new ones before those are even complete. Better late than never though, right?

Last year was the first time as an adult I ever decorated for Halloween. I knew I wanted to add to my Halloween decor collection this year but didn’t have anything in particular in mind. Until I found this broken-down wreath at the thrift store!
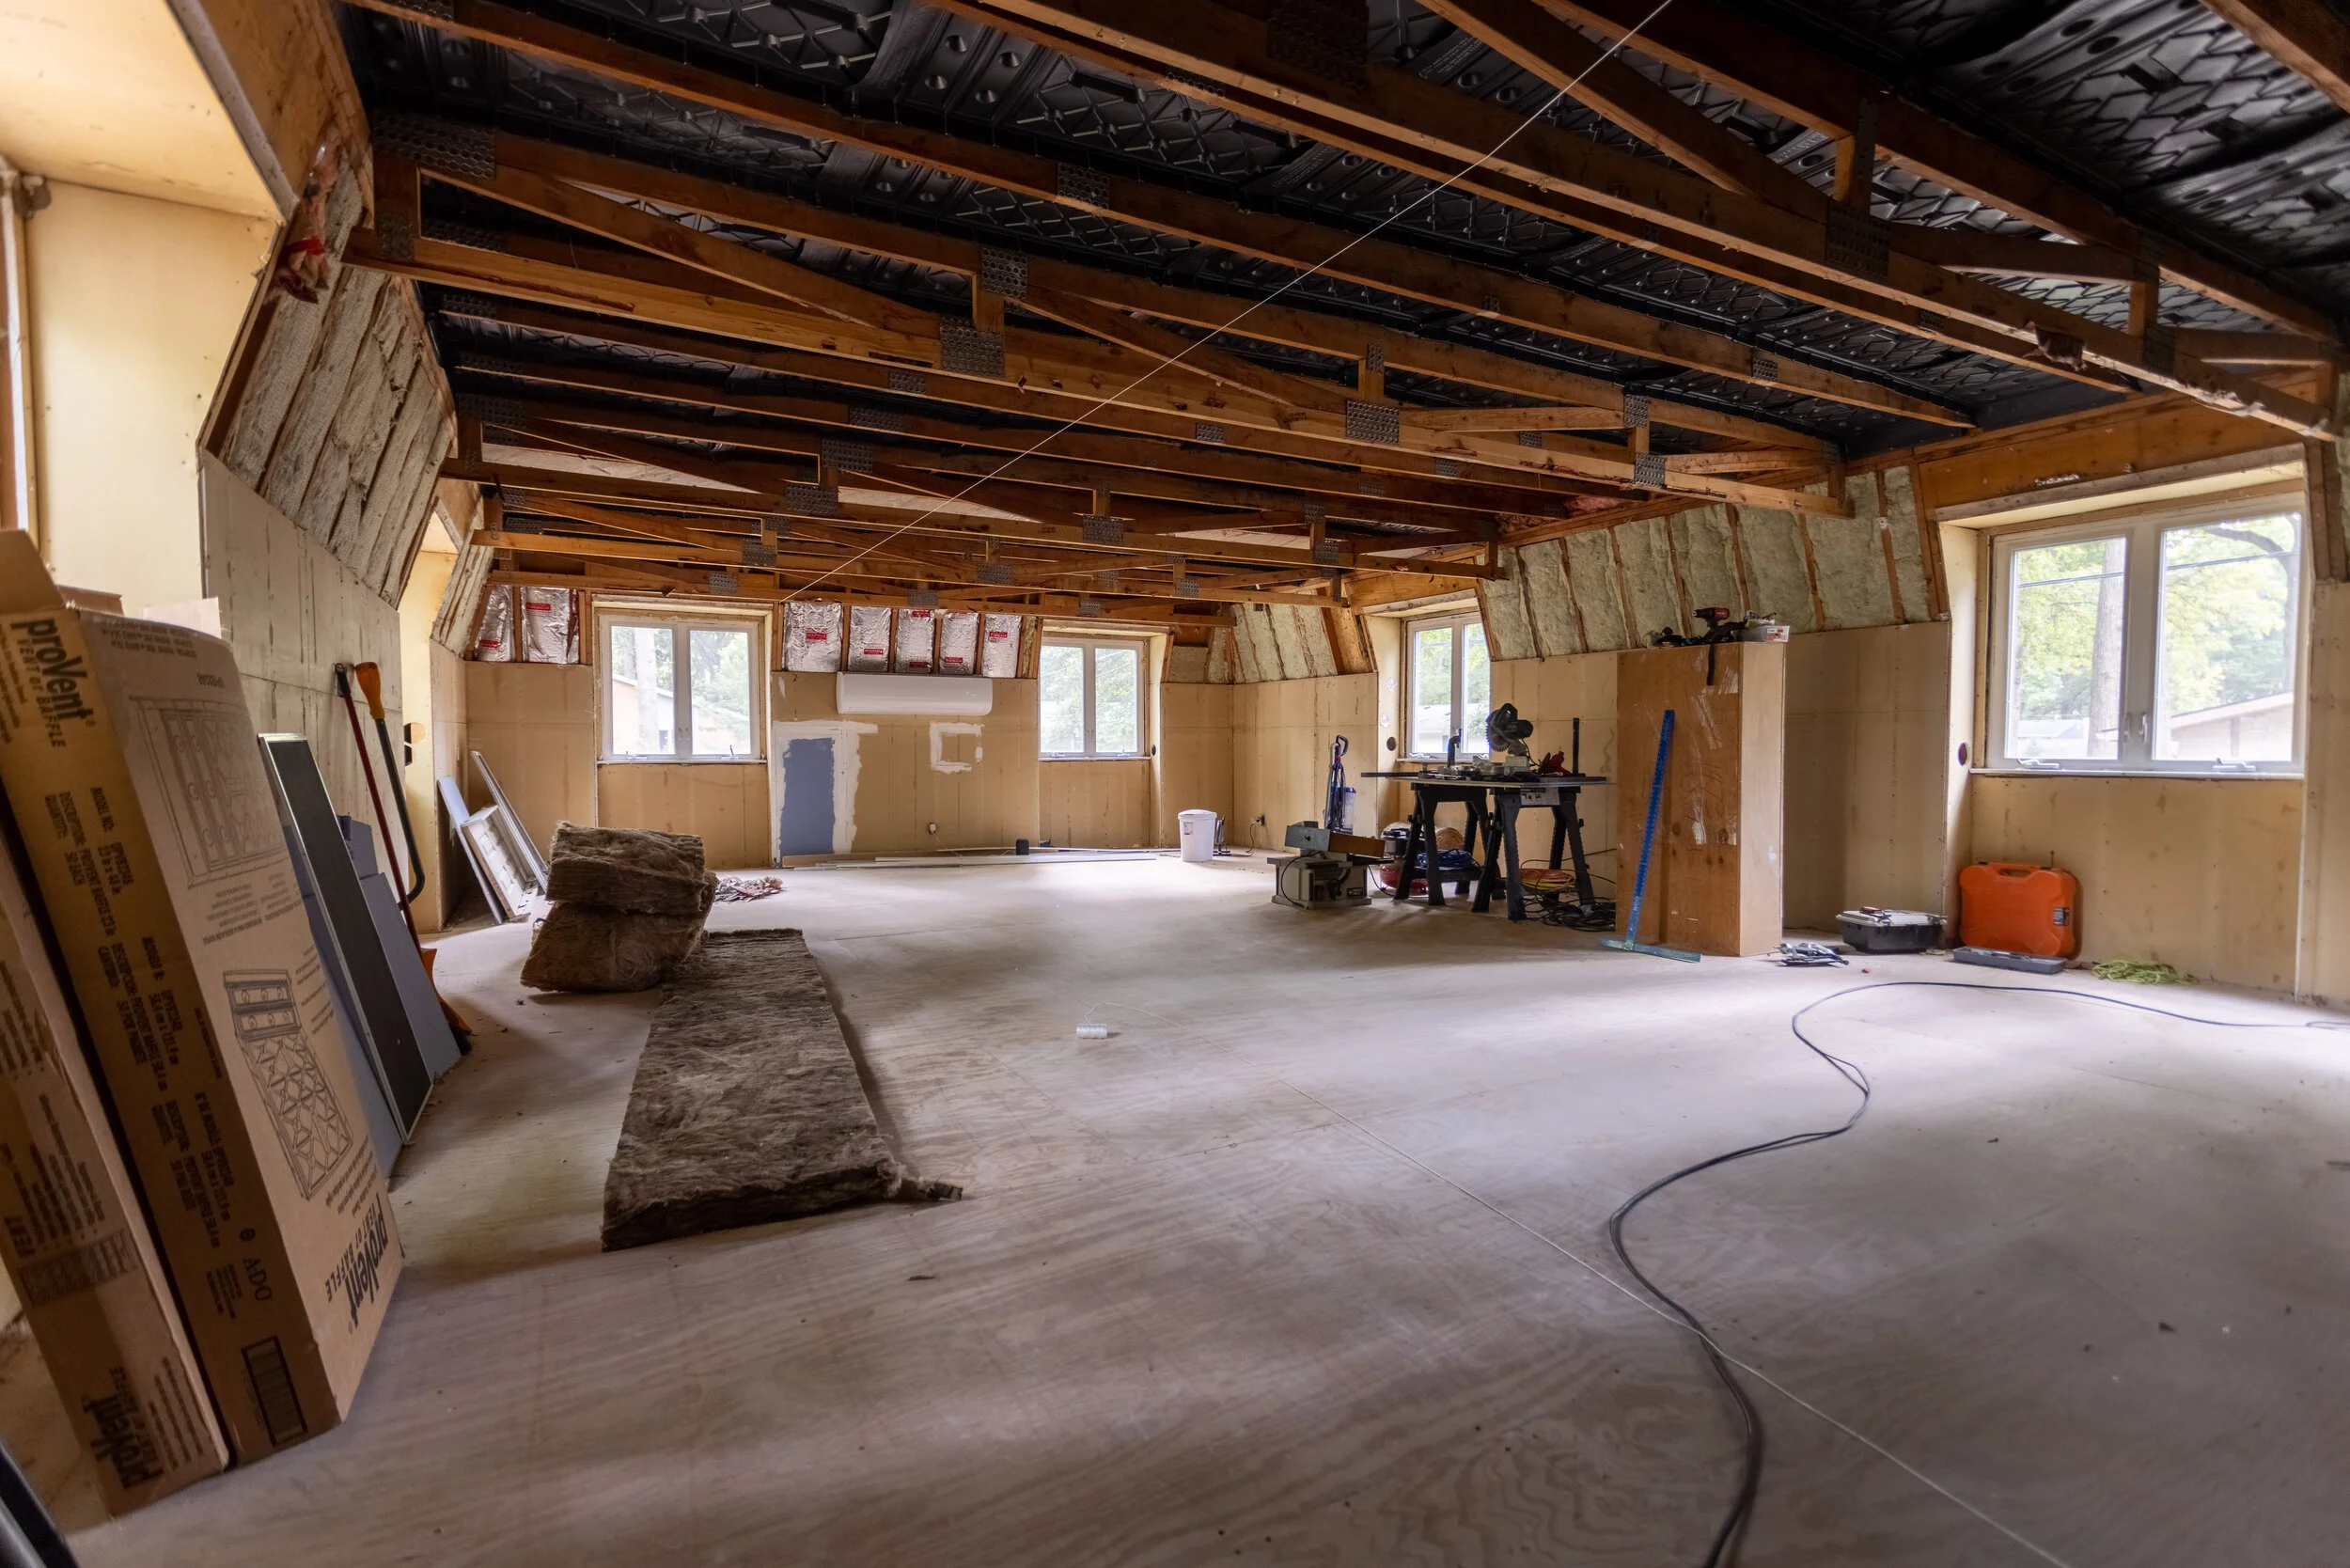
Remember how I mentioned in my last post that we were focusing really hard on wrapping up the hallway renovation? Yeah… we started a big new project. We’re renovating the loft!
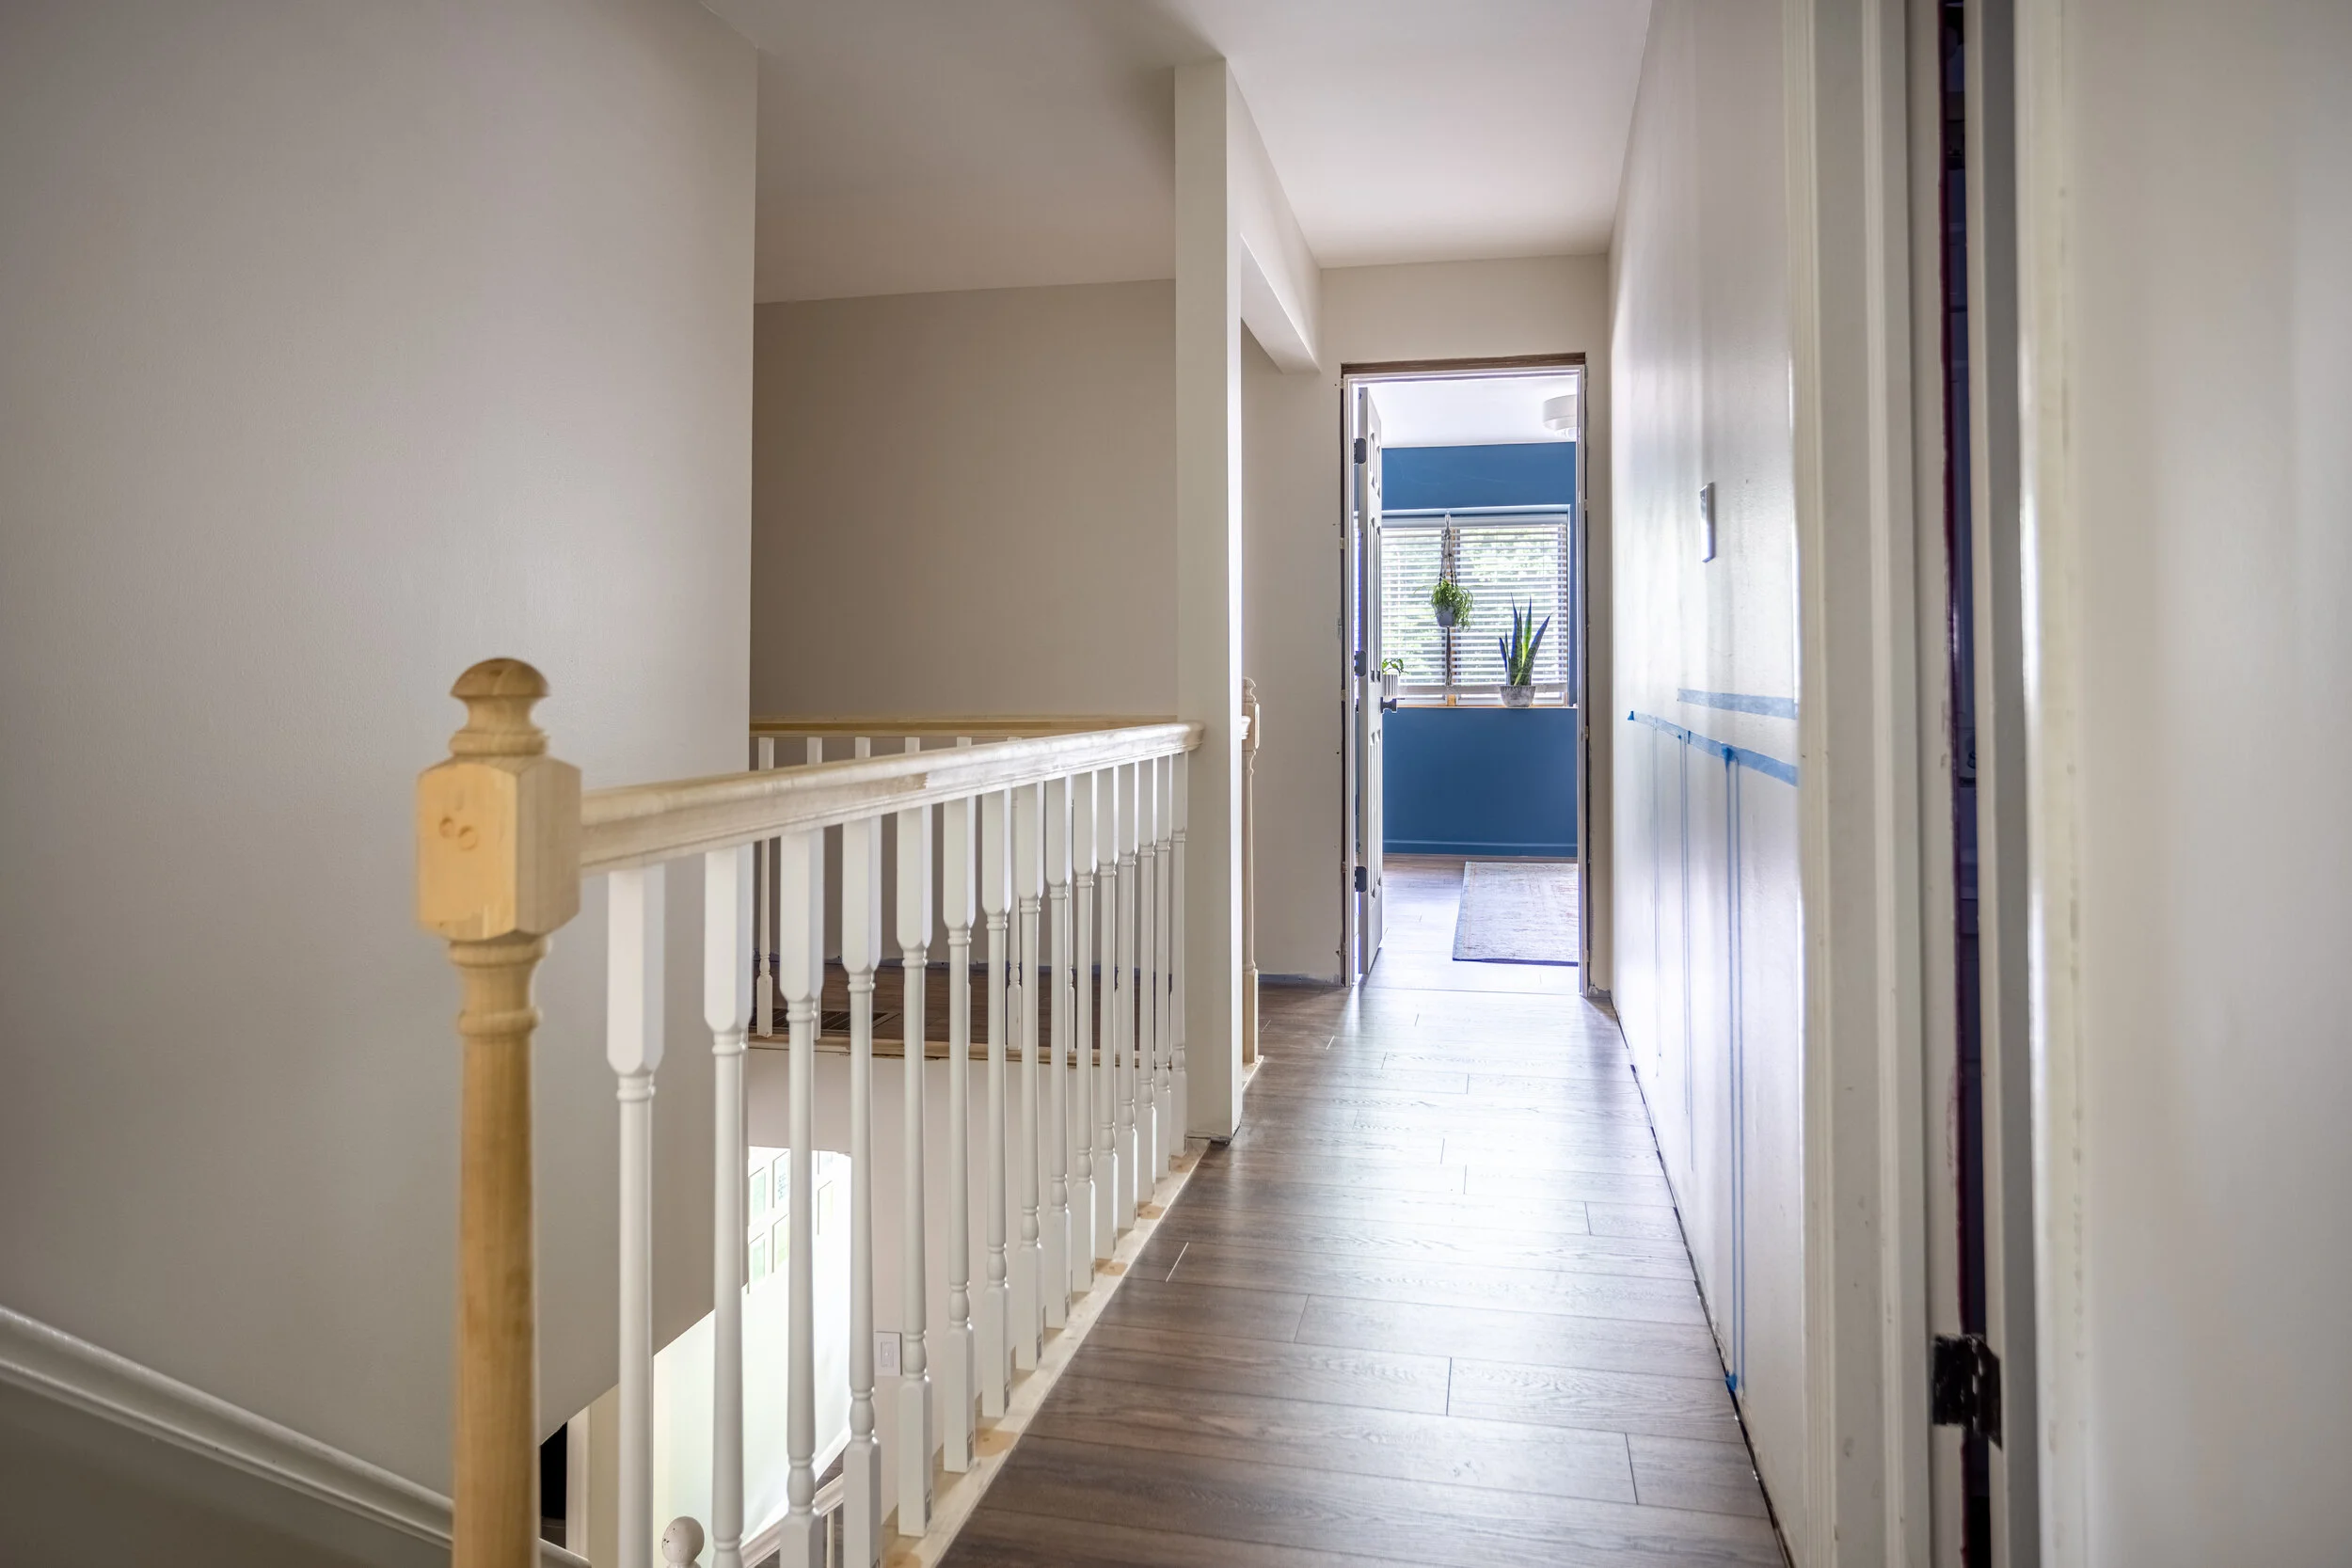
We’ve been focusing HARD on wrapping up the hallway renovation the last couple of weeks. The closer we get to the finish line, the more my brain buzzes with ideas on how to really turn it into more than just a passthrough but rather an integral, well thought out part of the house. So in this post, I’d like to share some updates on our hallway progress, and future plans for what I have in mind.
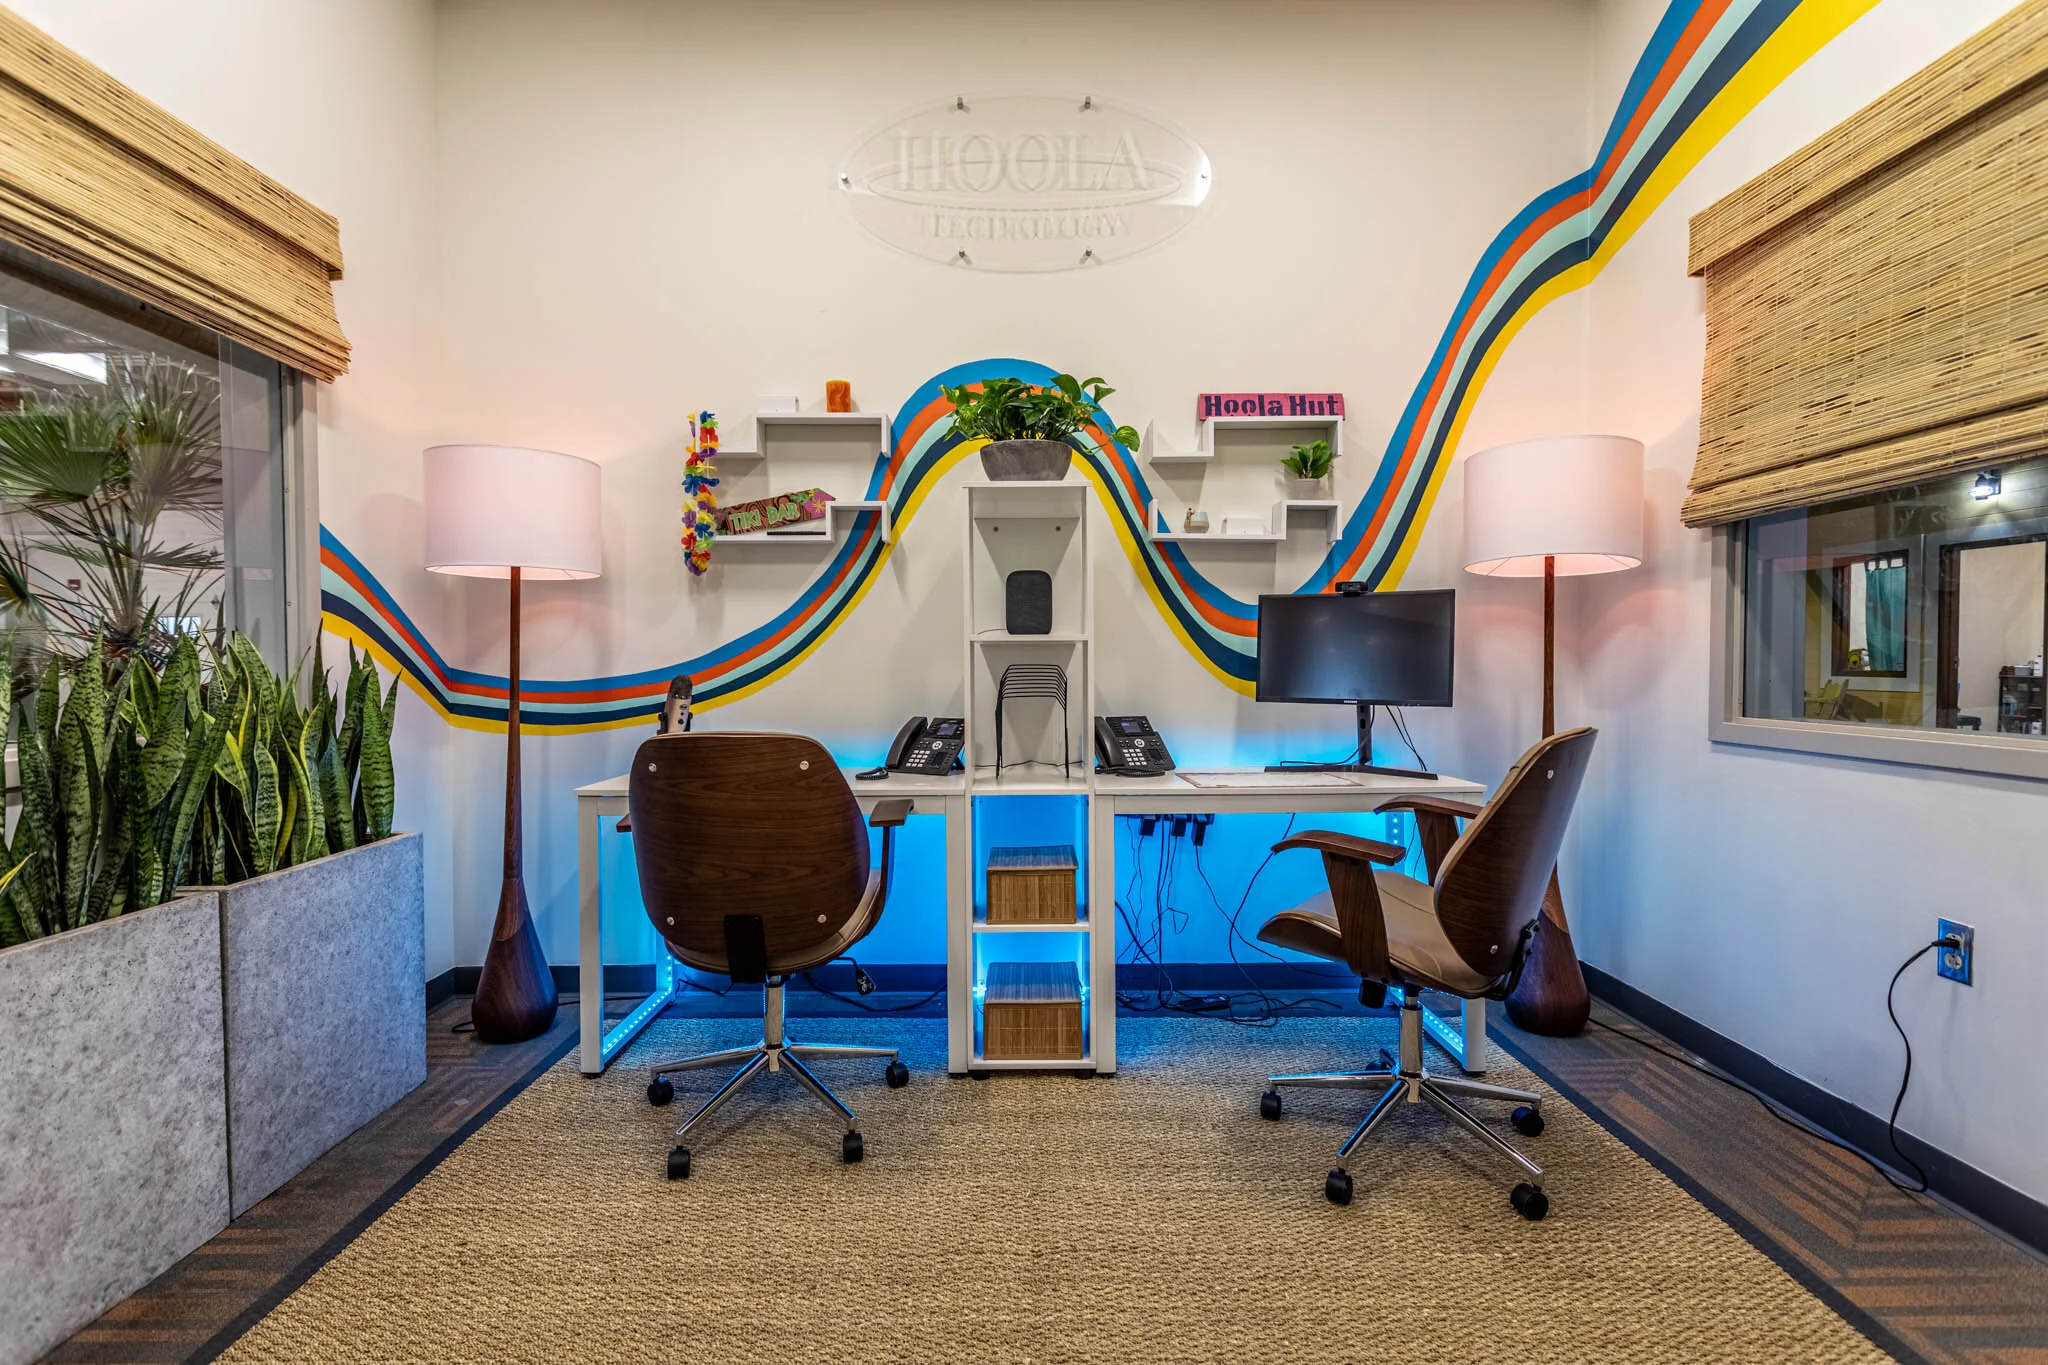
I have to be honest with you. While I enjoy writing tutorials and showing you all how I DIY’d something, what I really love is sharing my thought process behind the decisions I make while designing a room. And lucky for you (or me?), that’s what I’m covering in this post.
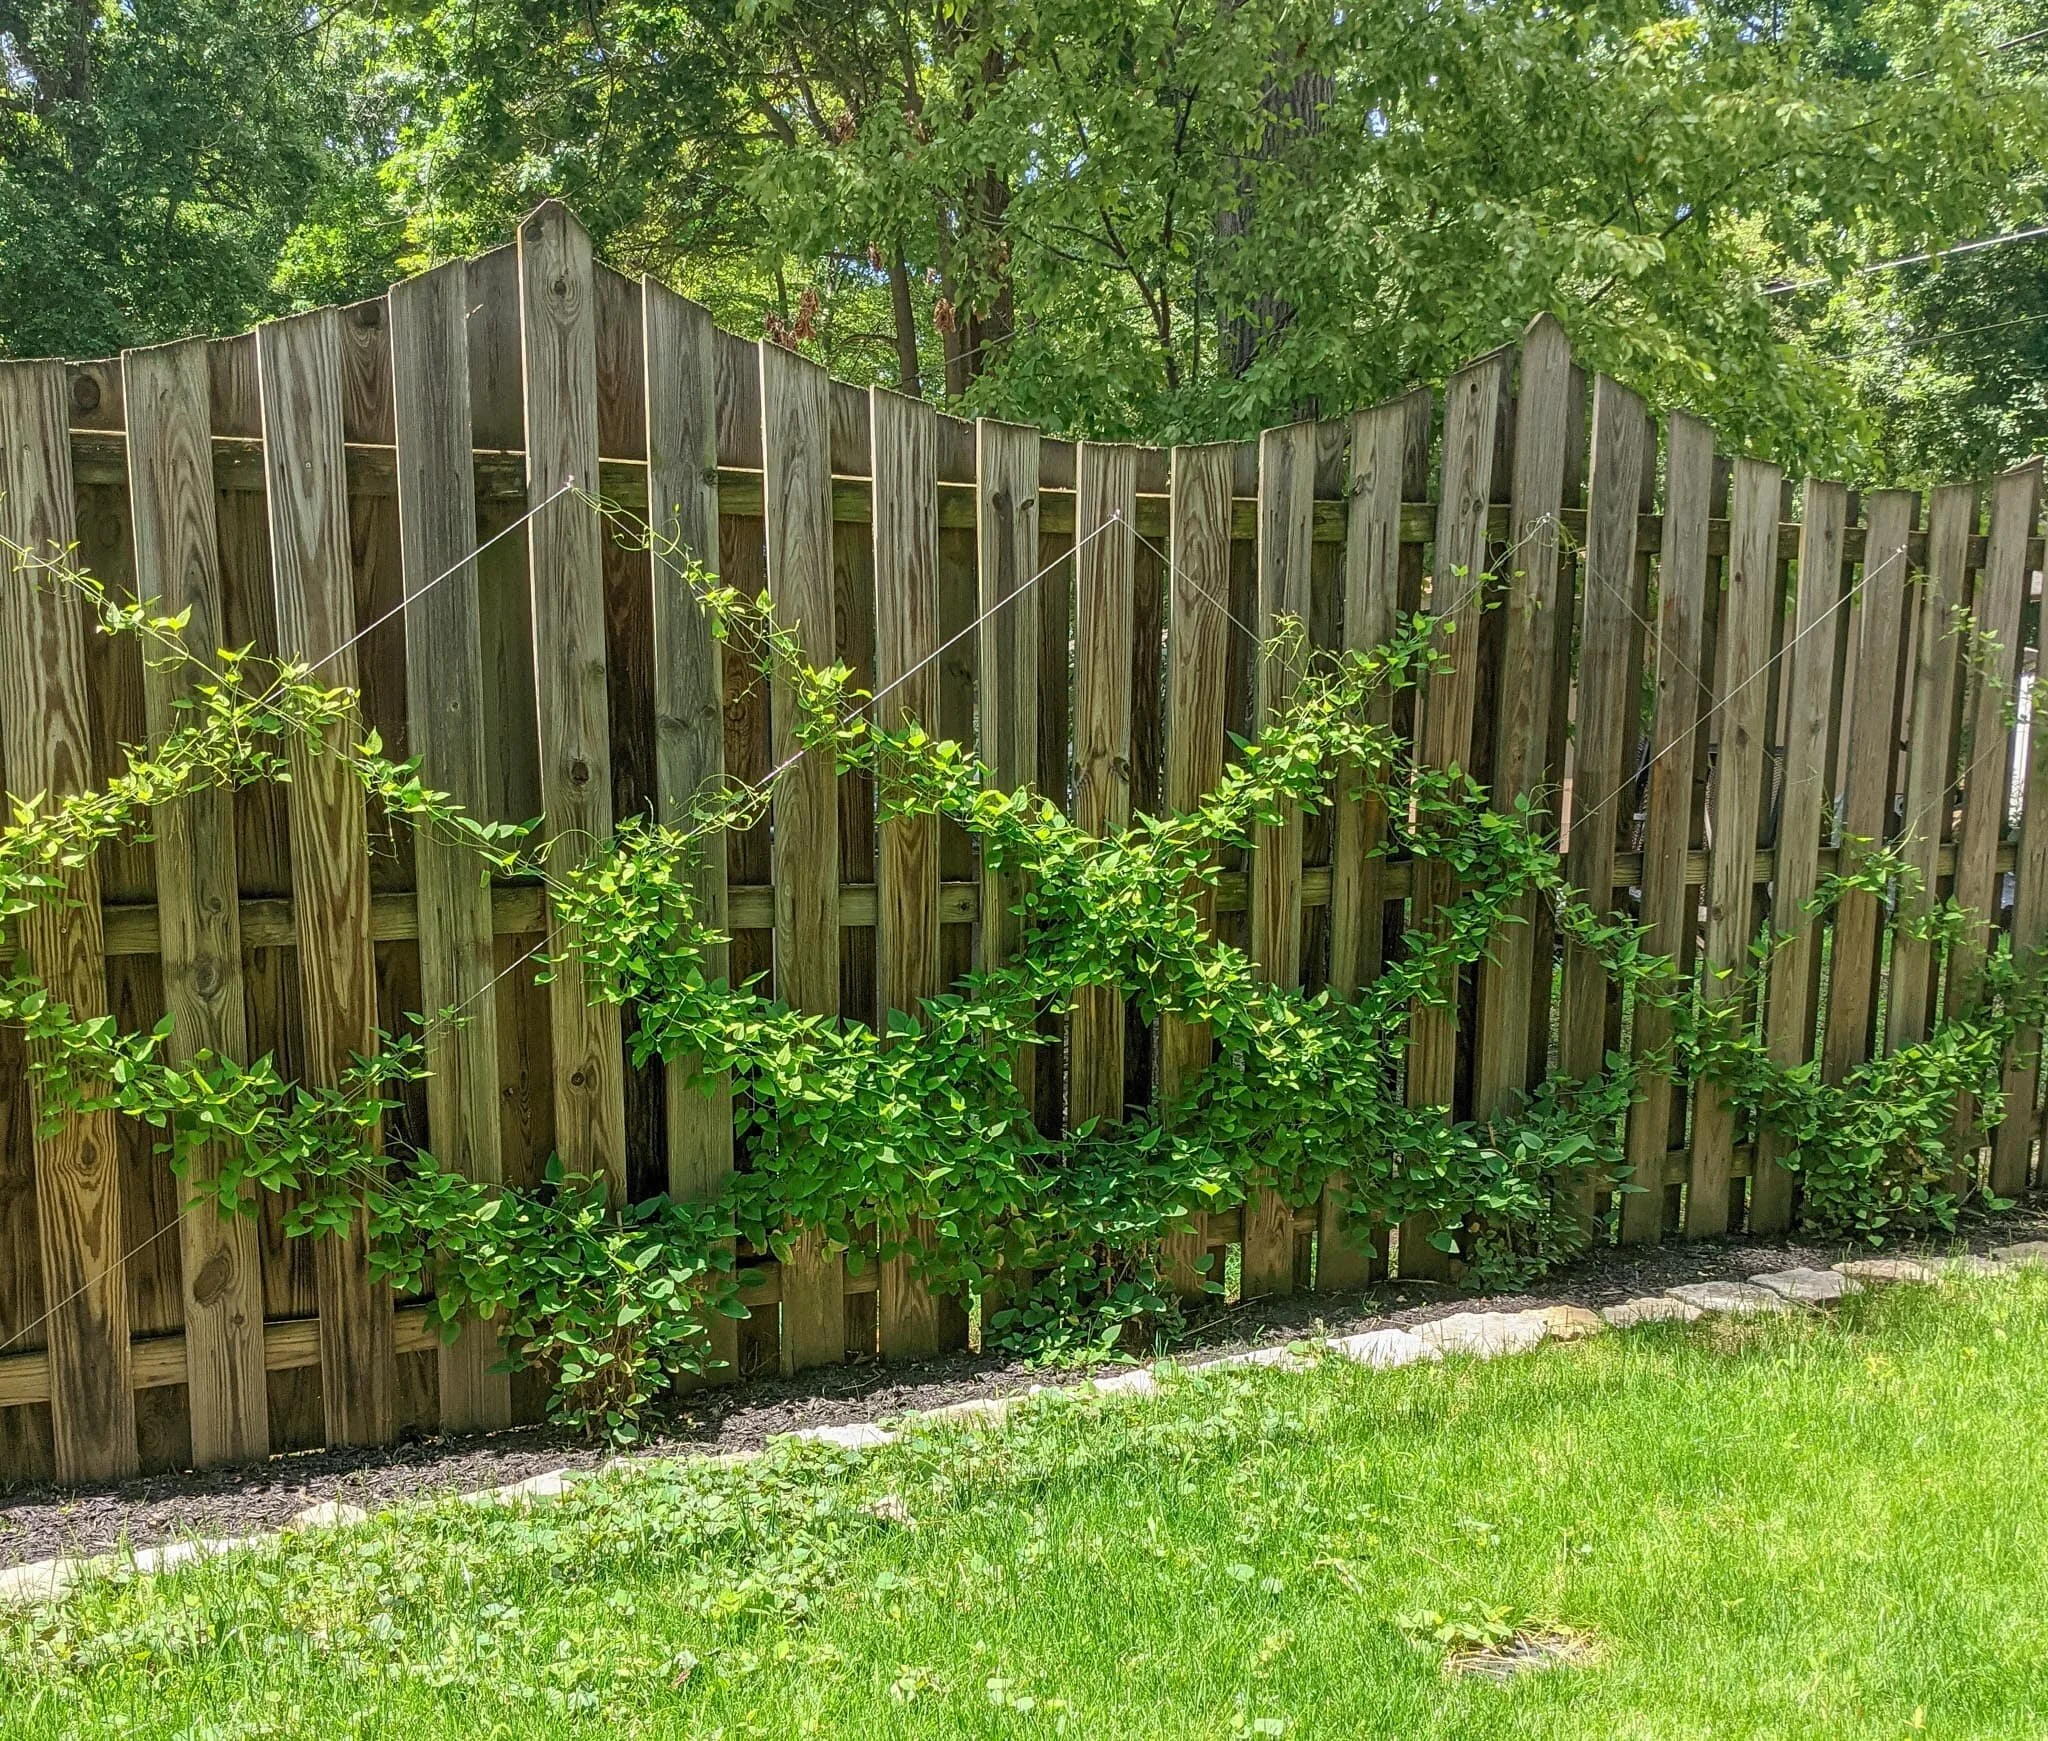
Have a fence that’s just kind of “blah”? Liven things up with a trellis and some climbing vines! In this post, you’ll learn how to build your own wire trellis and create a beautiful backdrop for your yard.
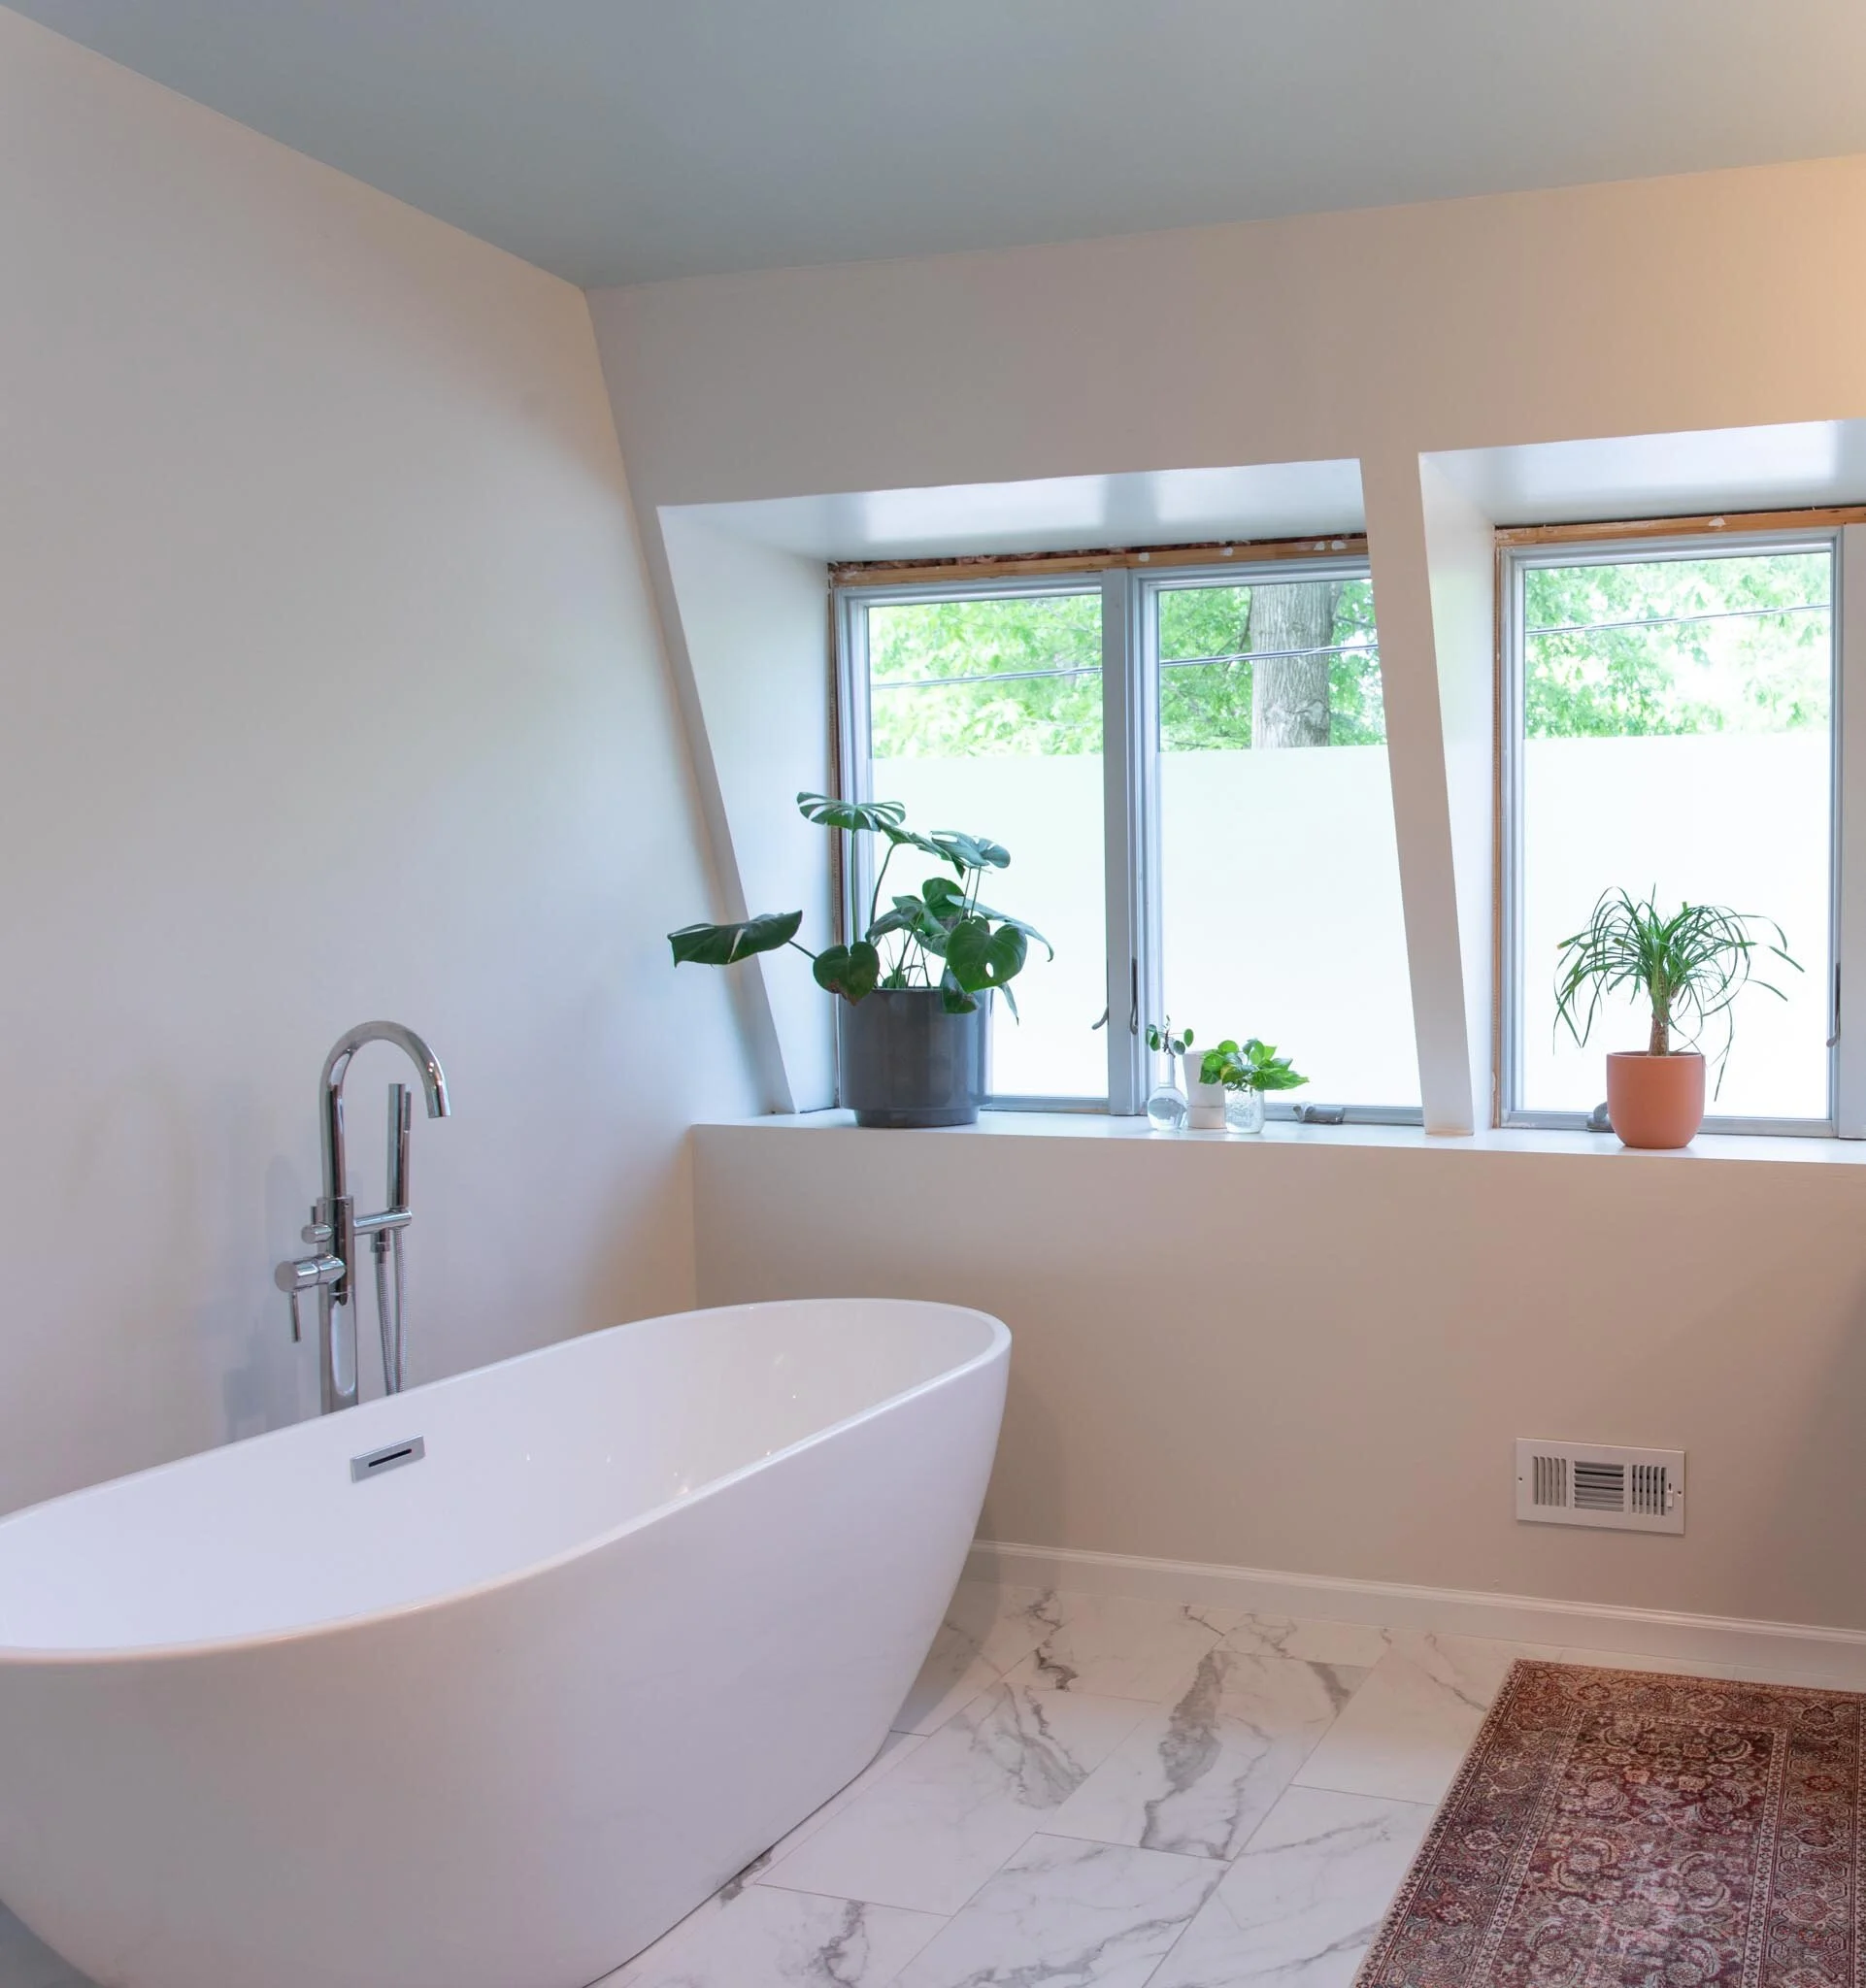
Frosting your windows is the easiest DIY ever! Way easier than I anticipated, and inexpensive too. So in this post, you’ll learn the step-by-step process to frost your windows so you can do it too!
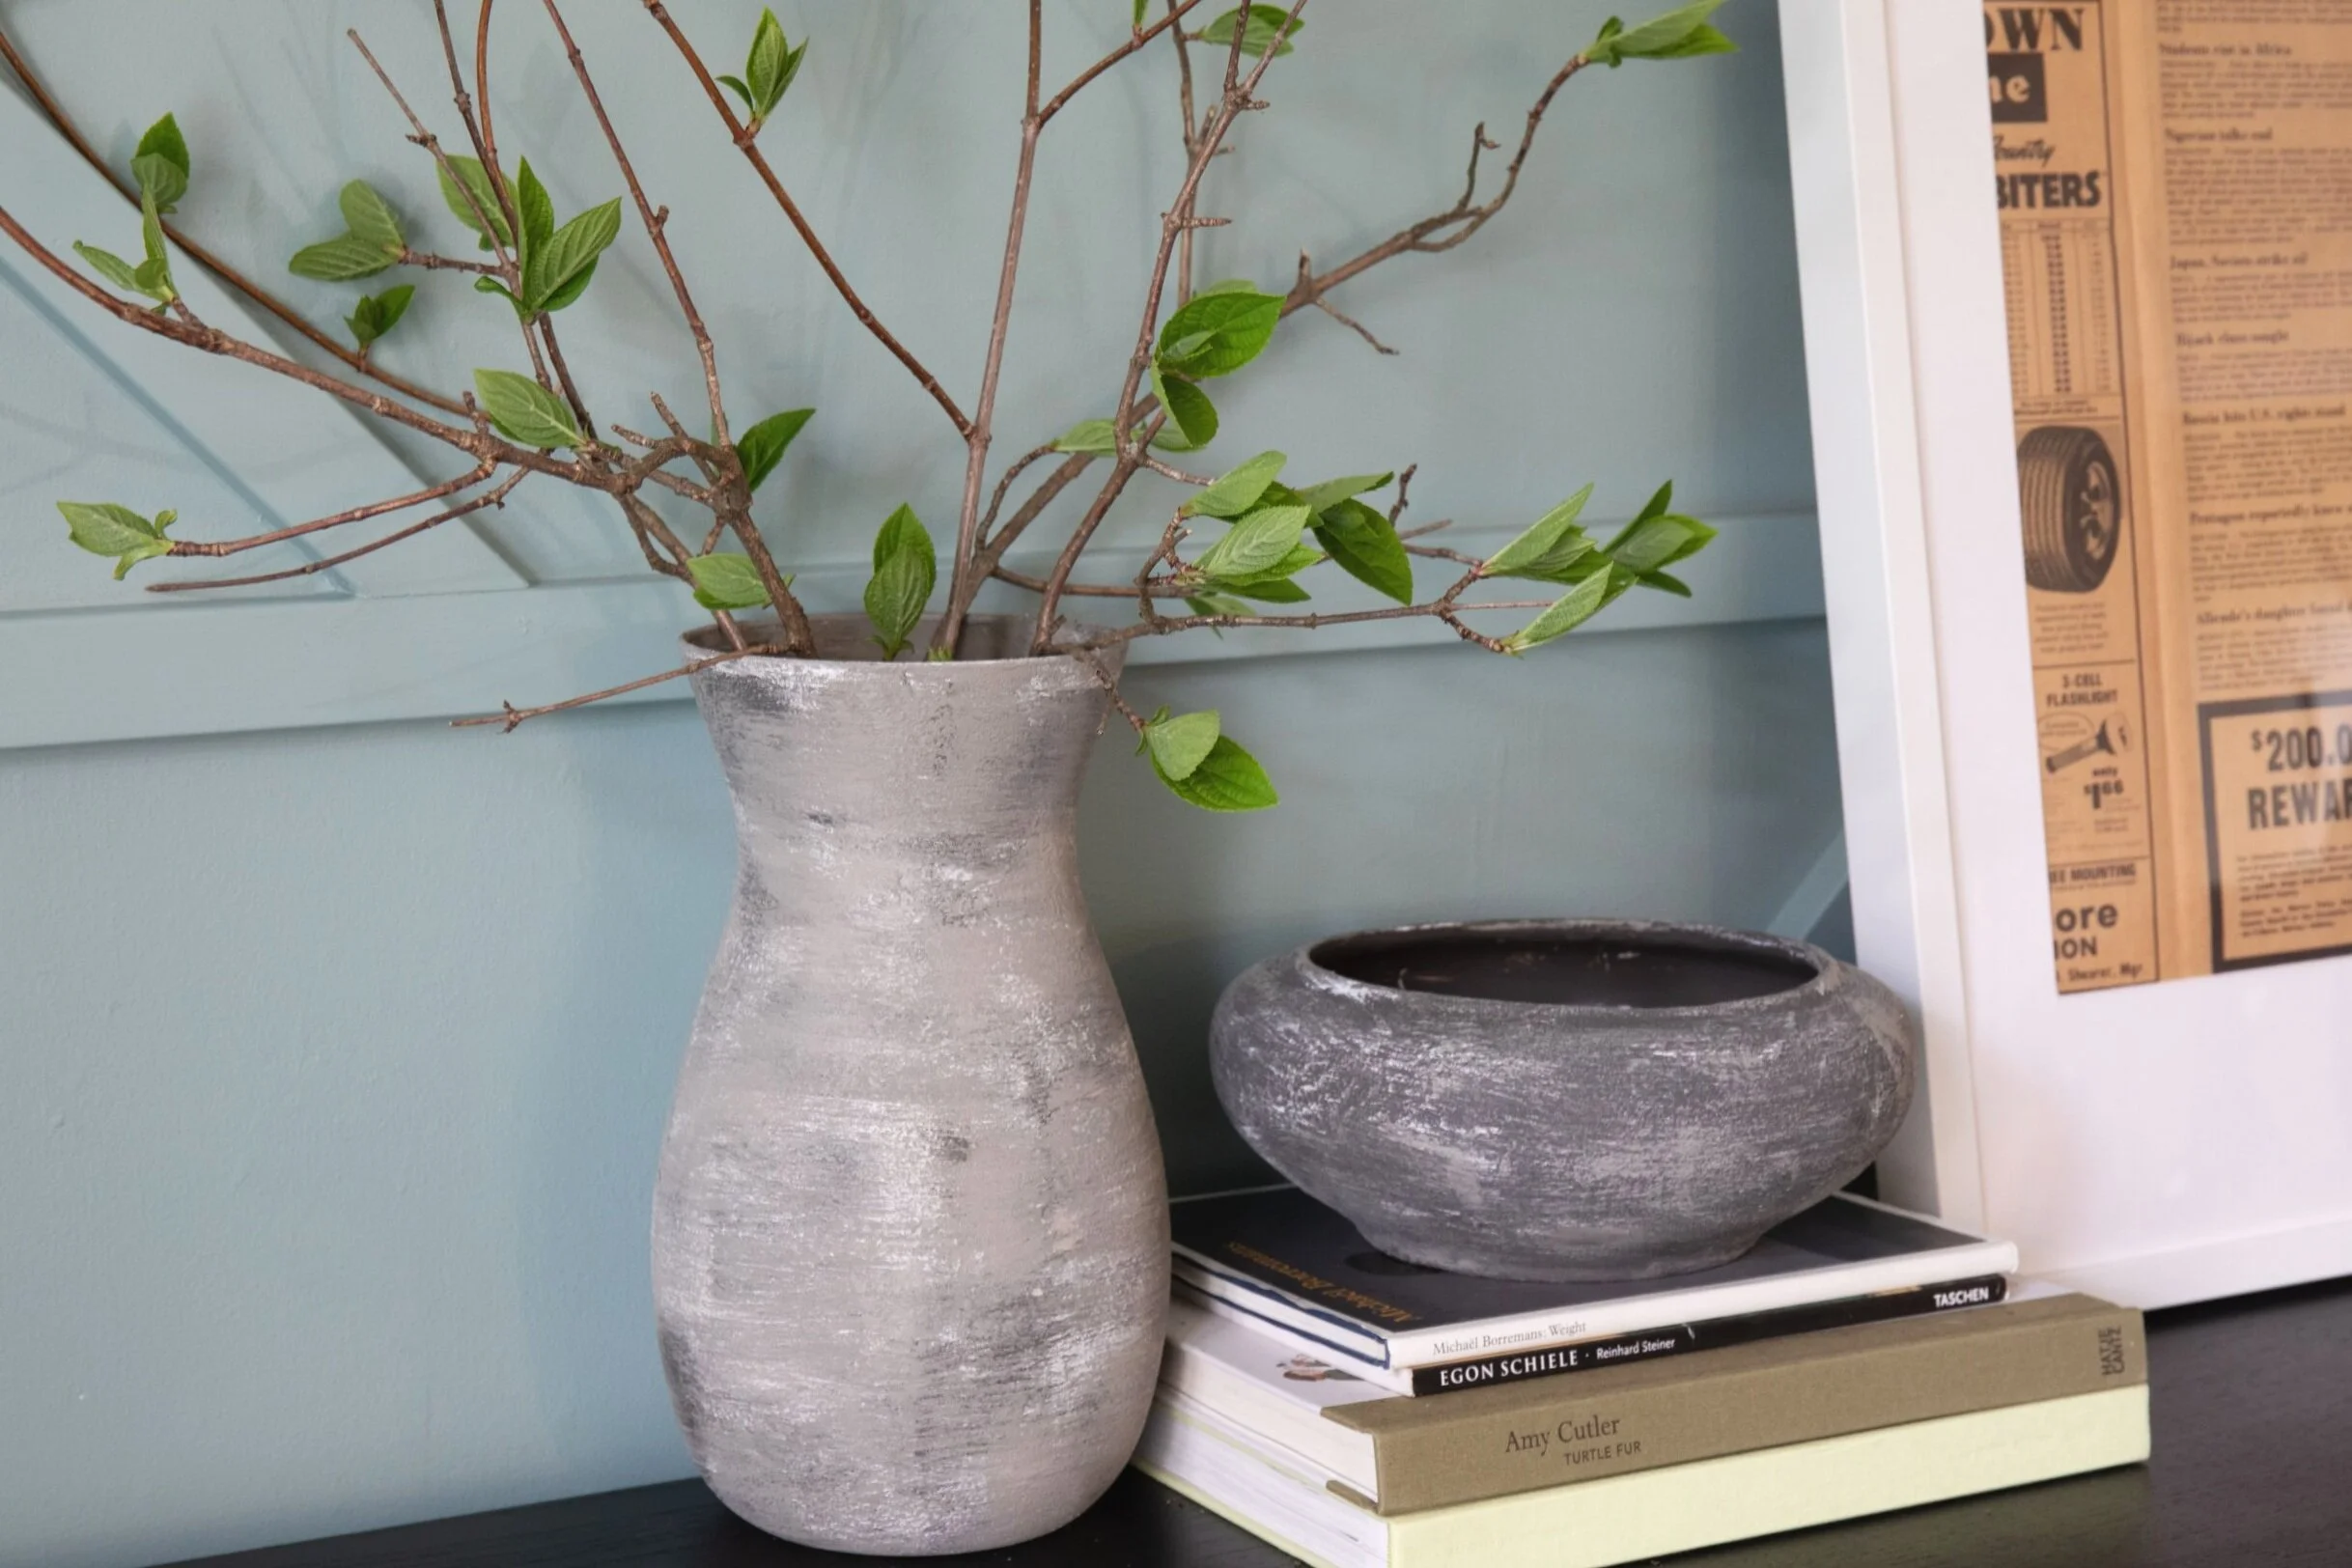
And as much as I love the stoneware decor I’ve purchased, I still can’t believe that cheap little old me paid full price, especially after I realized I could easily make my own! Yep, that’s right. And I’m gonna show you just how to do it. In fact, in this tutorial, I’ll show you 5 different ways to create the stoneware look for less! Here we go…
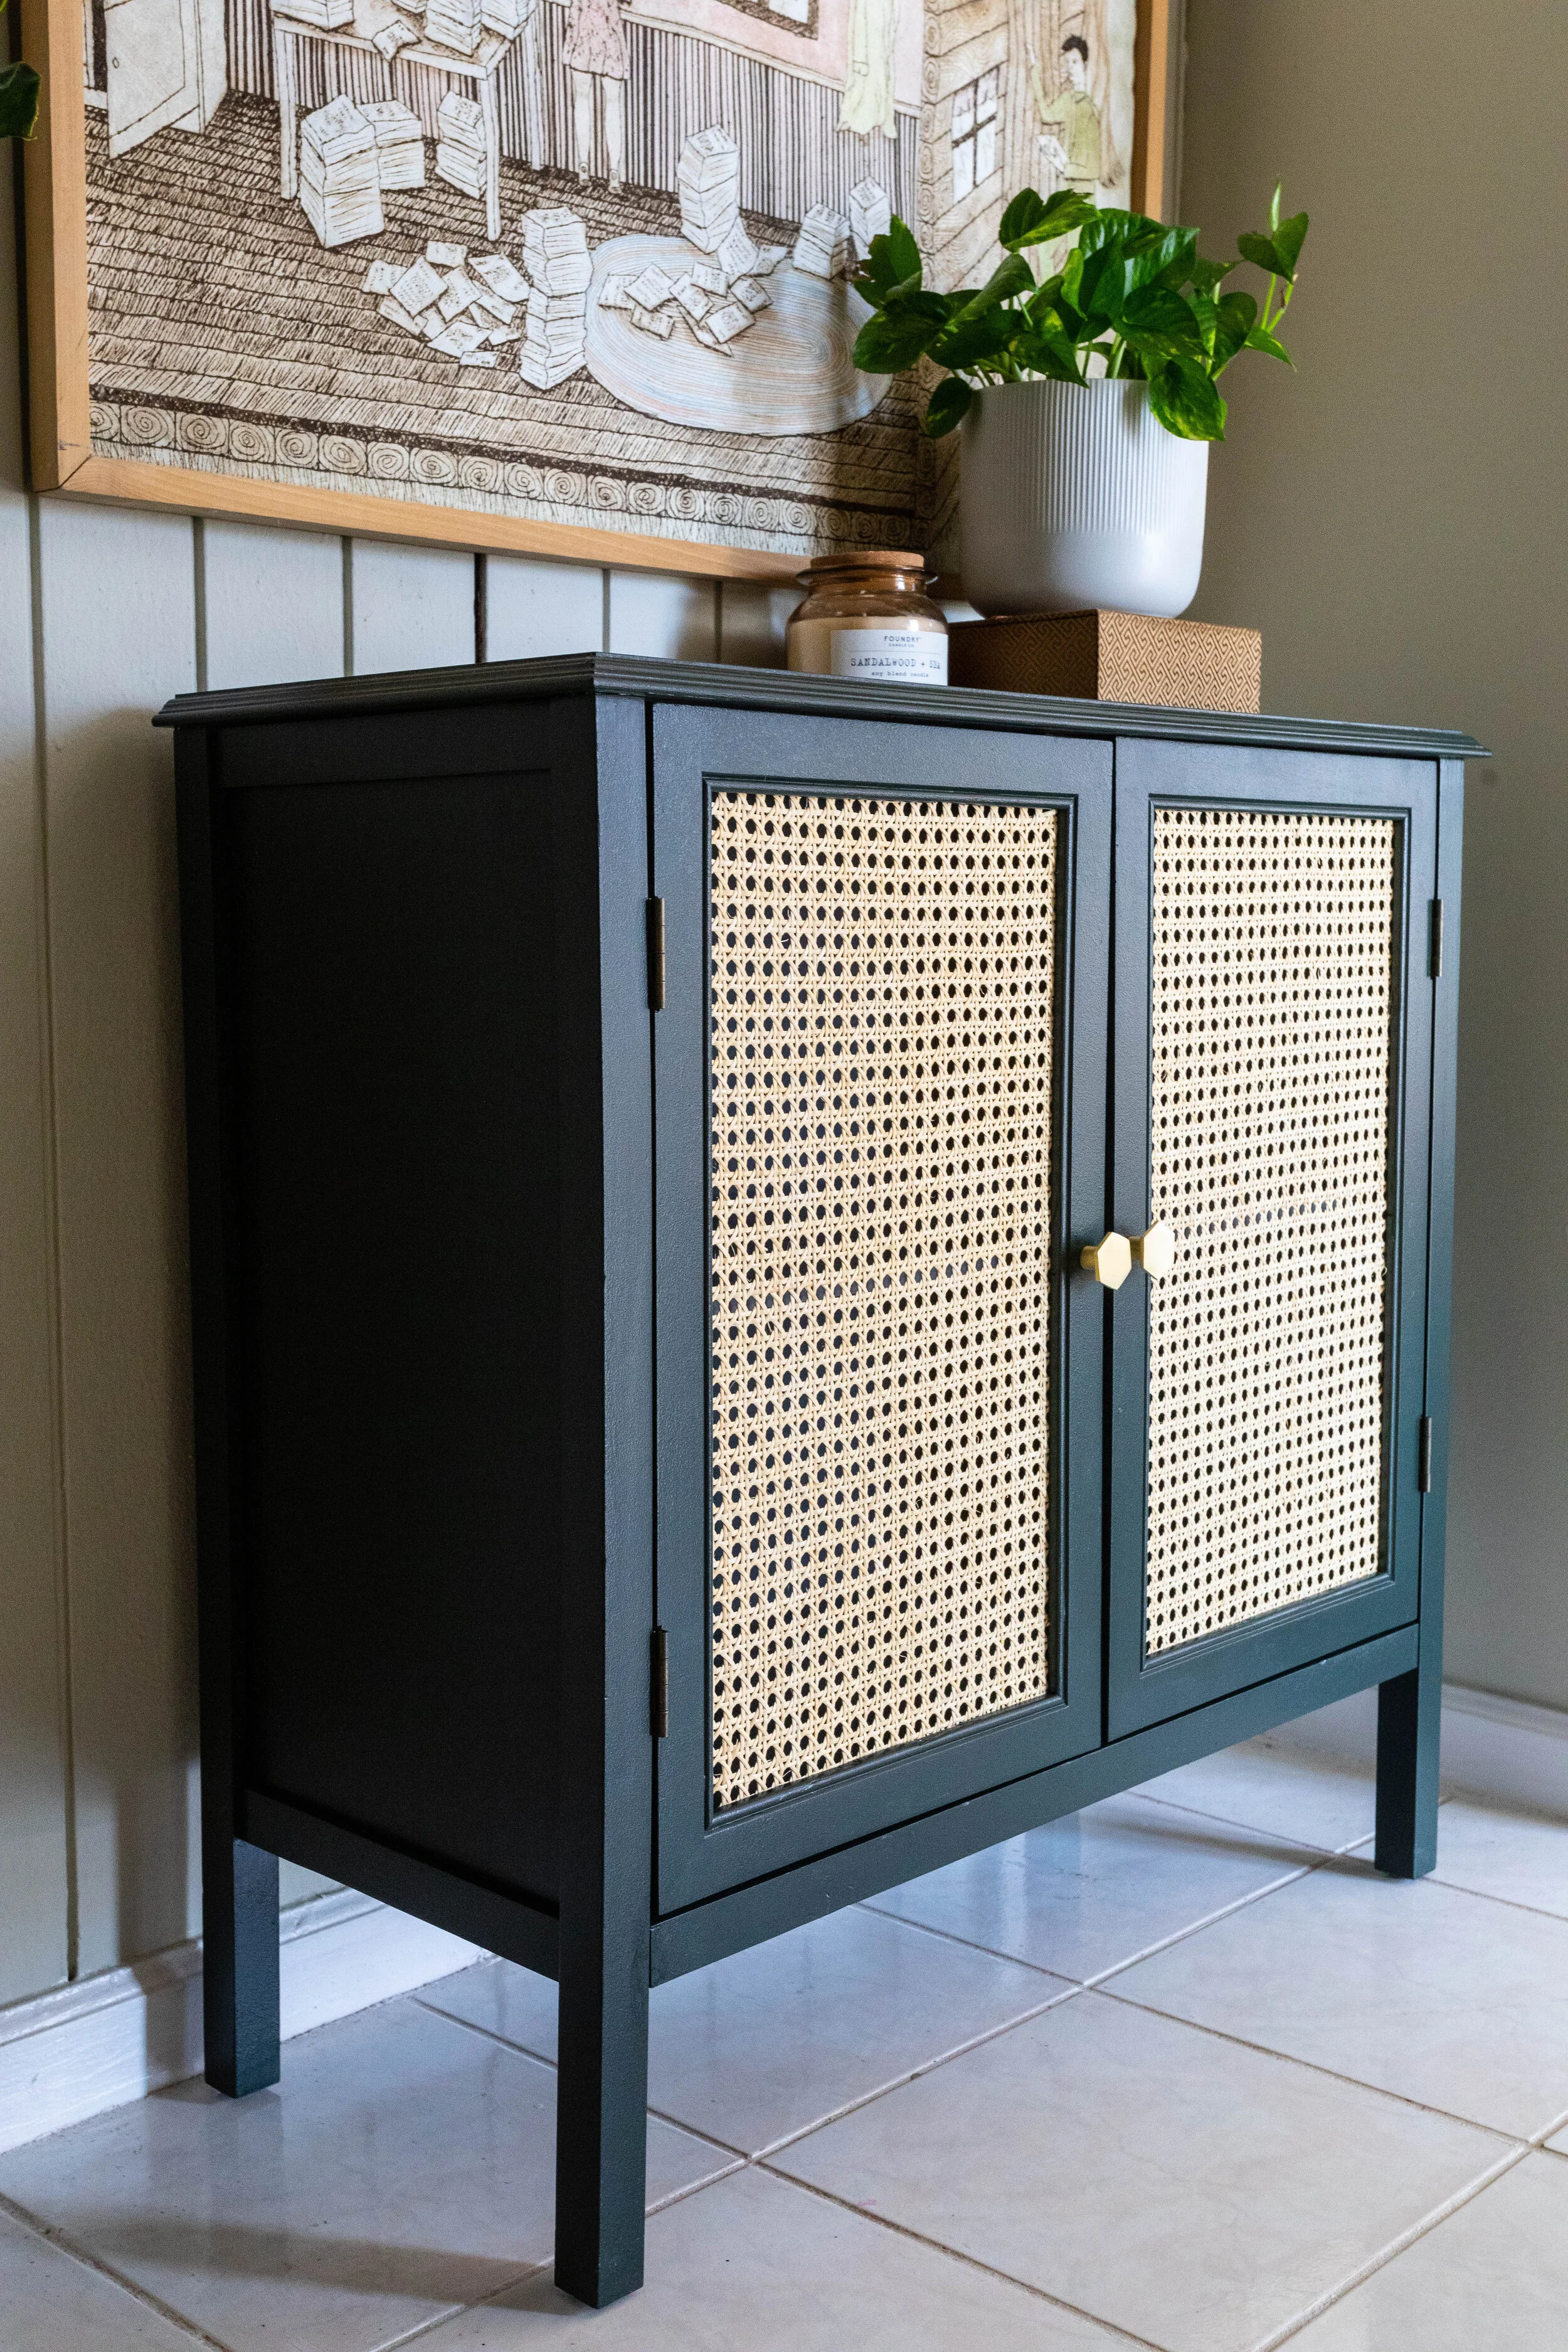
In my post outlining our home improvement goals for 2021, I mentioned I wanted to work on whipping the foyer into a better, more inviting space. So why not start by flipping a piece of furniture I already have in there!?
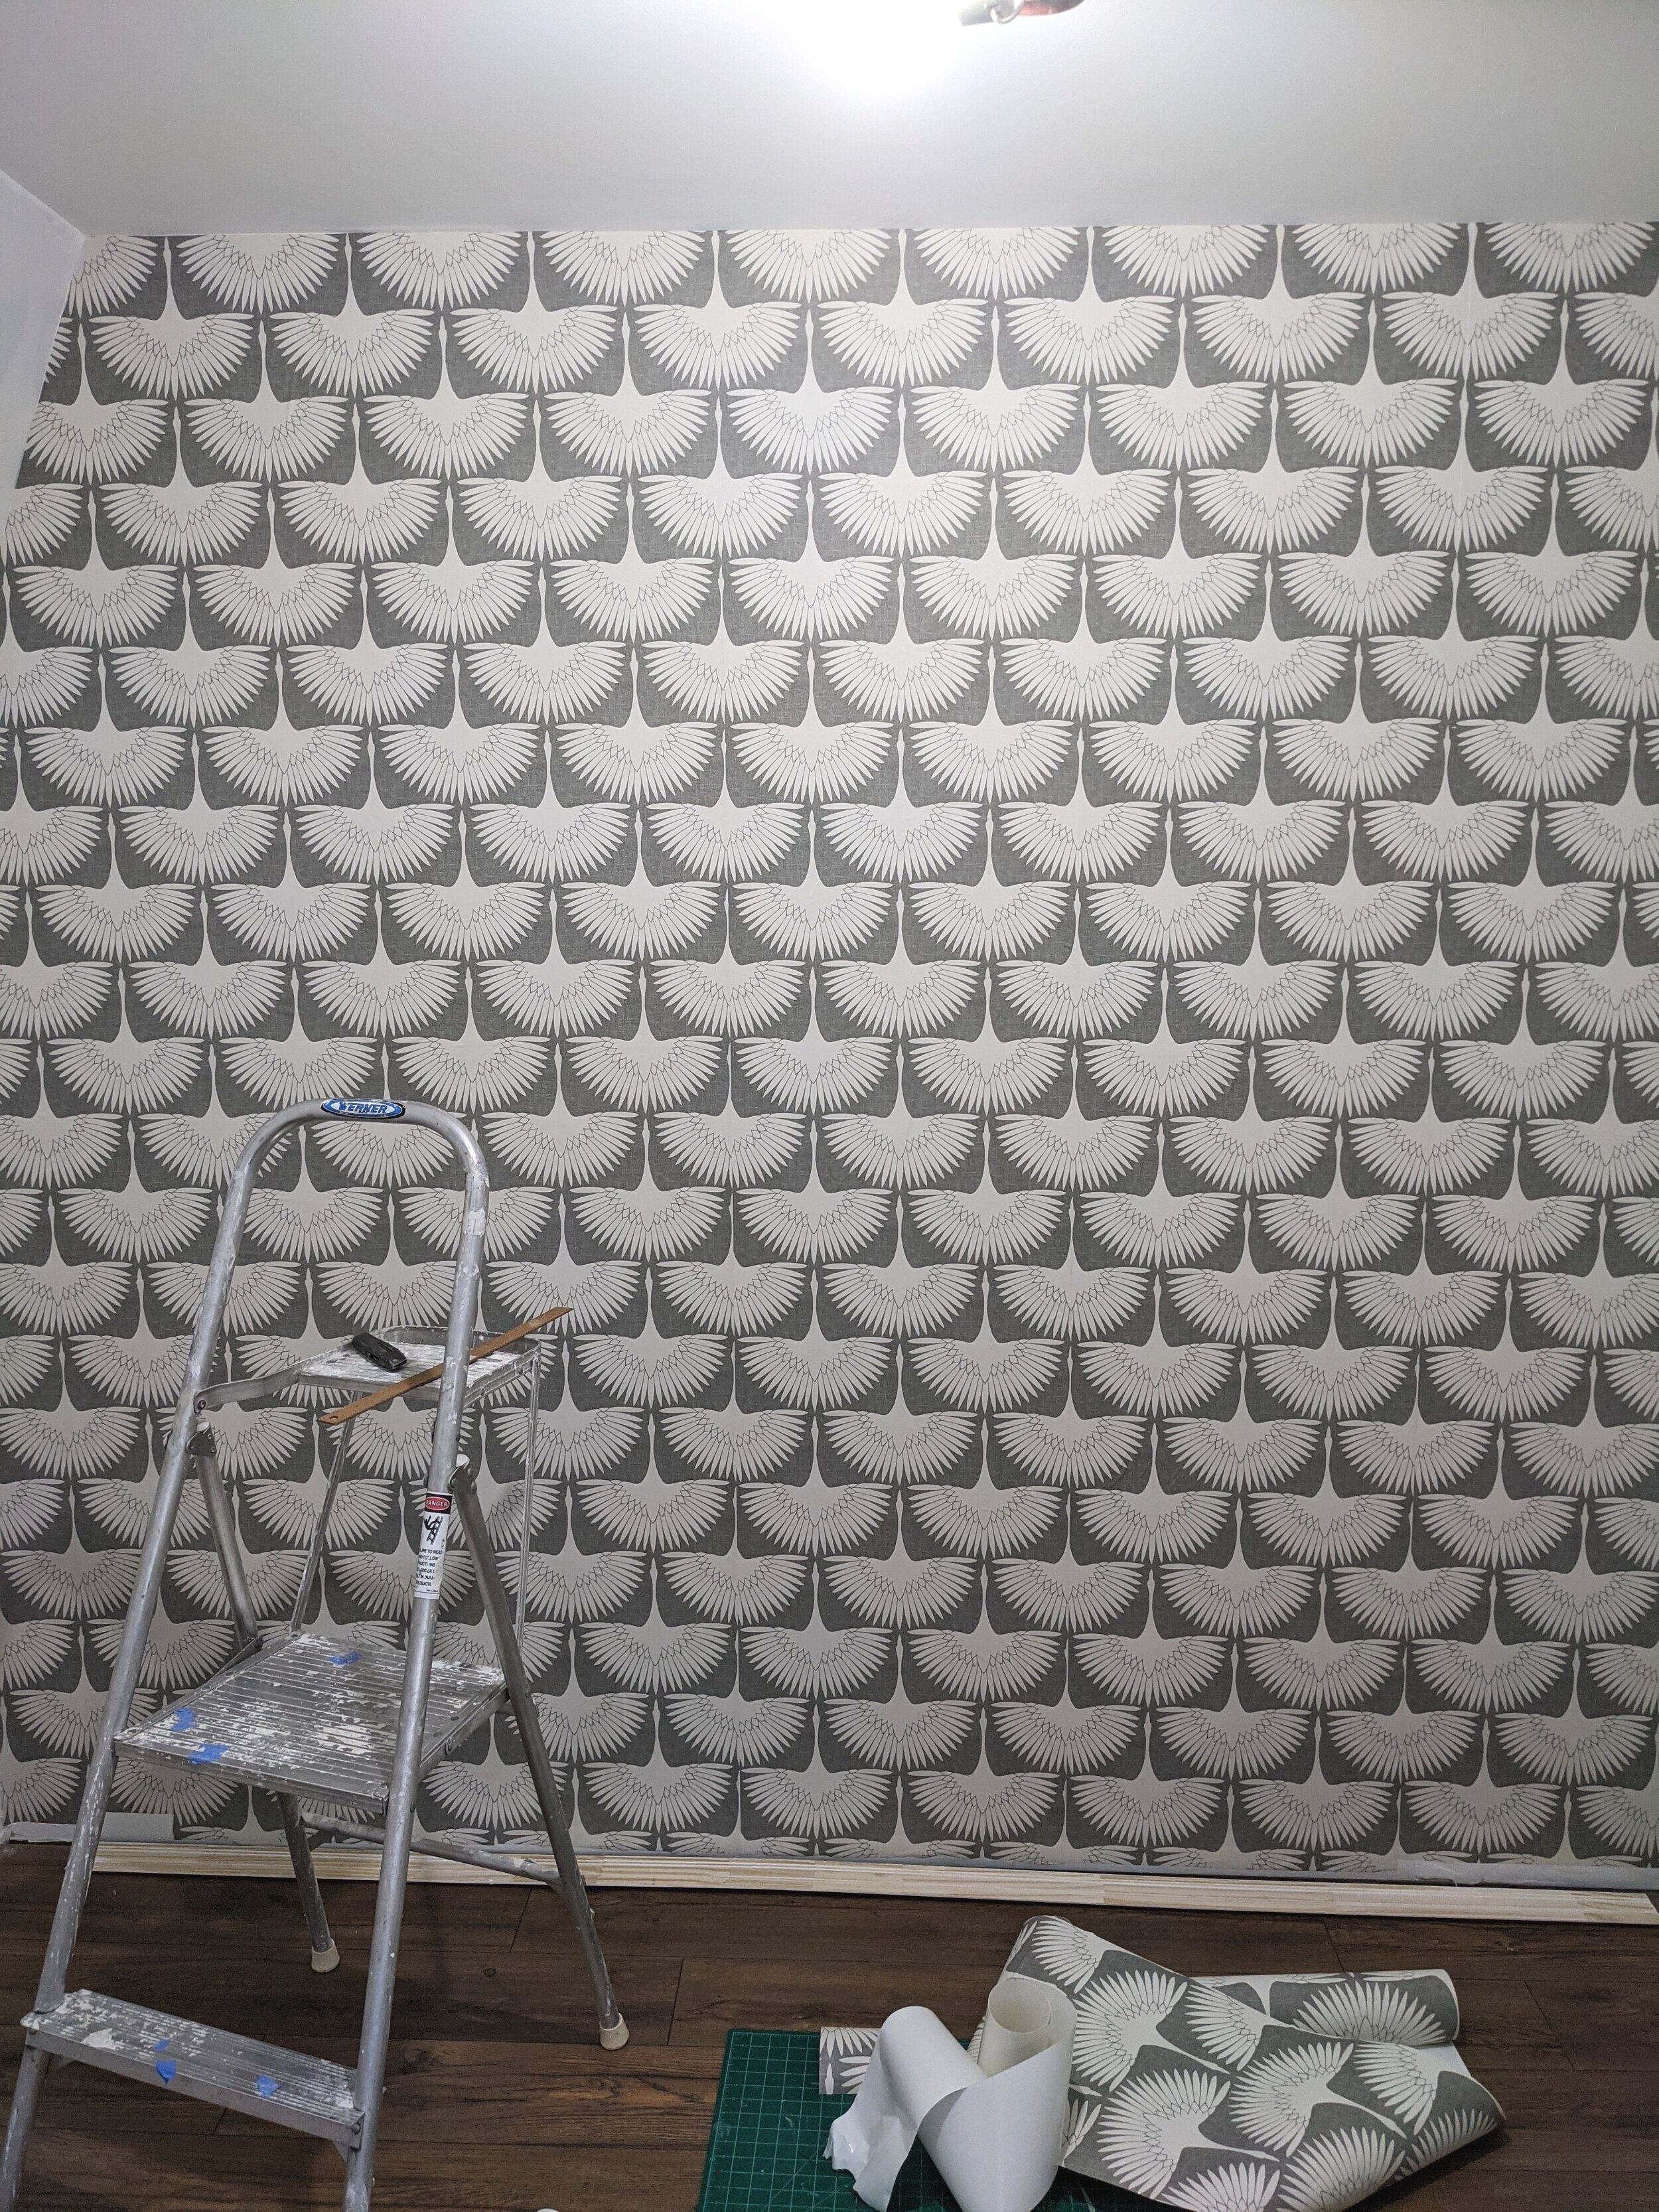
I've removed my fair share of wallpaper. In fact, I removed an entire house full of wallpaper at our last place, and I've even removed some in this house too! And let me tell you, it's a huge pain. You'd probably think at this point I loathe wallpaper, but surprisingly that’s not the case at all.
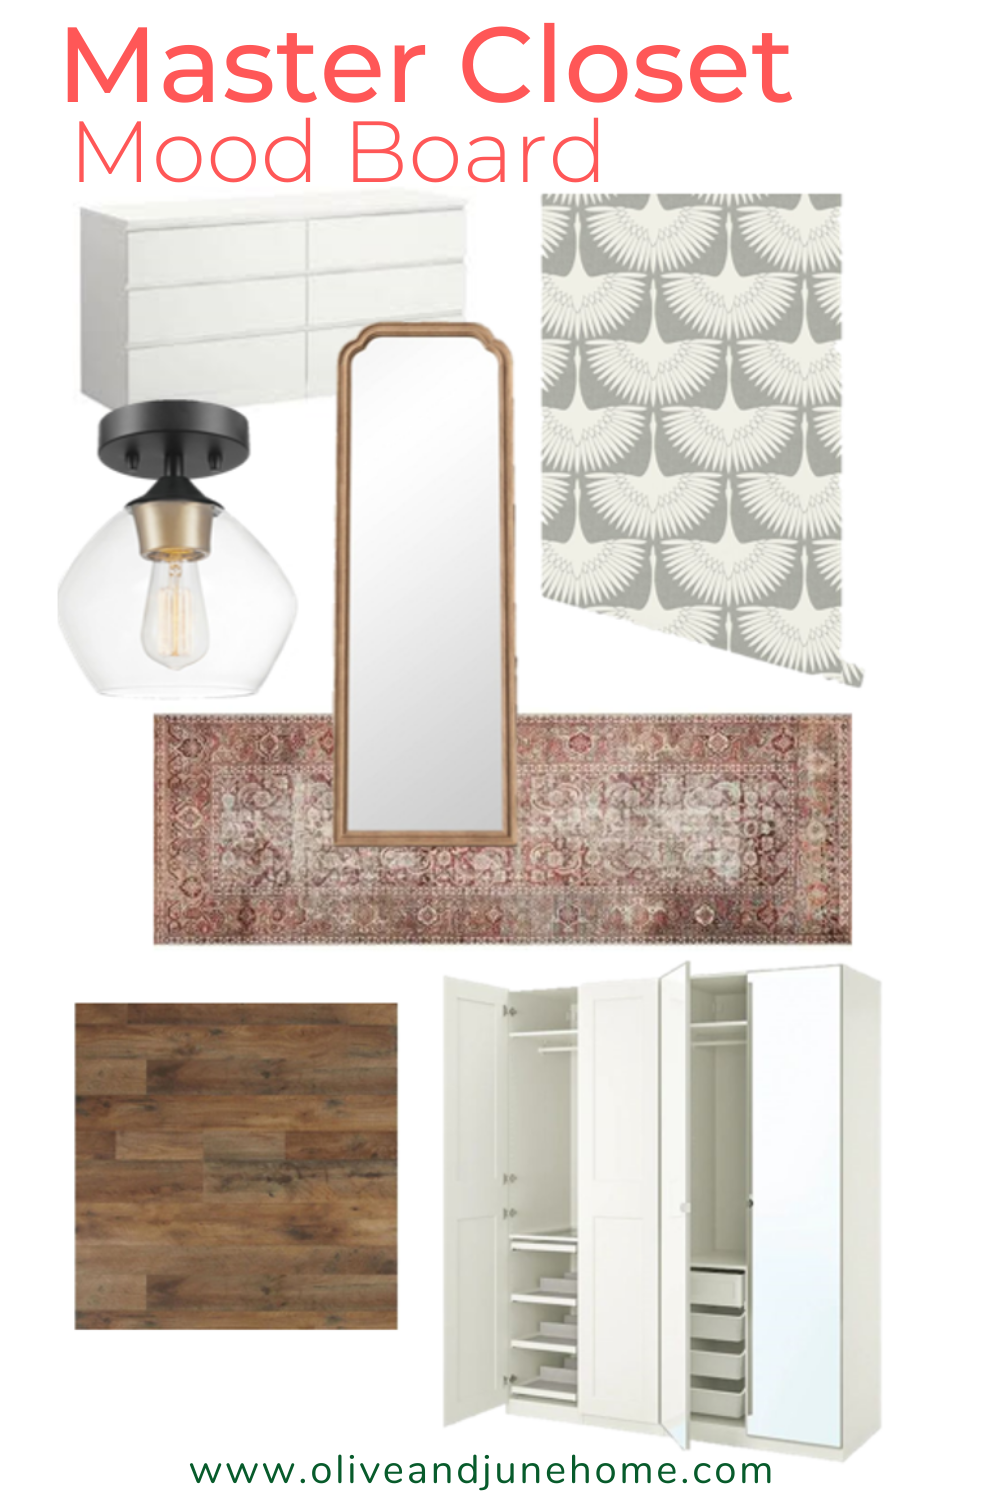
We built my master closet with the intent that it would be like its own little room inside of our bedroom. So of course, since I have this little space that is truly all my own, I'm going all out and REALLY making it my own. Which is why I created a mood board to plan out the entire design of my closet. (Also, I love mood boards.)
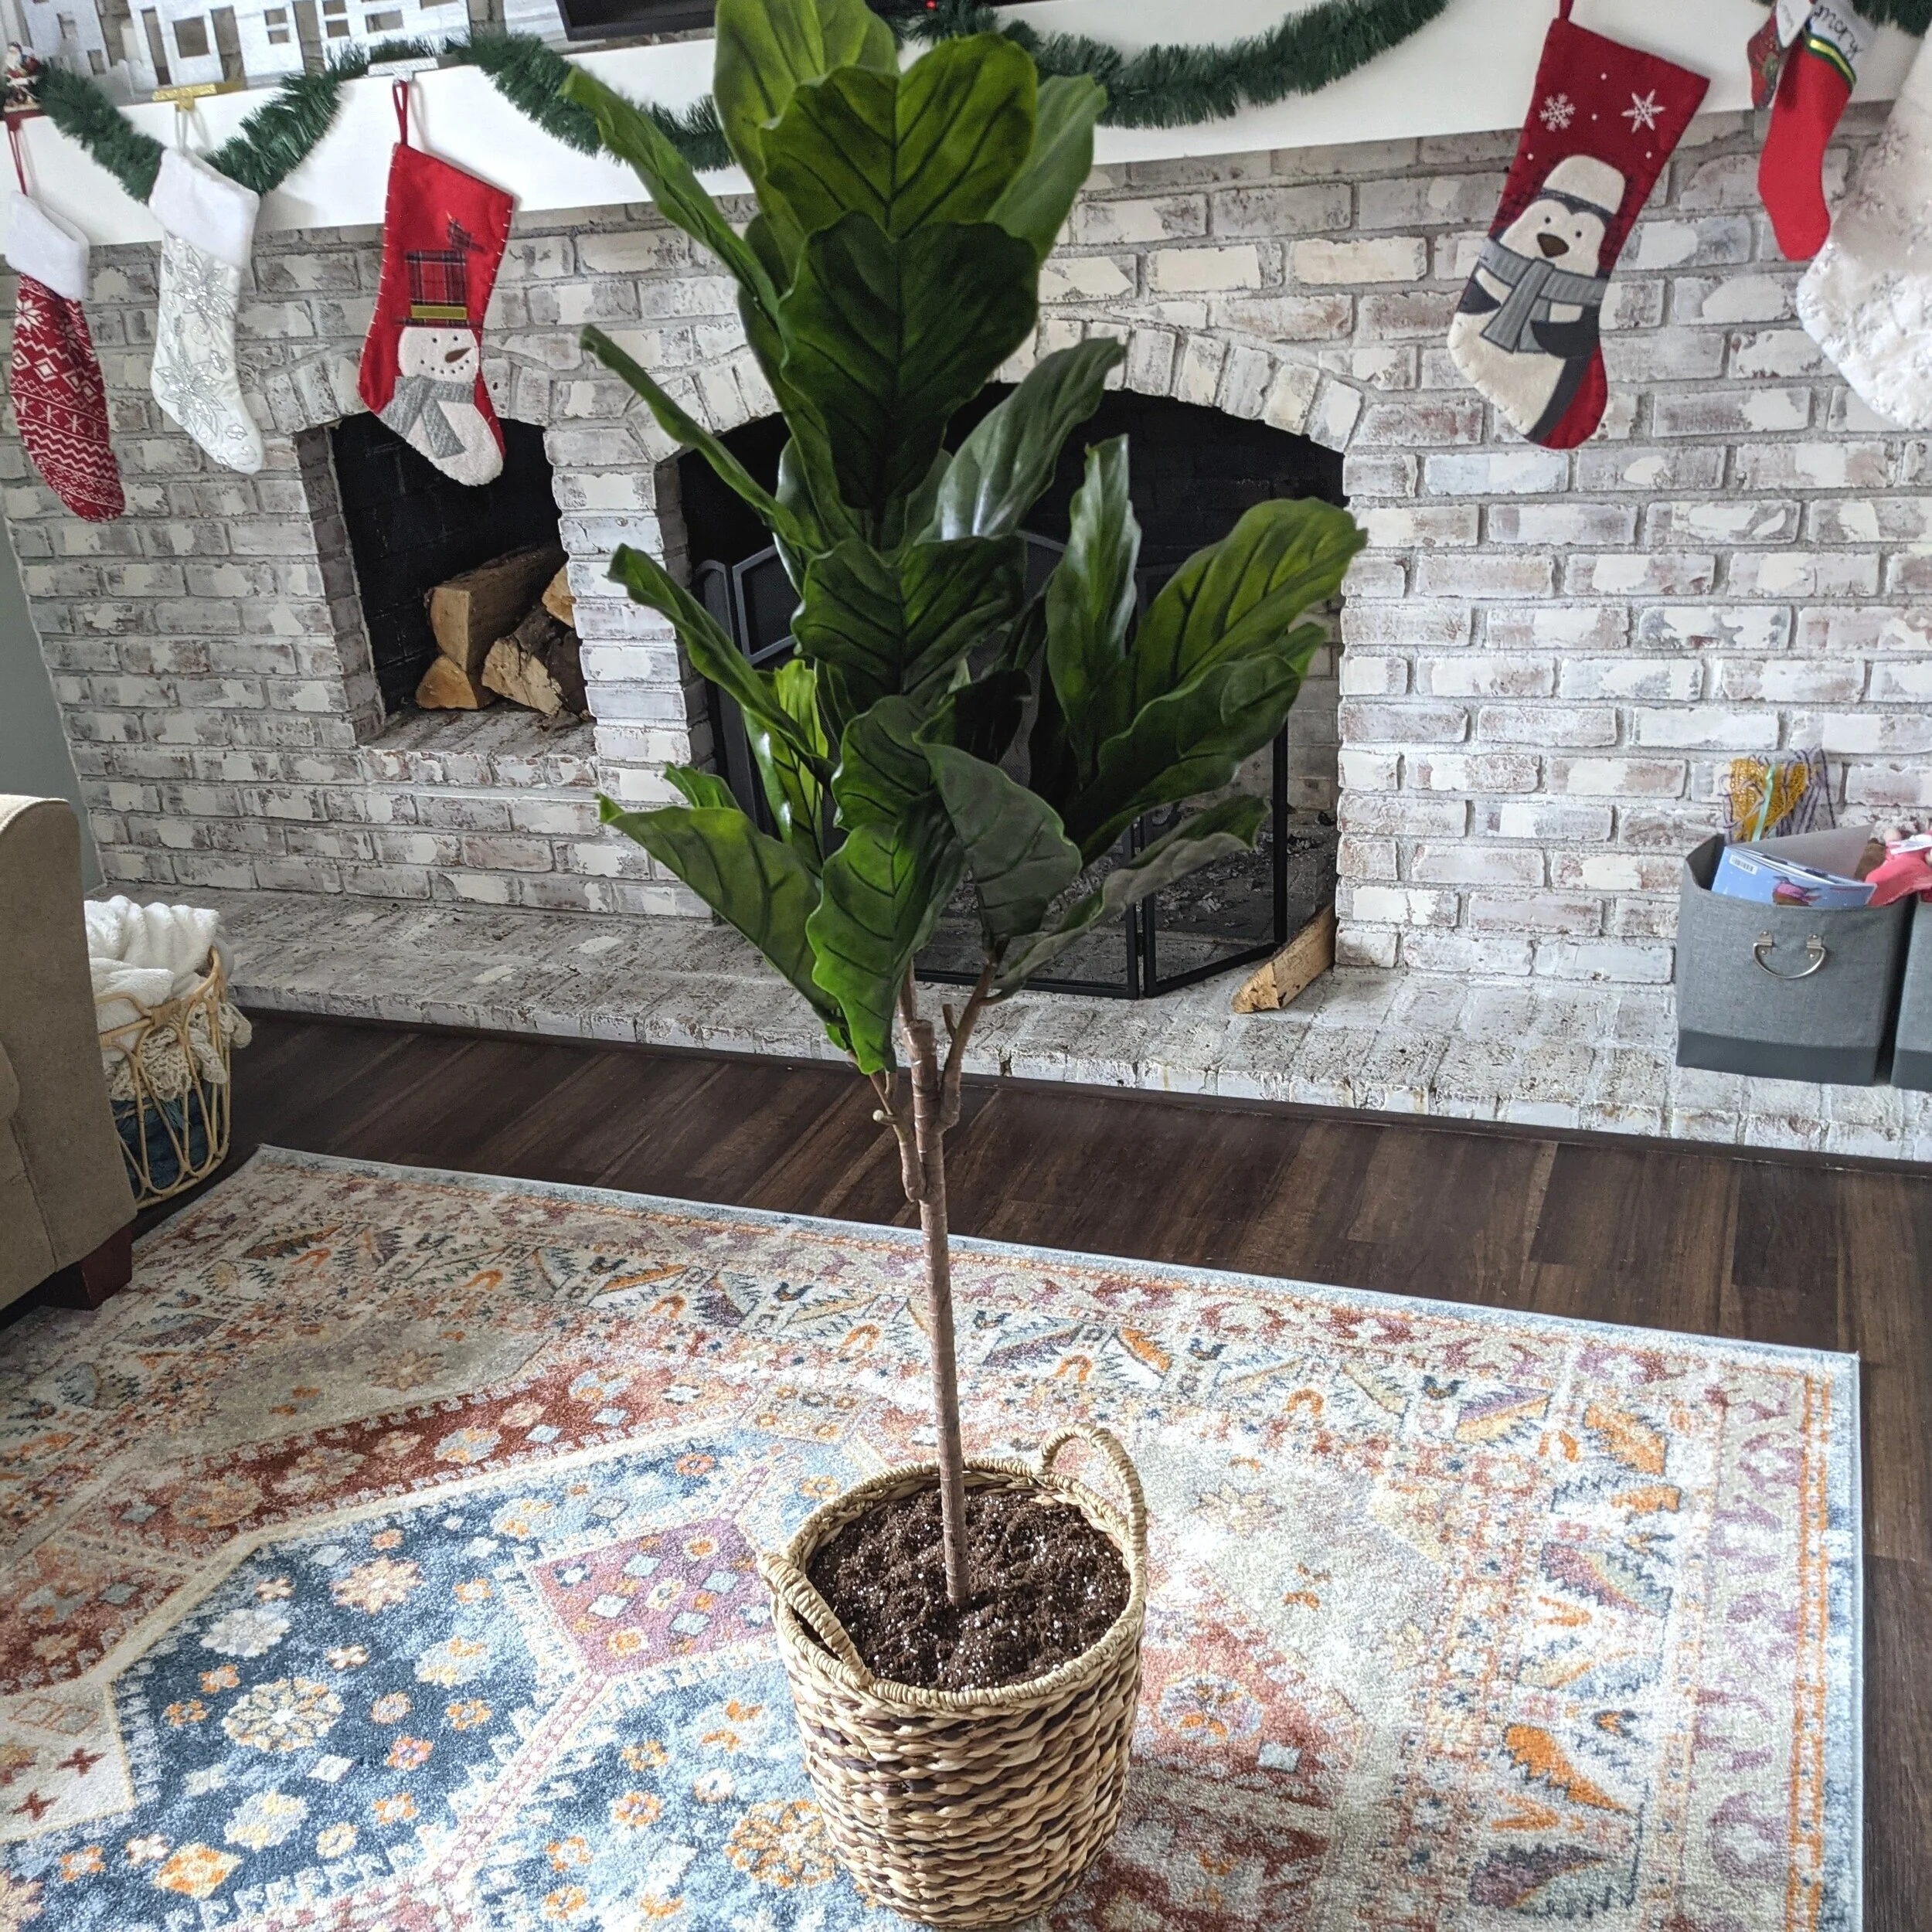
There’s no shame in incorporating fake plants into your decor BUT, you don’t necessarily want people to realize they’re fake. So in this post, I’ll share an easy DIY and some tips to help make your faux plants look real.
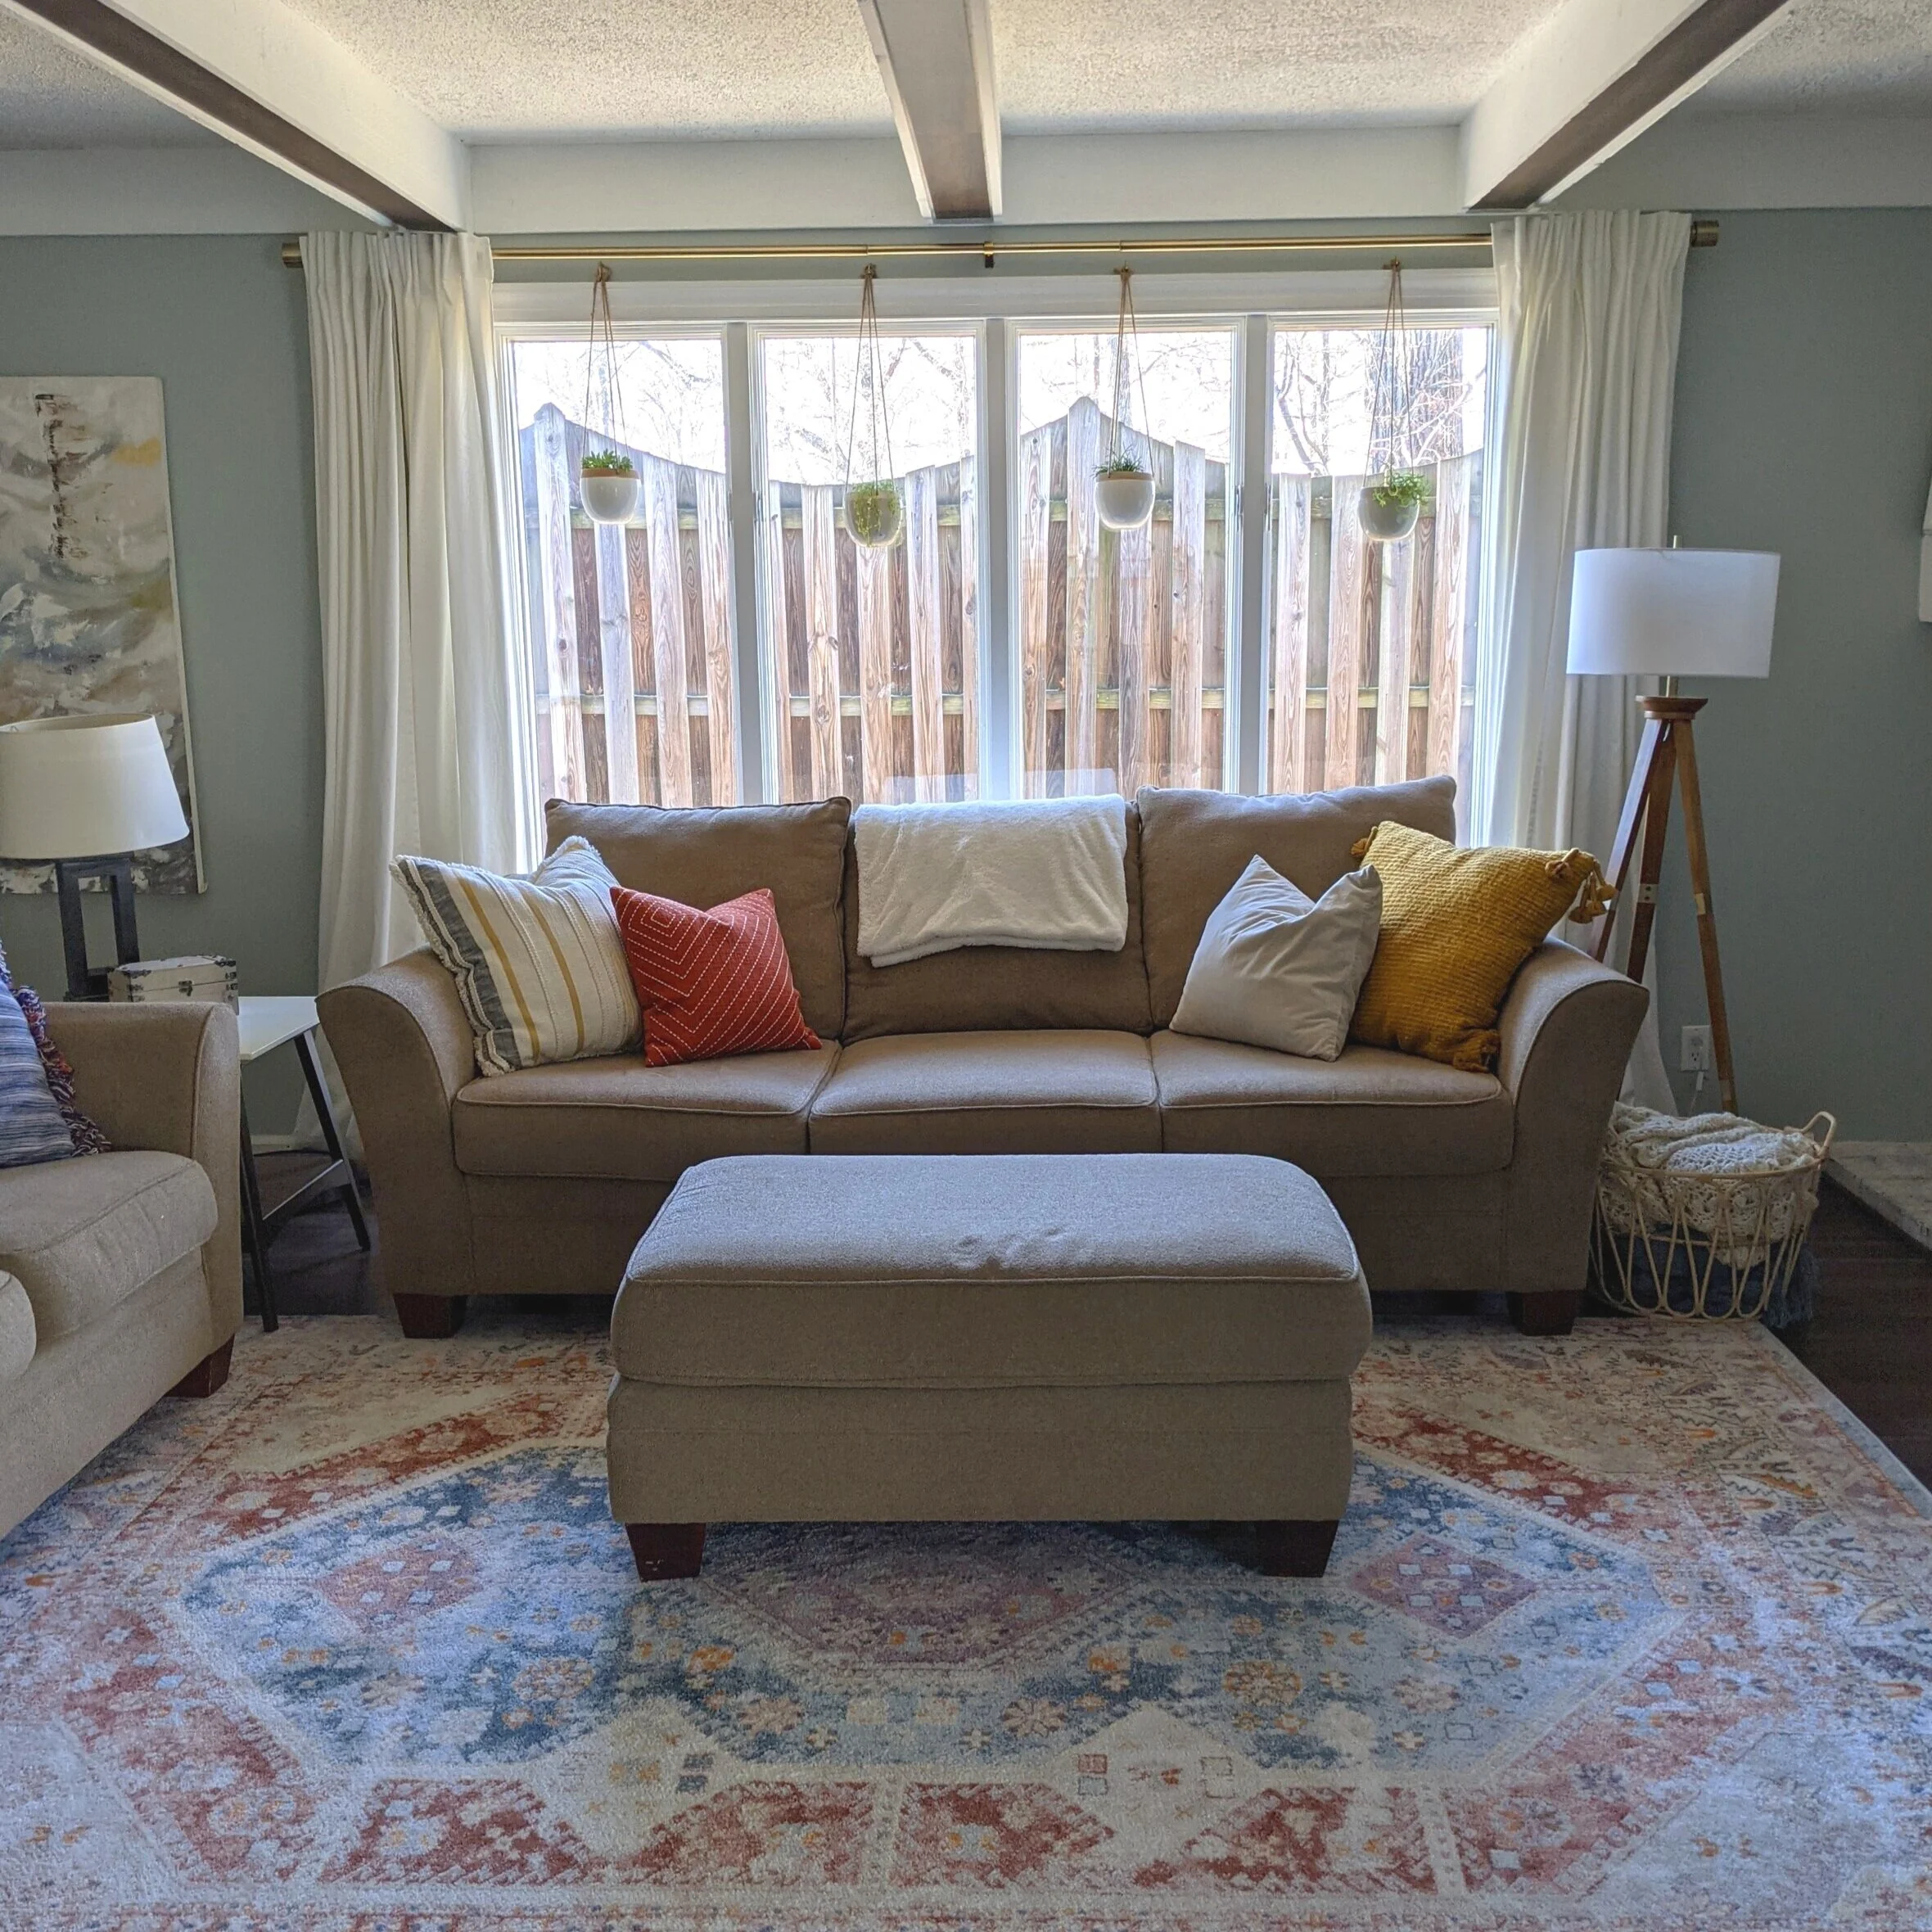
We accomplished so much last year – it’s a little crazy to look back on. When you’re in the thick of it, sometimes it seems like projects move at a snail’s pace. Especially when I compare myself to bloggers who don’t have a separate full-time job. But considering our circumstances, DAMN, we made some progress! But of course, a house is never done! So here’s what we’re hoping to accomplish in 2021.
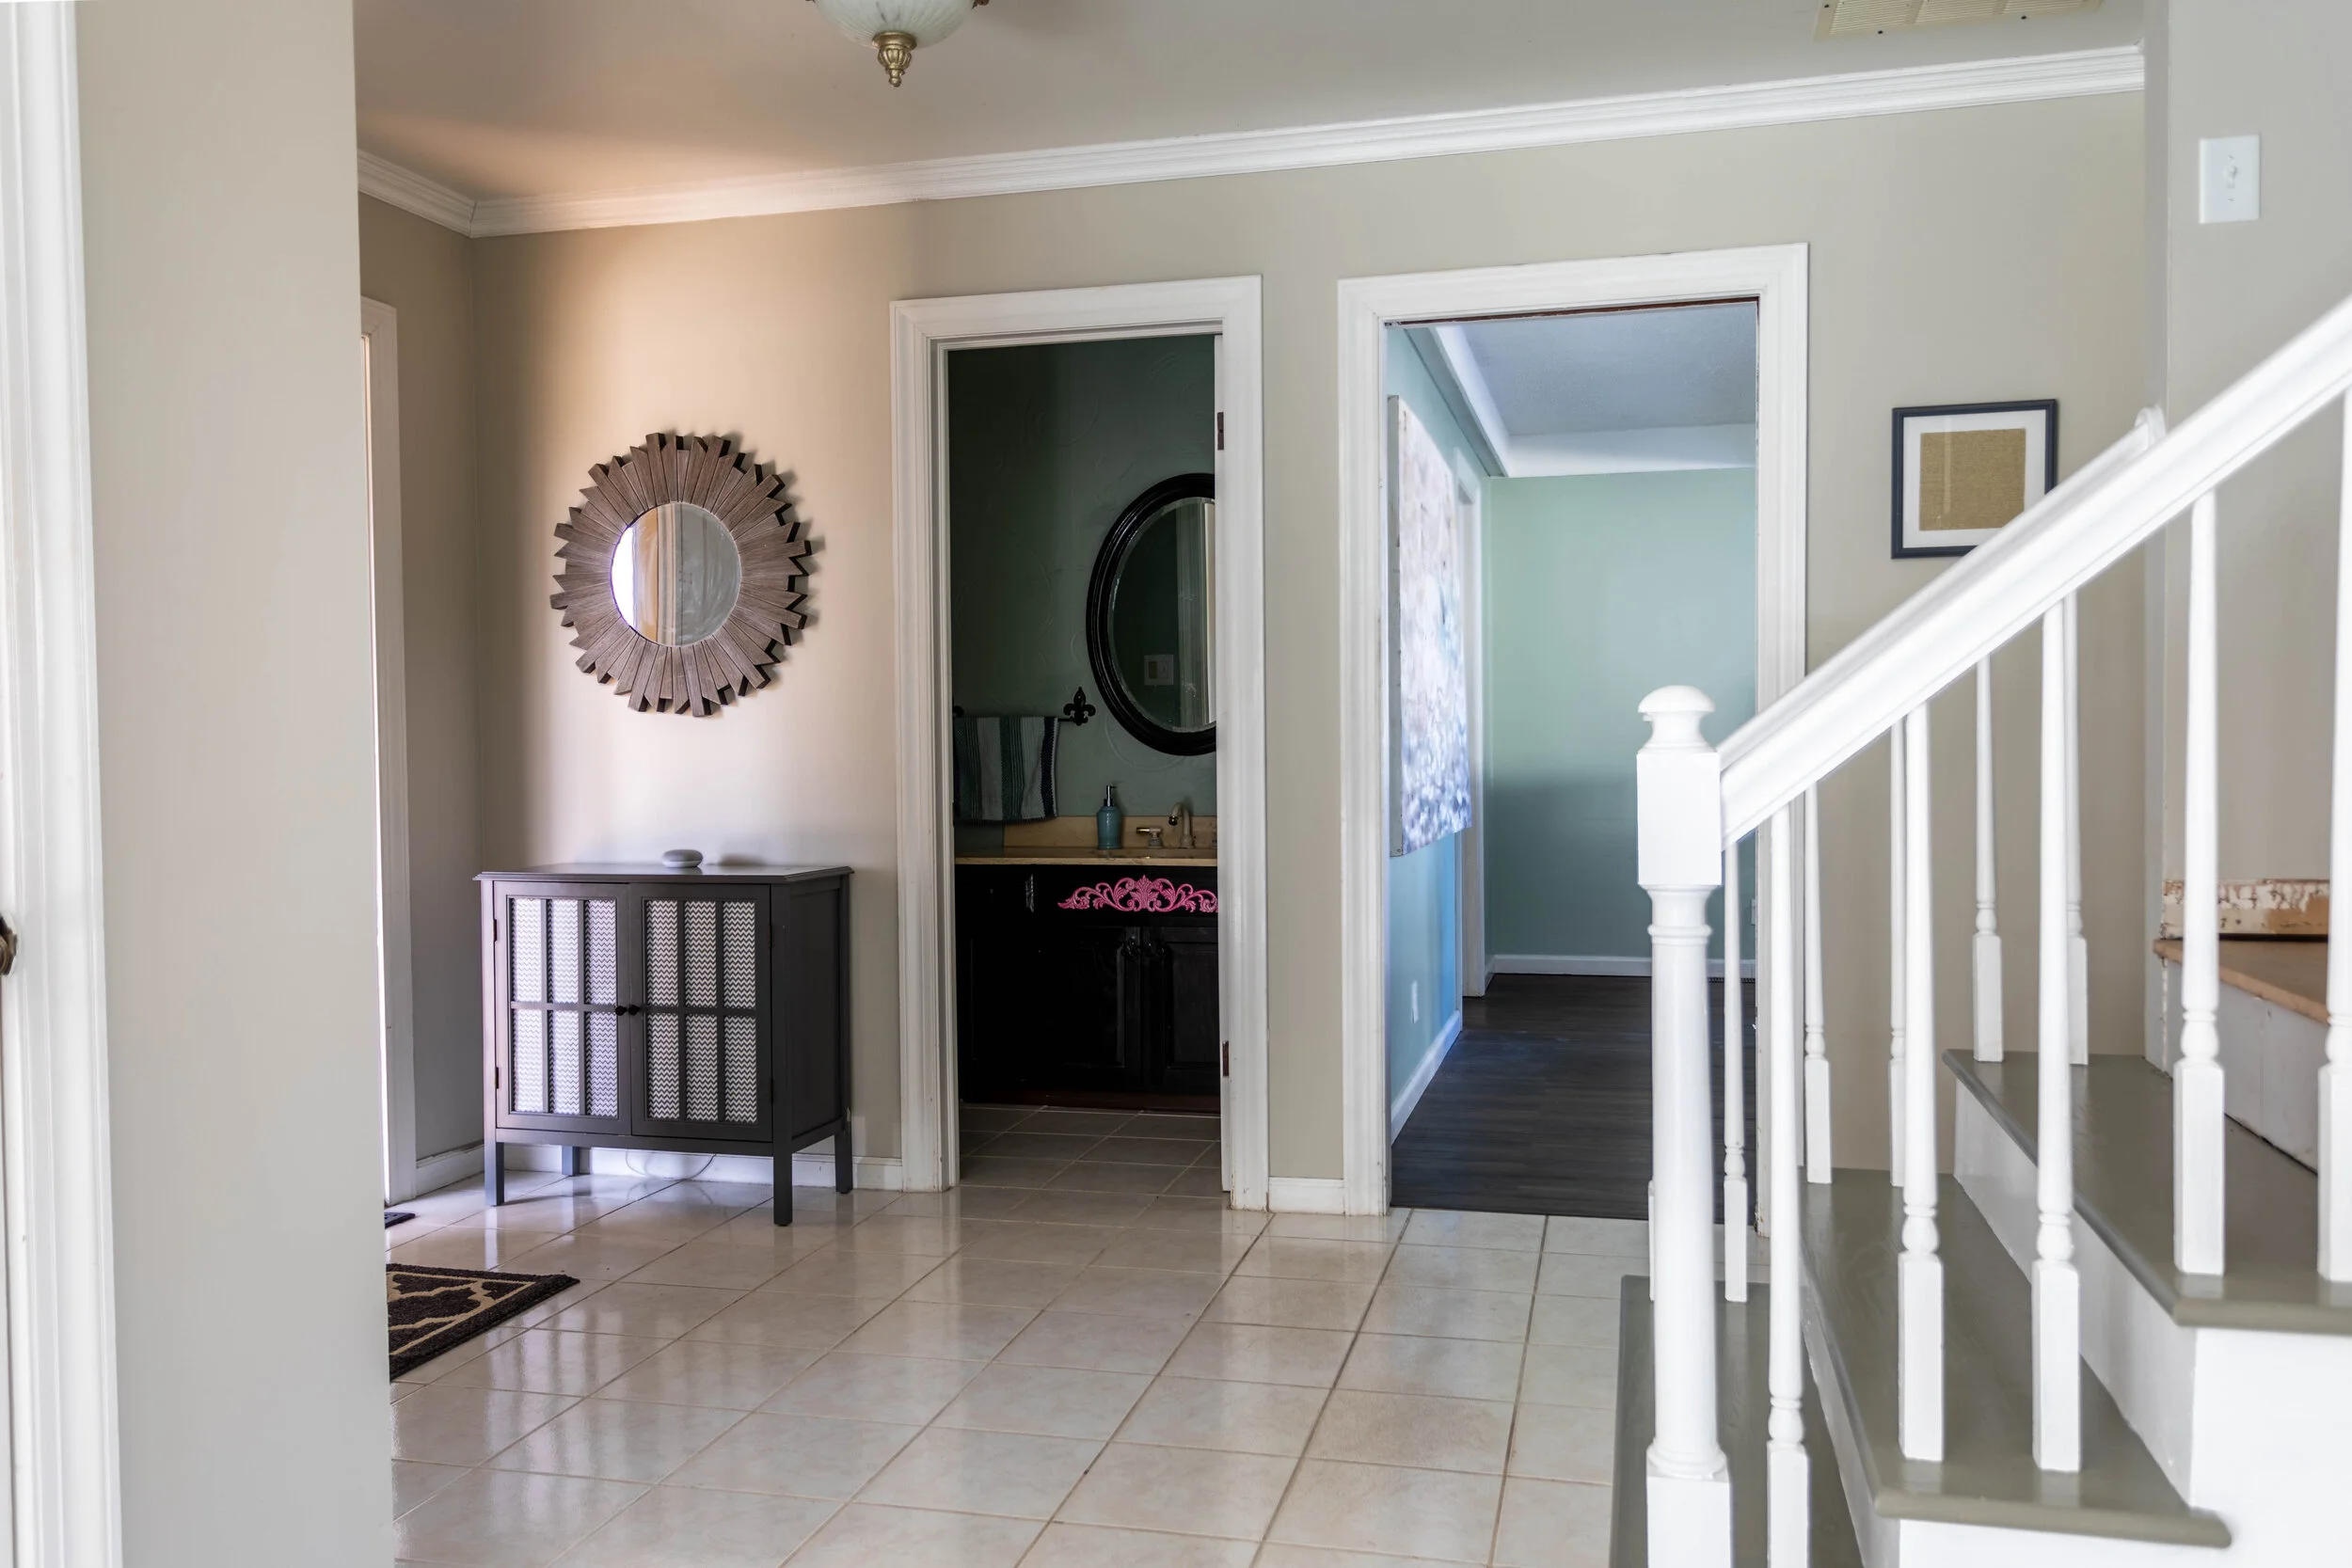
Looking back over the last year(ish) I'm amazed at how many changes we've made throughout our home! Every day it's becoming more and more "us”, which feels amazing. So right about now seems like a good time to recap 8 big projects we worked on in 2020 - with before and after pics! Including one project I never even wrote about and the first picture I’m sharing of the kitchen since I painted it!
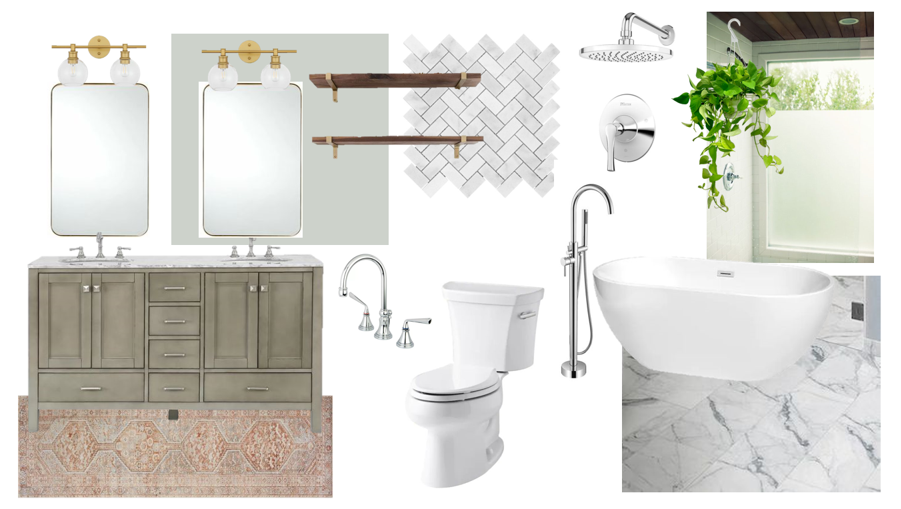
Our master bathroom renovation is trucking along. In fact, almost everything is already ordered! So I think it’s about time I shared the design with all of you!
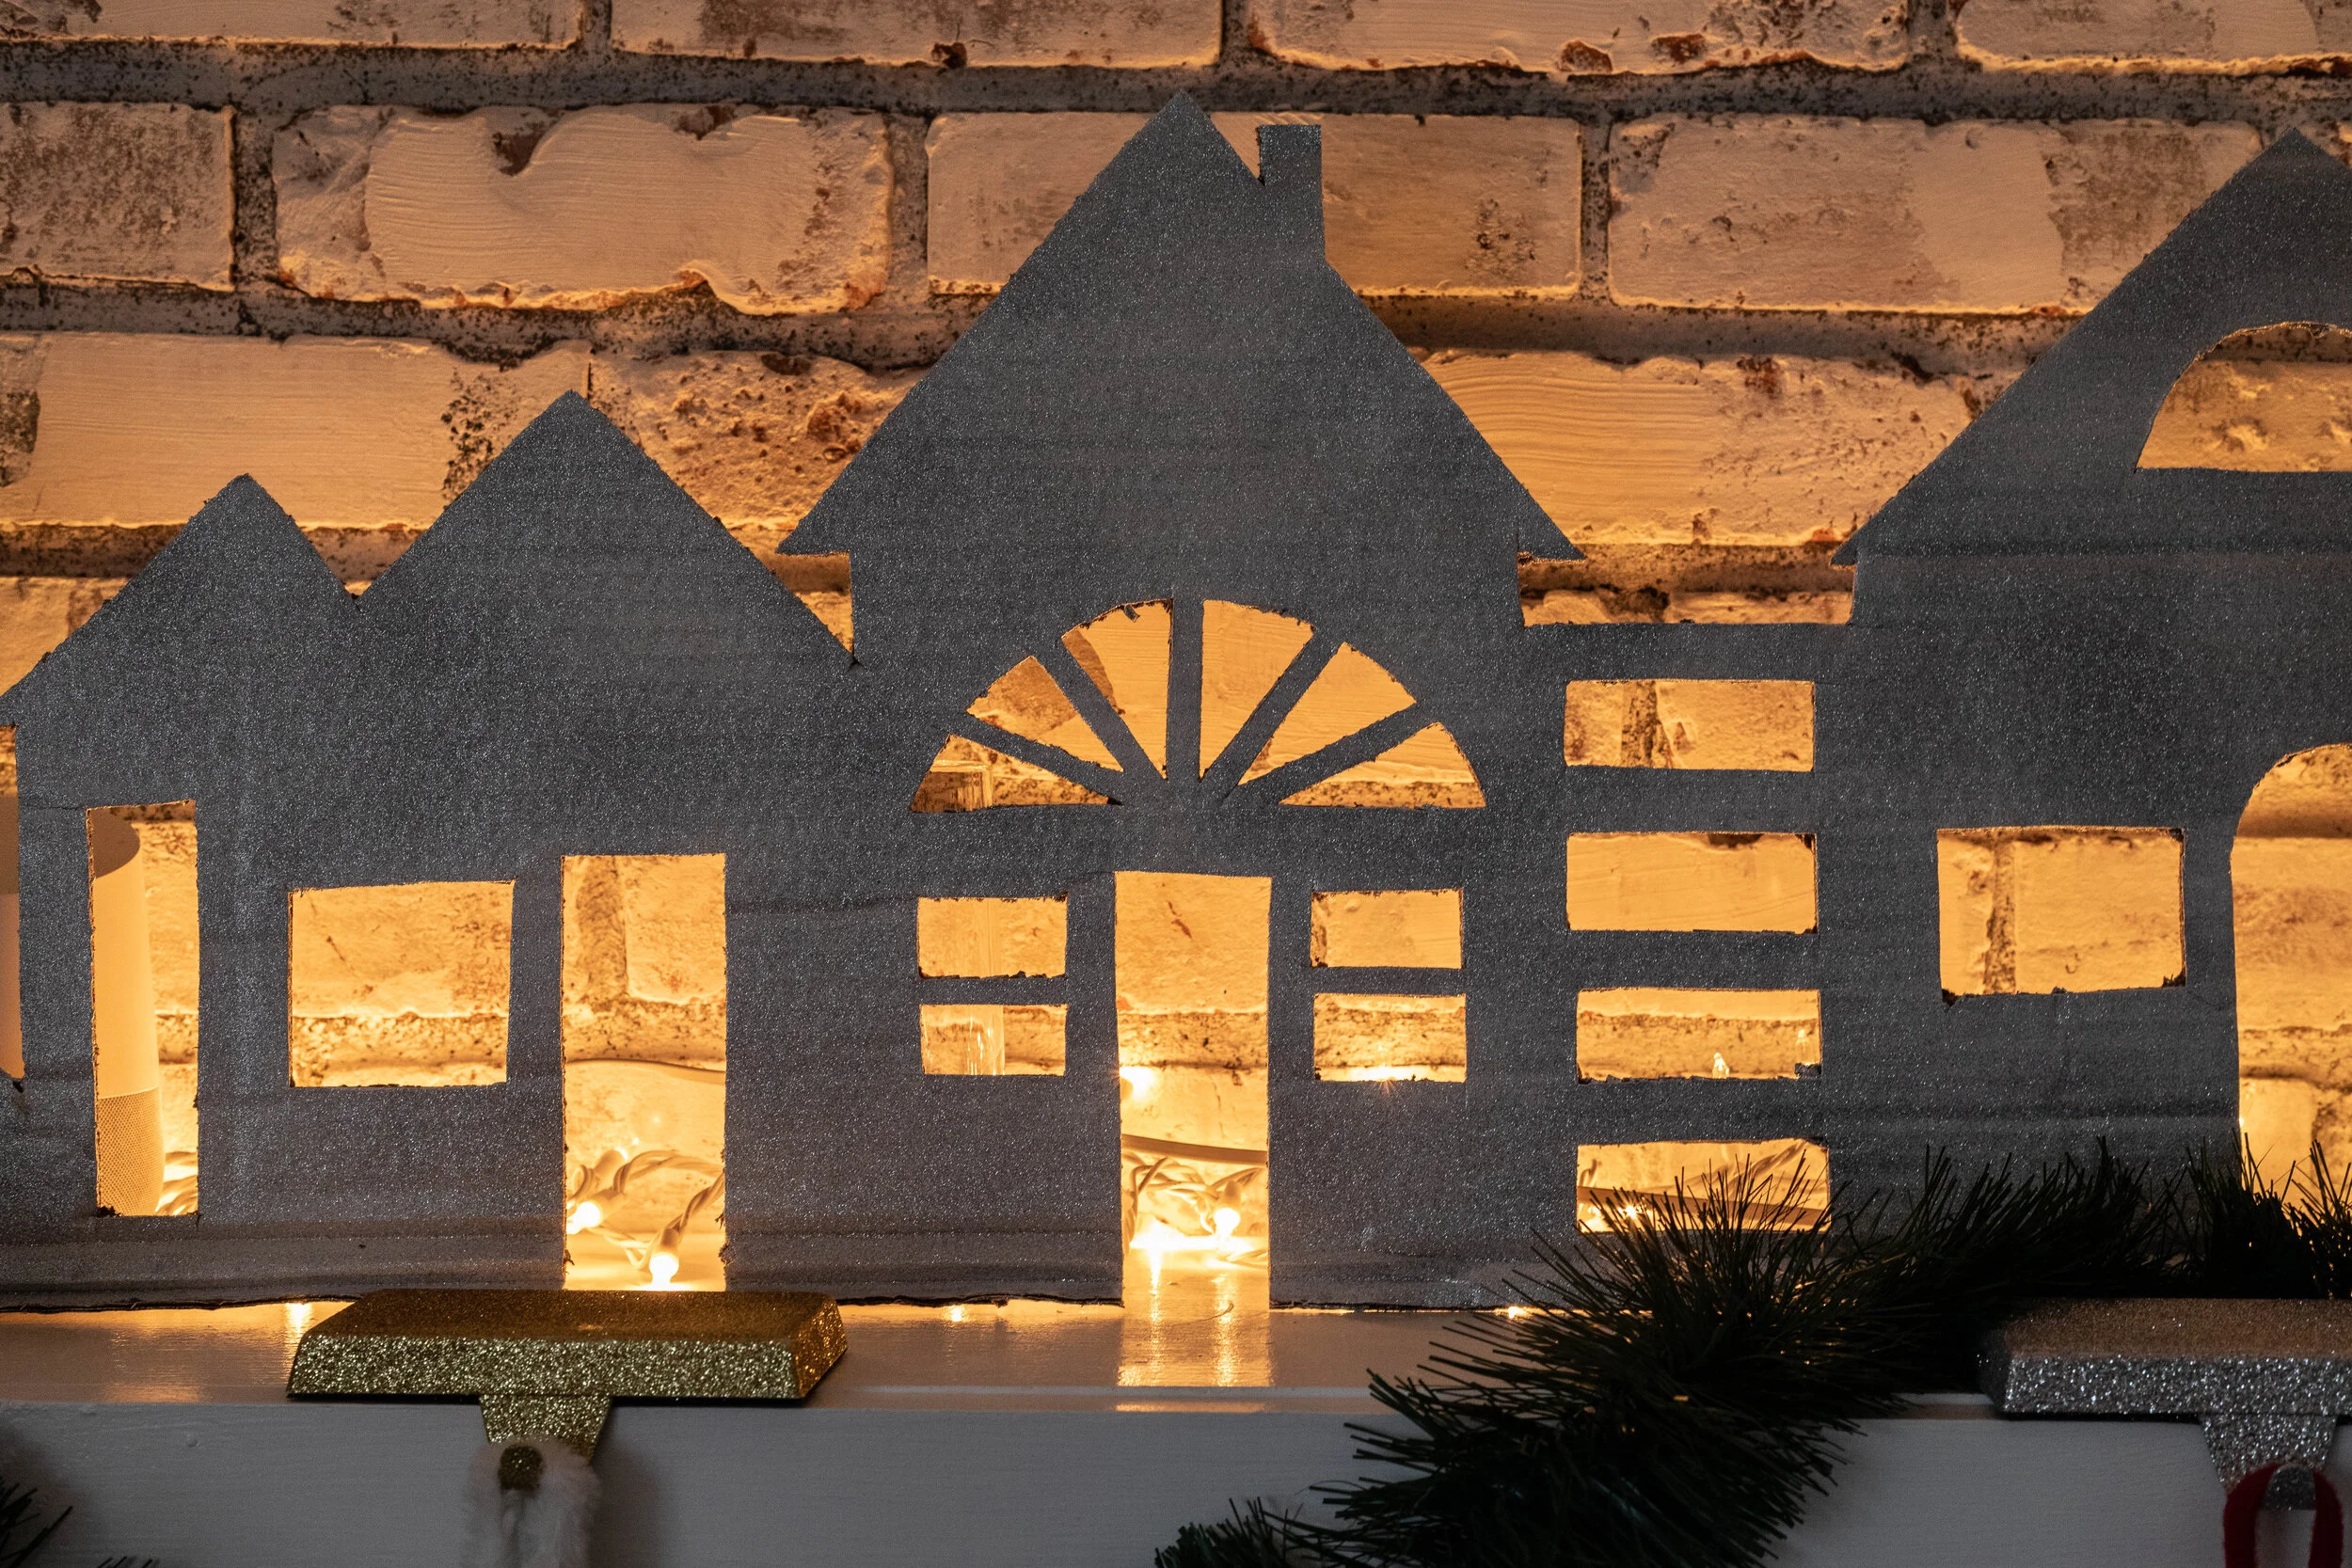
I’ve mentioned in the past that I have a bad habit of overcomplicating things. Well, not this time! I created these sweet little cardboard house luminaries in just a couple of hours (including time for the paint to dry). Let me show you how!
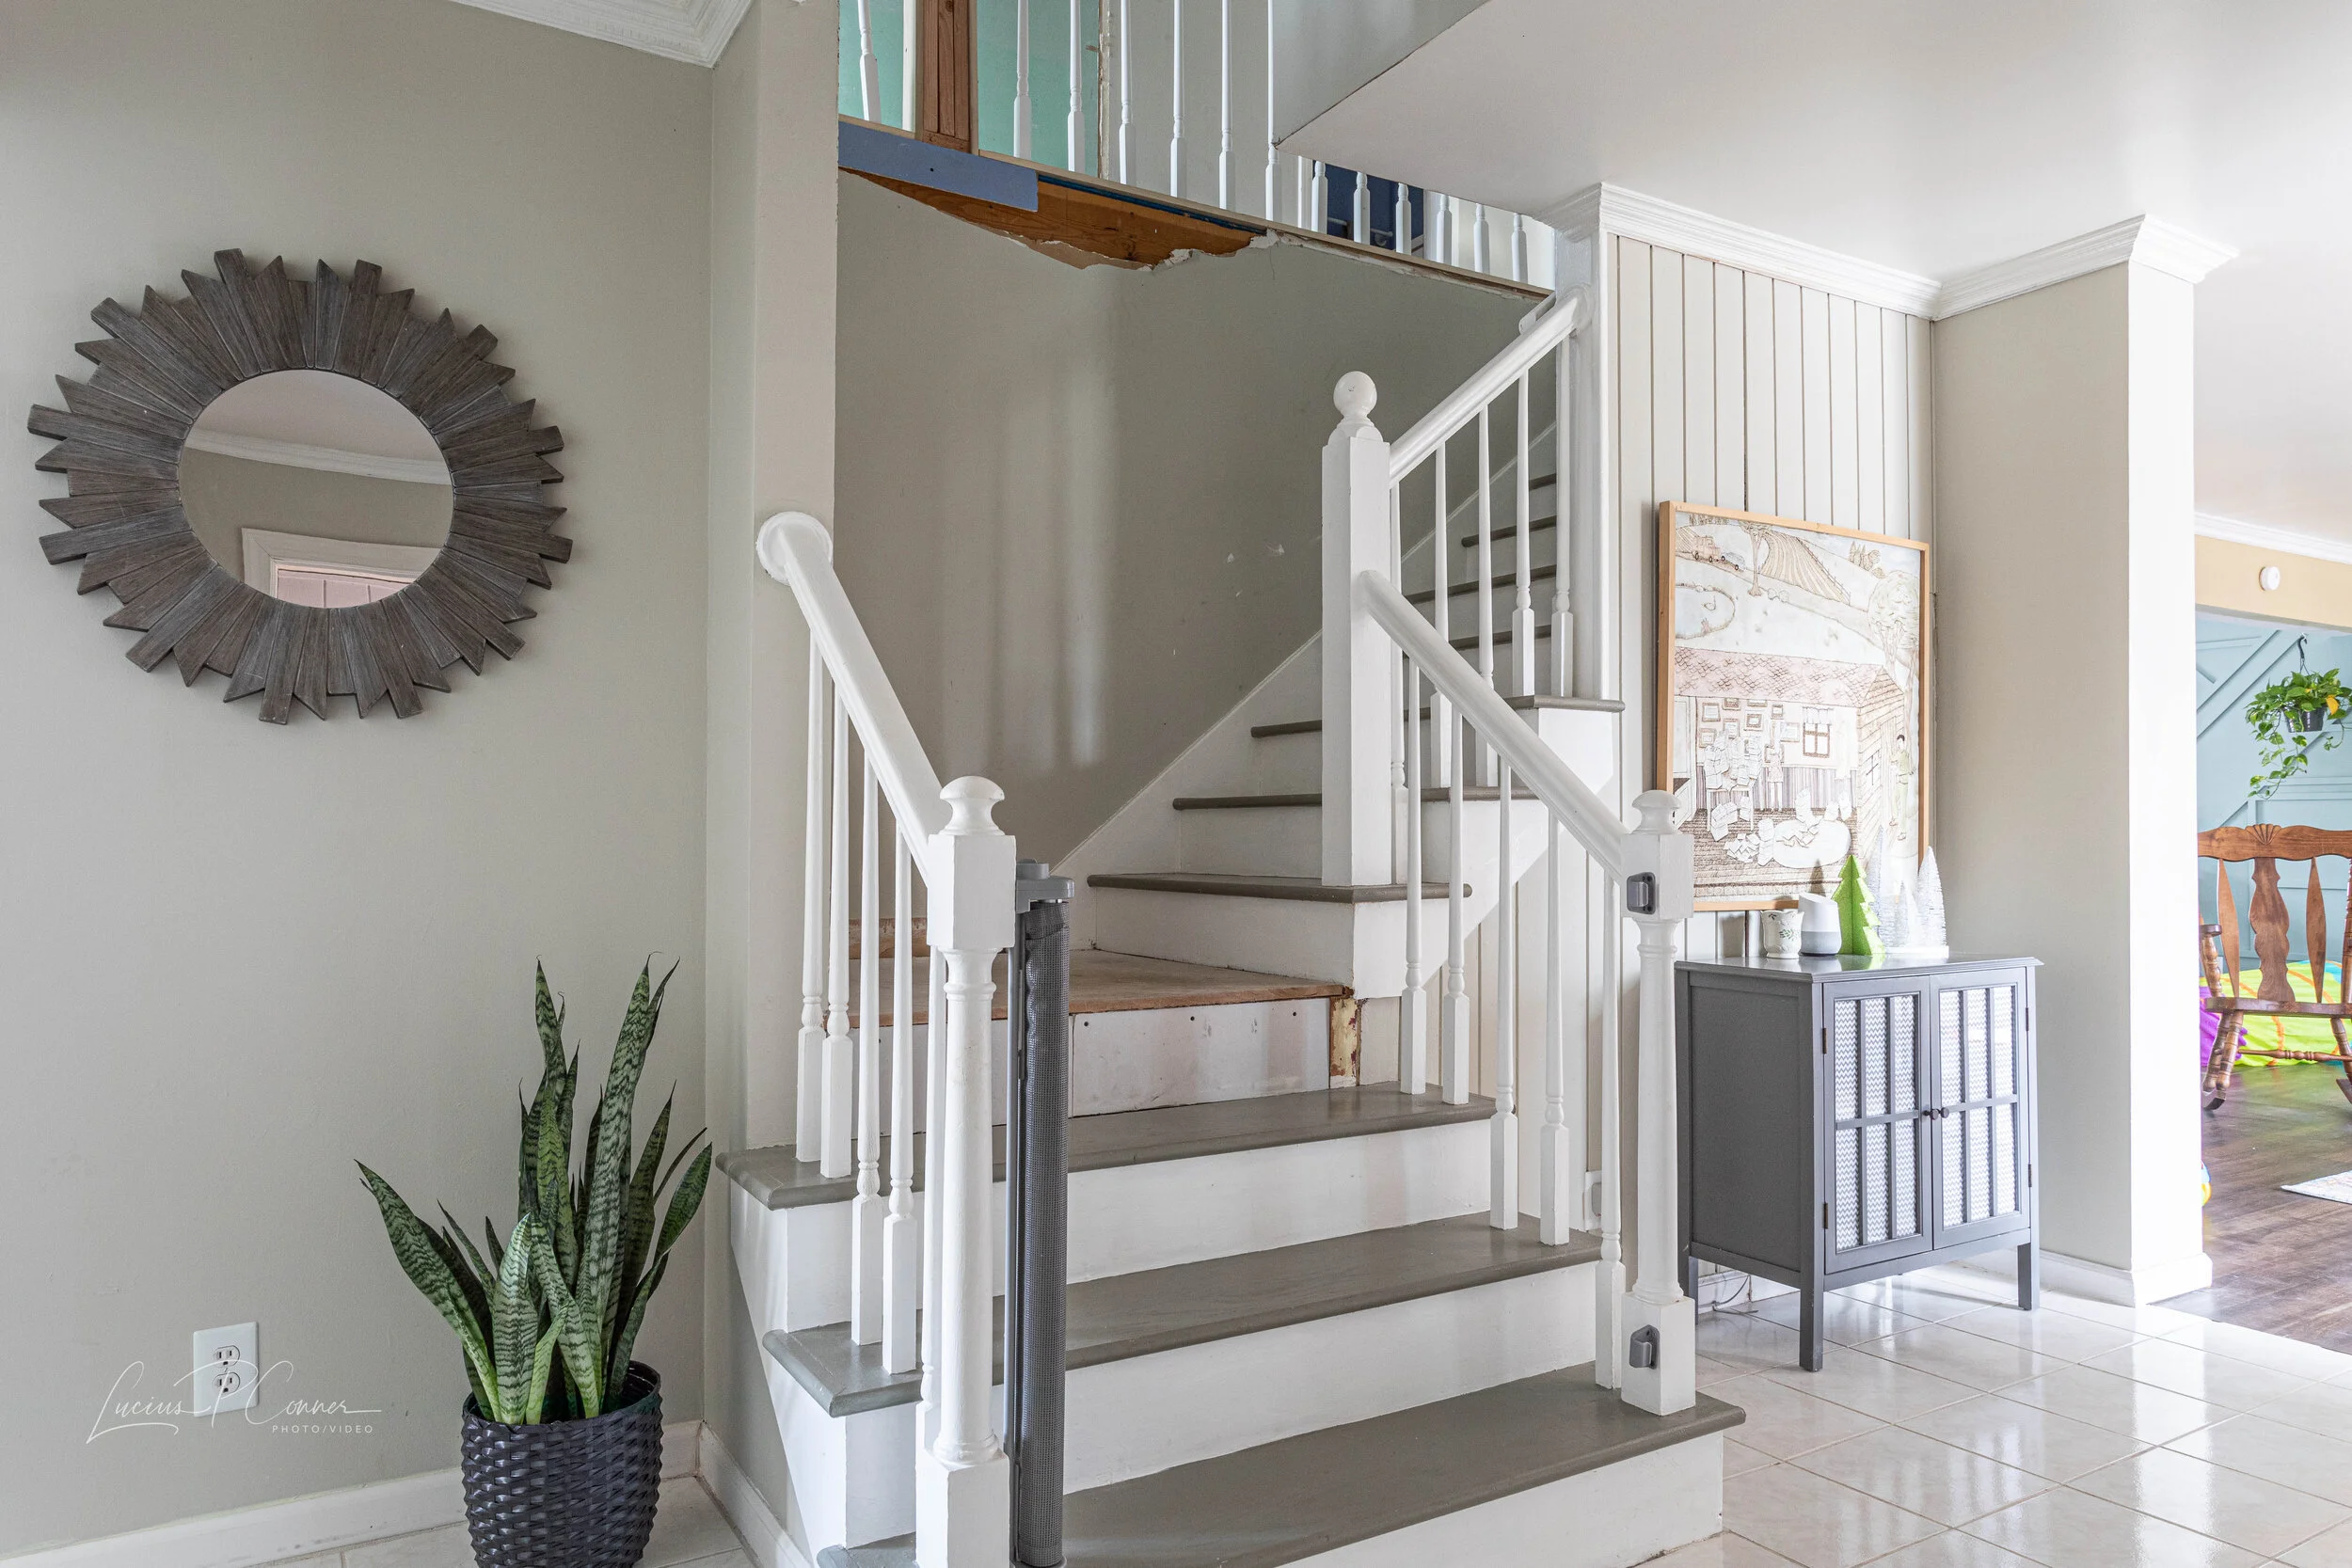
Painting your stairs can be an inexpensive way to give them a completely new look, but do they actually hold up? No one wants to take the time to do a home improvement project that doesn't last. Lucky for you, in this post, I'm sharing the pros and cons of how my painted stairs are standing the test of time after 1 year so you can decide if this type of project is right for you!
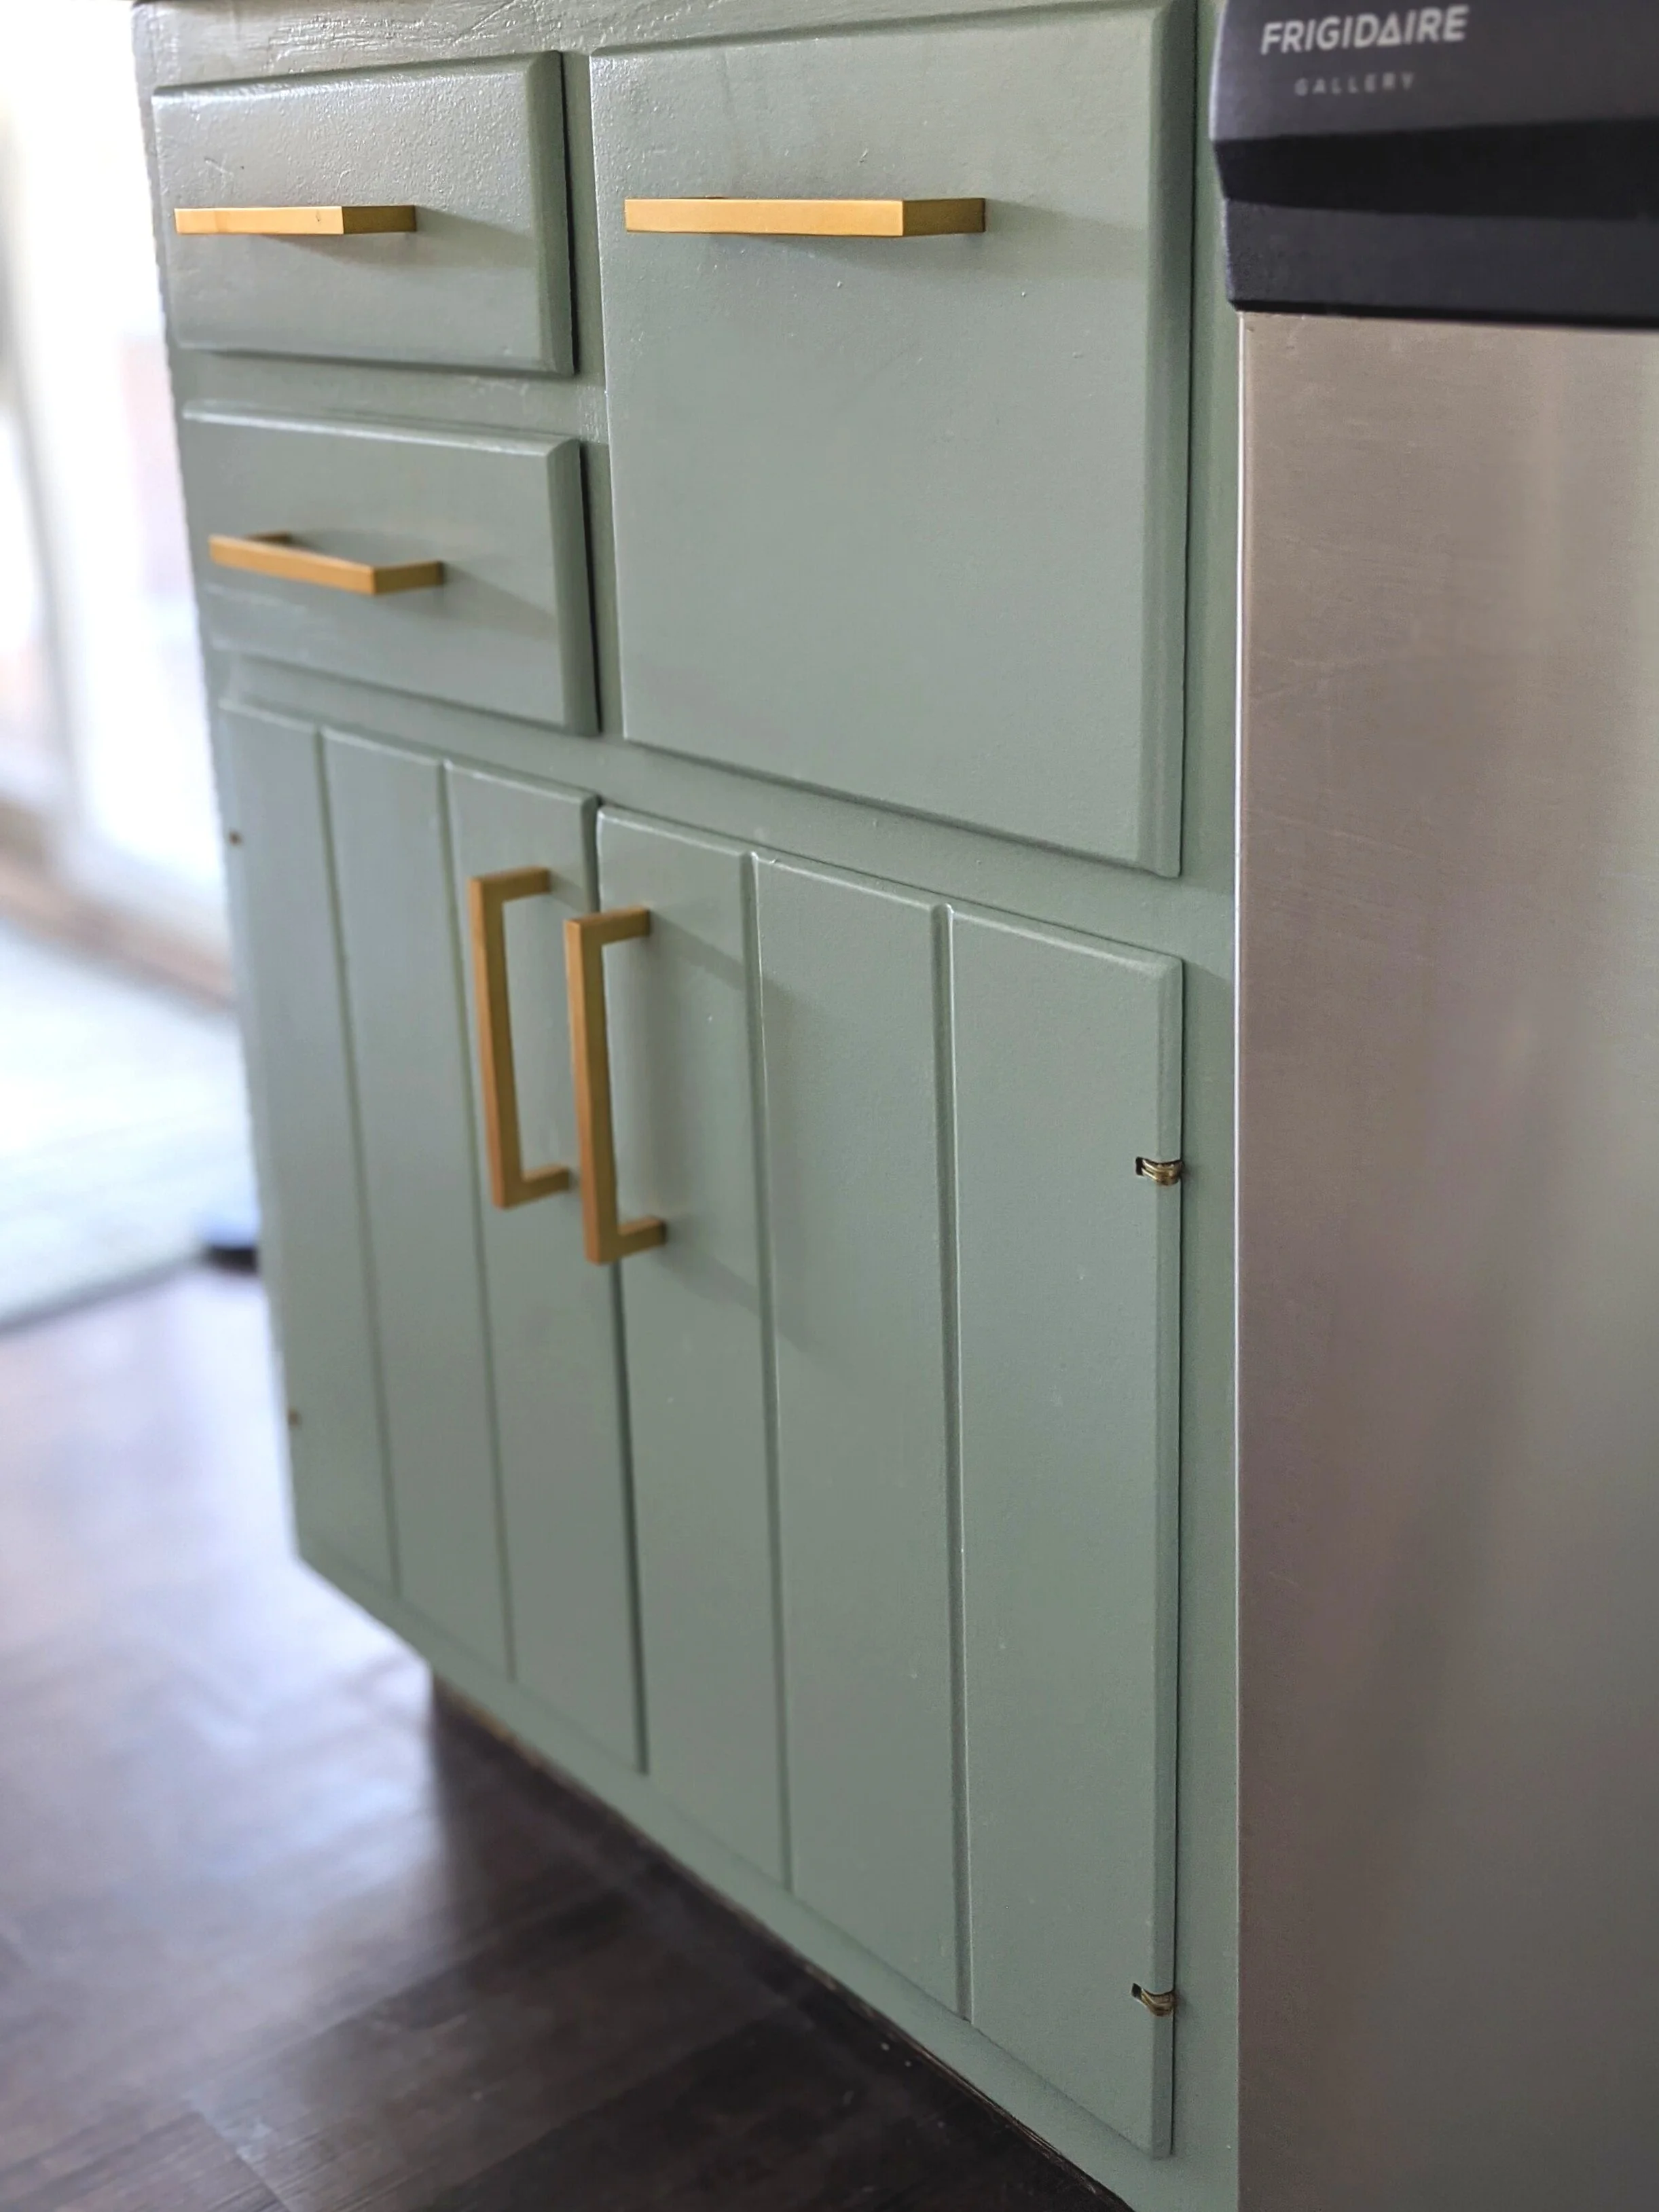
I'm going to share with you some of the images that have inspired me to paint my own kitchen cabinets GREEN! But not just that, we'll also cover the other elements that visually pull a kitchen together - hardware, counters, and wall color. Let's get to it!
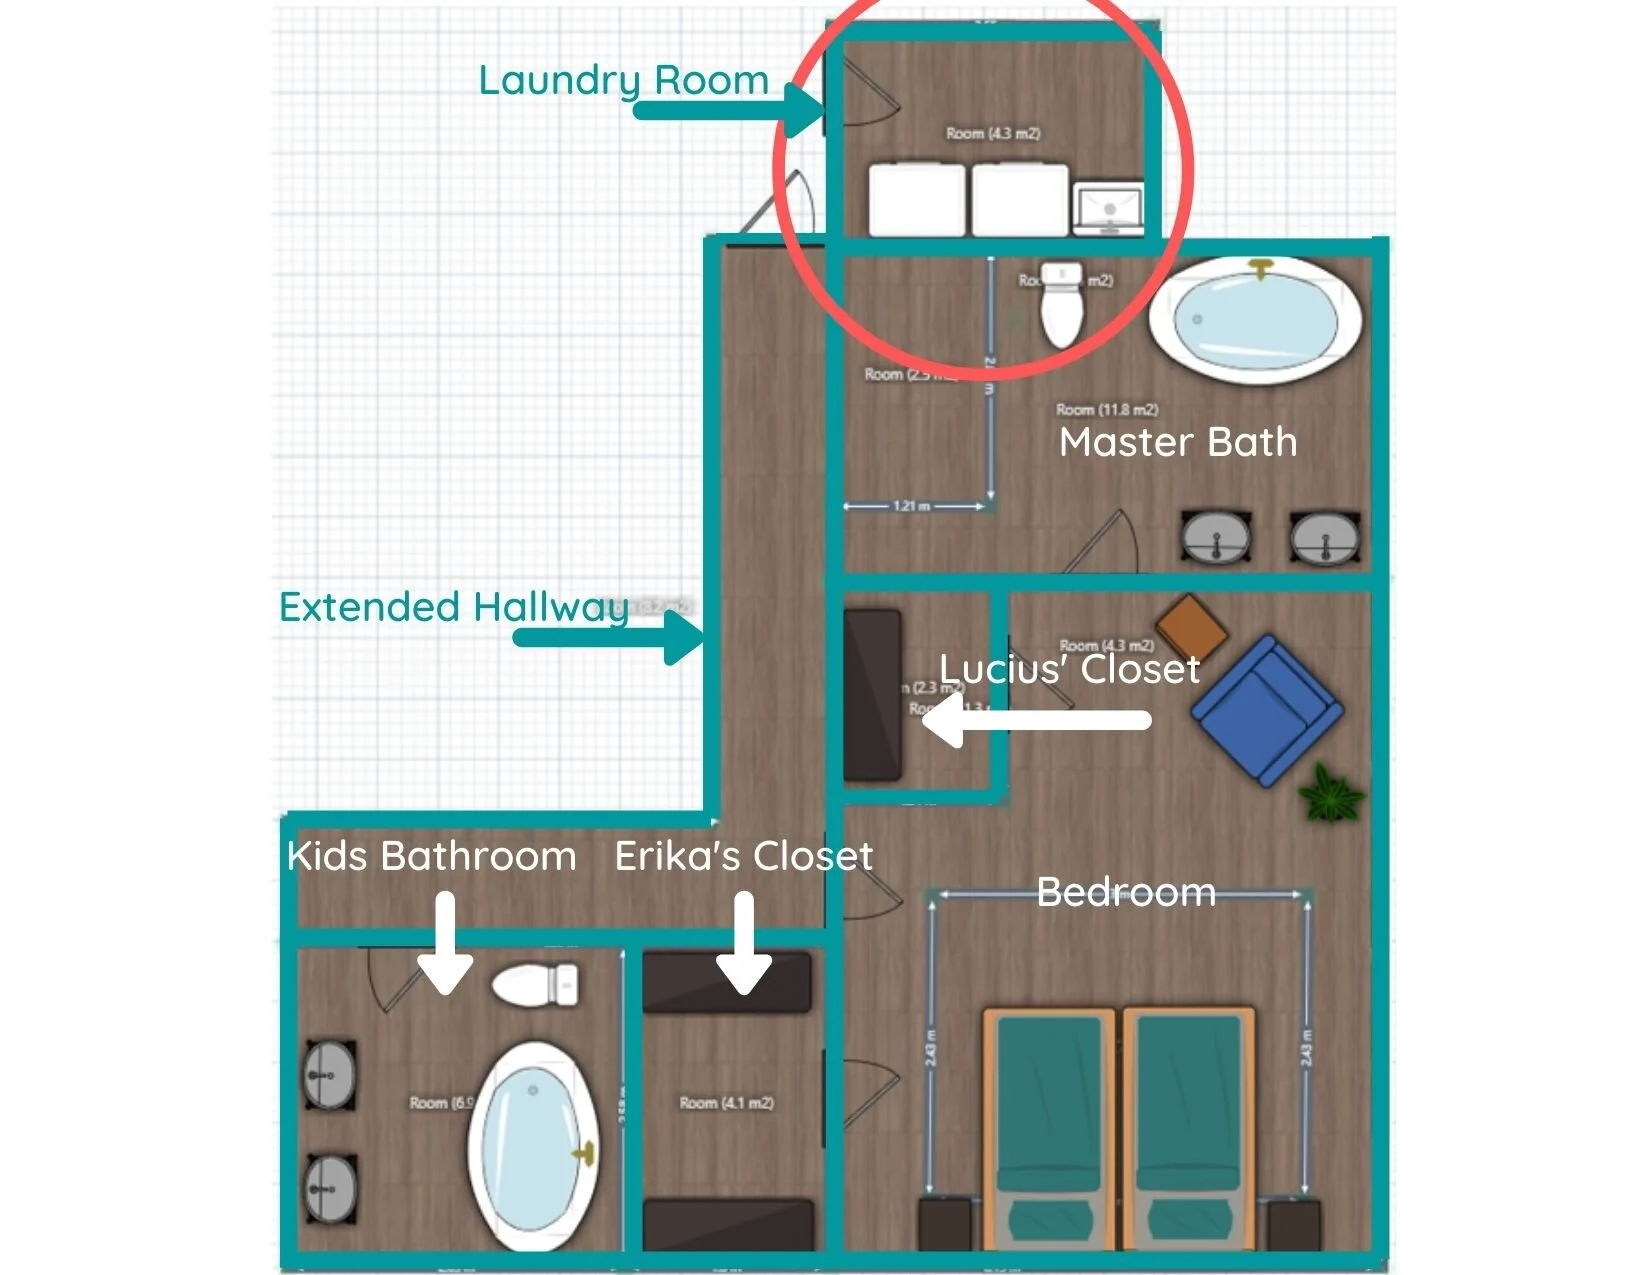
Well, we've gone and changed our floor plan again - we're moving our laundry room upstairs! And that means I get to design another room! So I've been doing some research and finding inspiration about how to create a functional (and stylish!) laundry room.
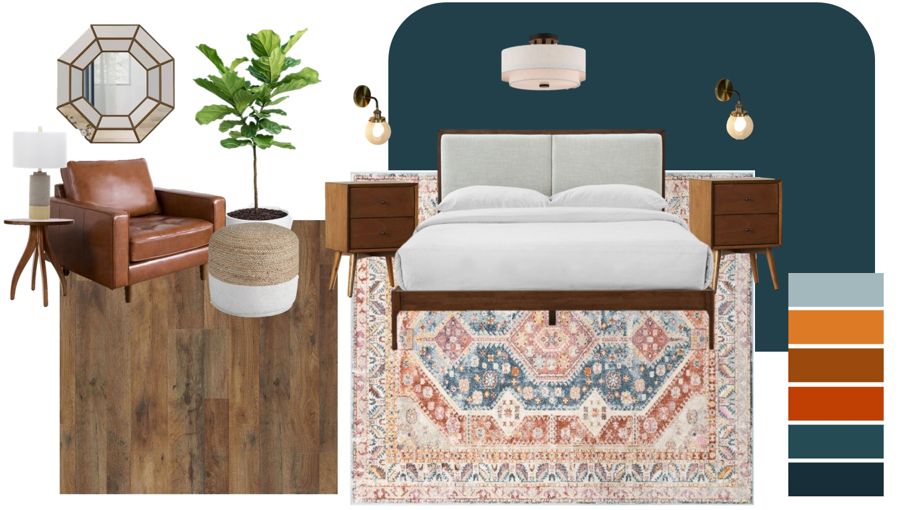
We're getting SO CLOSE to being done with the bedroom renovation I can taste it (or maybe that's just the drywall dust floating in the air….). So while Lucius is mudding and sanding, and mudding and sanding some more, I'm planning the next stage of our master bedroom - PAINT, DÉCOR, AND FURNISHINGS!
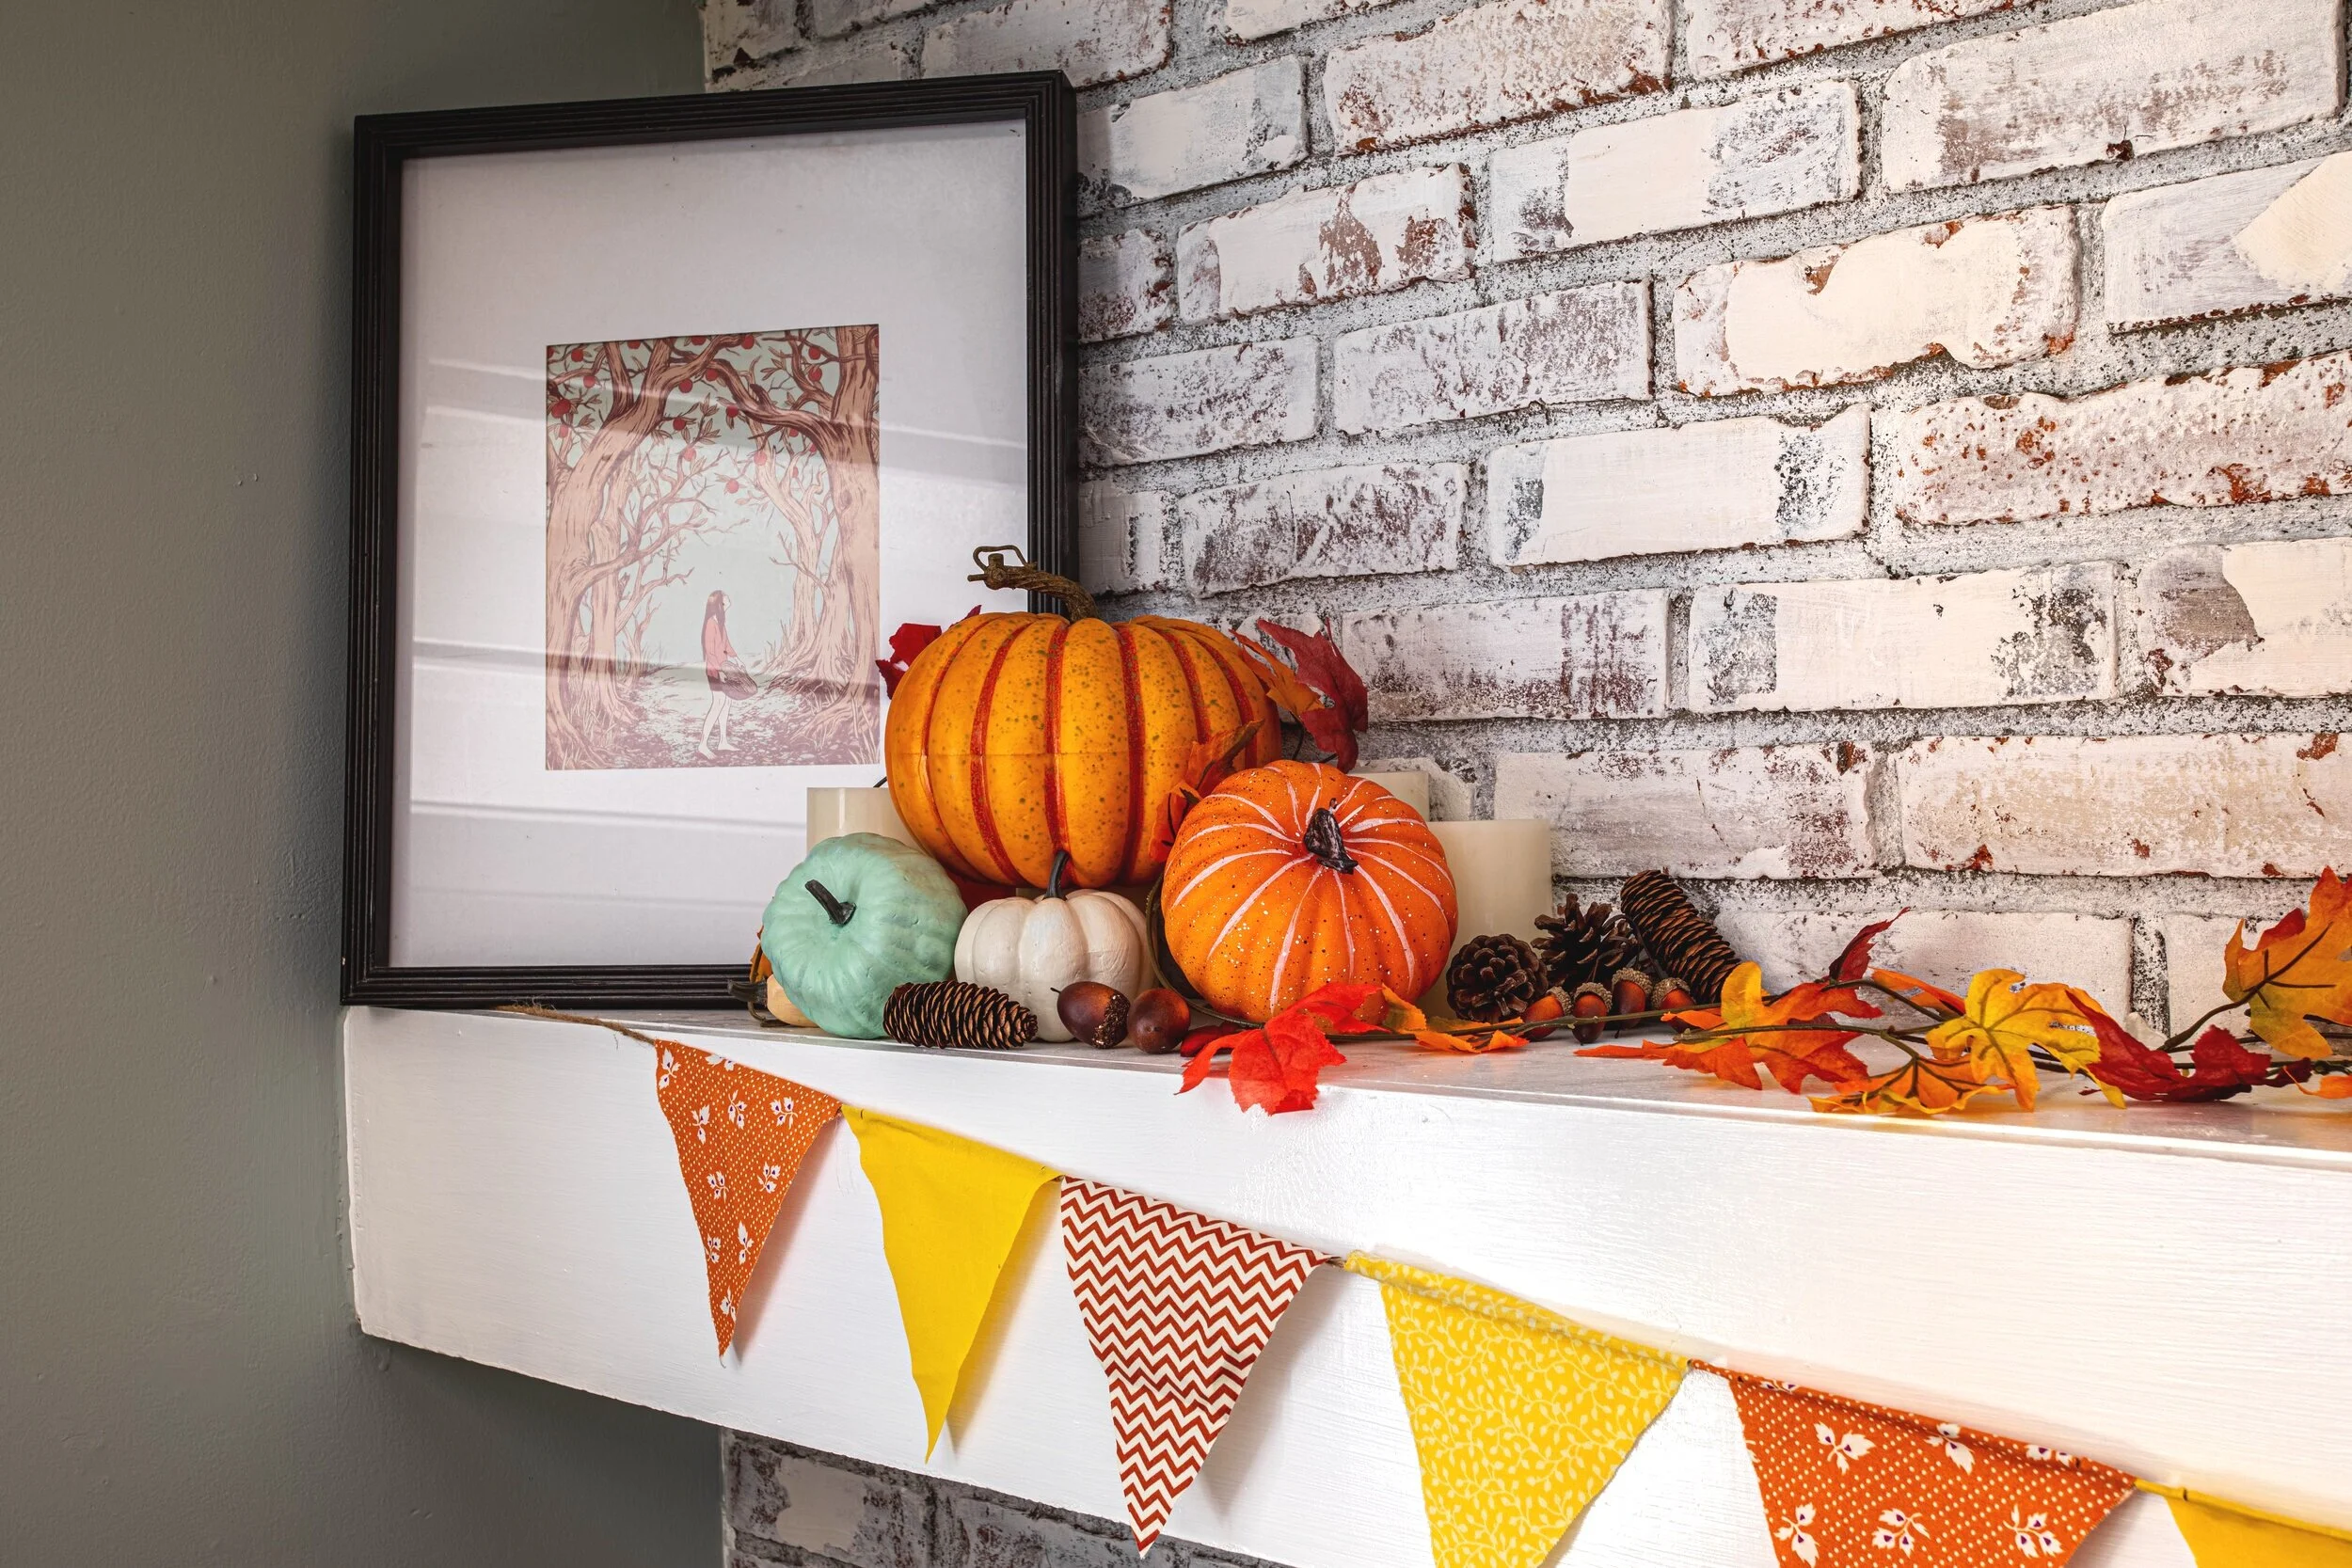
Now that Halloween is over, it was time to switch up my décor to something less spooky and more fitting for the autumnal season. BUT, of course, I didn't want to spend a bunch of money buying all new décor. So in this post, I'm sharing how to transition your Halloween decorations to general fall decor in 4 steps.
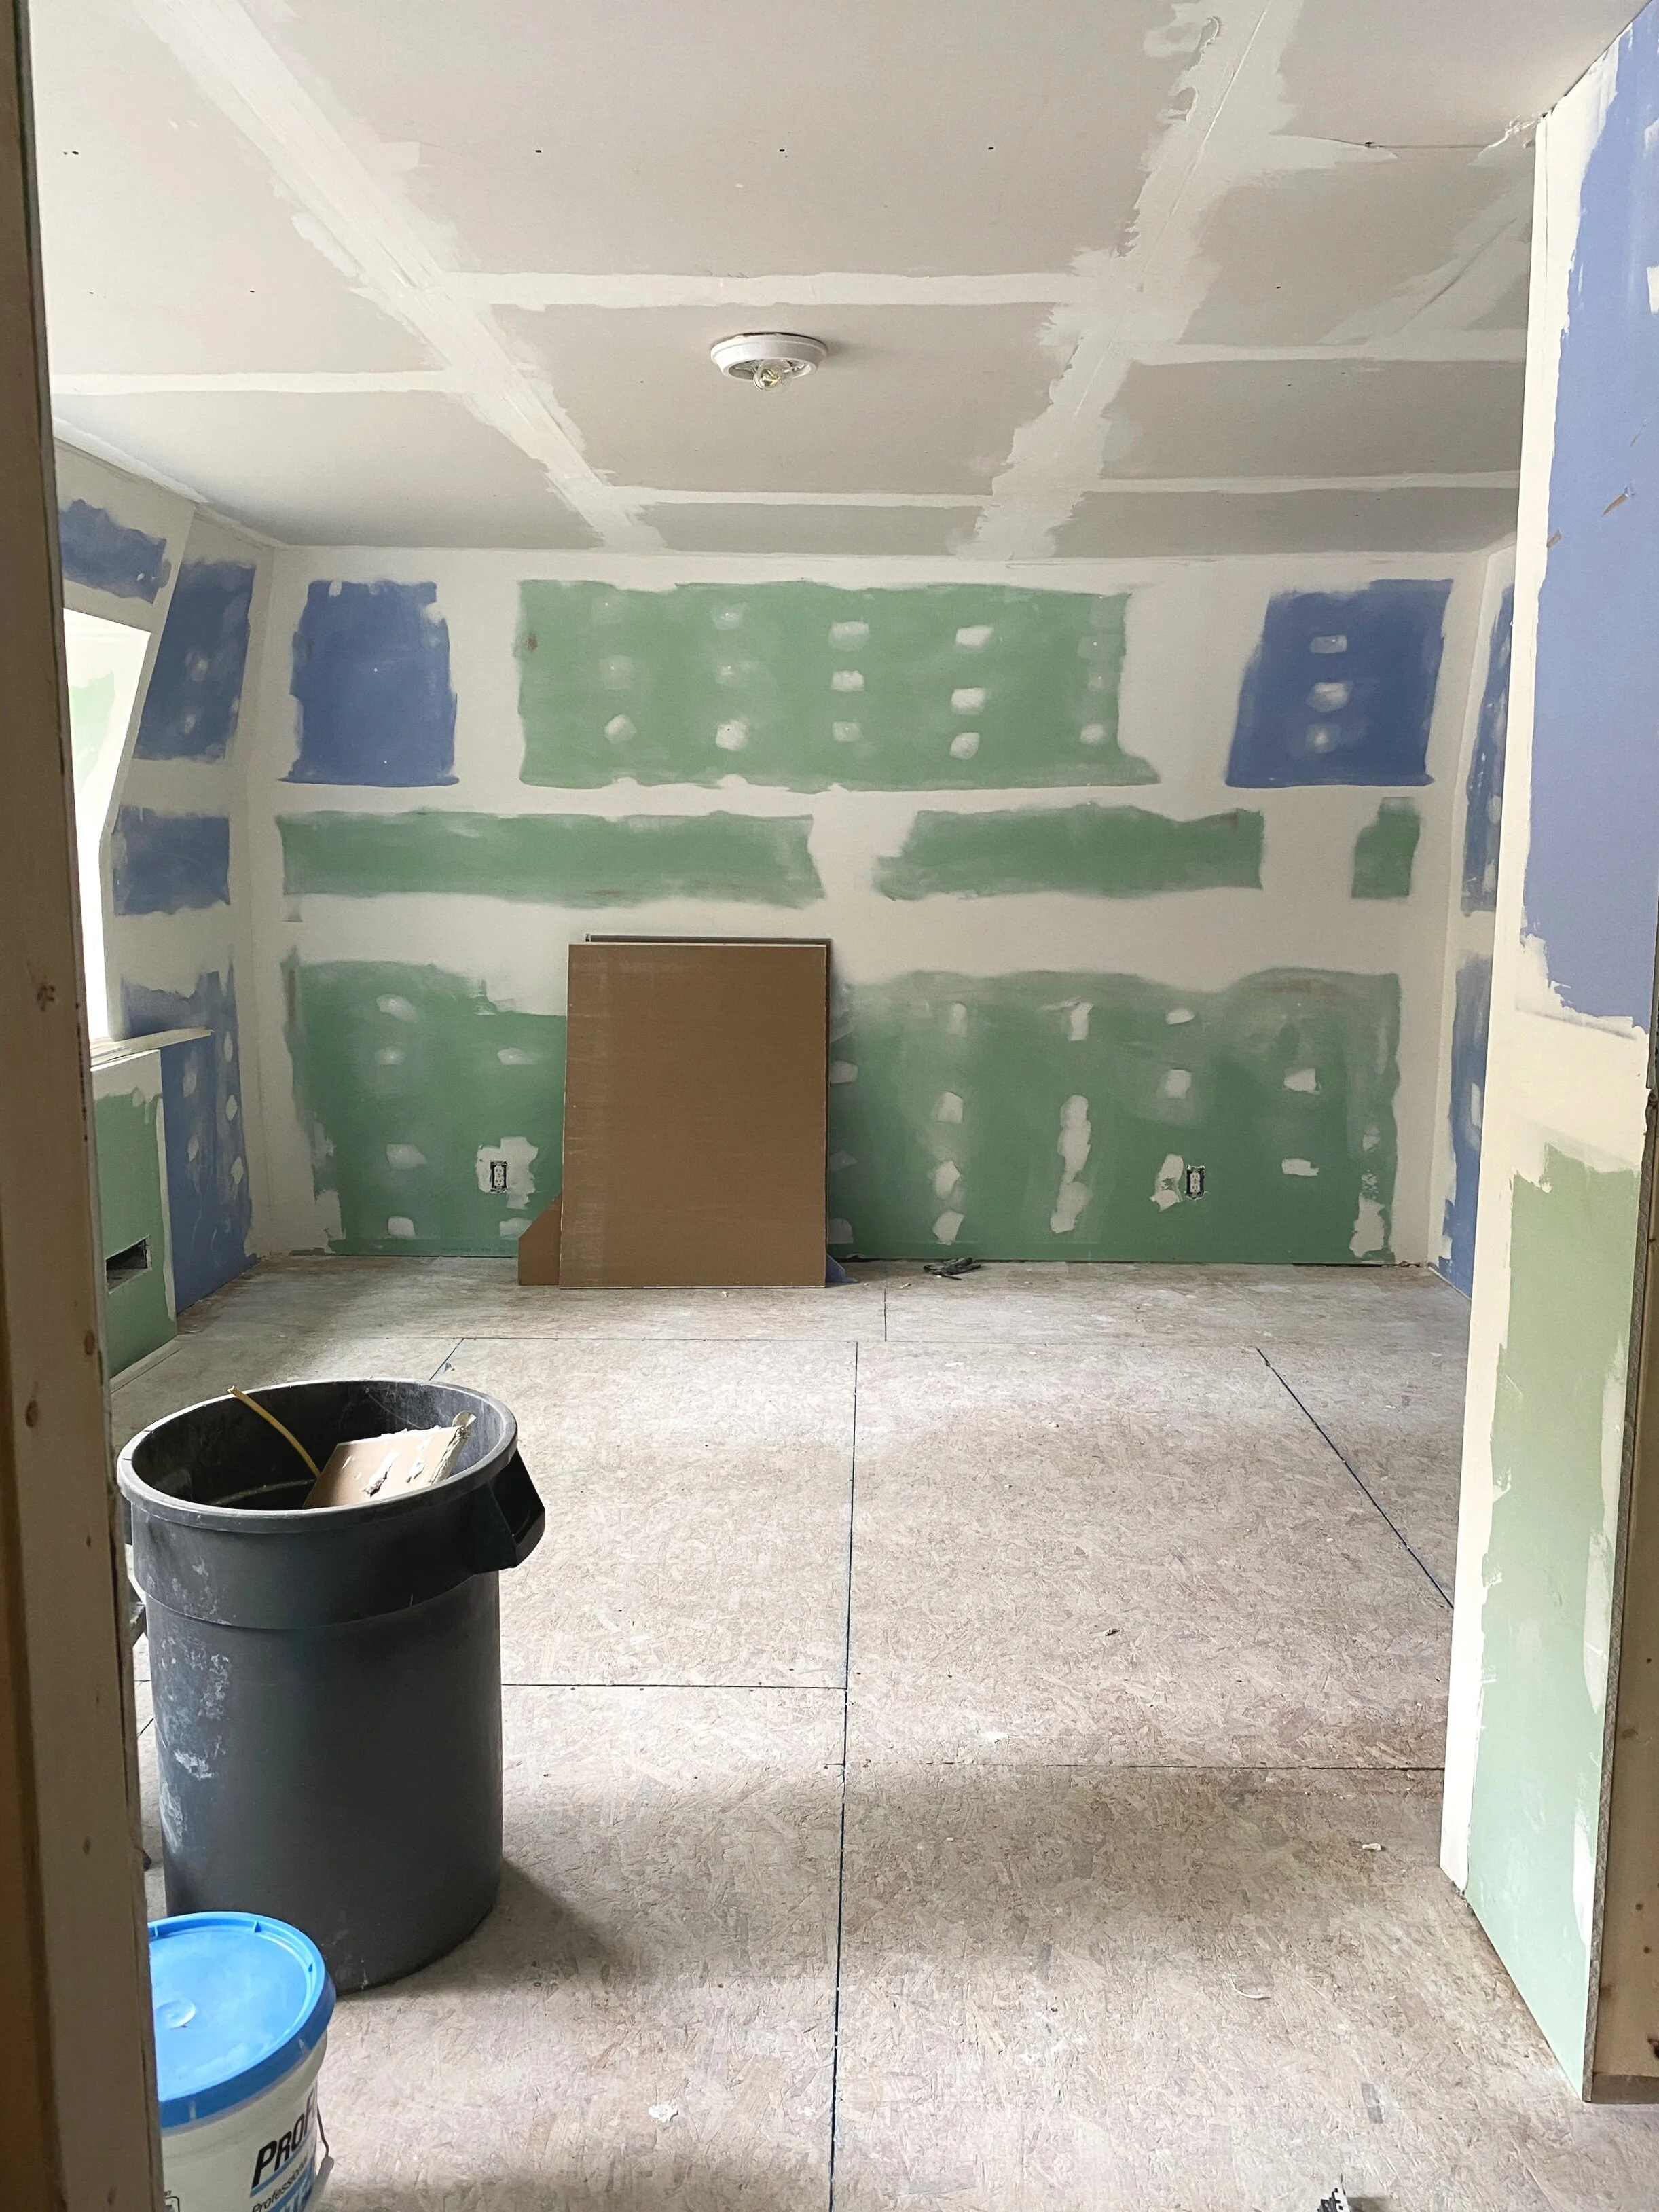
We've been in the midst of our master suite renovation for several months now and I'm sure you're not surprised to hear that it takes its toll on a person. This is our biggest renovation to date and it has certainly had its ups and downs. But although we’ve had our “off” days, overall I'd say Lucius and I have done a pretty darn good job staying positive and motivated along the way (bonus points for not killing each other!). But exactly how DO you stay positive and motivated during a renovation?
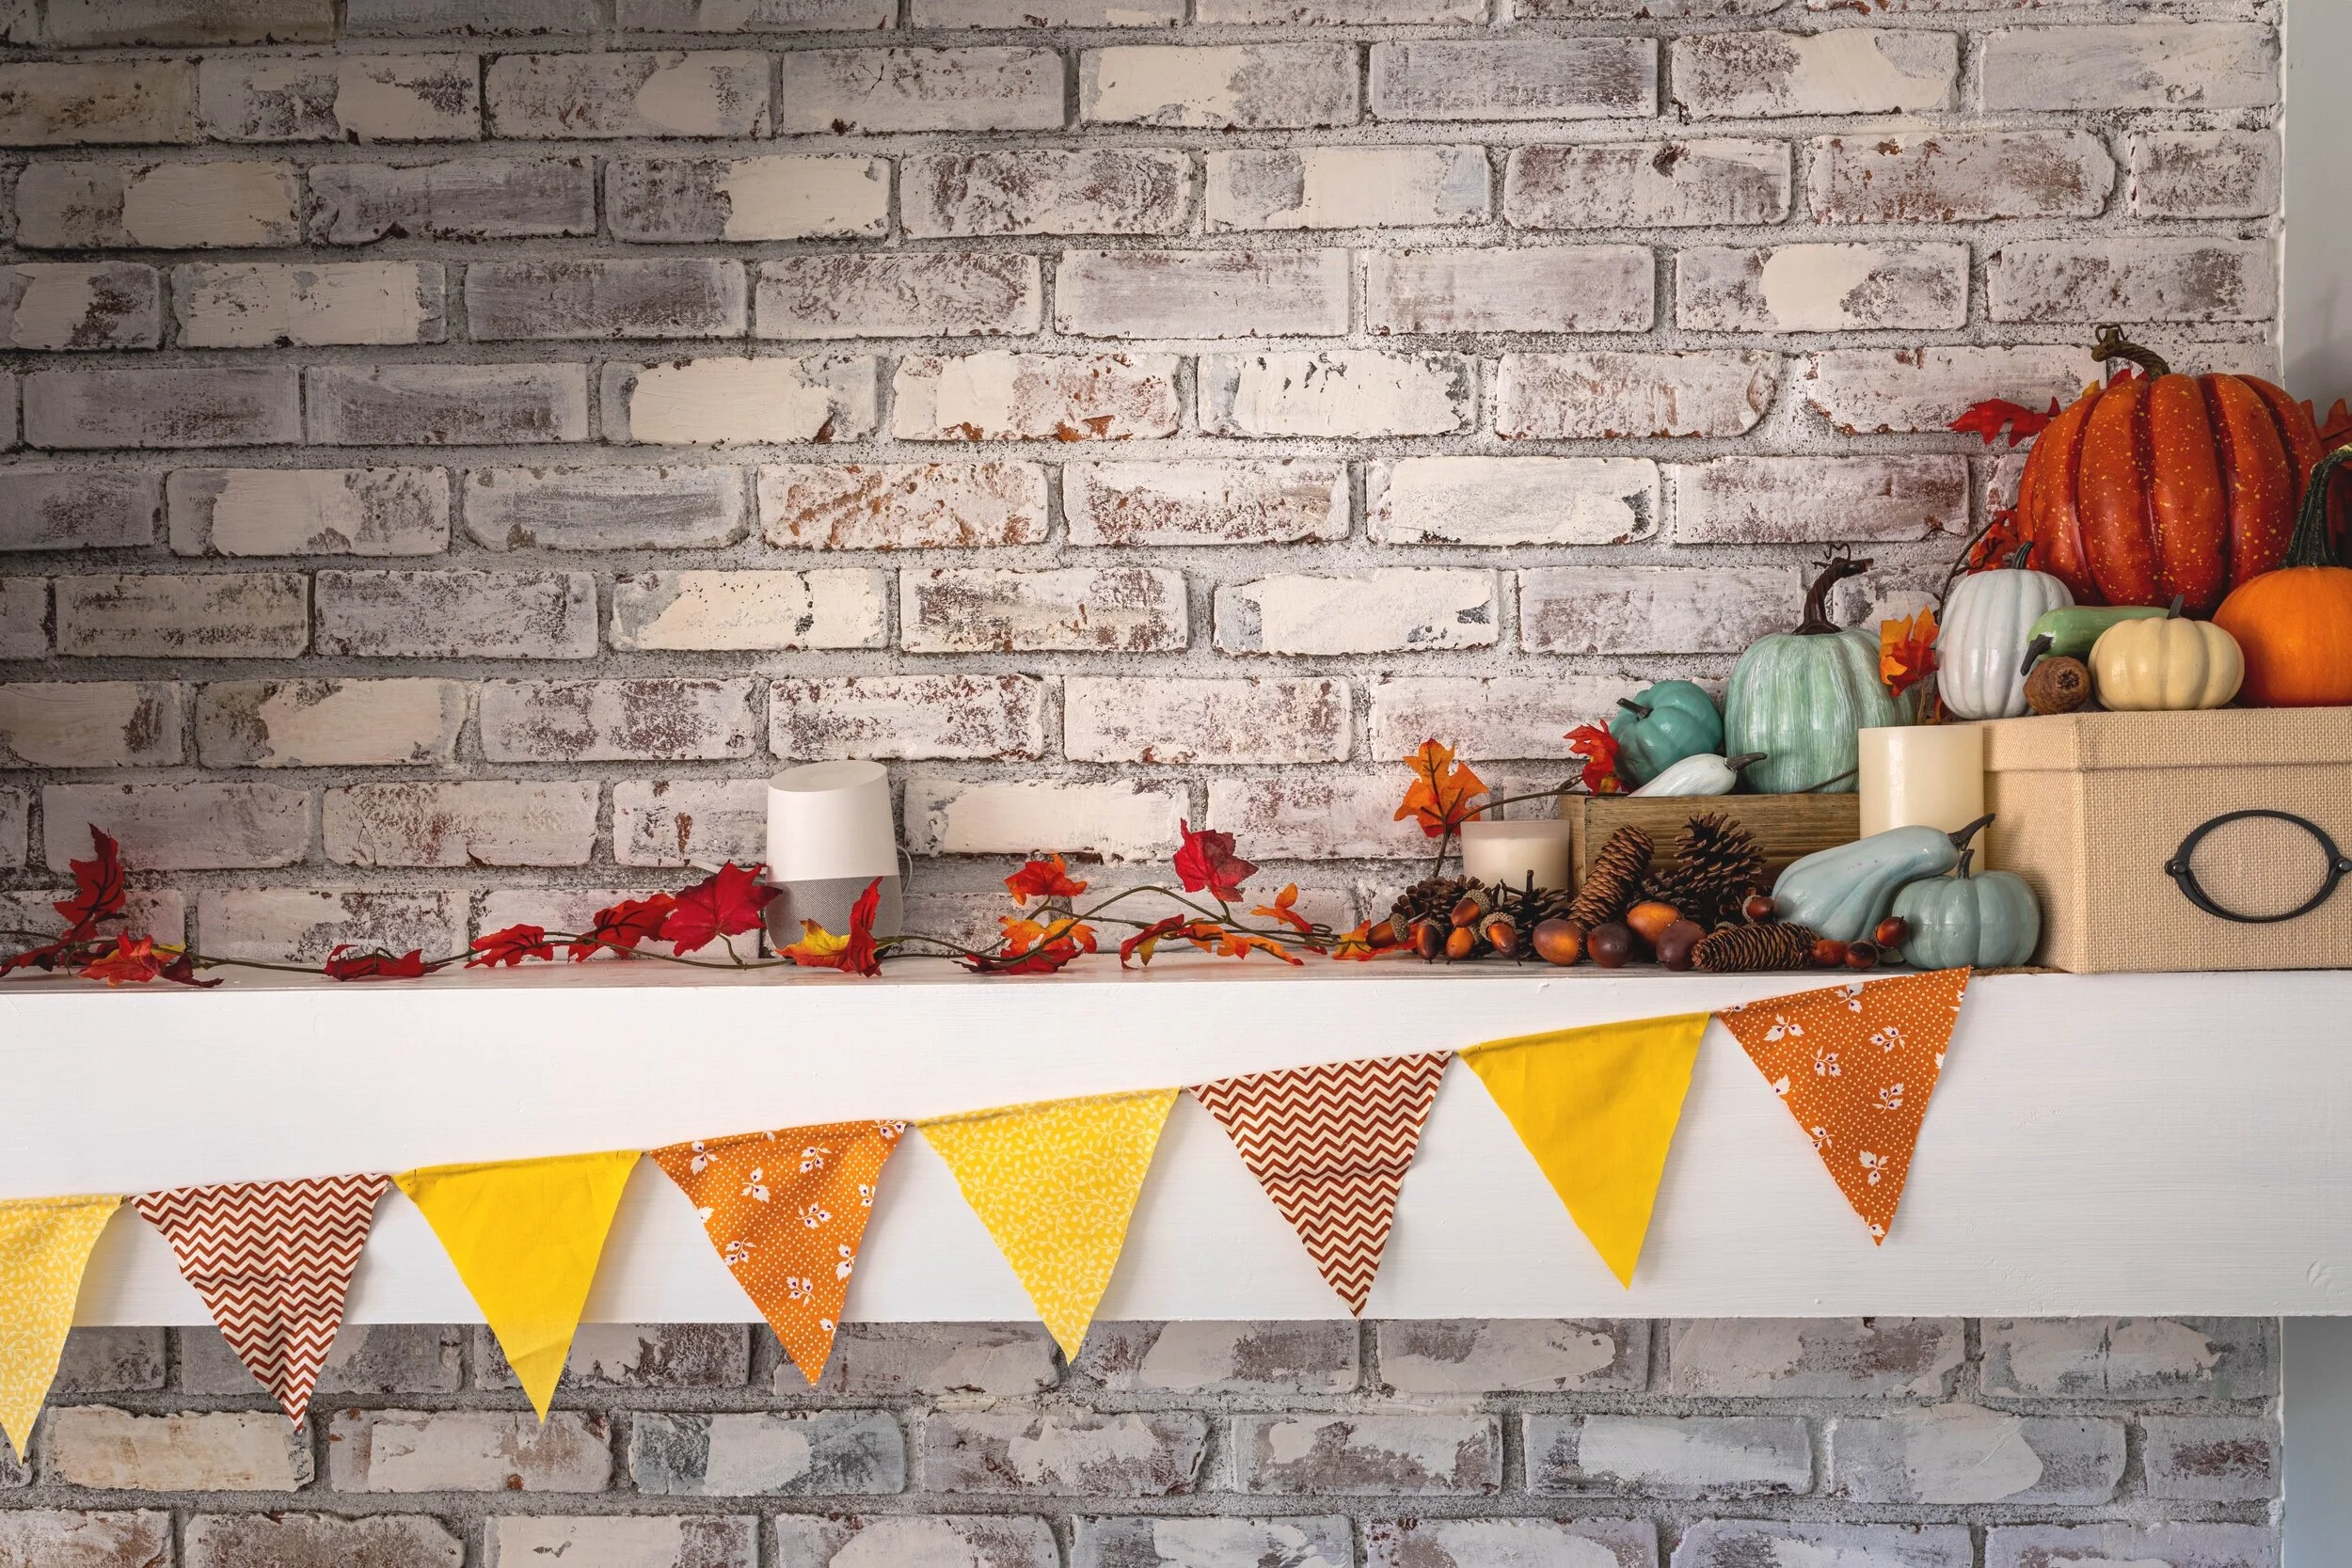
I obviously LOVE home design, but when it comes to seasonal decor, with the exception of Christmas, it’s always felt a little pointless to me. I mean, who am I decorating for anyway?
Well, let me tell you… now that my older daughter is almost 5, I need to get my ish together because there’s no way she’s letting me get away without any fall decor up in here! I couldn’t say no to her incessant pleas for decorations (kids, amirite?), so we’ve been spending a lot of time lately finding ways to create some festive decorations together, including the topic for today’s post: how to make an easy, no-sew bunting.
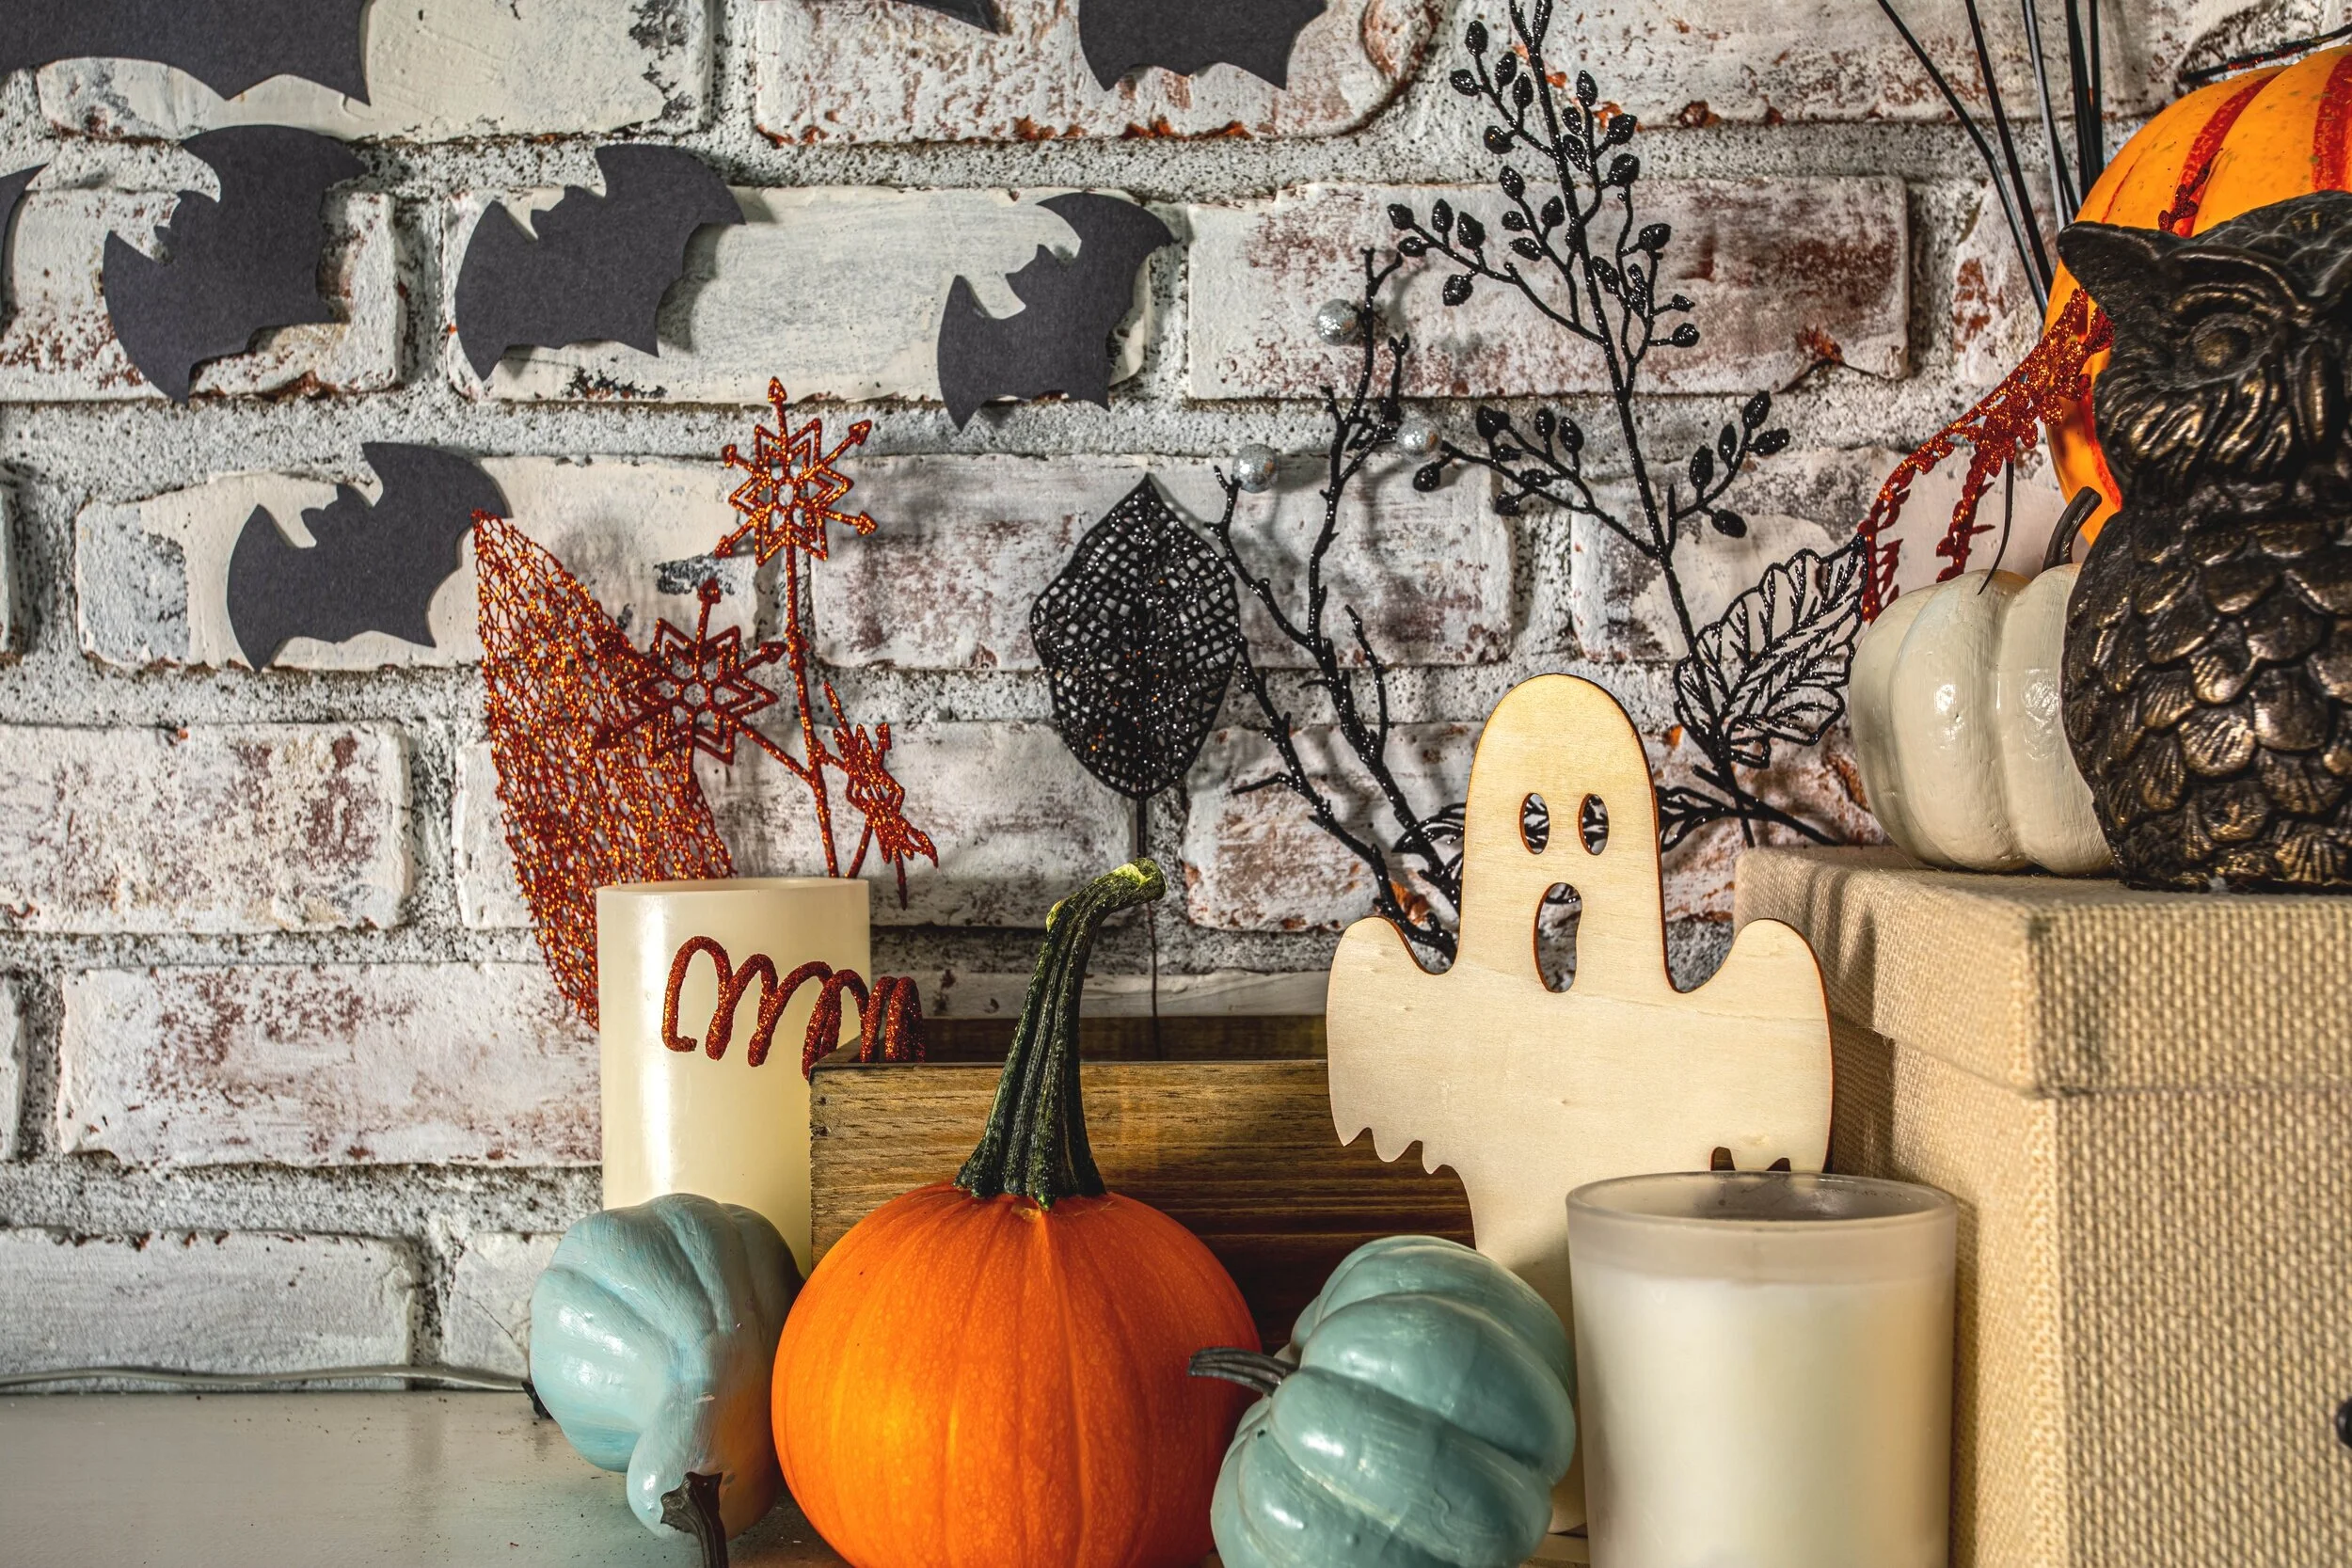
Let me tell you, I have had a helluva time decorating my mantel for Halloween and putting this post together… because I’m cheap.
Let me explain…

It’s done! It’s done! The dining room makeover is done!
If you’ve been following along, you saw last’s week post where I shared the accent wall we installed in our dining room. Well, as I was writing that post, I was working on putting the dining room back together for the grand reveal. It took a TON of restraint to not share a million sneak peeks, but I kept my trap shut and now I’m so excited that I can share it with the world!

Well, we finally did it. Our geometric wood accent wall is complete and I’M SO IN LOVE WITH IT! In fact, I love the finished product so much, I wrote a tutorial about it! (Surprise, surprise).
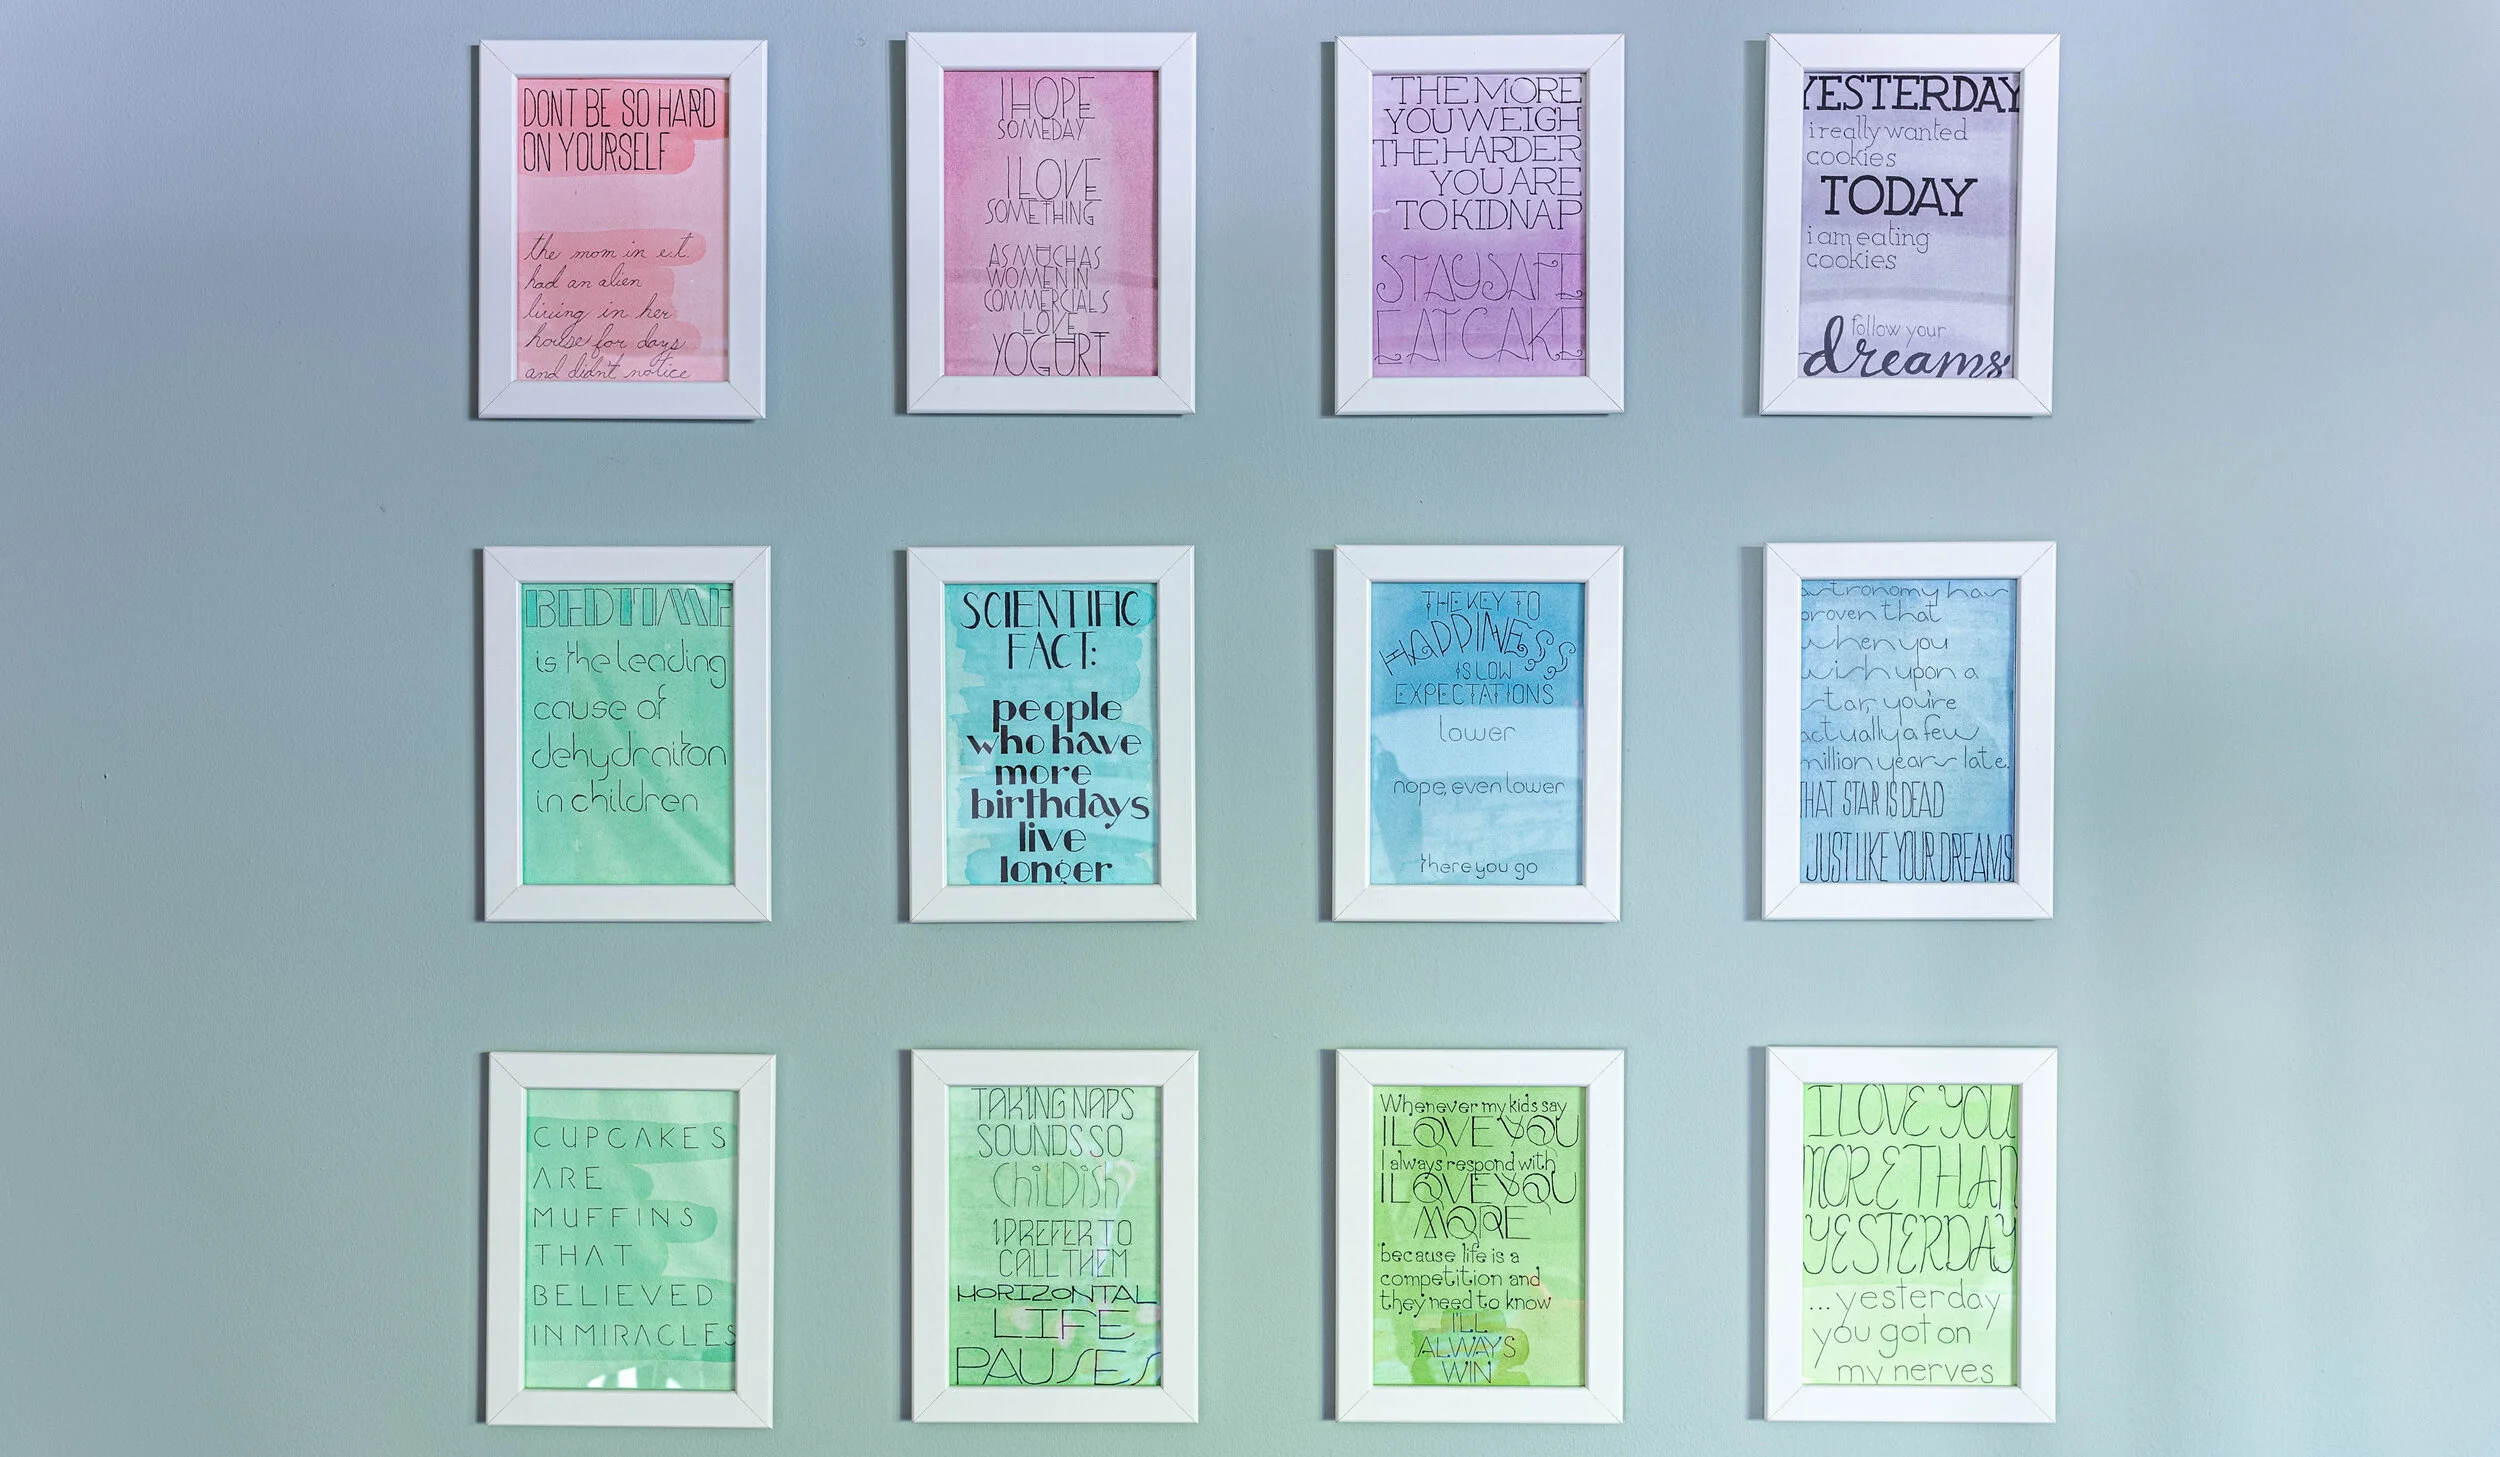
The thought of hanging a gallery wall can be intimidating. So many pictures. So many nails. So many potential mess-ups and unnecessary nail holes! Where does the madness end!?
Have no fear! I’ve got you covered with a step-by-step tutorial on how to hang a gallery wall that eliminates the probable accidental nail hole (or two, or three).

A lamp is a lamp is a lamp, right? WRONG. Although a lamp may easily serve its main purpose of lighting up a room, choosing the wrong size can really skew your design. But how do you pick the right size lamp? In this post, we’re going to talk all about how to choose the correct size table lamp, so you can select the perfect size lamp on the first try (and not try out a bunch like I did).
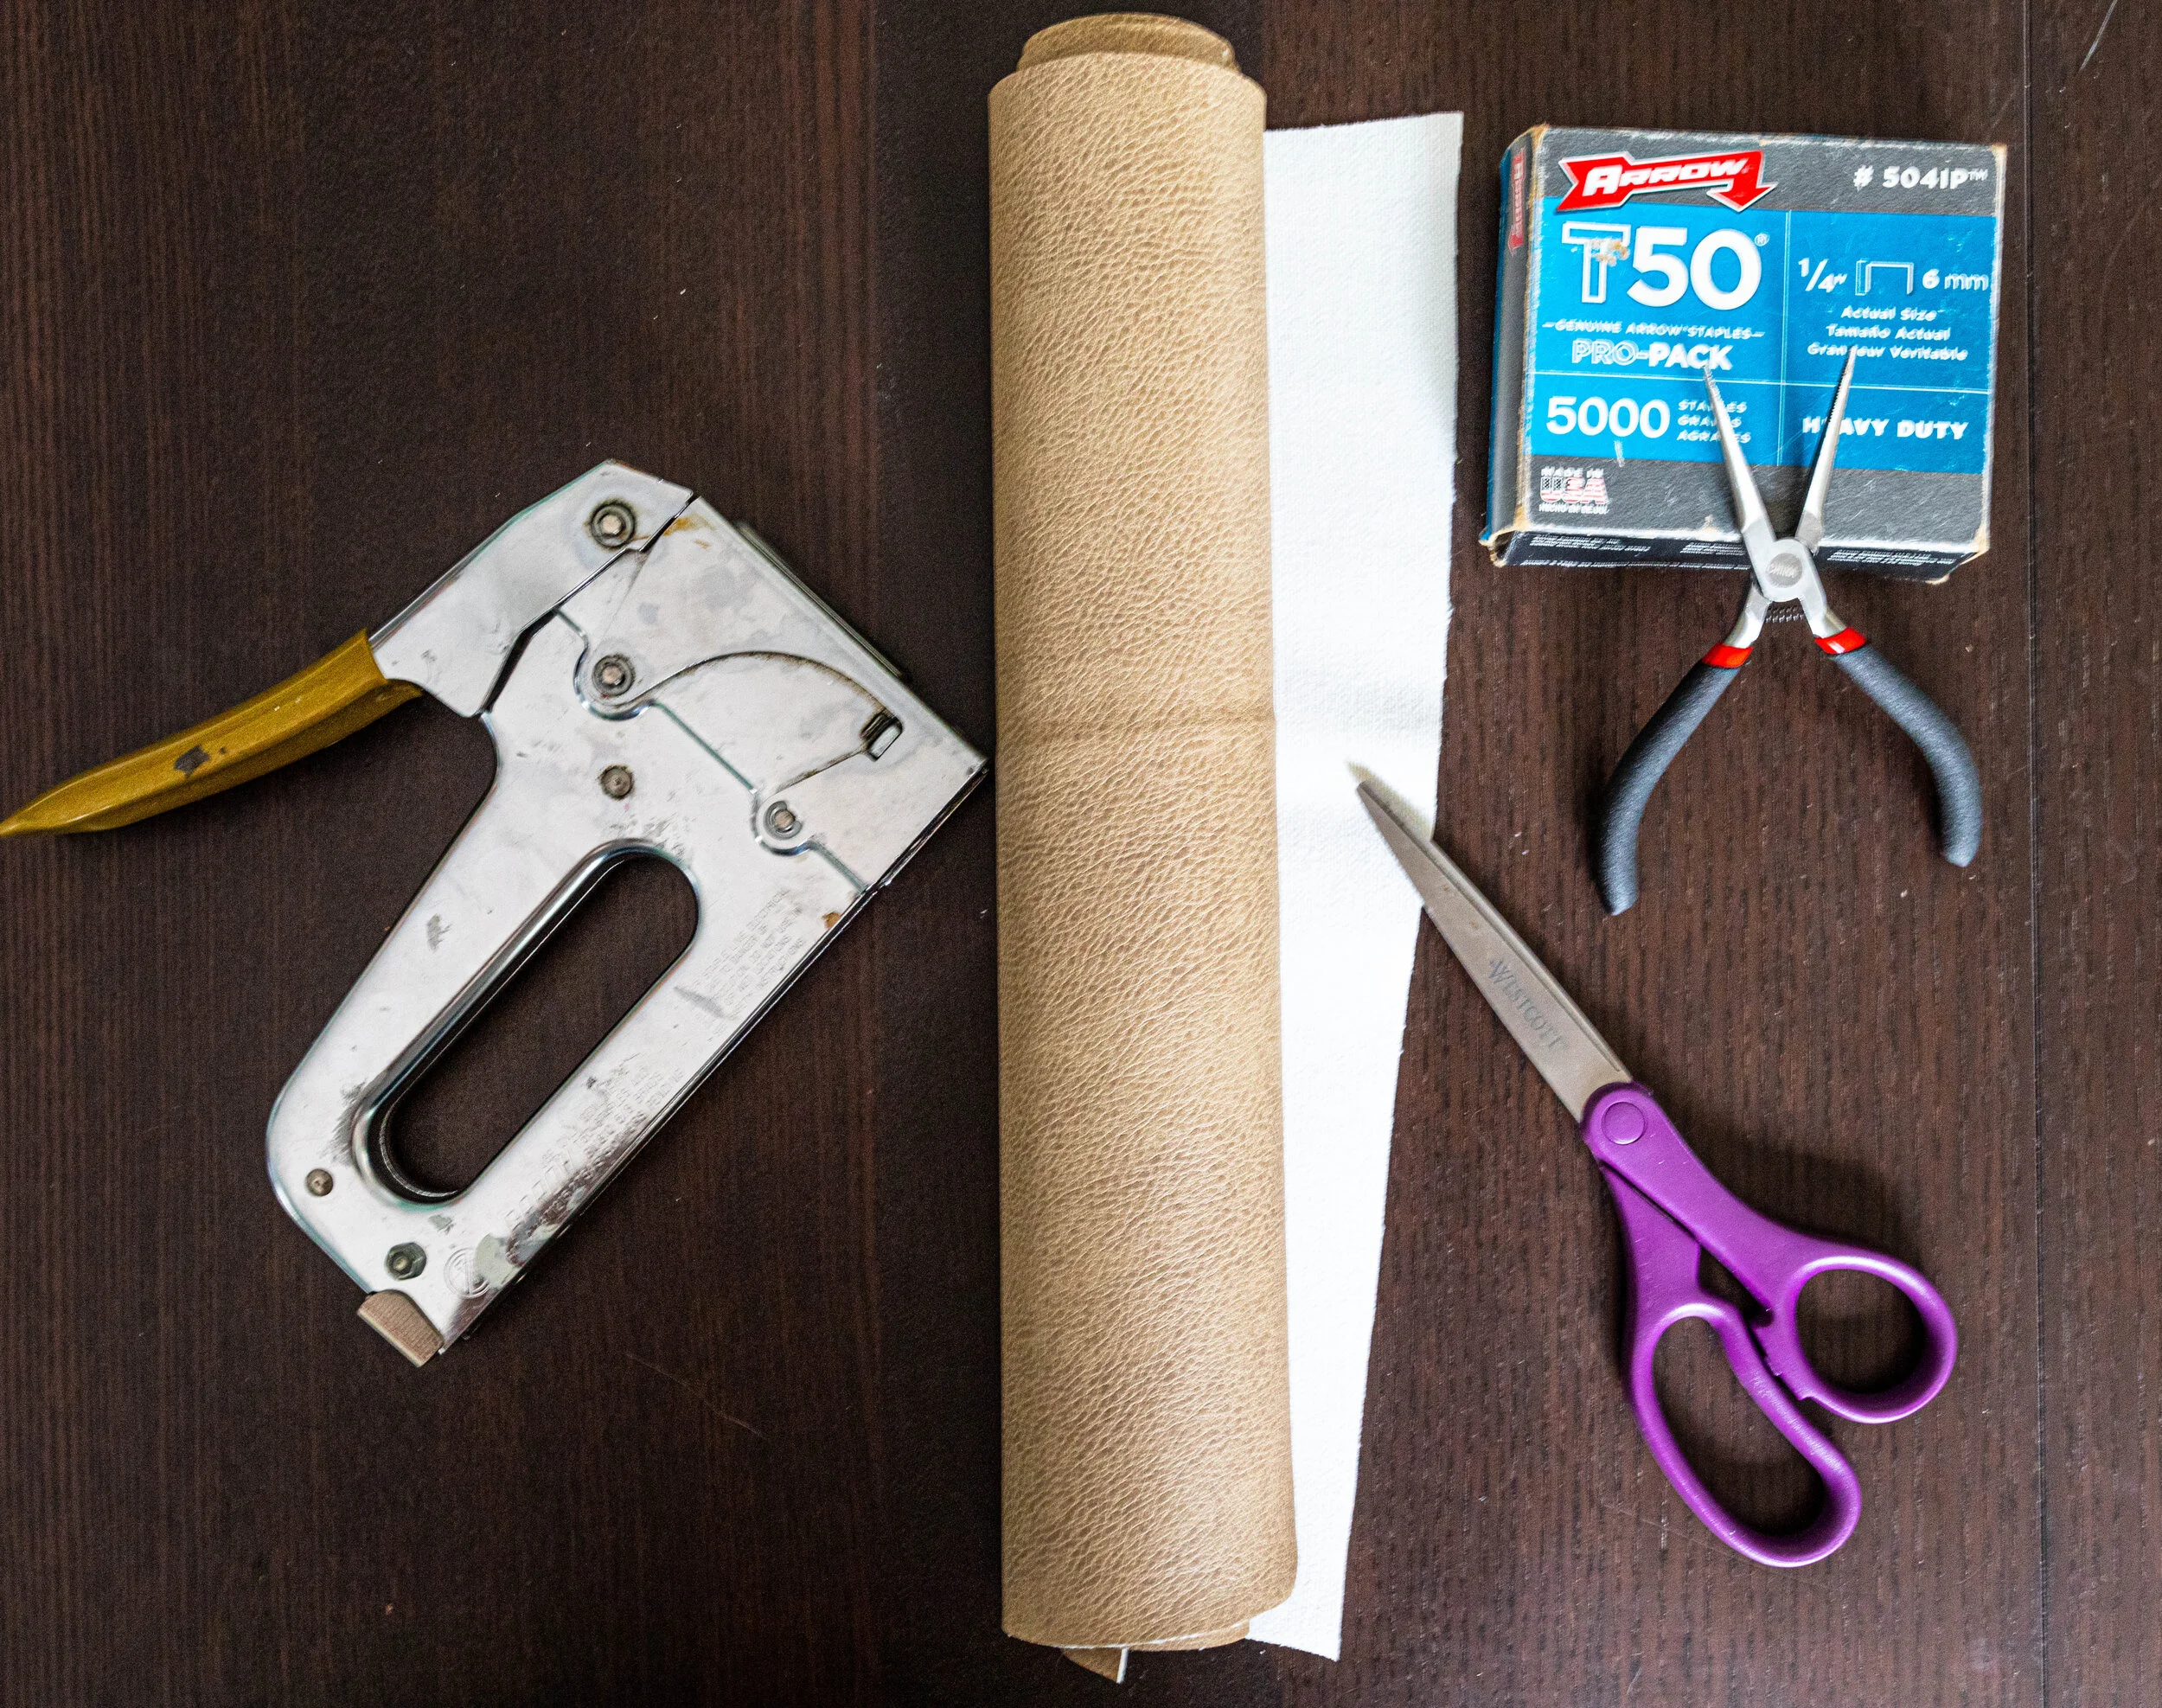
I recently took a little break from the current projects around the house I’ve been working on to reupholster the chairs in our eat-in kitchen - and wrote a little tutorial so you can do it too! This is a quick and easy upgrade that seriously anyone can do!

Now that the DIY Sharpie wall in my office is complete, and while we’re waiting for materials for the master suite to arrive so we can start rebuilding, I feel like I can finally turn my focus back to the dining room.
I’ve developed a pretty good vision of how I want it to look, but, as I’ve mentioned before, I’m very indecisive. So, I put together some mood boards of the dining room with different lighting and area rug combinations to help quell my indecisiveness. And MAN, did I get nerdy with it.

I posted two weeks ago about our master suite remodel, including what we had demoed and the new floor plan. After that post, we were finally able to take some time and officially tape off the floor to REALLY get a feel for how the space would work. Unfortunately, we quickly realized there were some issues that we had to solve for.

HOT DAMN, it’s been a minute since I shared an update about my home office redesign. Well, don’t you worry your pretty little head. That doesn’t mean I haven’t been working on it!
I’ve finally painted this room and created a killer DIY Sharpie wall that I can’t wait to share with you (including a tutorial)!

We have officially demoed our bedroom, bathroom, and closets!
Yes, it looks absolutely nuts. Yes, I’ve had more than a few “ohhhh noooo whatdidwedo!?” moments. But every time I walk into this space I get a jolt of excitement that easily puts those fears at bay. Also, LOOK AT ALL THAT NATURAL LIGHT!

Each summer, our city has a festival in the historic district where homeowners open up their beautiful old houses for curious eyes like ours to stroll through. Well, one of those houses is for sale, and Lucius, being a local real-estate agent and all, is fortunate enough to be the listing agent! That means I have an “in” and absolutely HAVE to share this house with the world because it’ll BLOW YOUR MIND!

Back in March, I posted about the beginning of our dining room renovation. In that post, I shared the progress of what we had accomplished so far and our plans for rounding out the room.
Since then, we’ve slowly been working on the dining room (while getting sidetracked with working on my office and the yard) and it’s about time for a progress report - especially because we’ve made some pretty big changes recently!

Sometimes I forget that not everyone has painted several houses worth of rooms and may not know what to say when the person at the paint counter asks, “what finish do you want that in?”. So this week, I’d like to bring back the basics and break down how to choose the best paint finish for every room in your house.

Back in March I posted a tour of our current house and promised to take pictures of the exterior once everything was in bloom again. Well, now that it’s summer and everything is lush and green it’s about time I followed through on my promise.

Remember back in math class when they taught you the order of operations - PEDMAS (or, Please Excuse My Dear Aunt Sally, as I like to remember it)? I've never been good at math, but I do know that the order of operations is an integral part of it. Well, I believe there’s an order of operations to painting a room that makes it easier and faster to complete. And I’m here to break it down for you!

While working on the flip recently we had one of those “oh crap” moments when we realized we ruined the brand new butcher block counters. It would be easy to pretend we didn’t screw anything up and post a perfectly flawless “how-to” post, but where’s the fun in that? So follow along, because in this post I’ll share what went wrong and how we made it right so you can avoid making the same mistakes!

I’m so excited I’m not even gonna try to think of a formal introduction for this post… THE FLIP IS DONE!!! We put it up for sale 4 days ago and as of yesterday, it’s officially under contract!!! Picture me (and Lucius) with all the jazz hands!
Okay, now that that’s out of my system, I’ll take a step back and think of a more formal introduction… Oh yeah, here we go….
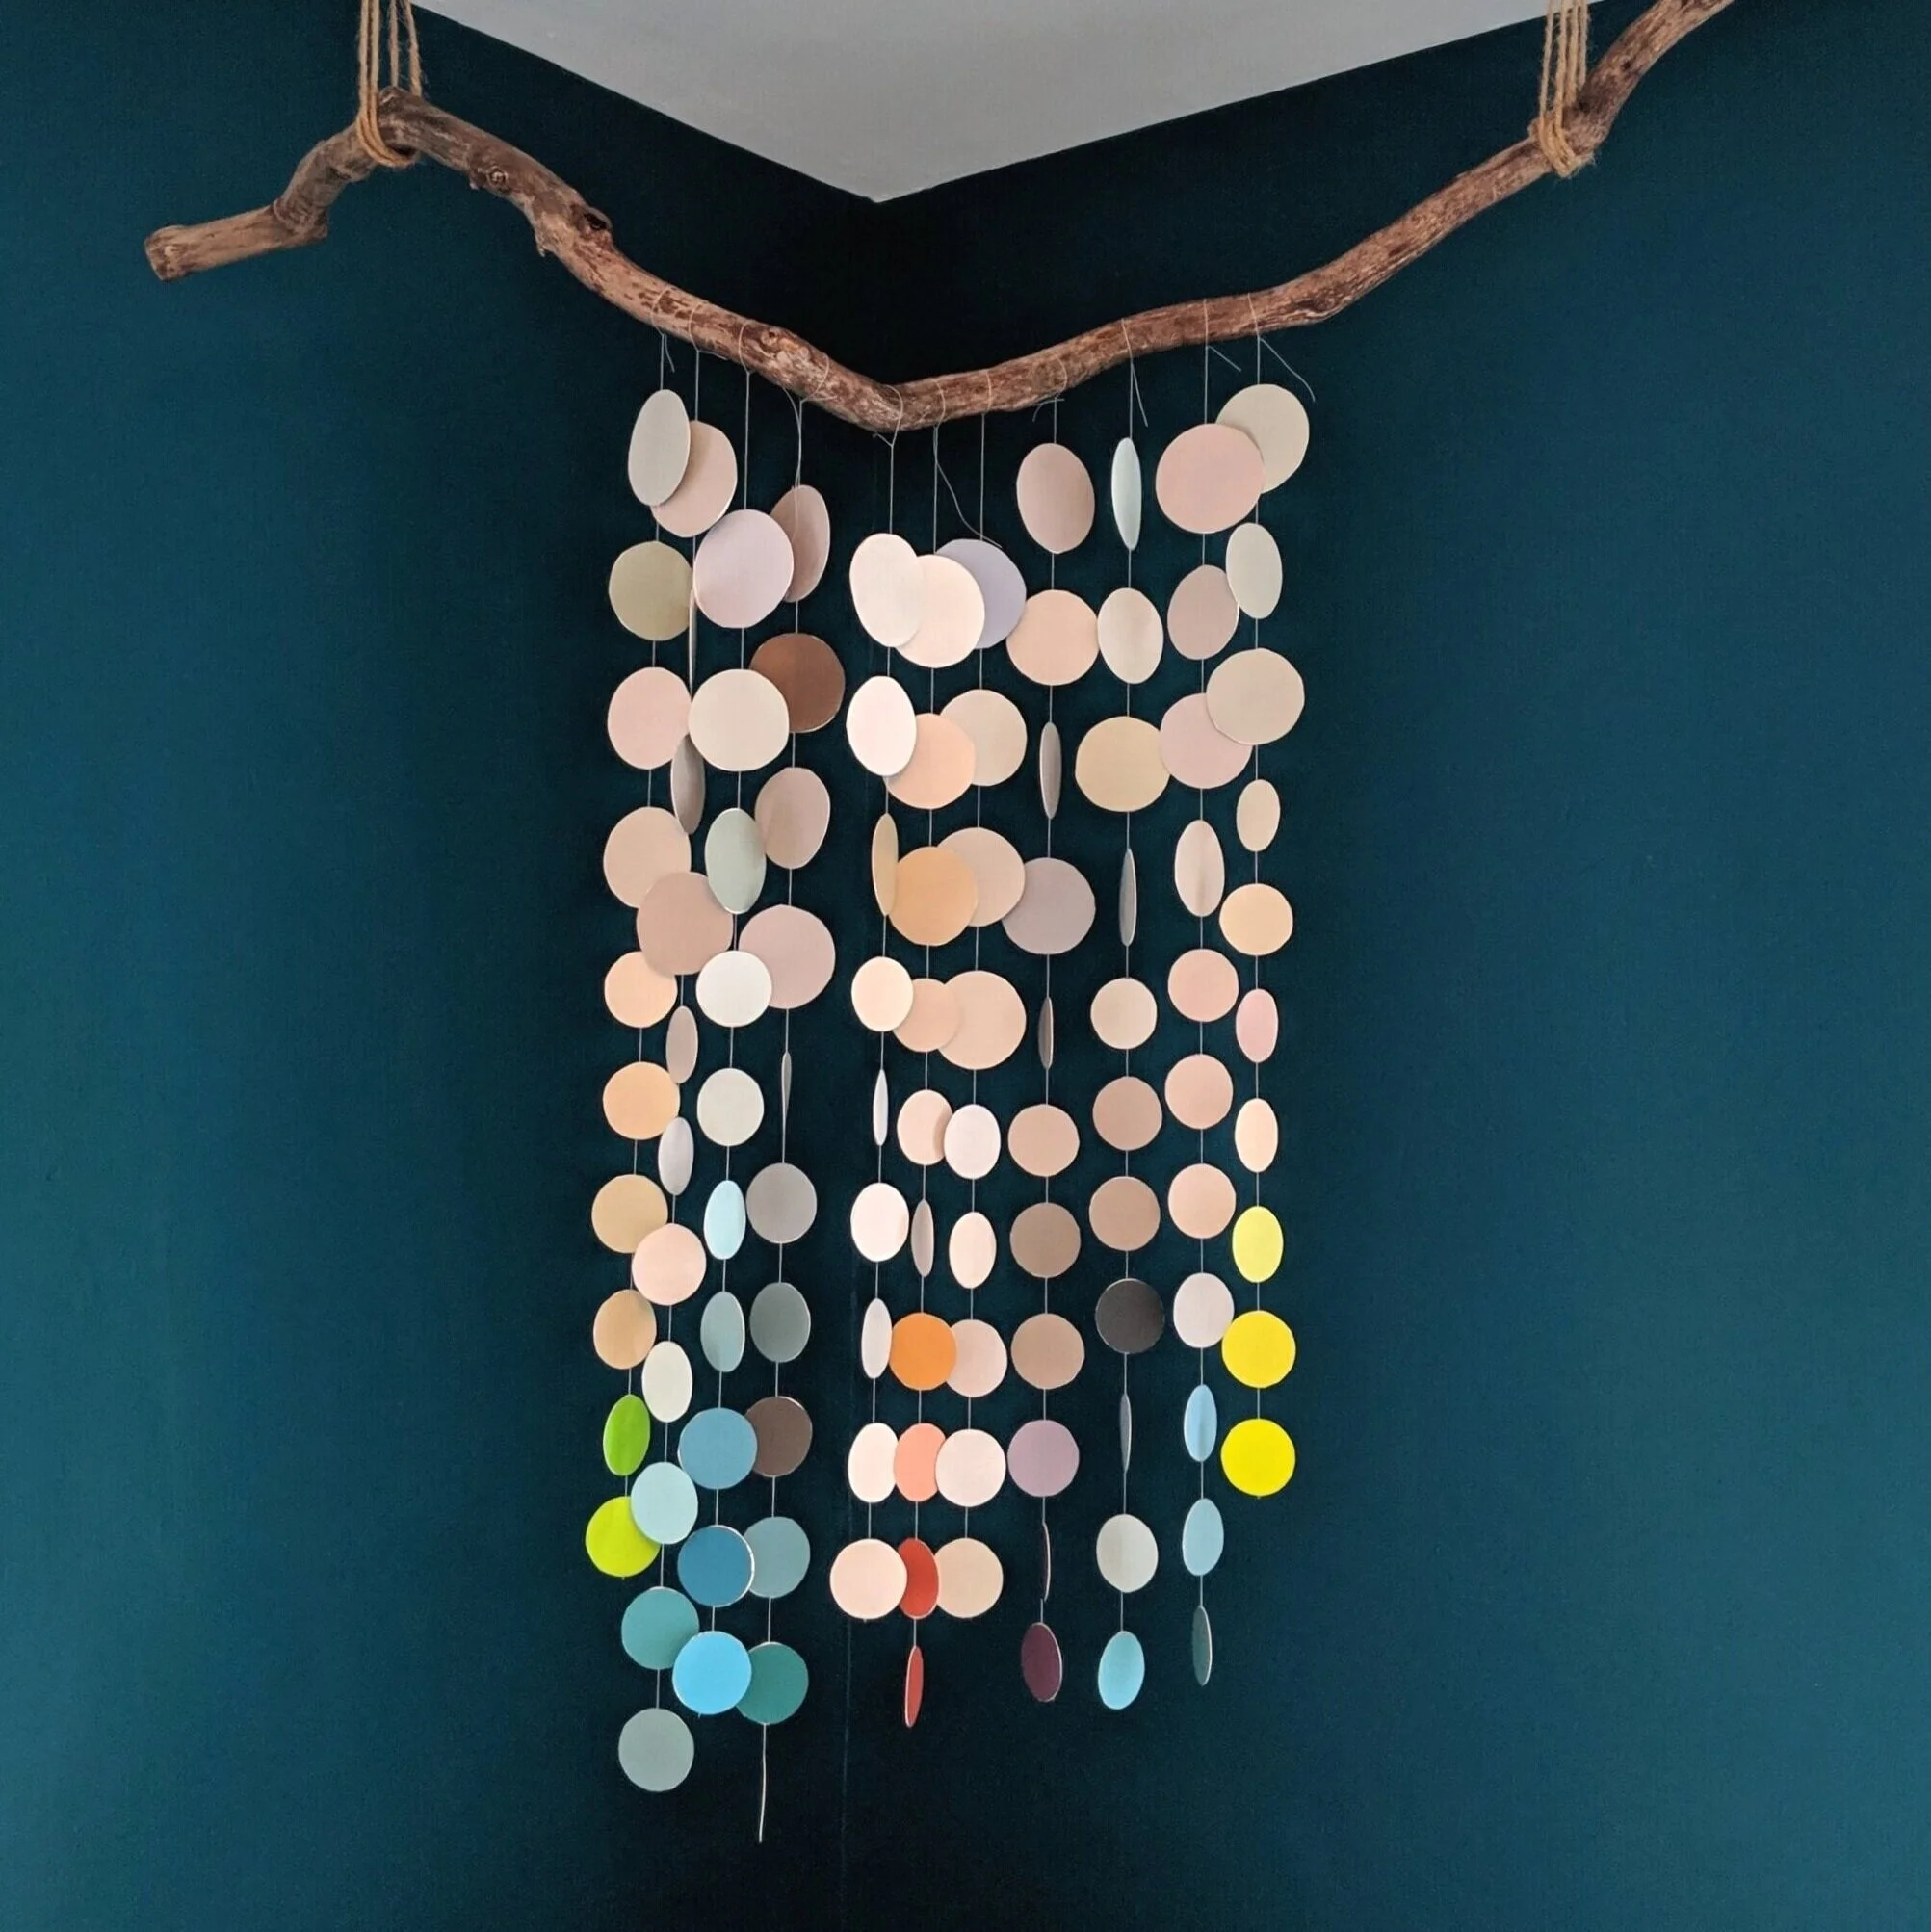
When I was pregnant with my second daughter and couldn’t continue with my normal home renovations, I had to redirect my energy somewhere else. I spent some time reupholstering our dining room chairs, painting, and creating curtains for our front door and sidelights. Then I got the idea to create a mobile for her room. Today I’d like to share my process with you so you can create one of your very own at little to no cost!

I’ve been spending a lot of time on Pinterest lately. Like, a lot more than usual. And I’m noticing some design trends that are really catching my eye. It’s very possible I’m behind the curve on these and most everyone already knows about them. But for those of you that don’t, in this post I’m going to talk about 5 trends I’m seeing a ton of right now that I’m really digging. Ready. Set. GO!

I posted last week about how we majorly changed the appearance of the exterior of the flip house by limewashing it. While the outcome is a huge improvement from what we started with, it left the house pretty monochromatic and kinda blah. Well, now it’s time to shake things up by adding some color!

If you’ve read some of my previous posts, you may have come across the post where I wrote about the flip that we bought. In that post, I talked about painting our little brick flip house white. Well, I’m excited to say that now it IS white! But I didn’t end up painting it - I limewashed it!

By now you’ve seen the lay of the land and you’ve probably noticed the massive mantel we have on the brick wall in the living room. What you may have not noticed is that since we’ve moved in, we’ve actually made some updates to it…

I never really thought I’d need a home office, so until recently I hadn’t given much consideration as to how I would want it to look if I were to create one. But now that it was actually happening, my mind was buzzing with possibilities. In this post (and subsequent posts on this subject, since I’m just in the beginning stages of this room makeover) I’ll give you a sense of how I tackle a room and walk you through my overall design thought process start to finish.

We put our house on the market and moved so quickly after announcing to our family and friends that we were going to make that our forever home, that I think we left many of them baffled as to the sudden change. Most people didn’t get a chance to even see the listing – let alone how the house looked when it was complete. So I’d like to take the opportunity now to show the before and afters and give those who know us personally, and those who don’t, a peek at how we modernized our 1927 American Foursquare, while still keeping its charm.

Unlike most people, I love painting. I love it so much I got my BFA in painting - true story! Not only do I love painting paintings, I also love painting rooms. I love the process of turning my mind off, getting in the zone, and drastically changing the look of a room in just a few hours with a gallon or two of paint. Let’s be honest - some of that might be the paint fumes talking.

Come take a peek at the beginning of our dining room renovation - and all the mess involved. Then finish up with some beautiful design inspiration and my future plans for this room!

If you’ve been following along, you’ve seen bits and pieces of the house as we’ve been making updates and writing individual posts. But today I’m going to show you the whole house, top to bottom, so you can get a feel for the flow and all the spaces we plan on updating. I’ve included TONS of pictures, and even took a (possibly motion sickness-inducing) video.

A few days after we moved into this house I took the day off work to get things organized. 8 hours later I had ripped the hideous carpet runner (and 8,000 staples) off the stairs. And 3 months later I got my butt in gear, painted our stairs, and haven’t looked back since!

Our oldest daughter is all girl. She loves pink, hair bows, rainbows, dresses, nail polish, all of it! I had a blast putting together her nursery when I was pregnant (with both our daughters we didn’t know the gender… gender neutral nurseries for the win!). When we moved into our last house, I got the opportunity to design a room more specific to her interests. And now that she’s getting a little older and is able to tell us her likes and dislikes, and since we’ve moved yet again, I had so many ideas for her new room - but where to start?


Amanda hired me because she hates decorating.
Not just in an "I'm too busy" way. But in a "I've tried, multiple times, and it never looks like it does in my head" way.
She'd buy something, hang it, hate it, and feel like she'd just lit twenty bucks on fire. In fact, she reached design paralysis after she painted the dining room walls a moody green and realized it wasn't what she'd hoped.