
How to DIY Shaker Cabinet Doors
Easy Shaker Cabinet Door Tutorial
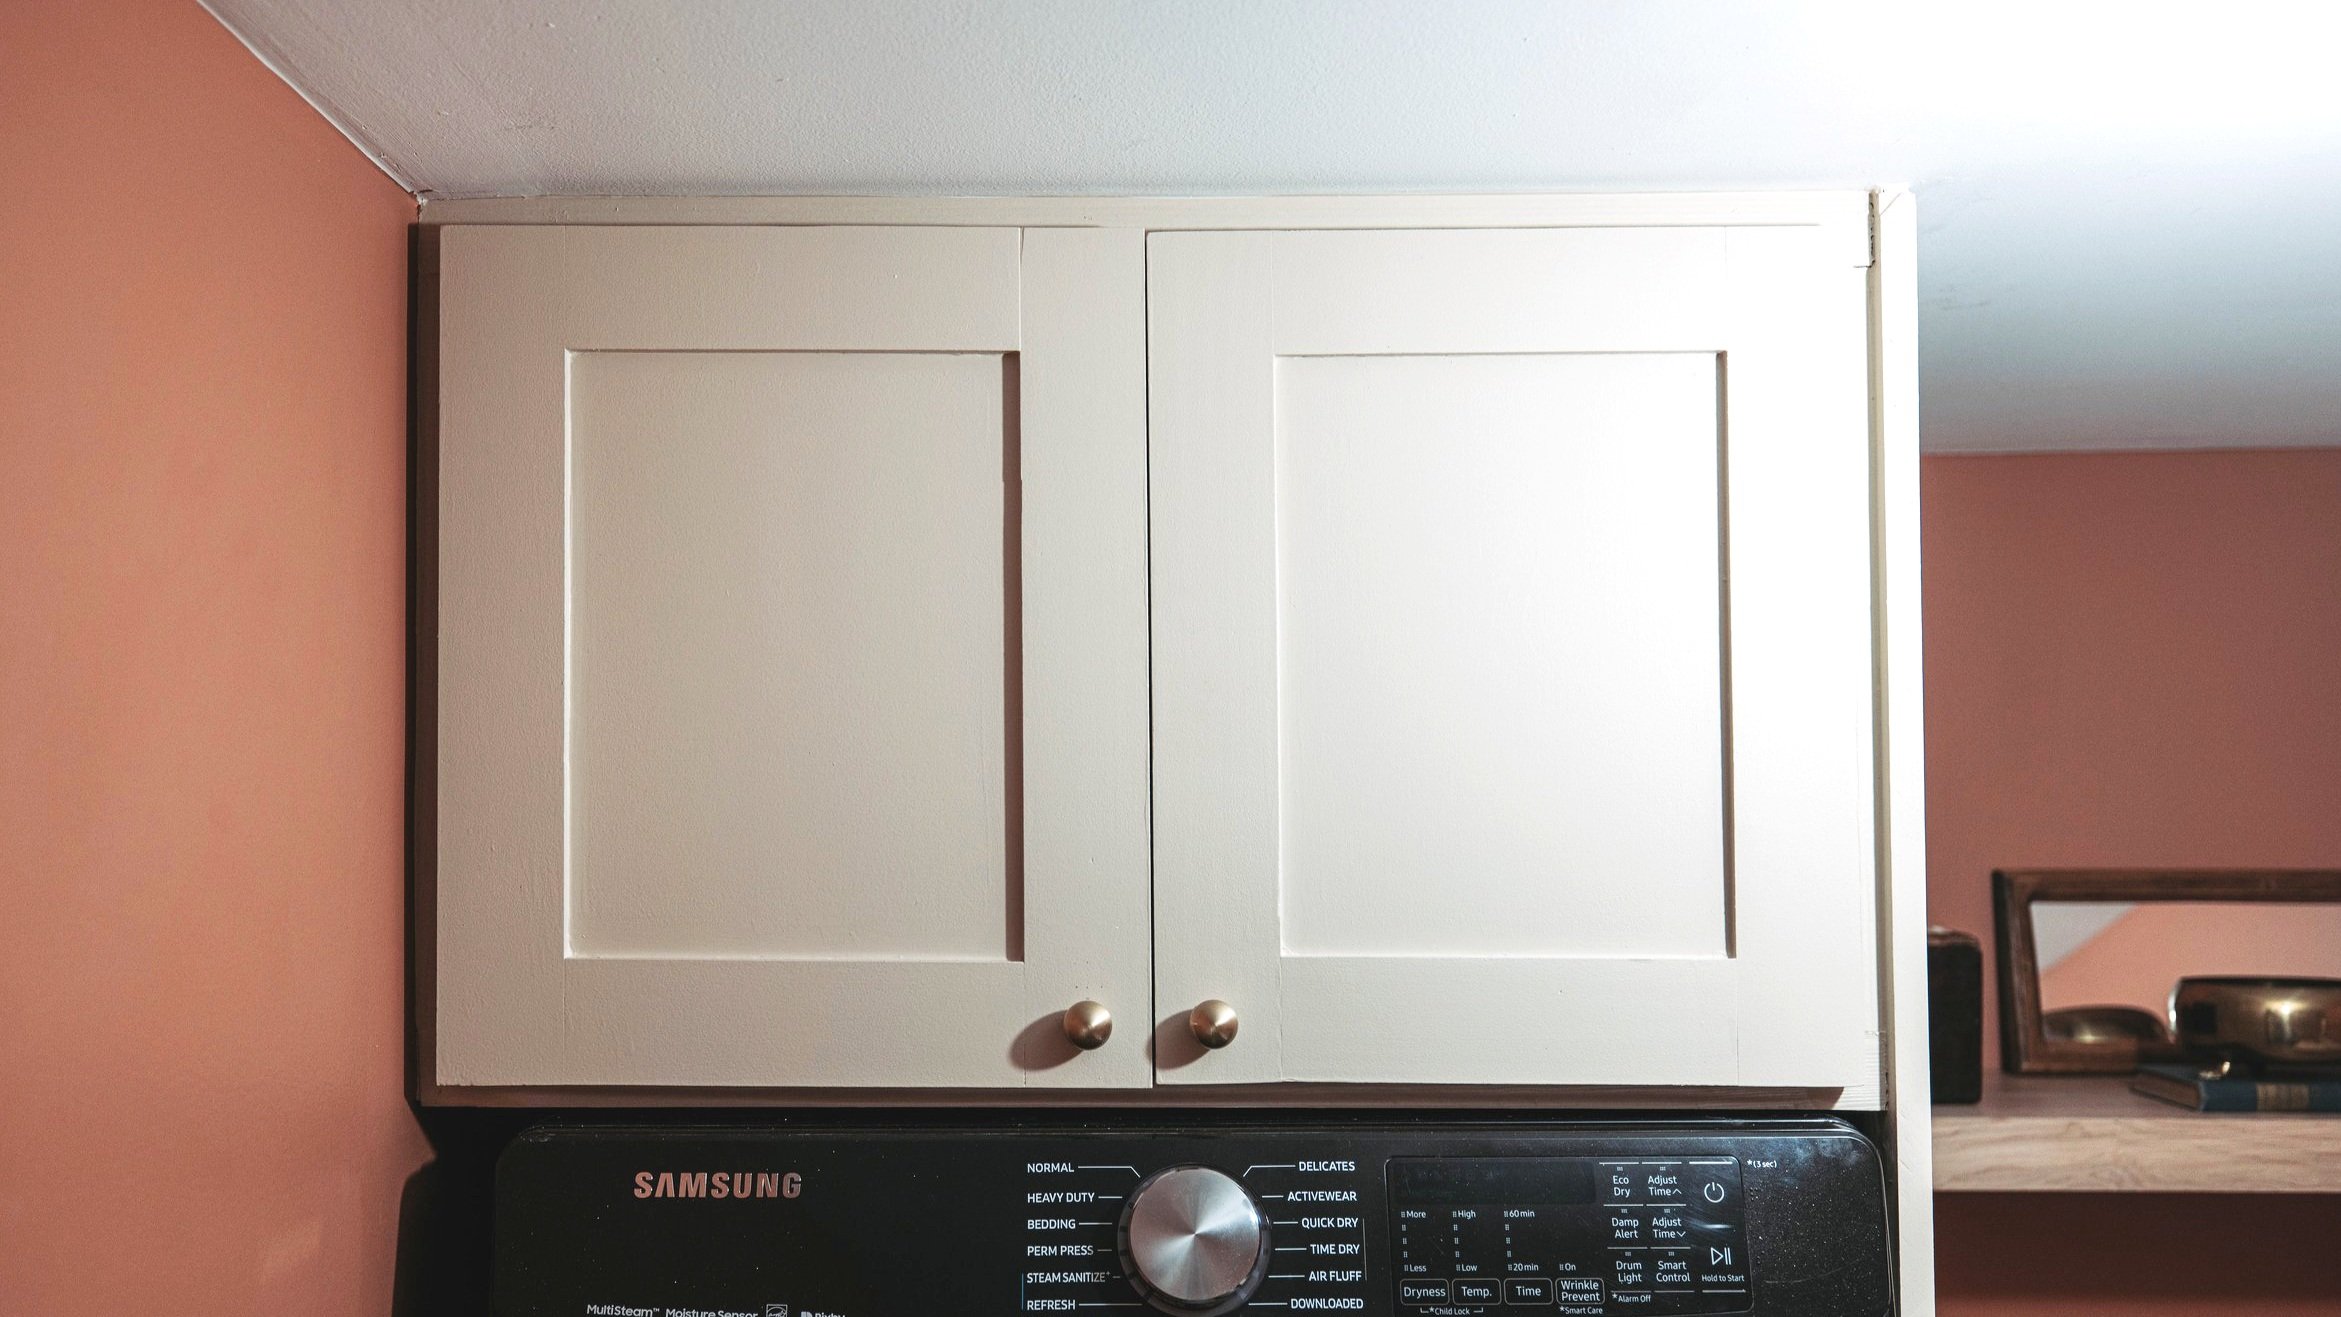
When I finished up the 2022 fall One Room Challenge (ORC) a few months ago, I mentioned that there were a couple of outstanding items I didn't get to before it ended. One of those items was building doors for the cabinet above the washer and dryer. Well, I'm excited to say that they're now complete!
In this post, I'm sharing how I, a novice woodworker, built my own custom shaker cabinet doors. (And how you can, too!)

I admit I procrastinated on this project because I was nervous. I'm really new to woodworking, and I wasn't sure I could actually pull it off. I mean, the open cabinet didn't look that bad, right?
But I knew it would look better and more finished with doors to match the rest of the cabinets. Plus, the feeling I had every time I finished a piece of the puzzle for this room during the ORC was so empowering - I kinda wanted to feel it again.
I do want to mention that I really took my time with this project and did dry-fits every step of the way, which I found really helpful to catch any mistakes before it was too late.
Here's how you (even if you're a beginner) can DIY your own shaker cabinet doors.

As an Amazon Associate, I earn from qualifying purchases. This post may contain affiliate links, meaning I receive commissions for purchases made through those links at no cost to you.
Materials for Door Build
- 1x3 wood (I used Poplar)
- 1/4" plywood (I used Birch)
- Miter saw (or miter box)
- Table saw
- Drill
- Drill bits
- Clamps
- Speed square
- Kreg Pocket Jig*
- Screws (The instruction manual for the Kreg Jig will guide you to what size screw you should be using for your wood depth.)
- Wood glue
- Tape measure
- Pencil
Additional Materials (optional)
- Concealed hinges (the size of your hinges will vary depending on how much the doors overlay the cabinet)
- Kreg Concealed Hinge Jig*
- Bondo
- Orbital sander
- Sandpaper discs
- Caulk
- Primer
- Paint
- Paintbrush
- Foam roller
Take Measurements
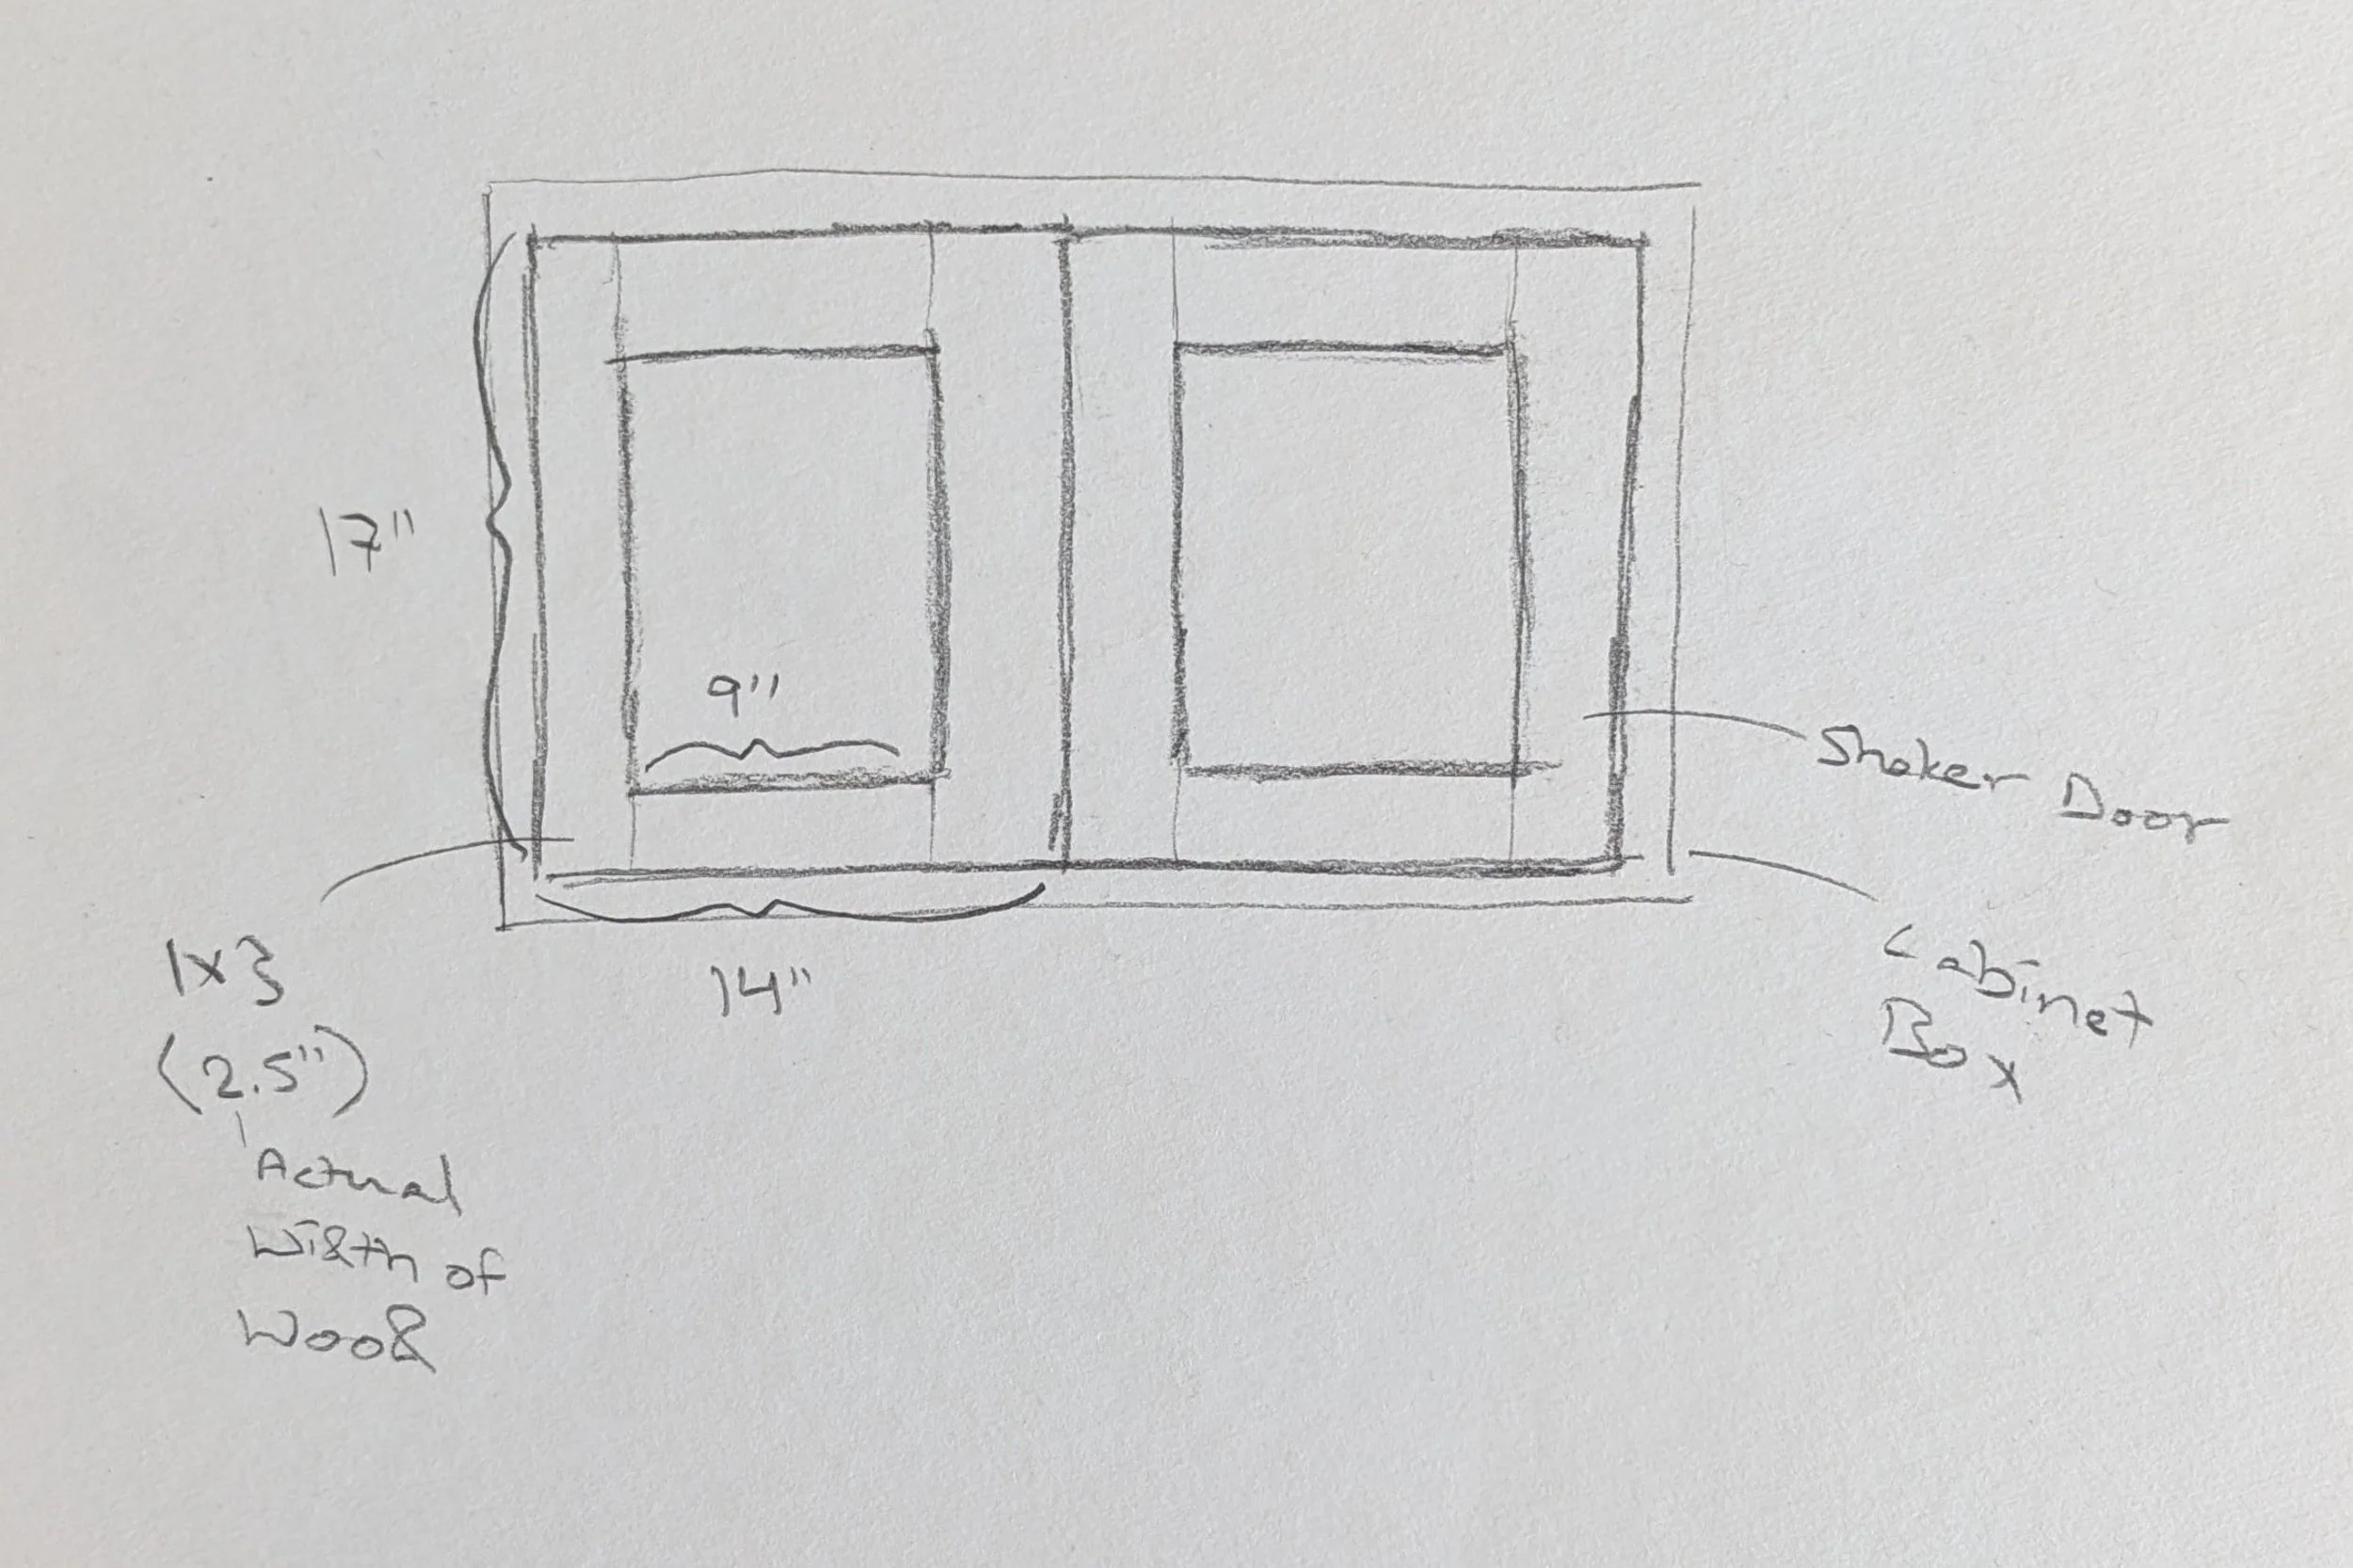
I started my project by taking measurements of the interior and exterior of my cabinet box to determine the size my doors needed to be. Since each project is unique, I won’t reference my exact measurements throughout this tutorial.
However, I’m a very visual person, so I sketched out my doors with my measurements which helped me verify my math. Quick tip: note that 1x3 boards are actually only 2.5” wide.
Cut Rails and Stiles
A shaker cabinet is made up of stiles (the vertical boards on the sides) and rails (the horizontal boards on the top and bottom) with thin wood (in this case, plywood) as the interior panel. My stiles and rails are made of 1x3 Poplar.

One benefit of shaker cabinets is that there are no mitered corners. The stiles run the entire length of the door while the rails span the distance in between.
You could make these cuts with a table saw, but if you have a miter saw handy, it’s a little easier. I highly suggest saving any extra pieces of wood to use in future steps!
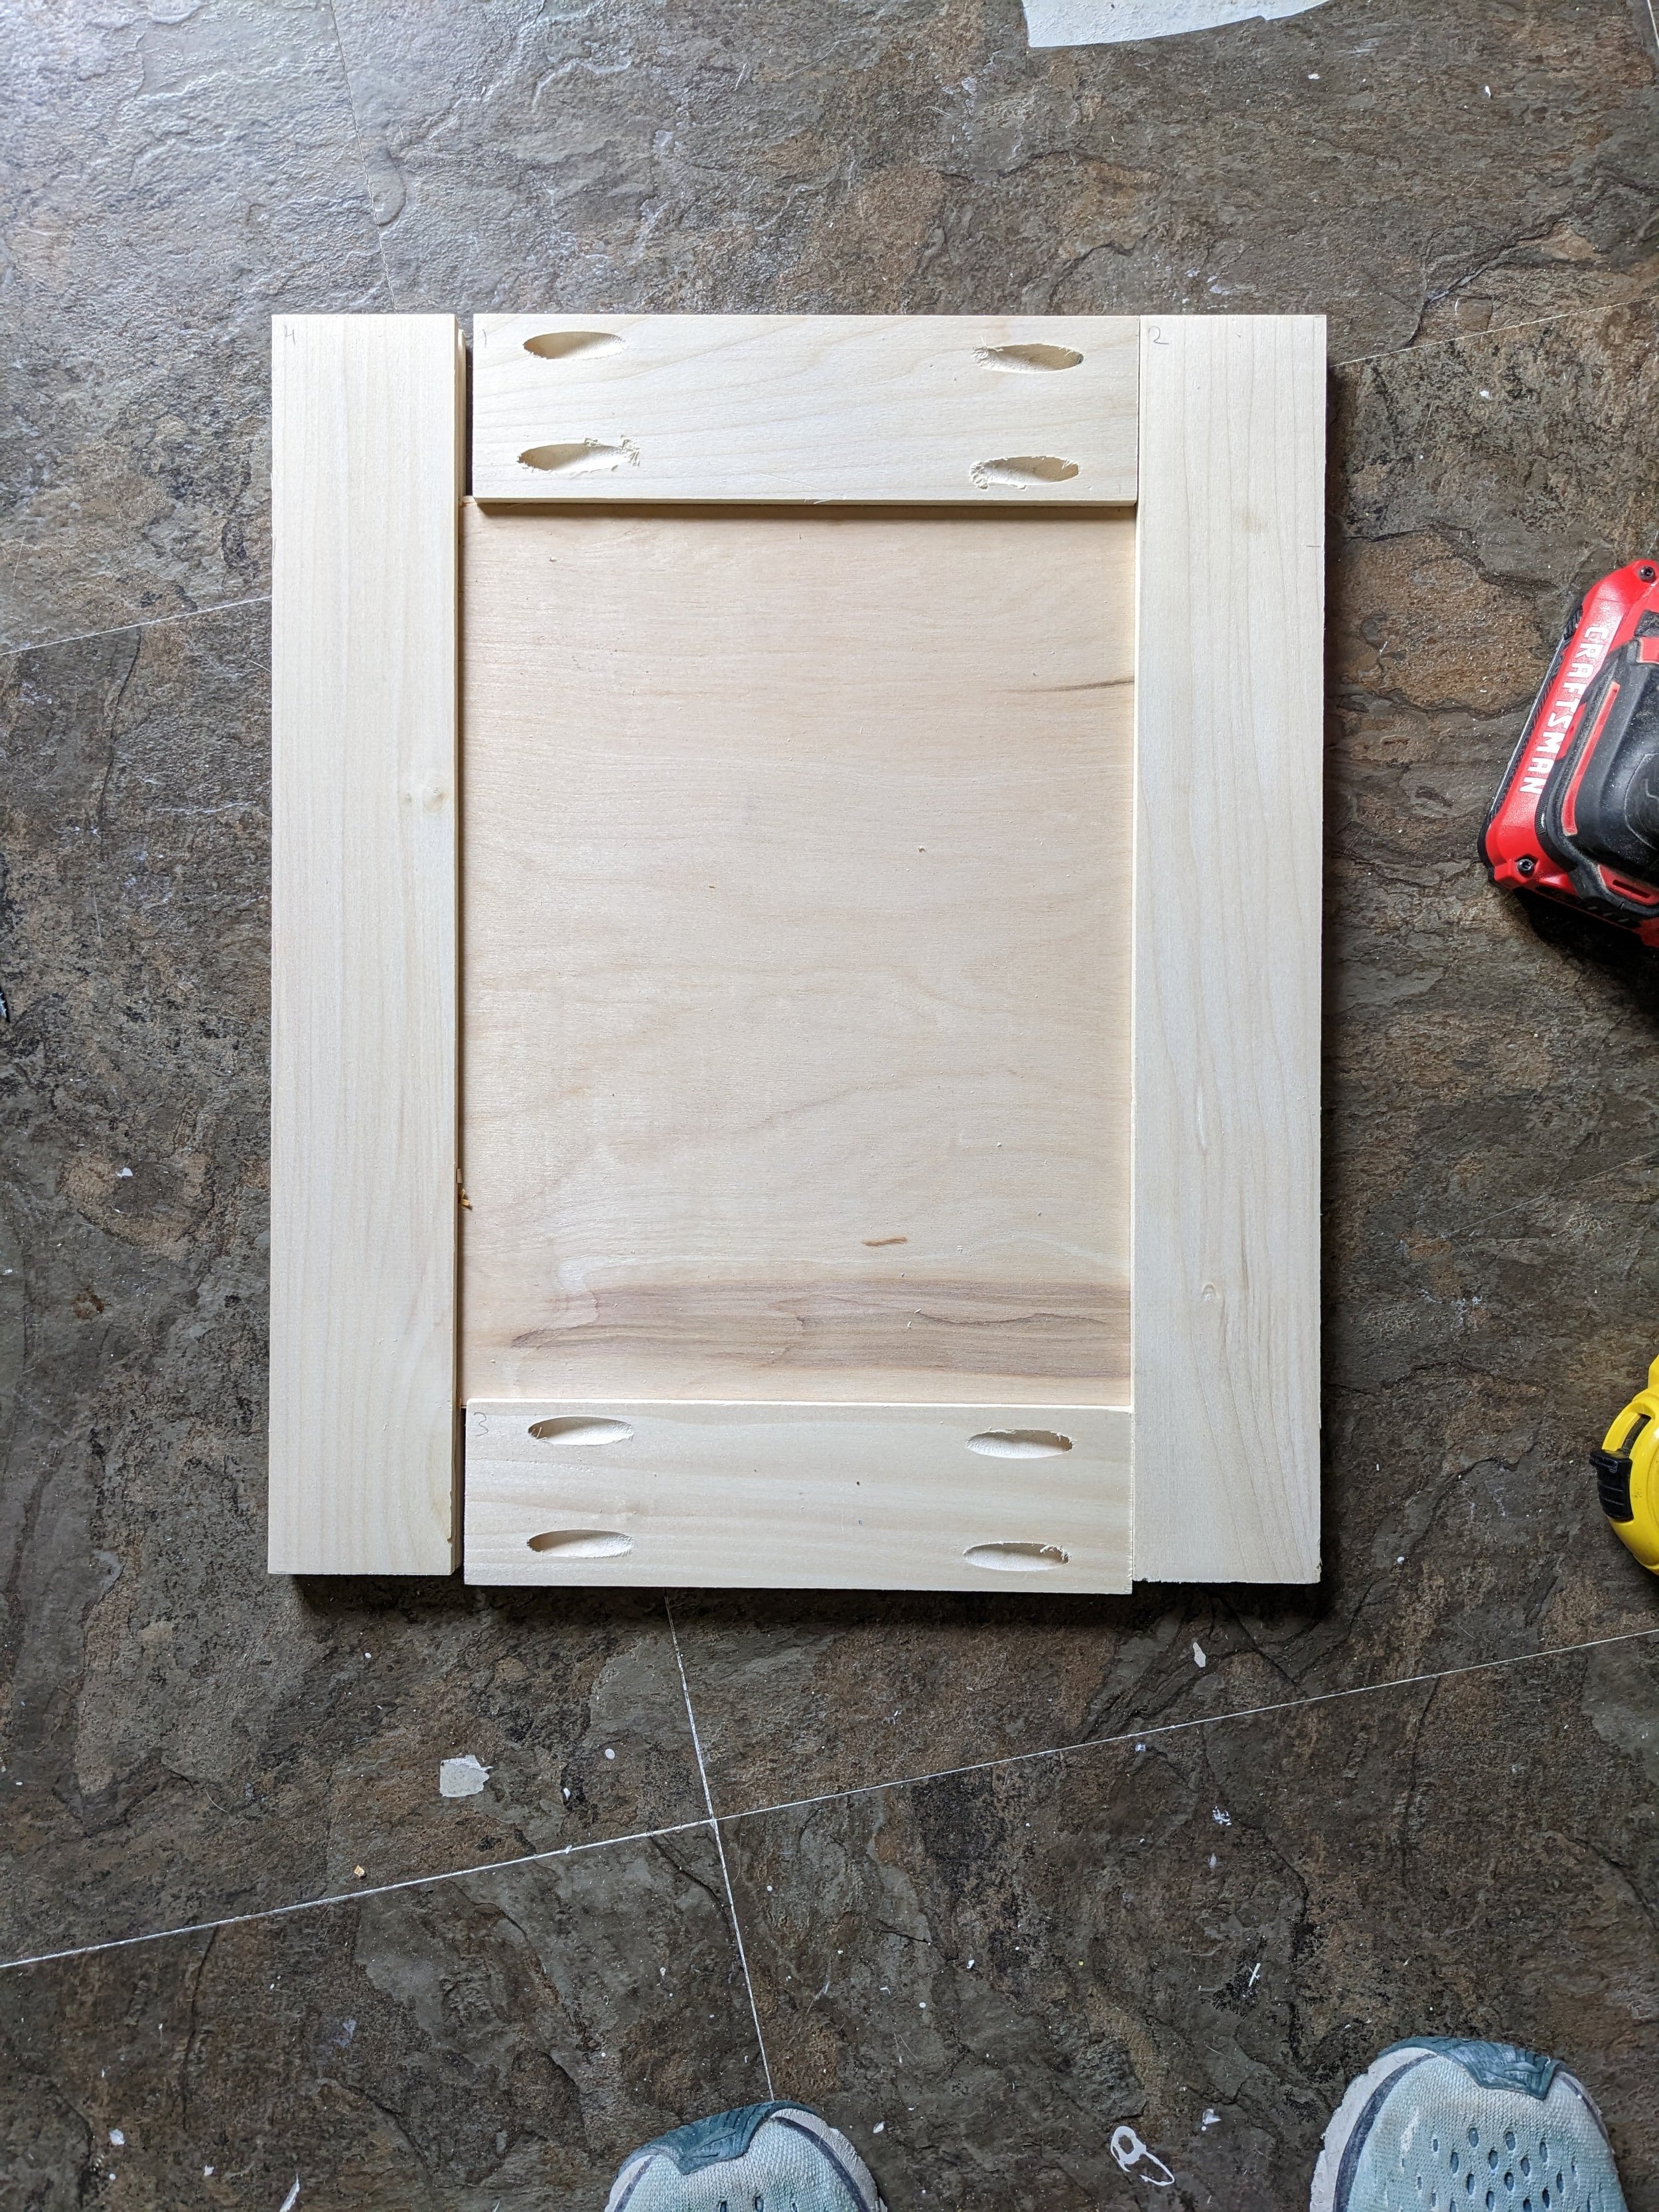
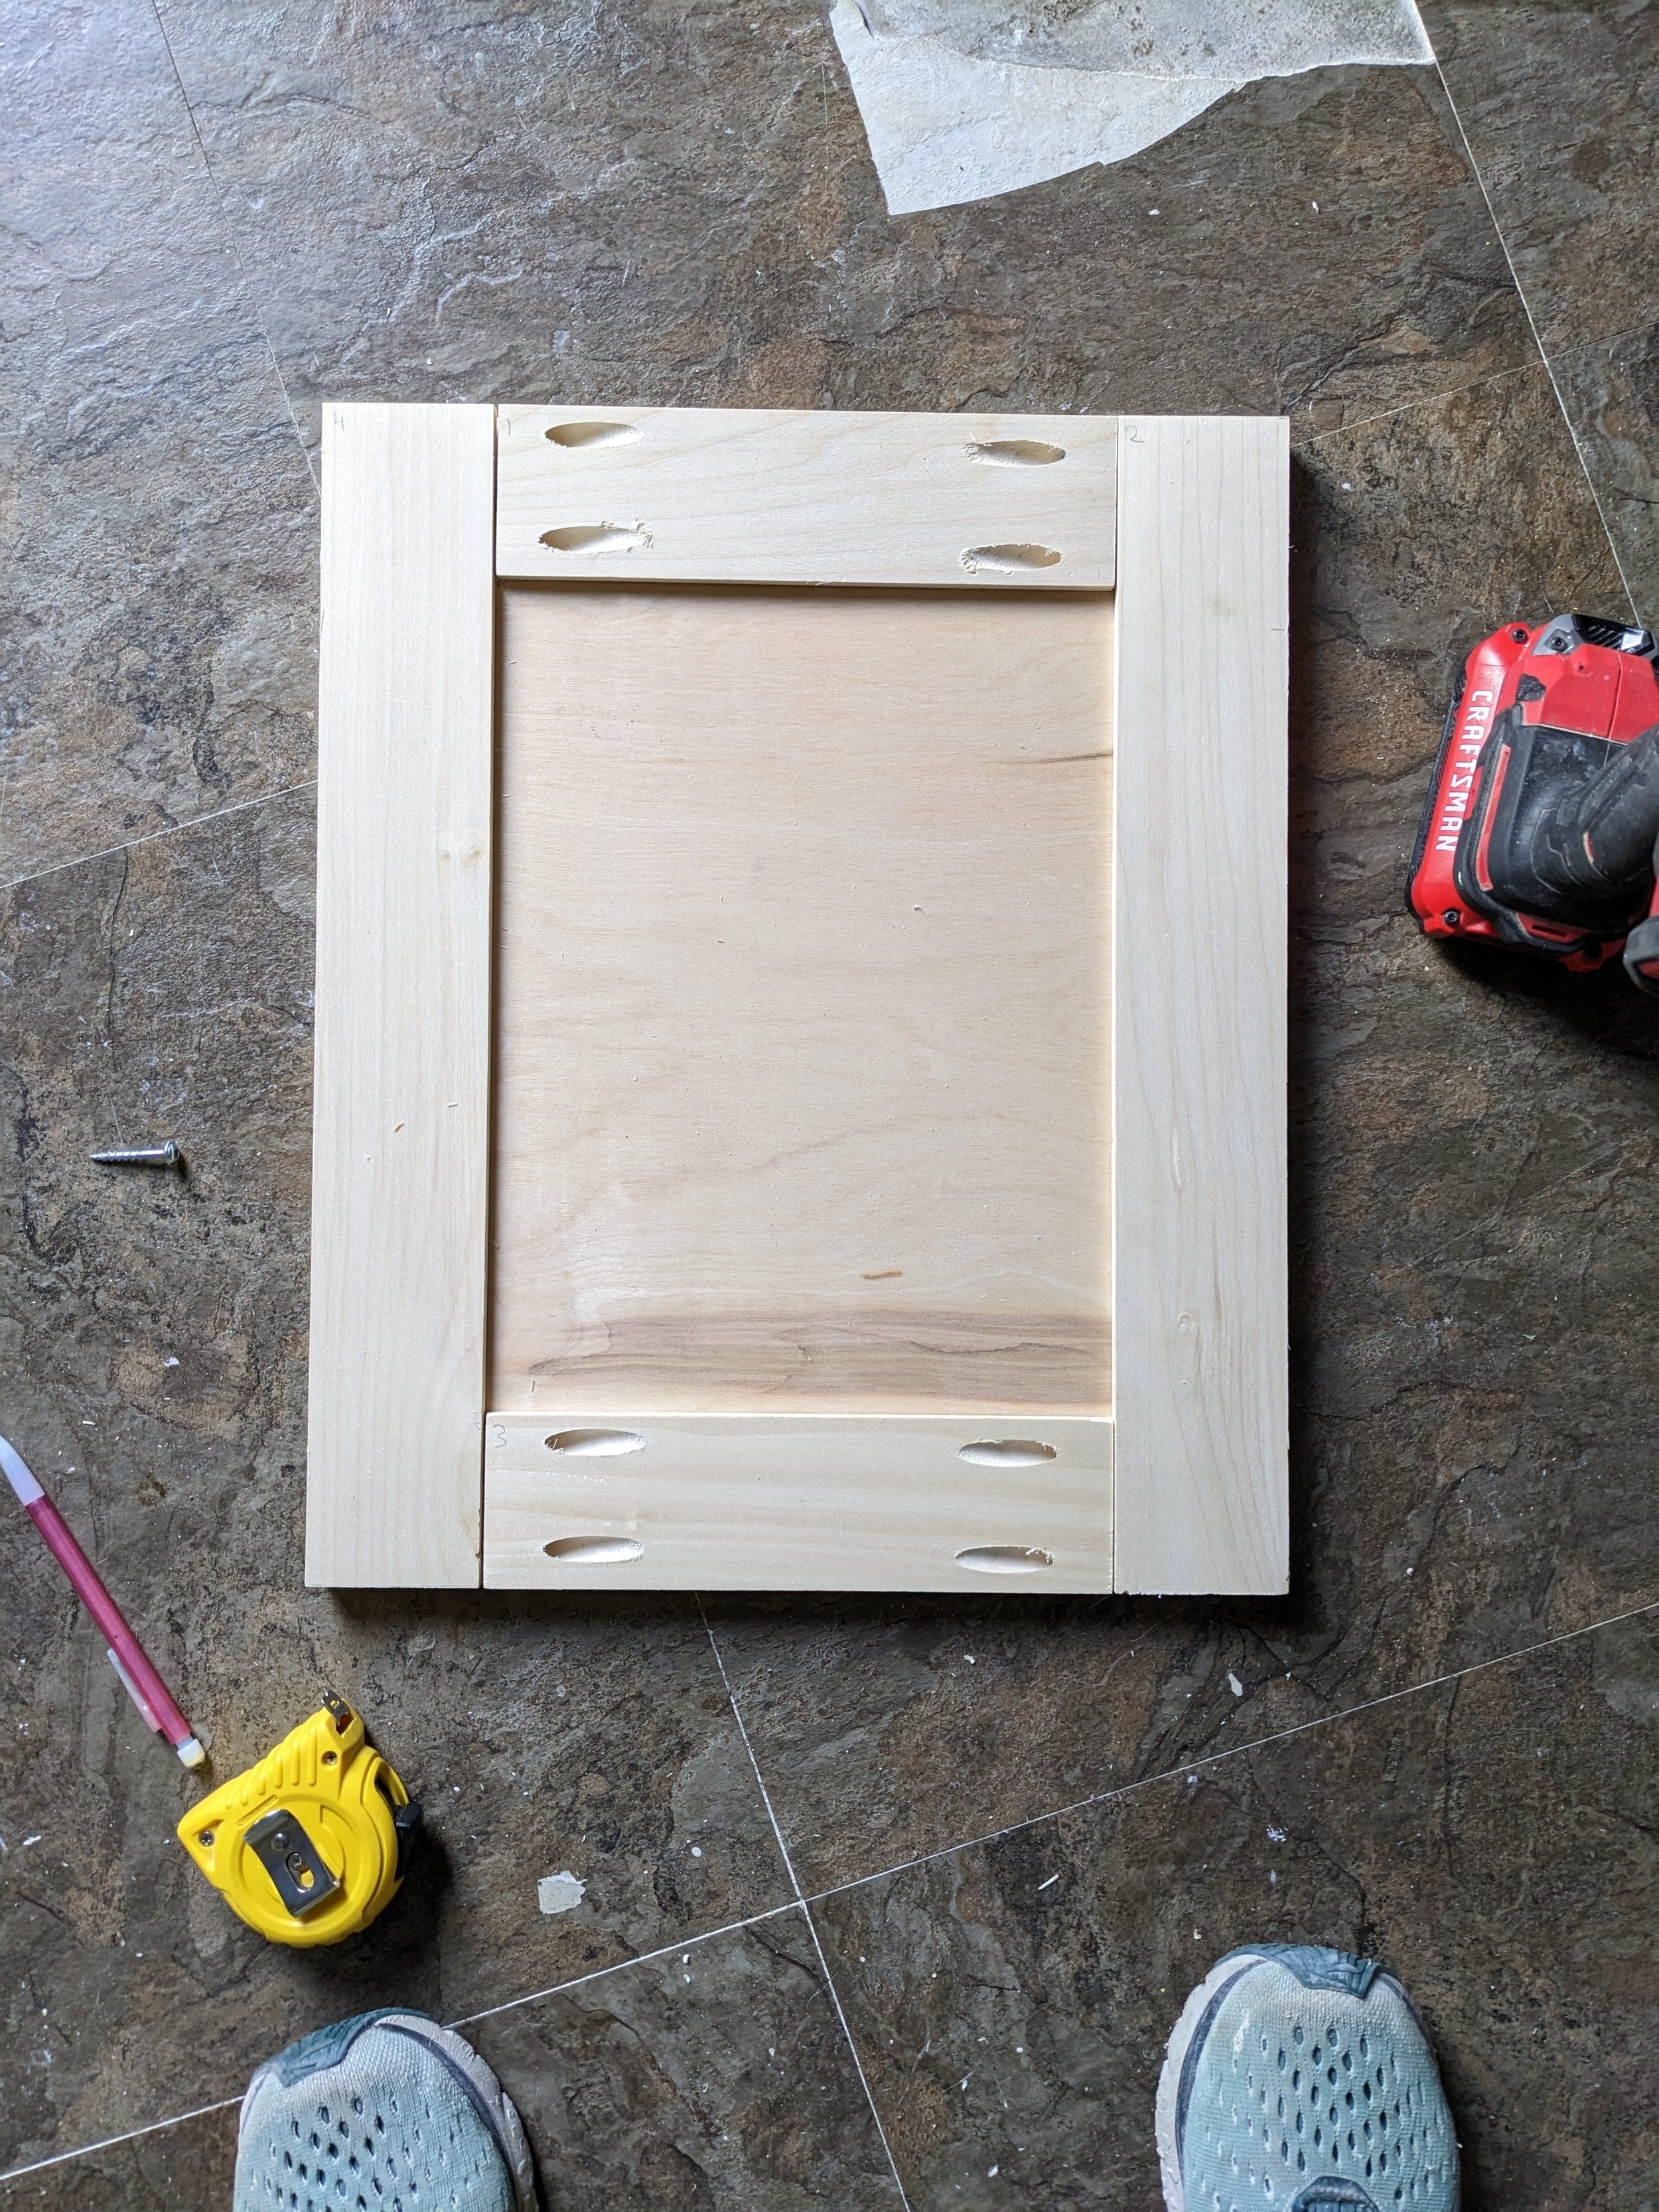
At this point, I did a quick dry-fit by holding my boards up to the cabinet. Once I was sure everything looked good, I numbered my pieces clockwise 1-4 to make sure I used the same placement of each piece for future steps.
Drill Pocket Holes*
I’ll preface this step by saying you can build shaker doors without drilling pocket holes and instead using mortise-and-tenon joints, but I didn’t feel ready to add another new thing to an already new-to-me process. Maybe next time!

Using my Kreg Jig, a drill, and a strong clamp, I drilled two pocket holes into each end of each rail. The Kreg Jig comes with instructions for how to set up the jig depending on the width of your wood, so I won’t get into specifics here.
Before I drilled into the wood I cut for the doors, I drilled a couple of pocket holes into my test pieces. This helped me realize I needed a stronger clamp so my wood wouldn’t shift while drilling. (Slow and steady, people!)
Cut Notch for Plywood
On the inside edge of your stiles and rails, you’ll cut a small notch that will hold the plywood in the center of the cabinet door. Here’s where your scrap pieces of wood really come in handy.
First, make sure the blade on your table saw is set low - mine was a little less than 1/4” inch.

Next, mark the center of a piece of scrap wood and set the fence of the table saw so the blade is on one side of your mark.

Then, run the scrap wood through the table saw. Flip the board end-to-end and run it through the table saw again on the other side of your mark.
Now check to see if your plywood fits in the notch.
You’ll likely have to make adjustments and test it again on another piece of scrap wood - and that’s okay! Make sure you get this step right before cutting your good pieces.
Cut Plywood
Once my notches were cut, I measured the distance between the rails and the distance between the stiles. I added 1/4” to each of these measurements.
Again, I did this step slowly. I purposely cut my plywood a little big, knowing I could always make it smaller until it fit perfectly.
Put It All Together
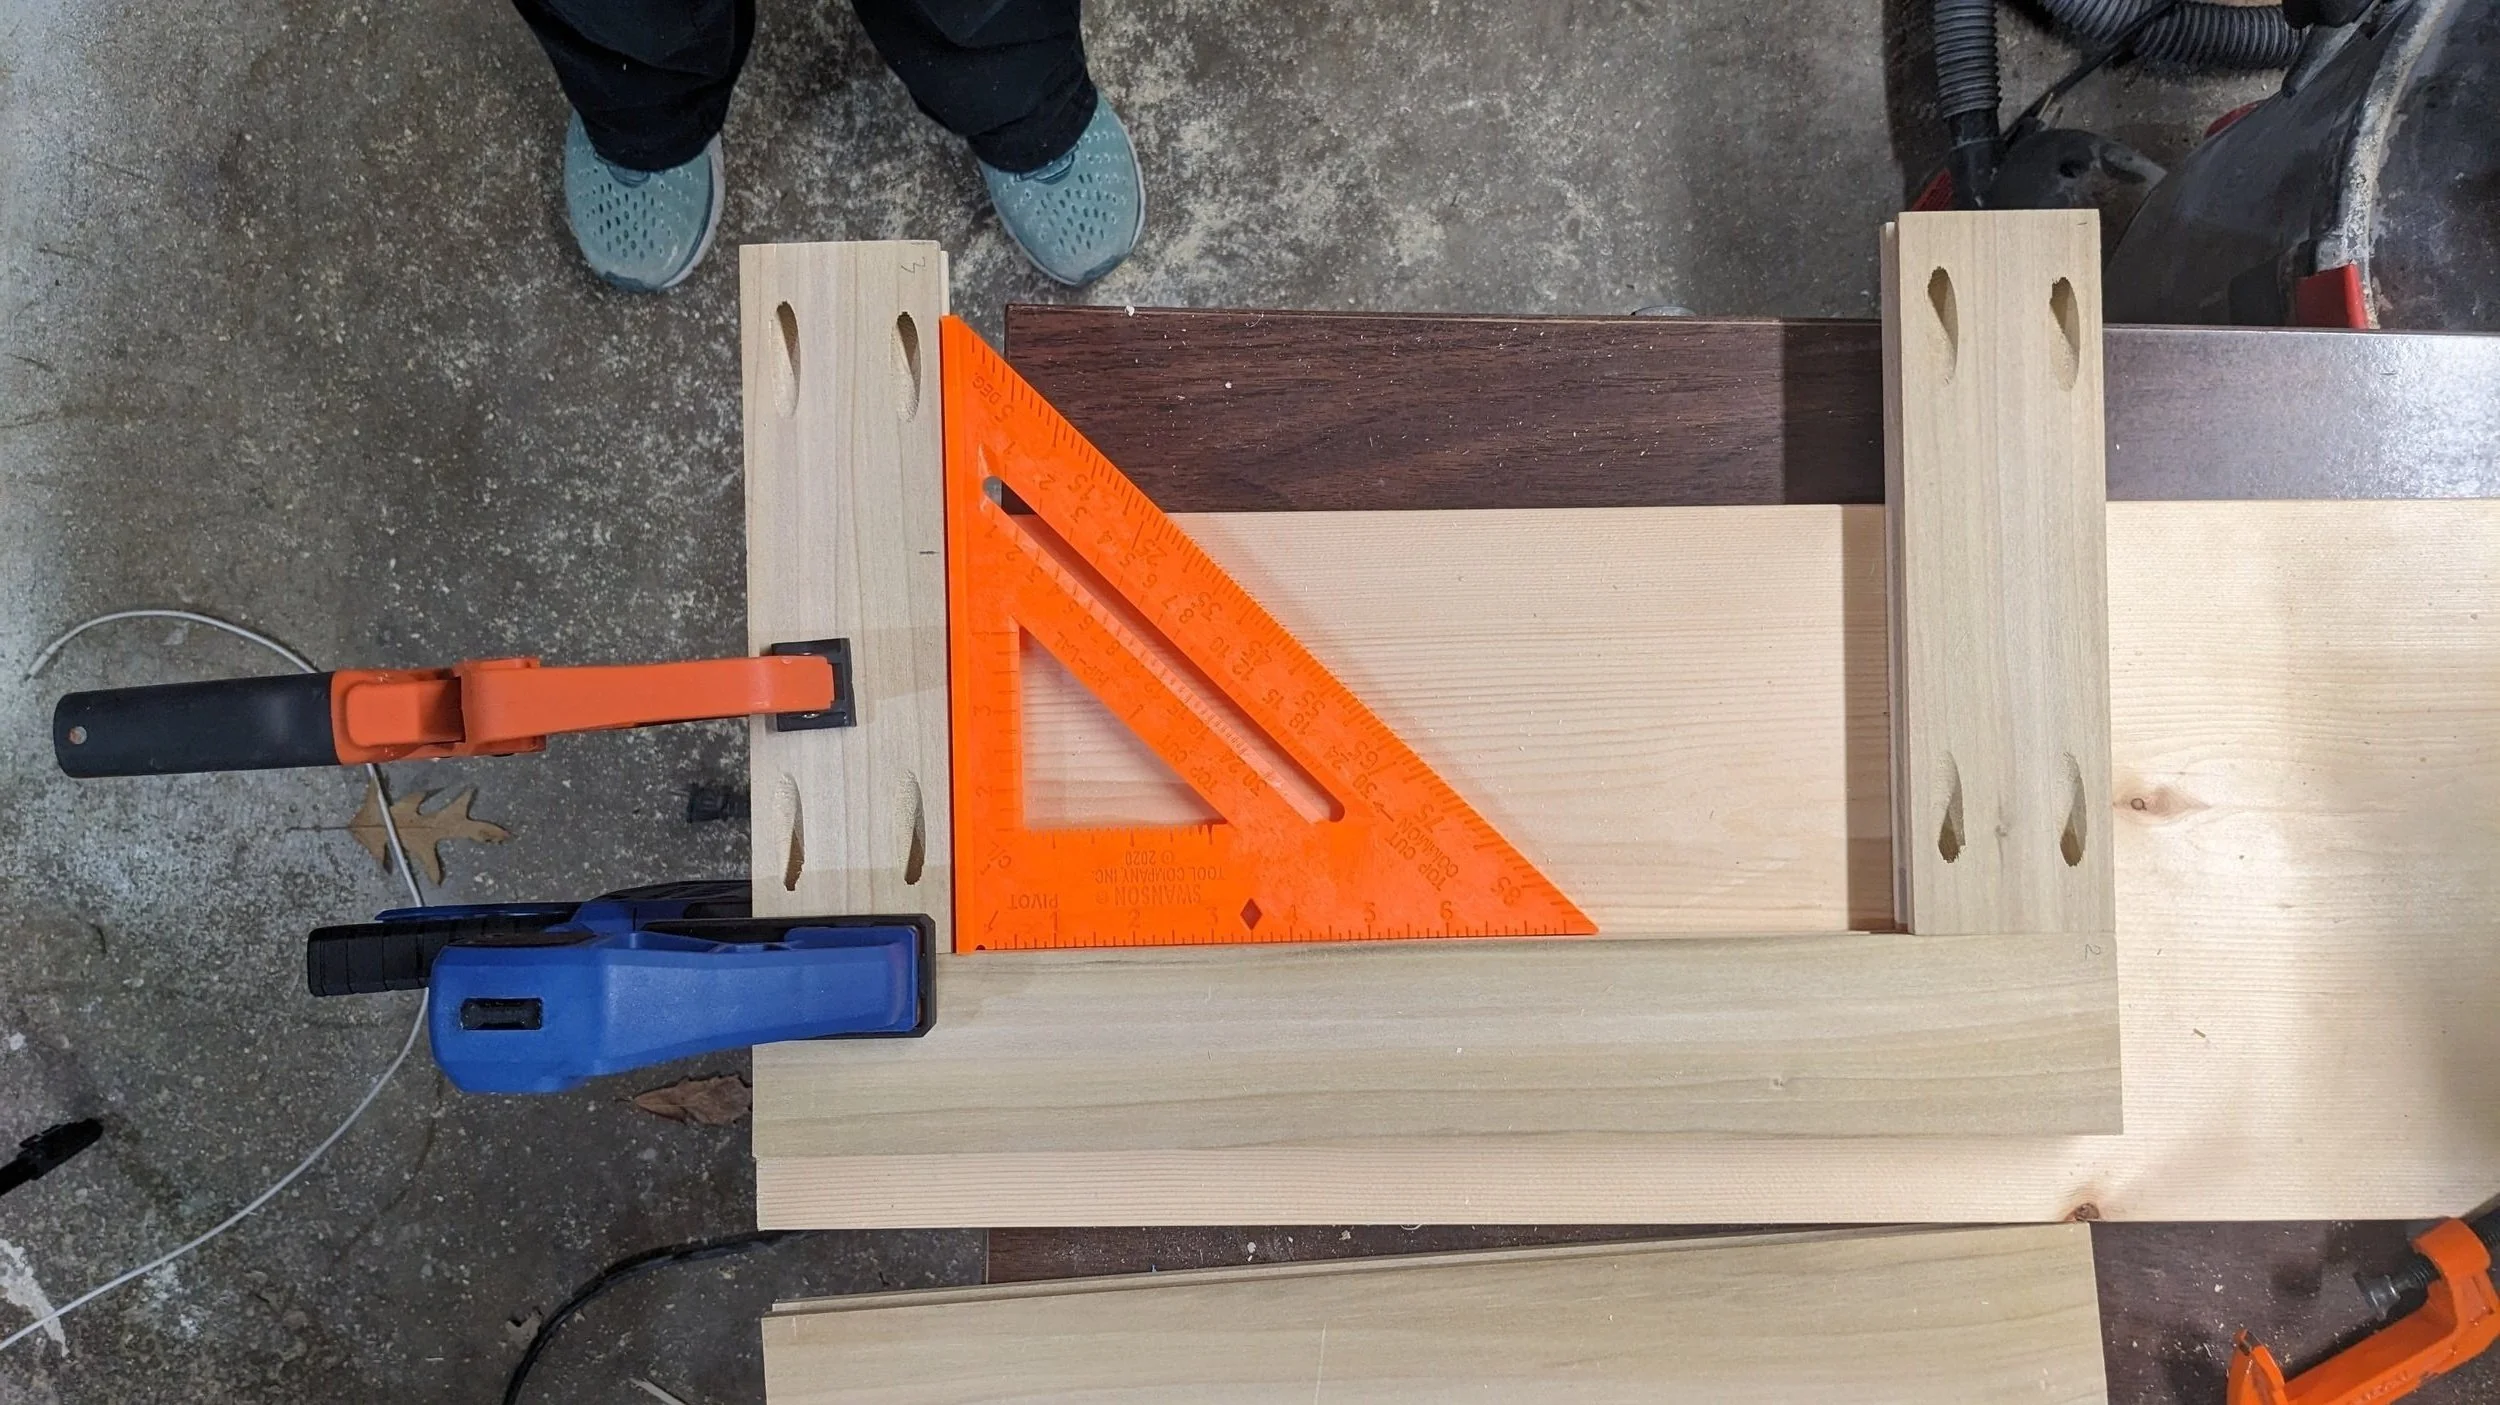
Using a speed square and plenty of clamps, screw the rails to one stile.
From here, slide your plywood into the notches. If everything fits well, run a bead of glue along the notches and add the other stile to secure it all together.

You’ve officially built a door! But there’s still more work to do…
Fill, Caulk, Prime, Paint
Even though they’d be on the inside of the cabinets, I chose to fill my pocket holes with Bondo. Once dry, I sanded it down with 80-grit sandpaper. I also caulked around the inside frame of my doors (where the 1x3s meet the plywood).

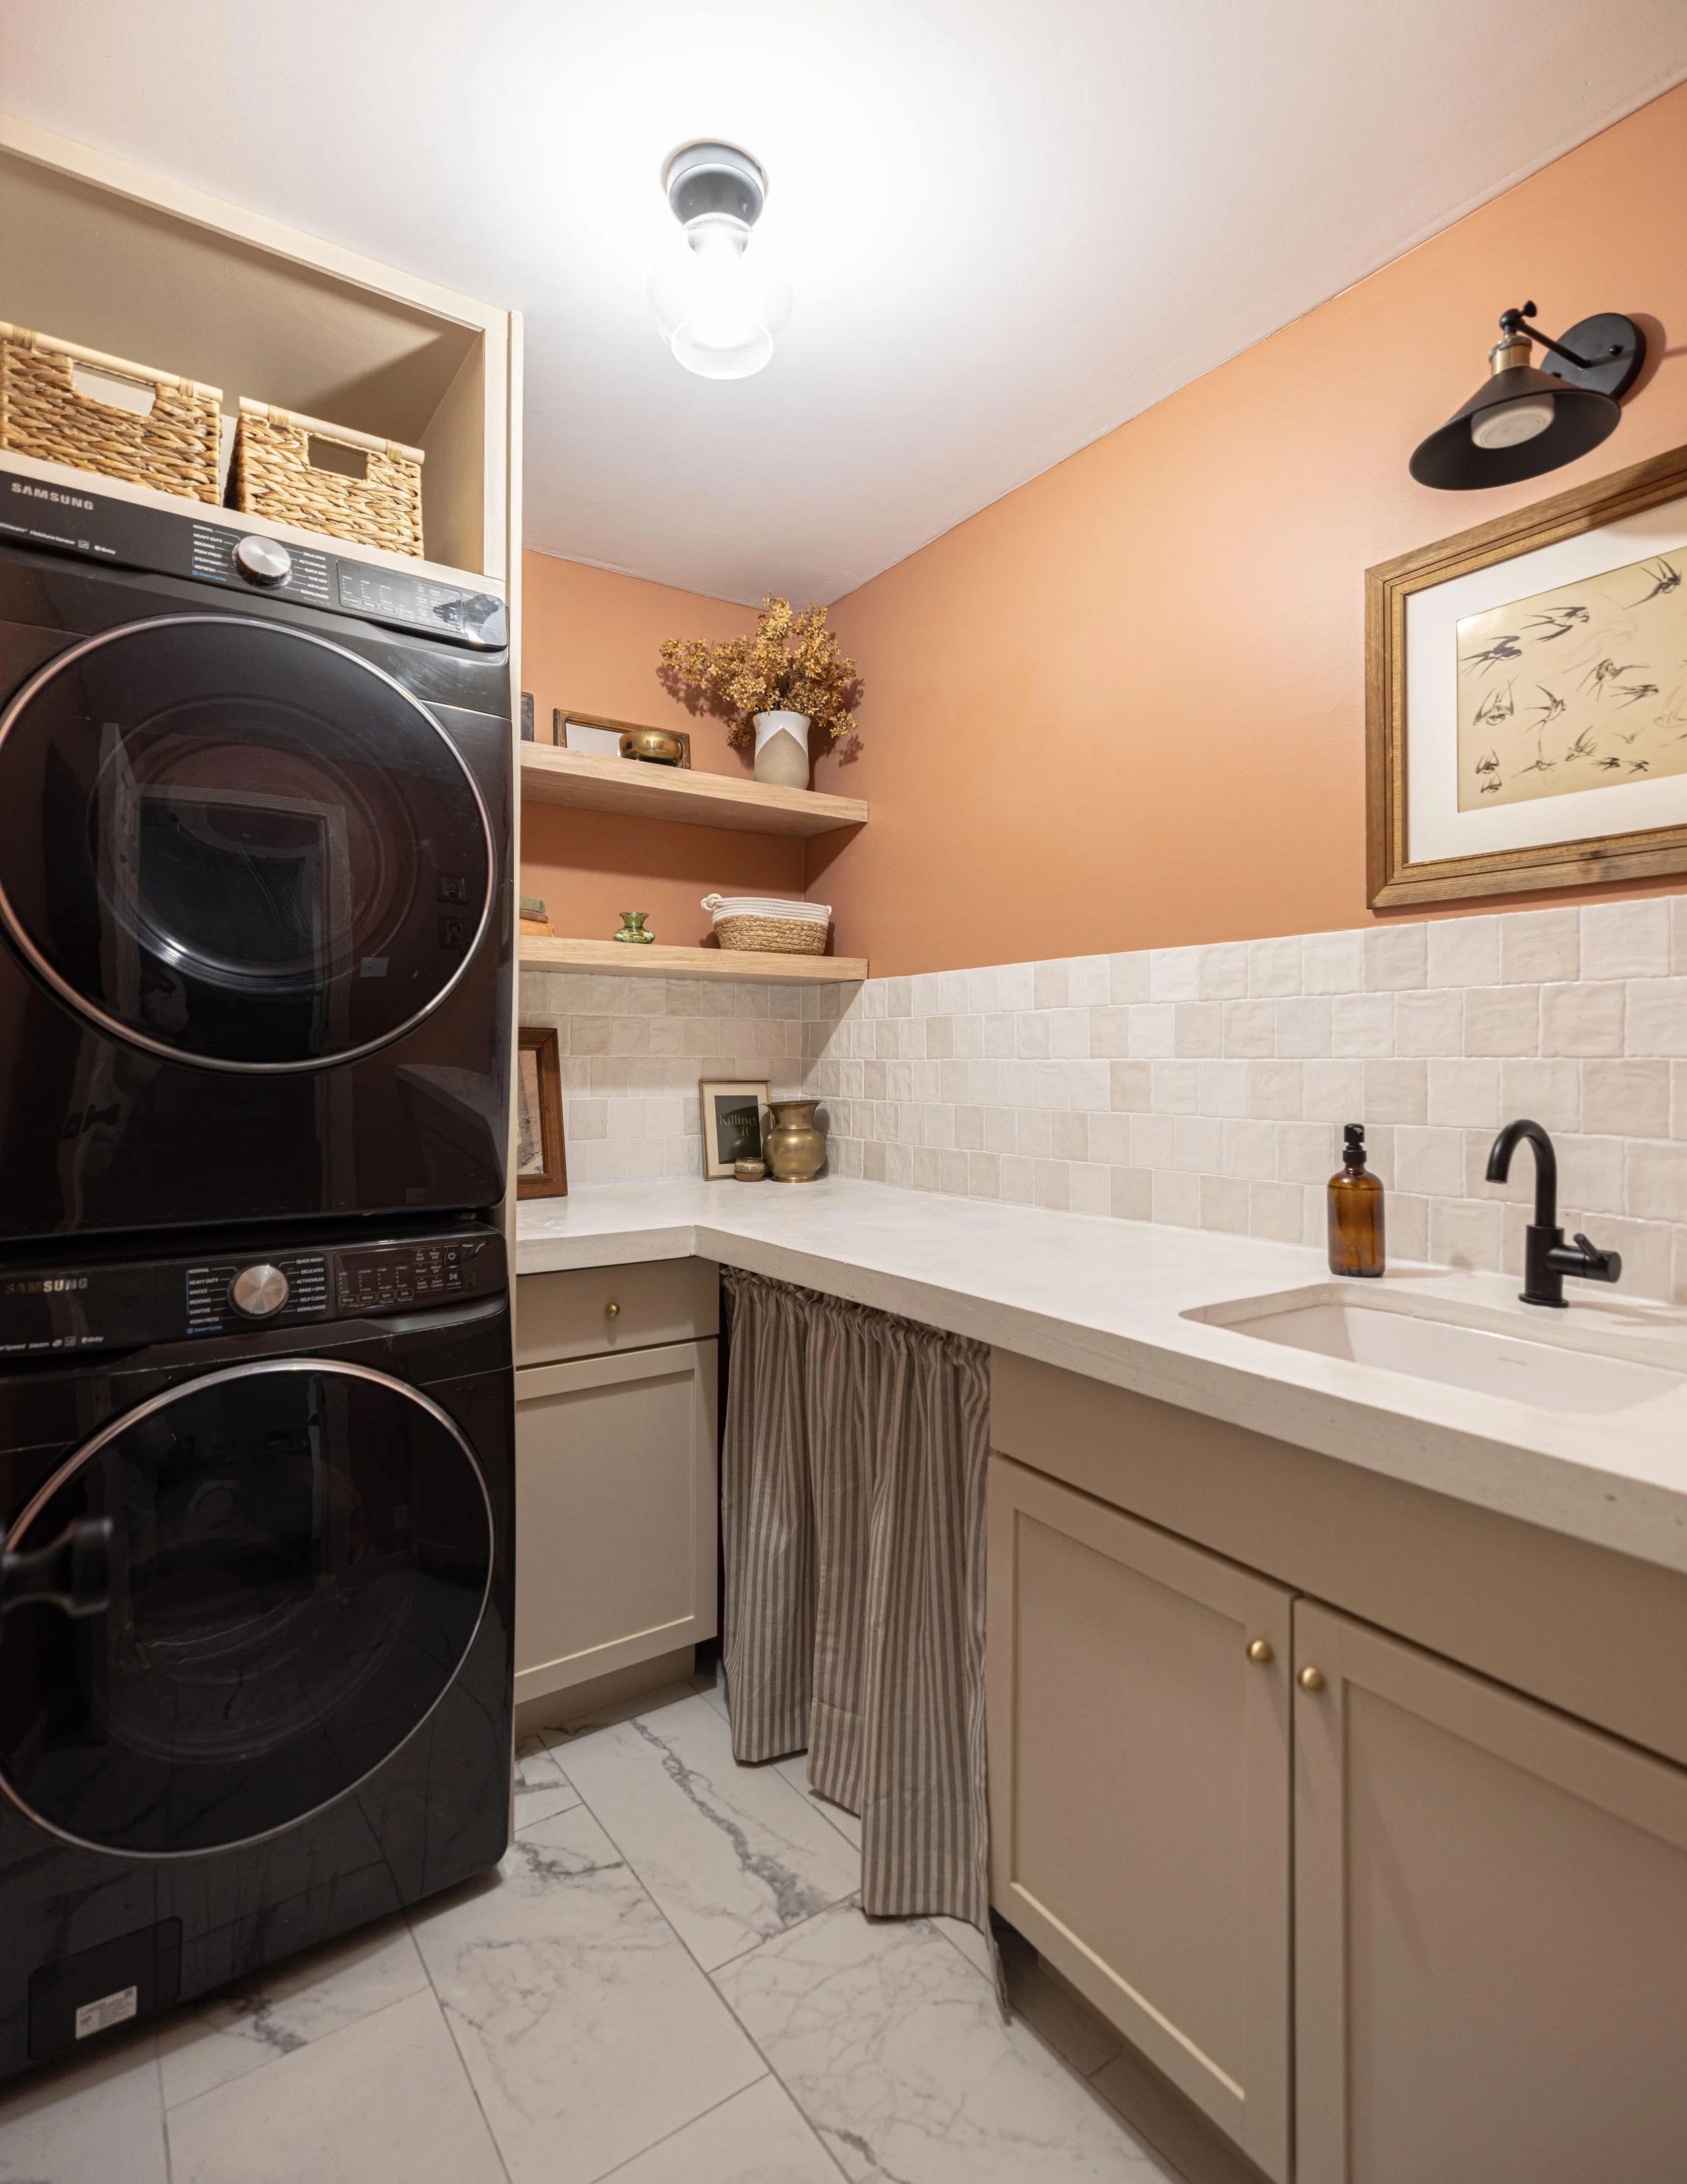
Lastly, I primed and painted my doors with a foam roller to match the rest of the laundry room.
Install Hinges*
Because the other cabinets in the laundry room have concealed hinges, I wanted to add them to these doors, too.

To install a concealed hinge, I used a Kreg Concealed Hinge Jig. However, it is possible to do this without a jig if you don’t want to buy one - but you’ll need other tools. OR, you could use an entirely different type of hinge.
As with the Pocket Jig, I followed the instructions provided for my door measurements and watched a YouTube video or two. I was really nervous I’d mess them up, which is why I chose to drill my hinge holes before painting.
Install Cabinet Doors
And now, the moment you’ve been working towards - installation!

Since your hinges are already installed on your doors, you just need to figure out where you want your doors to hit on the cabinet box.
Mark on your cabinet box where to drill, and pre-drill the holes to prevent your wood from splitting. Then screw them in!
Add Handles or Knobs
Stand Back and Admire

Now take the time to be impressed by your newfound skills. You built a friggin’ door! How cool is that!?
Final Thoughts
Building these doors 100% gave me the feeling of empowerment I was looking for and made me really look forward to expanding my skills with my next project. It’s so easy to look at something and think, “I could never do that.” but I’m learning every time I try something new that if I just take it step-by-step, I’m capable of way more than I realize.
Be sure to Pin the image below for later so you can build your own shaker cabinet doors!

