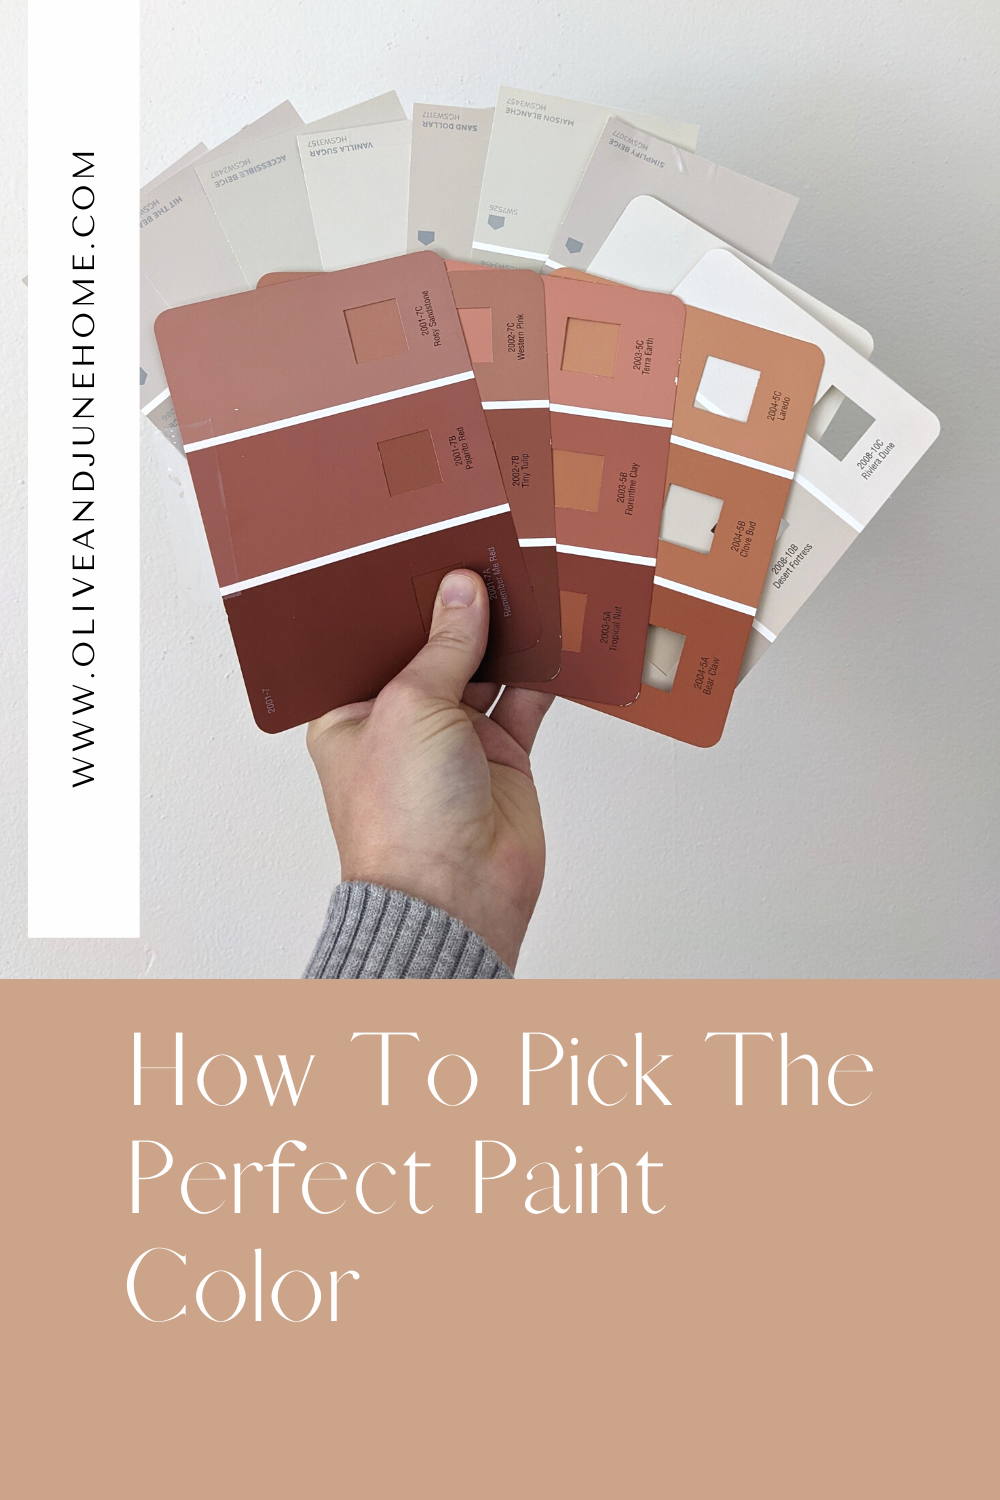
ORC Week 2 - How to Pick the Perfect Paint Color
Never Choose the Wrong Paint Color Again
In last week’s post, I shared the design I’ve had rolling around in my head for the laundry room renovation I’m tackling for the One Room Challenge. This week, I shifted my attention to picking the perfect paint colors for the walls and cabinets - and thought it would be fun to bring you along for the ride!
What's The One Room Challenge?

If you’re new here, the One Room Challenge is an event where creators from all around encourage and motivate one another to makeover one room in their homes over a period of 8 weeks. In my case, I’m finally tackling our laundry room remodel.
Each Wednesday during the challenge, I'll share a post with the previous week's progress until the final reveal on November 16th!
Now back to our regularly scheduled content….
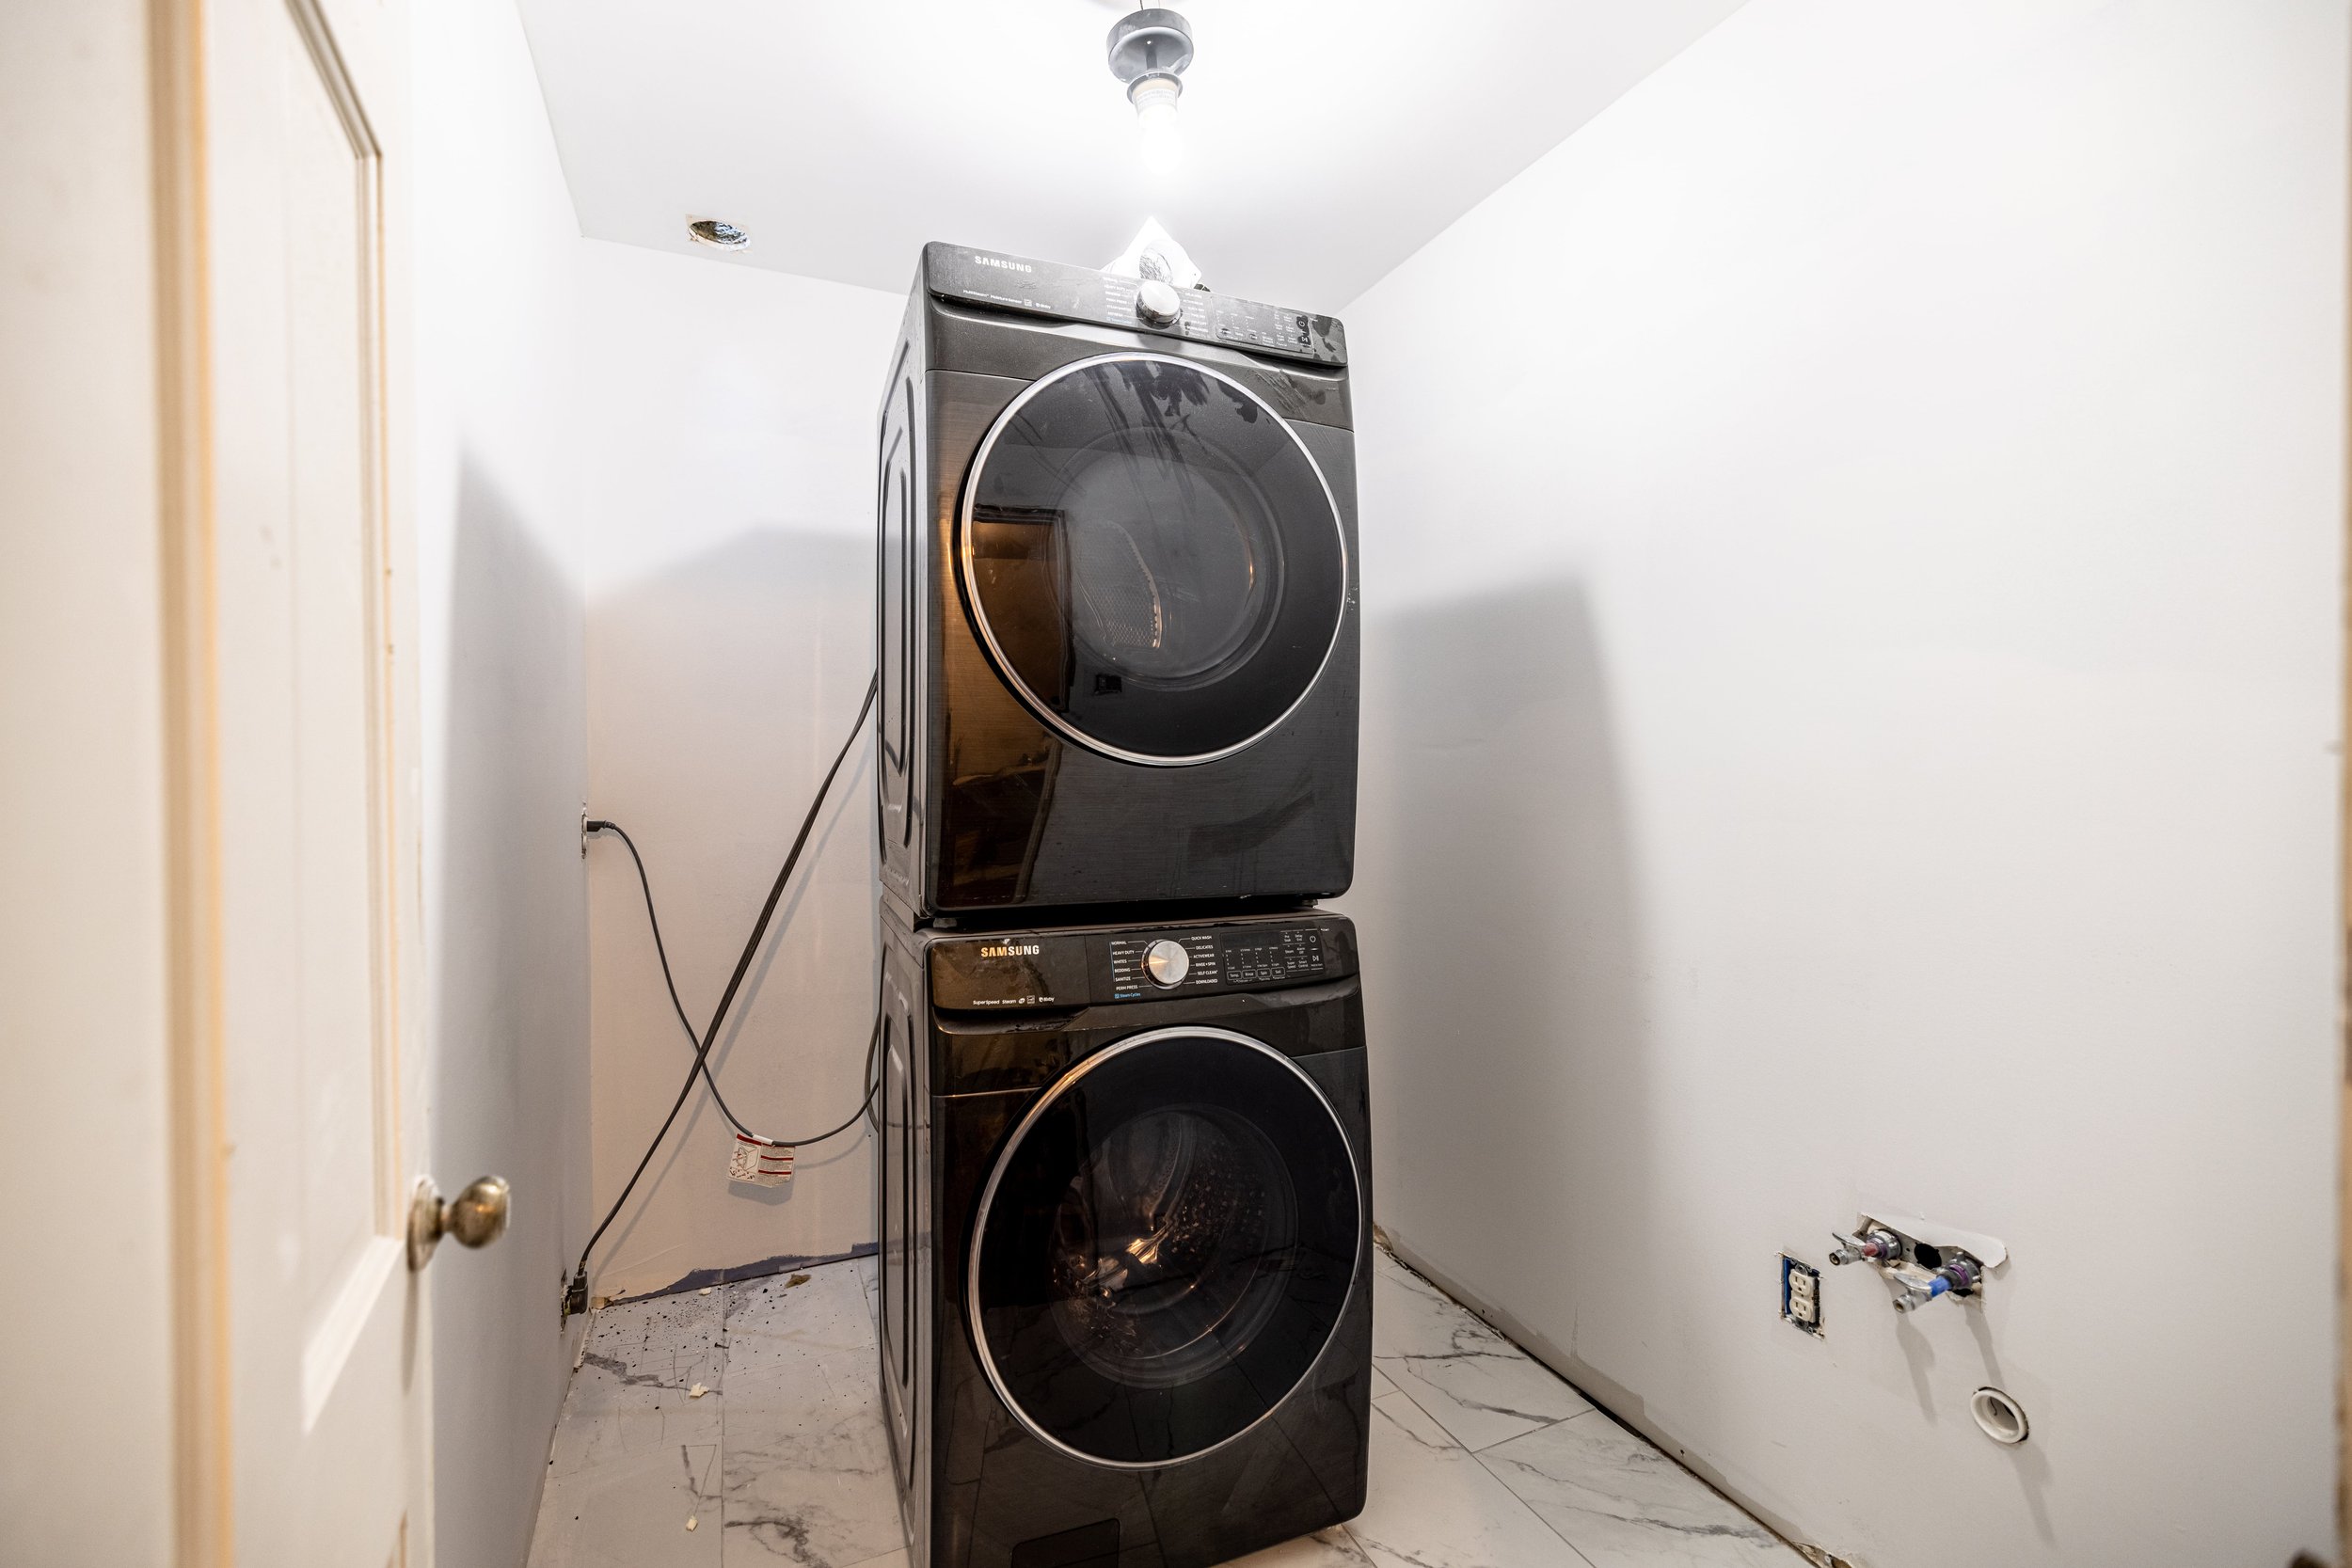
While I was dreaming up my laundry room plans, we hired a contractor to finish the drywall, and then I was able to prime the walls. After living with unfinished drywall in here for over a year, I’ve never been so happy to have a white box of a room.
As an Amazon Associate, I earn from qualifying purchases. This post may contain affiliate links, meaning I receive commissions for purchases made through those links at no cost to you.
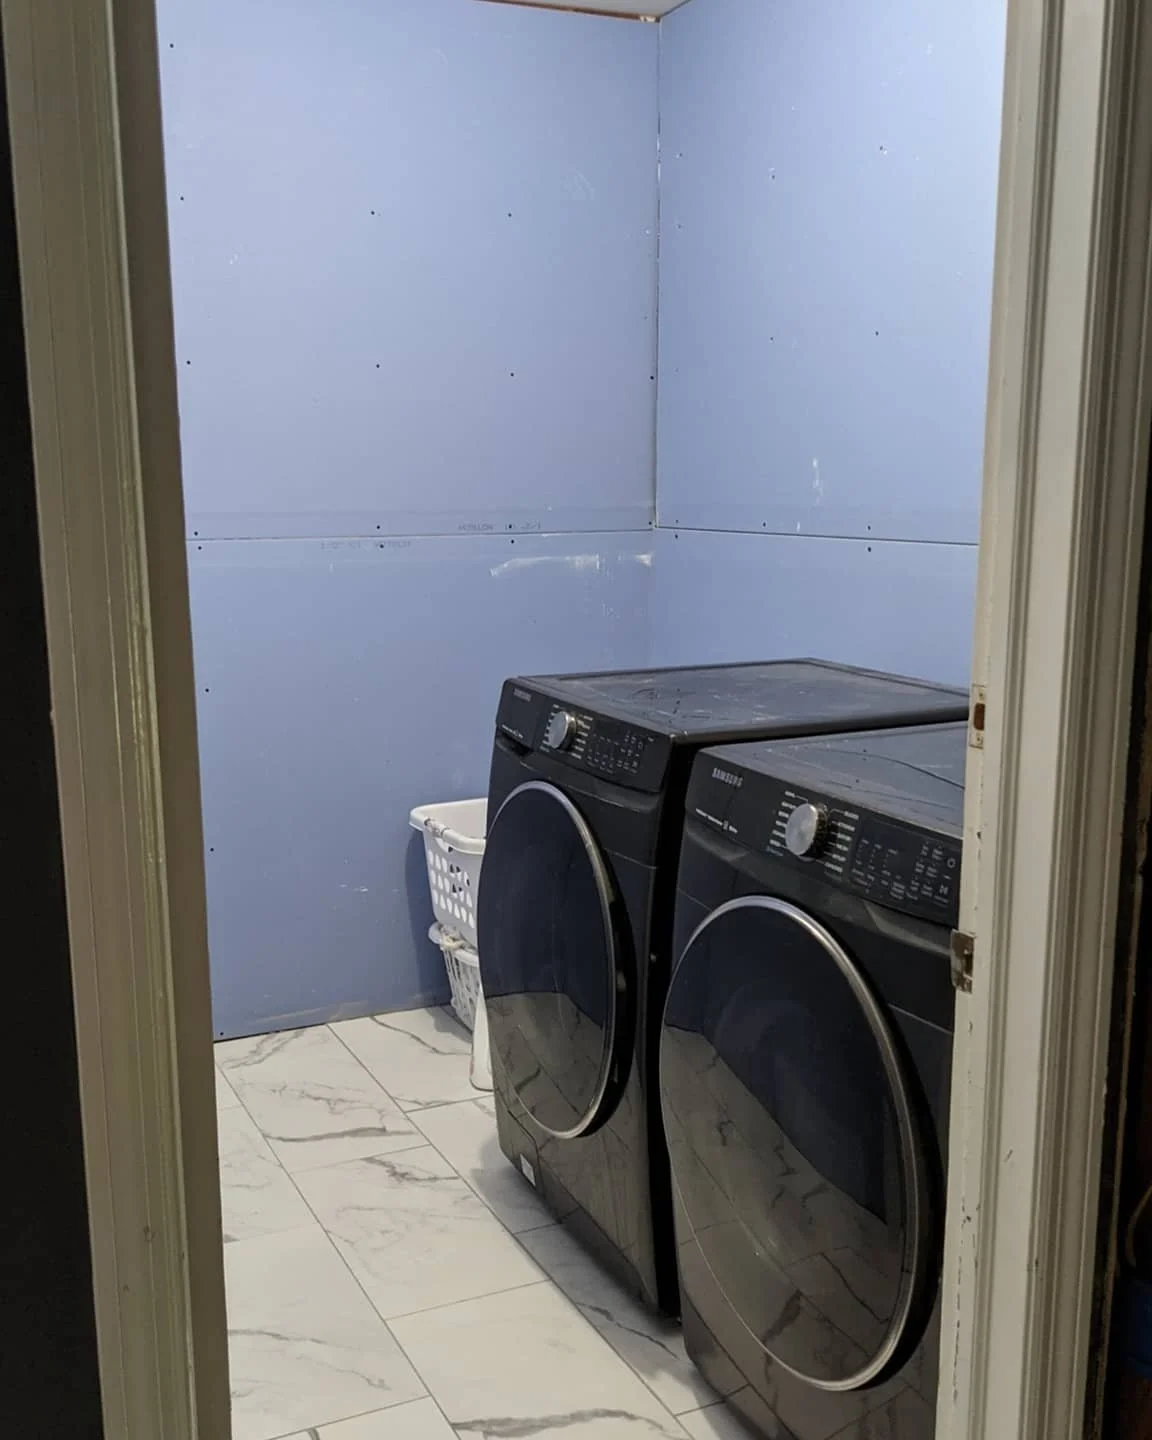
This is a small room, yet it never ceases to amaze me how much drywall dust creeps into every crevice it can find. Although the drywall process didn't take long, it felt so good to encapsulate all that unfinished drywall in primer.
I mentioned in my last post that I was thinking of terracotta for the walls and beige for the cabinets. But as anyone who has picked a paint color has realized, there are SO MANY options to choose from. How do you pick the perfect one?
I’ve seen loads of blog posts that tell you you have to look at the undertones of your paint color, understand the color wheel, and practically take a class on LRV (light reflectance value) before painting a room - but even to a paint-choosing veteran (such as myself), that’s overwhelming!
So, buckle up while I share the simple steps I follow to choose paint colors EVERY TIME.
Step 1 - It All Starts With An Idea
To start, simply come up with a general idea of what you want.
In my case, I found inspiration by searching Pinterest for rooms that caught my eye and pulled colors from the palette below.

But your colors could really come from anywhere - nature, a fabric swatch, etc. It's okay if you don't have it completely narrowed down to one color family just yet because in the next step you…
Step 2 - Shamelessly Take ALL the Paint Chips
Go to the paint or hardware store and grab any paint chip options that catch your eye - they’re free! But seriously, I’m surprised at this point I don’t have at least one of every color available.
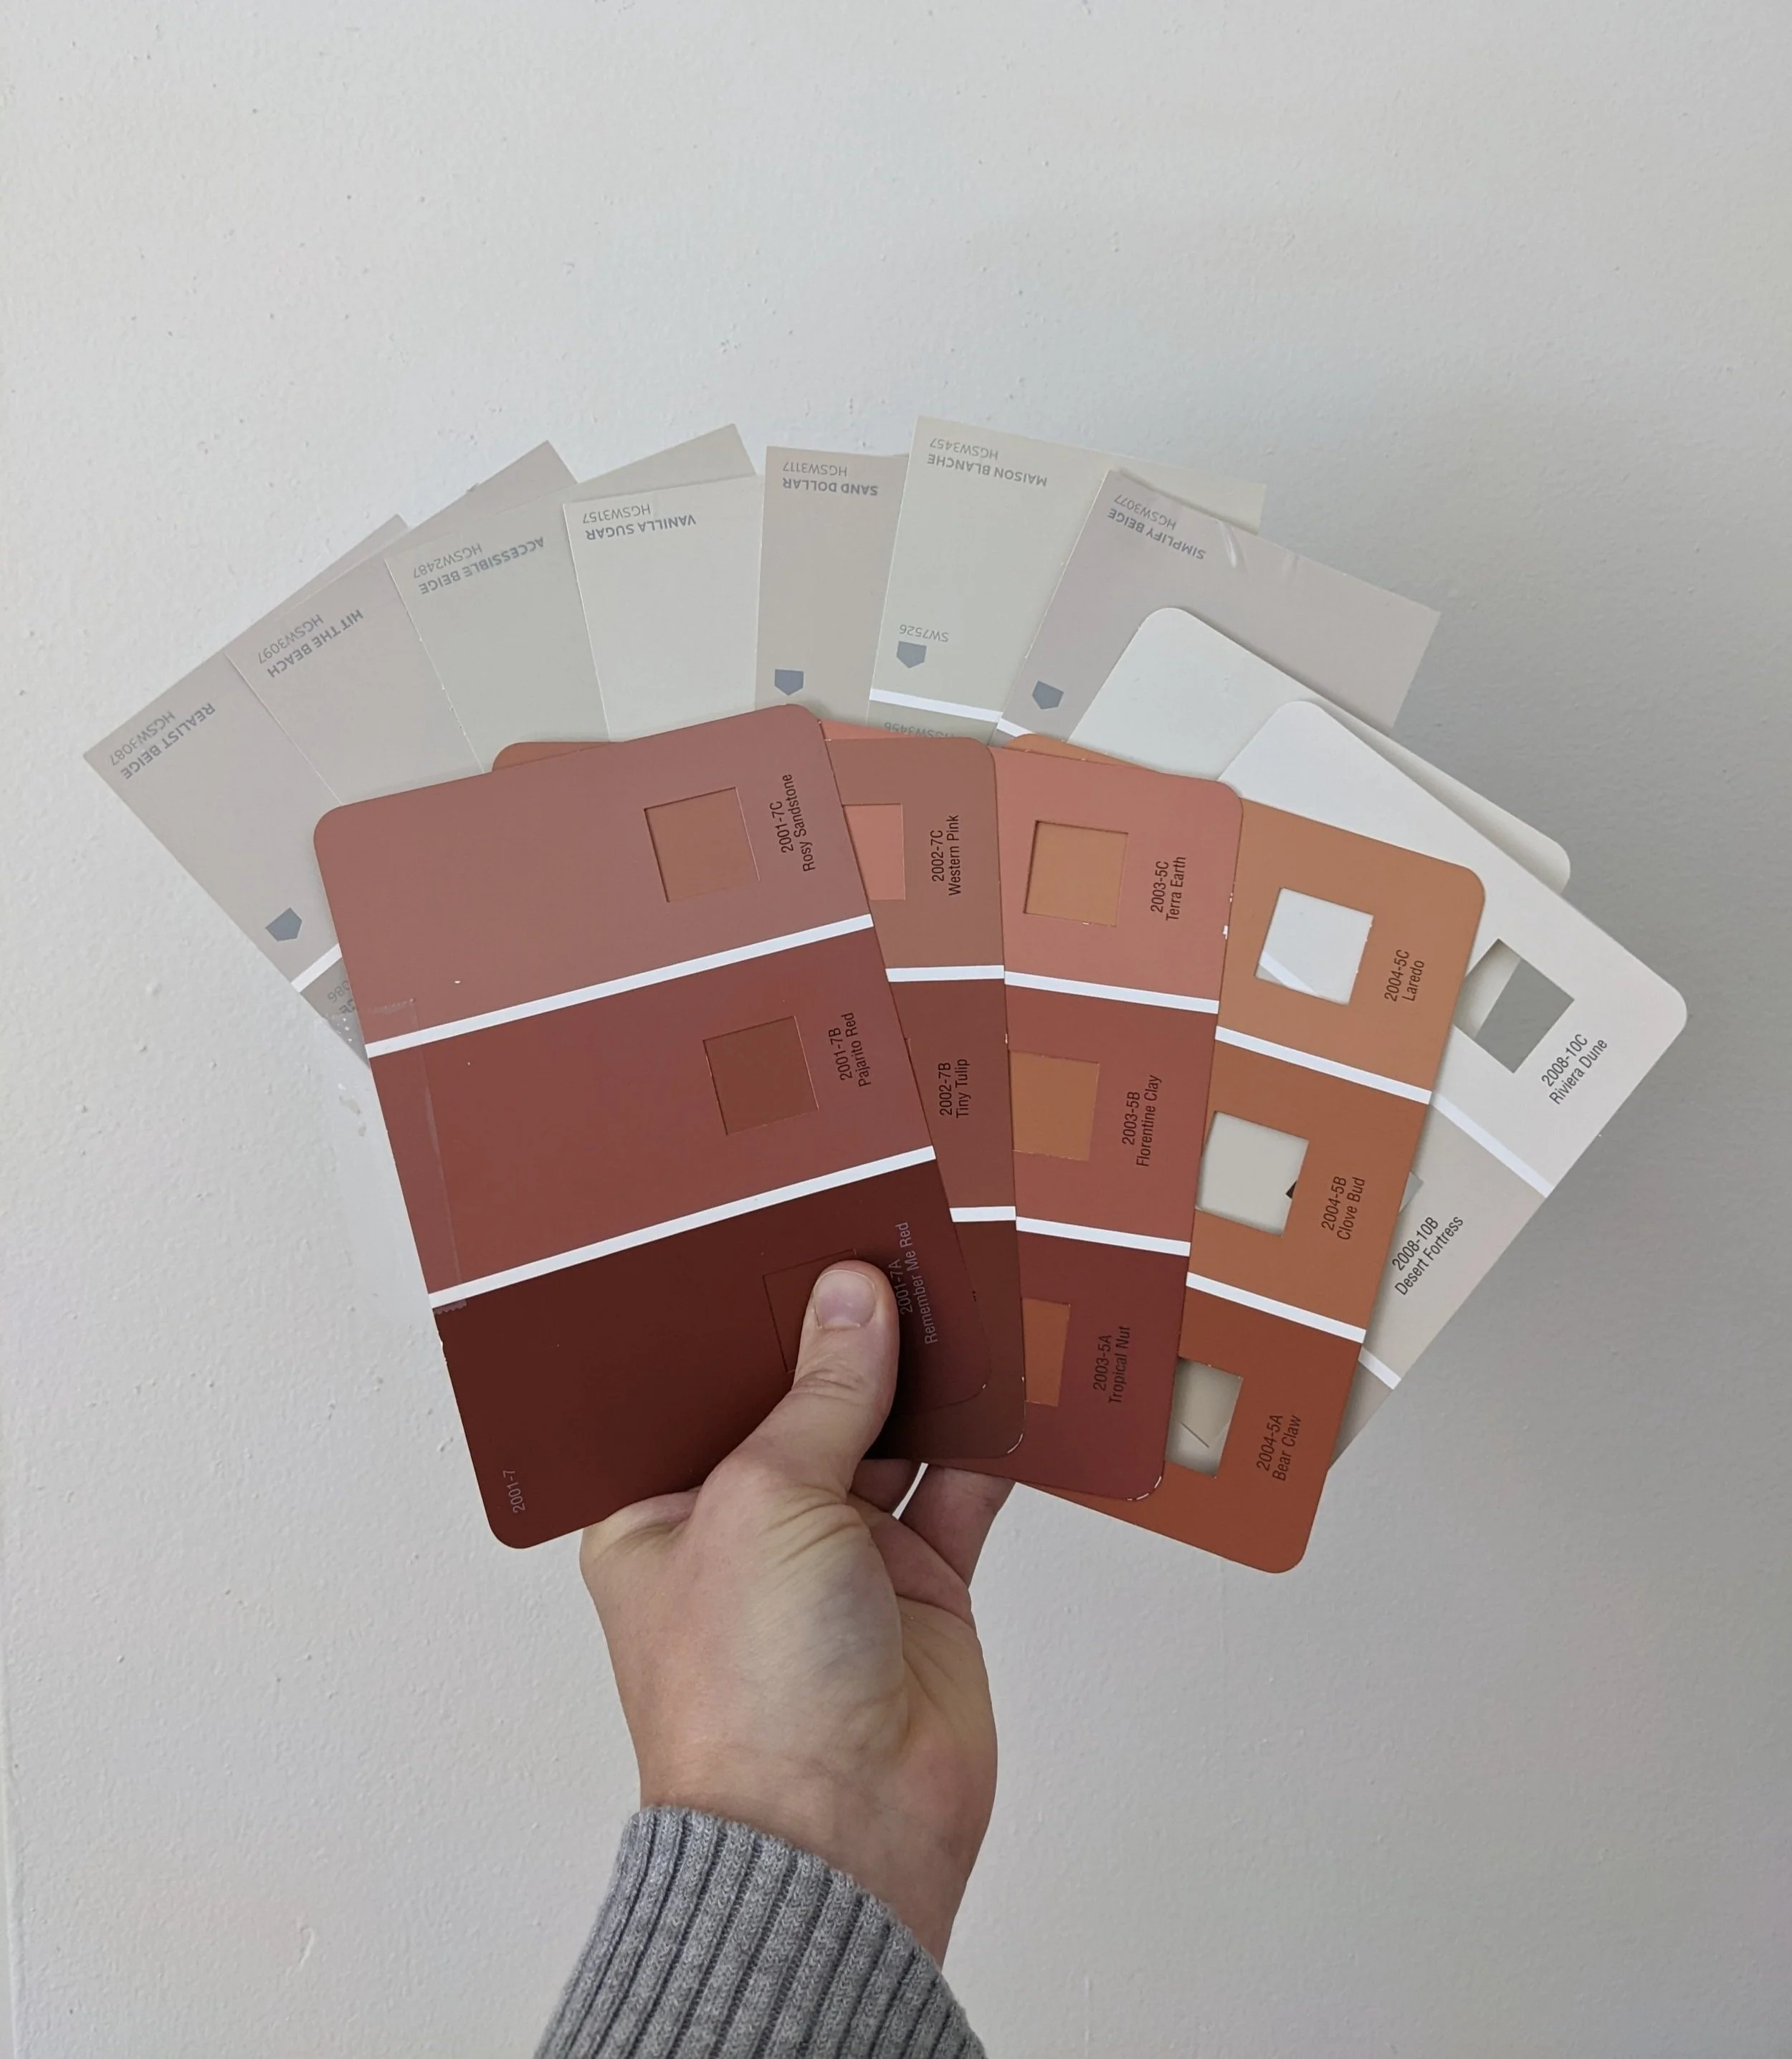
While at the store, you may think you know exactly what color you want to use, but you’re probably wrong! It really is important to get a variety of options to take home and see in your room - the lighting of your space and other objects that will be used in the room will make a big difference in how the color is perceived.
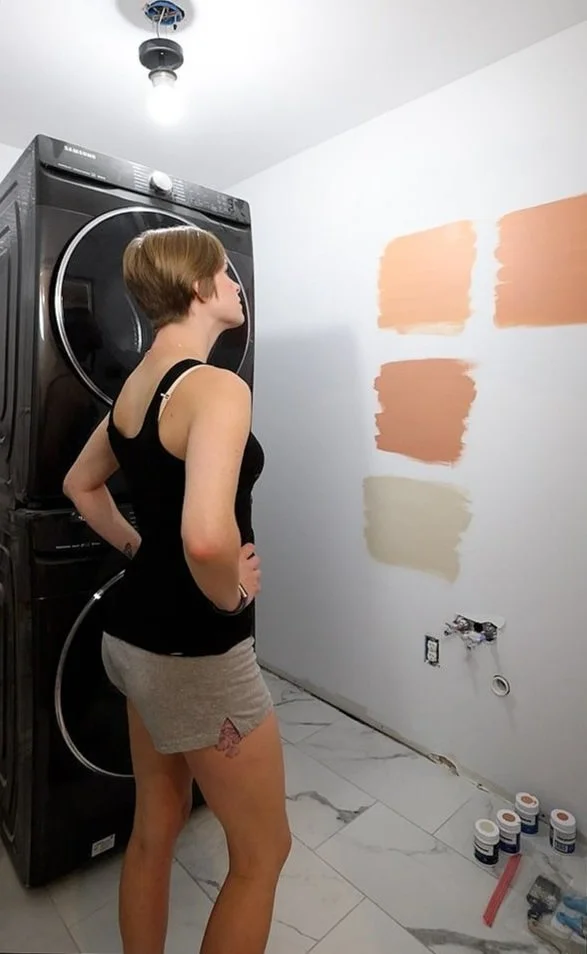
Once you get home, tape all the chips to your walls and see how they look throughout the day.

Sometimes I even like to take a few days and move the chips to other walls in the room to see how they change in different lighting. Yes, I said DAYS. Don’t rush this step. Or the next step. Or life in general. Let’s all just slow down and take it all in. Everything is dust.
Wait, what was I talking about? Oh yeah…
Step 3 - Paint Samples Are Your Friend
Once you’ve analyzed your paint chips in the space, remove the definite no-gos and buy samples of any serious contenders.
In my case, I was quickly able to rule out any samples that looked too orange or pink for what I pictured on the walls. And for the cabinets, I was able to narrow down the color right away by seeing the tones of the other chips in comparison - some were obviously too gray, others too yellow.
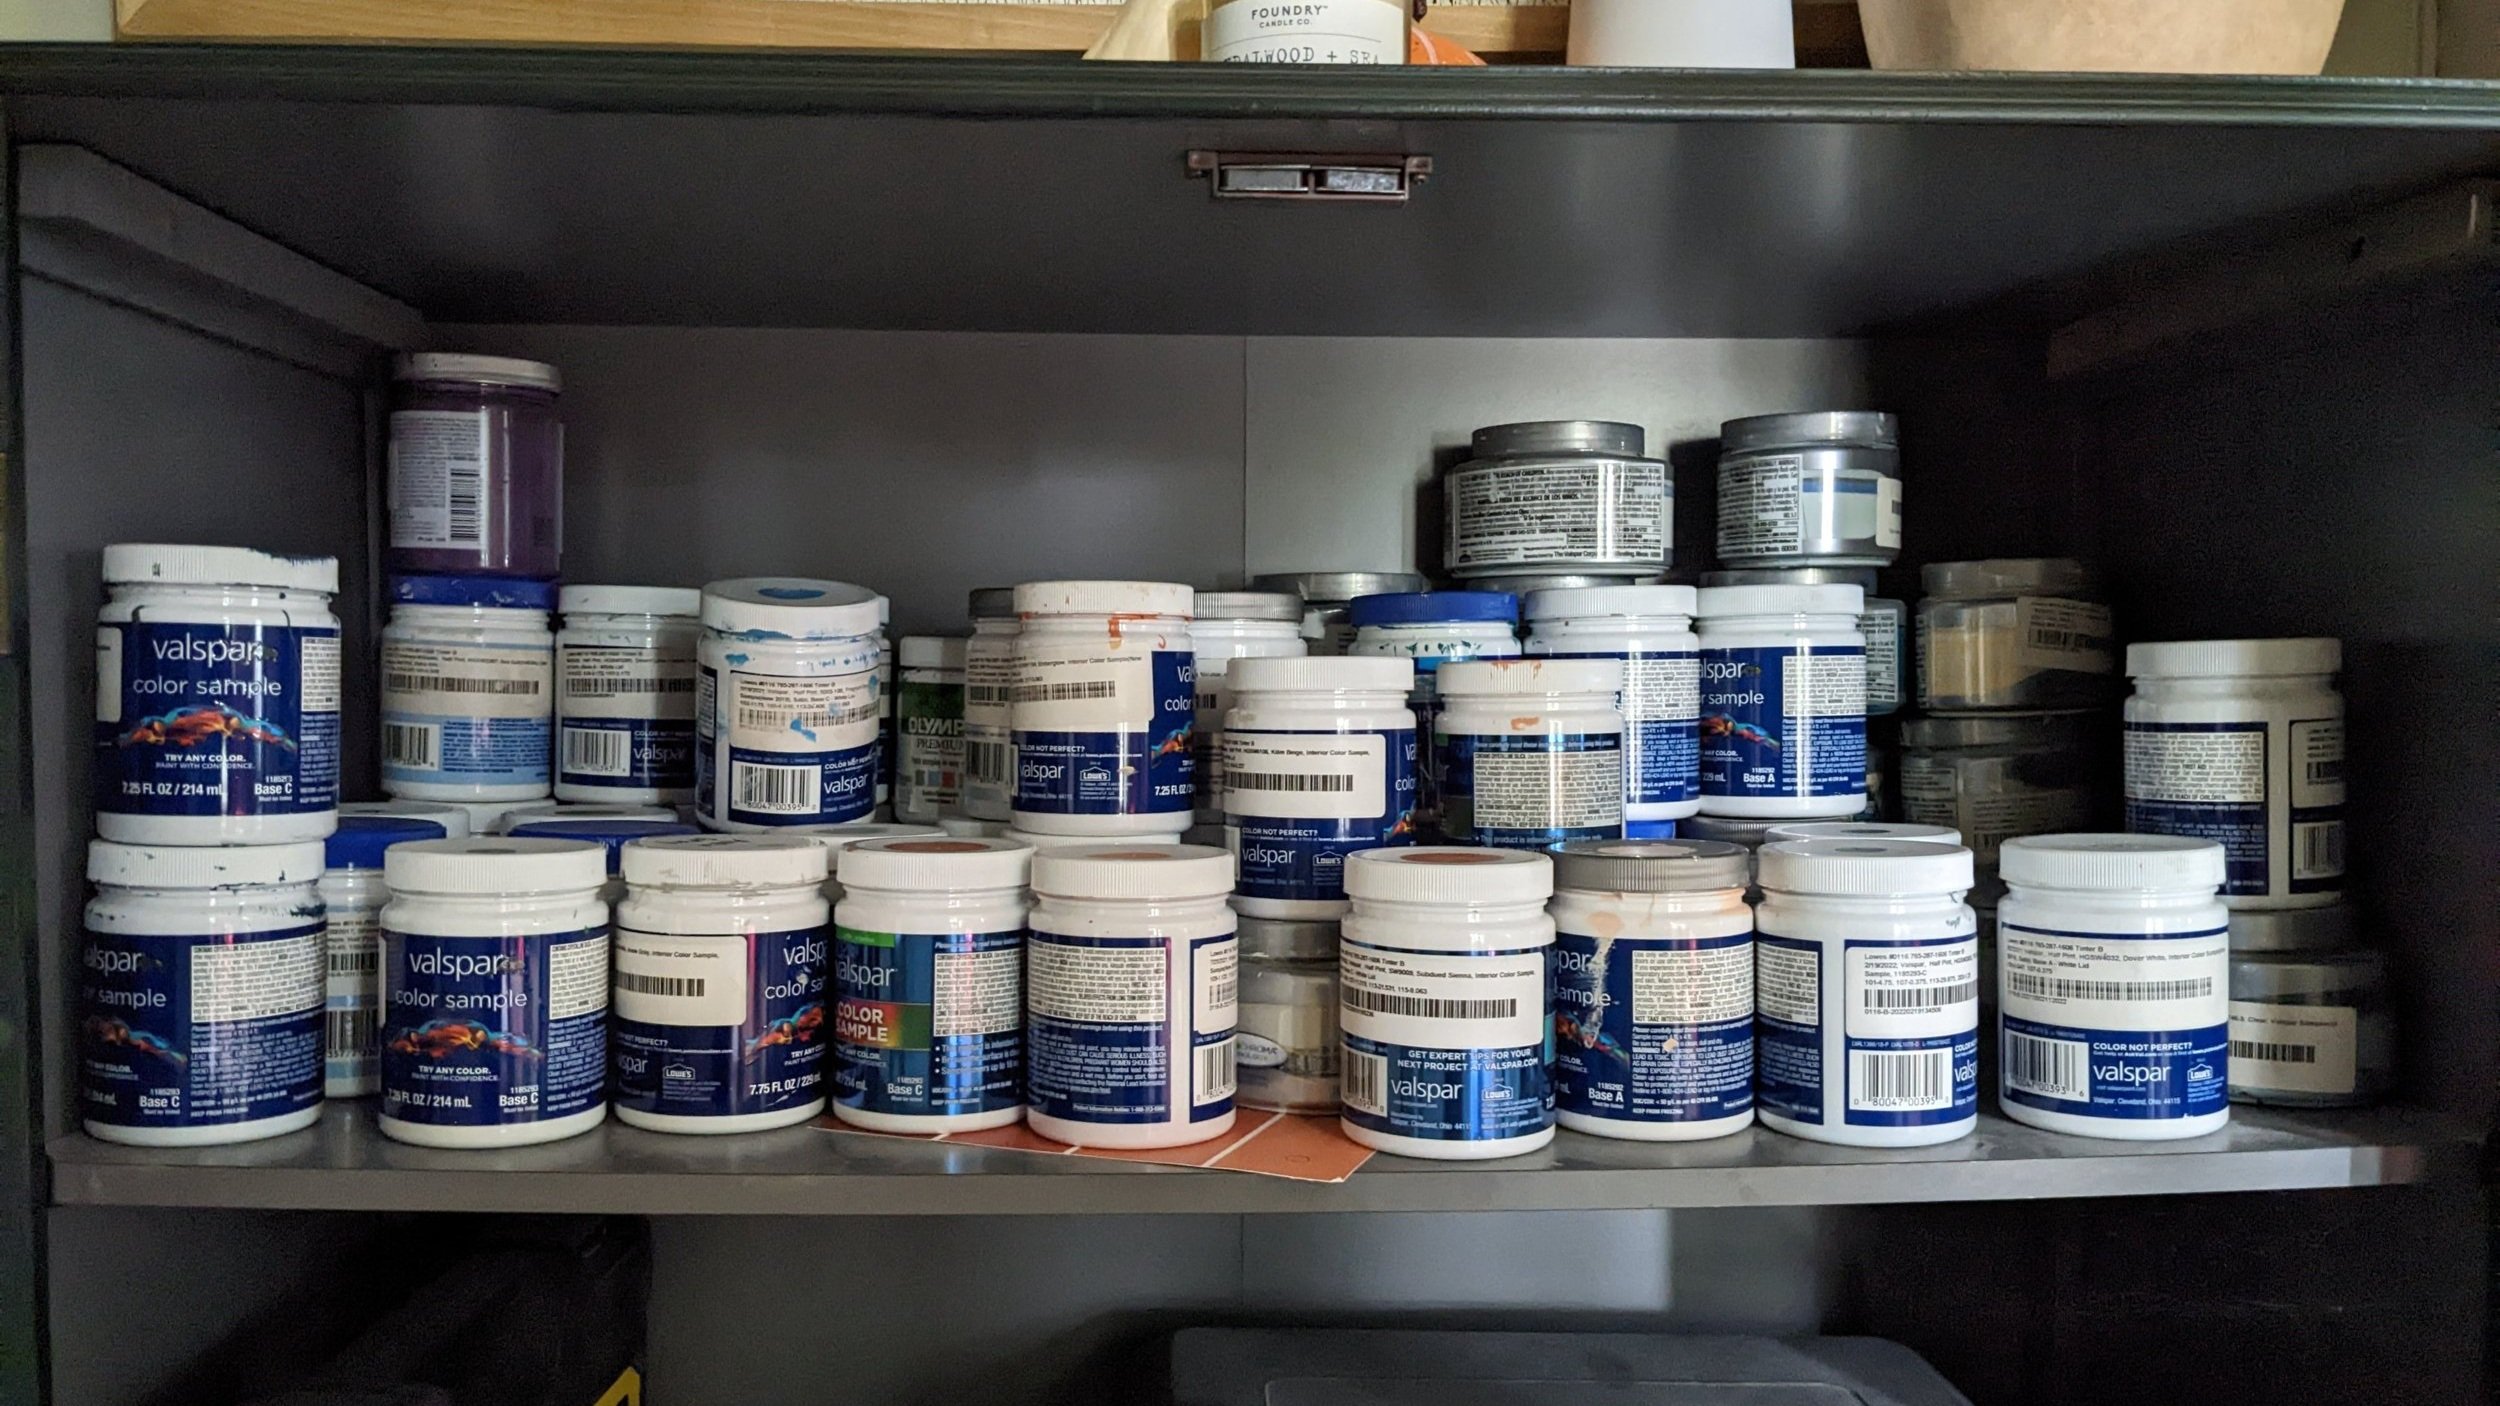
Samples are typically about $5 a piece and well worth the small investment to help ensure you don’t waste your time and money slapping an entire $40 gallon of paint on the wall and realizing you hate it.
Plus, I like to keep them to use for crafts and other projects. Admittedly, I might have a paint sample hoarding problem.
Here are a few tips for painting your samples:
- Paint a good-sized sample (at least 1 x 1 ft)
- Paint two coats - you want to mimic what the final product will look like!
- Leave some space between each sample so they don't compete with each other. Sometimes I'll even cover some of the samples up so I'm only seeing one at a time.
- If you're choosing multiple colors, paint them near each other to see how they work together (like the terracotta and beige that are near each other on my wall).
- As with the paint chips, it's never a bad idea to paint samples on multiple walls to see how they look at different times of day.
Pro-tip: Get an angled brush that is 2” wide (any wider and it won't fit in the paint sample can). This is my FAVORITE paint brush to use. So smoooooth.
Step 4: Pick The Winner & Get Painting!
And now, the moment you’ve been waiting for - pick the winner and paint the dang room!
Yep, it’s that easy.
Be prepared you’ll have to tell the sales associate what paint sheen you want, but have no fear! I’ve already covered that in this post.
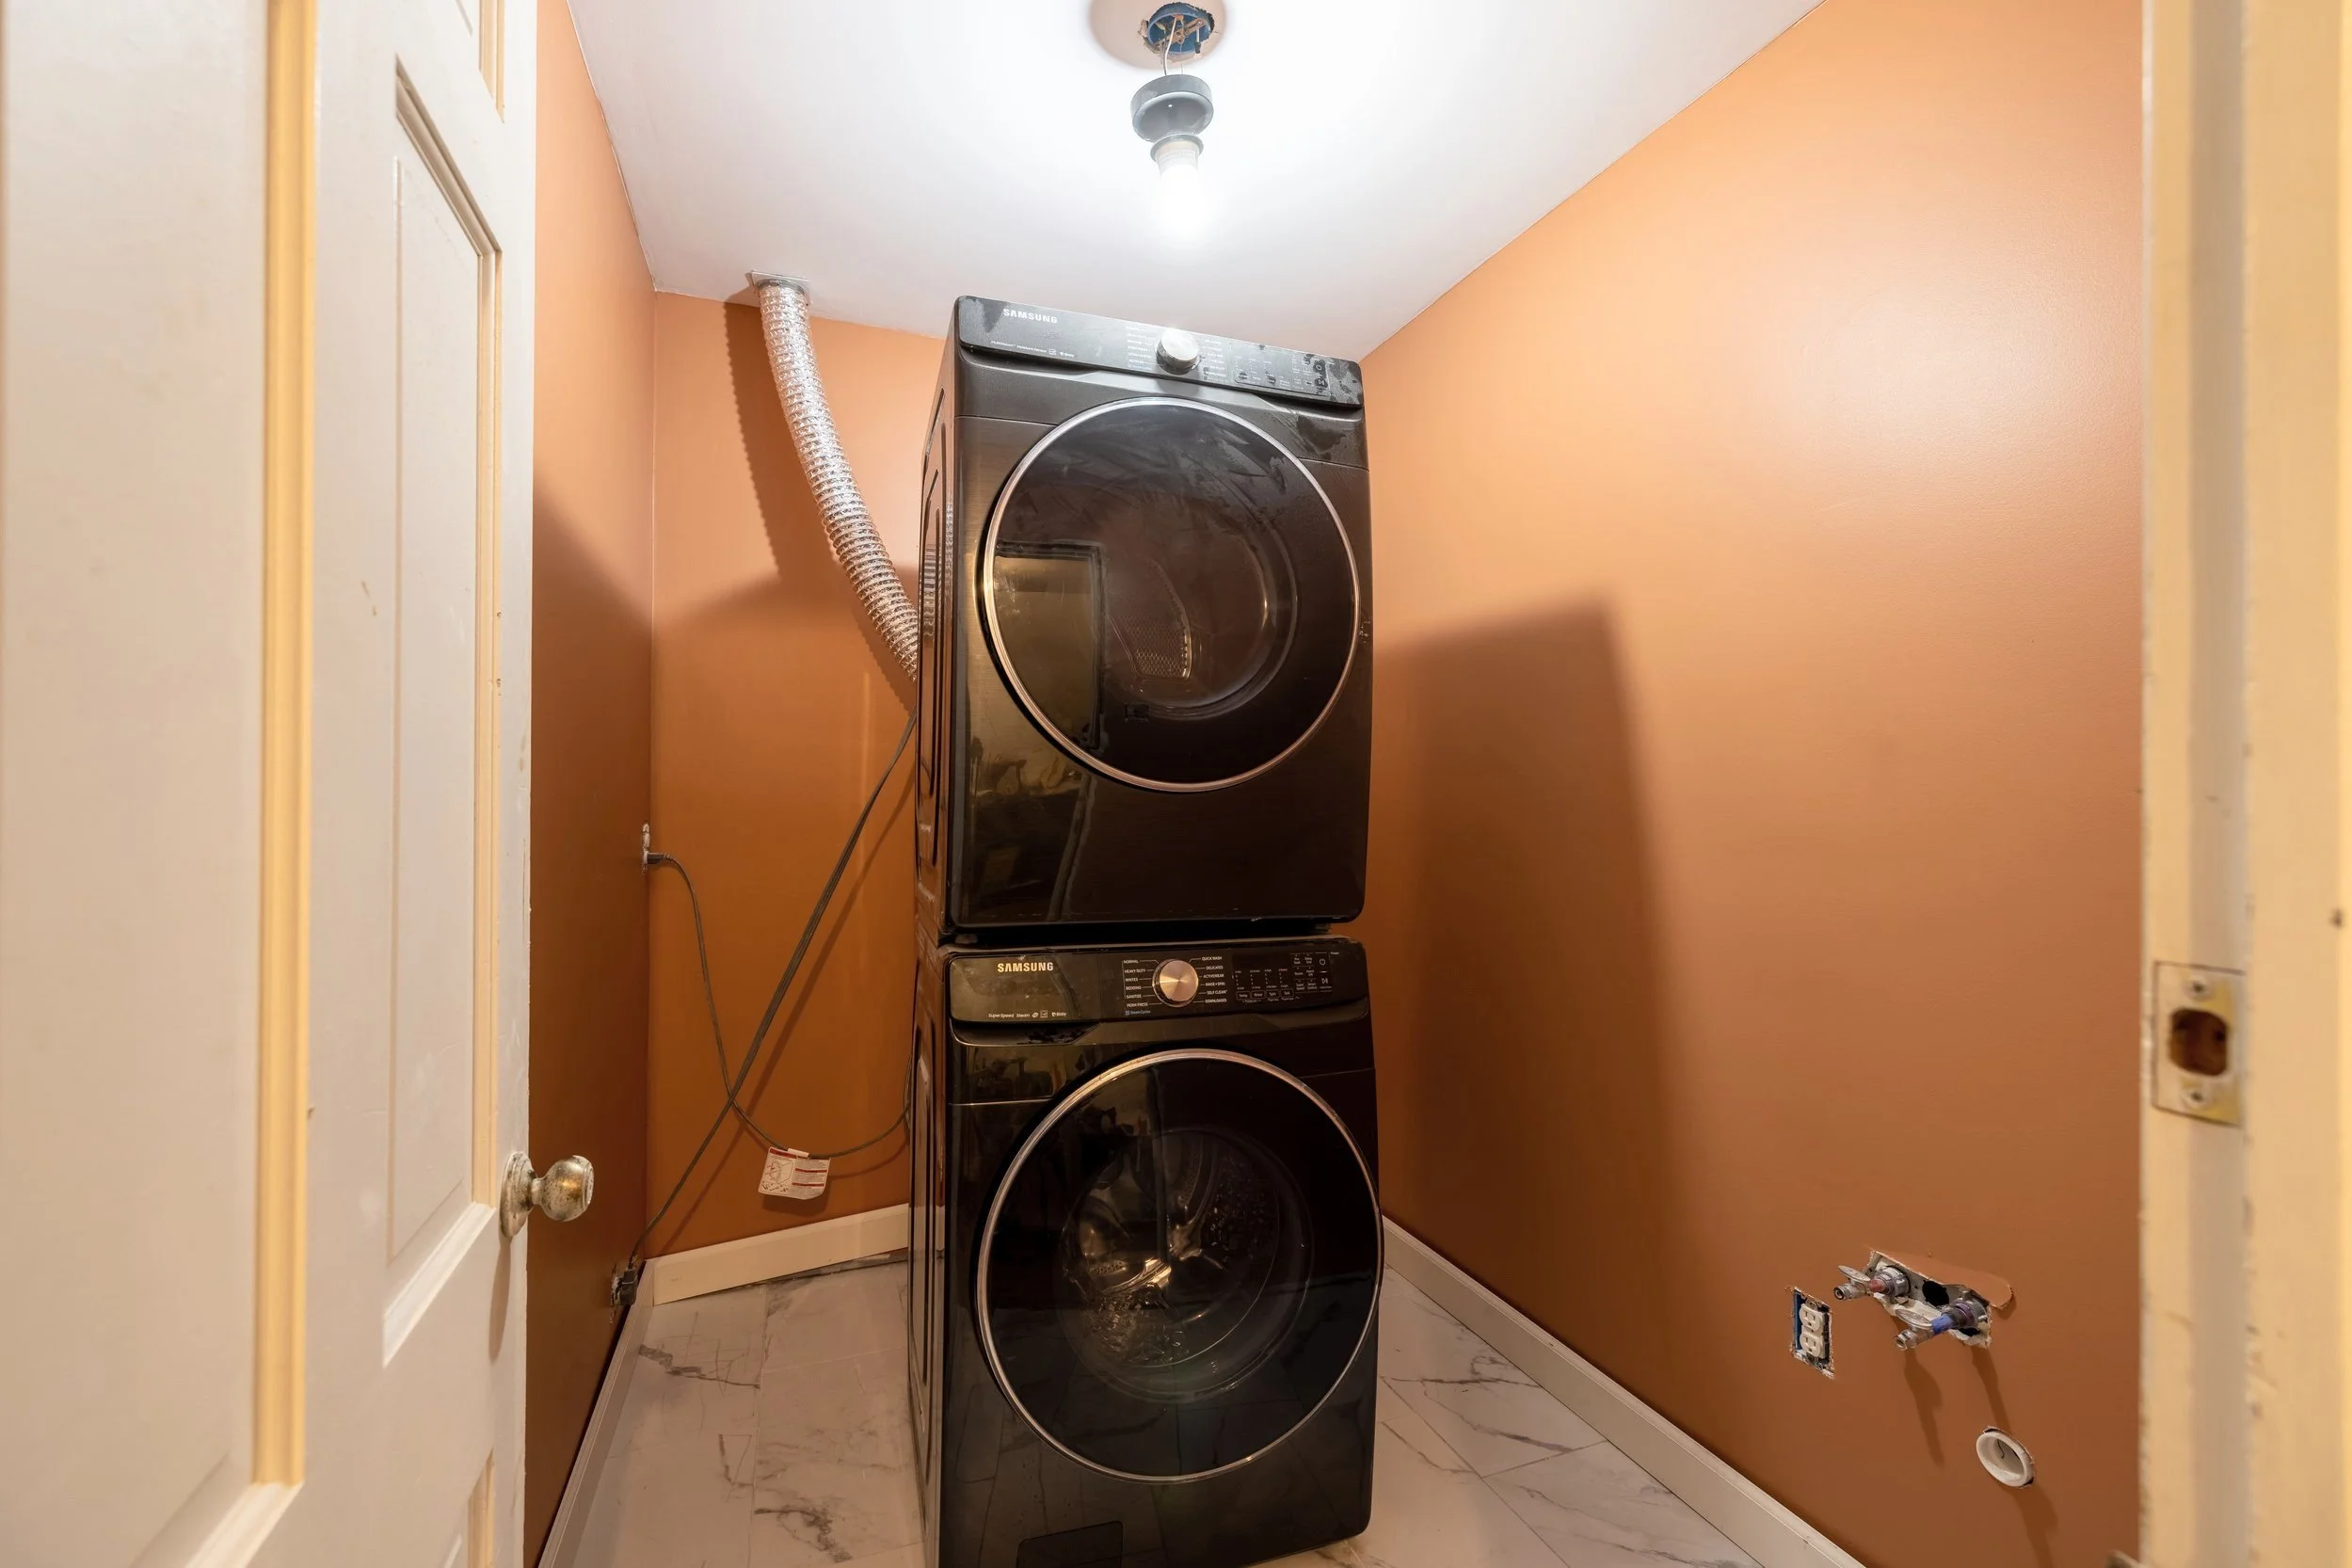
In my case, I chose eggshell for the walls (Terracotta by Valspar) for just a little bit of reflection and wipeability. And I chose satin for the cabinets (Kilim Beige by Sherwin Williams) for some extra durability and contrast. (I’ll be sharing more about the cabinets next week!)
While I was admittedly nervous to use such a bold color on the walls in my laundry room, using these steps I truly feel like I picked the right color. It feels like a warm hug in here, and with the other elements in my design I think it’ll be the perfect backdrop!
What If You Don’t Like It?
Here’s the full truth: there’s no tutorial out there that will 100% guide you to picking the perfect paint color every time. Sometimes you think everything is hunky dory, you put the color up, and BAM it just doesn't look right. It sucks, but IT’S OKAY! It’s just paint.
While using my steps will help minimize those “aw crap” moments, even I get it wrong sometimes (like, very rarely. I’m practically perfect, you know.) And in those cases, I just pivot and course correct. No need to beat yourself up.
Final Thoughts
And there you have it, my steps for picking the perfect paint color! I hope you found this post helpful. And don’t be shy about saving the Pin below to reference the next time you’re stumped on a paint color!