
ORC Week 7 - DIY Floating Shelves Tutorial
Make Your Own Custom Floating Shelves
Floating shelves are pretty stinkin’ cool. I mean, how are they even attached to the wall!? Looks like magic, if you ask me. Well, I uncovered the mystery this week when I made some for my laundry room renovation for the One Room Challenge. In this post, I’m sharing the step-by-step process I used to build my floating shelves!

What’s the One Room Challenge?

I know I’ve explained what the One Room Challenge is in every post, but let’s do it again for the people in the back!
The One Room Challenge is an event where DIYers from all around encourage and motivate one another to makeover one room in their homes over a period of 8 weeks. In my case, I’m finally tackling our laundry room remodel.
Each Wednesday, I’ve shared my progress with a blog post, and now we’re in the home stretch with the reveal coming next week!
DIY Custom Floating Shelves
As a nervous novice woodworker, and in true Erika fashion, I did plenty of research before I dove into this project. I found several different ways to make floating shelves, but this one seemed the most straightforward. Maybe down the line I’ll try another way and see which I like better. Long story short: there’s more than one way to skin a cat. This is just one of those ways. (Of all the sayings I could have picked…)
As an Amazon Associate, I earn from qualifying purchases. This post may contain affiliate links, meaning I receive commissions for purchases made through those links at no cost to you.
Supplies for Floating Shelves
2”x2”x8’ boards - I knew I didn’t want my shelves to be super duper thick, so instead of 2x4s for the supports, I chose 2x2s.
1/4” birch plywood
Stain (this is the one I used)
Tools Used
Drill (impact drill recommended)
Rag (for stain)
Paintbrush (for poly)
Draw Out Your Plans
Here are my initial plans for my shelves as if you’re looking at them from the top down.
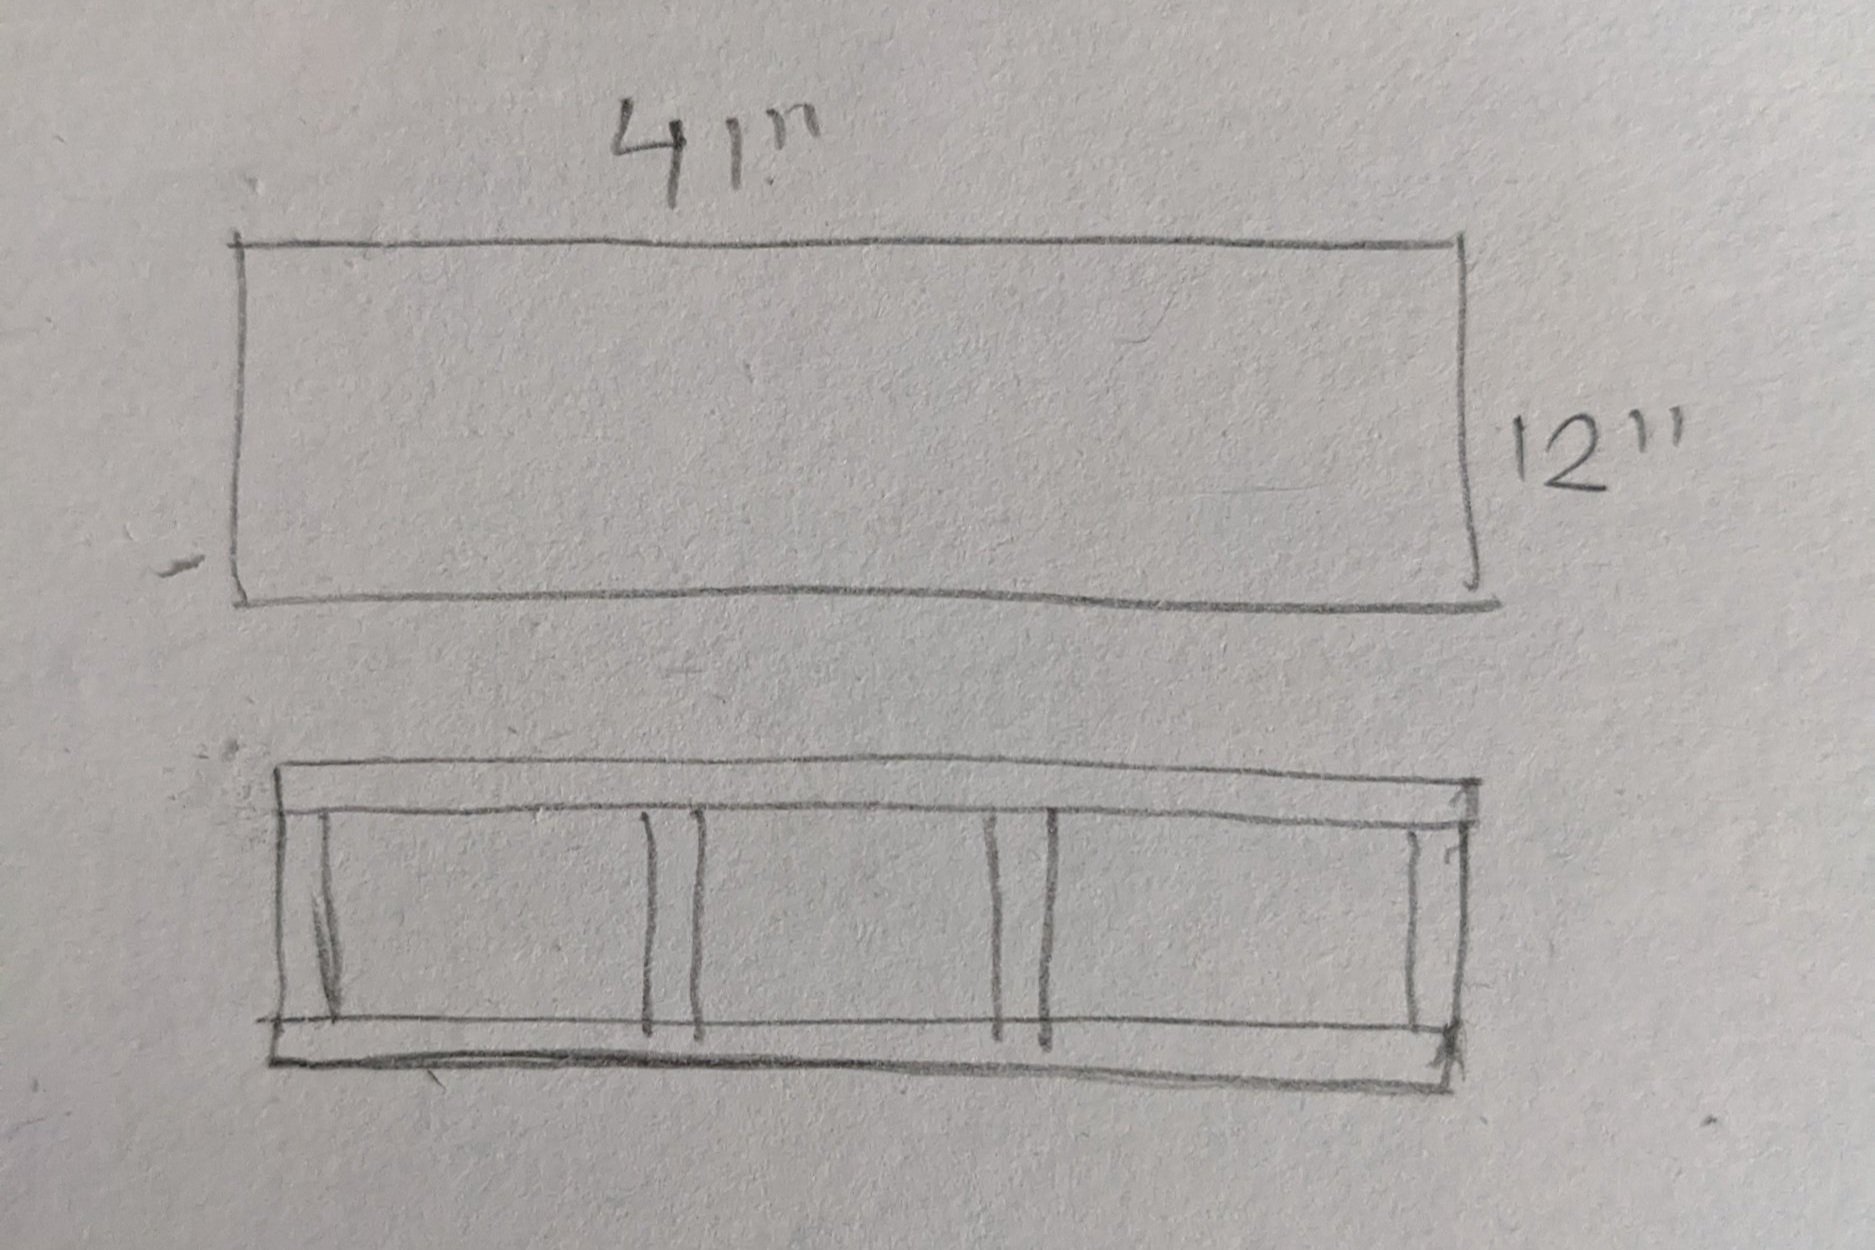
Super simple, right? Just a ladder frame that will be covered in plywood.
I’m not going to throw a ton of measurements at you in this tutorial because your shelves will have unique measurements for your space. The more important aspect to take from this step is that sketching out your plans beforehand will help you determine how much material you need.

I was able to determine that one 2’x4’ piece of plywood would give me enough for the tops and bottoms of one shelf, so I would need at least 3 pieces of plywood for my whole project (can’t forget about that little sliver of plywood needed for the front!).
Cut the Supports
Because my shelves were going in the nook between the faux wall and the actual wall in the picture below, the long boards of my frames needed to be the exact width of the space. I cut 4 of these (2 for each shelf front/back).

Quick note: measure your shelves independently because drywall is rarely exactly square, and your measurements could vary.
Next, I determined the measurement I needed to cut the small supports so my shelves would be 12” deep like I wanted. I cut 4 small supports for each shelf (you can see them in the sketch above) - 2 for each end and two in the middle. However long your shelf is, I would plan to add a support about every 12 inches.
Mark the Studs
Before you assemble anything, take the time to find the studs on your wall. I put my frames together first and lucked out that nothing was in the way of my studs. They were close though!

Assemble the Supports
Now that everything is cut, you can start to assemble your first frame!
Start by putting wood glue on the ends of the supports.
Then, line up your wood, making sure it’s square. It’s advised to use an actual square to do this, but I have no idea where I put mine, so I used the next best thing: a trowel. It’s also advised to flip your head upside down and take a picture at the most opportune time.

Clamp everything in place and check to make sure it’s square once again for good measure.

Next, make your life way easier (and prevent your wood from splitting) by pre-drilling a hole with a countersink bit. Then, using your 3” screws, screw it all together.

Rinse and repeat until everything is connected.
Now you can dry-fit your frames to make sure they’re everything you dreamed of before you officially attach them to the wall.

Look, Mom! No hands! Or Screws! That picture was taken moments after the bottom frame fell down. I’d say they’re a pretty good fit!
Install the Supports
Now that you’ve determined where the studs are and that your frames fit, it’s time to officially install them.
I started by measuring where the studs would hit on my frames and pre-drilling holes. Then, I nudged them in place with a rubber mallet (it was tight!) and made sure they were level side-to-side and front-to-back.

I secured the frames by screwing them to the studs with 3” screws.
Add the Faces
Now it’s time to add the faces of the shelves - this is what really makes them.
The more I work with wood, the more I realize how important it is to measure things individually, so that’s what I did here. It took way longer, and there were lots of trips up and down the stairs, but I didn’t make any bad cuts! (Note to self - make sure the next project I work on is closer to the power tools.)
Quick tip: when cutting plywood, use painter’s tape to avoid splintering your wood.

Using a nail gun, I installed the top and bottom of each shelf face first, then installed the front piece so you don’t see the raw edge of the plywood as easily.

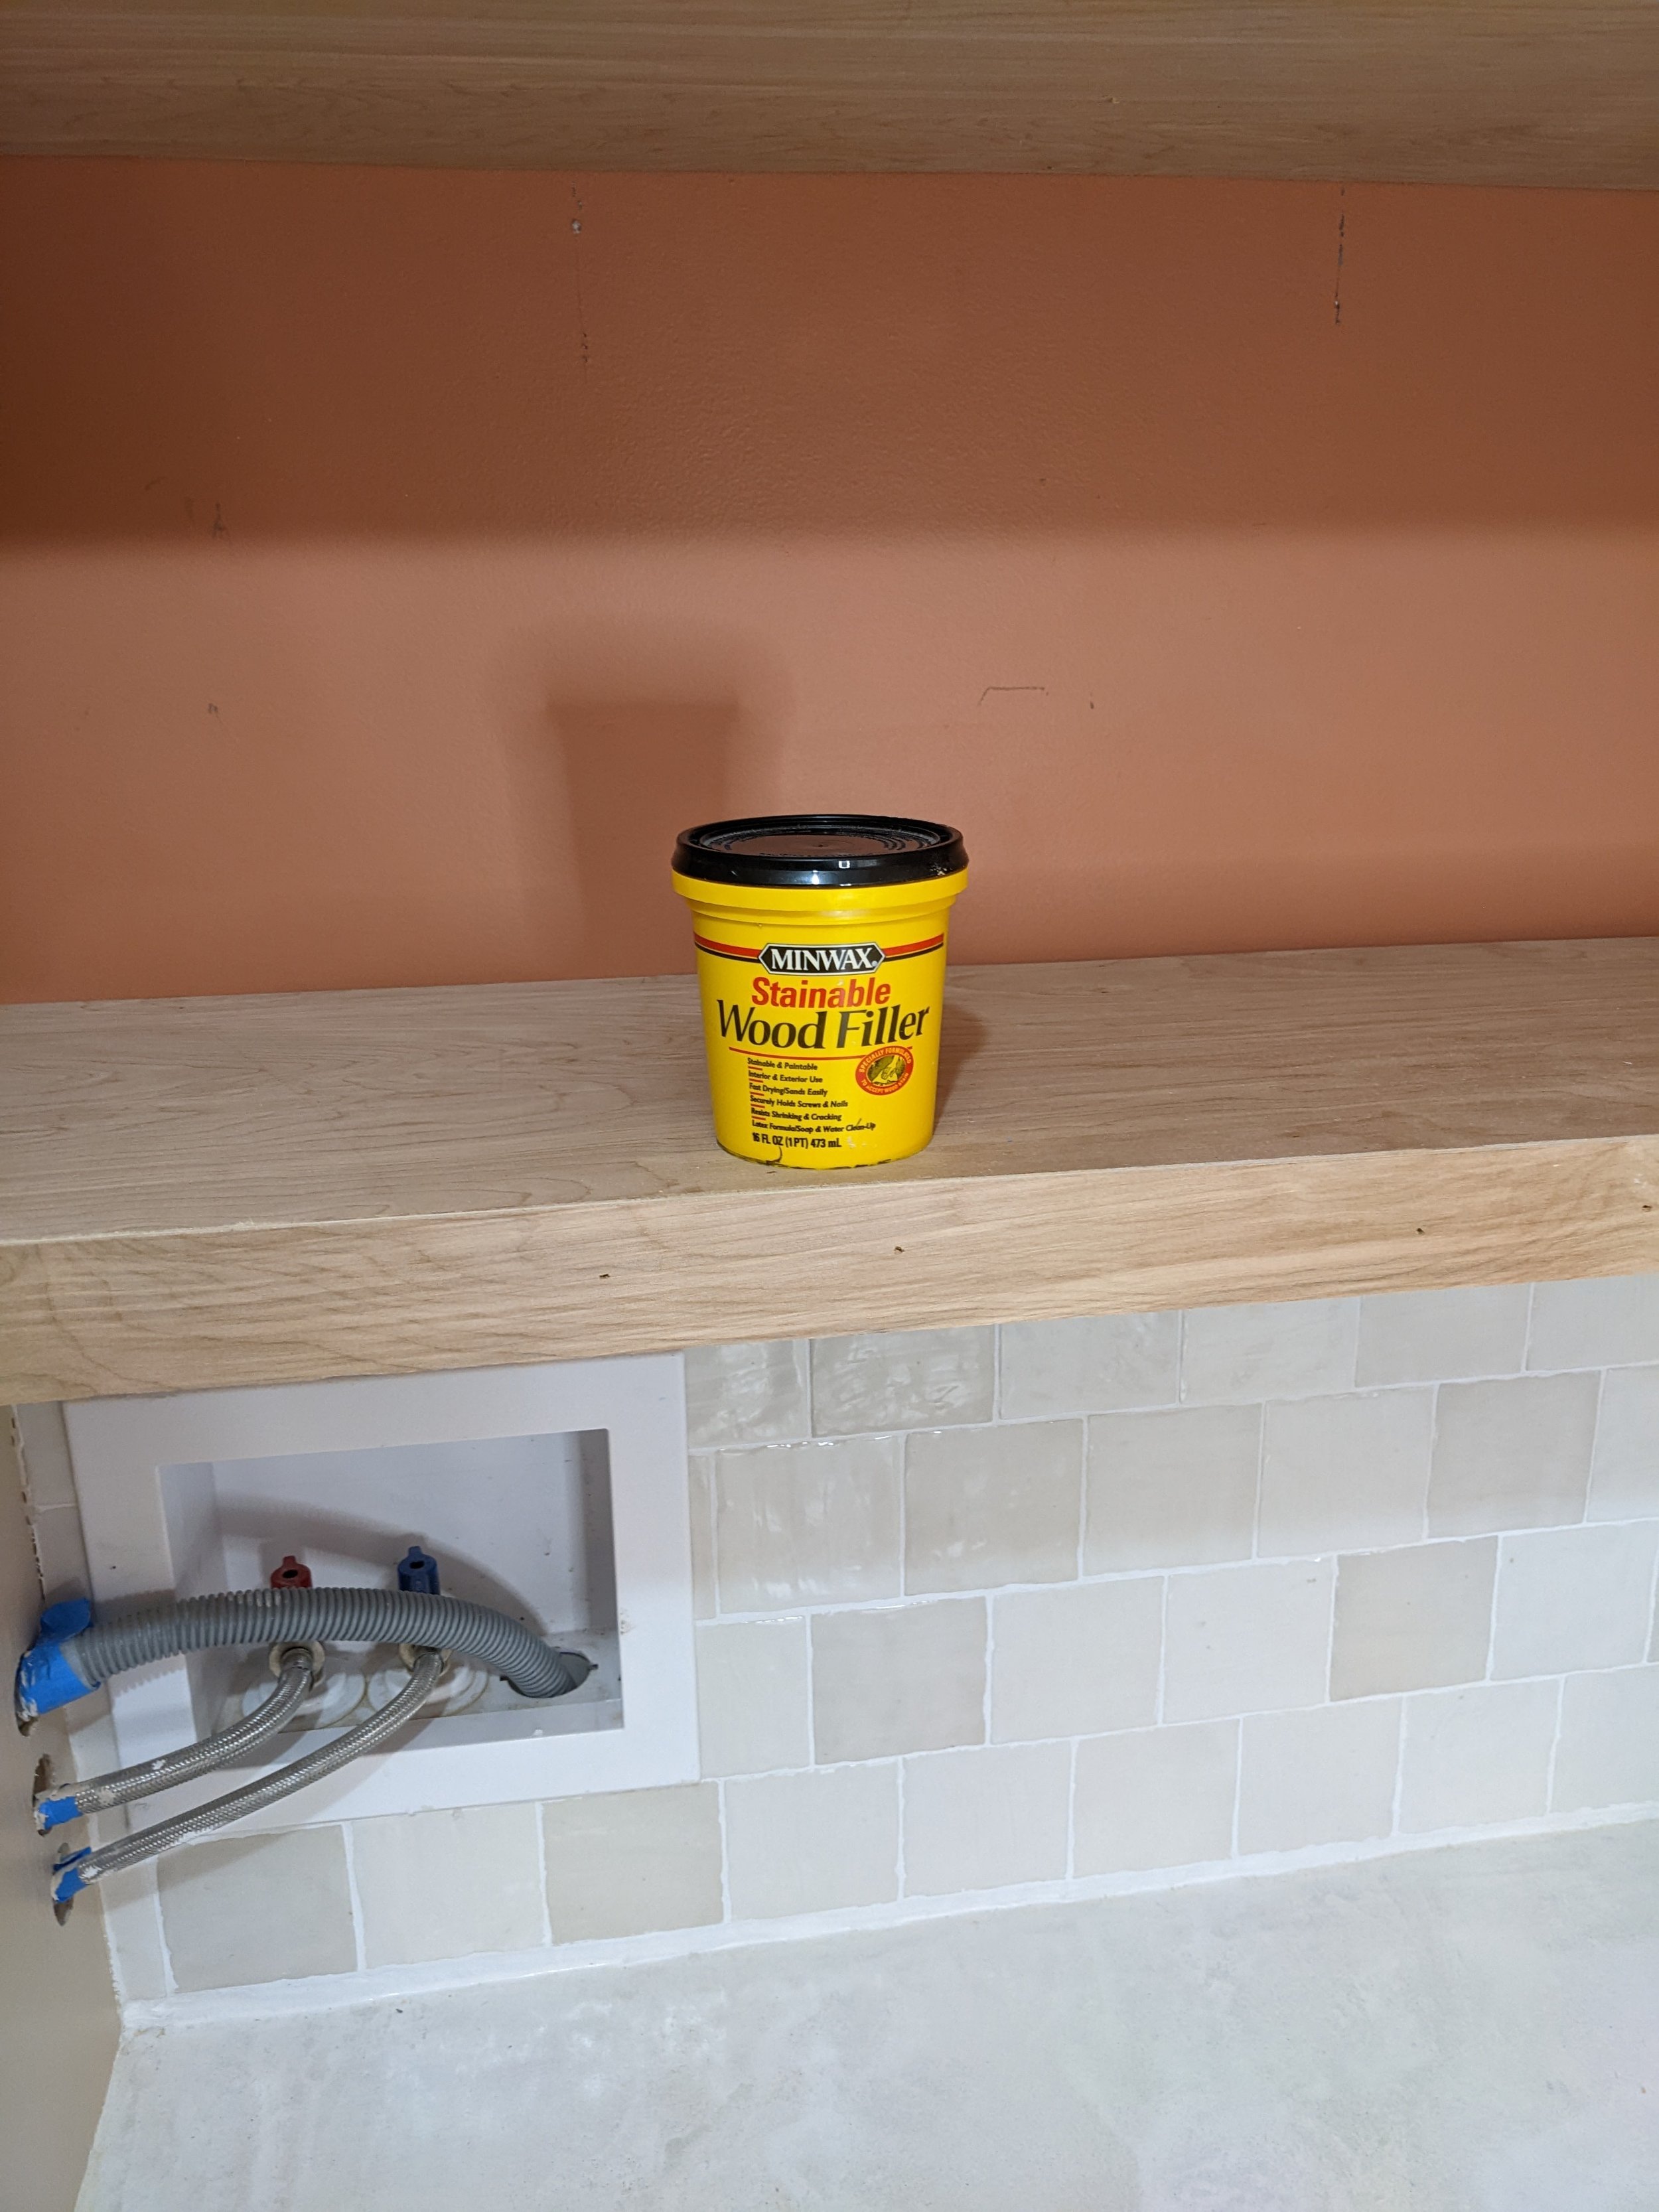
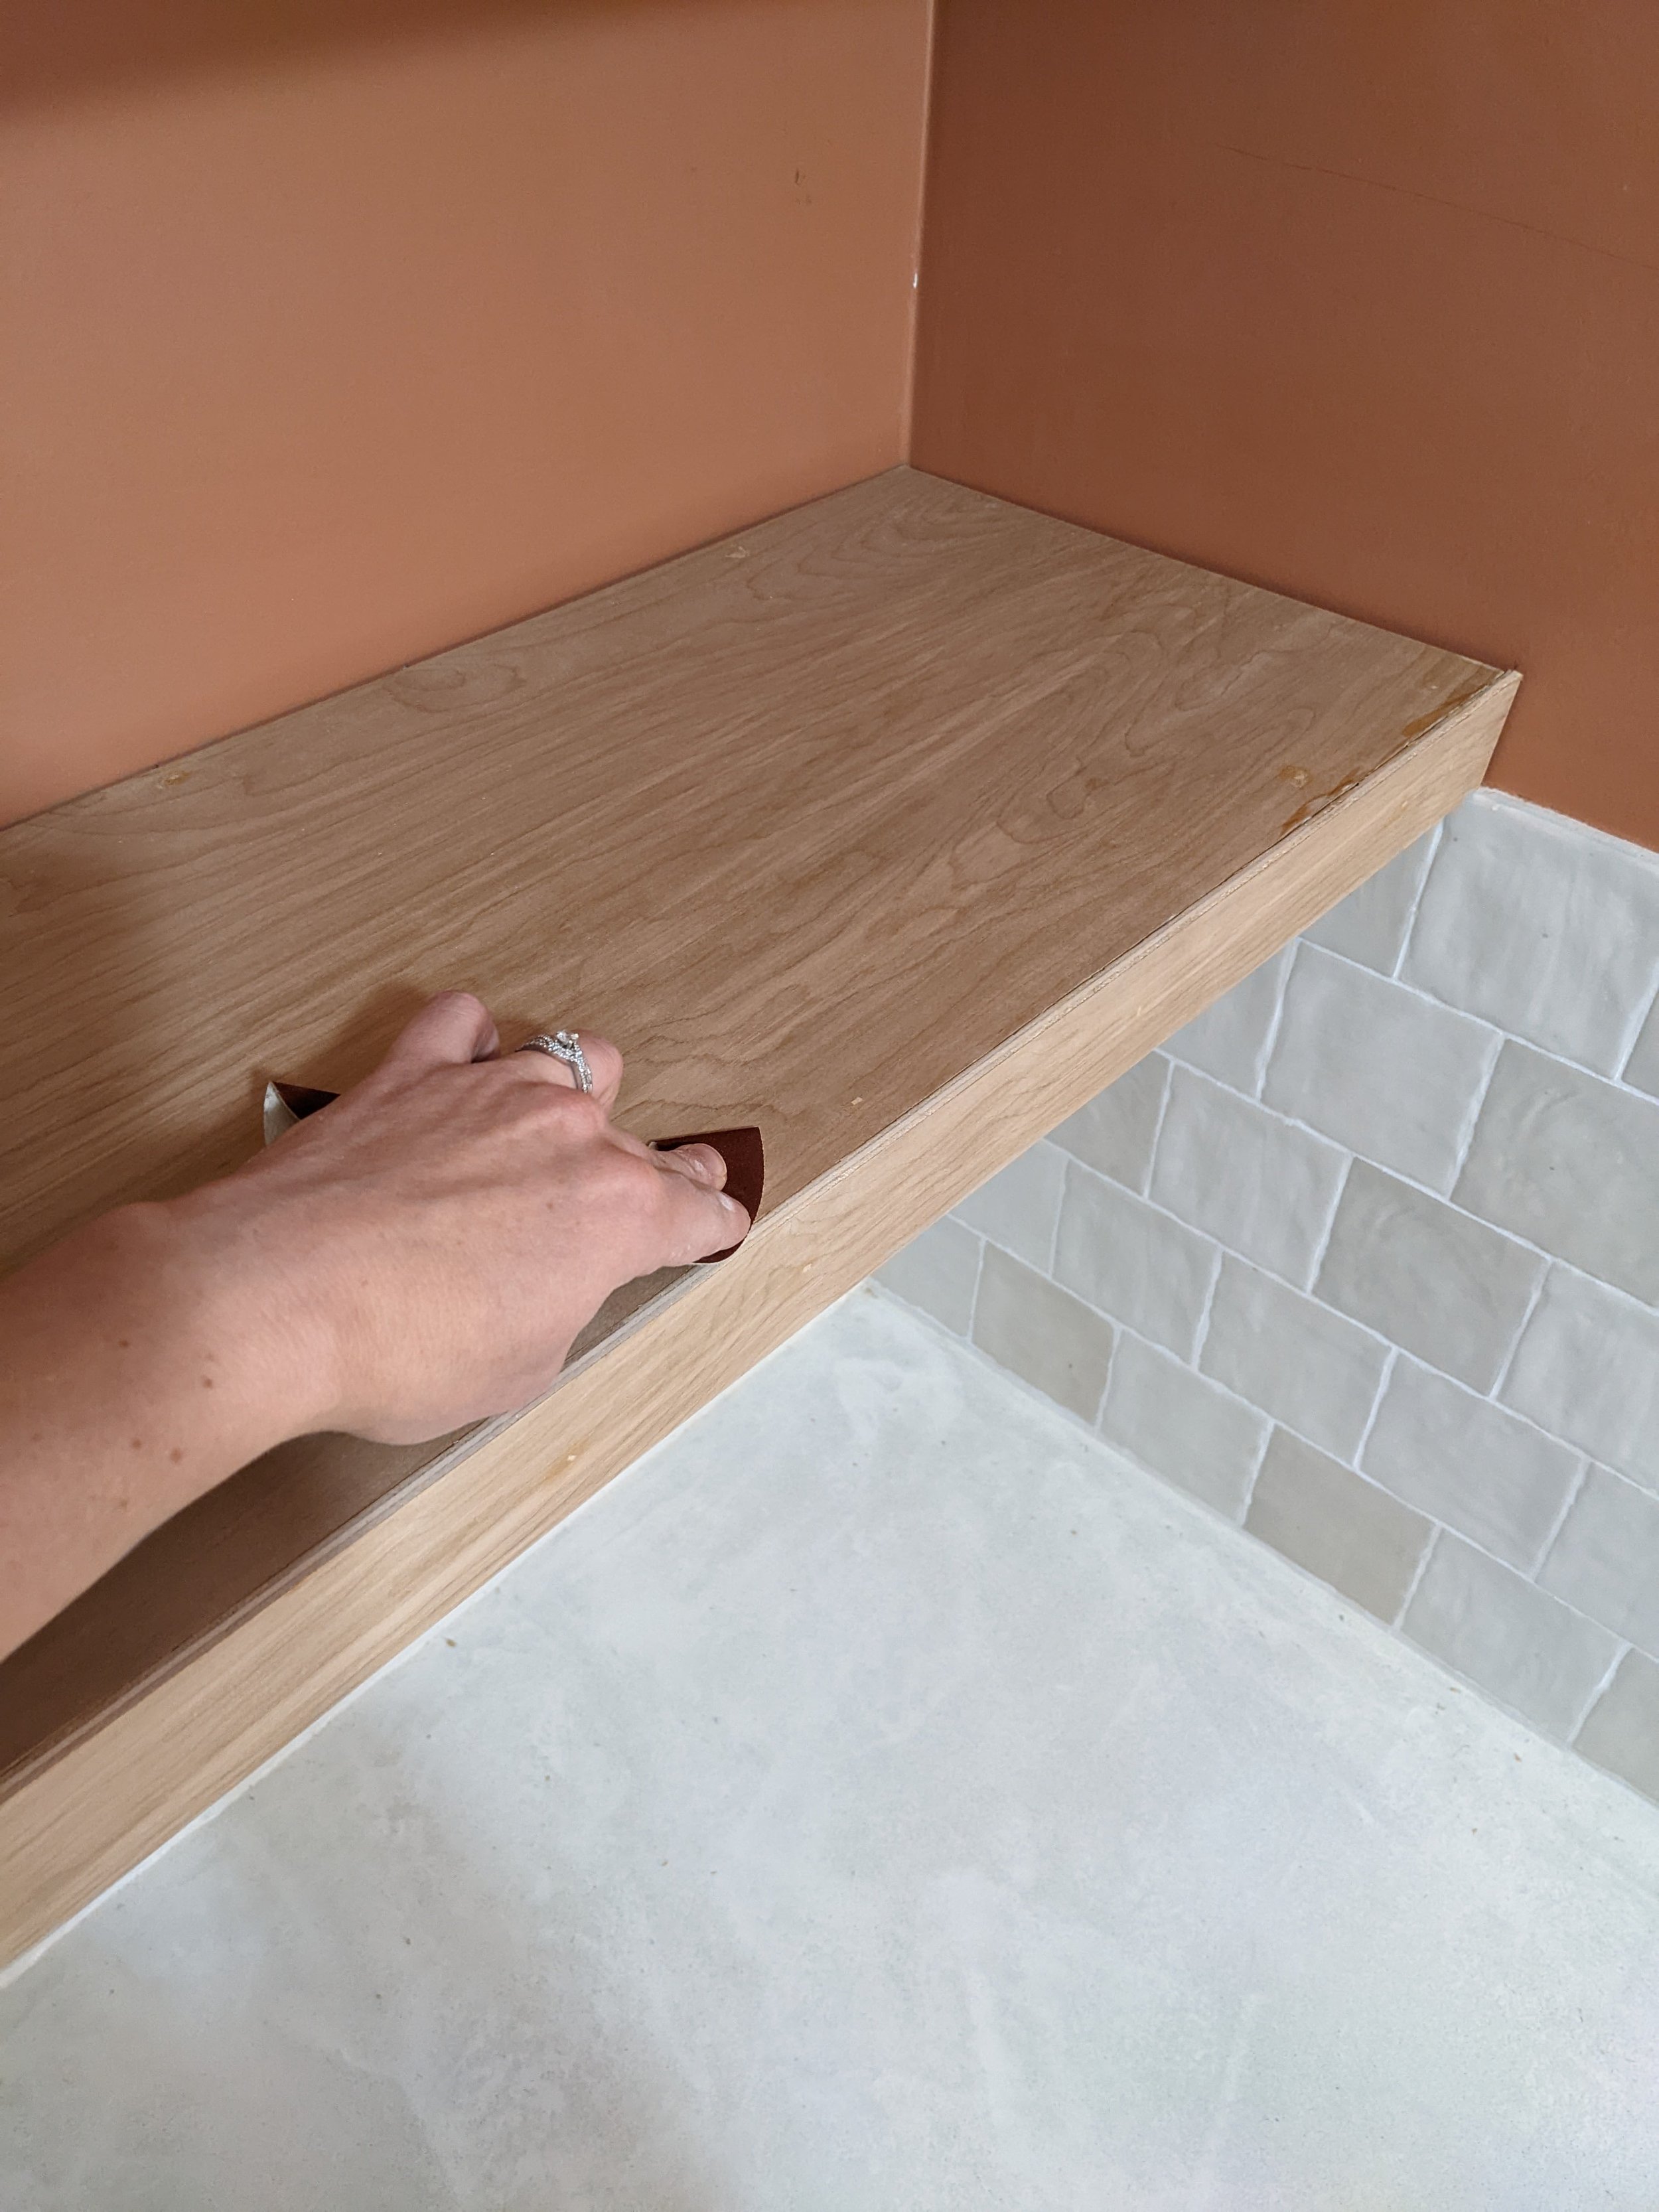
Finishing Touches
After I put in all that work to build my own shelves, I wanted them to look their absolute best. I started by using wood filler to fill in the nail holes. Then I sanded everything down with 220 grit sandpaper, wiped it clean, and applied wood conditioner.
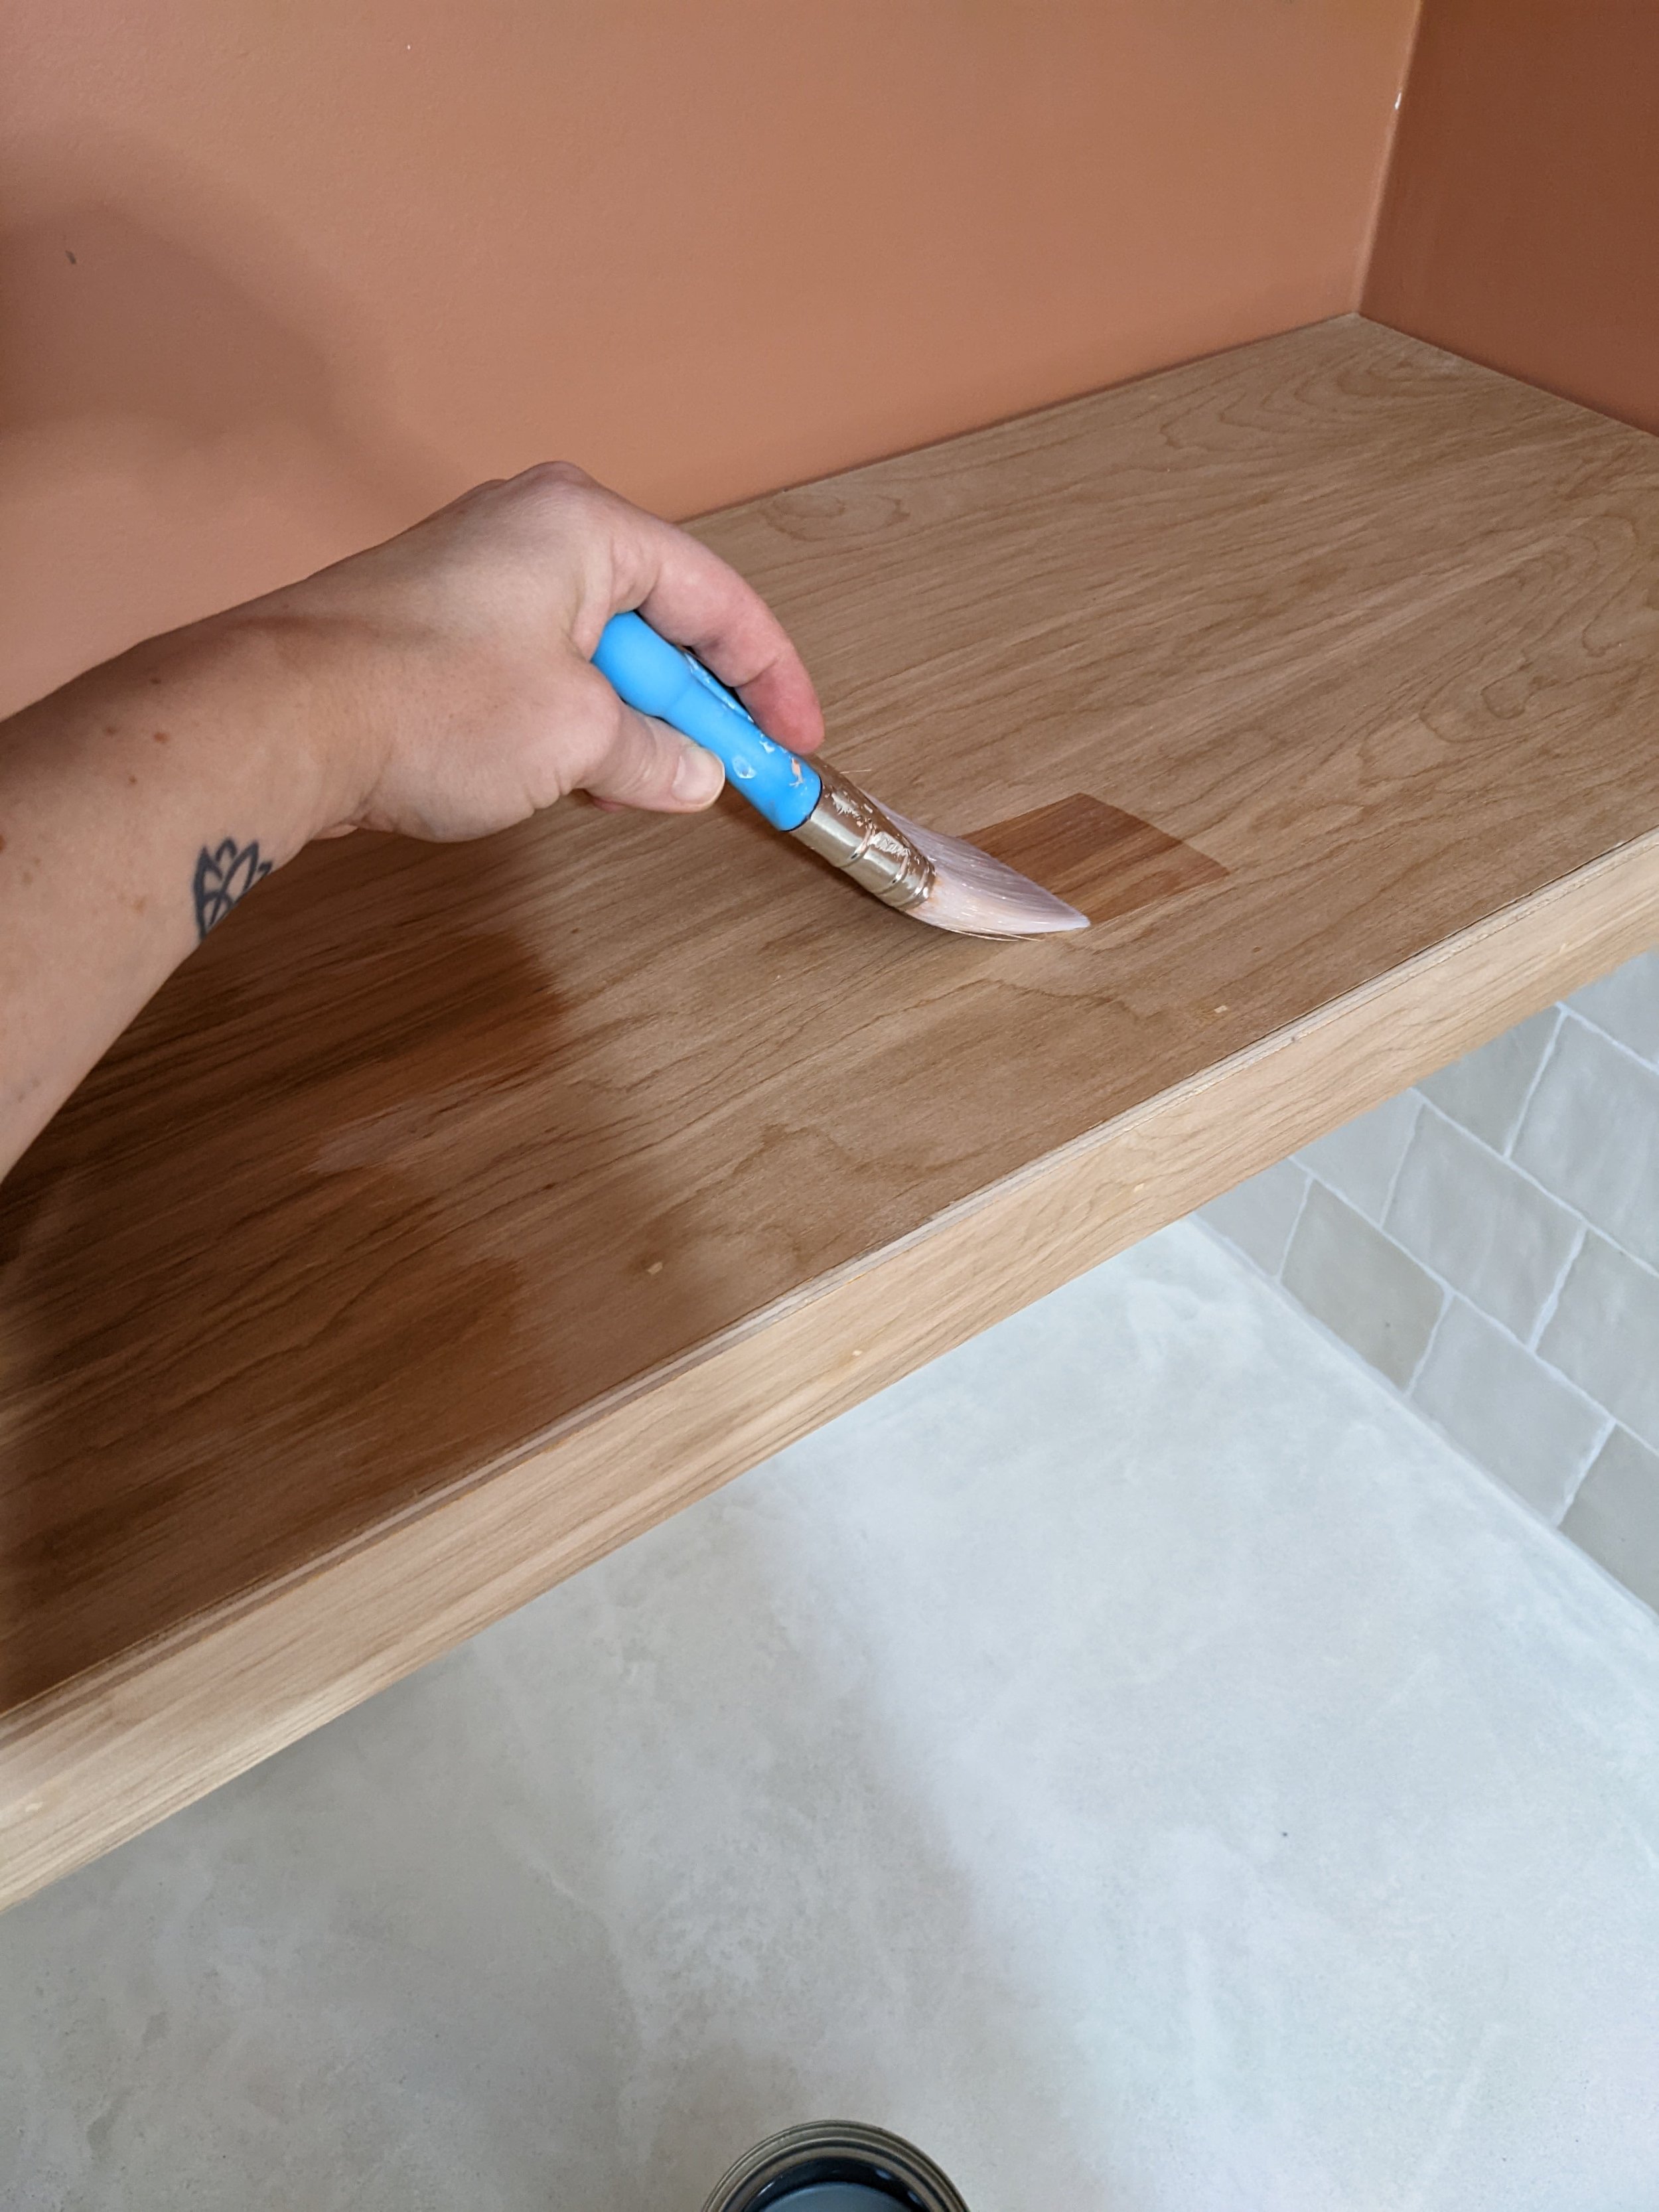
The wood conditioner really seemed to bring out the red in the wood, which I didn’t love (it made the shelves blend into the wall too much). You can see for yourselves in the picture below where the top shelf has wood conditioner and the bottom doesn’t.

So I tested a few different stains to tone them down. I ended up using Minwax Simply White semi-transparent stain. One coat did the job perfectly!
I finished my shelves off with a couple of coats of Polycrylic, and I’m absolutely in LOVE! I can’t wait to style them.

Built-in Cabinet
Did you catch the other addition to the laundry room this week? The cabinet above the washer and dryer has been built and installed!
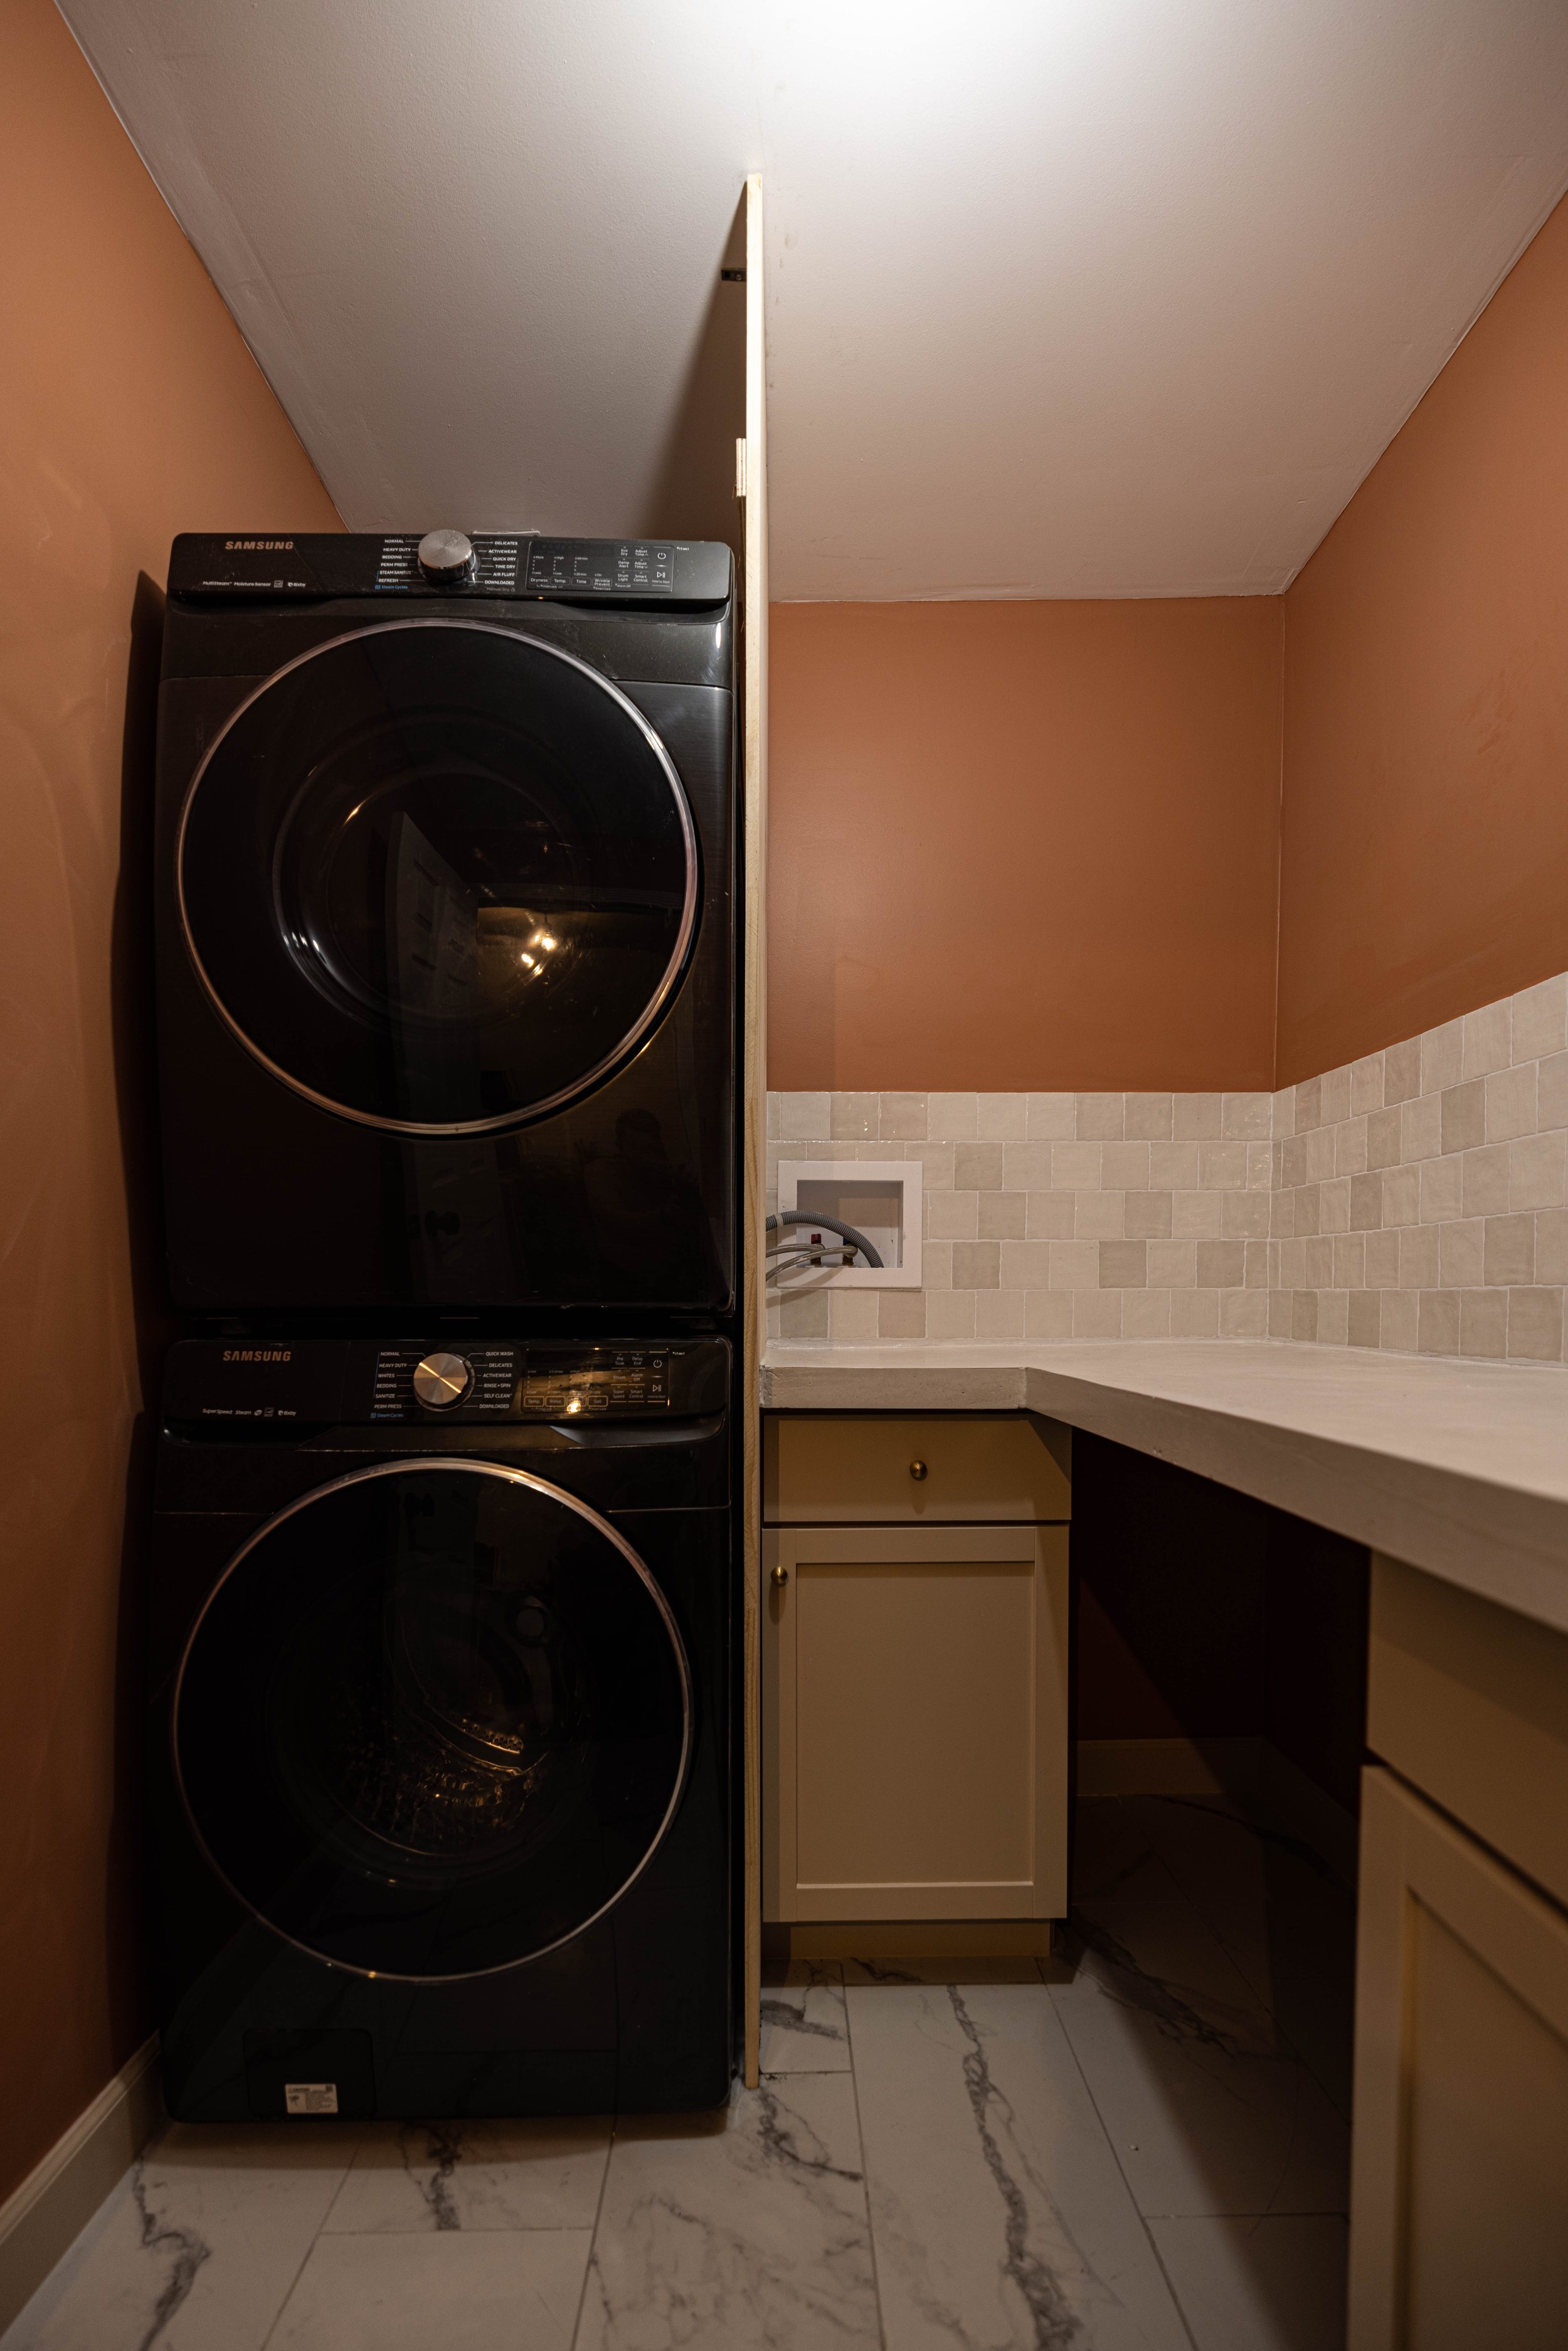
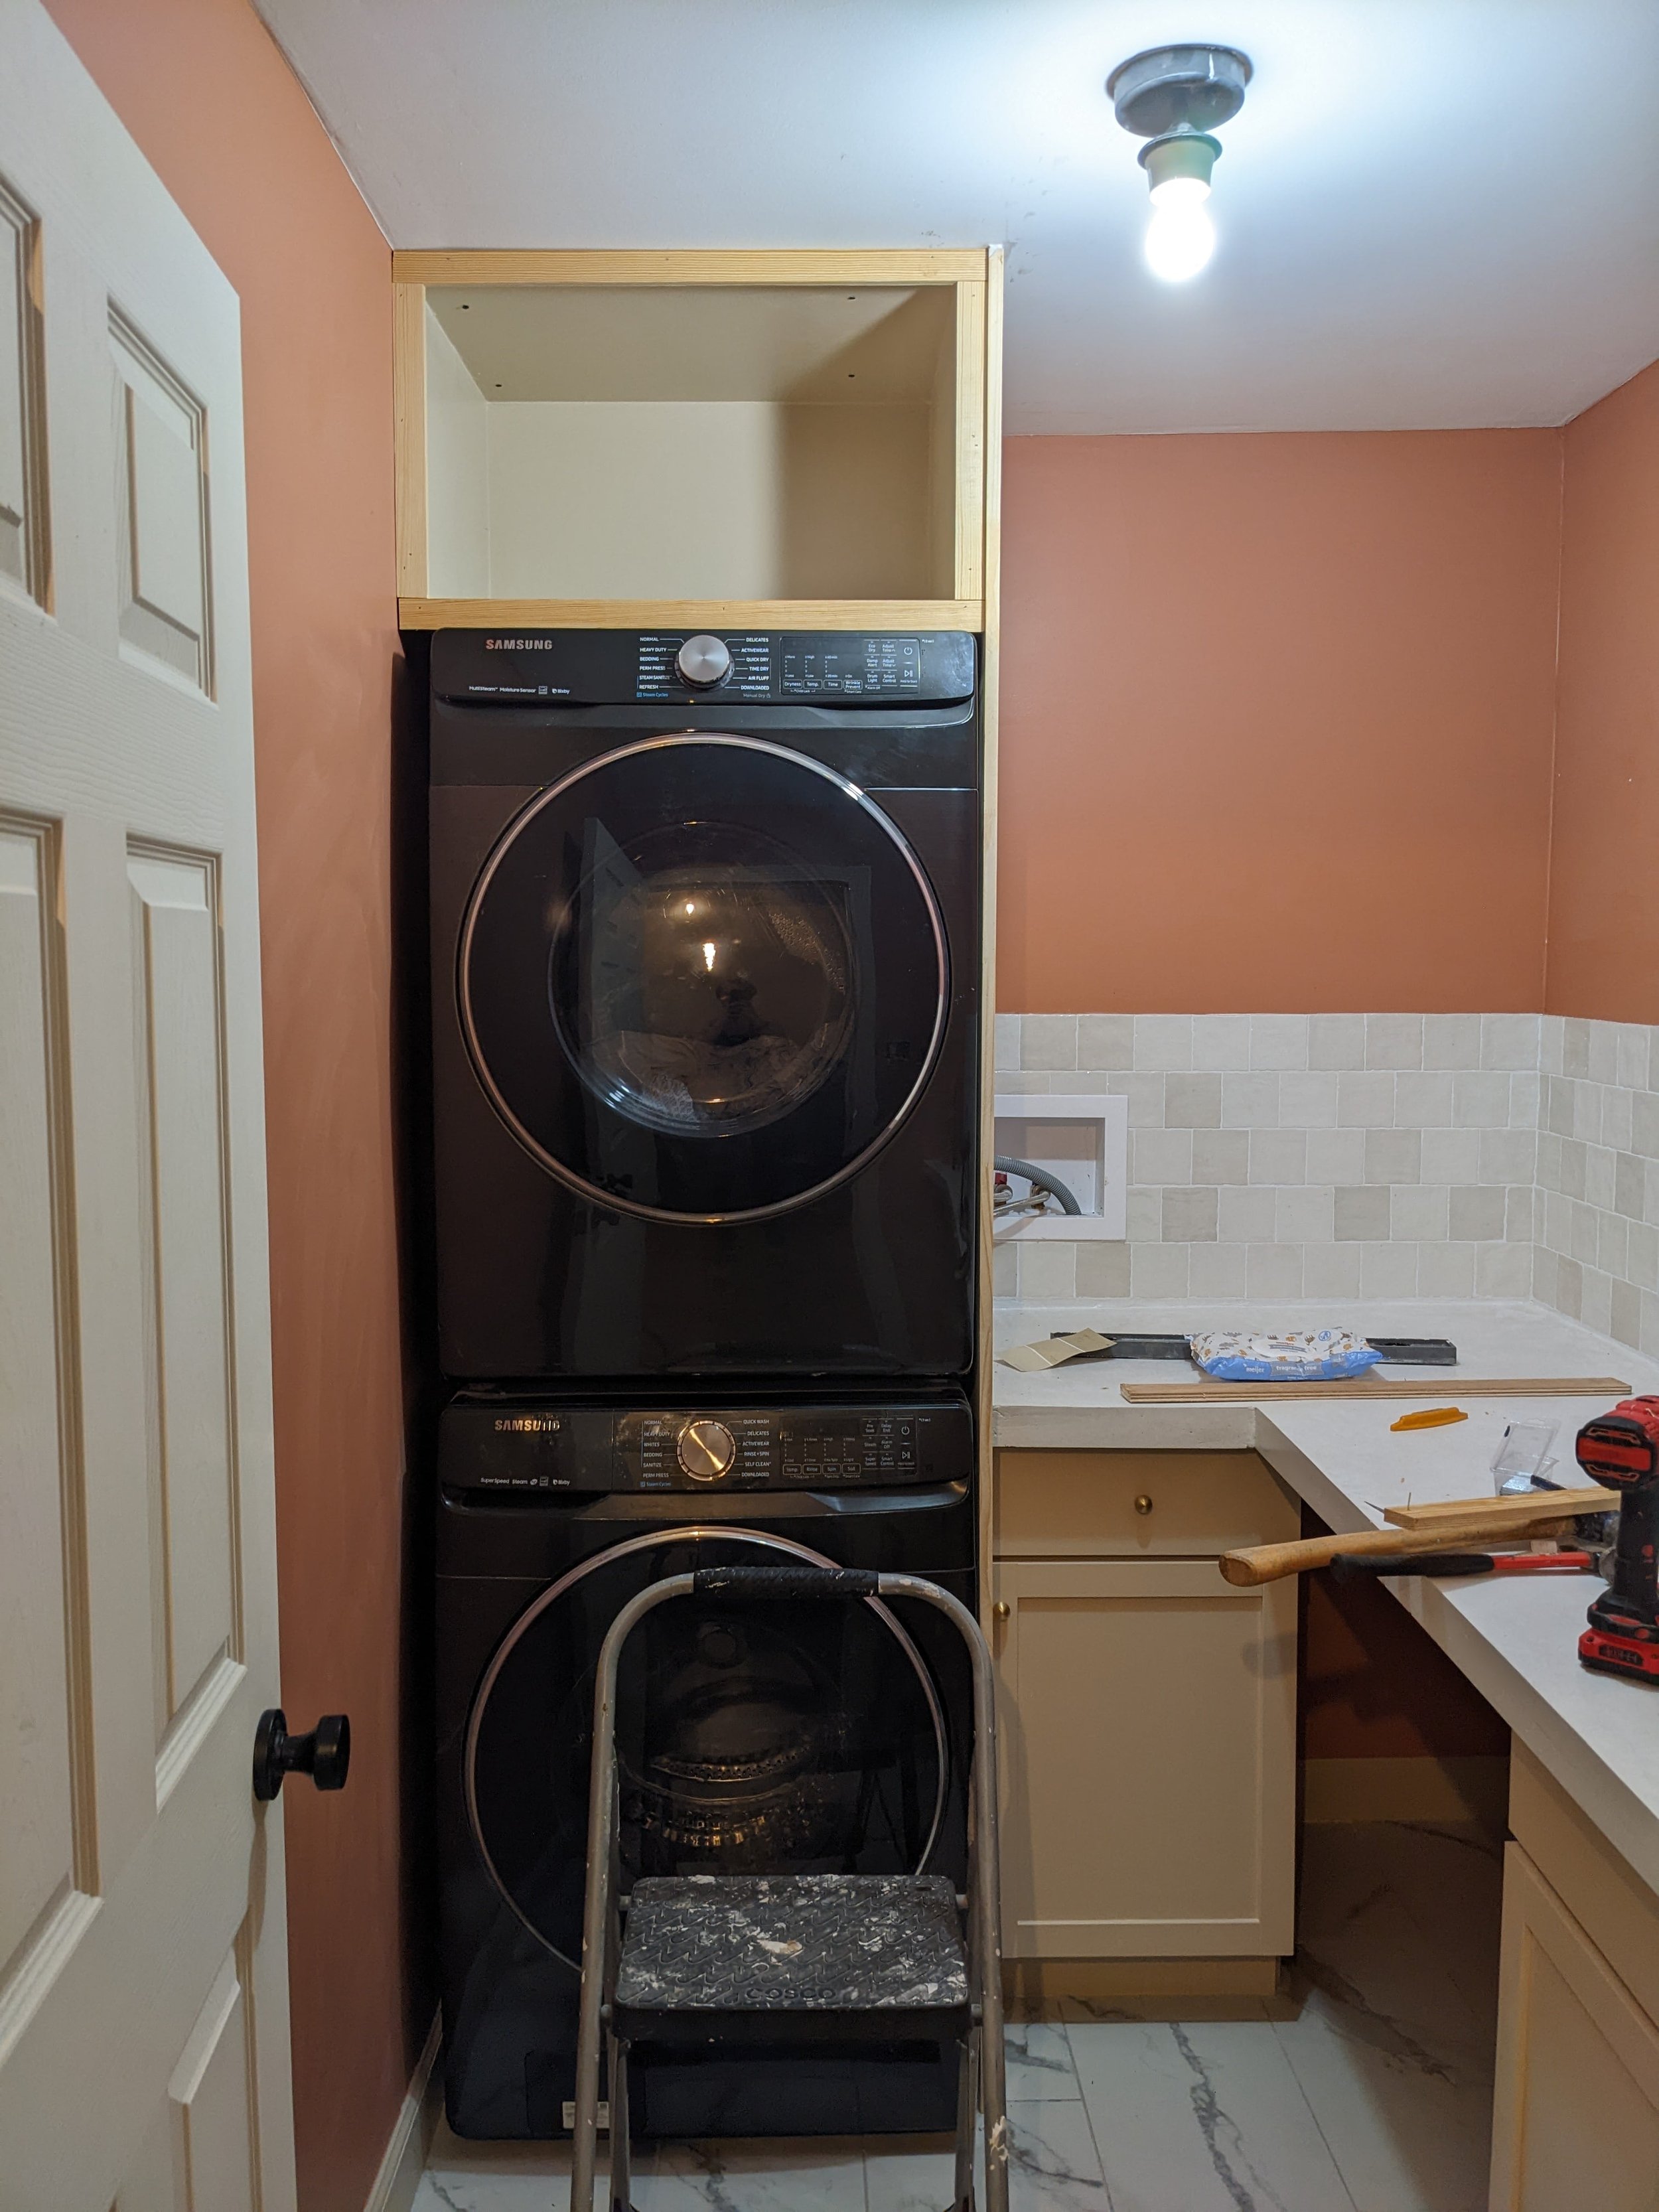
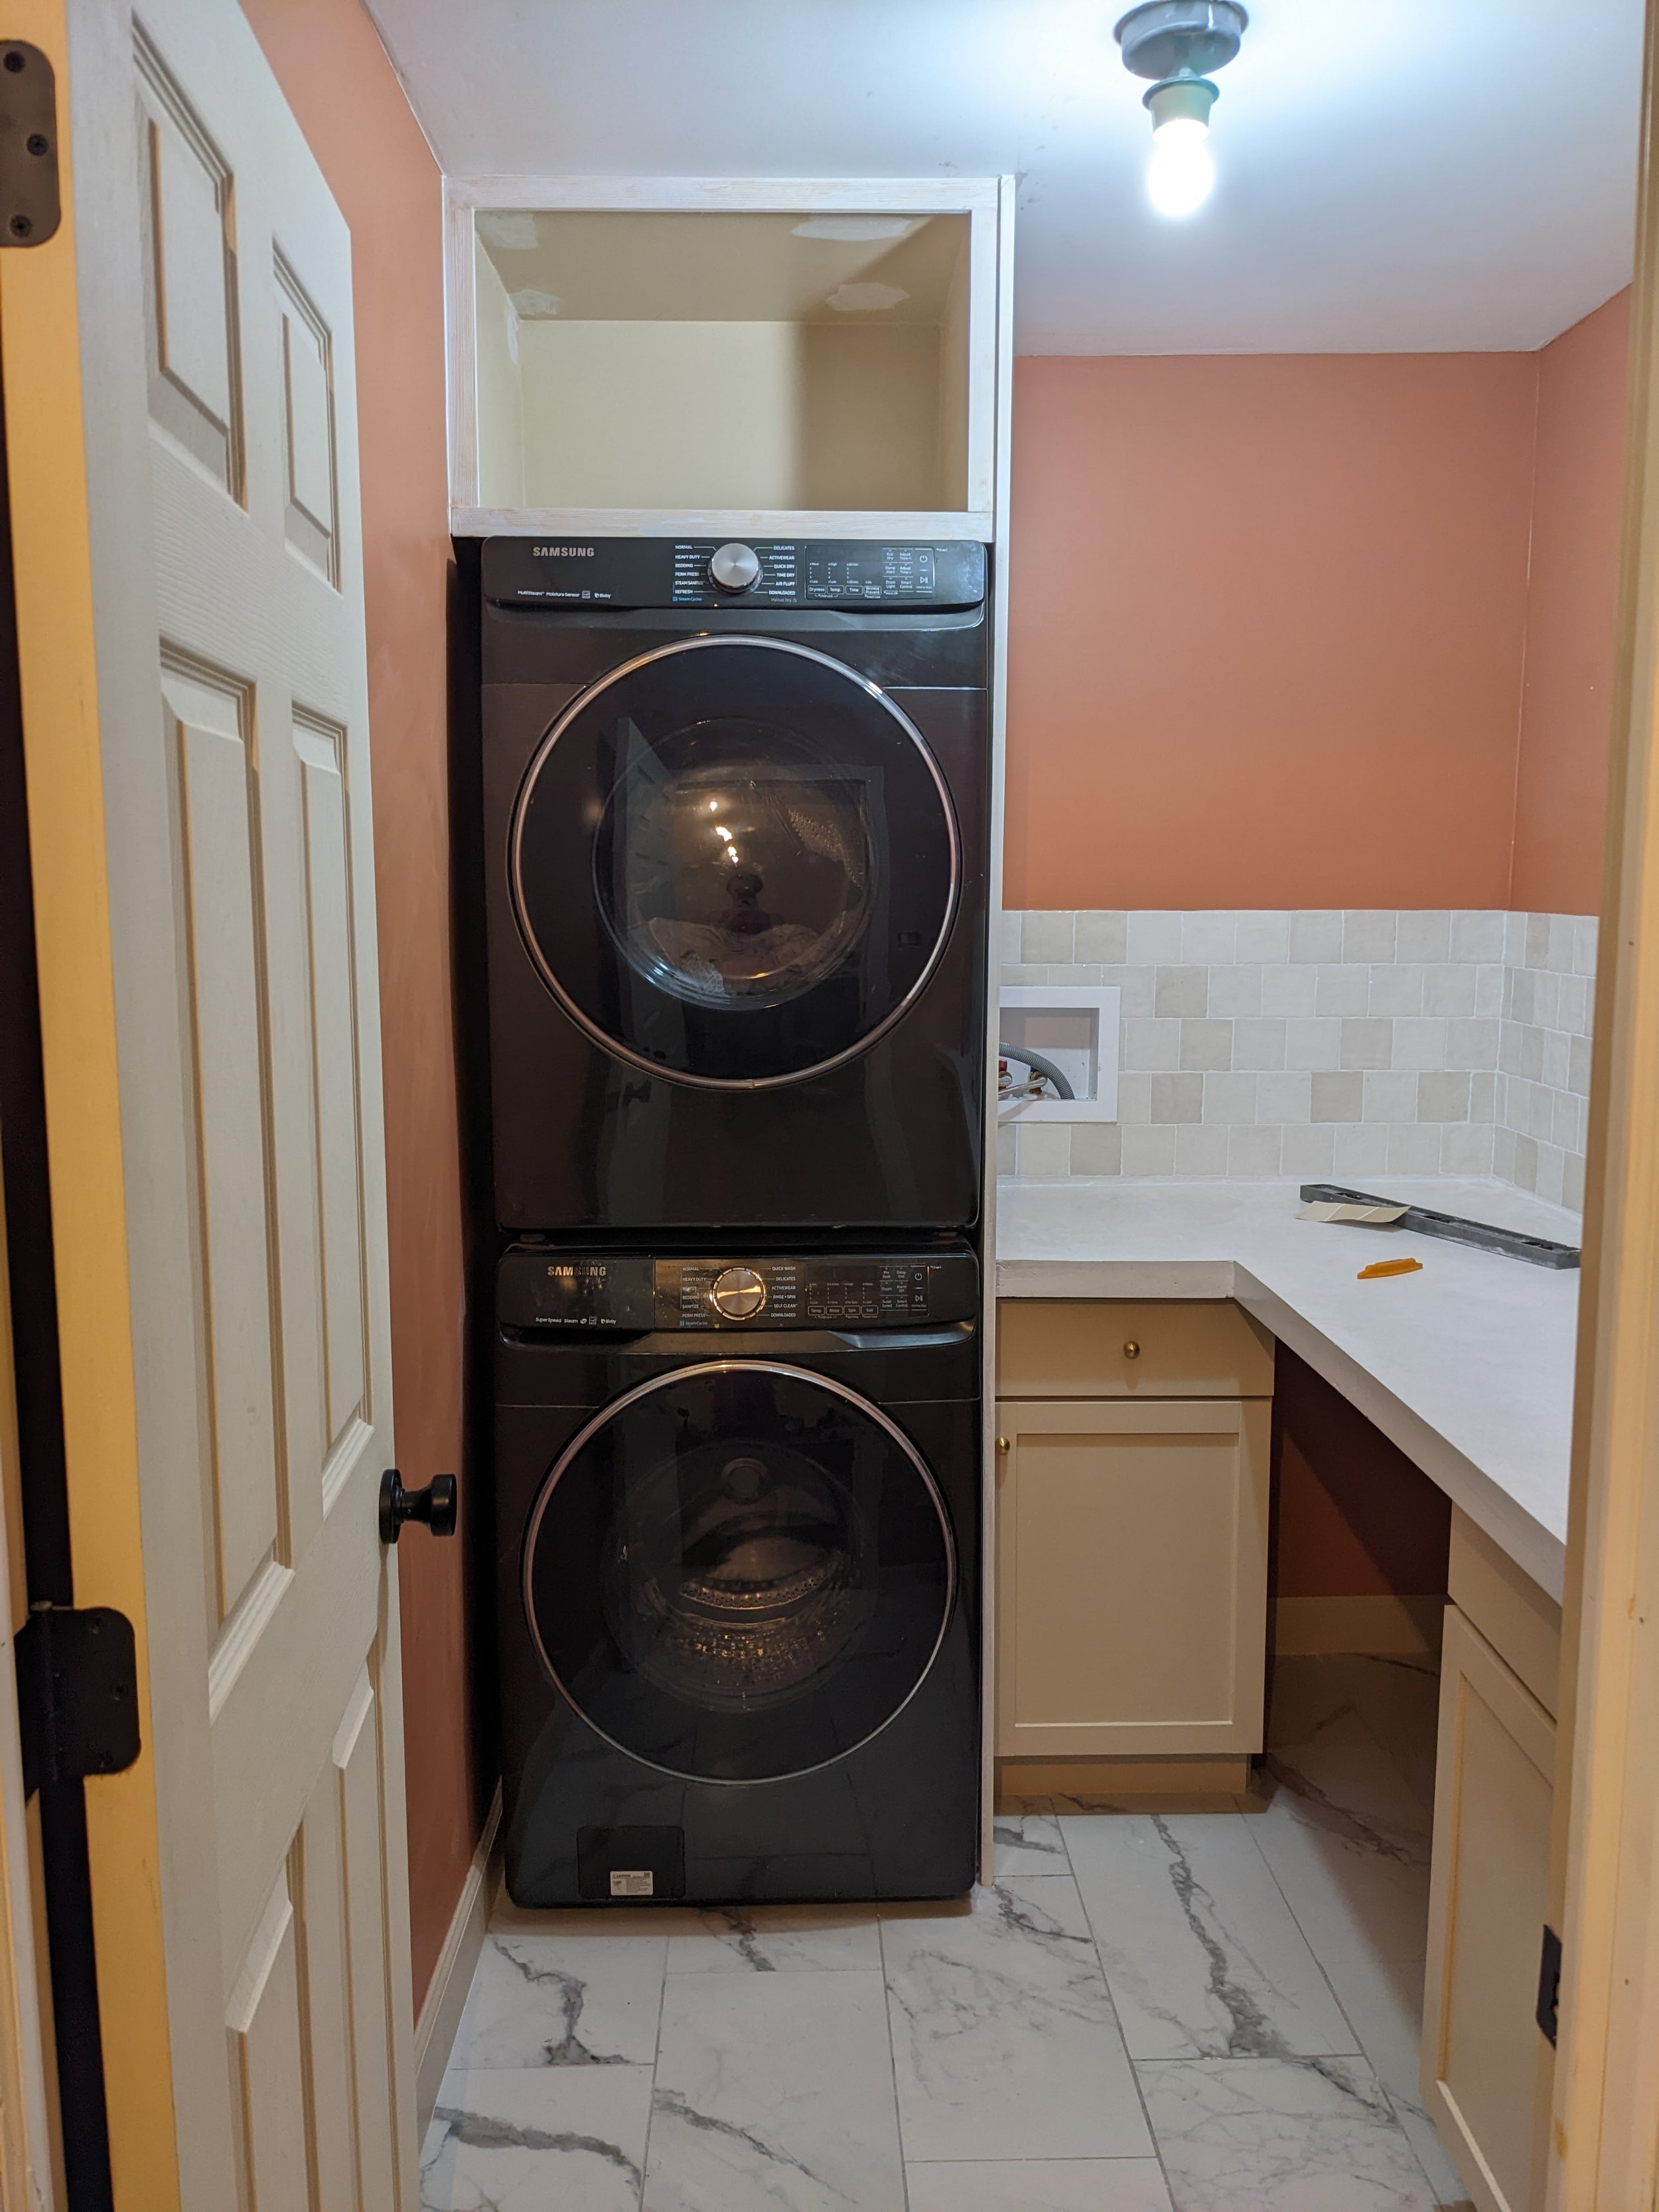
`Who knew you could build a cabinet with just some plywood and a Kreg pocket jig? Not me! But now that I have these two projects under my belt I feel unstoppable! You can watch this process in my Instagram highlights.
But seriously, the cabinet up there makes this room feel 10 feet tall, and I can’t wait to build doors for it. I’m already researching how…
Update: after the One Room Challenge wrapped up, I DID build doors! You can check out the tutorial here.
Final Thoughts
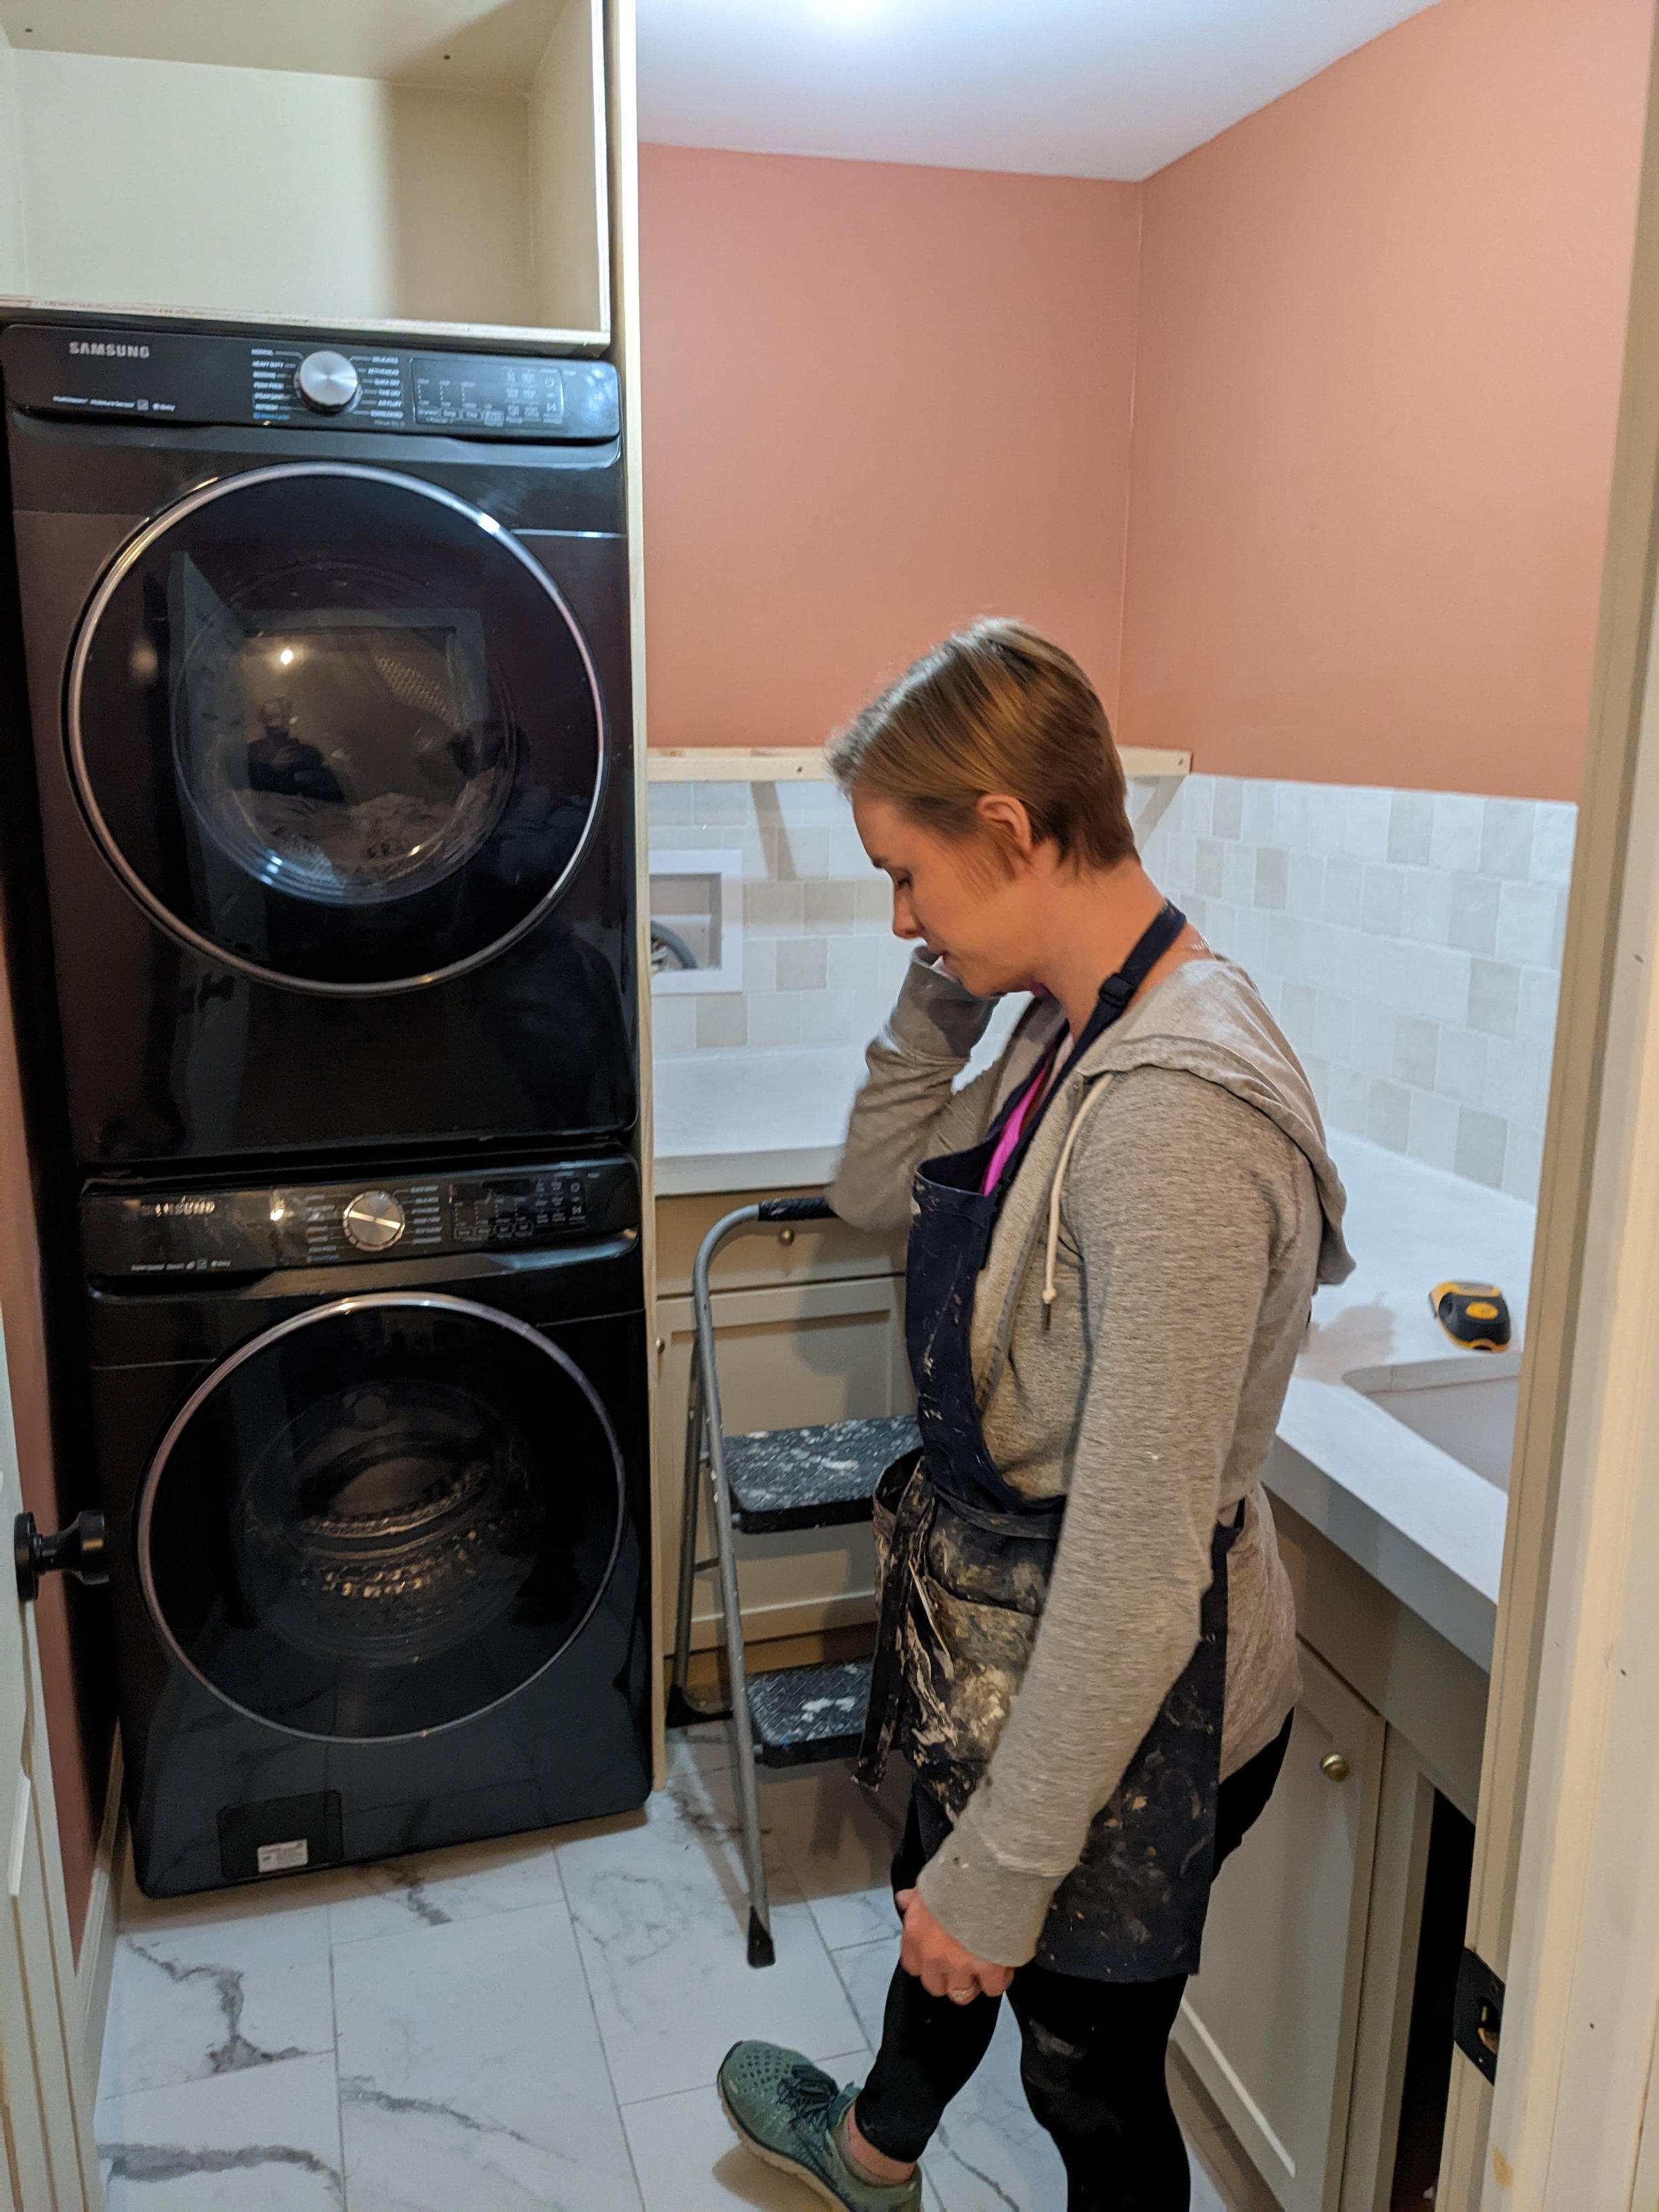
In writing this tutorial, I took out a lot of fluff about my struggles with building my shelves so I could get to the point and provide a concise tutorial. However, I want to mention that I definitely had my challenges. (I was SWEATING while hanging the supports - both from nerves and lack of strength.) BUT, I didn’t give up when I started to doubt myself, and that makes this project that much sweeter.

There have been so many projects I wanted to tackle over the years that I shrugged off because I didn’t think I could. But with every little project I complete, I gain a little more confidence in myself and I can’t express how good that feels. I have the bad habit of thinking about eating the whole elephant at once and getting so overwhelmed I don’t even try - when really I just need to eat it one bite at a time… (What is with me and these sayings today!?)
All that is to say - if you’re anything like me, just start somewhere, and you’ll be amazed at how far those little steps can take you.
I can’t wait until next week when I get to share this room in all its glory in the One Room Challenge reveal!

