How to Hang Shelves on Tile Backsplash
How to Hang Open Shelving on Tile
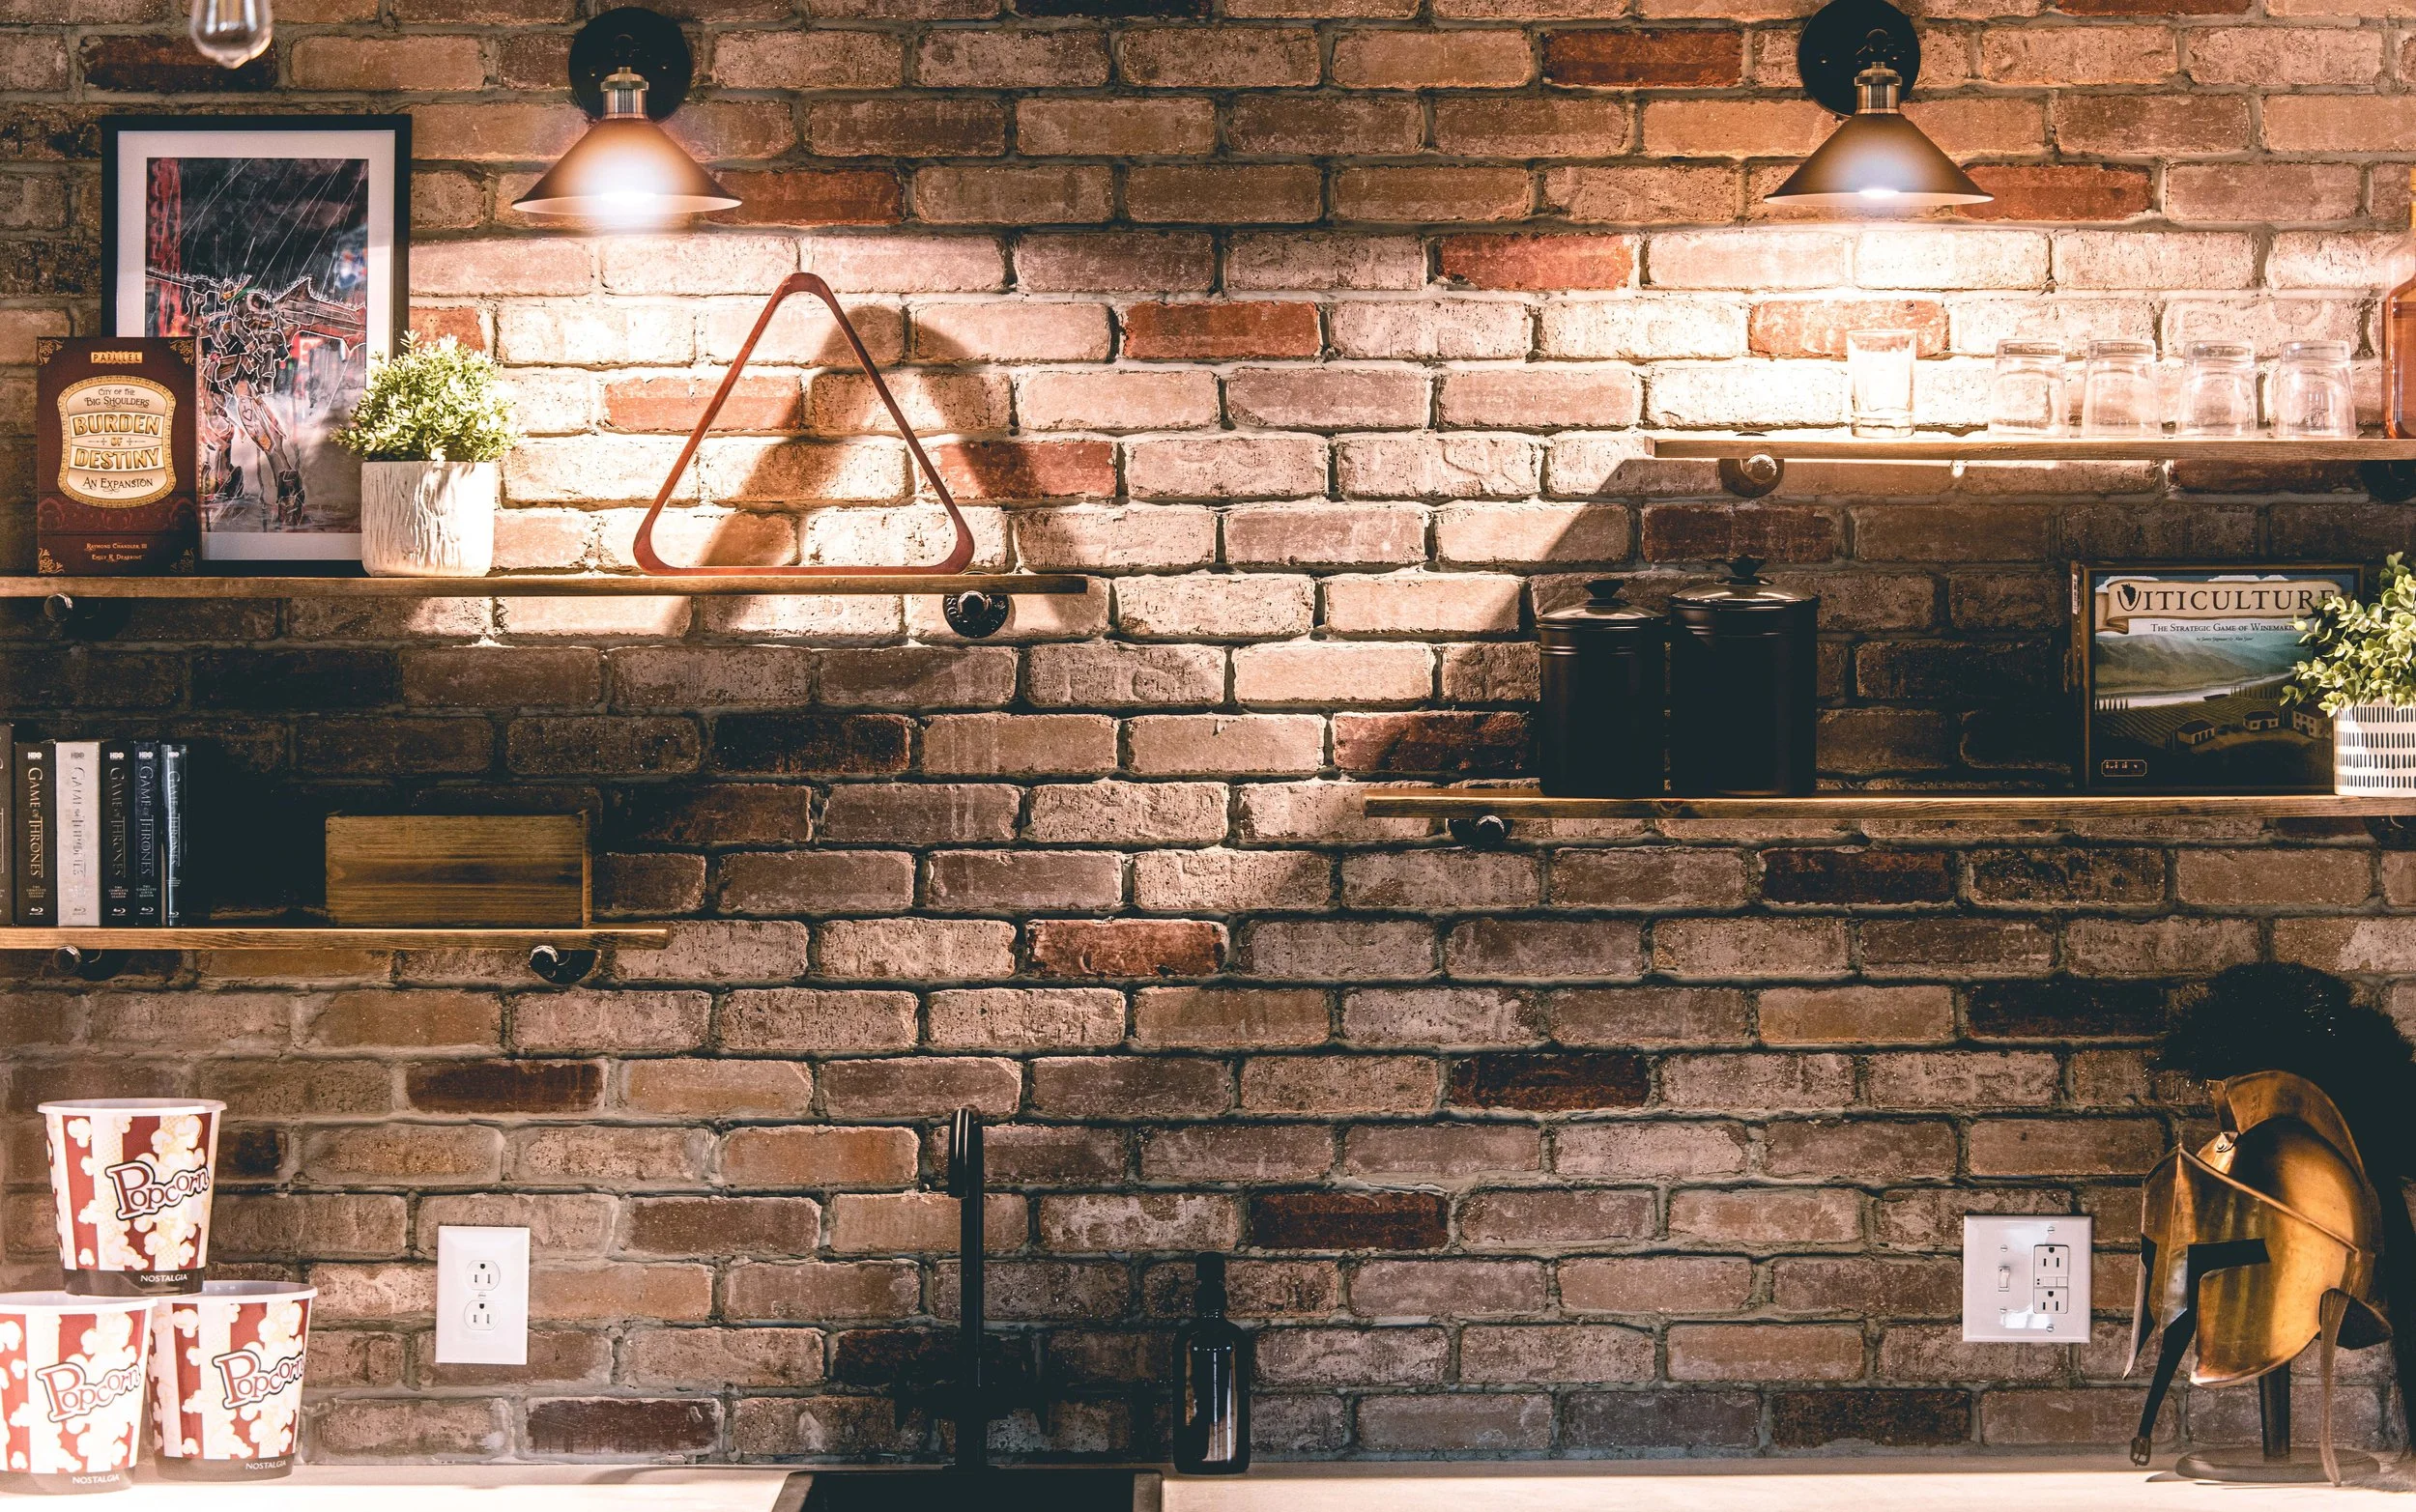
Last week I shared the reveal of our loft kitchenette - but how the heck did we hang shelves on the brick veneer? While hanging shelves on any sort of tile is terrifying - it’s totally doable! In this post, I’ll teach you the step-by-step process of how to hang shelves on a tile backsplash.
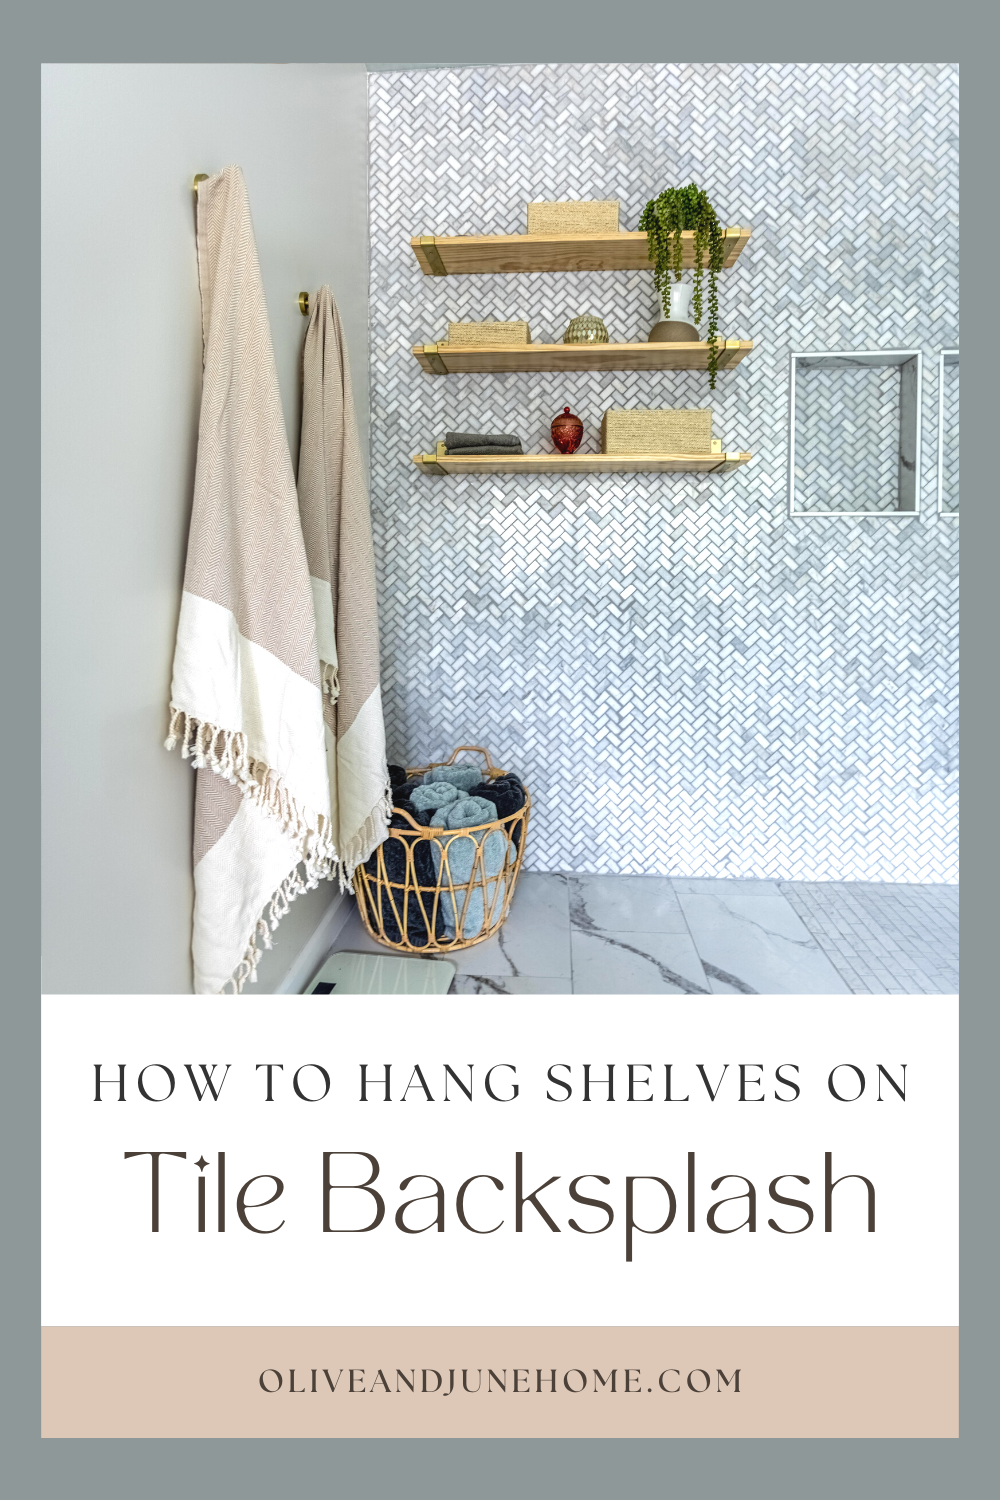
Although the shelves in the loft are hung on brick veneer, the process is exactly the same as hanging shelves on tile. One of the final steps to completing our master bathroom renovation was hanging shelves on the tile wall there, too.

Needless to say, this isn’t our first rodeo! Let’s jump in! Here’s what you’ll need to get the job done:
As an Amazon Associate, I earn from qualifying purchases. This post may contain affiliate links, meaning I receive commissions for purchases made through those links at no cost to you.
Materials
- Drill
- Diamond/Carbide Drill Bit (for glass/tile) OR Masonry Drill Bit (for brick veneers)
- Water (in either a cup or a spray bottle)
- Drywall Anchors
- Painters Tape
- Writing utensil
- Laser Level
- Stud Finder
- Measuring Tape
Step 1: Find Your Studs
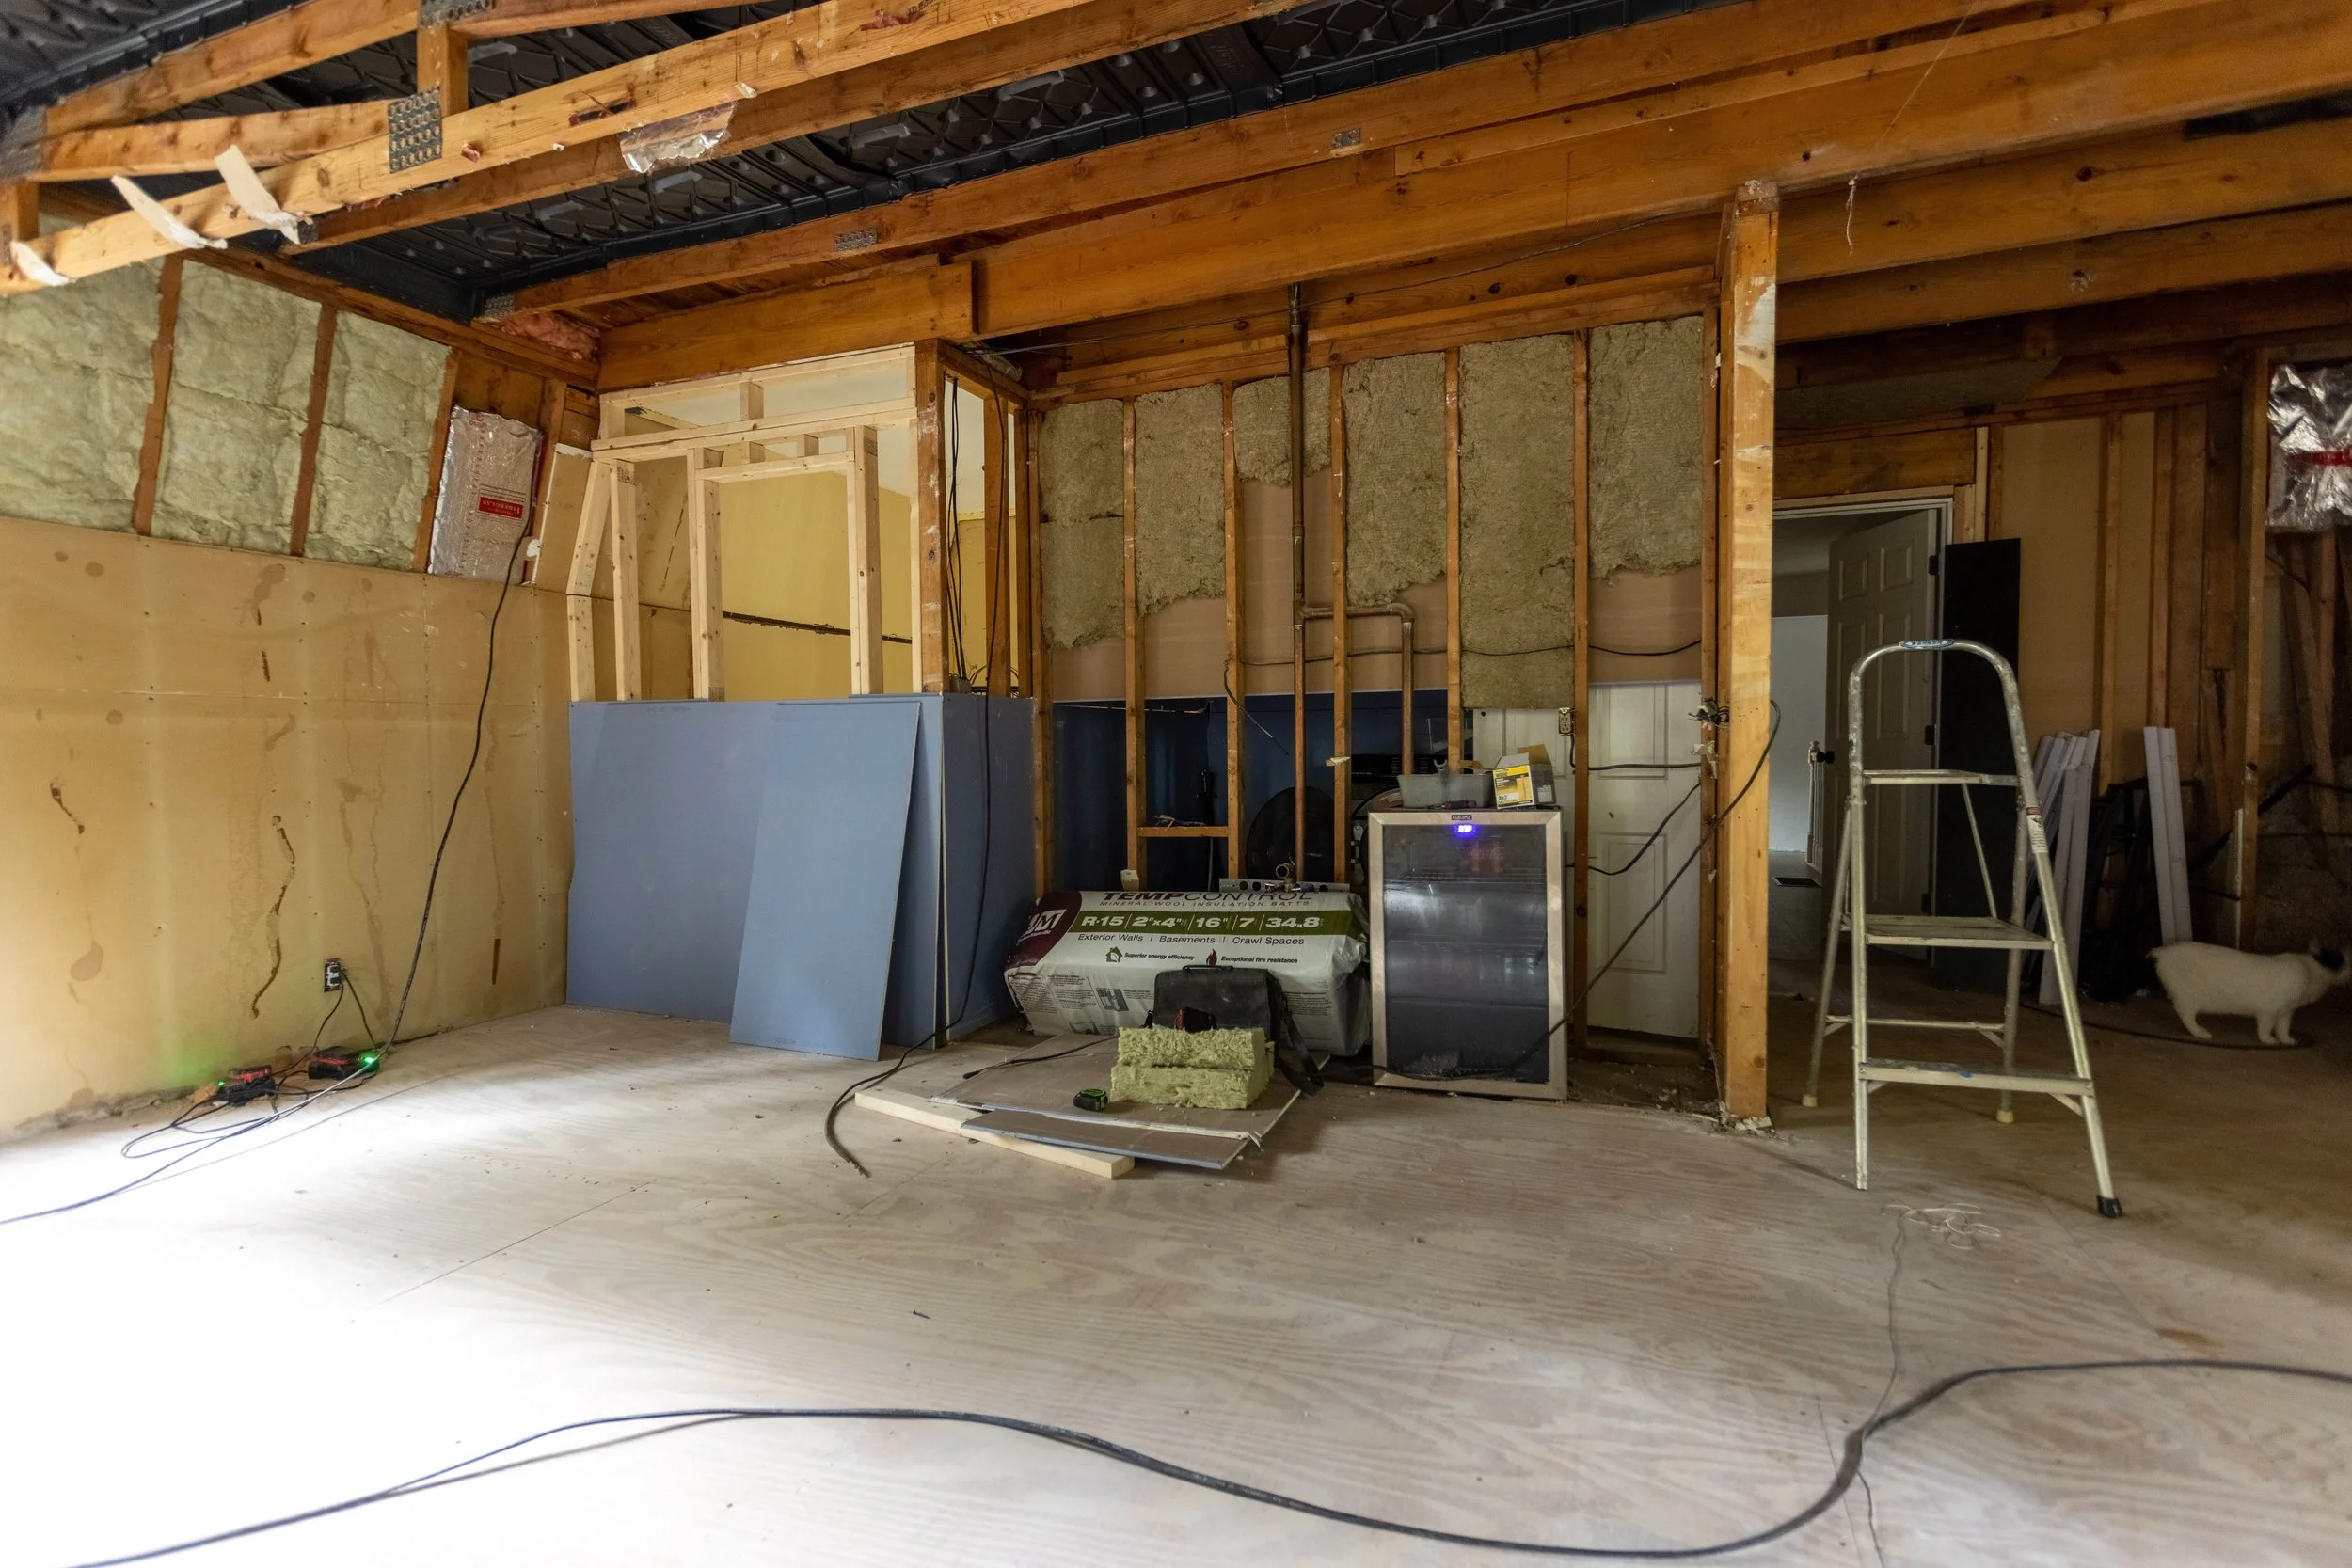
If you haven’t tiled yet, I highly recommend using a stud finder to mark your studs before you start tiling.
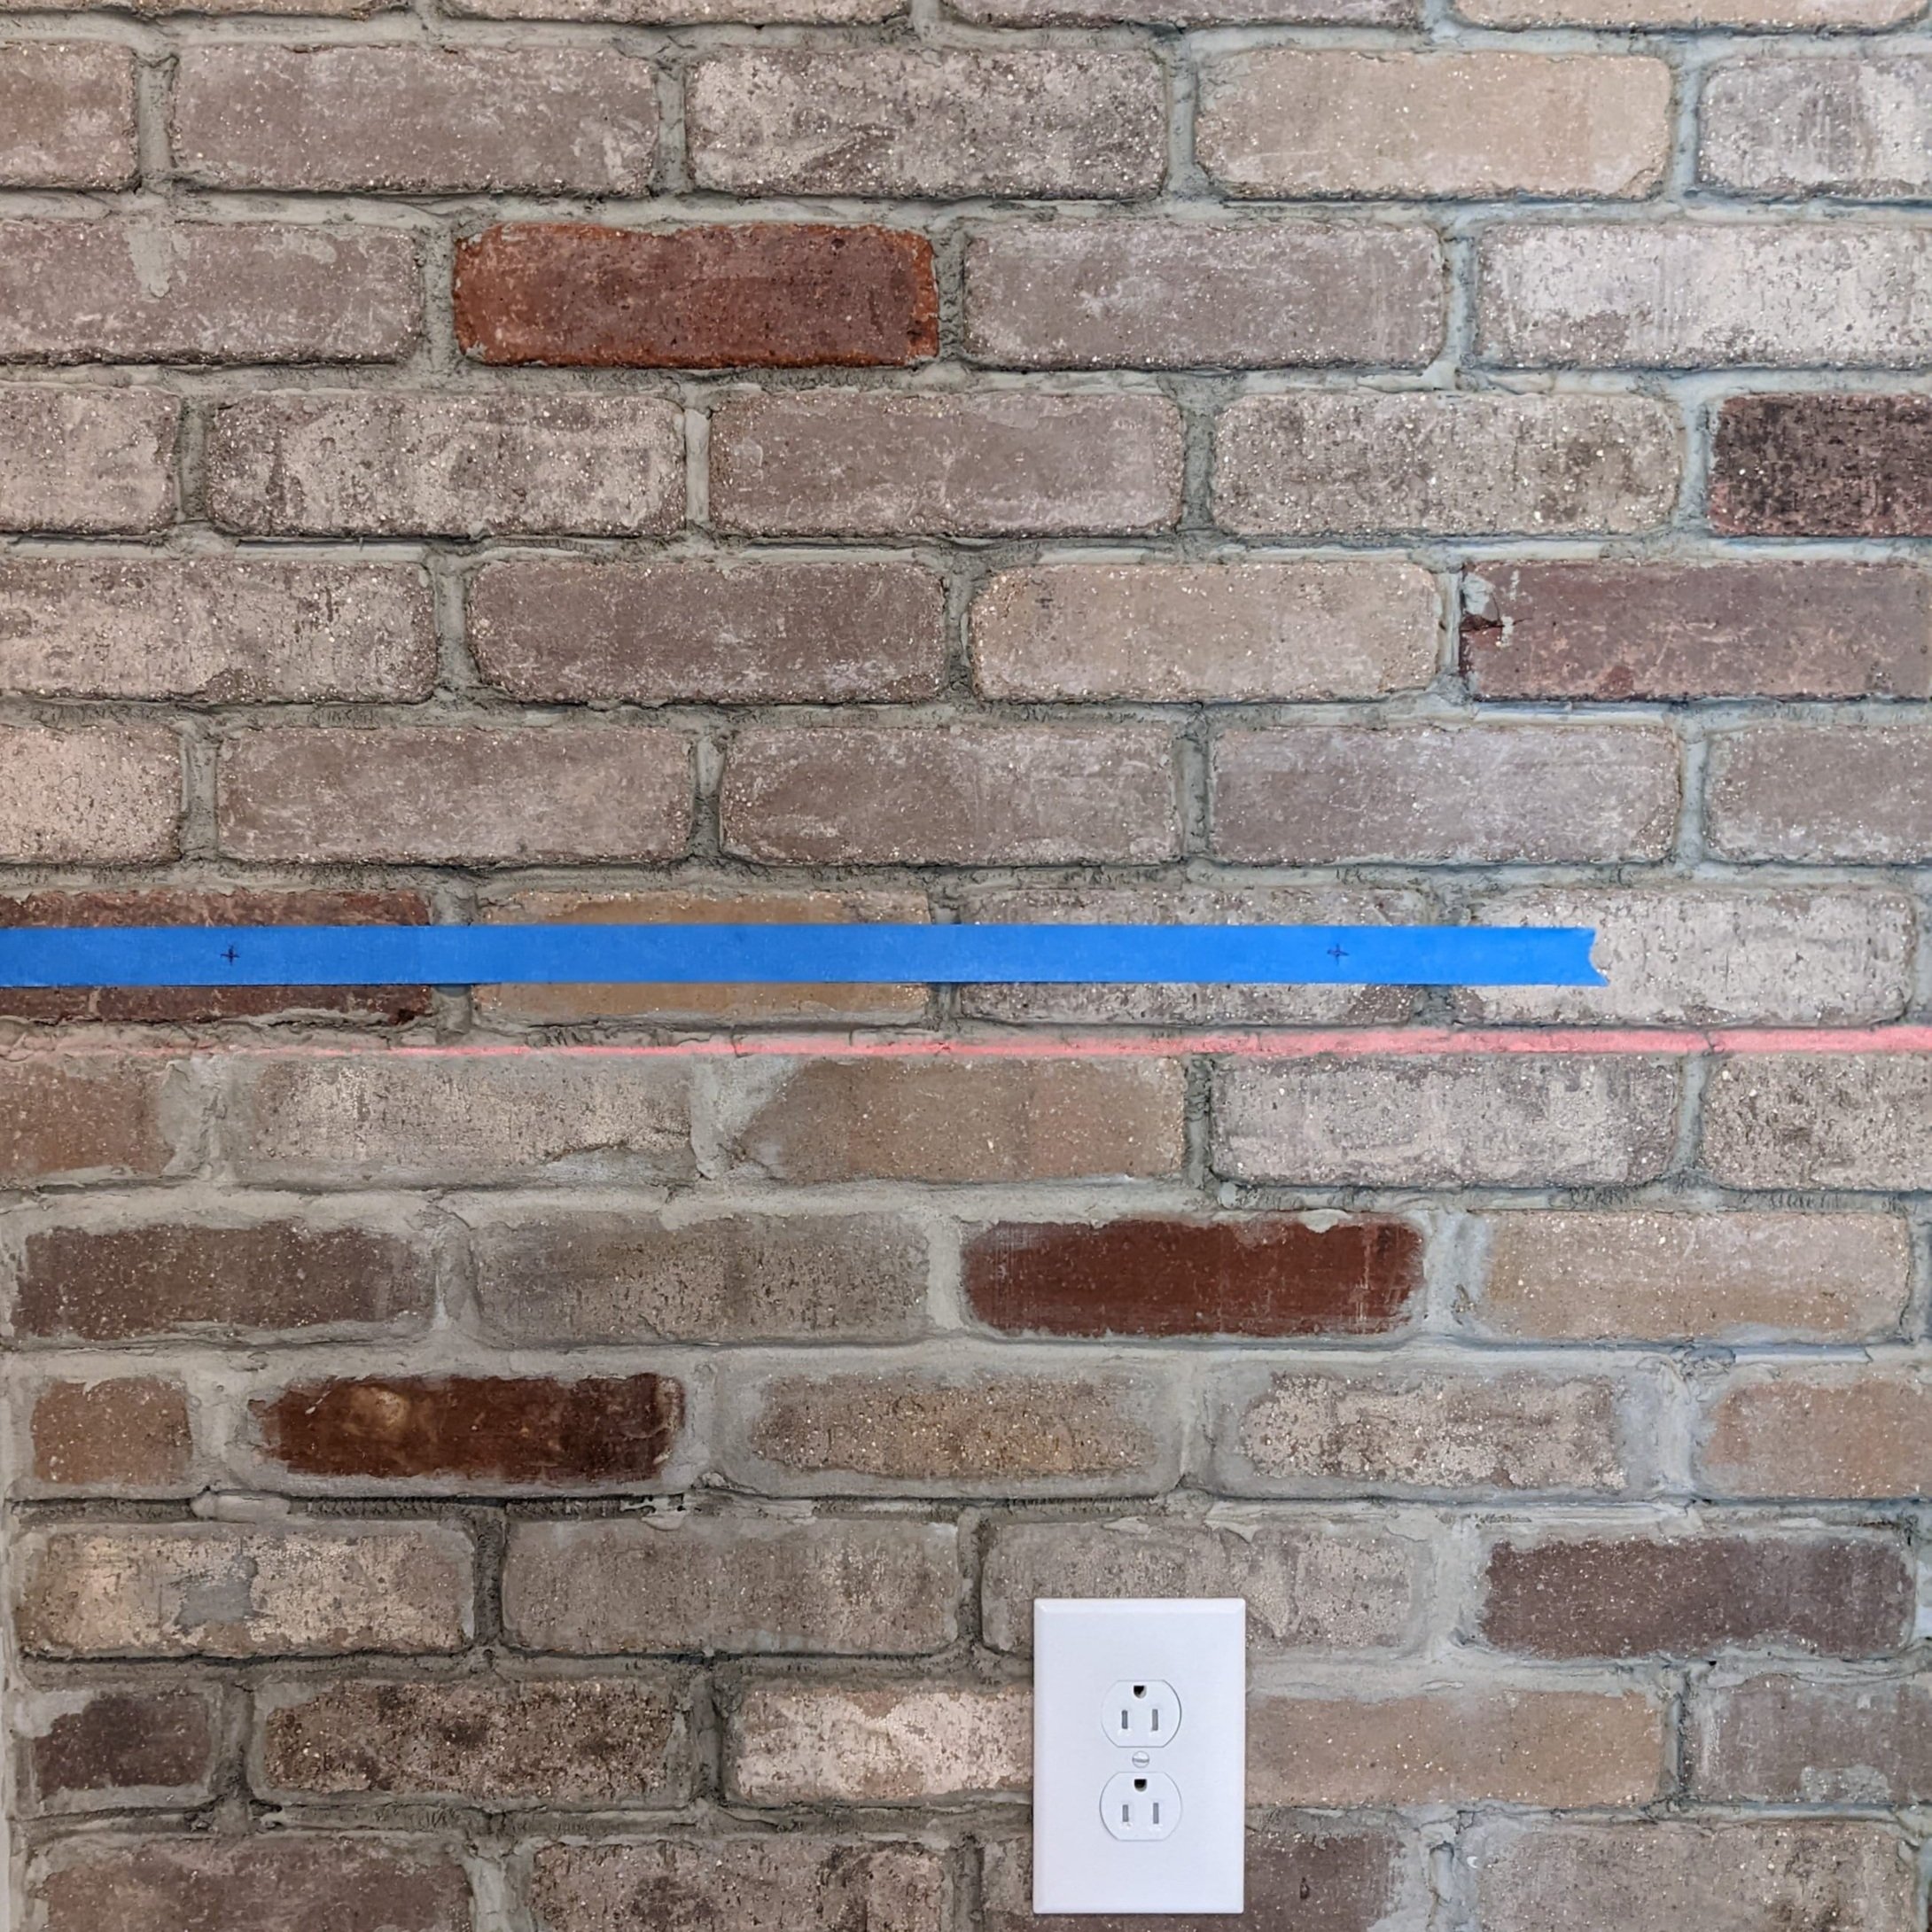
In this picture from our brick veneer installation how-to, you can see on the ceiling where we put tape where each stud was located. Since we were working with unfinished drywall, we just followed the line of screws (no stud finder needed!).

If you didn’t think to mark your studs ahead of time, and you’re fortunate enough to have pictures of the wall-less room to reference, you can use those as a guide.
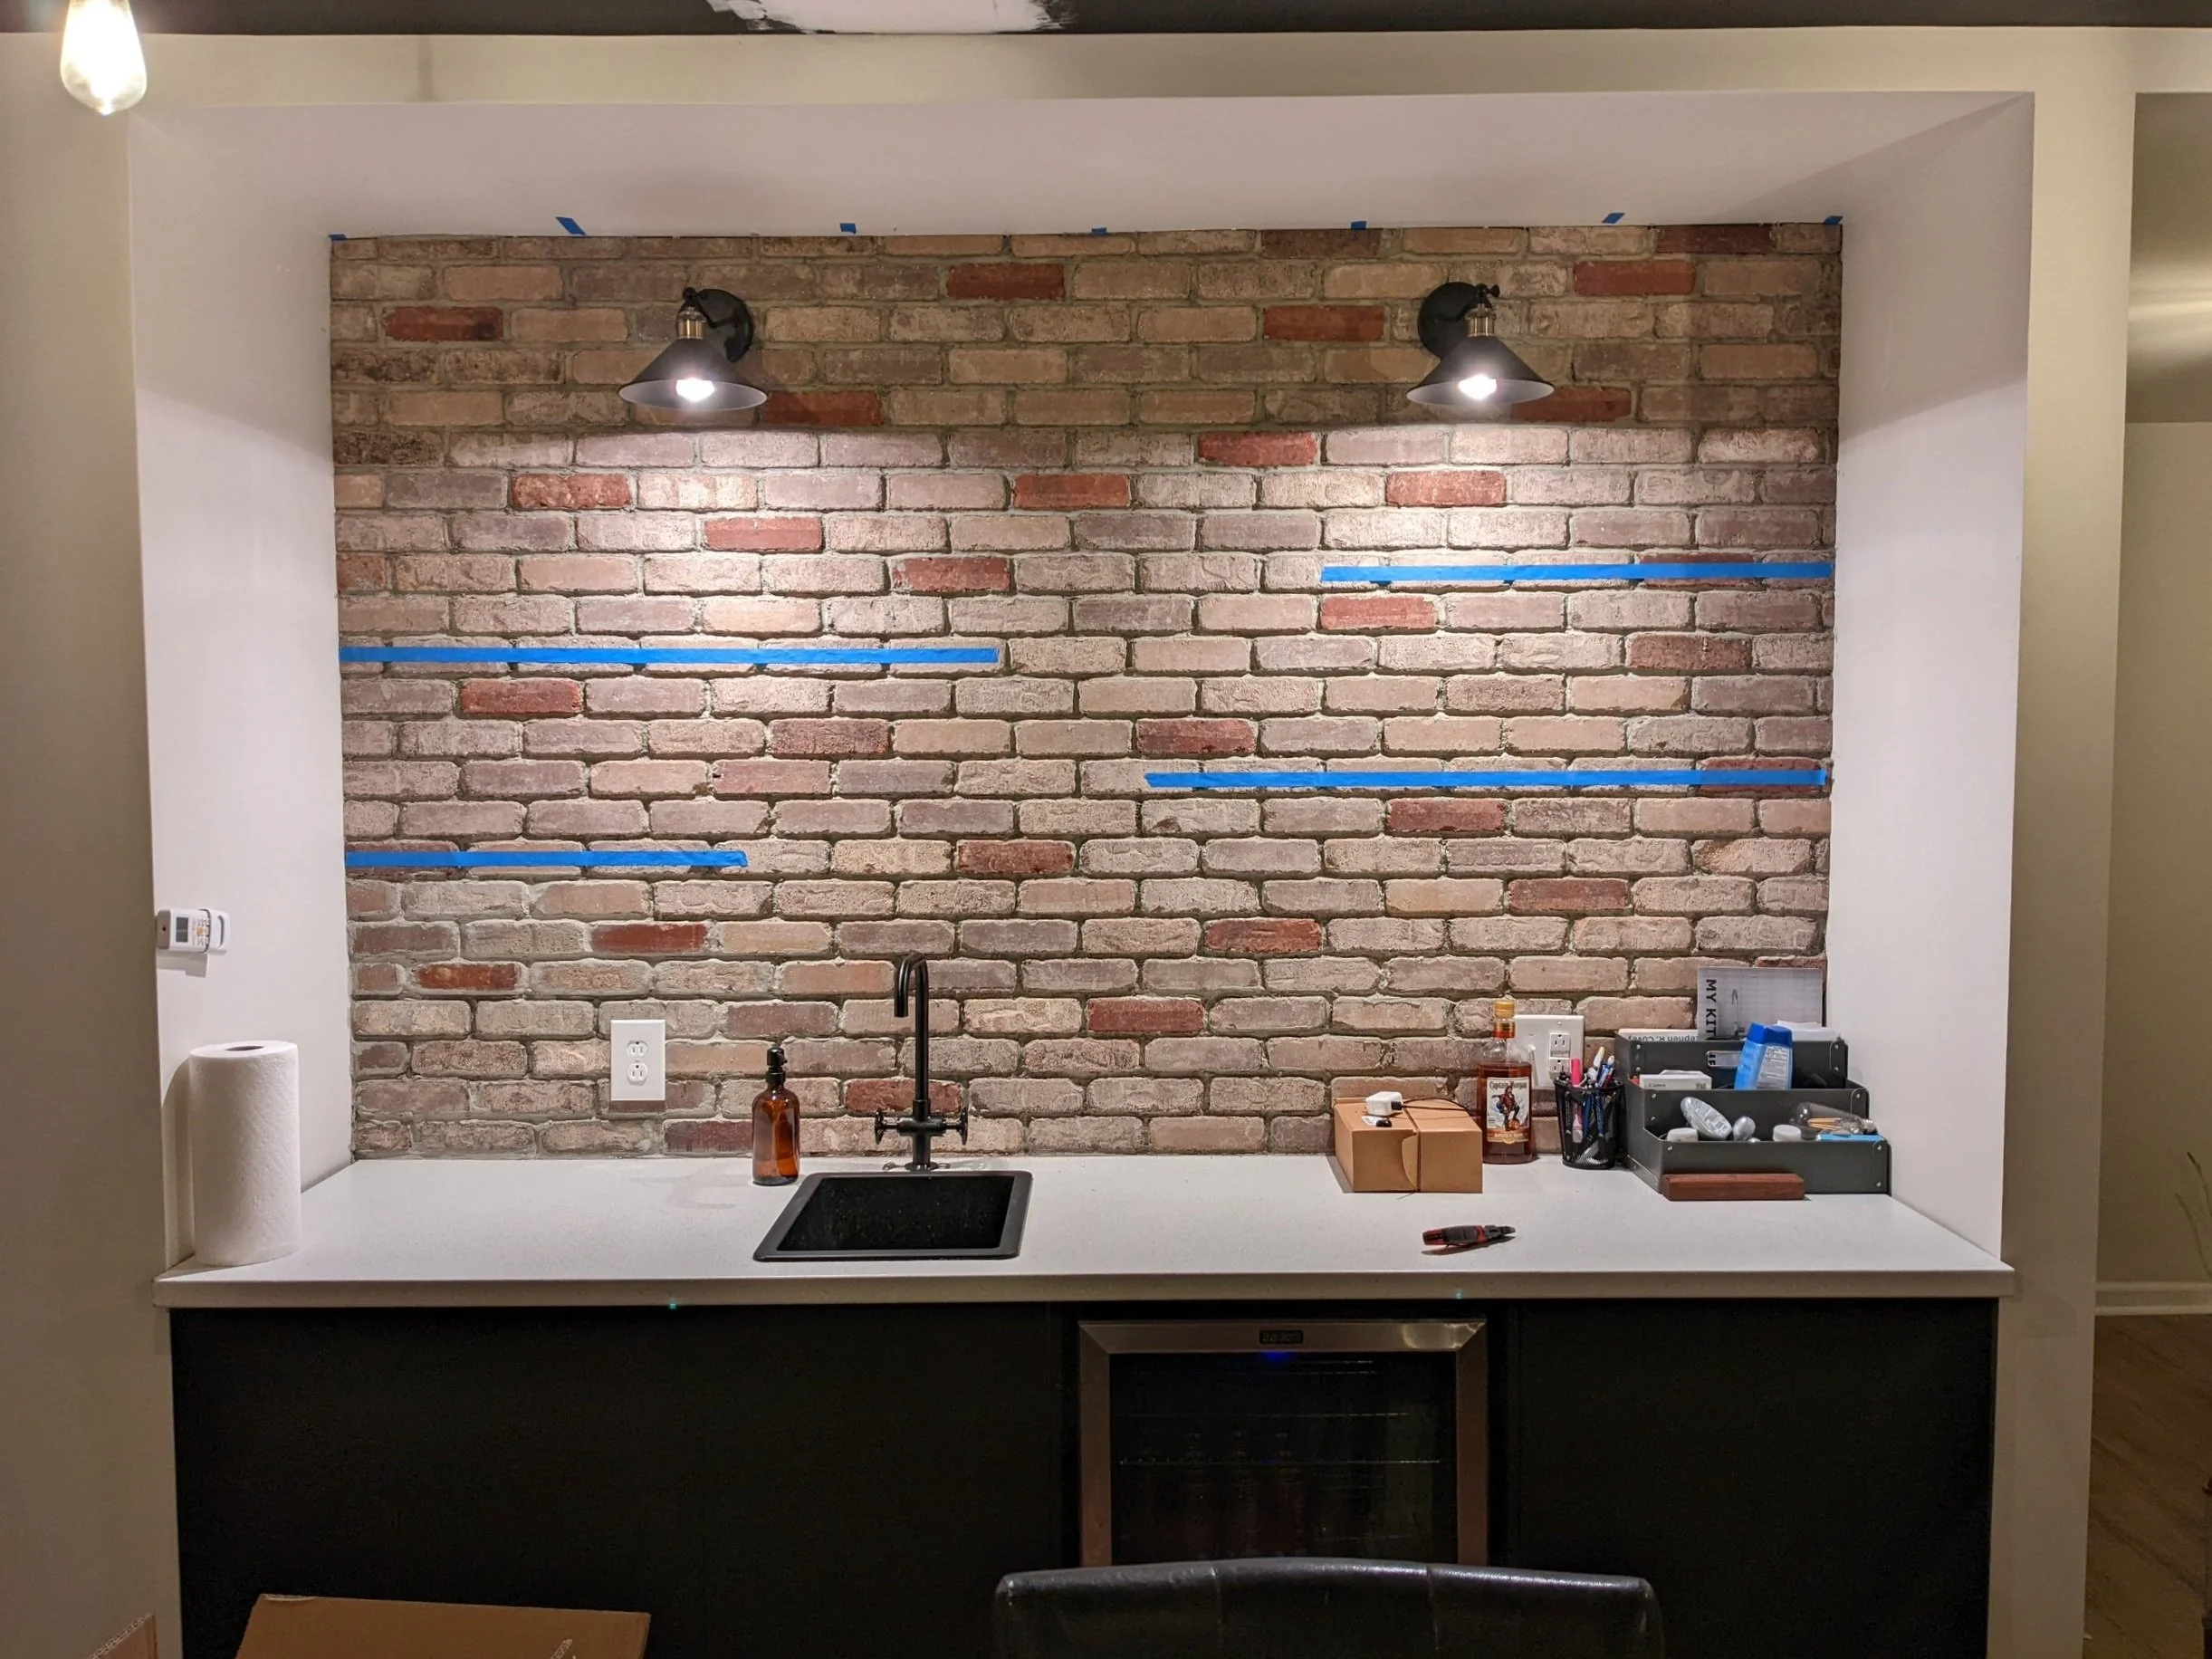
Step 2: Mark Your Bracket Locations
Before I made any commitments, I put up some painters tape to figure out where I wanted my shelves. As you can see in the original design, I knew I wanted the shelves to be staggered. Using tape beforehand allowed me to fiddle with them until I got them to the exact placement I wanted.
In a perfect world, you’ll be able to screw your brackets directly into the studs. Buuuut because of the “special” shelves I wanted, putting the brackets on the studs didn’t make sense aesthetically. (Of course, I had to make it difficult.) I’ll show you what to do in that scenario a little later.
For now, using a laser level, make sure your tape is, well, level. Then mark on the painters tape where your brackets will be installed.
Since my shelves weren’t all the same length, we measured how far from the wall I wanted the brackets (about 4ish inches). Then used that same distance on the other end of the shelves for the other bracket.
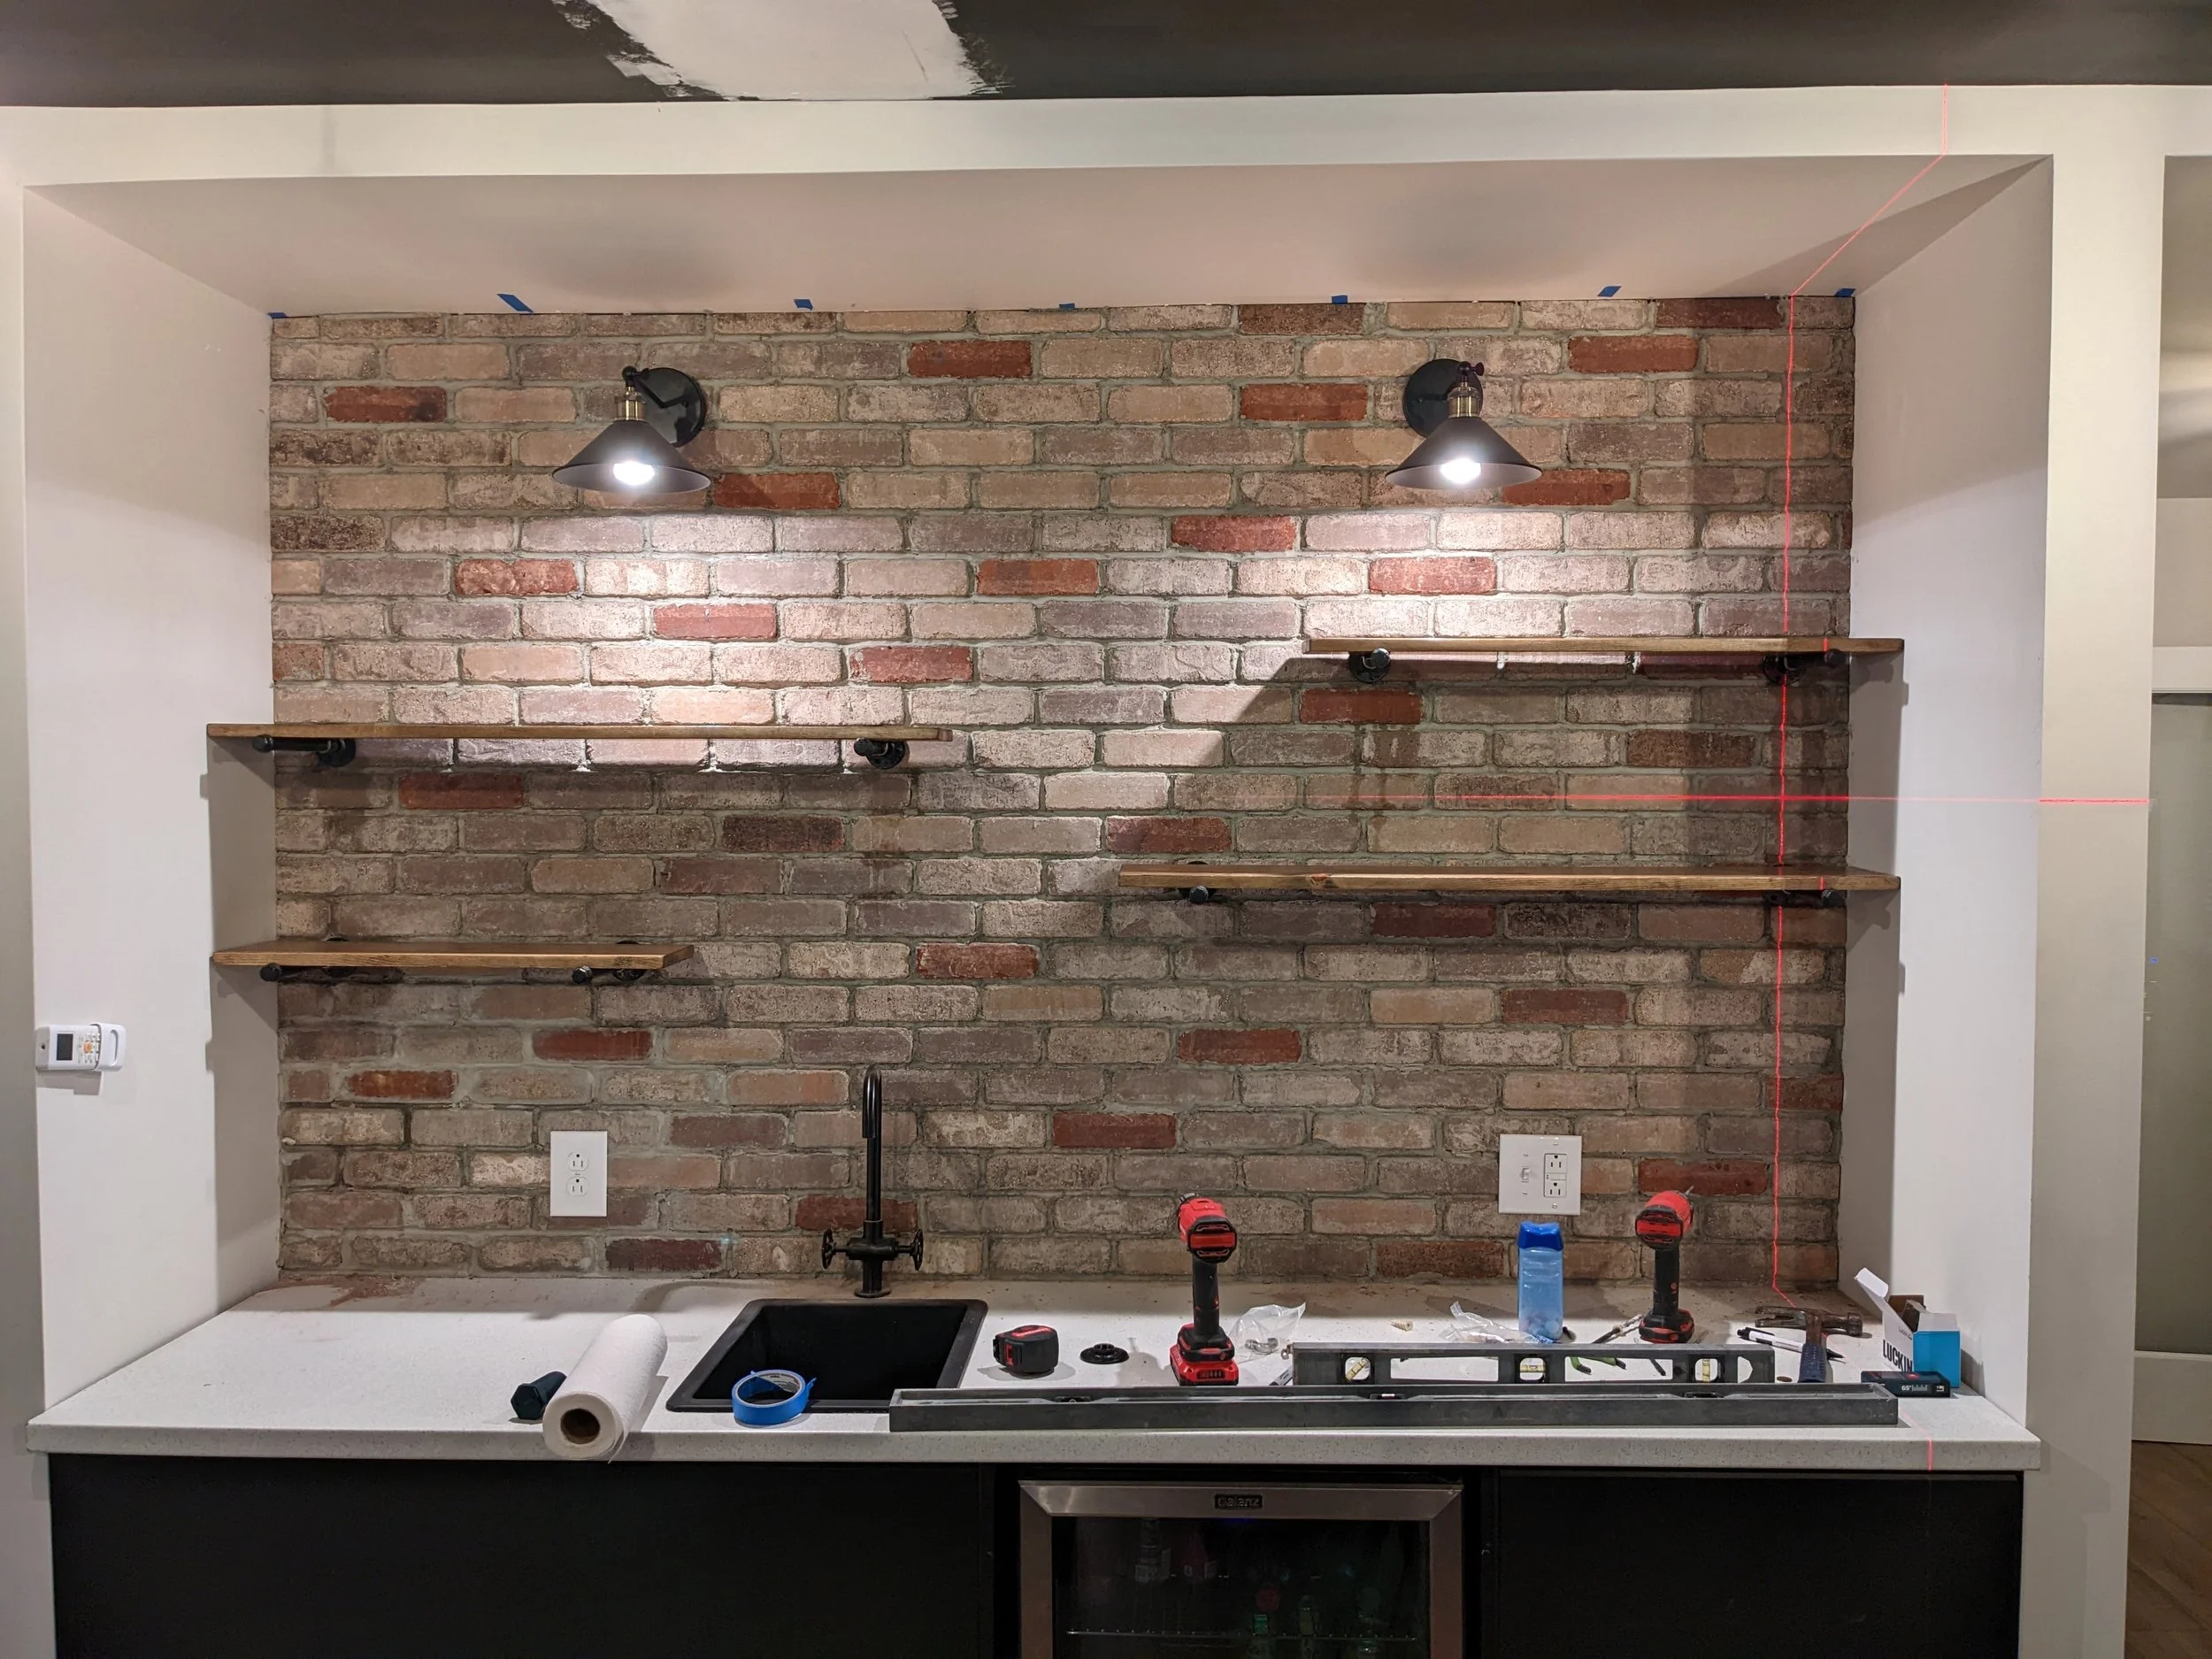
Here’s a sneak peek of the finished product just to illustrate my point. You can see on the right-hand side how the laser level is vertically lining up the brackets by the wall, but the brackets on the other sides of the shelves aren’t aligned vertically.
Step 3: Drill, Baby, Drill
I’ll warn you upfront - drilling through tile is a slooooow process. Like, it took several minutes to drill each hole. But it’s really important to take your time so you don’t crack a tile or wear out your drill bit (both of which would suck). Here are a few tips to make sure neither of those scenarios happens:

Use the right type of drill bit
It’s incredibly important to use the correct drill bit for your specific type of tile for this process. For our bathroom tile, we used carbide-tipped drill bits. And for the brick veneer in the loft, we used masonry bits.
It’s also never a bad idea to start with a smaller drill bit and work your way up!
Keep your drill bits cool

Drill bits tend to get really hot when drilling into tile. To make sure you don’t wear them out, you can either dip the tip of the drill bit into a cup of water every 10-15 seconds or have someone spray water on the bit as you’re working.
Step 4: Insert Drywall Anchors & Screw in Your Brackets
If you run into a scenario, like mine, where some (or all) of your brackets won’t be screwed into a stud, you’ll need drywall anchors. Before you screw in your brackets, gently(!) tap a drywall anchor into the hole. Sometimes you can just push them into place, but you might need to break out a rubber mallet for assistance.
Then, you can screw your brackets in place.

Step 5: Hang Your Shelves
The last step is to hang your shelves!

Luckily, my shelves are as easy as they come and just lay on top of the brackets, but this process would work with trickier scenarios (like floating shelves, for instance), too!
Final Thoughts
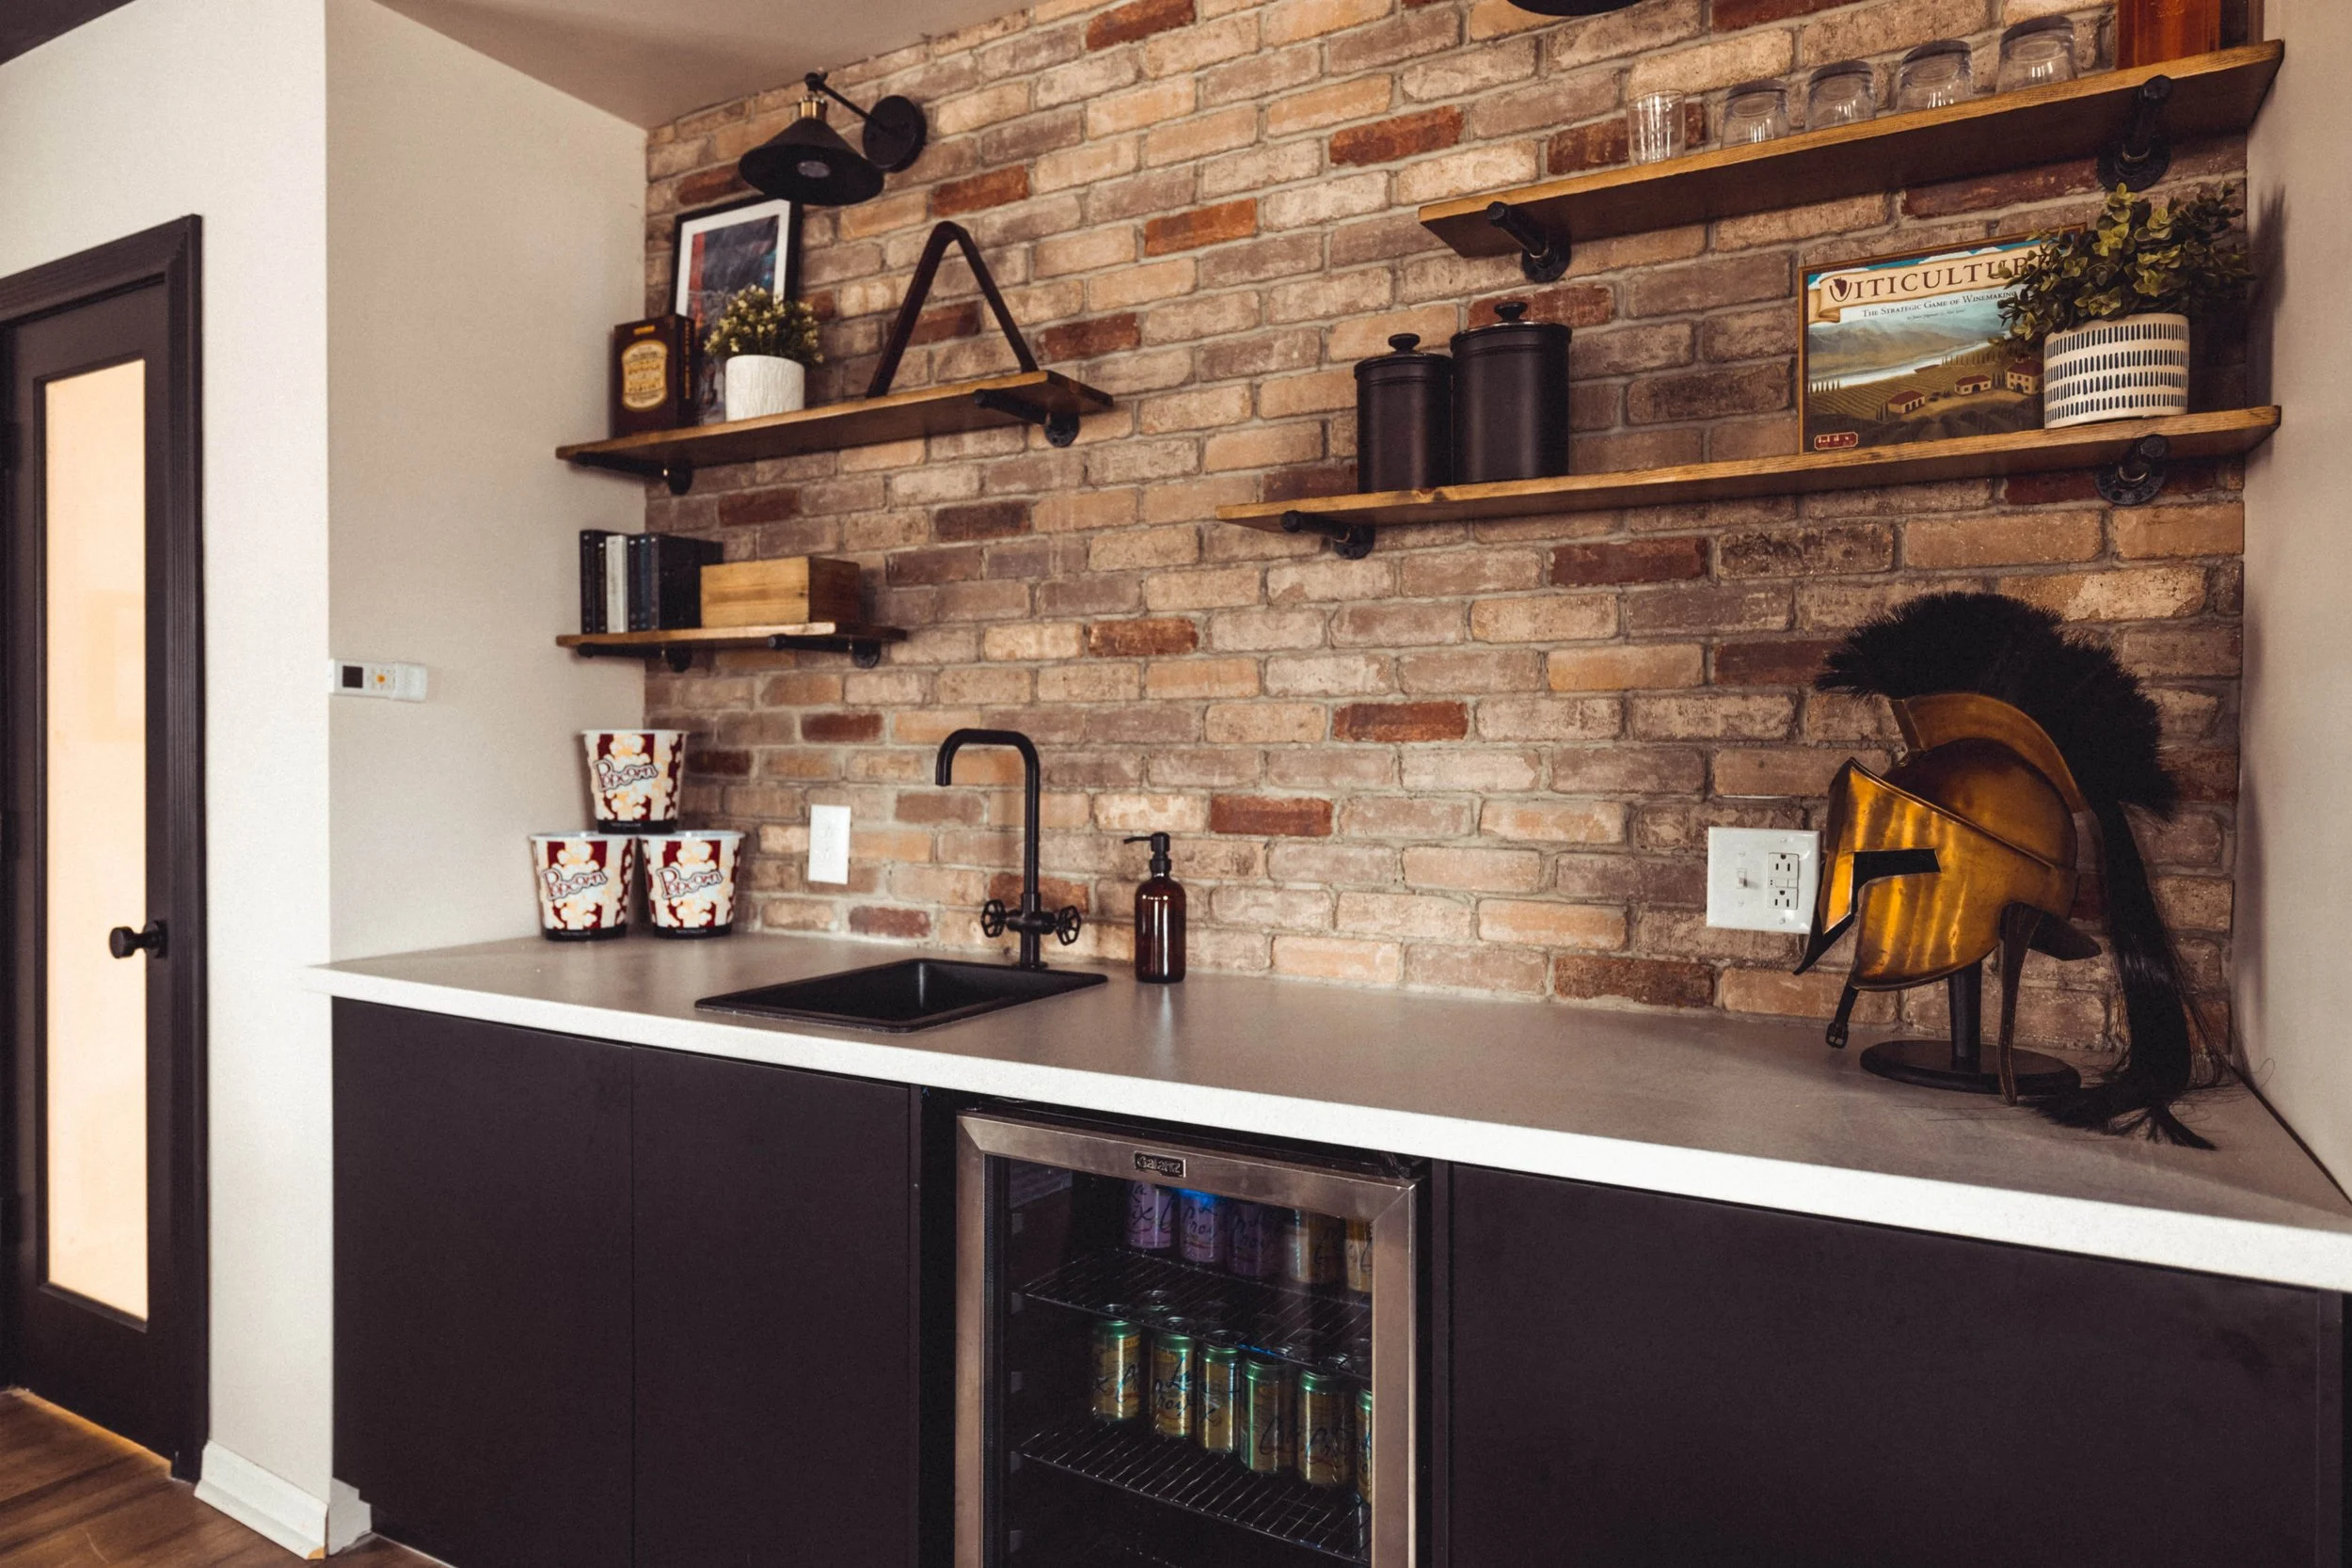
I’m really happy with how these simple shelves turned out. I love the unexpected staggered pattern and the extra character they add to the kitchenette area. I especially love that no tiles were cracked in the hanging of them! What do you think!? I’d love to hear from you in the comments.