Loft Kitchenette Reveal
Bonus Room Kitchenette Makeover
Before I created an entirely new laundry room for the One Room Challenge, my focus was finishing up projects around the house. One of those projects was the outstanding items in the loft. And while I’ve looped back around to working on it, I’m not ready to call the whole loft complete just yet. But I am excited to say that the kitchenette is finished!

It’s hard to believe that we started renovating the loft a full year ago. Where has the time gone!? But today, I’m only focusing on this small section.
As a refresher, this is the view of the kitchenette from the listing photos:

For perspective, that doorway behind the kitchenette is the laundry room, and the bookshelves straight ahead now open to a hallway that didn’t exist when we moved in. You can read more about that renovation here.

The idea of a kitchenette in the loft made a lot of sense, but this one just wasn’t working for us.
First of all, we had no use for all those cabinets. Secondly, there were so many layers of paint on them the finish looked pretty bad. And don’t even get me started on the old (most likely original) electric stove and intercom inserted into the countertop - which, as the cherry on top, had an old-timey newspaper pattern printed on it.
So, we did what we do and we tore it out!

And then we started putting it back together.


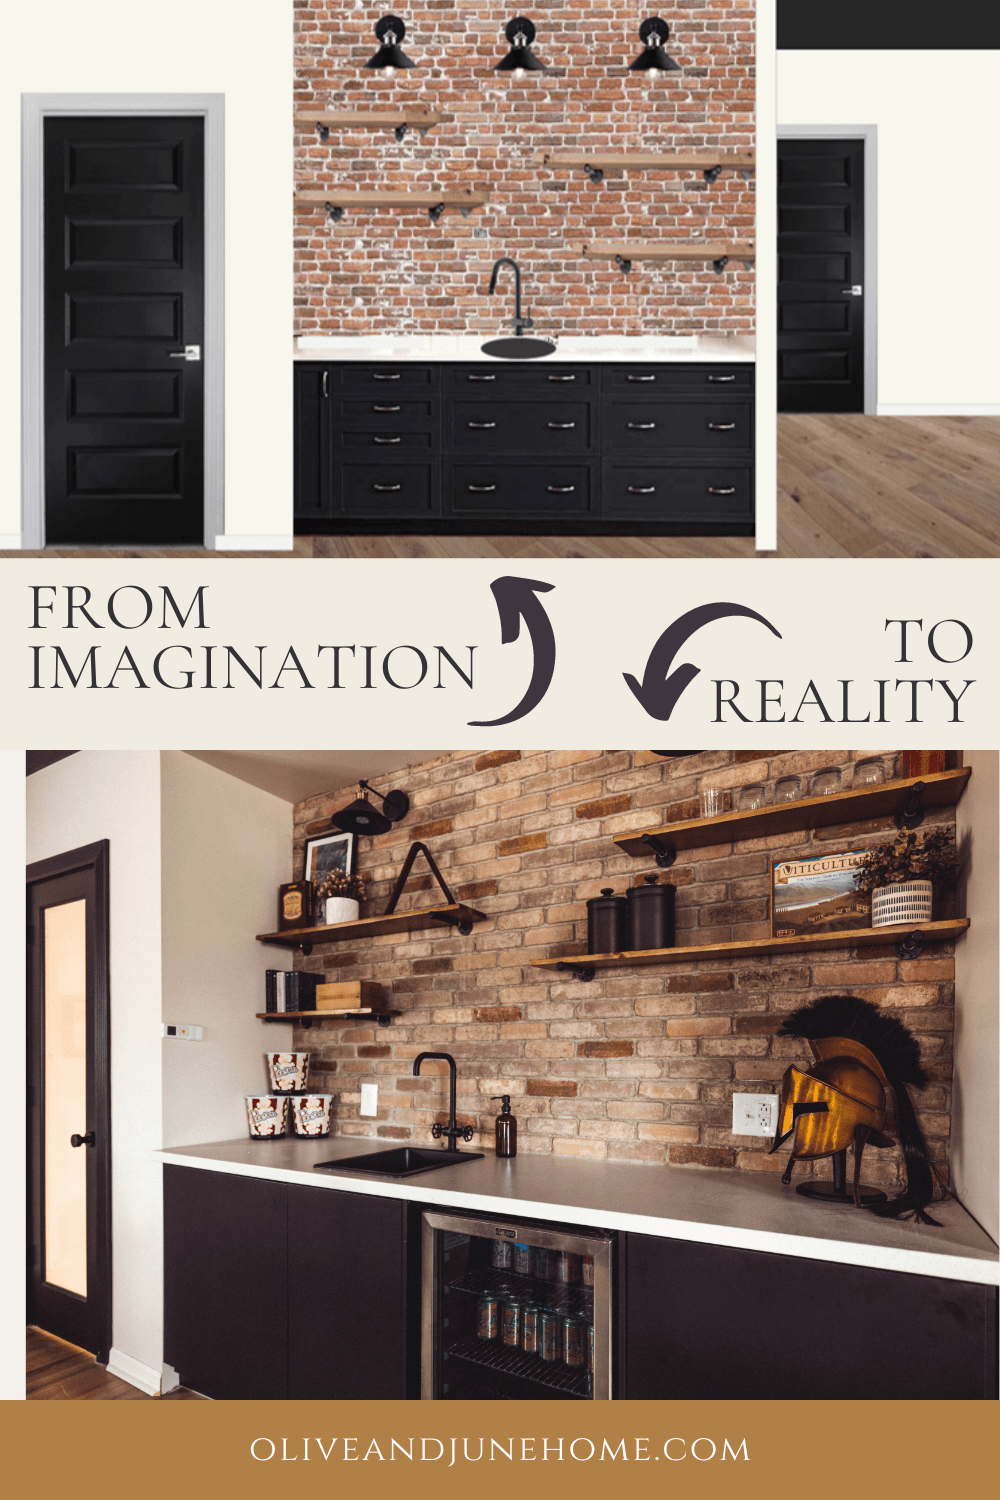
Of course, before we got too far ahead of ourselves I put together my design.
Since we use this as a rec room/hangout spot, we wanted it to feel relaxed and carefree. We decided to go with a semi-industrial look. The images below were a big inspiration for the final look.

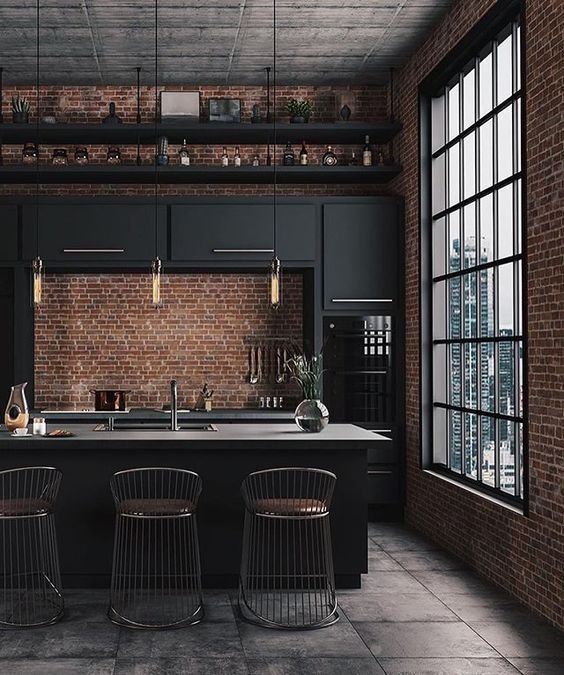
Image Sources: Unknown
I went more in-depth about my design in this post, but here’s the final mock-up.

And here’s the finished product!

Now, let’s break it down!
As an Amazon Associate, I earn from qualifying purchases. This post may contain affiliate links, meaning I receive commissions for purchases made through those links at no cost to you.
Cabinets and Countertops
Clearly, the one thing we liked about the original kitchenette was the fact that the cabinets were black. We ended up giving IKEA Sektion cabinets a whirl, and Lucius was really impressed with their installation system.

Of course, since they’re IKEA we had to assemble them ourselves, which is never particularly fun. But instead of the standard cabinet-installation process of shimming, leveling, shimming, and leveling, Lucius was able to make sure the bracket provided was level and secure to the wall and just hang the cabinets on that. Then they come with little legs that you tighten until they touch the floor.
We planned the layout to have a cabinet for trash and recycling and another to store a microwave (which is pretty much strictly used for popcorn). And of course, we left a space for the mini-fridge (gotta keep that La Croix cold!).
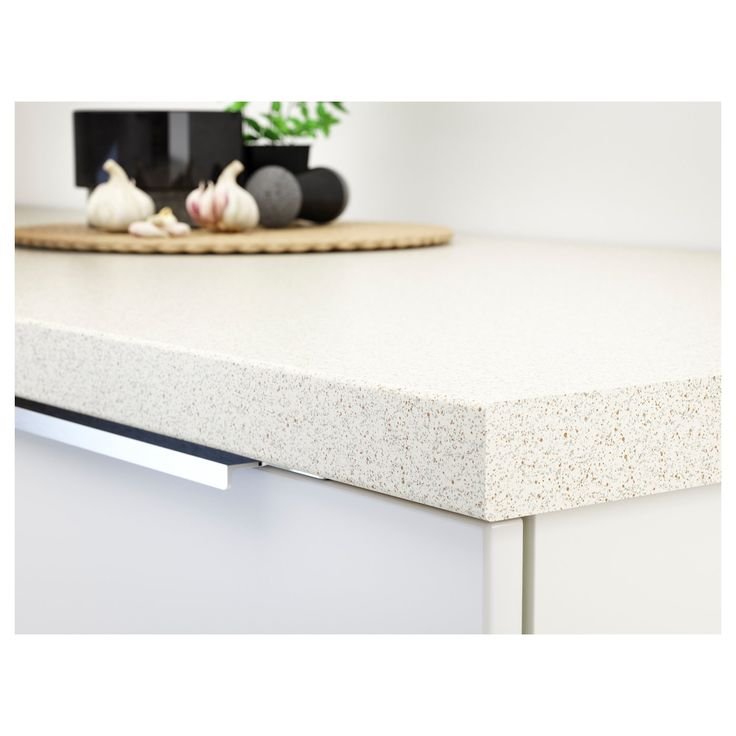
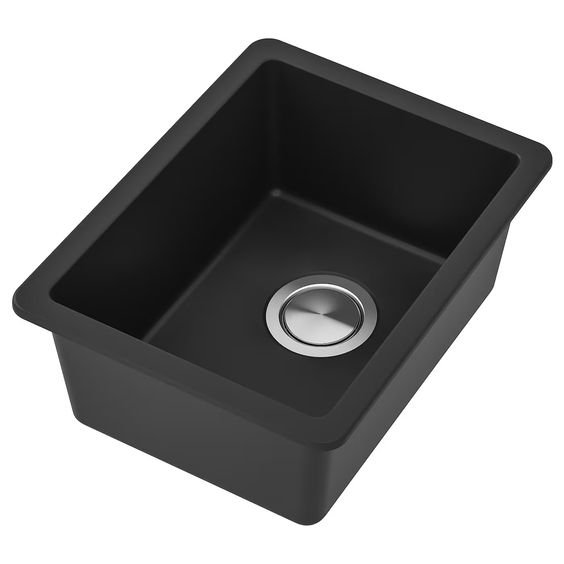
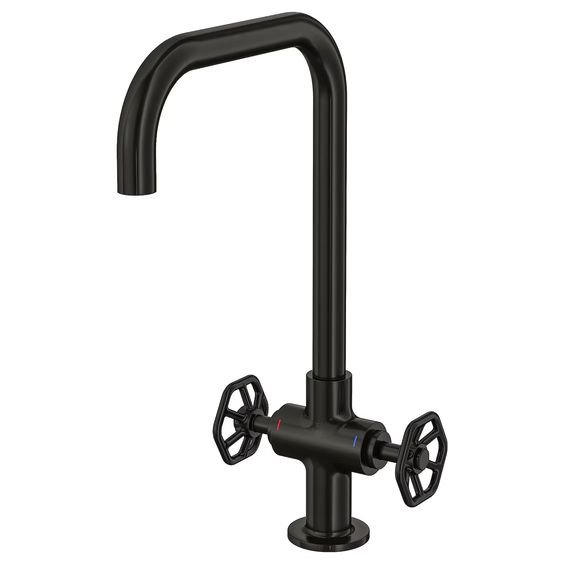
To go with the design, I also chose an affordable white laminate countertop, a black sink, and a matte black faucet all from IKEA.
Backsplash
While the dark cabinets ground the kitchenette, the real star is the brick tile veneer backsplash we installed. I chose a combination of two different colored veneers and mixed the darker color strategically with the lighter color.

I love how much character, warmth, and texture the backsplash adds to this room. And it was a pretty simple DIY! All the sources for that project (and the step-by-step instructions) can be found in this post.
Shelves
As you can see from my mock-up, staggered shelves were part of the plan all along. And I’m so happy with the visual interest they add!

I don’t remember exactly what type of wood I used for these (sorry!) but there’s nothing complicated about the shelves themselves. They’re simply boards of wood that I stained, sealed, and hung on some brackets.
Speaking of the brackets, to go with the whole look, I used these cool pipe brackets that I got online.
Lights
Lastly, I finished this nook off with a couple of sconces. These sconces come in a pack of three, and while I originally planned to use all three in my design, in person it seemed too cluttered.
I’m really happy with how it looks with just two lights, and it’s plenty illuminated. Plus, I was able to make use of the leftover light in the laundry room as a last-minute addition!

Final Thoughts
While I love the process of working on projects, there’s a certain satisfaction in knowing one is complete. I’m happy to finally check this one off my list and shift my attention to the last 10% that still needs to be finished in the loft.
If you’ve been following along on Instagram, I’ve already repainted the ceiling, and it looks SO MUCH BETTER! Next up: switching out that table by the kitchenette for a proper game table that Lucius and a friend are building, plus a whole bunch of loose ends throughout the room.
Stay tuned to see how the rest of this room shapes up!