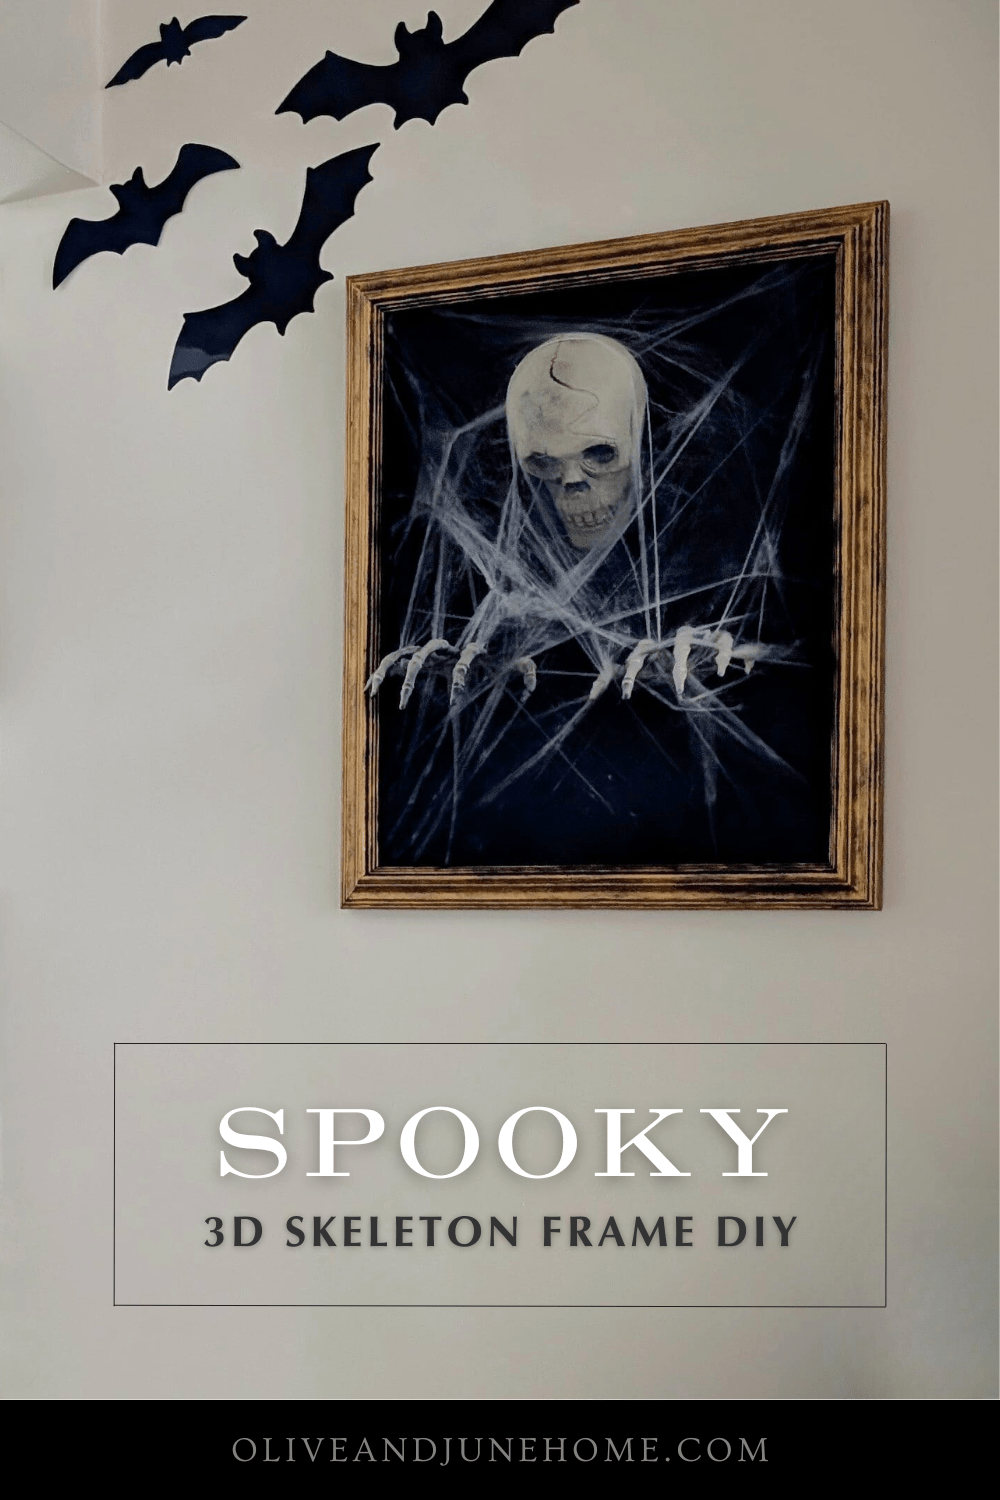
3D Skeleton Halloween Wall Art DIY
Haunted Portrait Halloween Decoration Tutorial
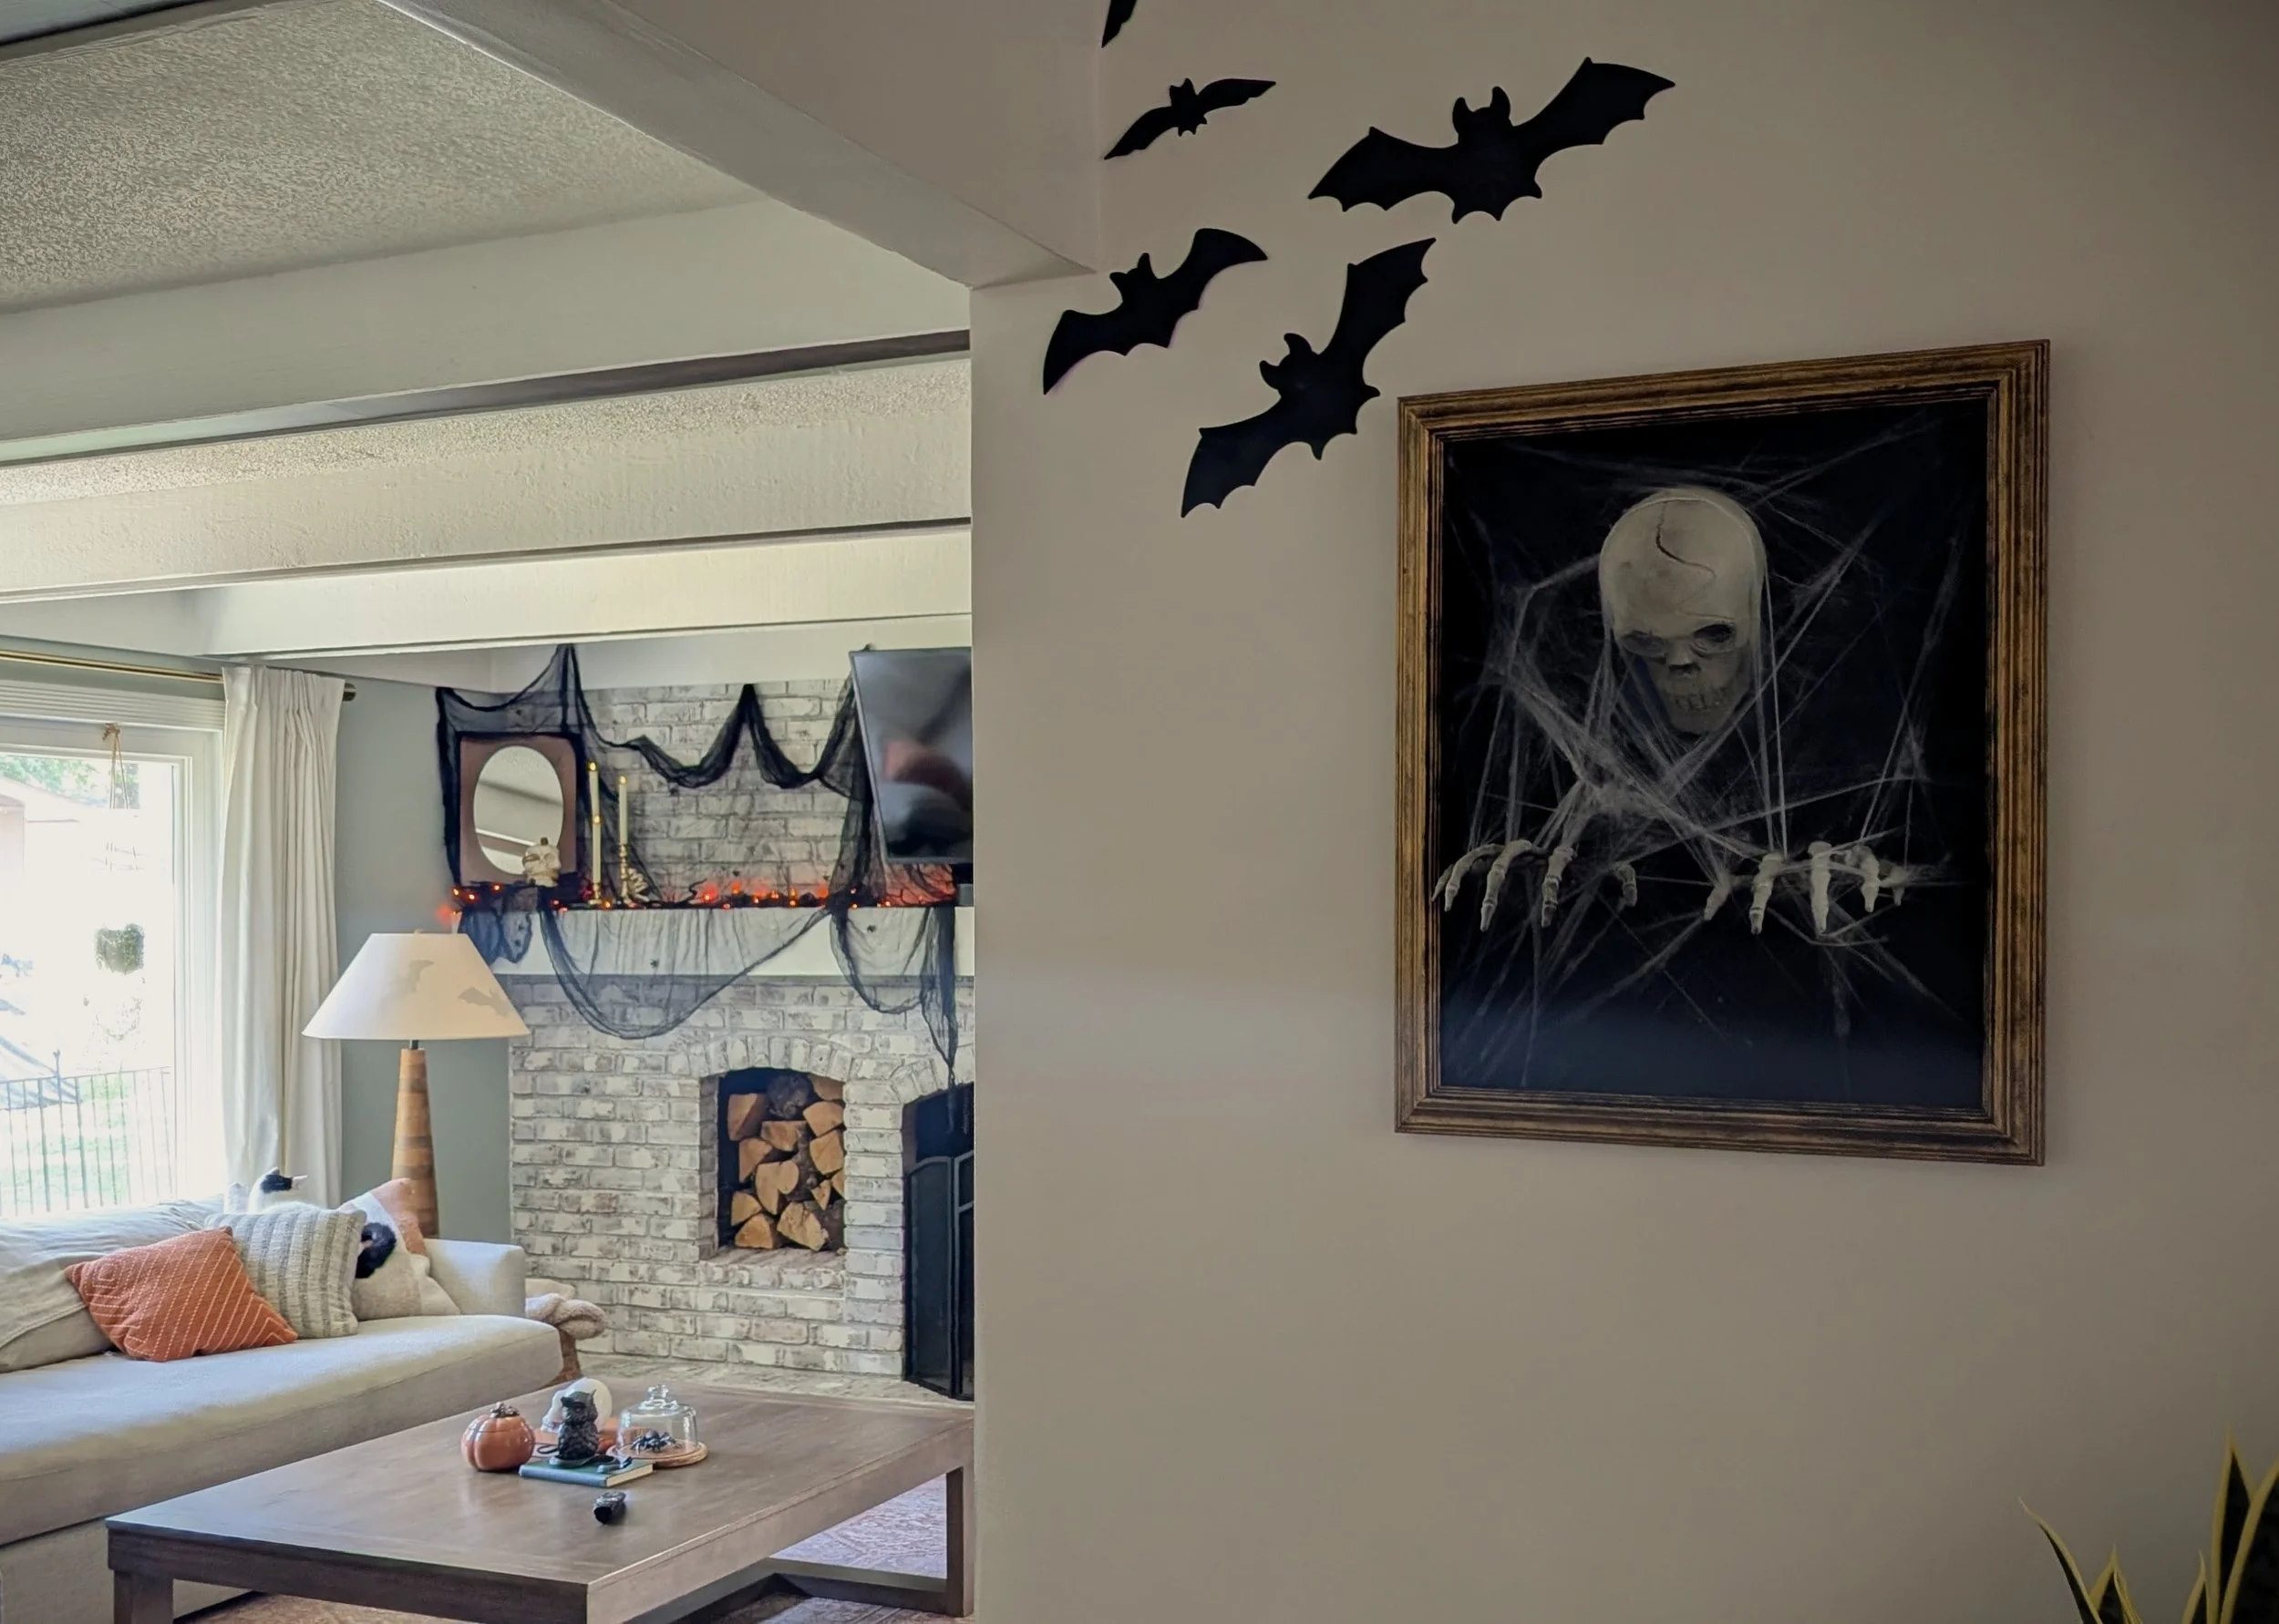
Looking to up your Halloween decor game? You’ve come to the right (possibly haunted) place. This 3D skeleton picture frame DIY is easy, inexpensive, and seriously spooky. Perfect for anyone who wants to make a big Halloween statement without spending a fortune. Keep reading for the full step-by-step tutorial on how to create your own 3D skeleton wall art that looks like it’s crawling right out of the frame.
Why You’ll Love This Halloween Craft
Halloween is one of my all-time favorite holidays. Something about spooky season just speaks to me. I look forward to decorating every year—and yes, even though I’m deep in my mudroom renovation, I had to make time for a Halloween DIY.
I stumbled across this decoration on Pinterest, but couldn’t find a tutorial anywhere. So, naturally, I decided to make my own and share it with you! Here’s how to tackle this creepy-cool DIY Halloween skeleton picture frame project.
Tools & Materials
As an Amazon Associate, and partner with other brands, I earn from qualifying purchases. This post may contain affiliate links, meaning I receive commissions for purchases made through those links at no cost to you.

- Picture frame (mine was thrifted — bonus points if it’s ornate!)
- Matboard or sturdy cardboard backing
- X-Acto knife
- Ruler
- Black spray paint
- Rub ’n Buff (your choice of metallic finish) and a fluffy brush
- Hot glue gun + glue sticks
- Skeleton hands and skull (Dollar Tree for the win!)
- Faux cobwebs
- Optional: Picture frame point driver (if your frame doesn’t have tabs)
Pro tip: Lightweight skeleton pieces work best since they won’t pull on your backing or frame.
Step-By-Step Instructions
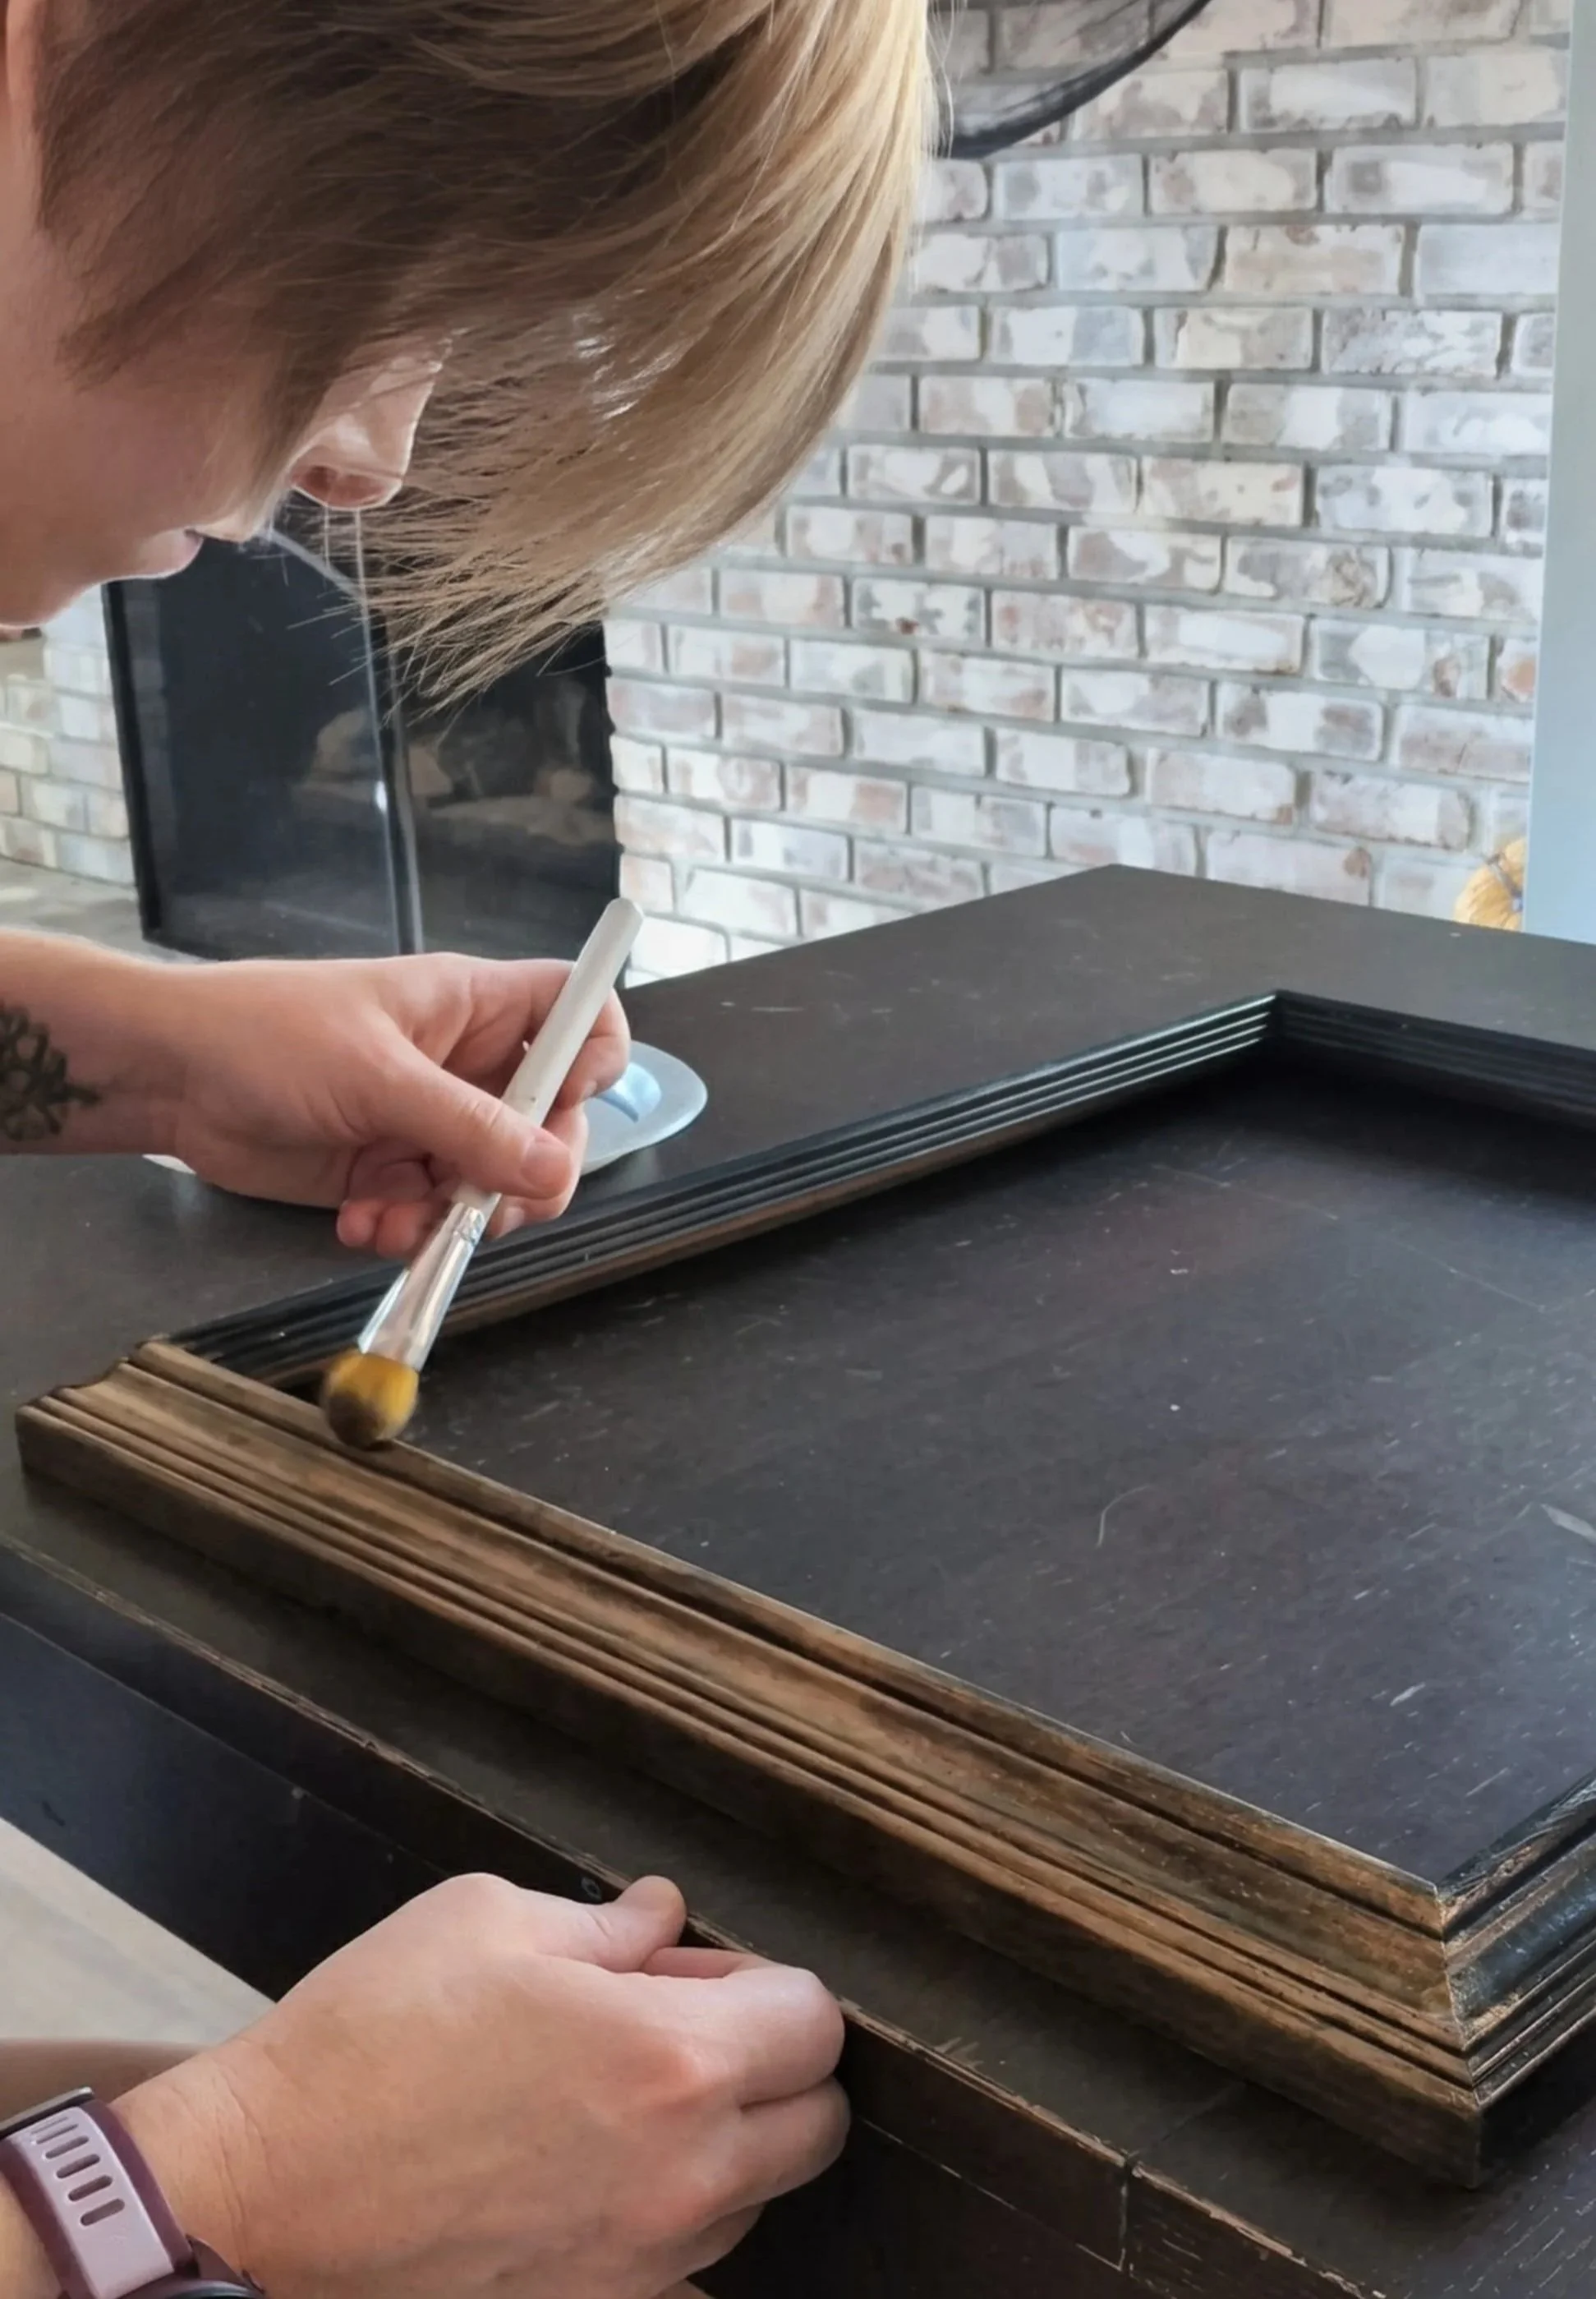
Step 1: Antique Your Picture Frame
To sell the illusion that this spooky piece has been lurking in the attic for years, we’ll start by antiquing the picture frame.
Spray paint your frame black and let it dry completely. Once dry, use Rub ’n Buff to highlight the details and edges. Dab off any excess before applying. It’s better to build it up slowly than to go full “golden mirror from a haunted mansion.”
The goal is an aged, distressed finish where bits of black peek through. This gives your DIY Halloween frame that perfectly eerie, time-worn look.
Step 2: Secure Your Skeleton
Now it’s time to bring your spooky subject to (after)life. Cut your matboard to fit snugly inside the frame. If it’s not already black, give it a quick coat of spray paint.
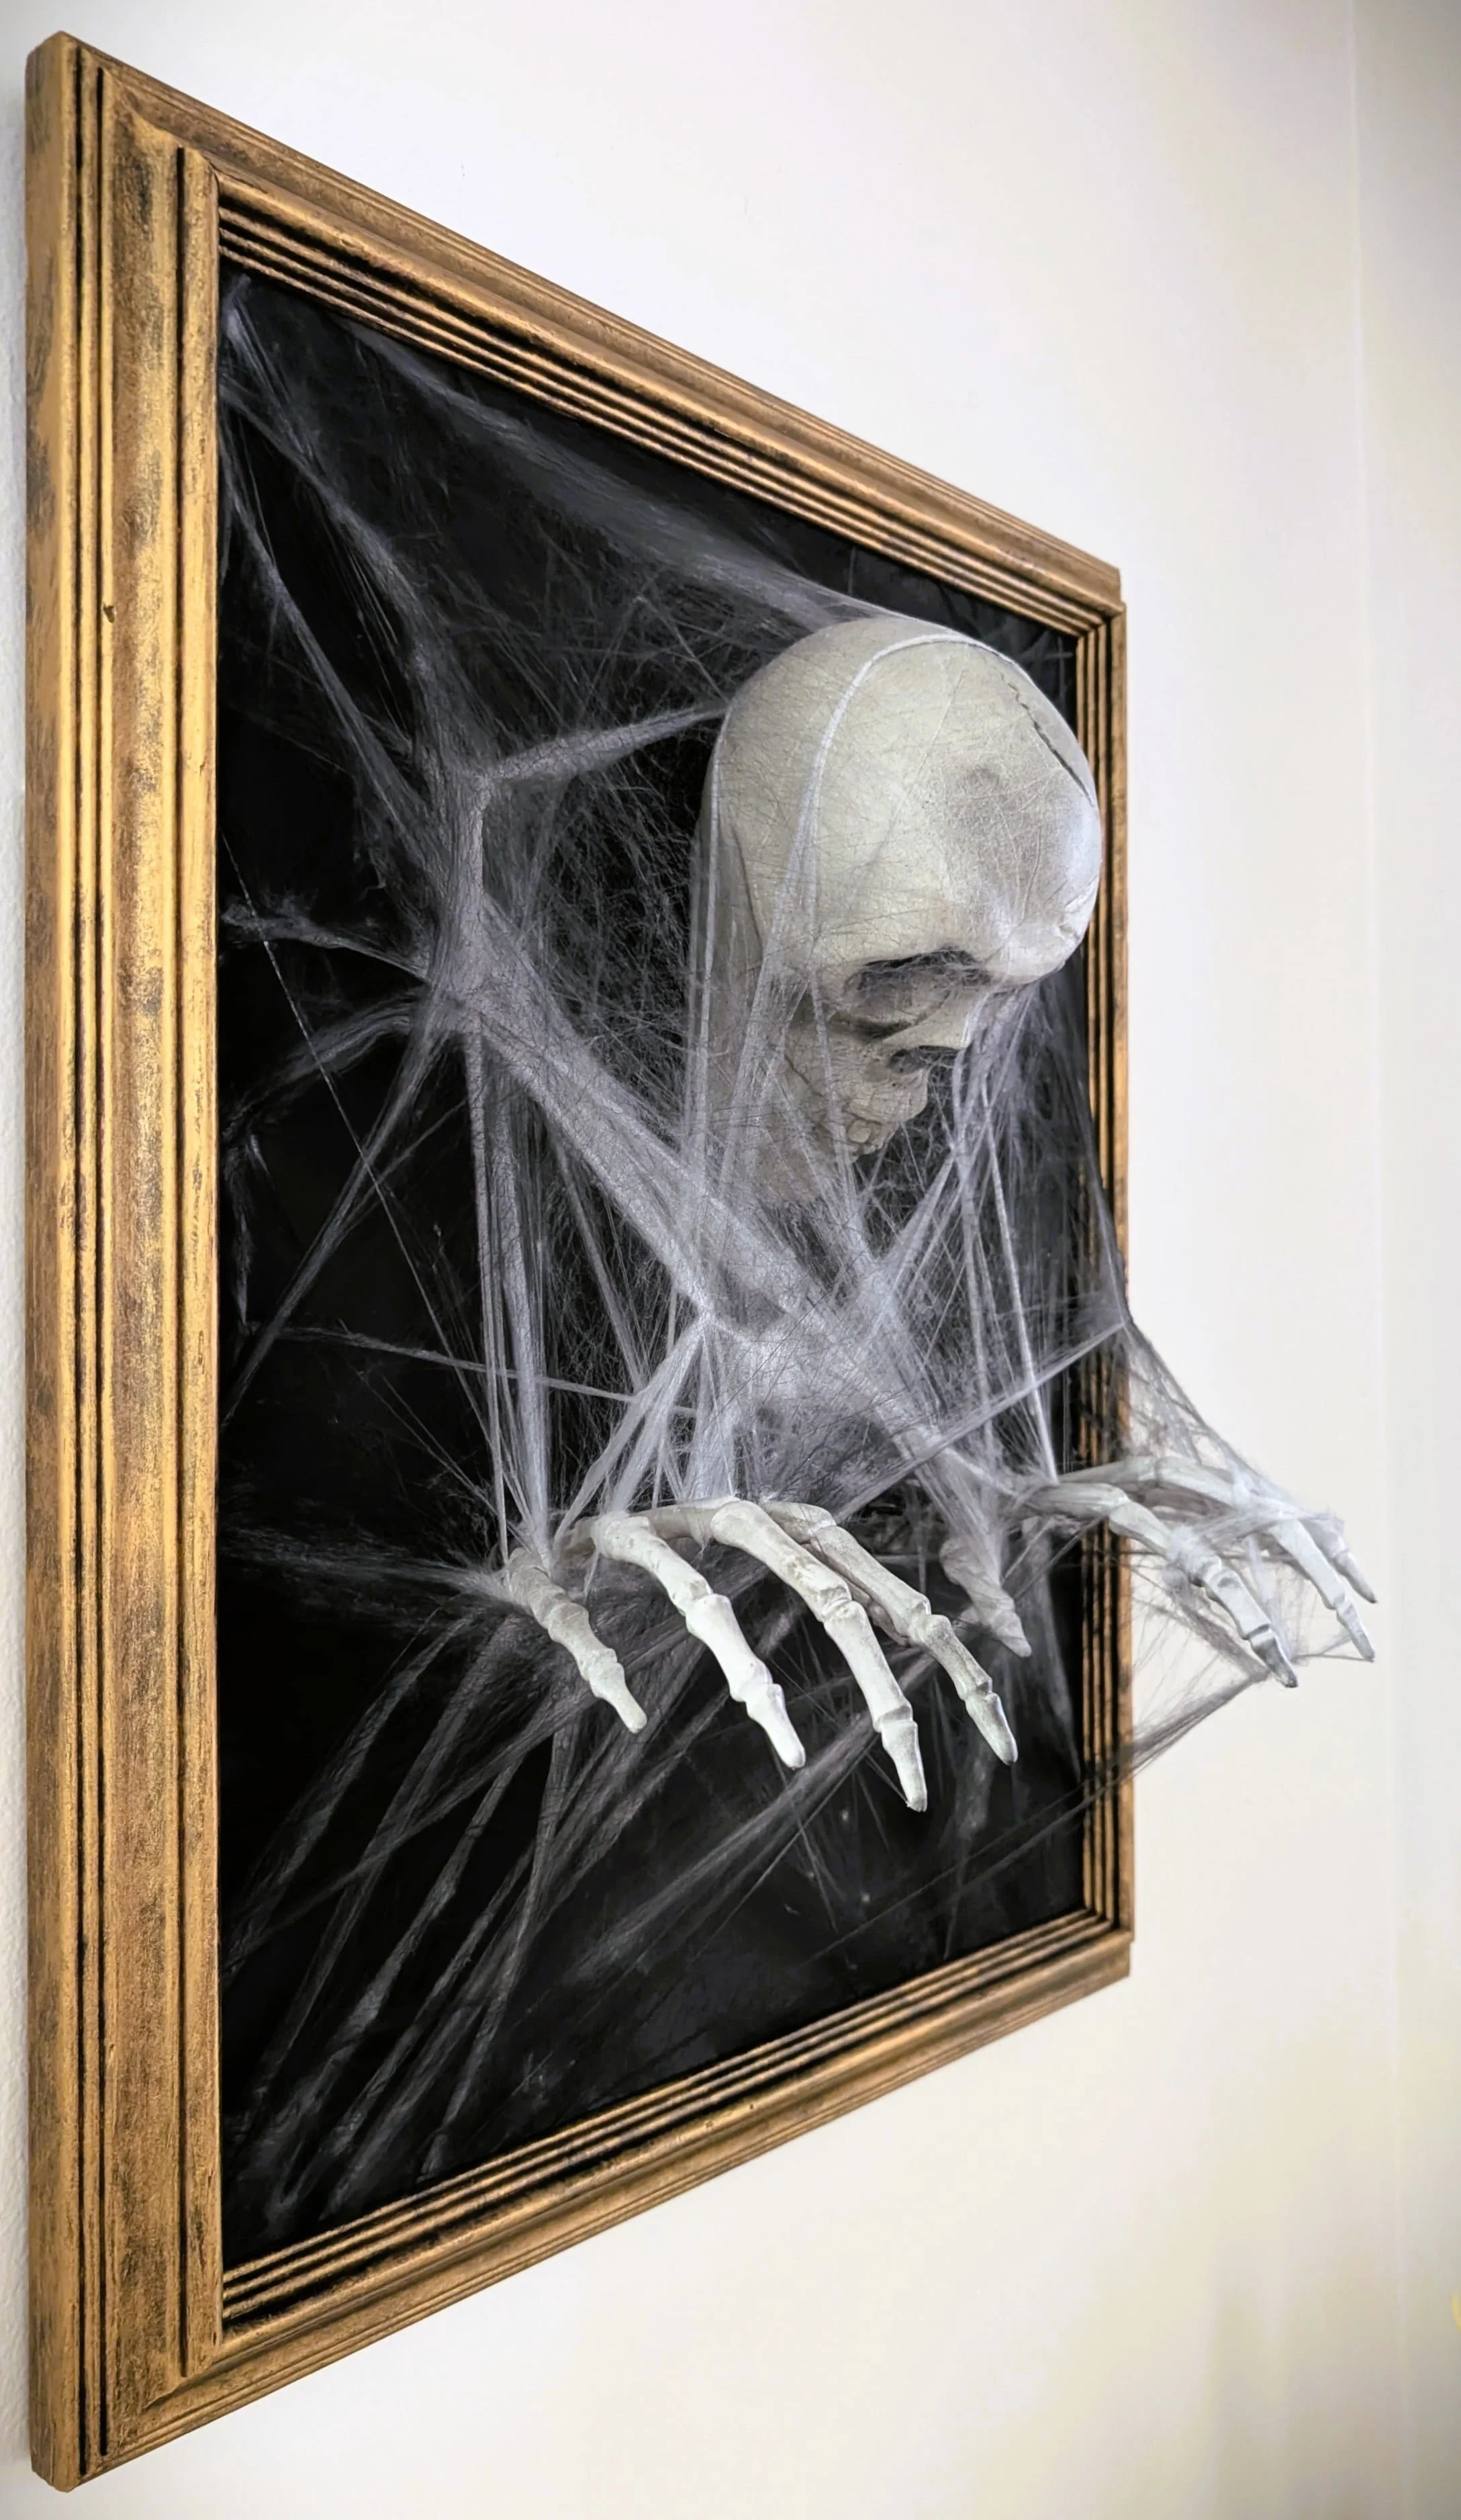
Next, position and mark the skull and hands where you want them. The skull will glue flat to the matboard, but you’ll probably need to cut holes for the wrists so the hands can reach through the surface. (Creepy, right?)


I also cut holes through the cardboard backing of my picture frame for the wrists. I noticed my wrists would have stuck out past the back of my frame, so I trimmed them with an oscillating tool. (That’s the weirdest sentence I’ve written in a WHILE, but they cut like buttah!)
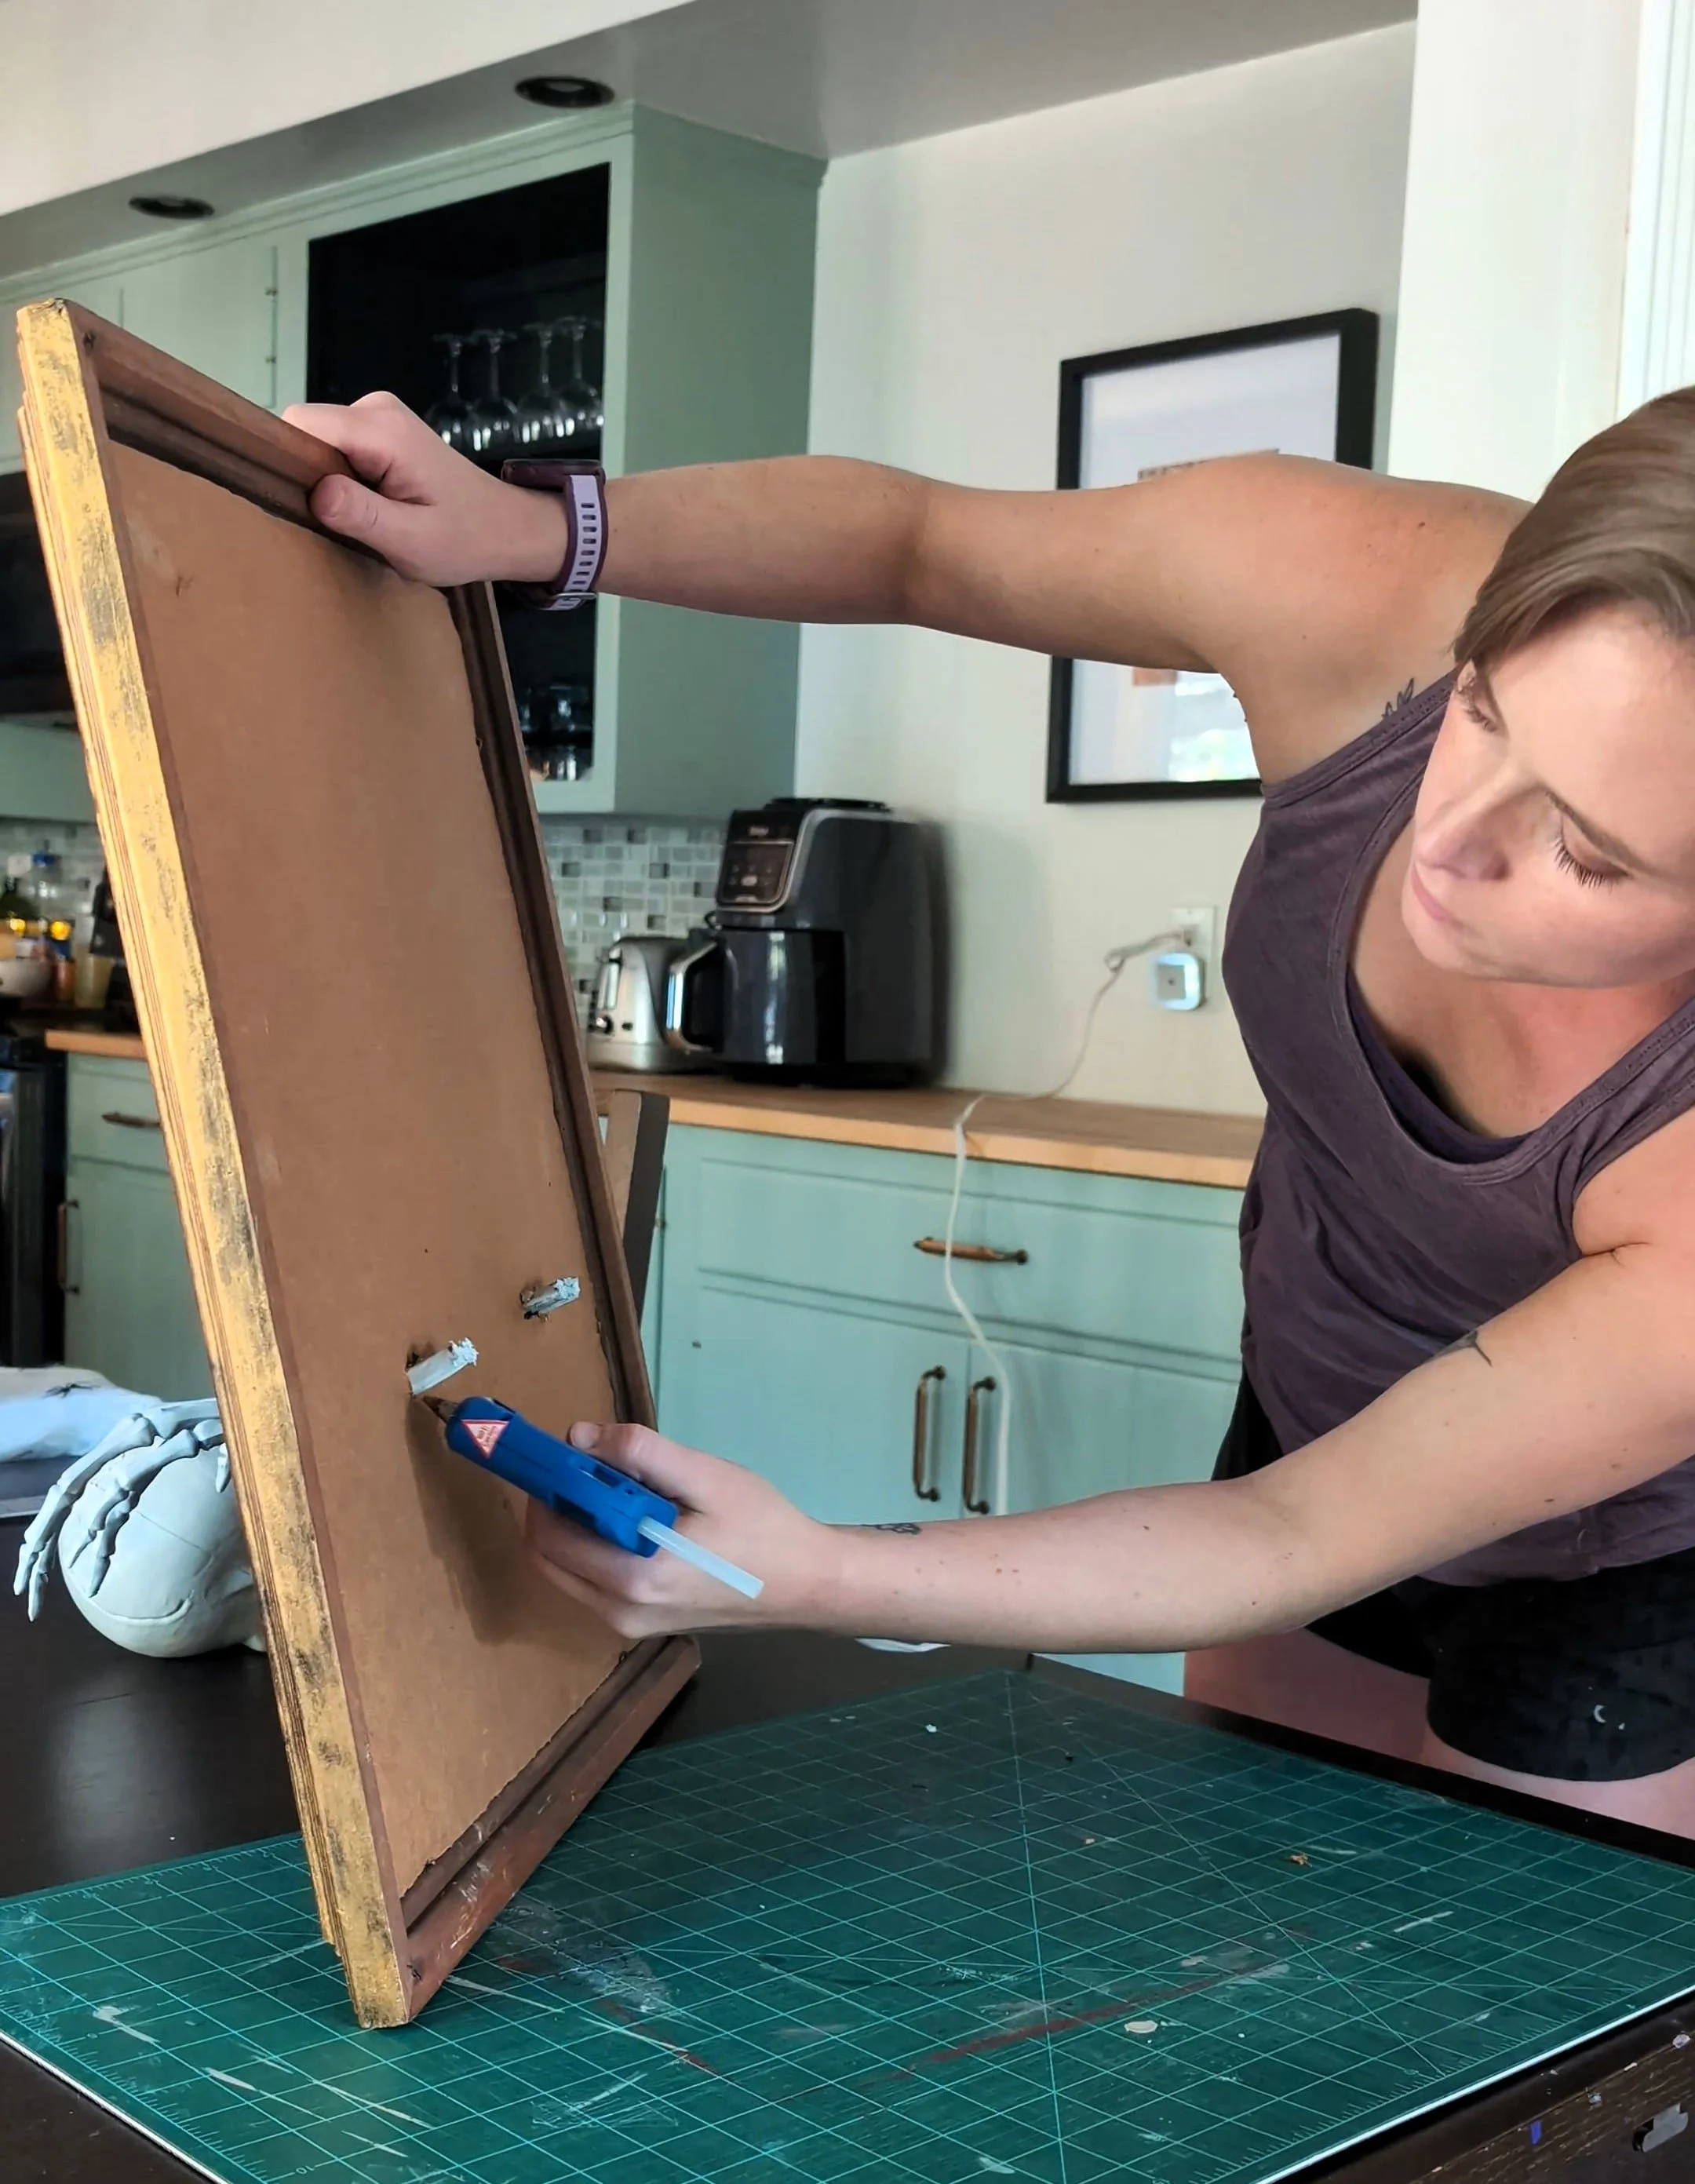

Using a hot glue gun, secure your body parts in place (and the sentences just keep getting weirder…). I made sure to put hot glue above and below the wrists on the front and back of the matboard to make sure they were extra secure.
Step 3: Add Cobwebs
Now, take your cobwebs and thin them out. The thinner they are, the more realistic they tend to look.

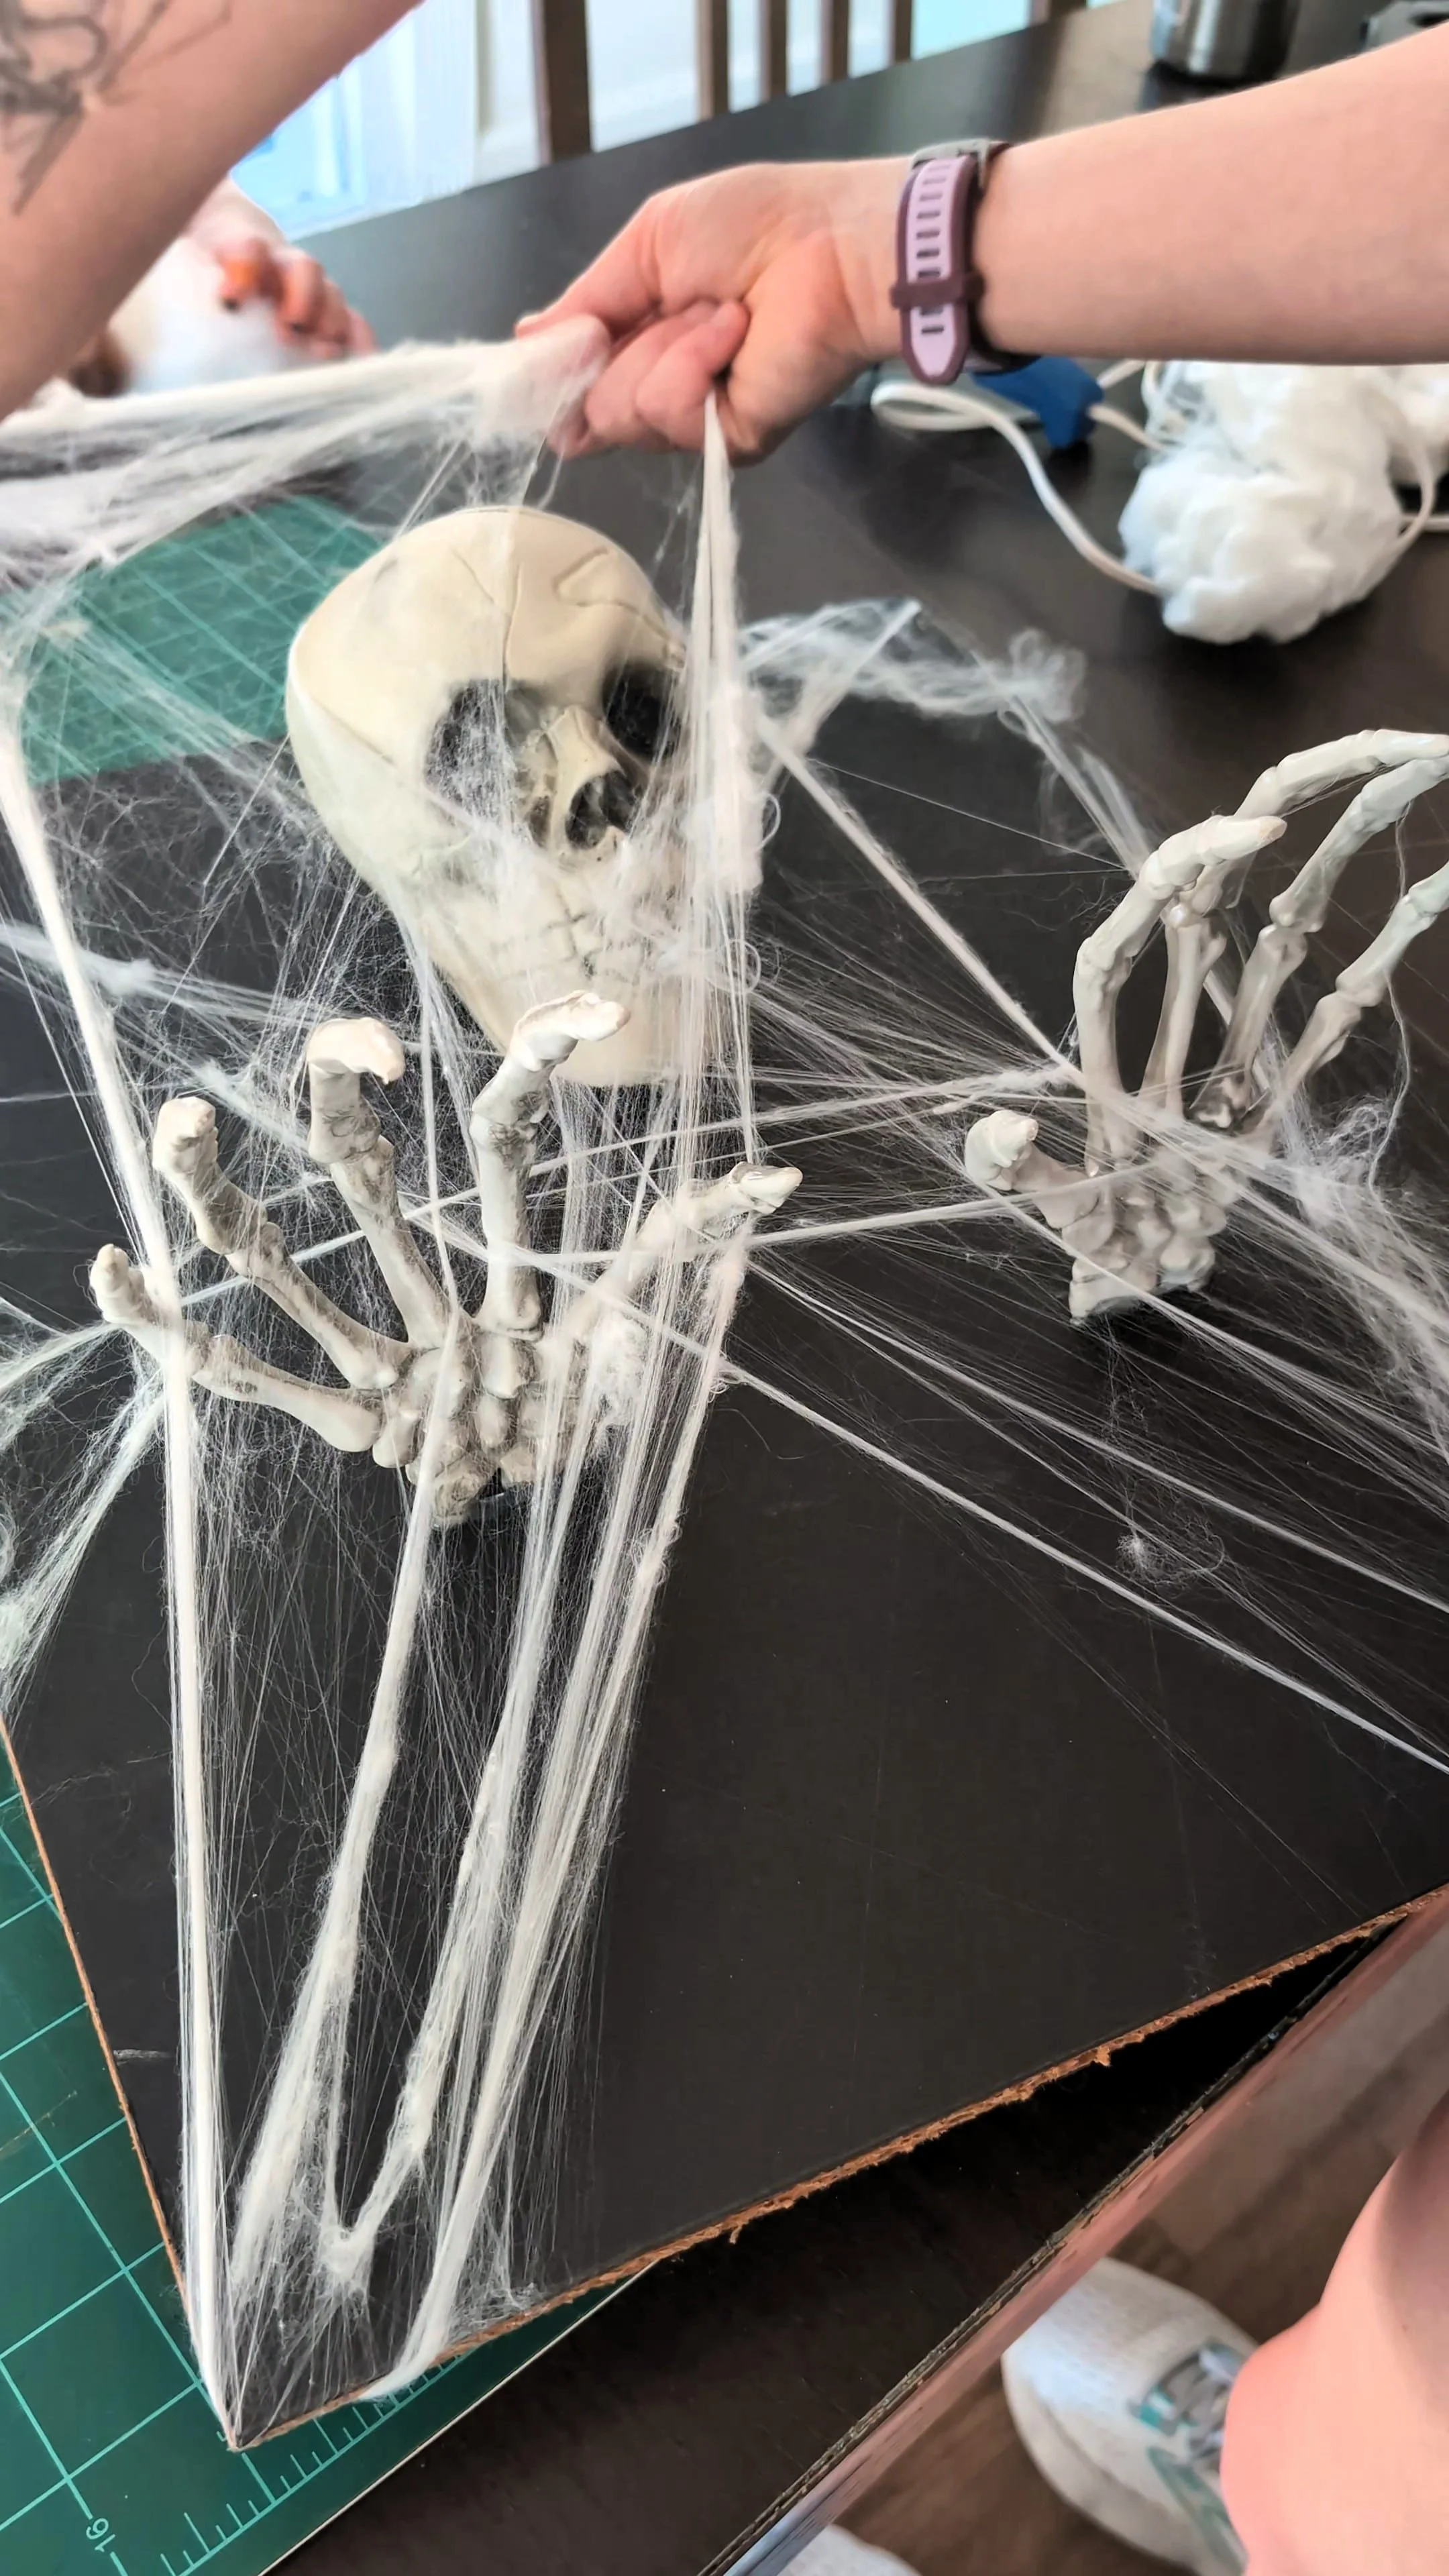
Then start wrapping them across the skeleton. You can use the corners of your matboard to help them stick, or even wrap them around the back. If you’ve ever used this stuff, you already know it likes to stick to just about anything anyway.


Once the cobwebs are in place, you can take it one step further and lightly spray around the edges with black paint. It adds depth and that aged, smoky/dusty look that really sells the haunted portrait vibe.
Step 4: Assemble the Final Product & Enjoy!
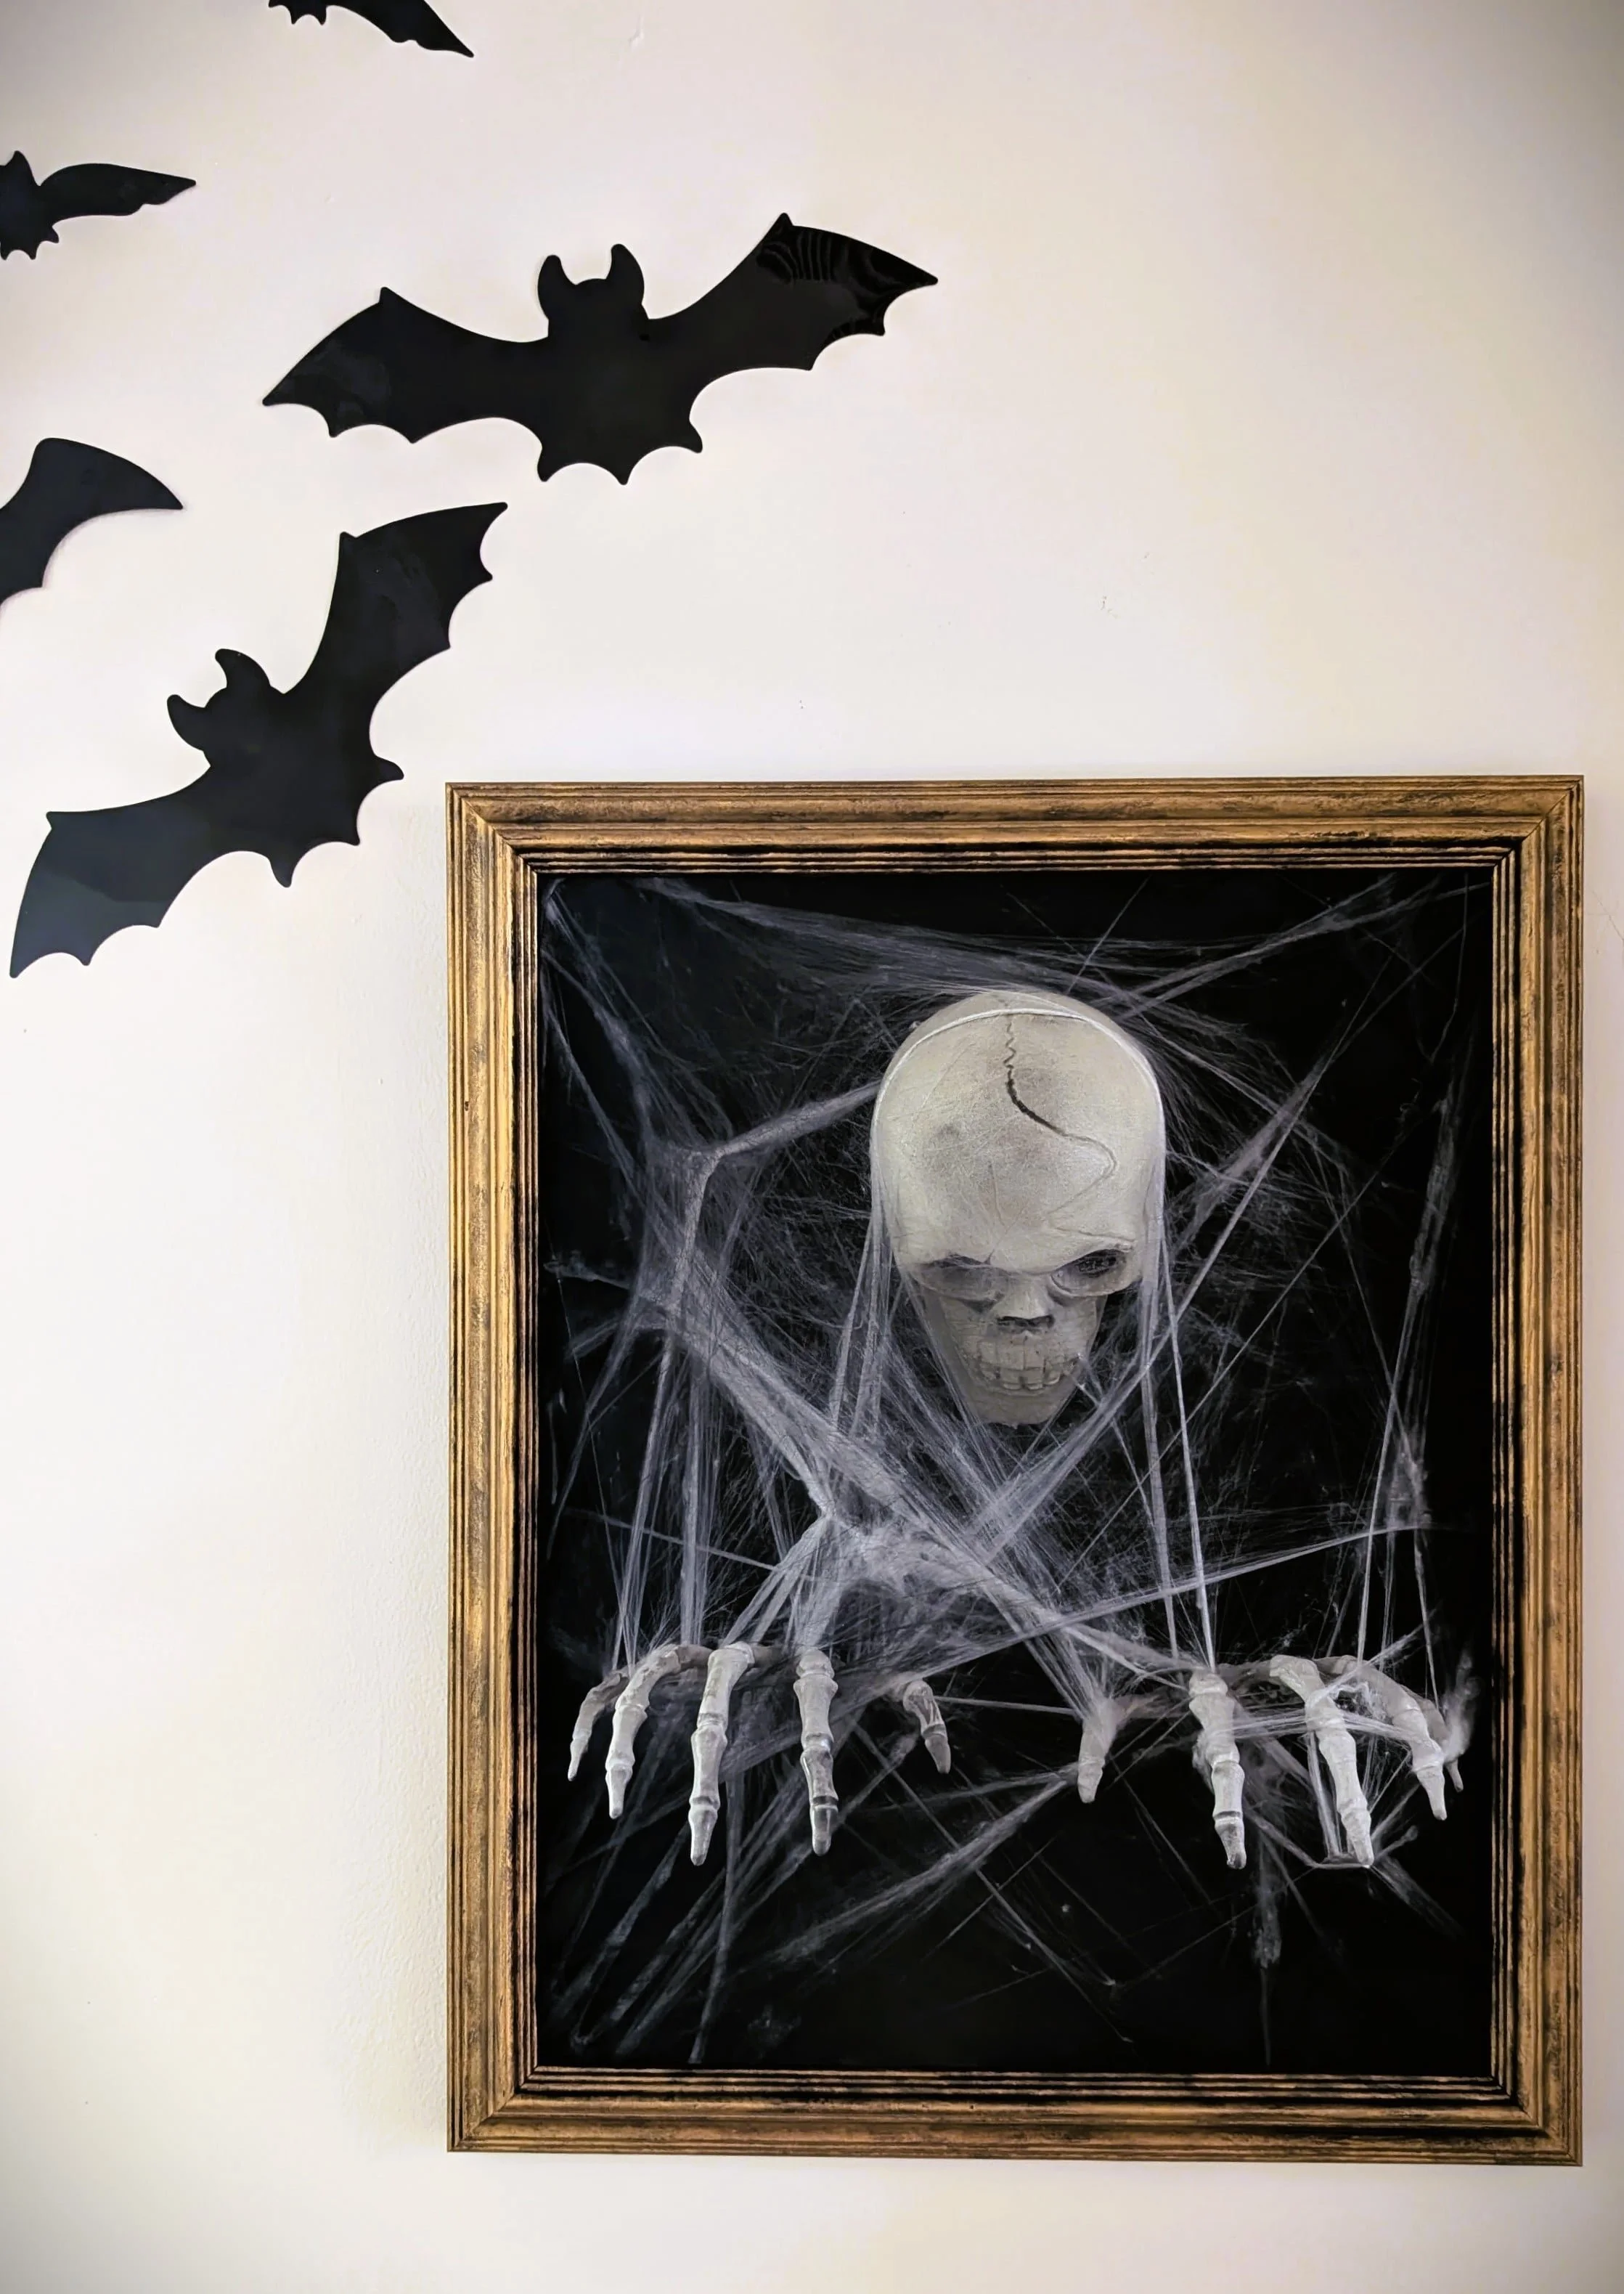
After the paint dries, pop everything back into the frame and hang it up!
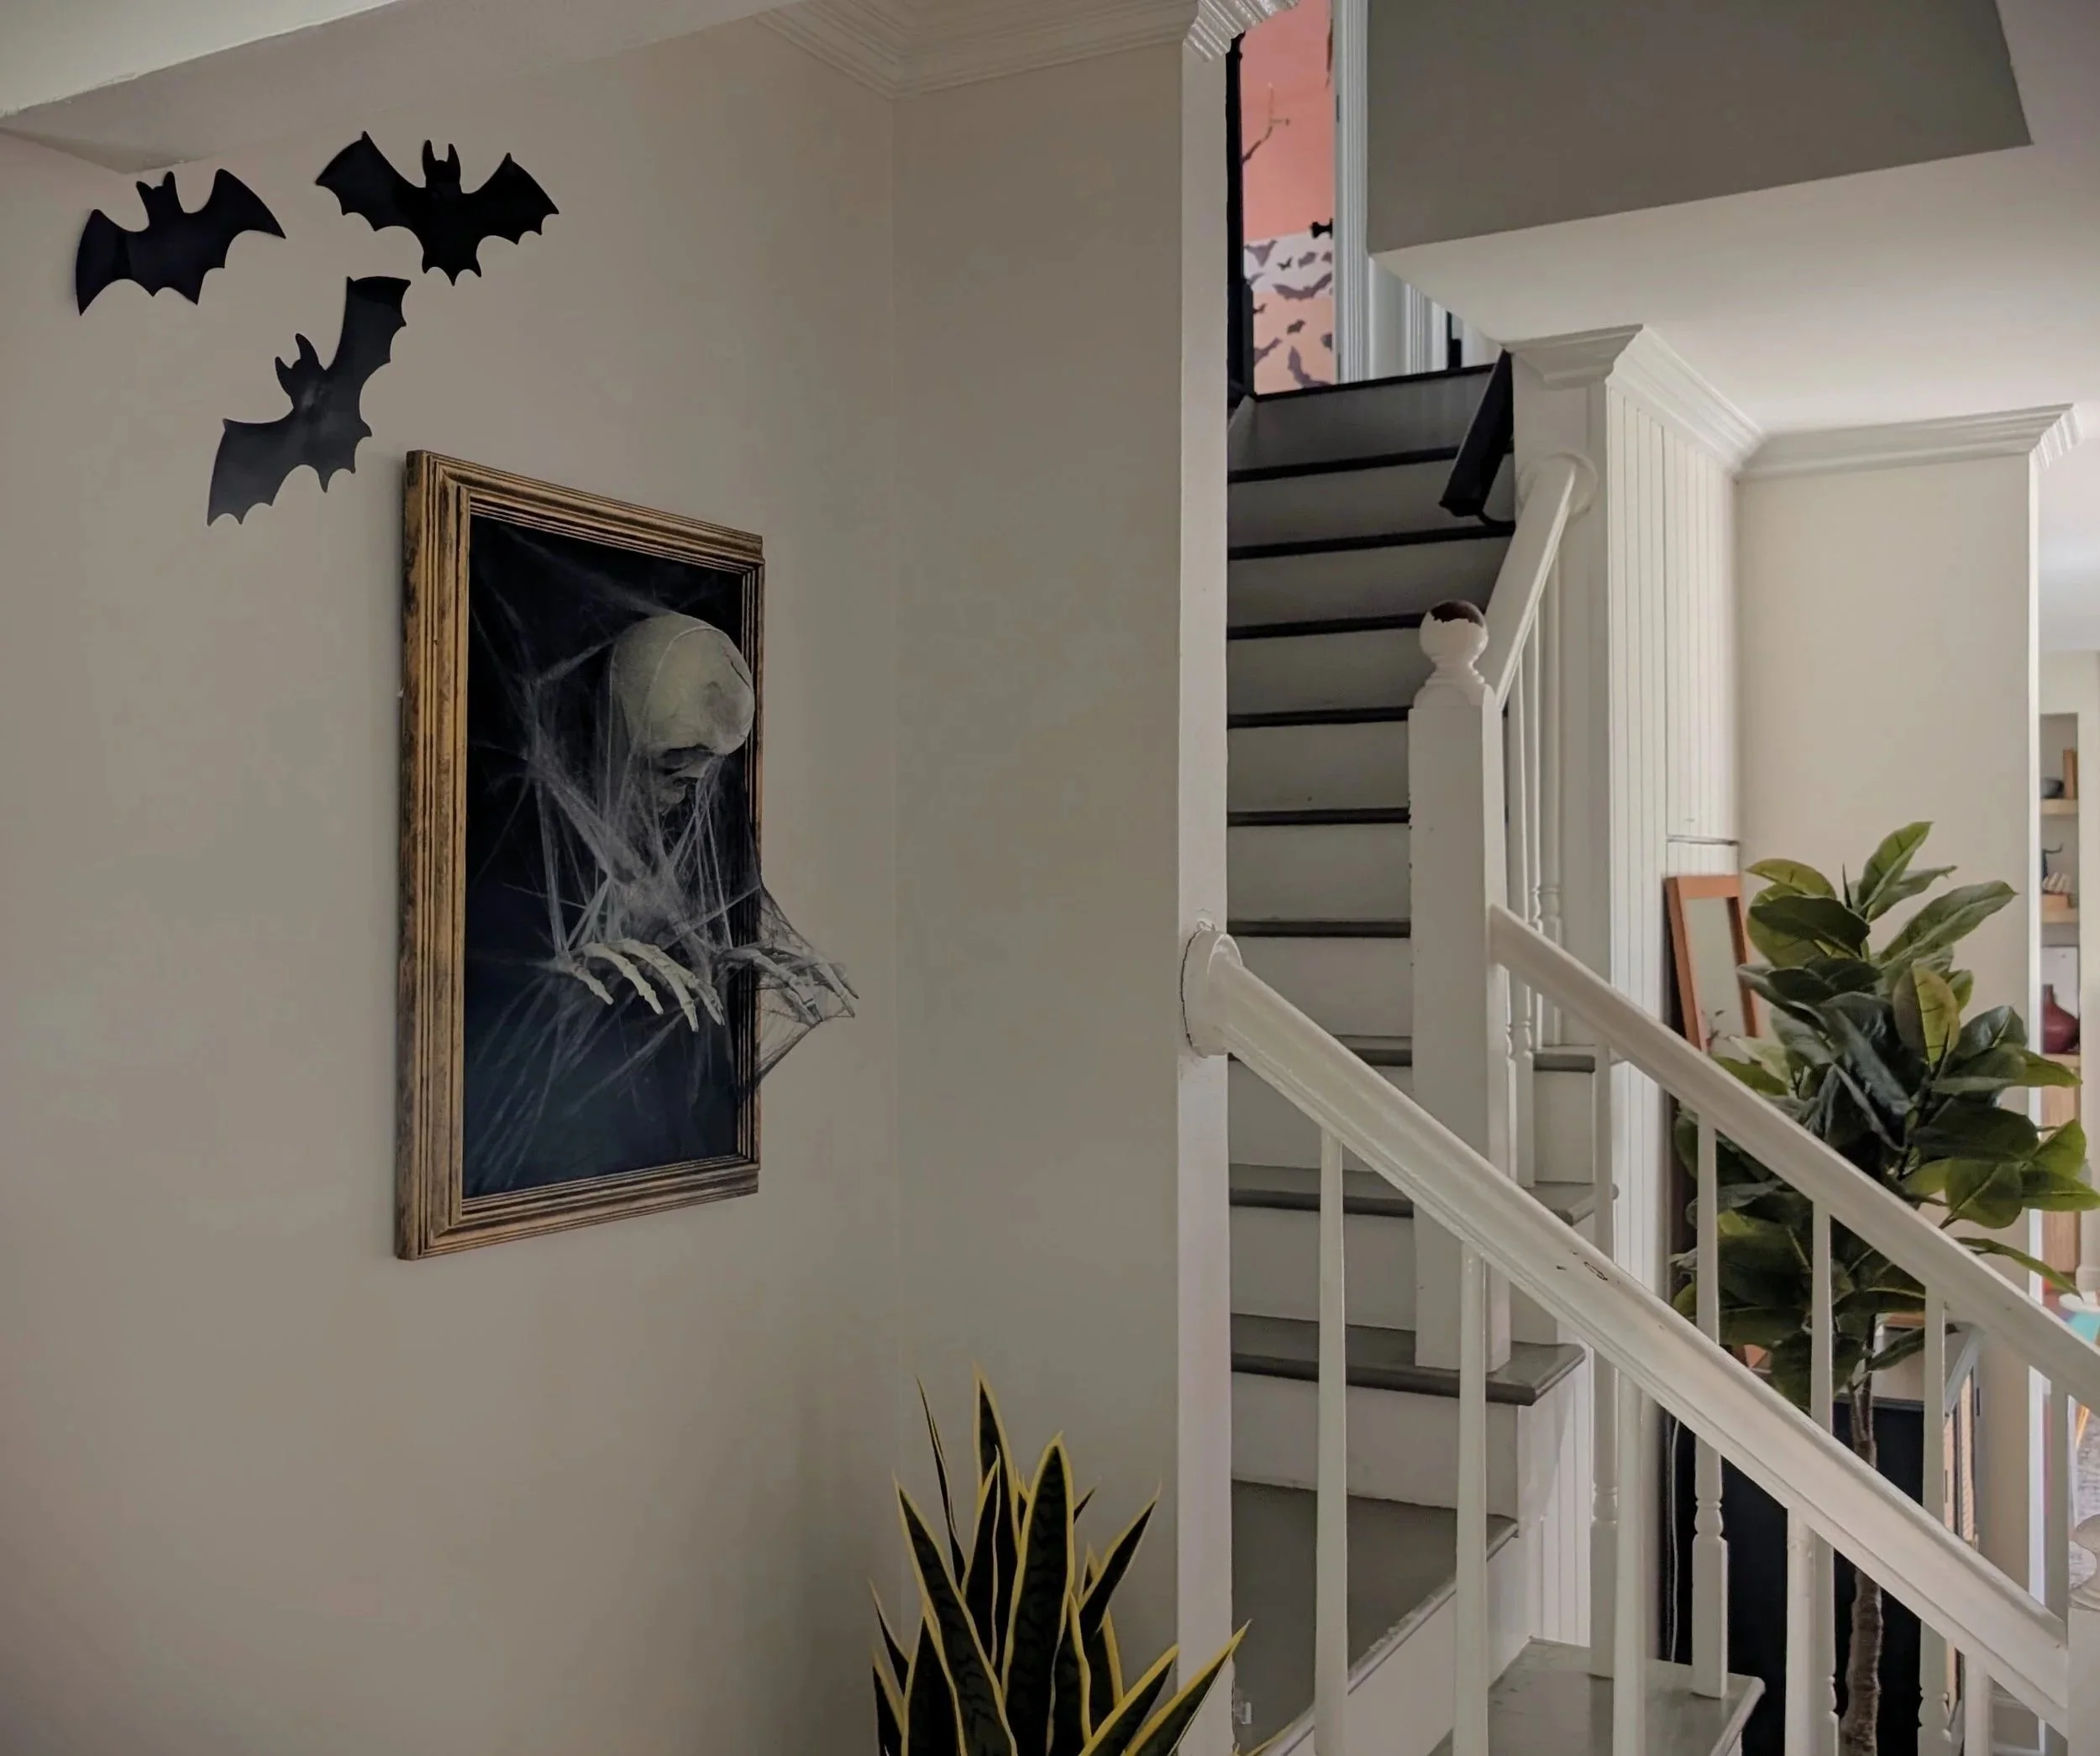
This project came together faster than I expected—just a few hours, even with paint drying time. And the final result? A creepy, dimensional DIY Halloween wall art piece that looks straight out of a haunted mansion. It’s eerie, eye-catching, and guaranteed to get a few gasps (and maybe a nervous laugh or two) from your Halloween guests. Or, in my case, oohs and aahs from all the neighbor kids.
More Halloween Decor Ideas
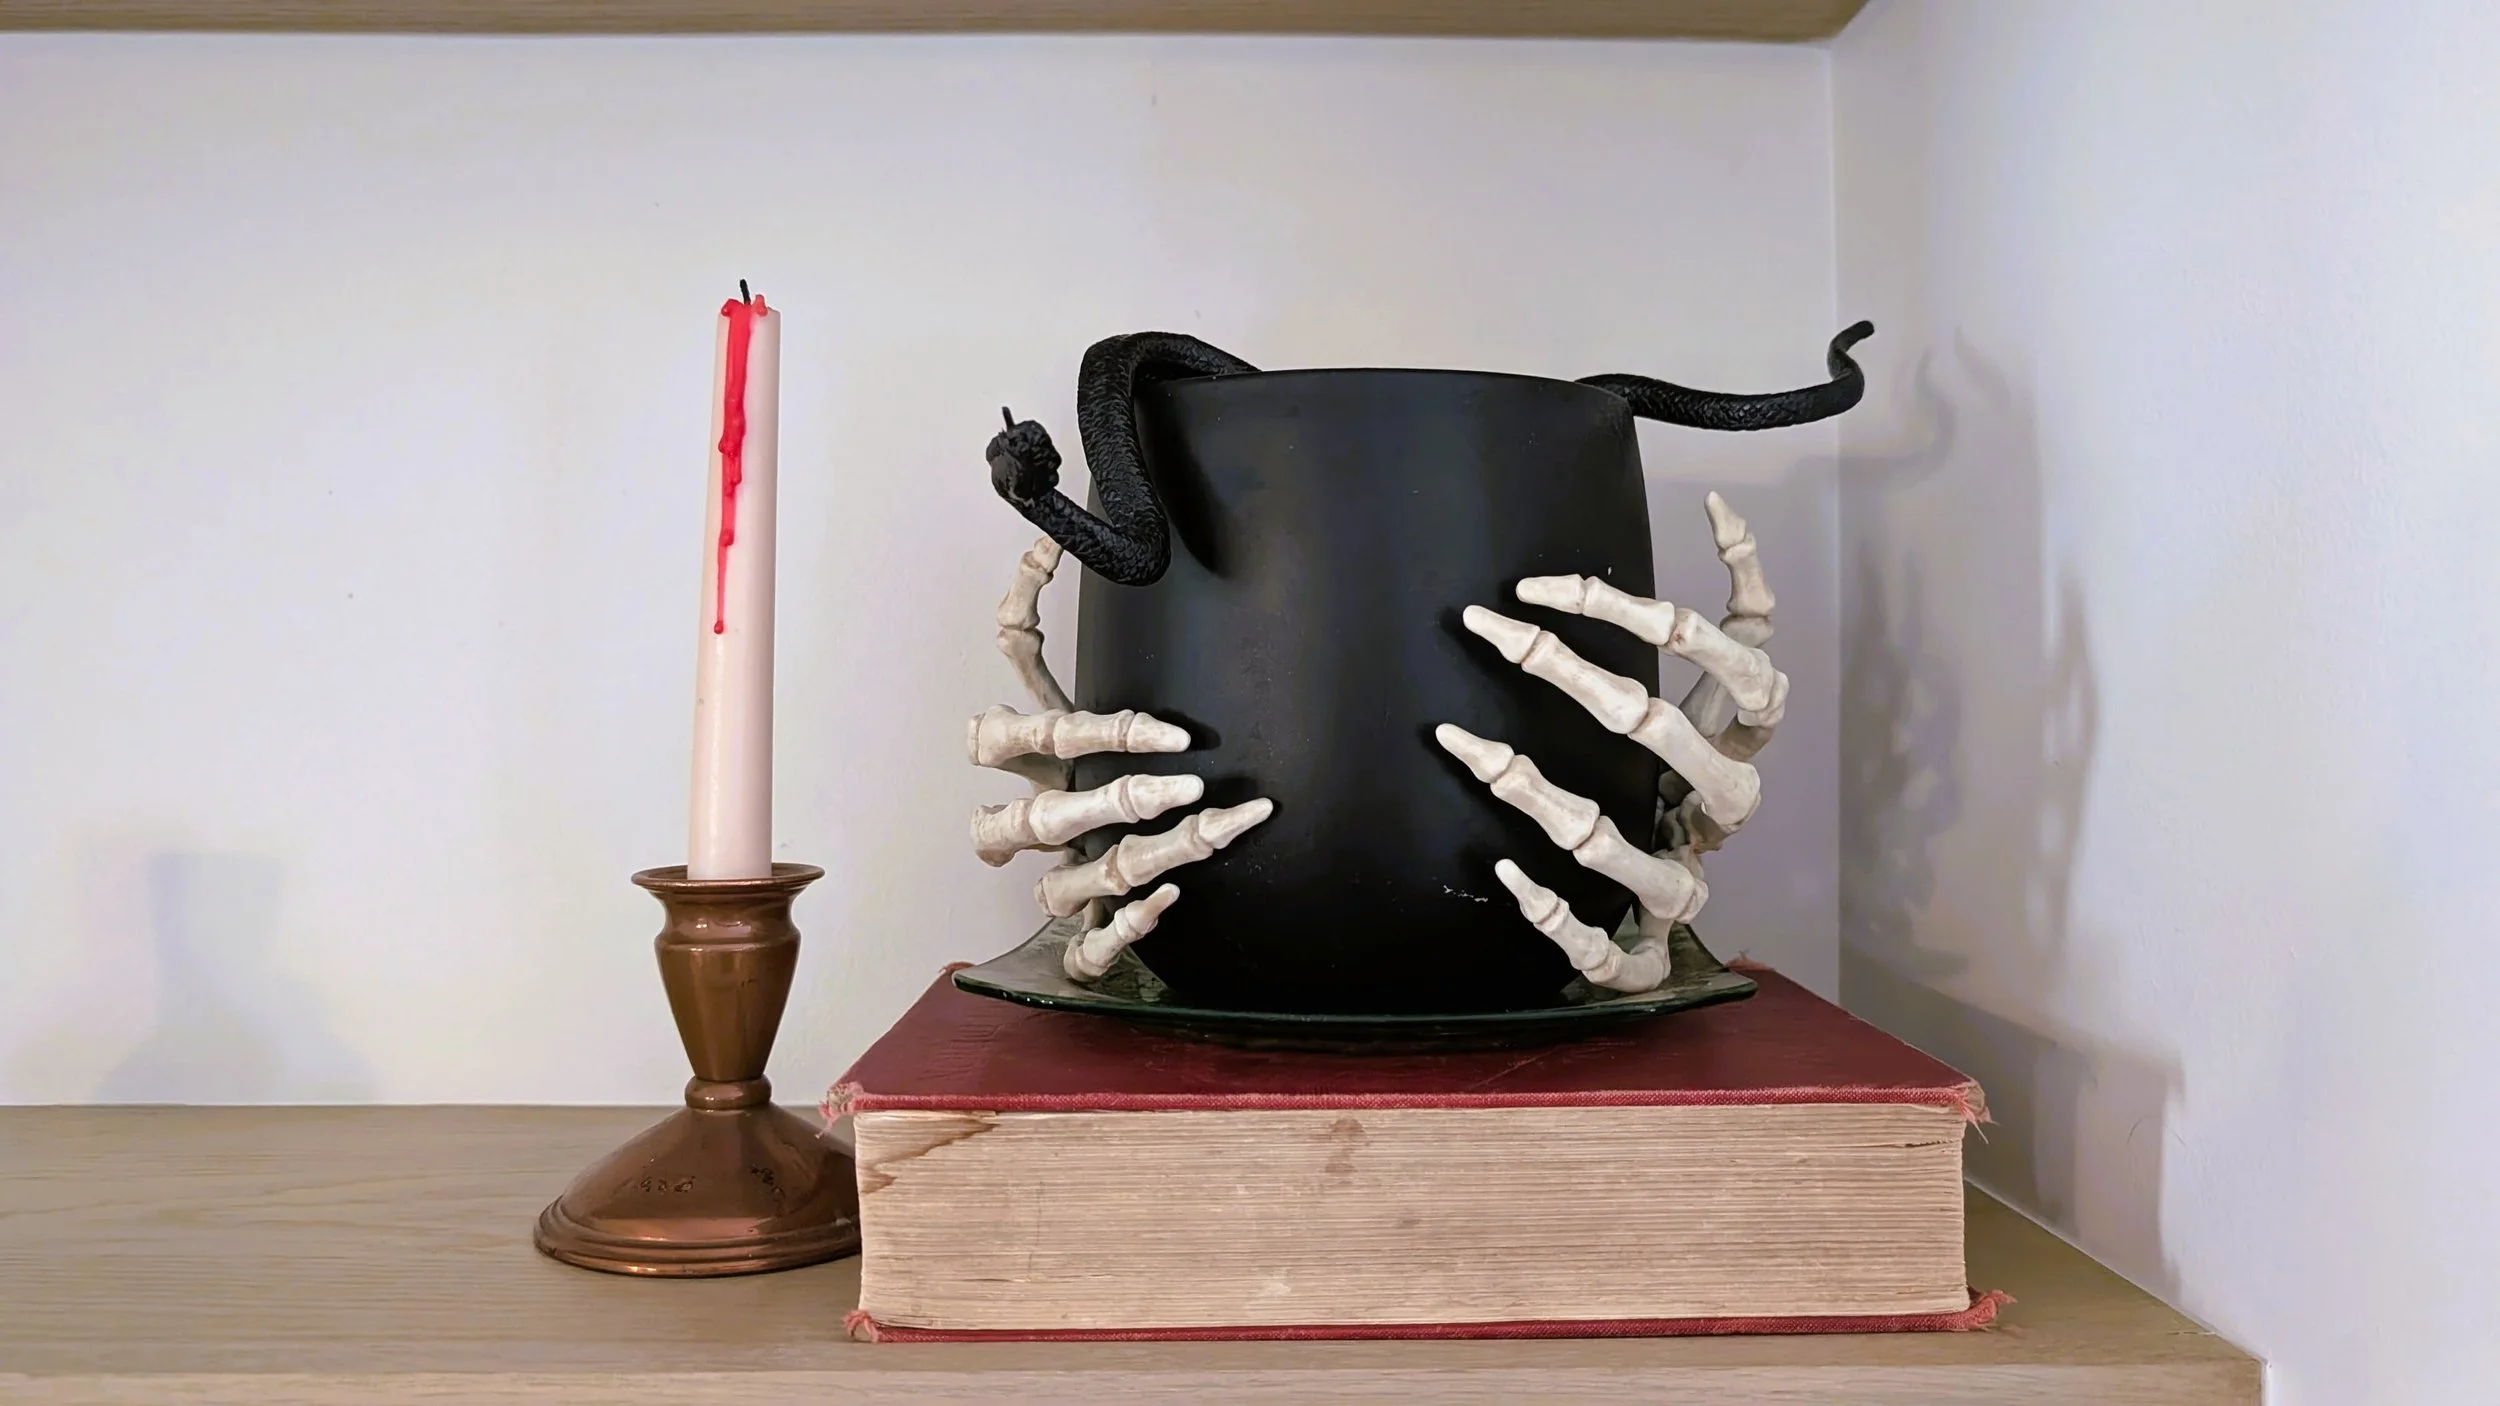
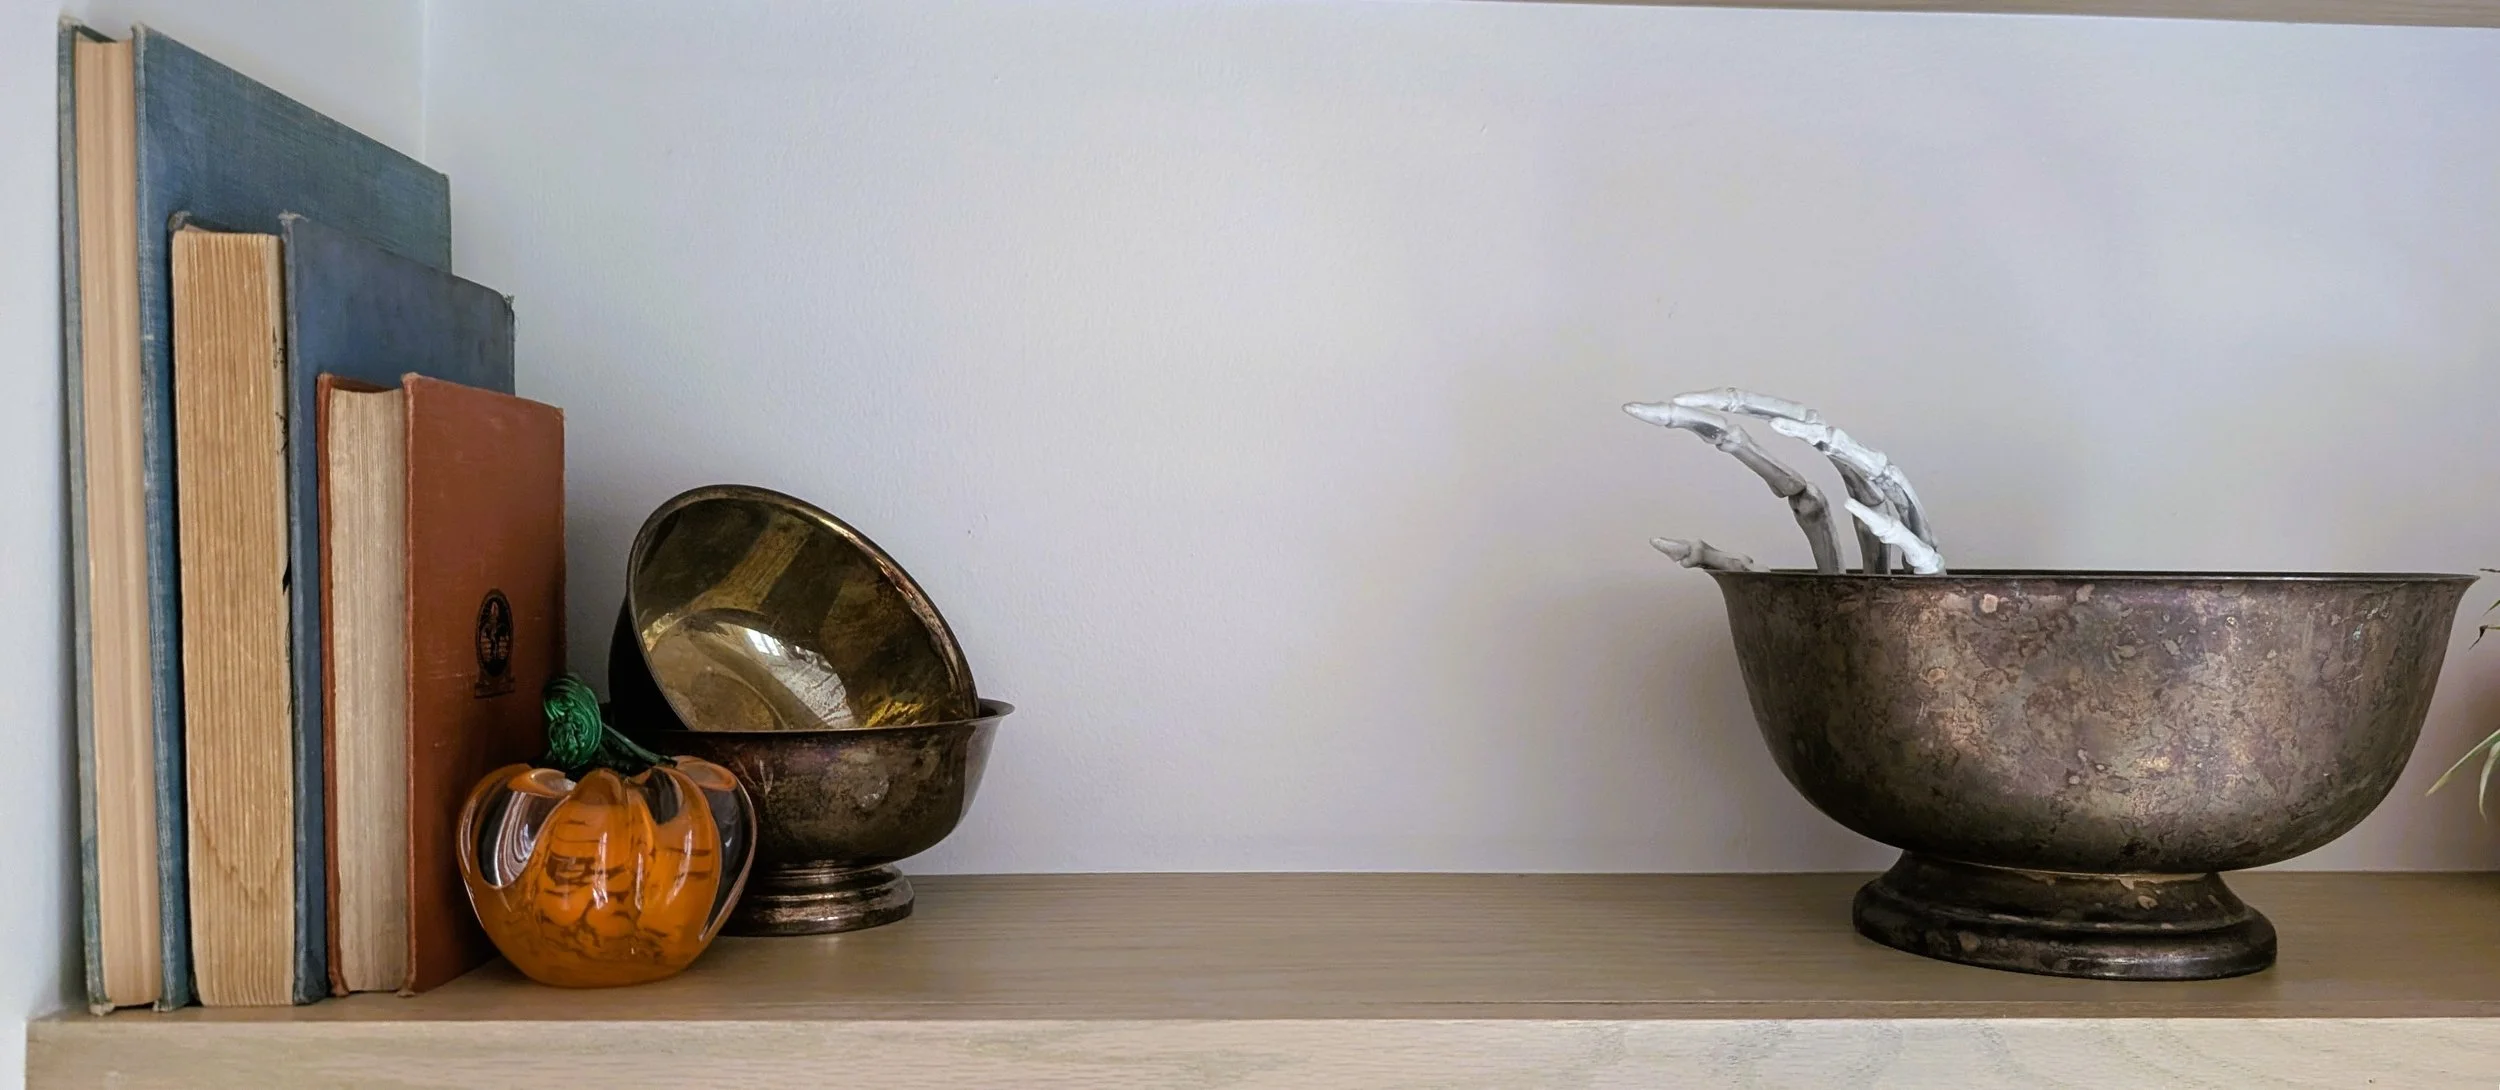
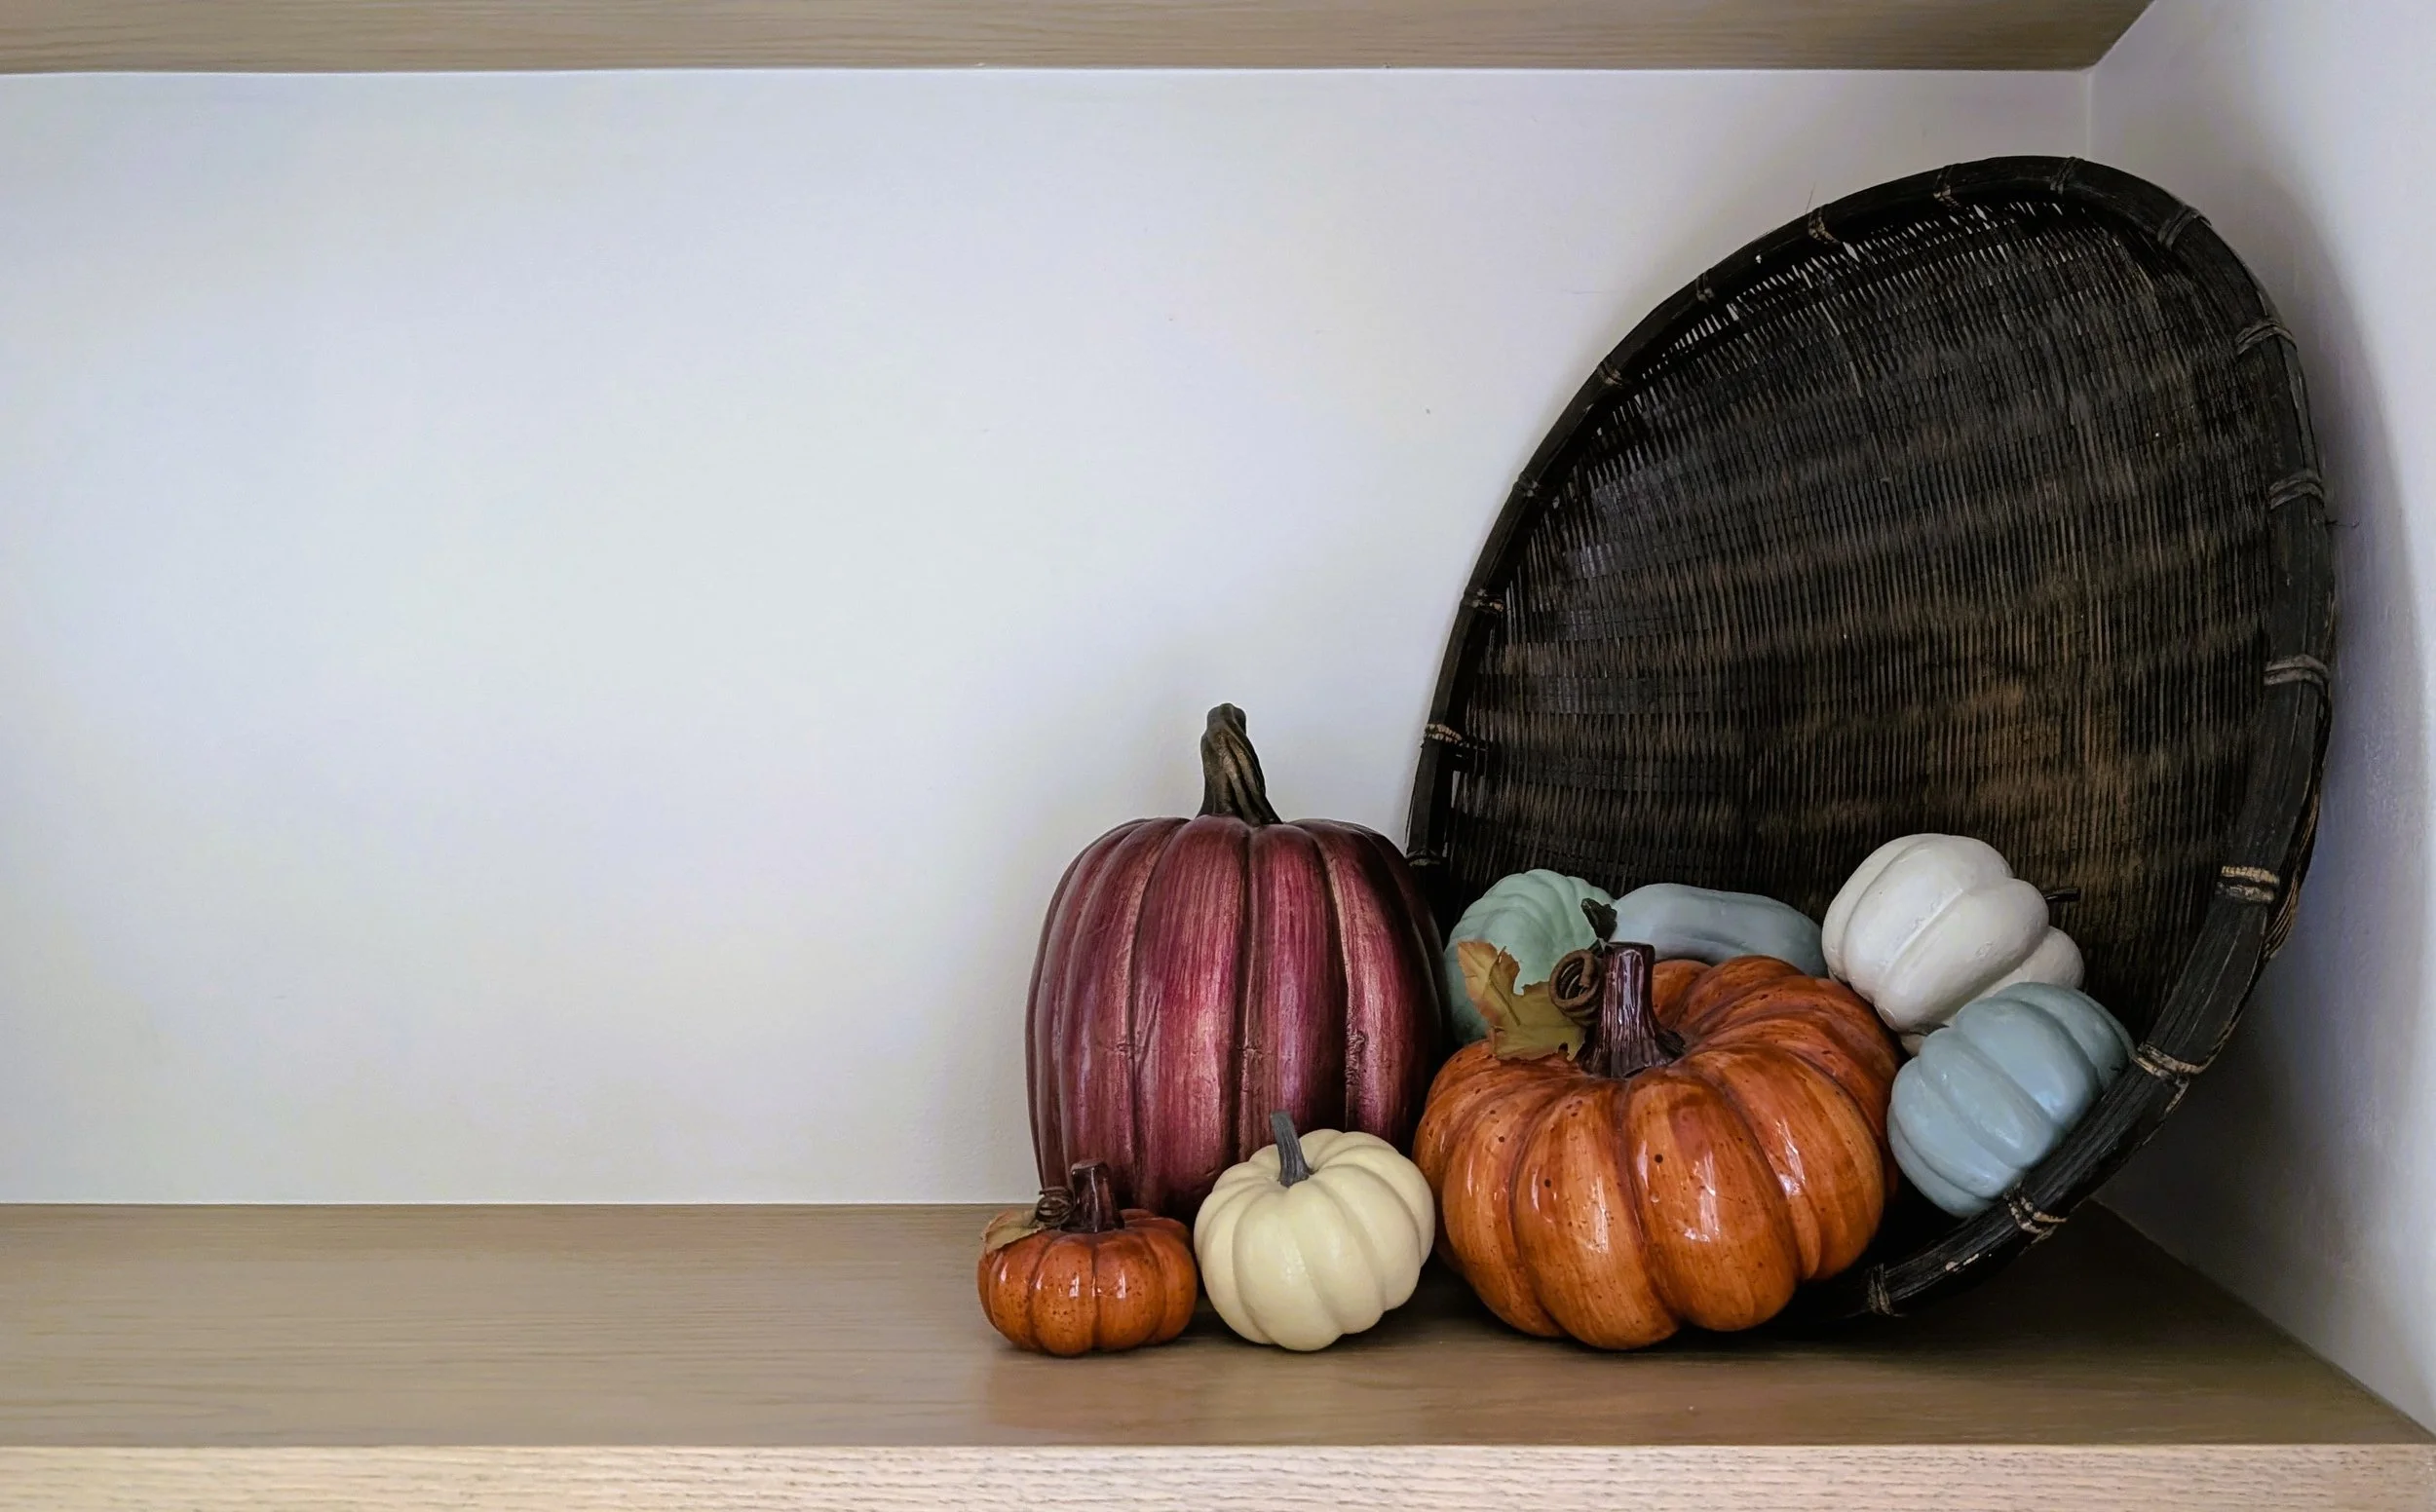
If you loved this DIY 3D skeleton wall art, you’ll probably enjoy a few of my other DIY Halloween decorations too. Here’s how I styled the rest of our home for spooky season — all easy, budget-friendly projects that still pack a dramatic punch.