Halloween Decorating Ideas - and a Tutorial!
Halloween Mantel Decor
Spooky season is here!
As a self-proclaimed summer-lover, I was caught off guard when this year I actually had to restrain myself from decorating for Halloween before Labor Day! (Who even am I anymore!?) You better believe as soon as I felt it was a little more socially acceptable, I broke out the spiders, pumpkins, and bats in a hurry! In this post, I’m sharing how I decorated our home for Halloween and a tutorial for a cute kid-friendly DIY you can do to up the spooky factor in your home.
As an Amazon Associate, I earn from qualifying purchases. This post may contain affiliate links, meaning I receive commissions for purchases made through those links at no cost to you.
Halloween Decor Ideas
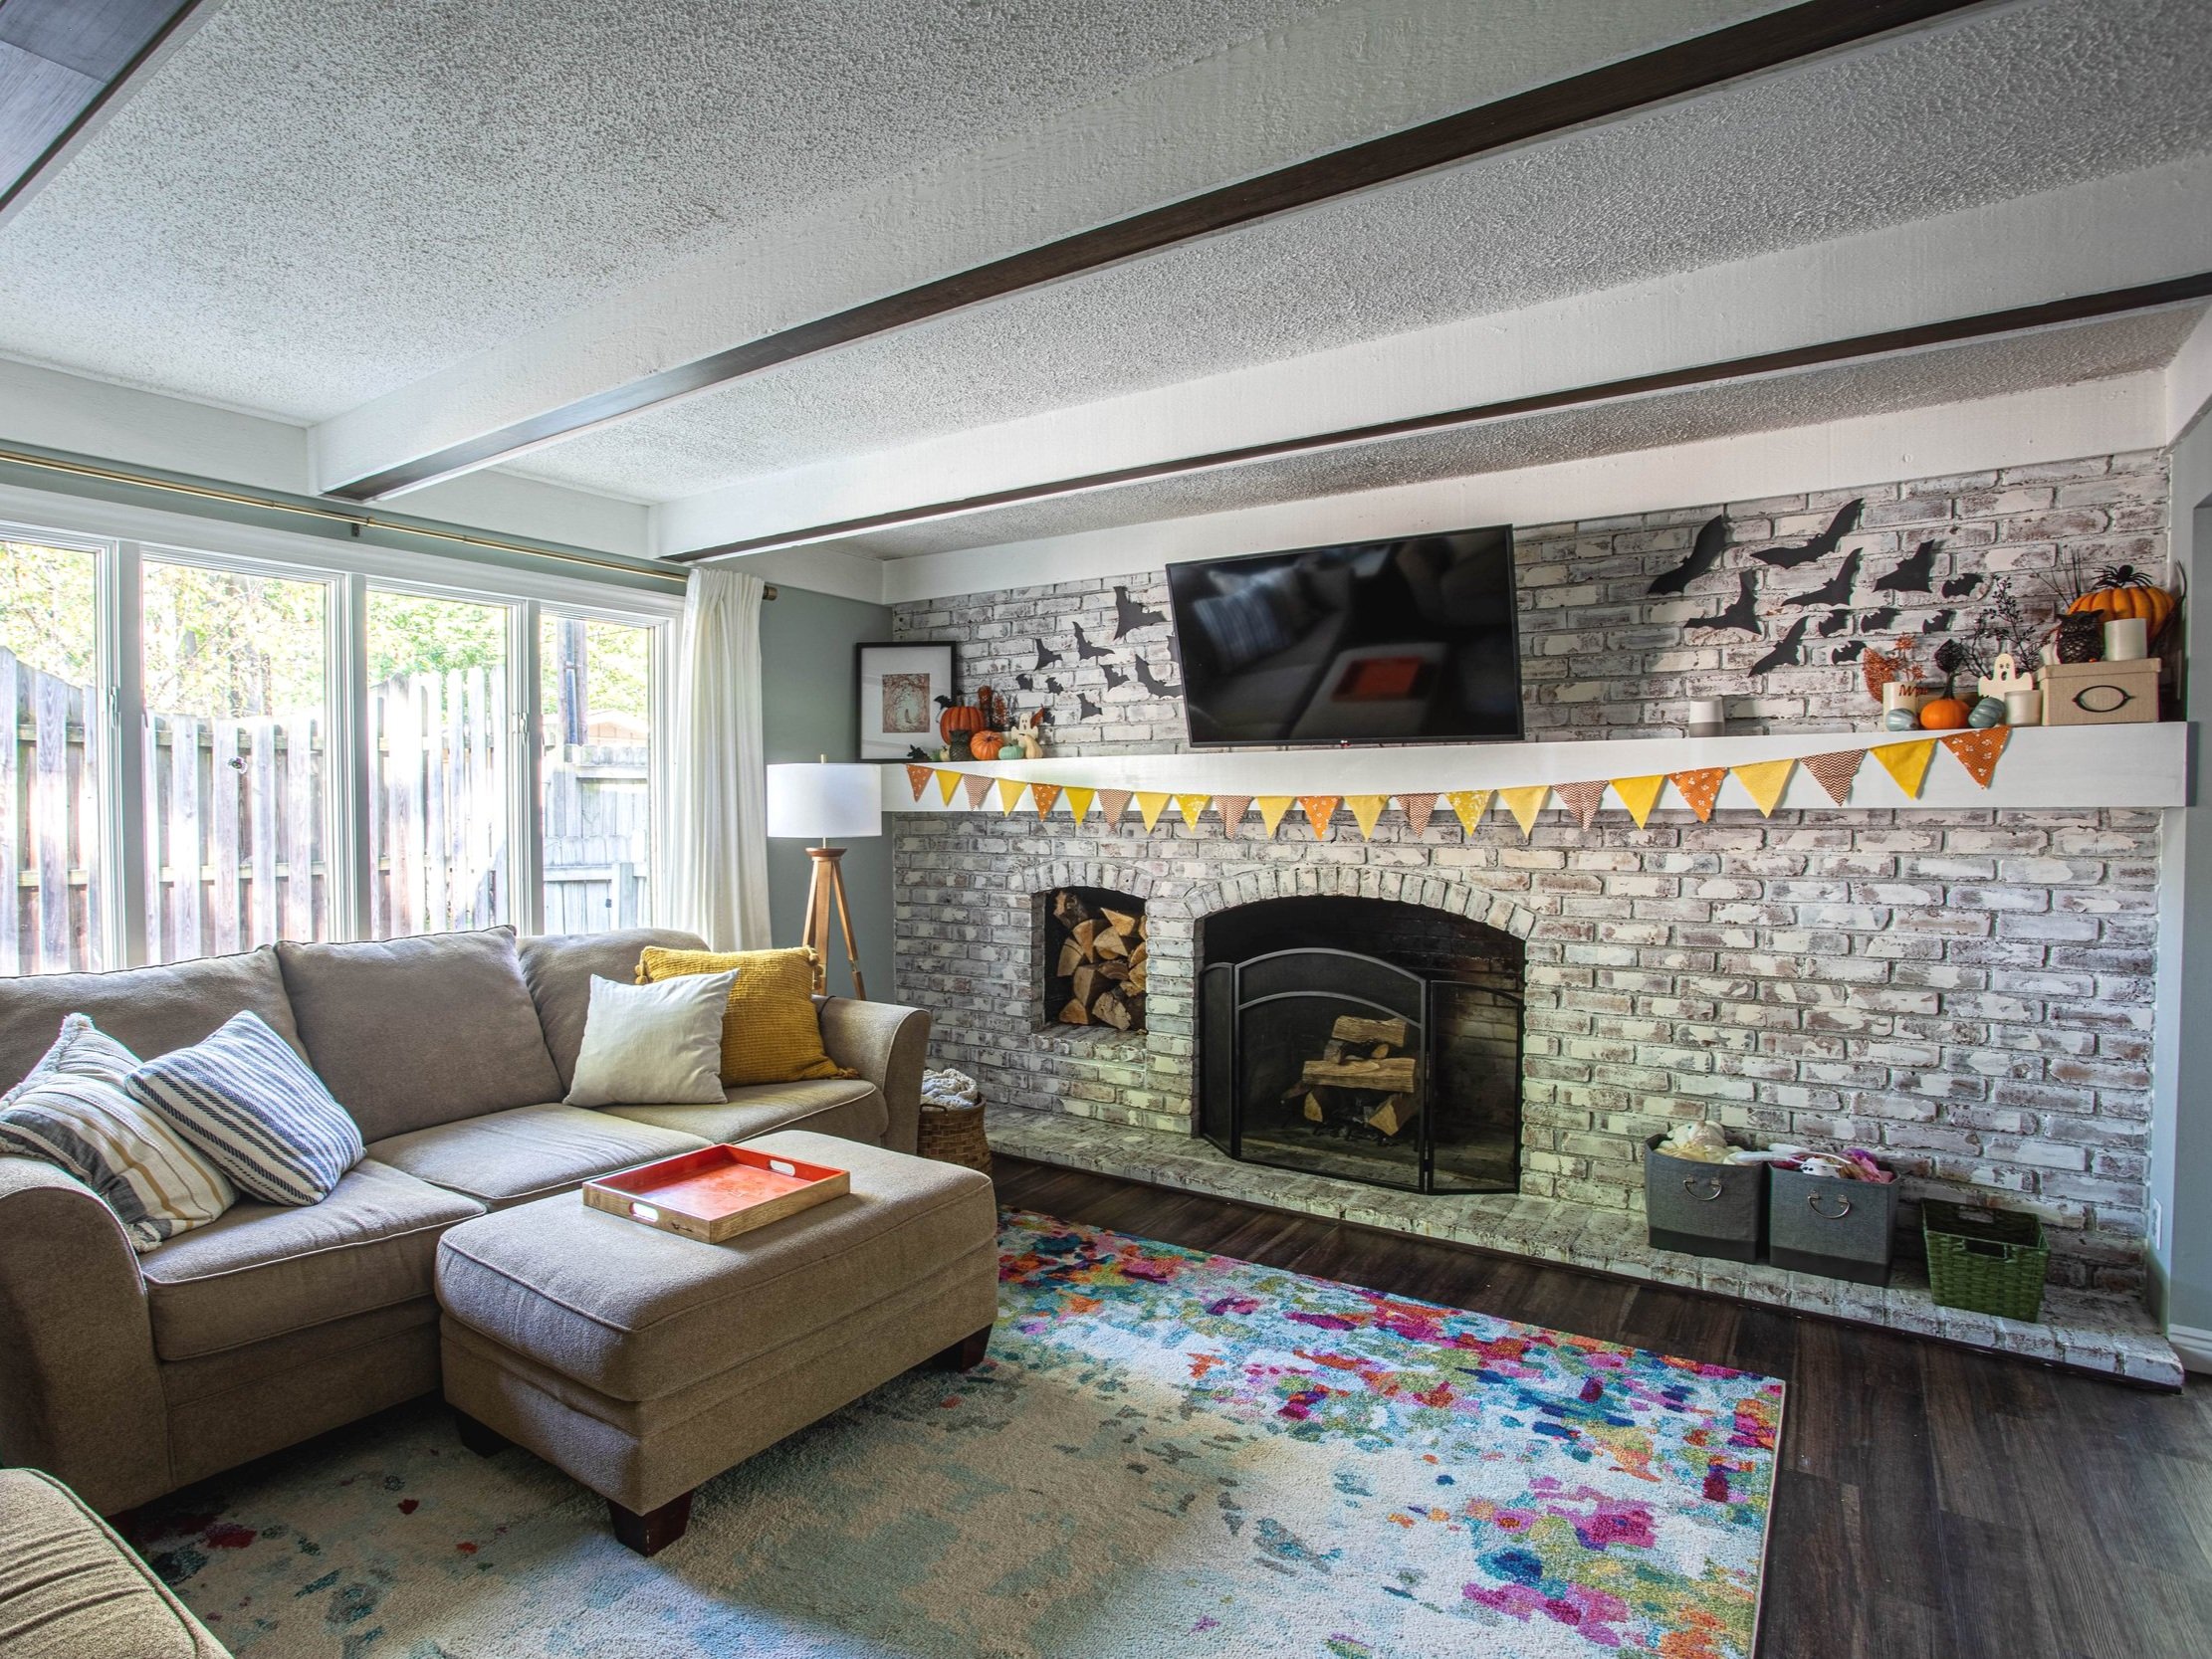
As the focal point of our living room, our mantel has always been the main space I decorate for the holidays.
During our first year in this house, I chose to decorate with Dollar Tree pumpkins I painted, hand-cut construction paper bats, and a festive bunting I made from leftover fabric.
Last year I nixed the bunting and modified my Christmas DIY luminaries for Halloween by painting the backs of them black and adding some orange lights.
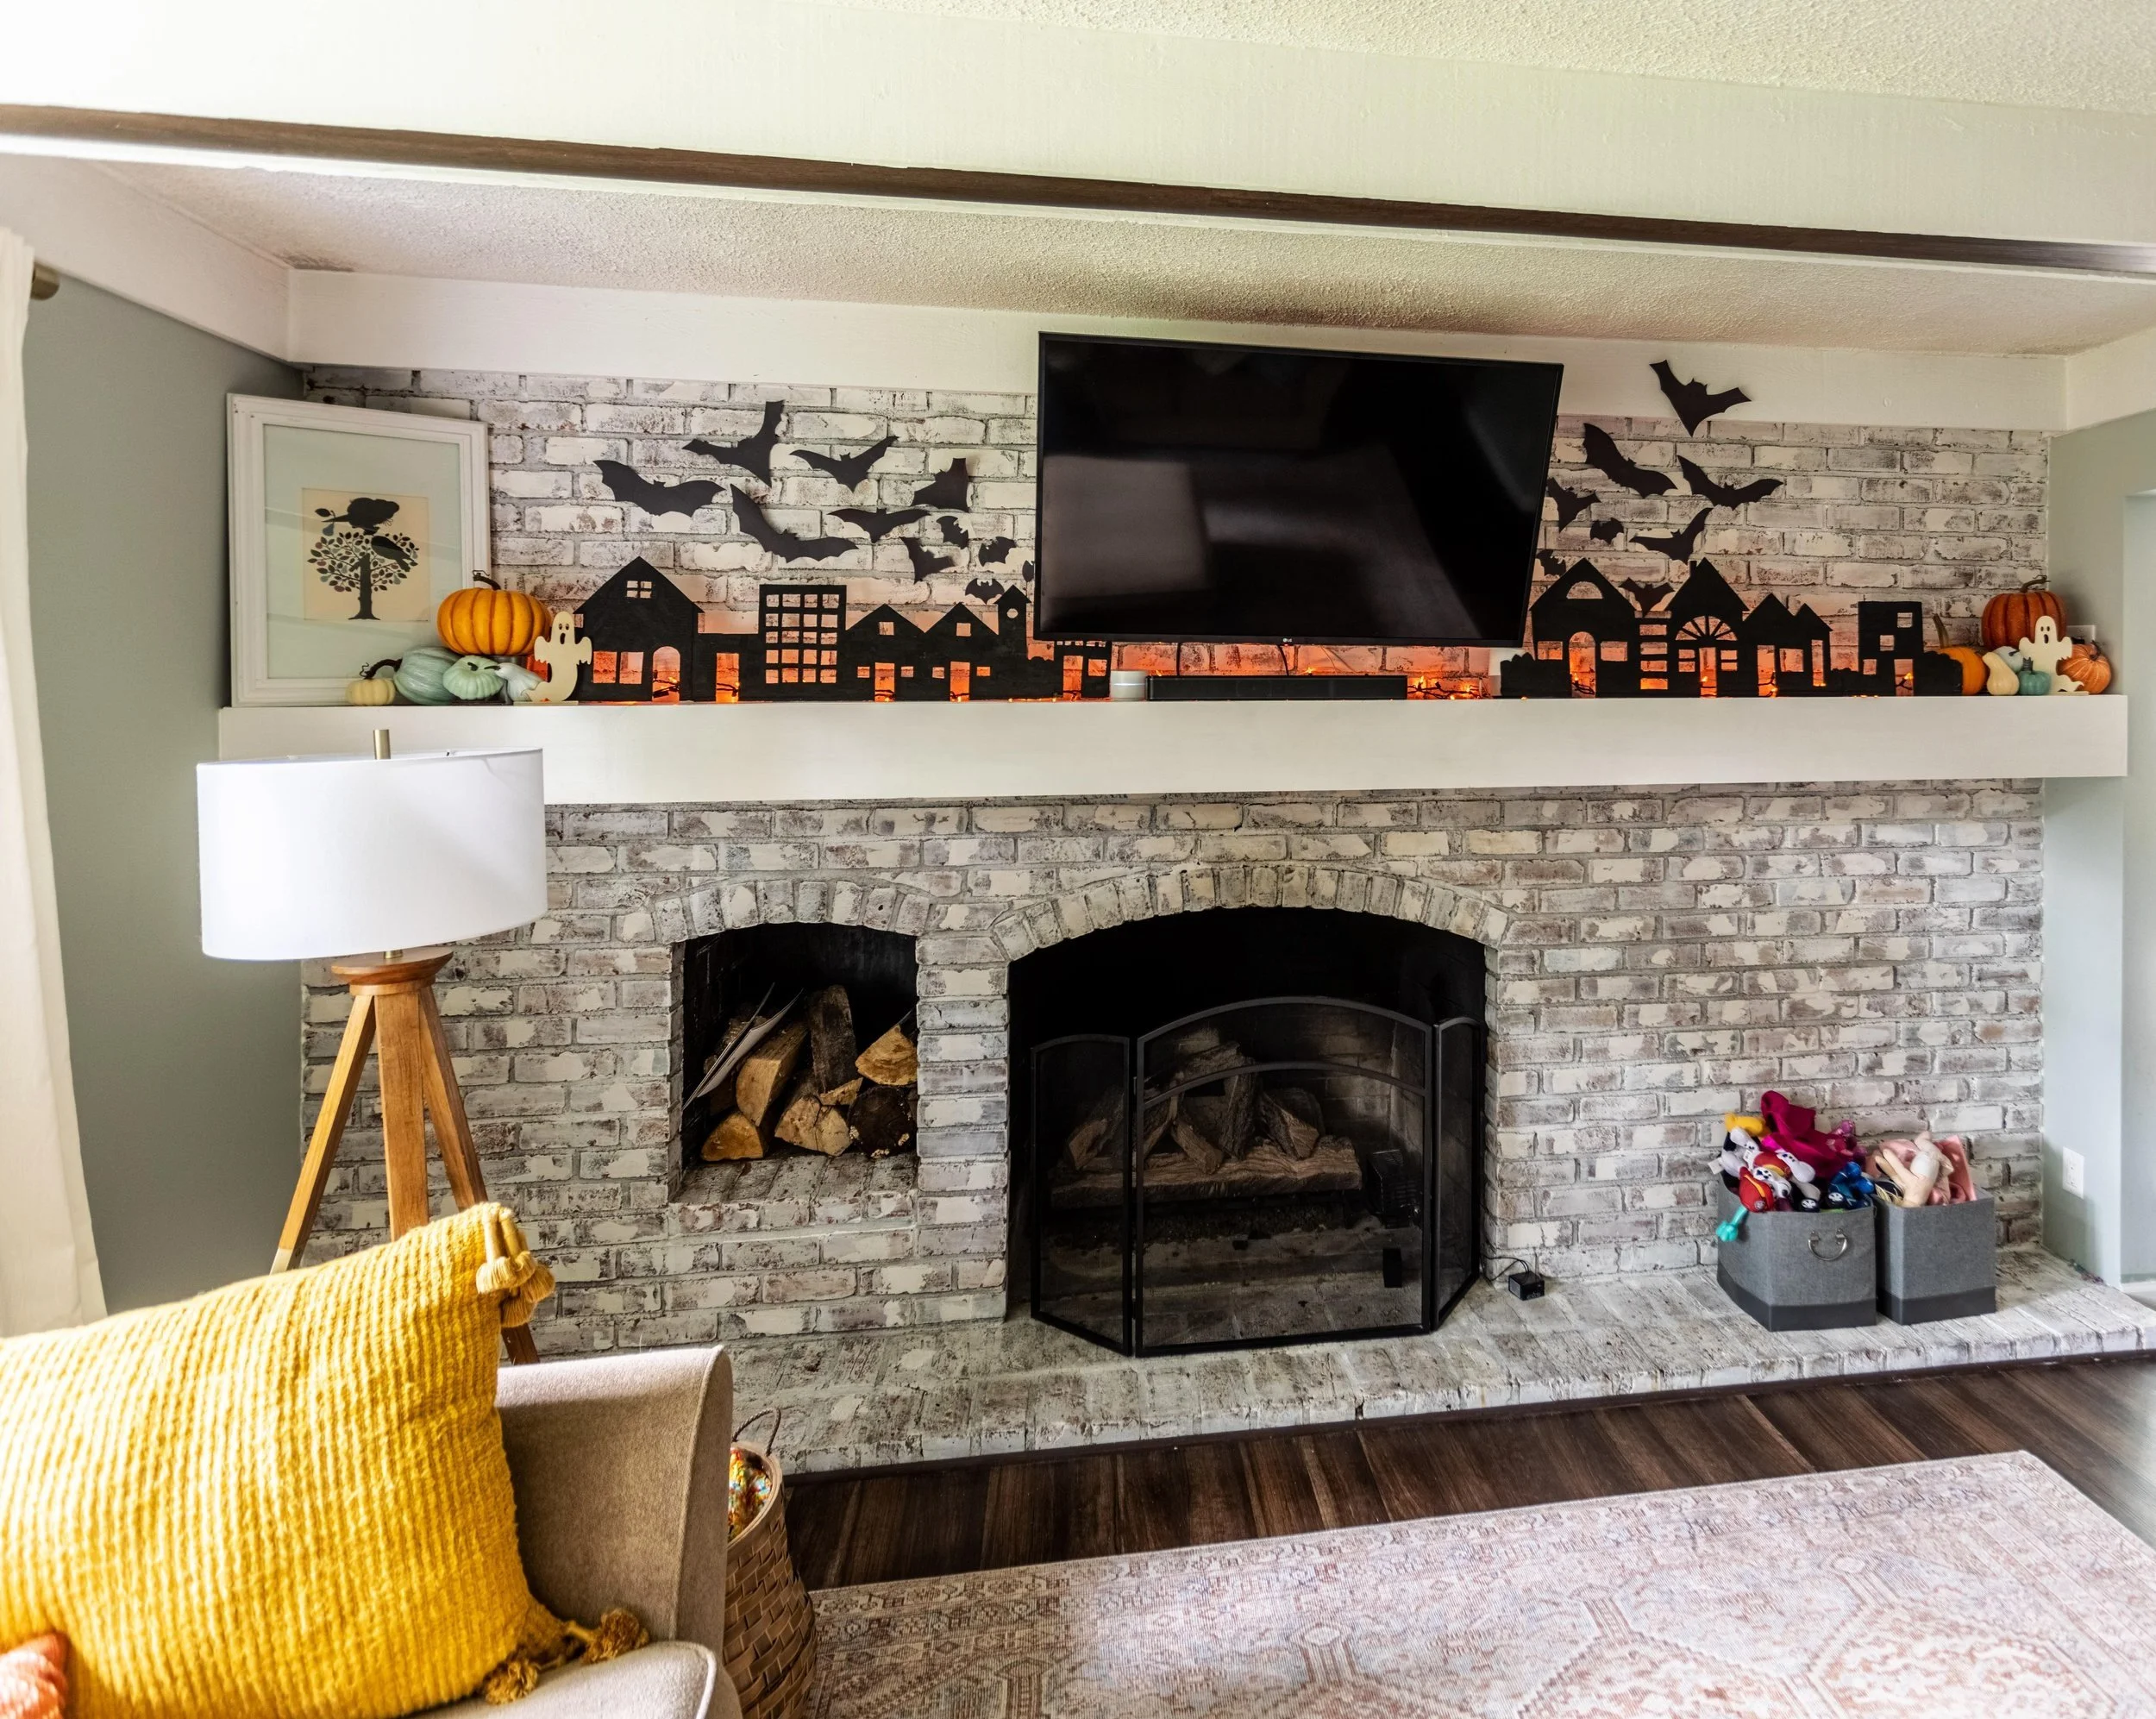
This year I was feeling a more moody and serious design, so I switched things up yet again!
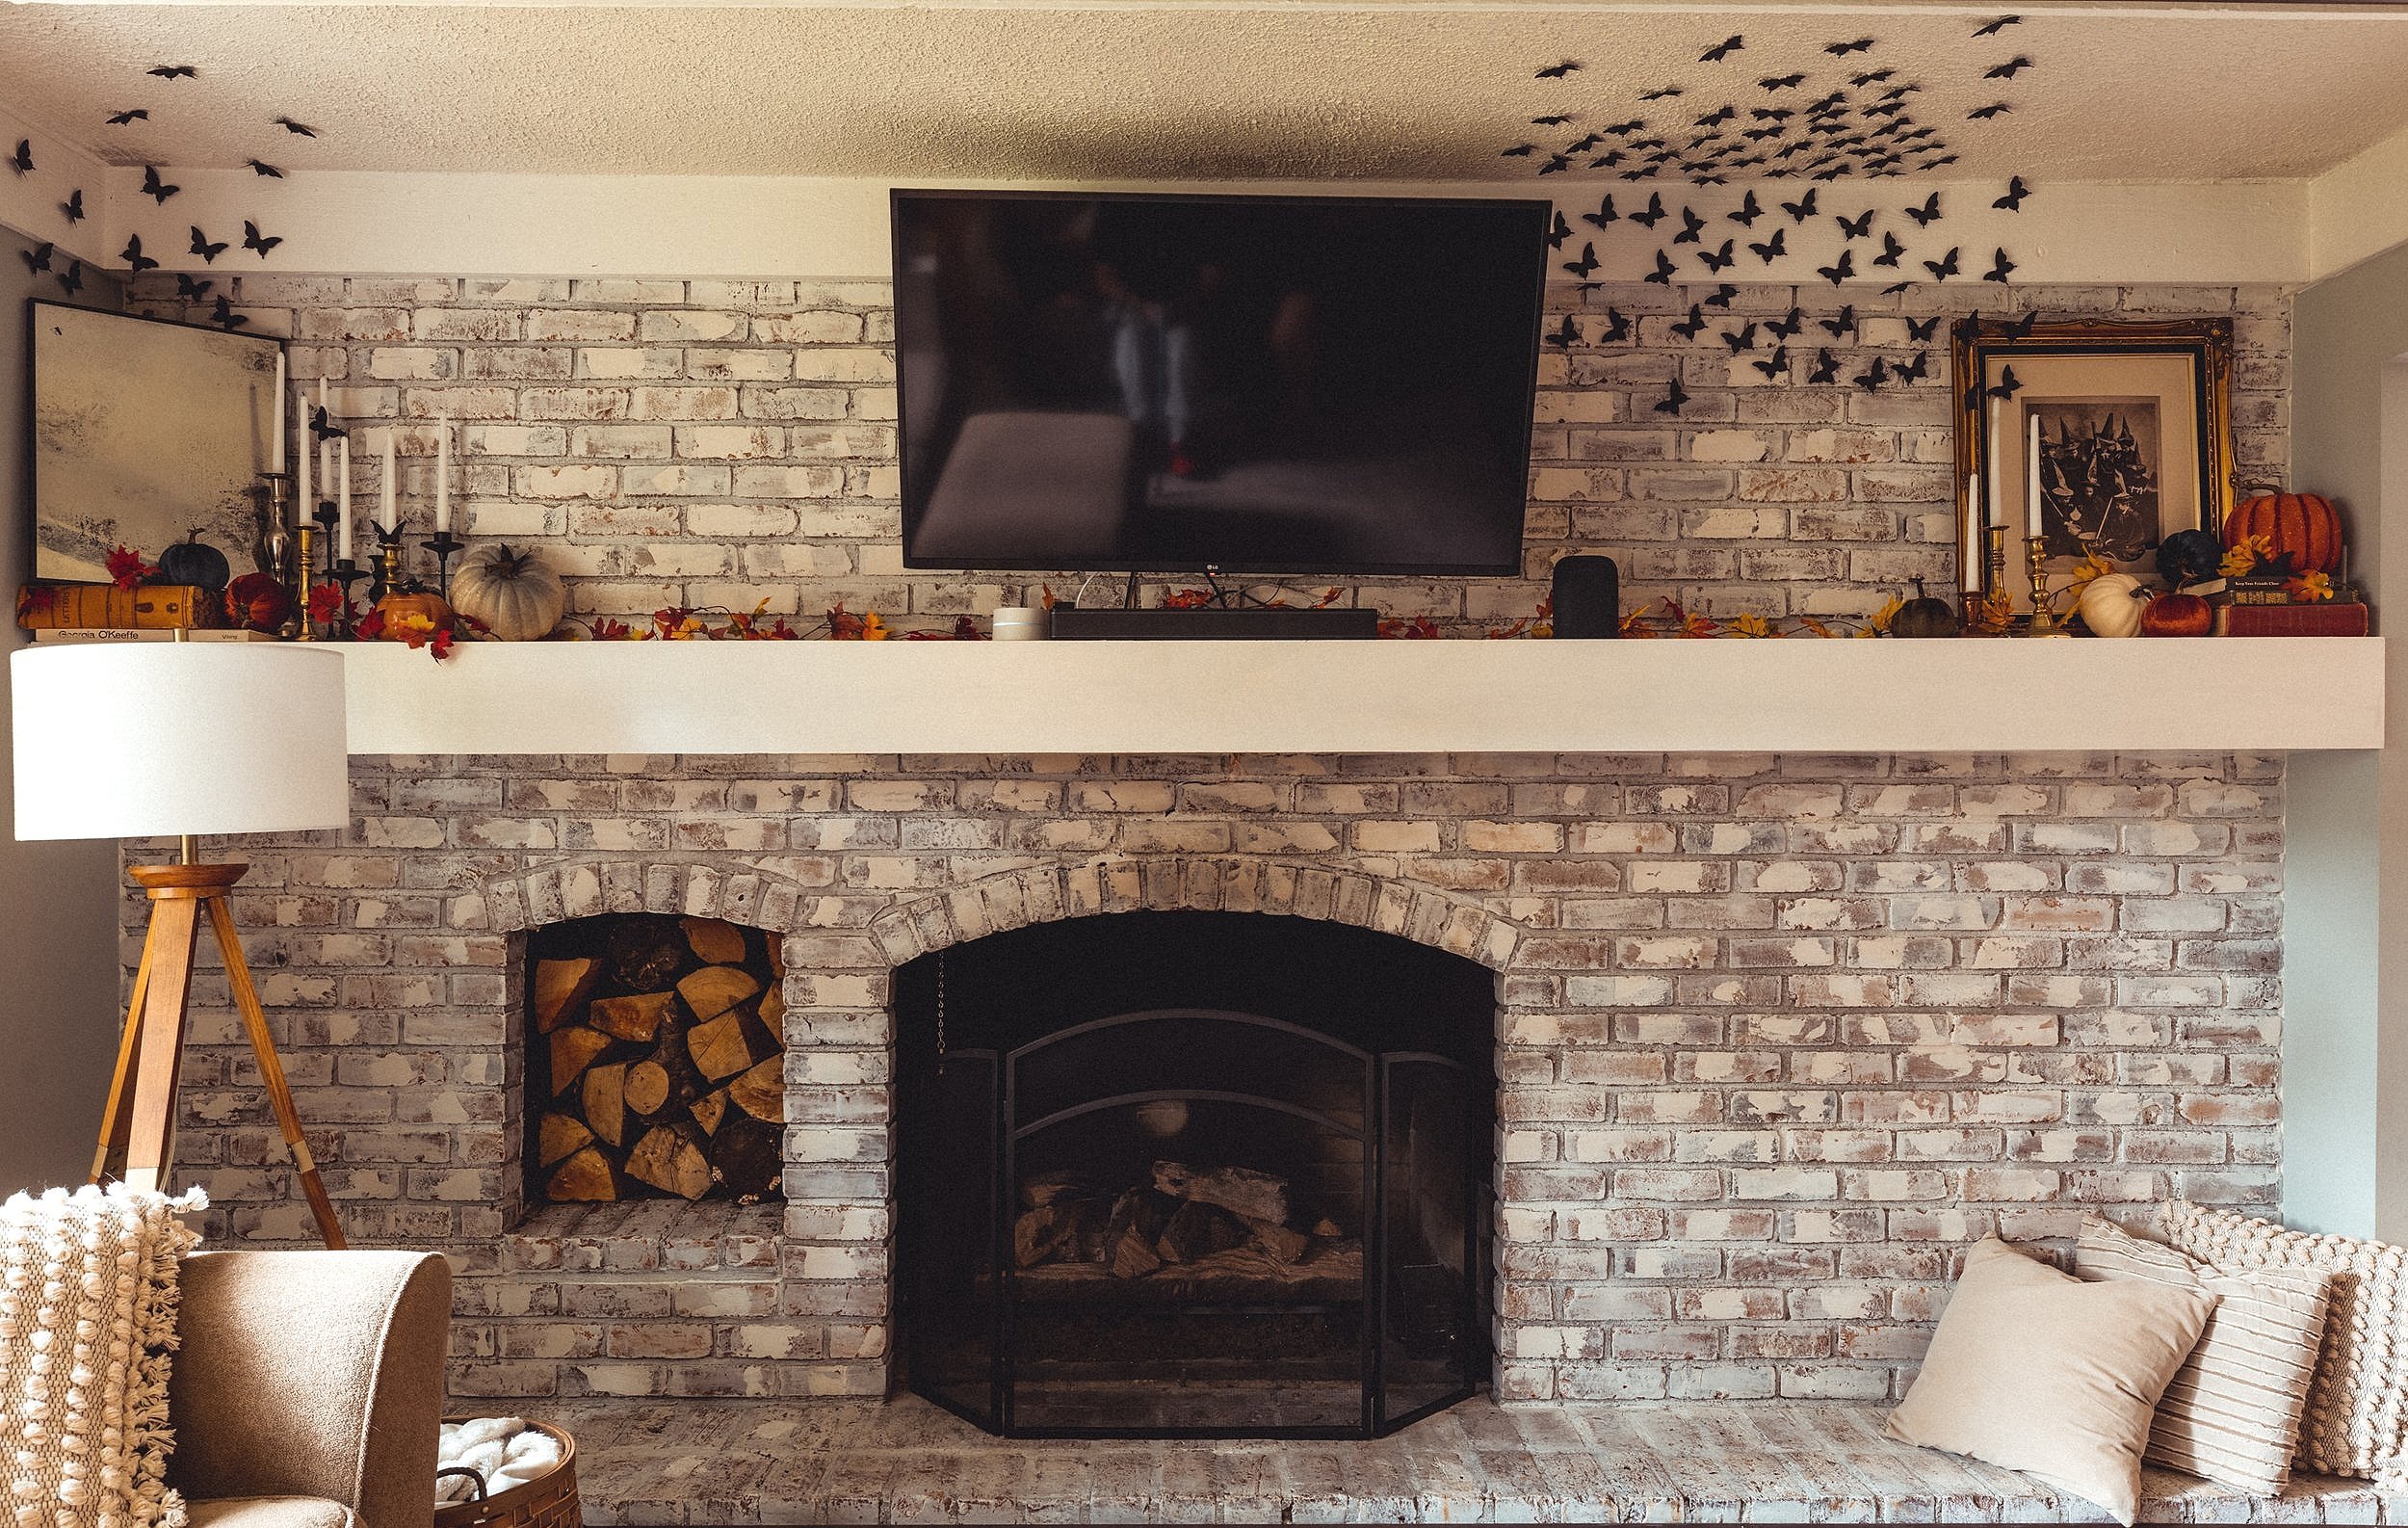
The Backdrop
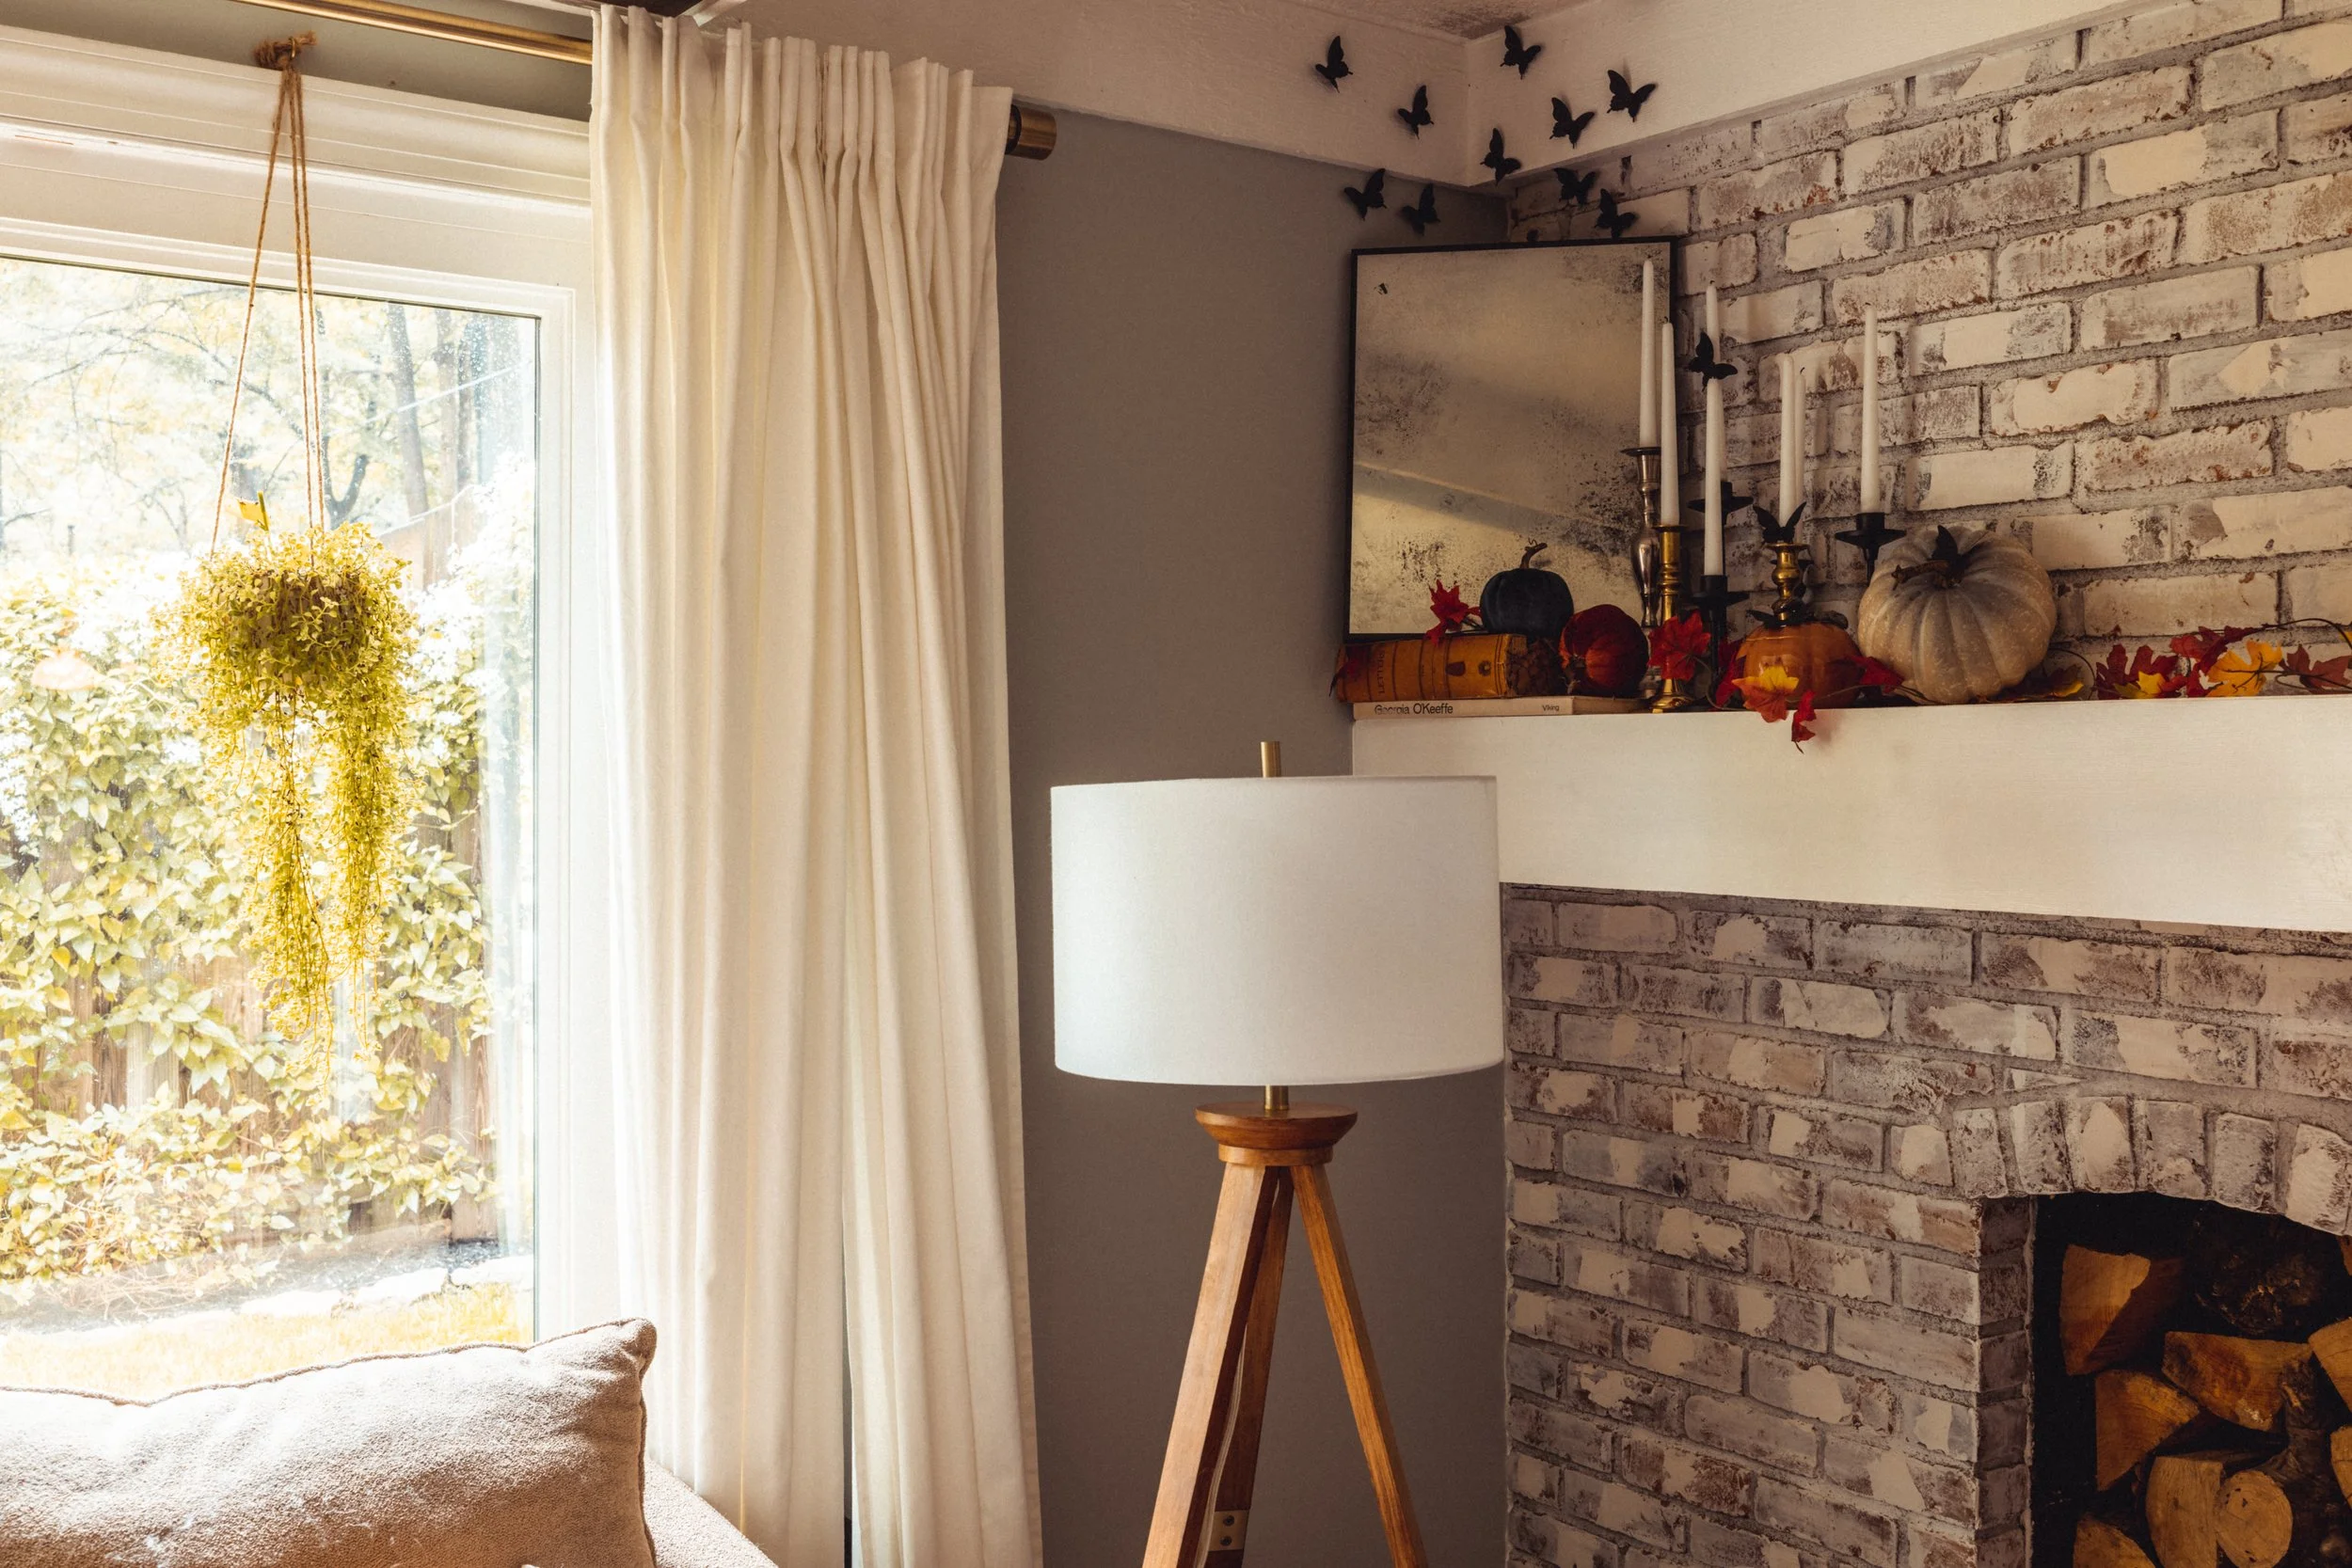
To add height to my overall design, I like to layer taller objects in the back and work my way forward.
In this case, my DIY antiqued mirror felt very fitting in scale and overall look and feel. To add a little bit more height I stacked it on a couple of books.
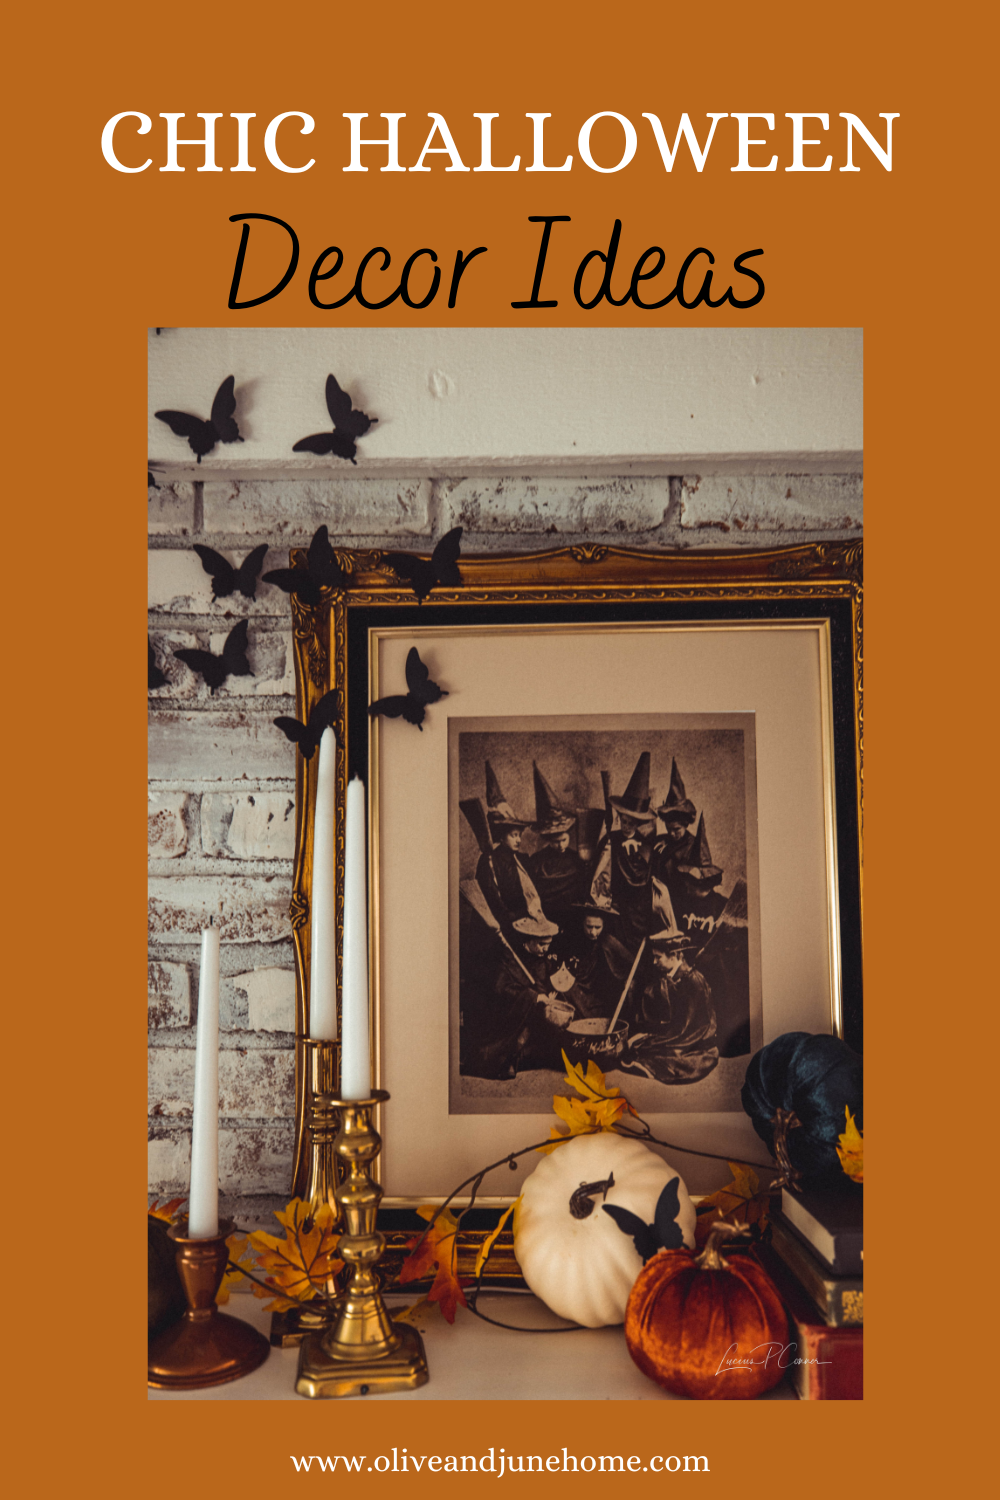
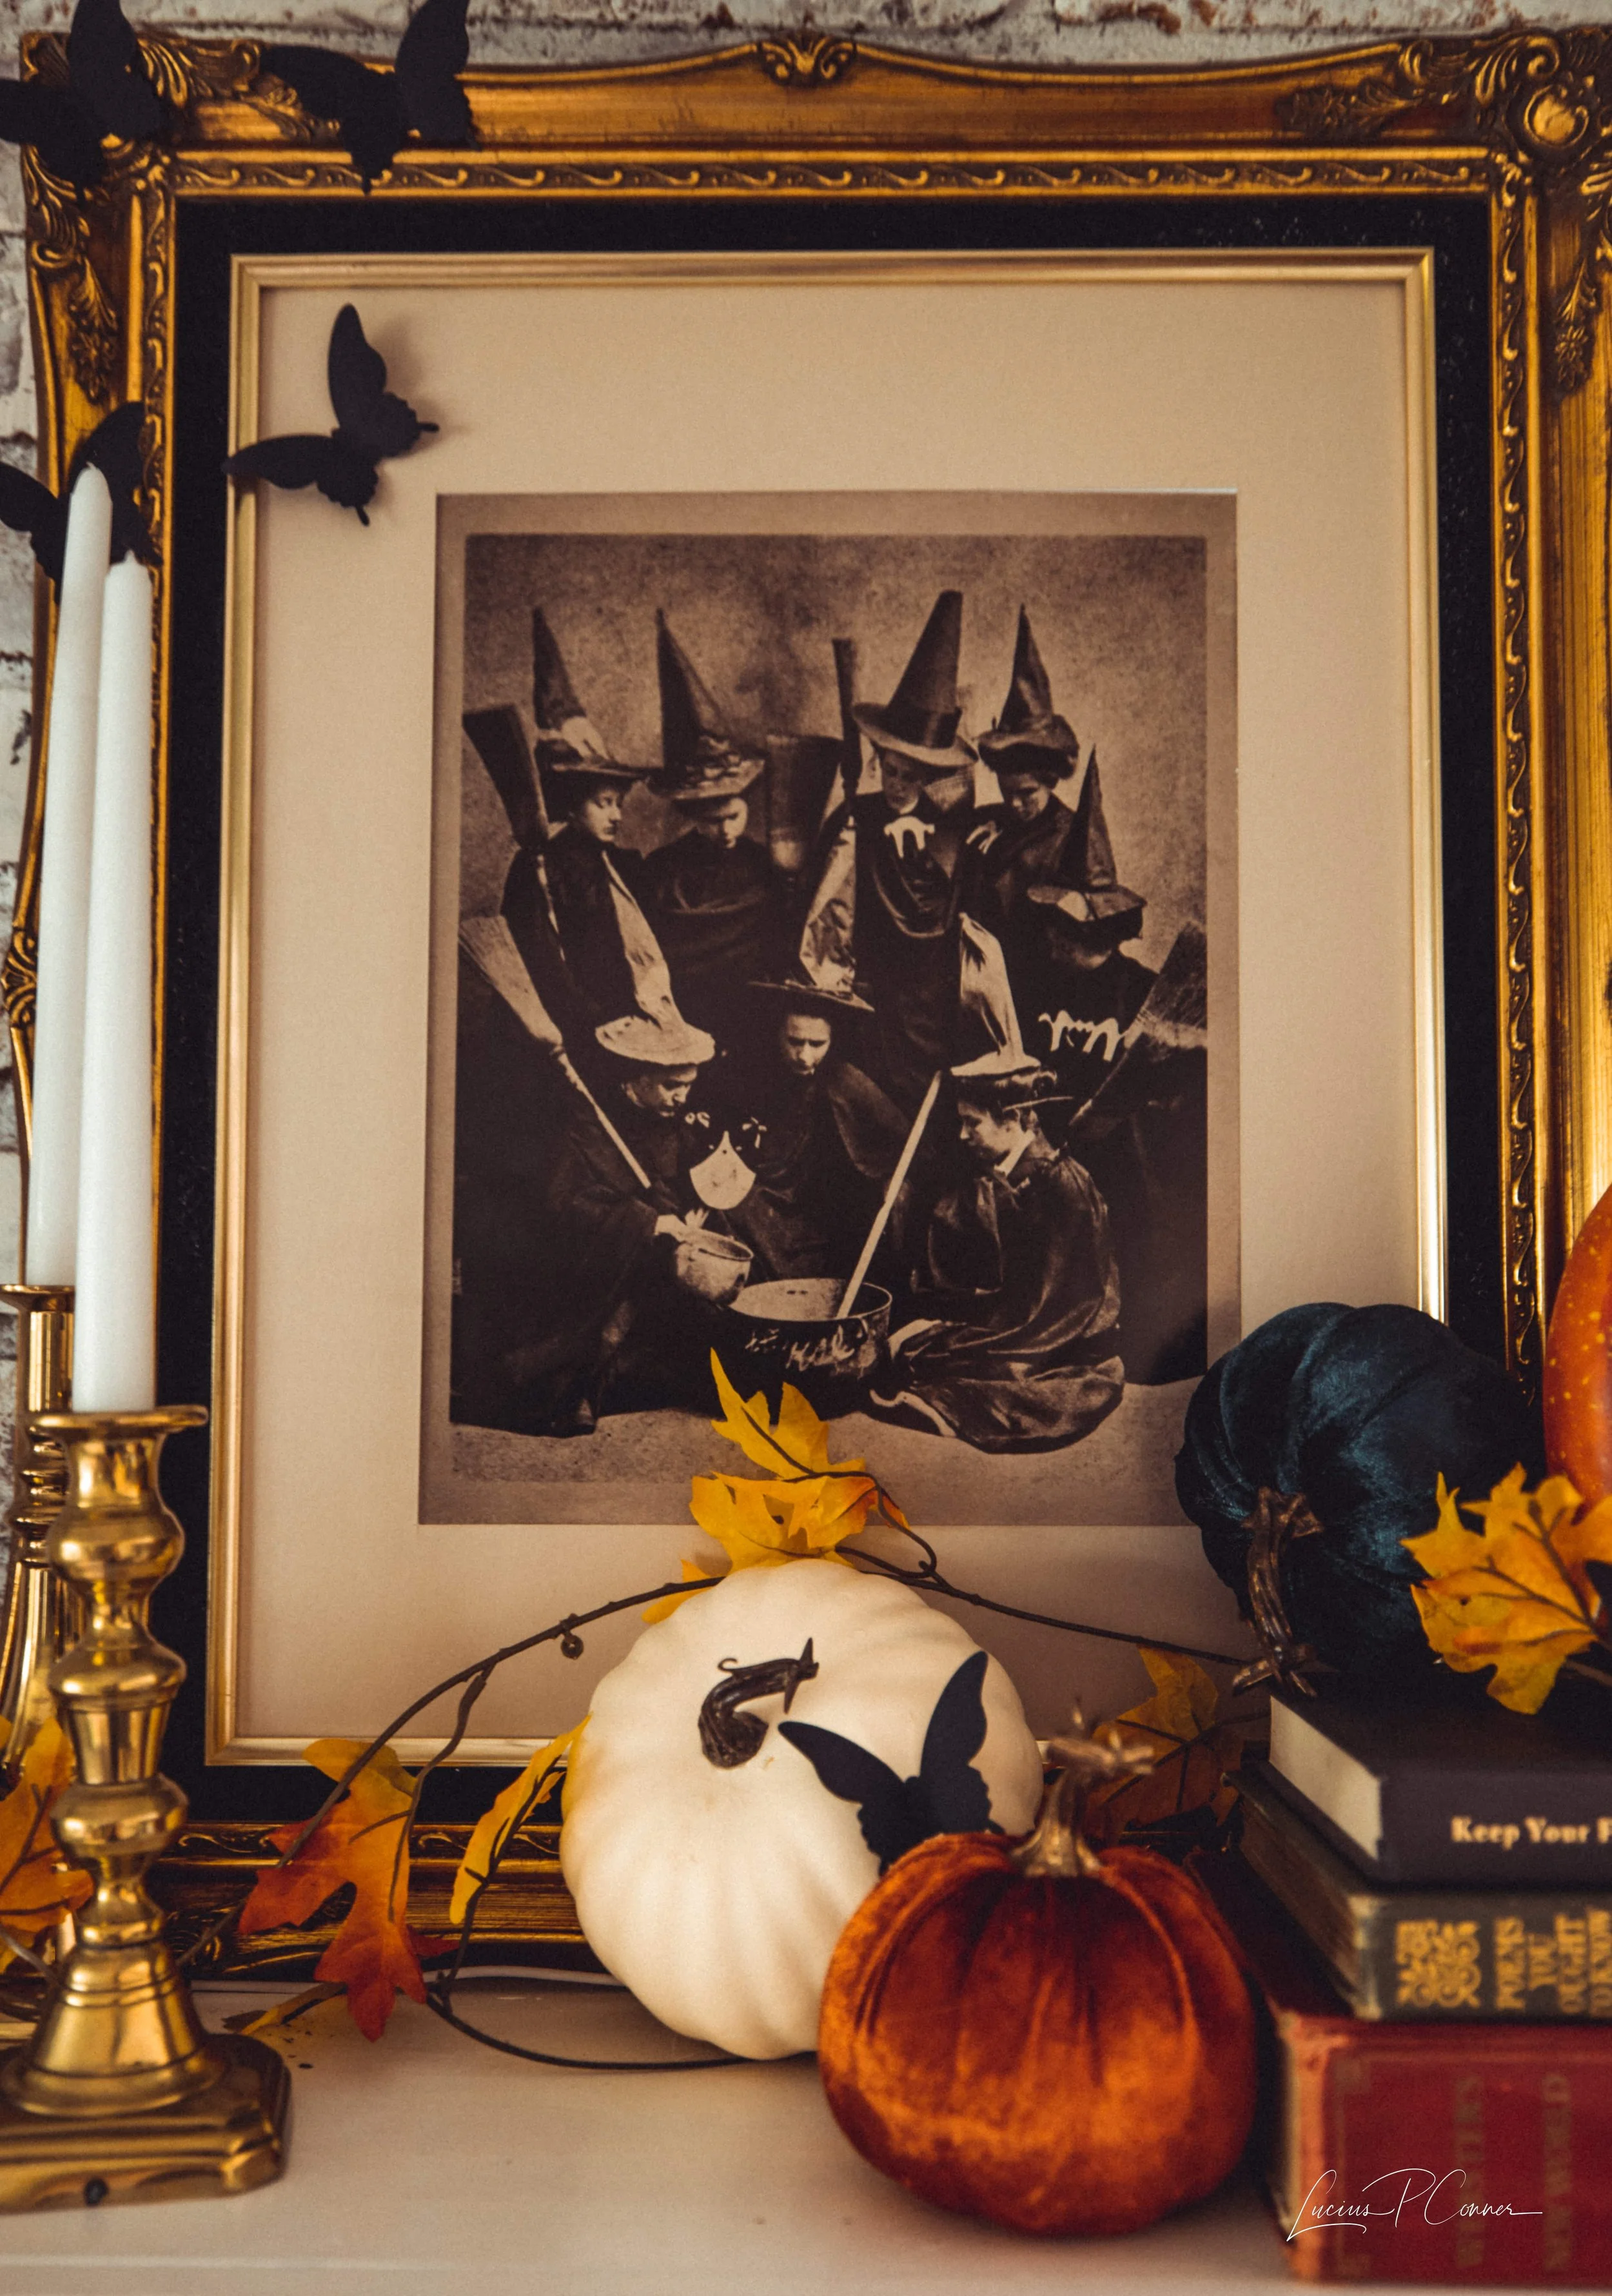
On the other side of the mantel, I scoured Etsy for the perfect vintage-y Halloween picture - this picture and this picture were strongly considered as well! Then I matted it and stuck it in this thrifted frame I’ve been holding on to.
The Foreground
I realized my thrifting habit led to a bit of an accumulation of candlestick holders over the last year - so I figured I’d gather them all up and use them for Halloween decor!
I have a fun mix of brass, copper, black, and silver in various sizes. I played with different combinations of candlestick holders on either side of the mantel until I was happy with how they looked in their groupings.

If you don’t have a thrifting problem surplus of candlestick holders on hand, there are a ton of options online.
I love this set of candlestick holders for their aged coloring and the variety of silhouettes. Or if you’re looking for something in black - these have a great shape too. And don’t forget to get some candlesticks! I used white, but black would look especially spooky.
As in previous years, I still used pumpkins in my overall design but chose fewer pastels and a more toned-down palette. I grabbed some velvet pumpkins from the Dollar Tree. But if you can’t find them at your local store, here’s a similar option I found on Amazon.
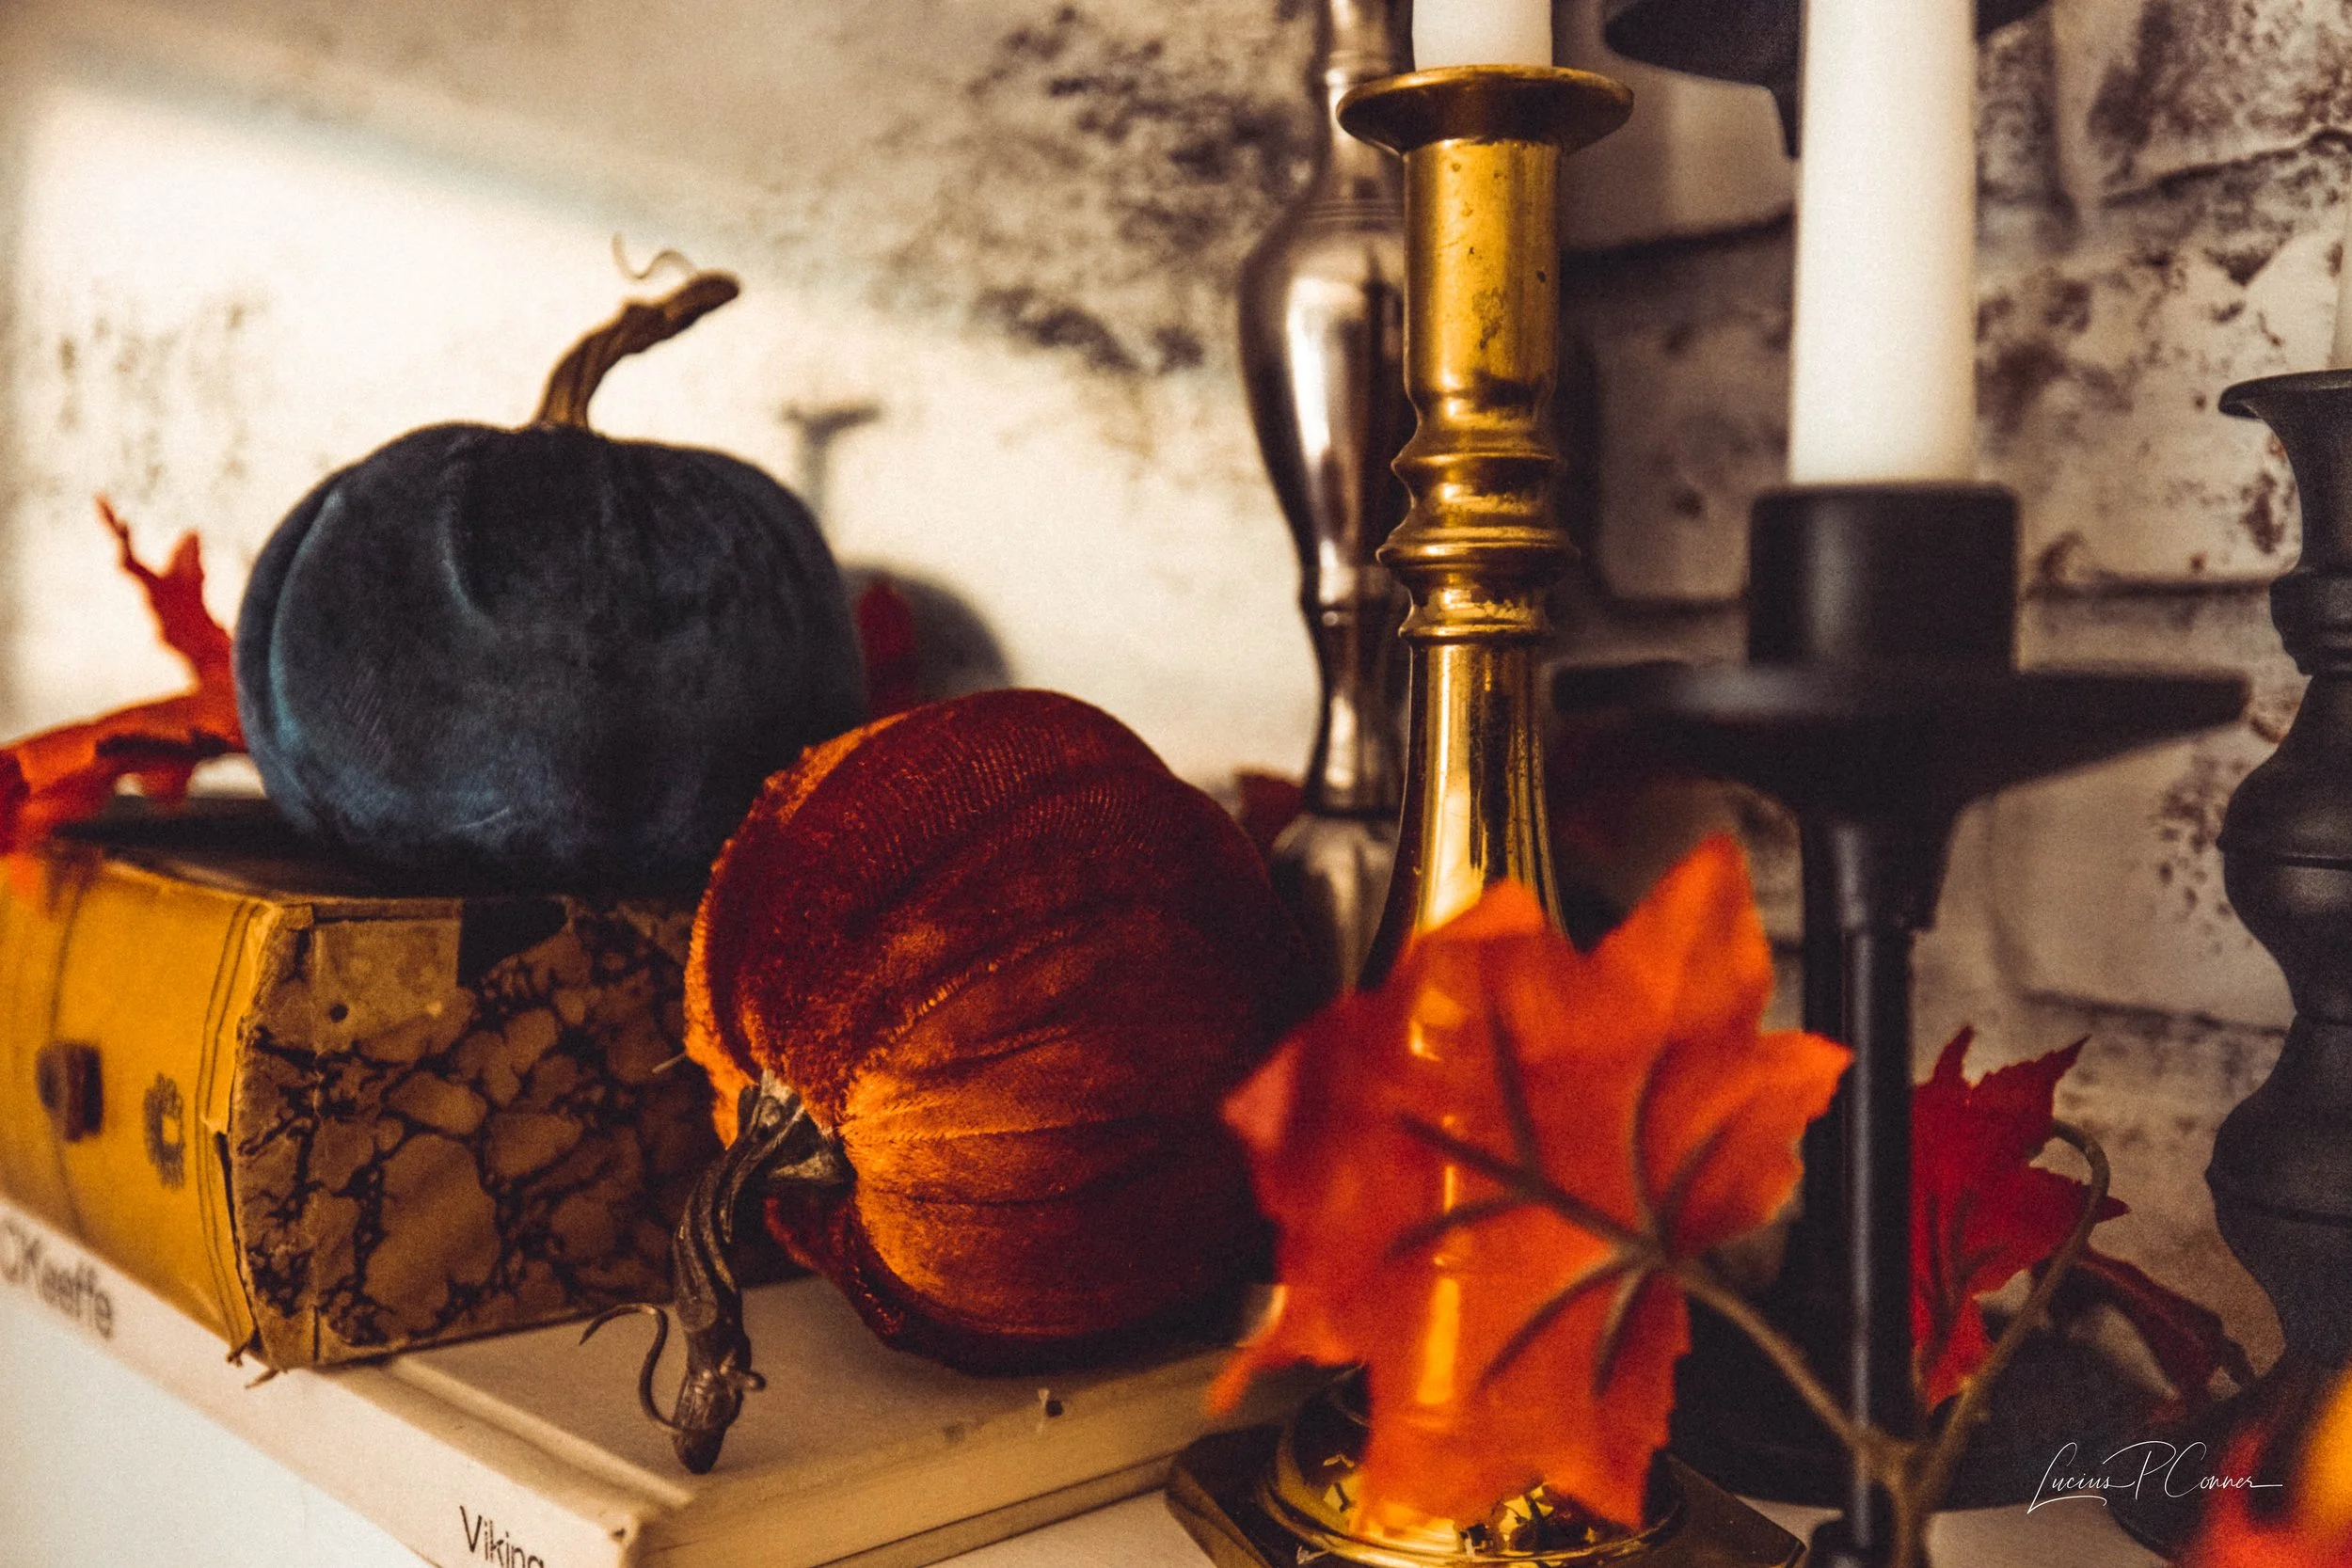
I added a few strings of leaves from, you guessed it, the Dollar Tree to fill in the gaps and add a little bit of color. Then I finished the overall design by retiring my handmade bats altogether and giving these butterflies a whirl.
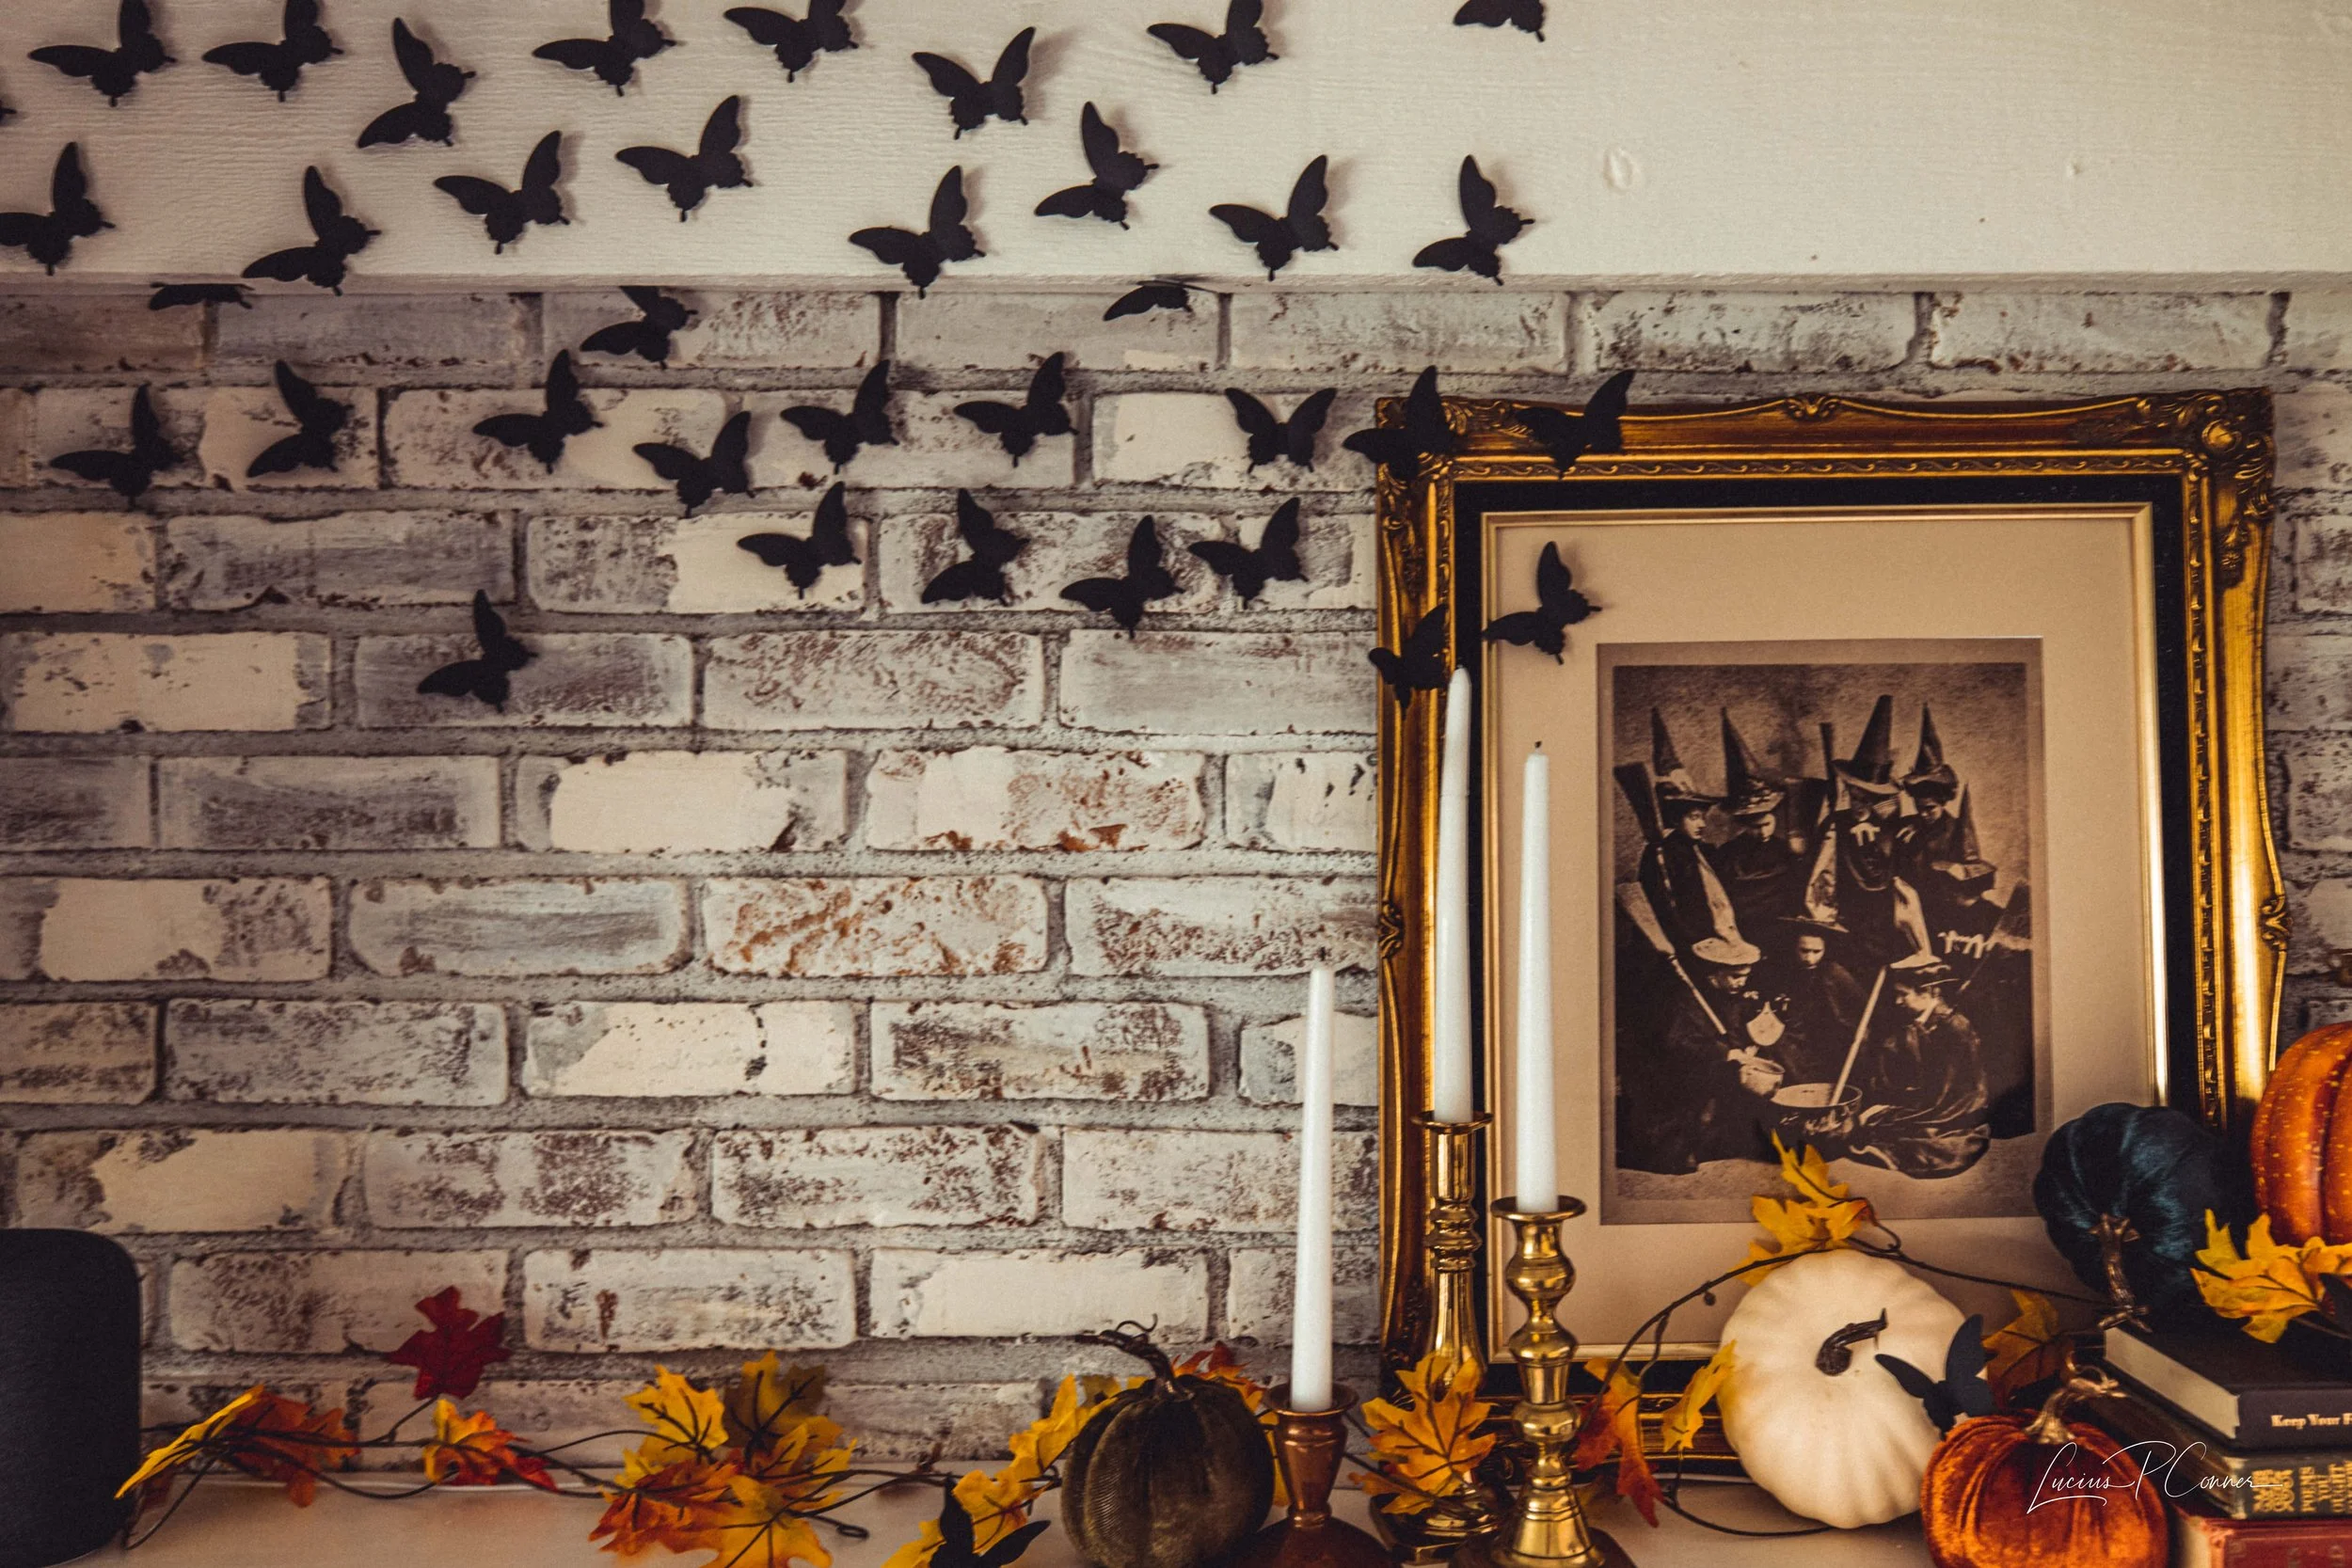
I like the switcheroo with the butterflies - especially because they stick to the ceiling, which my bats never did with regular old tape. But if I were to use them again, I’d make sure to get a pack with multiple sizes, and I’d space them out differently.
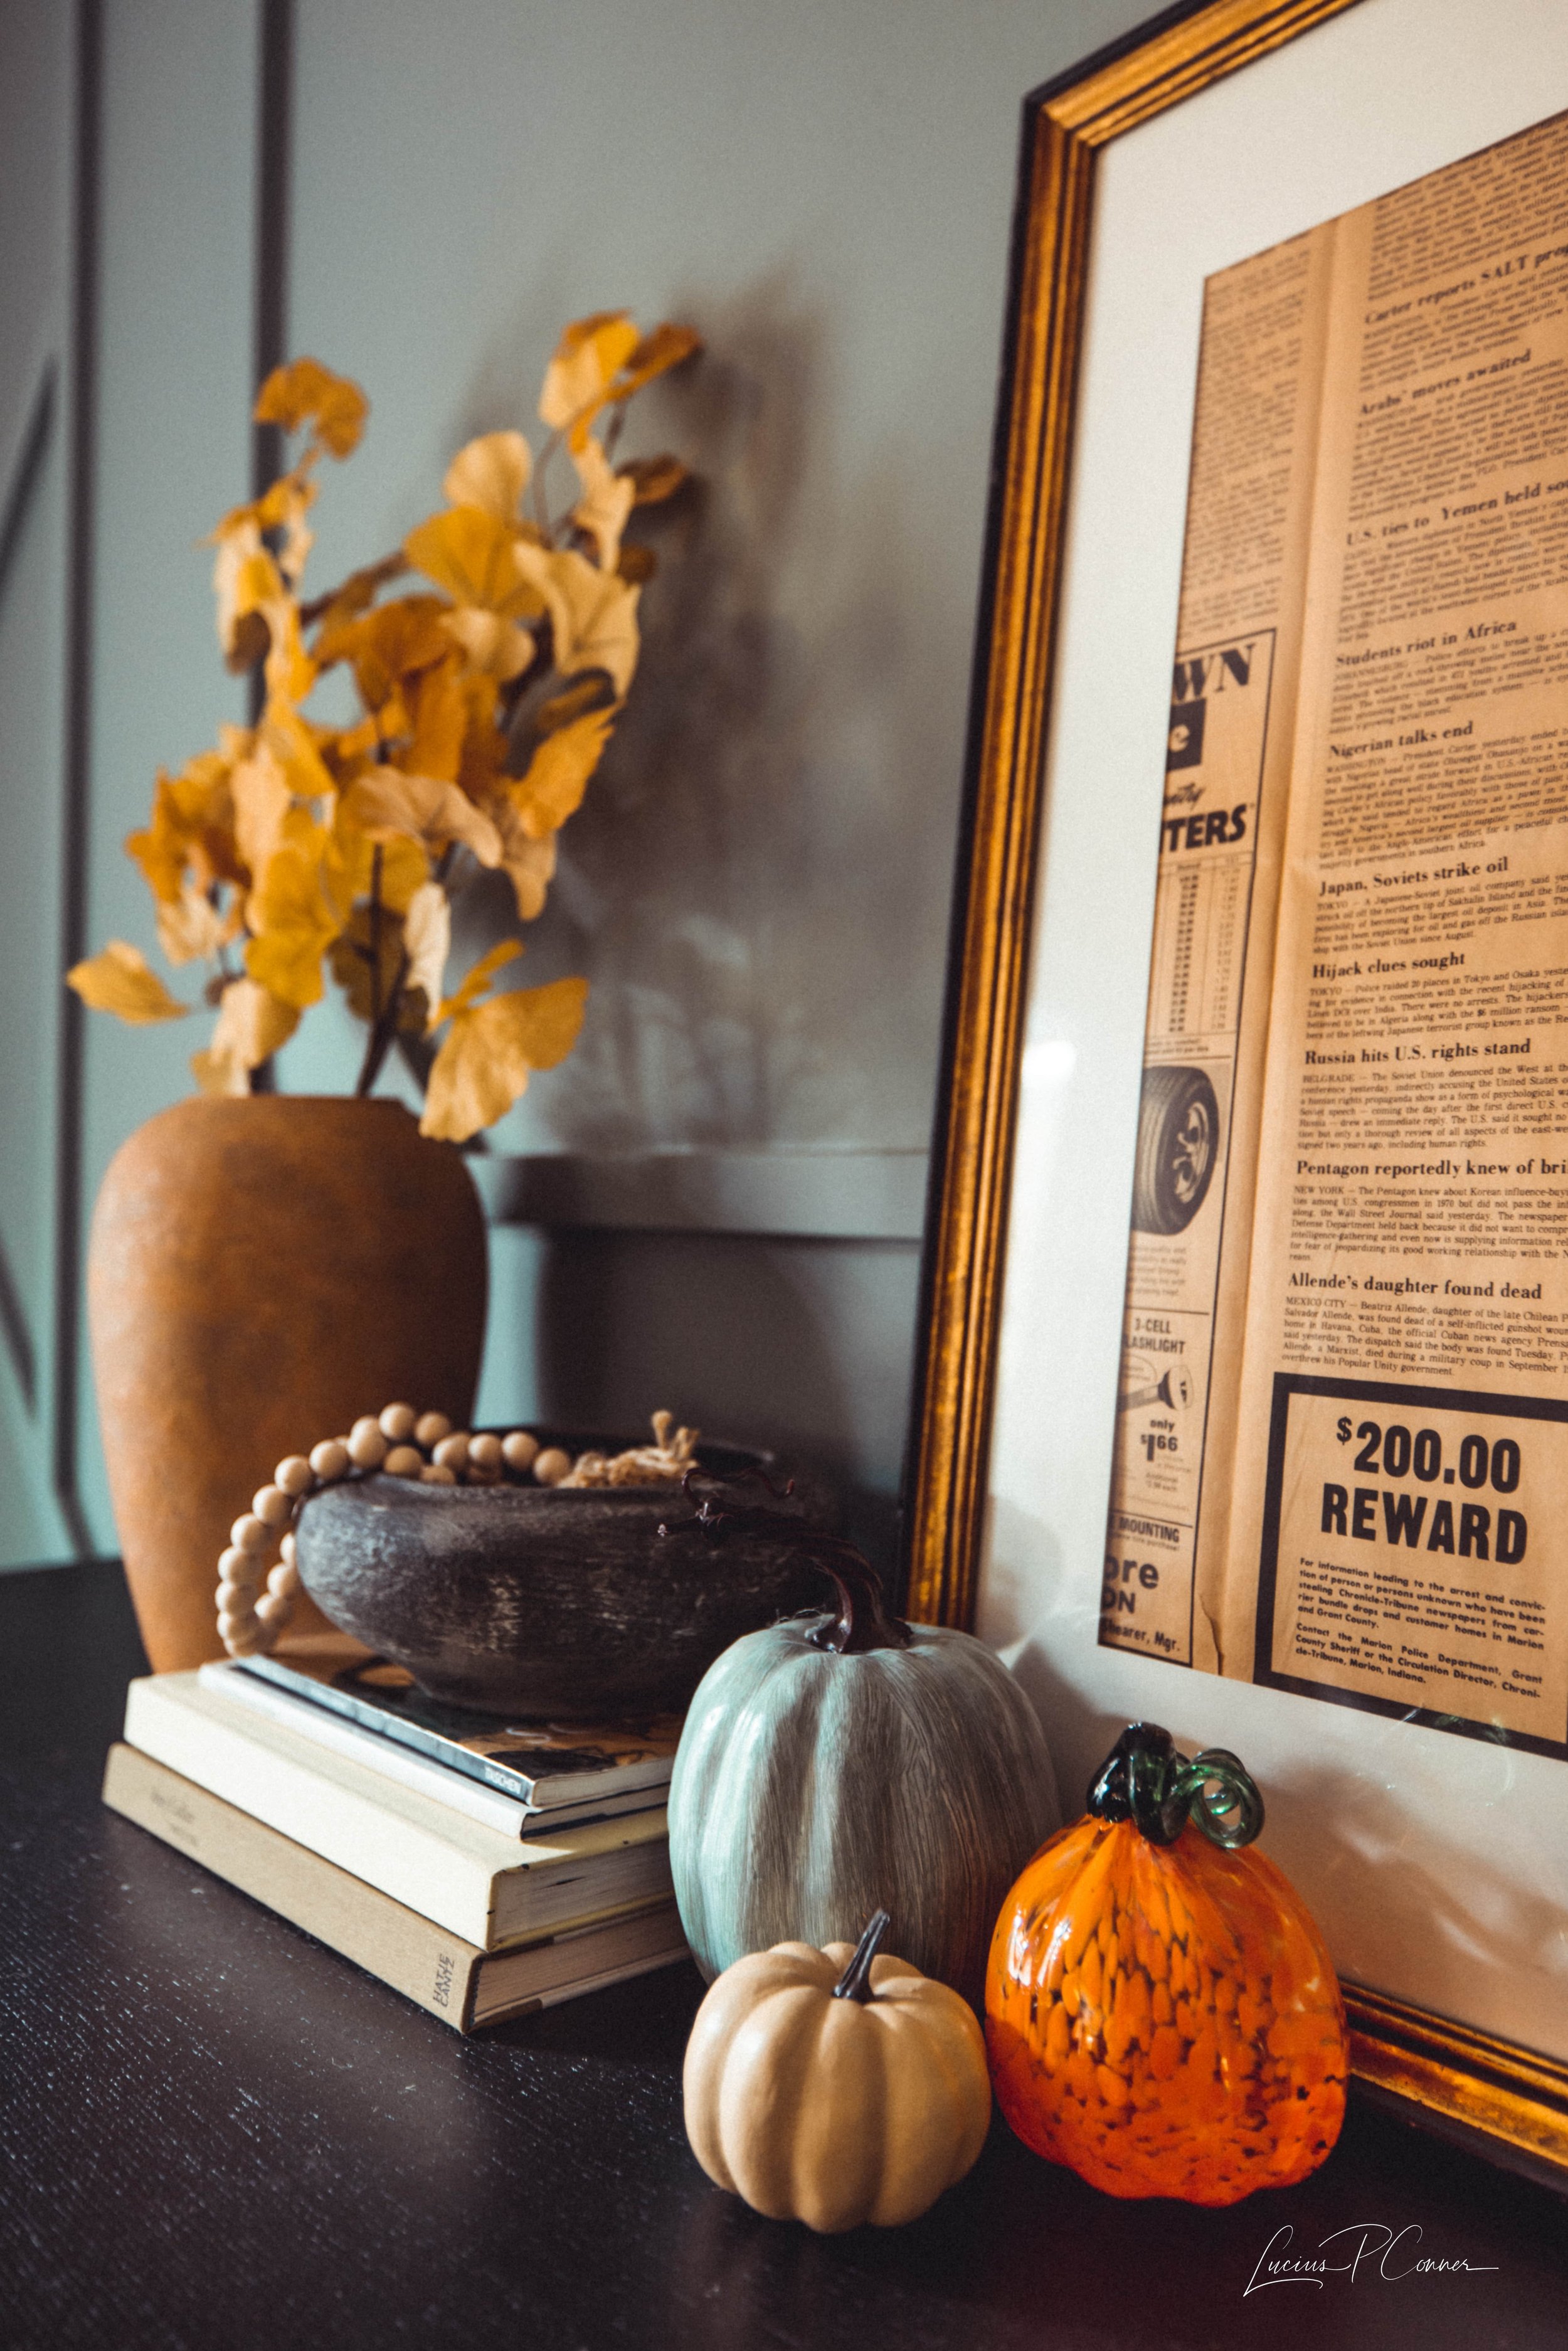
I also switched up the decor on the buffet table in our dining room with my faux yellow ginkgo branches and pumpkins. Mine are from Target, but it looks like they’re no longer sold - however, these ginkgo branches look really nice and come with six stems!
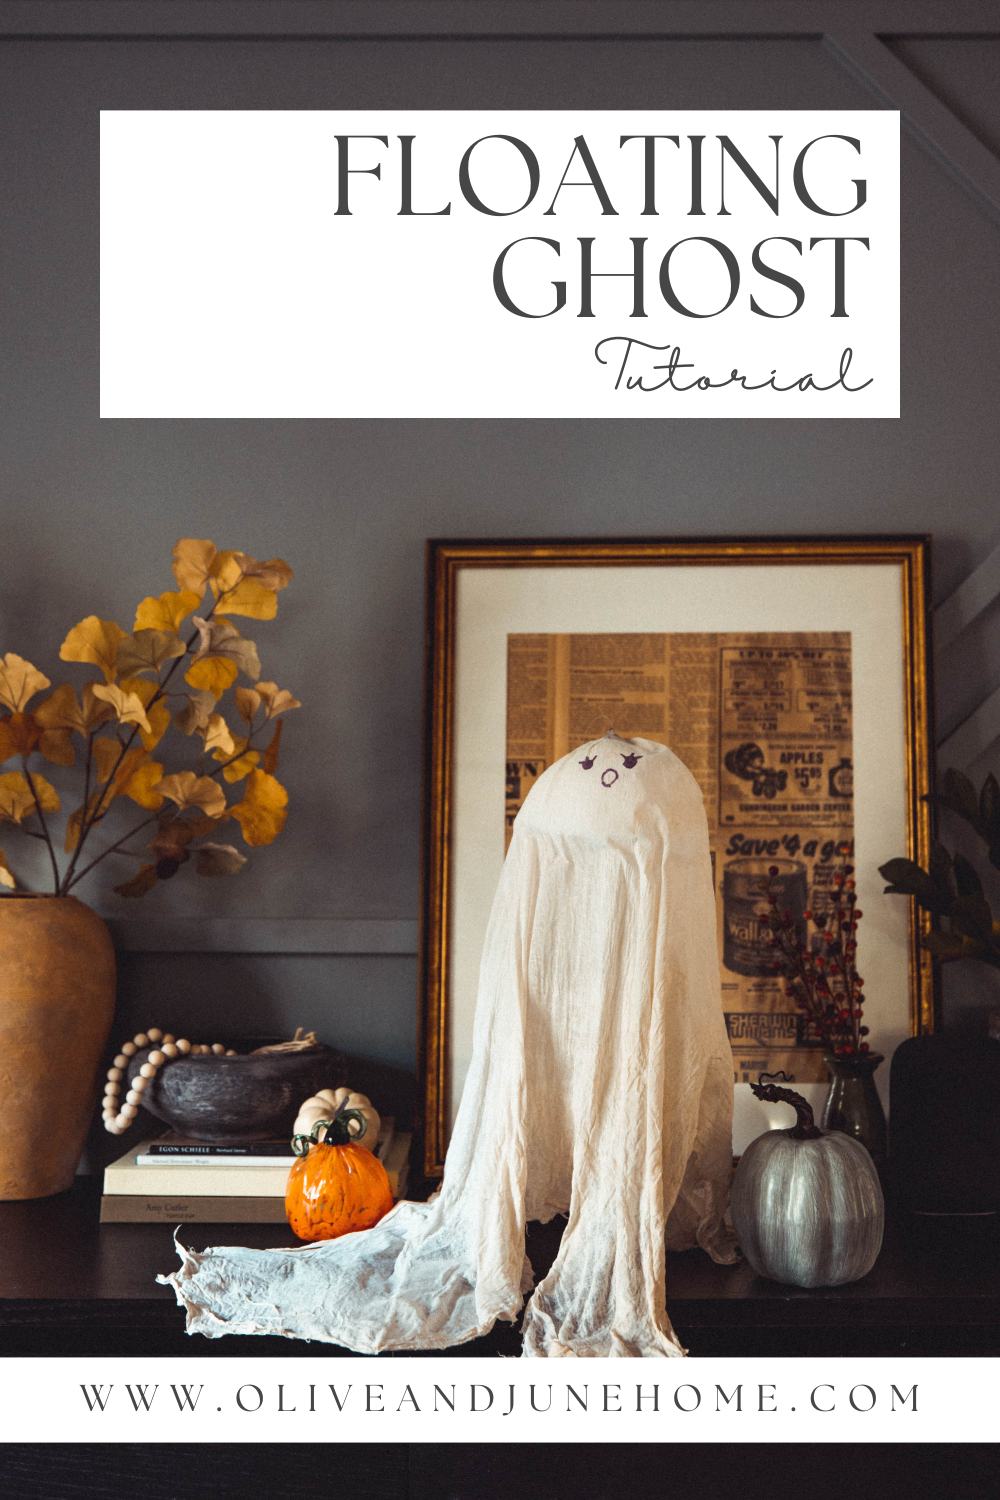
And since I am who I am, I had to find a way to make some sort of Halloween craft - so I gathered the kids, and we made DIY floating ghosts!
DIY Floating Ghost Tutorial
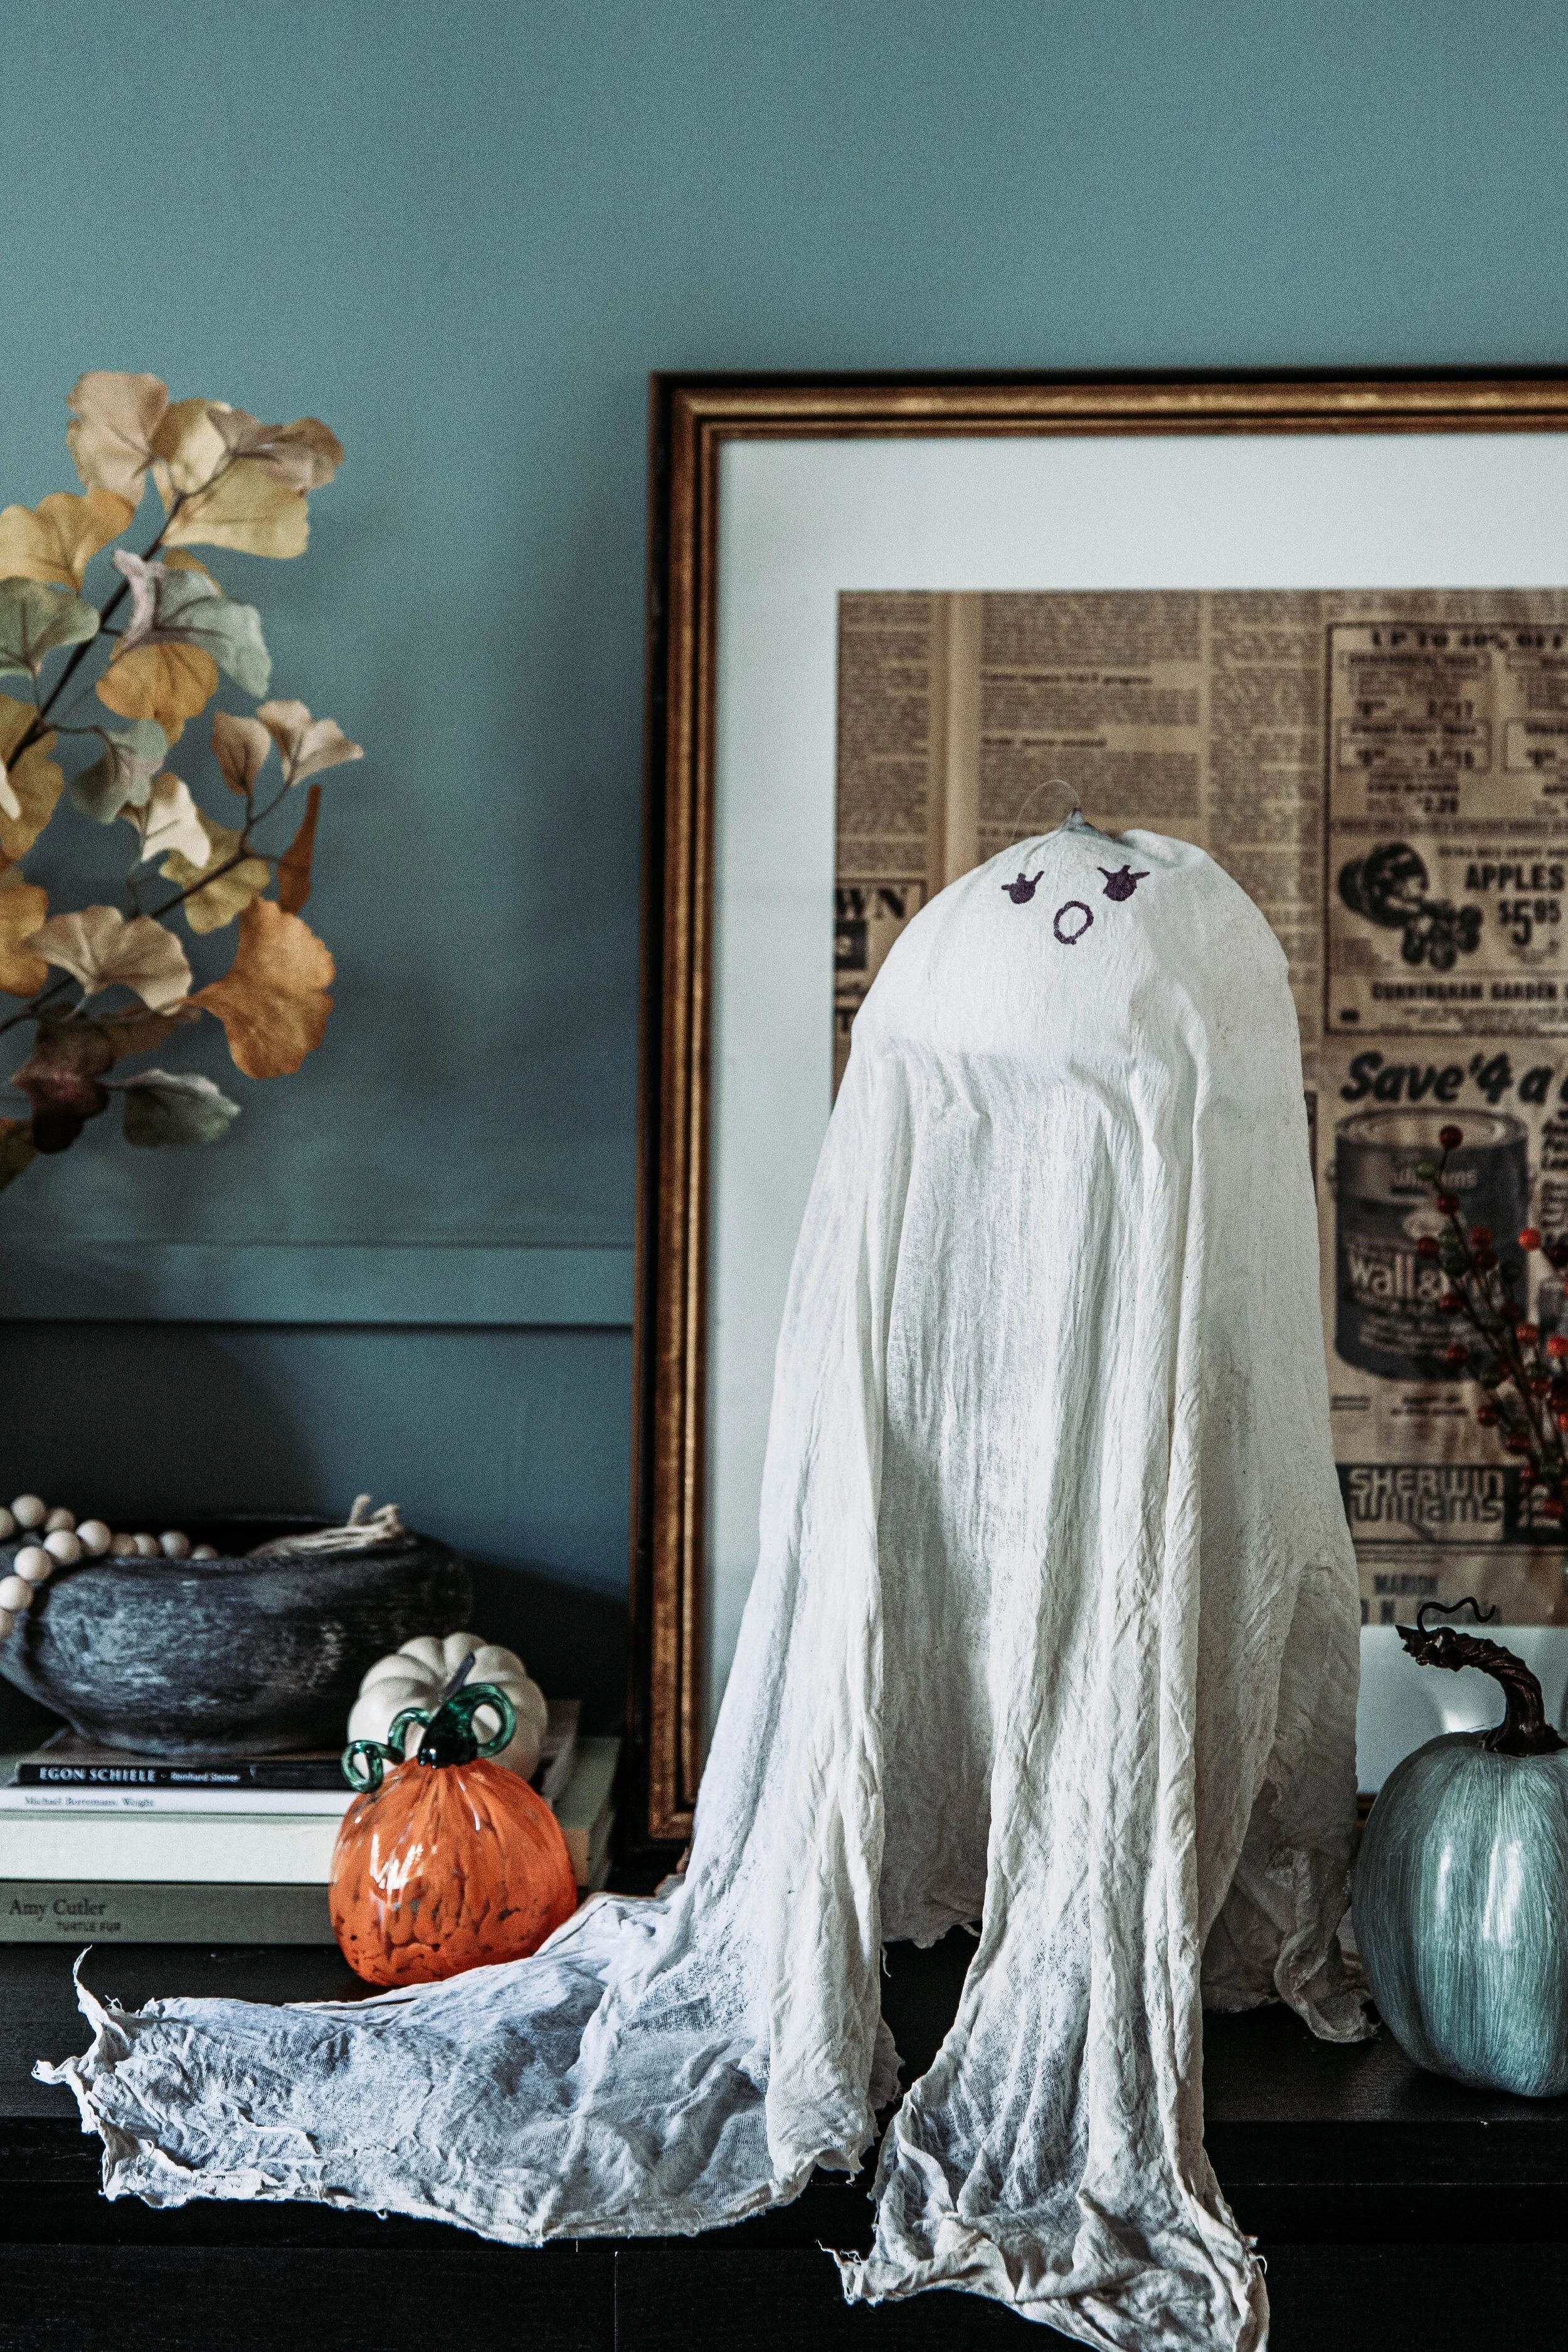
How cute is that!?
This craft took a little bit of troubleshooting, but luckily I did that work for you, so now you don’t have to. Here’s the best method I found to make DIY Floating Ghosts:
Materials
- Cheesecloth
- Flour
- Water
- Large Bowl
- Duct Tape
- Solo Cups
- Dowel Rods (I bought two 3-foot dowel rods and cut them in half to get the sizes I needed)
- Styrofoam Circles
- Scissors
Start by making a hole in the bottom of a Solo Cup and sticking the dowel rod through it. Then, brace the dowel rod in the cup with duct tape. The end of the dowel rod should be even with the opening of the cup.
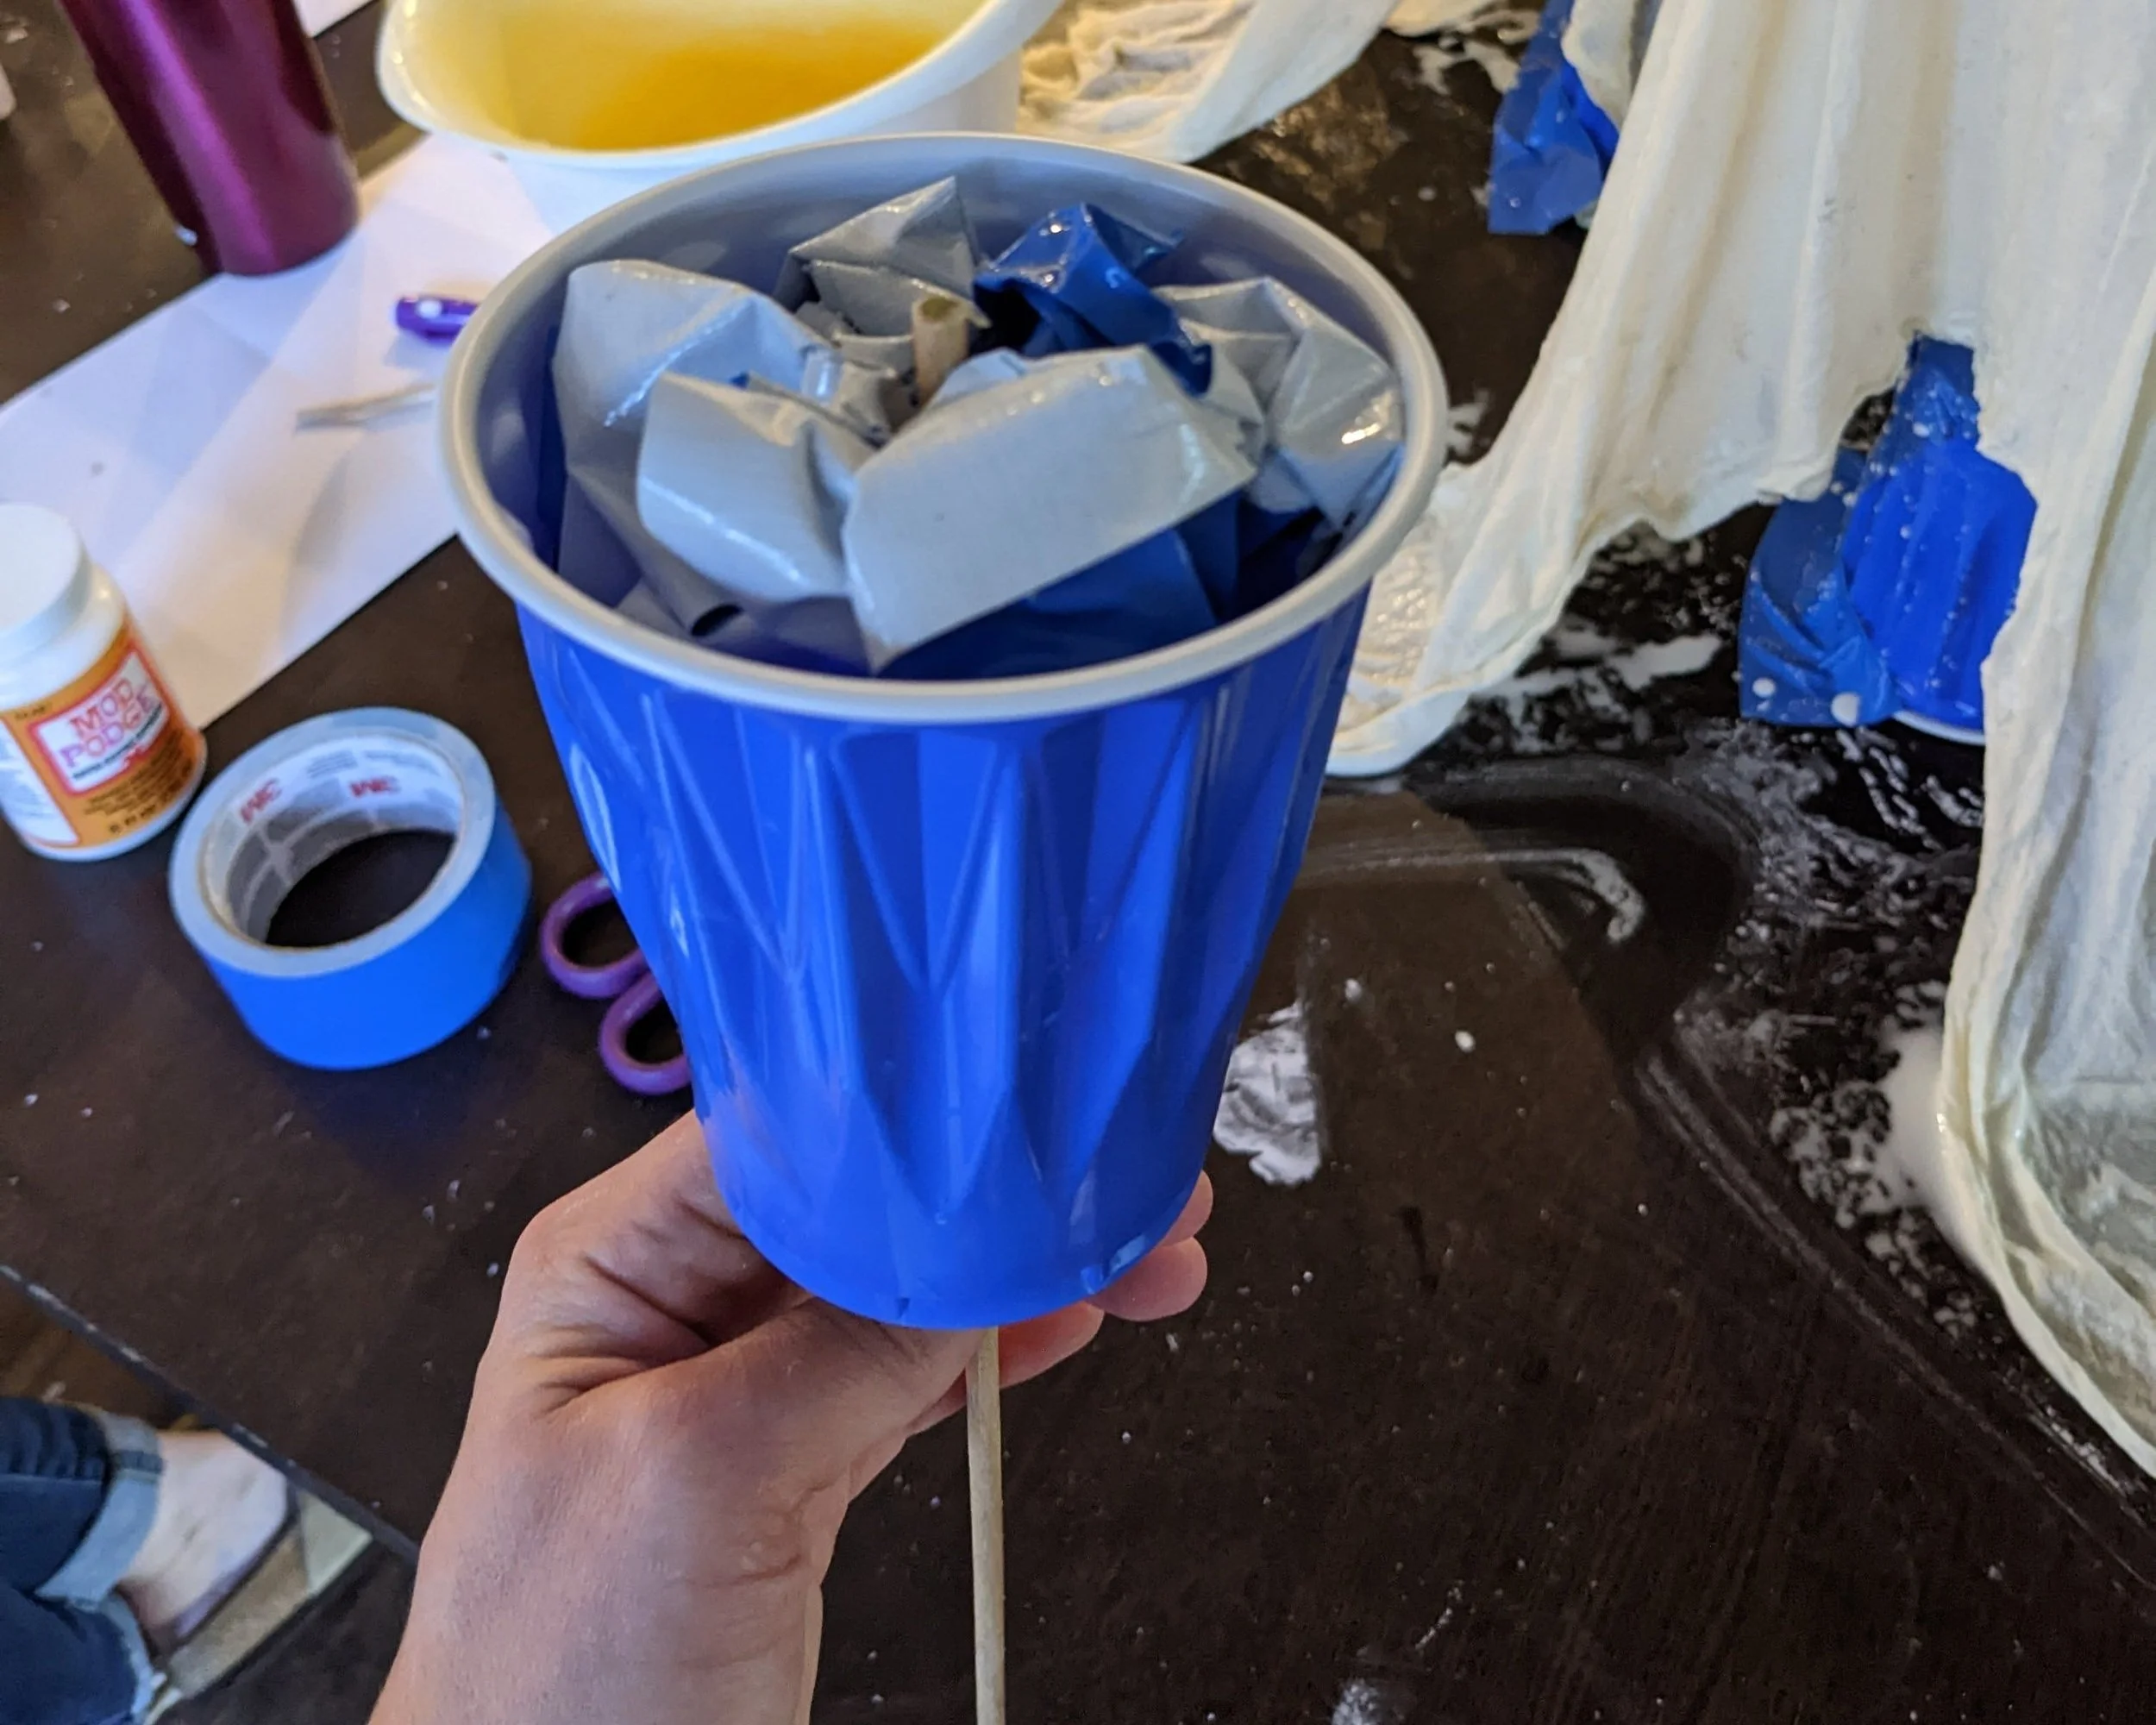
Tape the cup face down. Add some extra tape around the dowel rod to make sure it’s nice and sturdy.
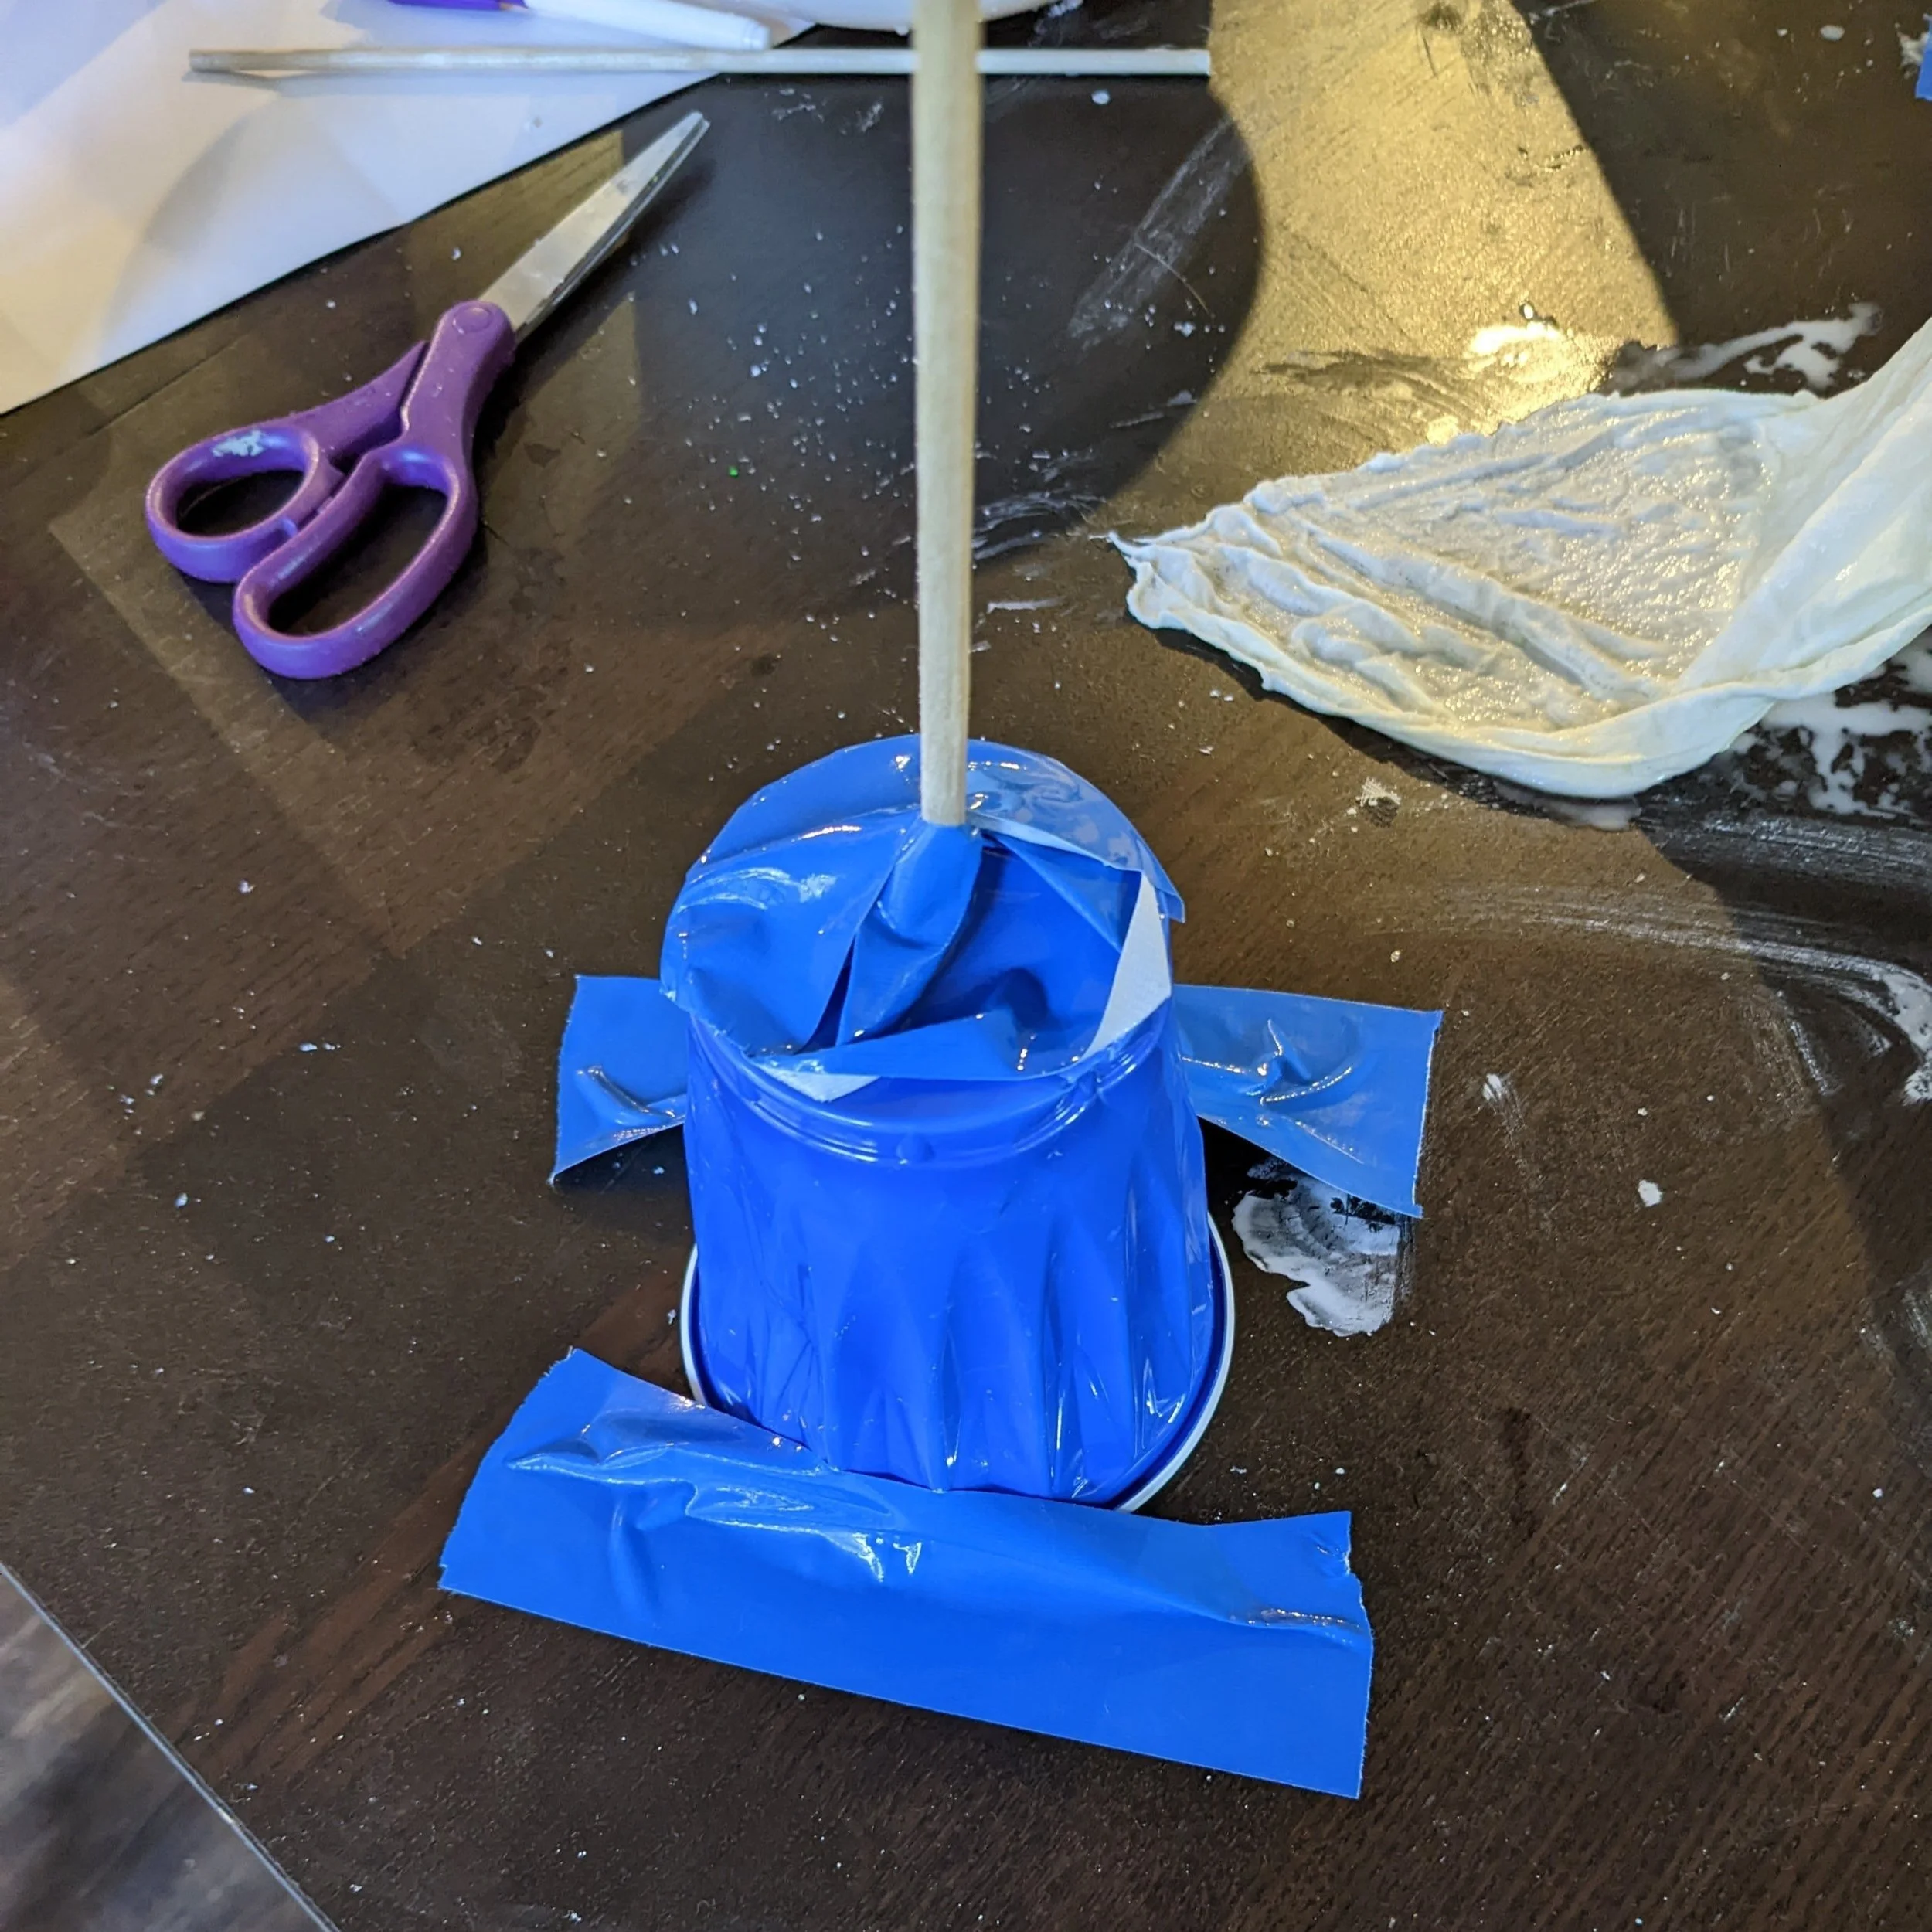
Then, push the styrofoam down on the dowel rod and drape the cheesecloth on top to figure out how much you need, and cut to your desired length.
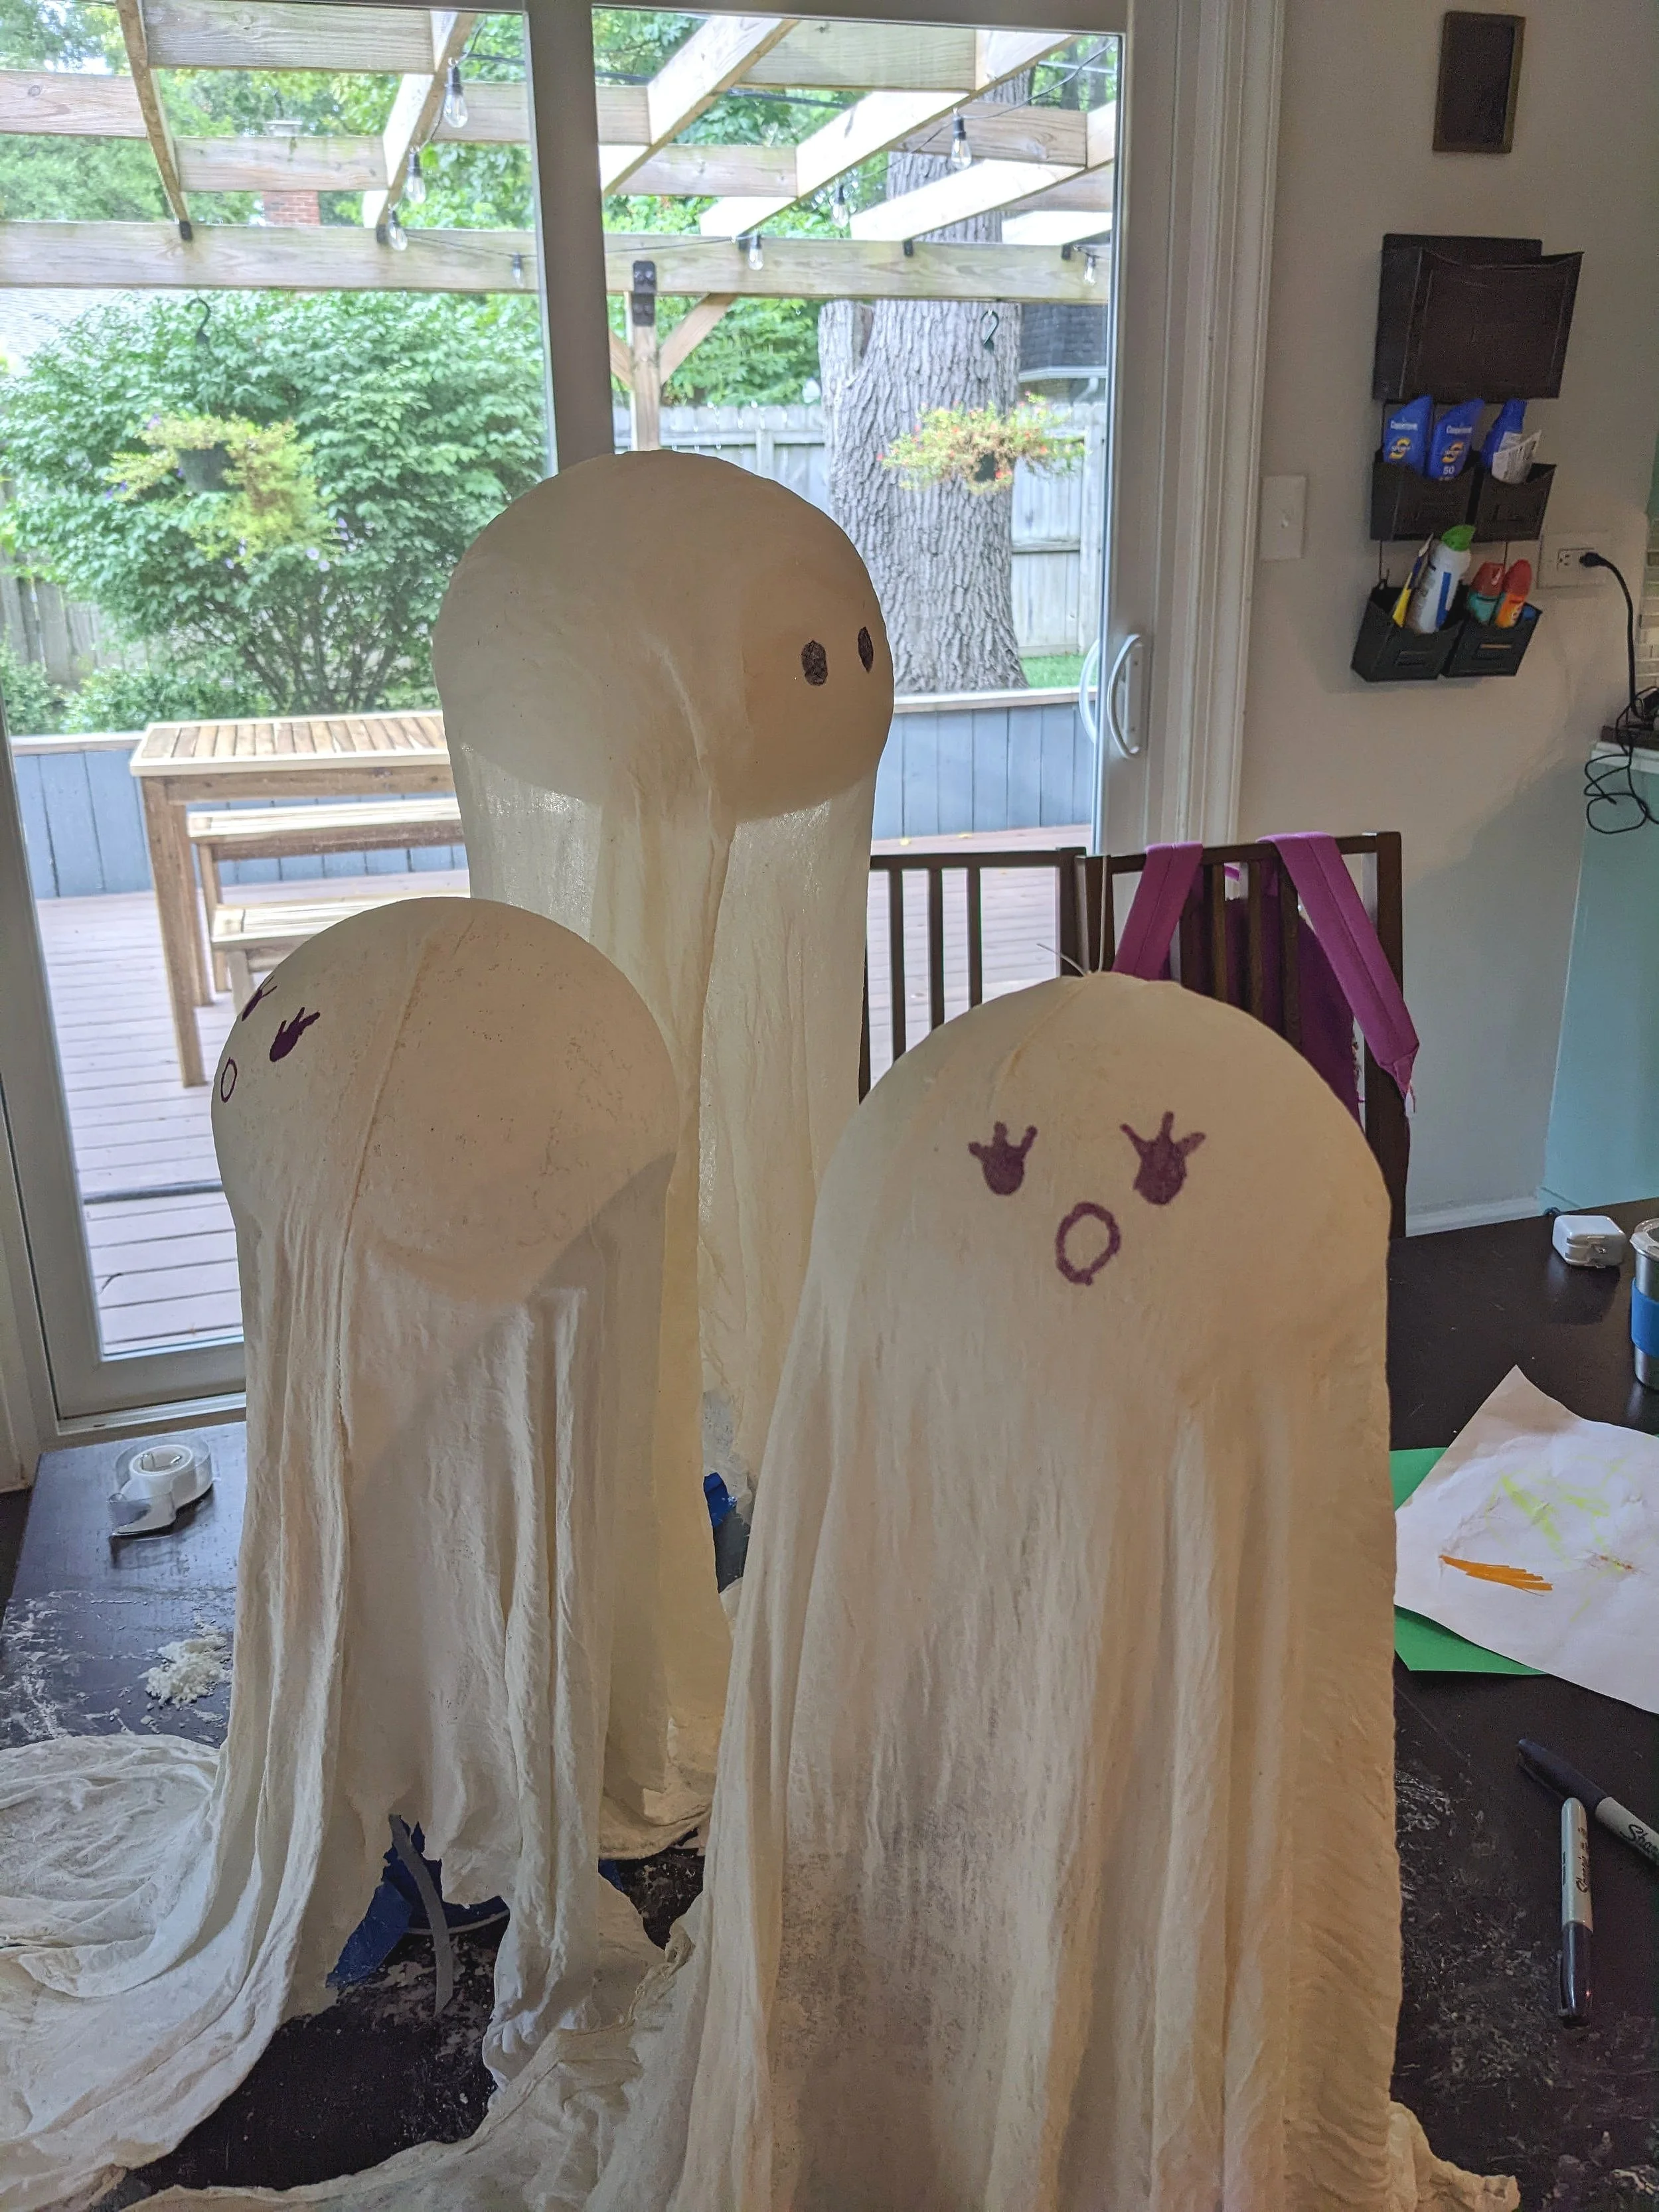
My daughters and I made three ghosts - one with starch and water, one with Mod Podge, and one with flour and water. Surprisingly, flour and water held the ghost shape the best! This is where the project gets pretty messy, which means it was the kids’ favorite part.
Once you’ve determined how much cheesecloth you need, create a mixture of flour and water in your bowl. The water and flour mixture isn’t an exact science - be generous with the flour and make enough to soak your cheesecloth because… next, you’ll dip your cheesecloth in the mixture and squish it around until it’s nice and soaked.
Now drape the cheesecloth over the styrofoam ball and let it dry overnight.

Once your ghosts are dry, you can use a Sharpie to draw faces on them. And if you’re a creative 6-year-old, you can also add eyelashes.
To hang mine, I used a needle and threaded fishing line through the top of the ghost. Then I used a Command Hook to hang it from the ceiling.
Final Thoughts
While this craft was quite messy, the kids loved it, and the clean-up was actually pretty easy. Plus, the end result is the perfect amount of eerie. Save the Pins below to reference this project or the decoration ideas for later!