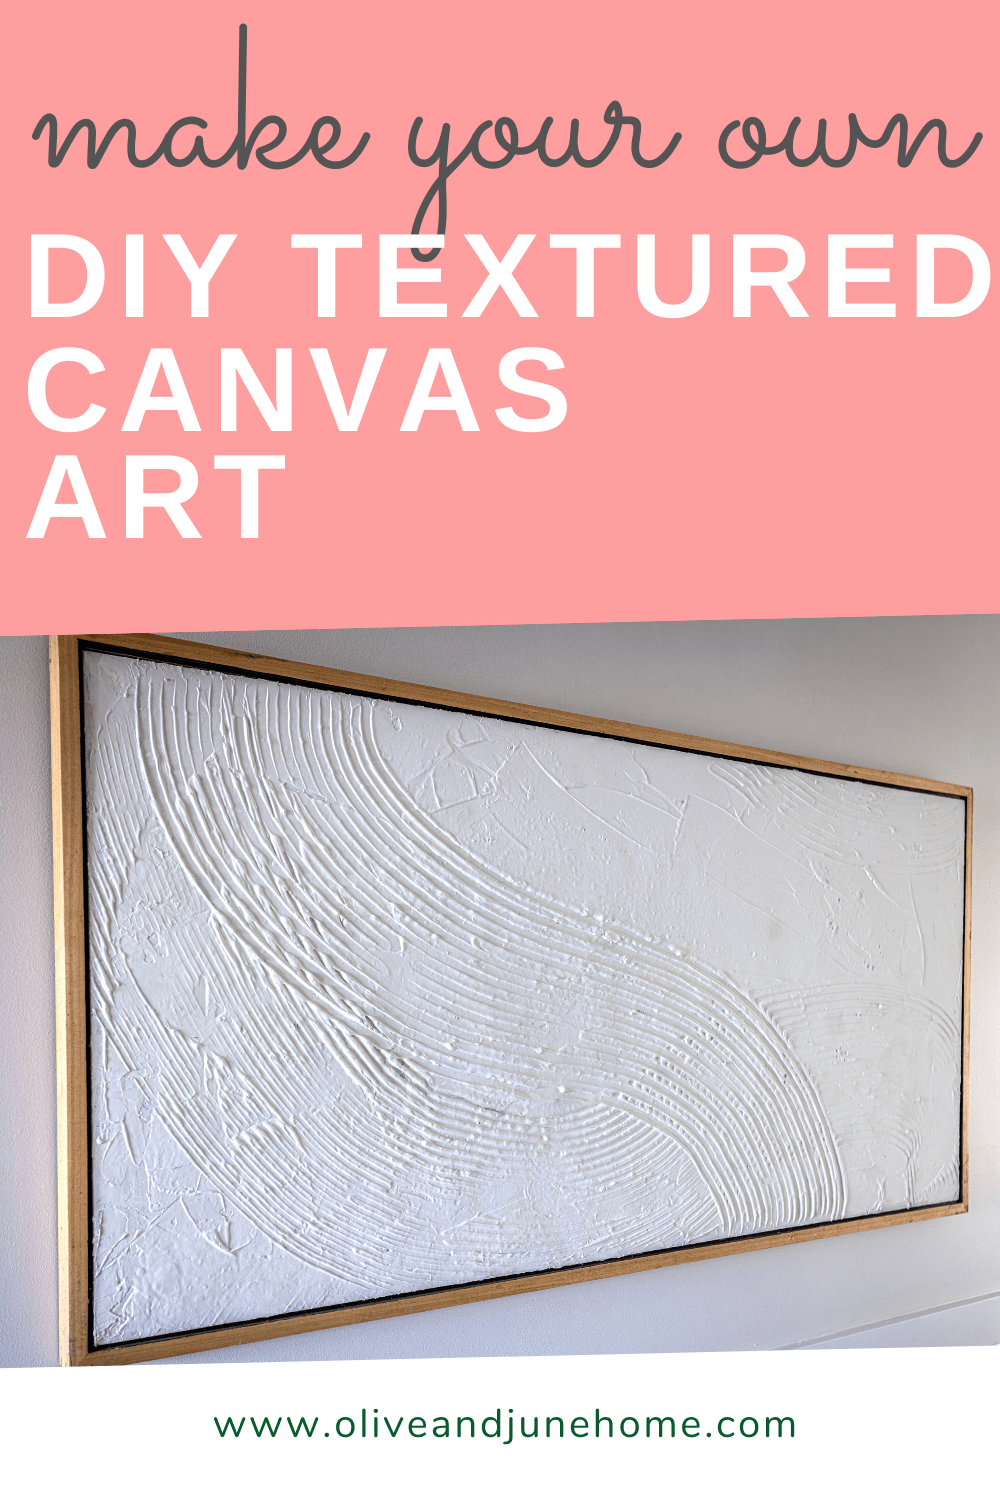
DIY Textured Canvas Art
How To Make A Textured Painting - Beginner Friendly
You've probably come across textured wall art at a big box store and liked the look of it, but not the price tag. But did you know you can easily make your own for a fraction of the cost? In this post, I’m sharing exactly how to make textured canvas art!
Materials:
As an Amazon Associate, and partner with other brands, I earn from qualifying purchases. This post may contain affiliate links, meaning I receive commissions for purchases made through those links at no cost to you.

- Stretched canvas of some sort (an old painting, a thrifted painting, something new, or you can even build your own!)
- Paint (for a basecoat - I used white acrylic paint)
- Paintbrush
- Joint compound
- Putty knife
- Something to make texture with - I used notched trowels in a couple of sizes, but the world is your oyster. Wanna use a fork? Go for it! Your fingers? Why not! You get the gist…
- Something to seal the joint compound - like clear sealant, spray paint, house paint, or acrylics. This is also an opportunity to add some color!
Step 1 - Prime canvas
This project is perfect for repurposing a piece of art that just isn’t doing anything for you anymore (like I did) or for buying a cheap painting from the thrift store. Here’s what I started with:
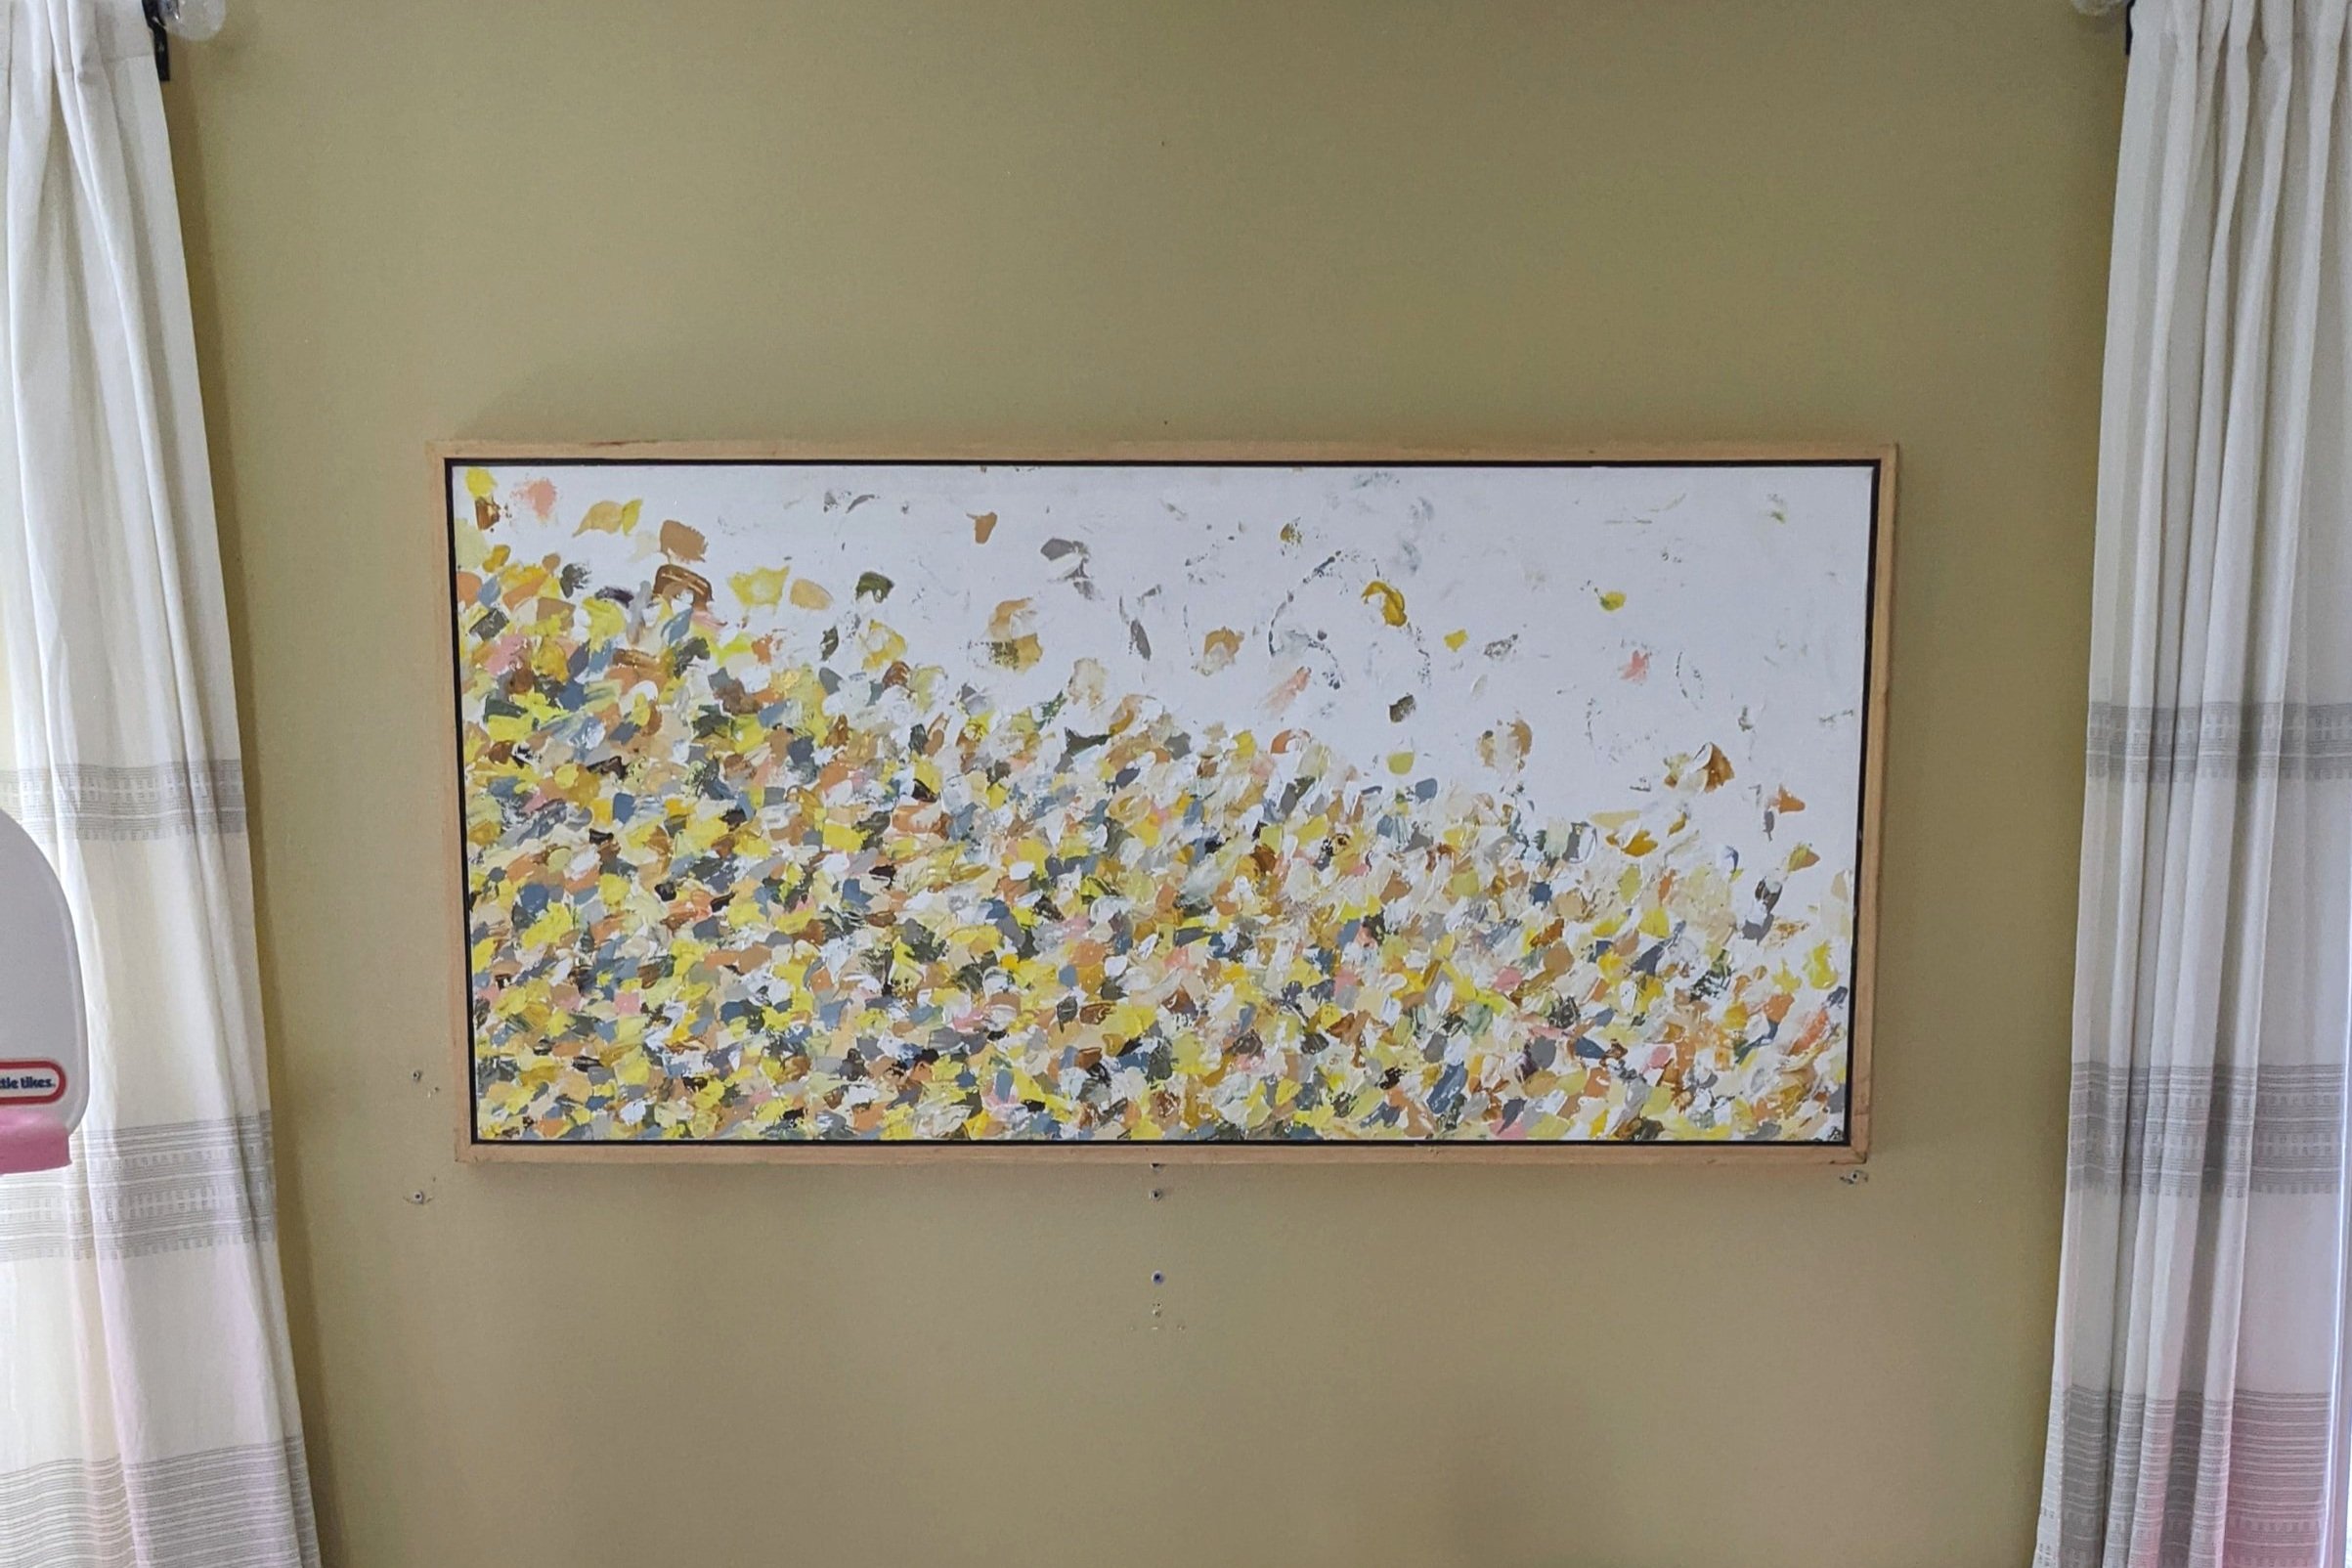
A new canvas will likely come pre-primed. If you're painting over an old piece of art or your canvas isn't already primed, you'll want to slap on a solid base coat of paint. I simply used some white acrylic paint I already had, but really just about any type of paint will do.
Step 2 - Apply joint compound
Once your basecoat is dry, glob on some joint compound. You don’t want to go too heavy with the joint compound because it’ll make the canvas sag, but you do want to have enough to cover the canvas and create texture.

Next, spread the joint compound around with your putty knife to cover the surface of your canvas. It doesn't have to be perfectly smooth.
Step 3 - Play!
This is where you can experiment and create texture with whatever texturizing objects you grab. Just do what feels natural - there’s really no going wrong with this project.
If you create a design you don't like, simply even it back out with your putty knife and start over.

Step 4 - Let it dry
Once you’re happy with your design, leave it set to dry. This can take a WHILE - anywhere from several hours to a full day (or two). If you have cats, I recommend doing this project somewhere they can’t get to - otherwise, you’ll end up with a few kitty paw prints in your final piece like I did.

This was taken before the cats stepped on it
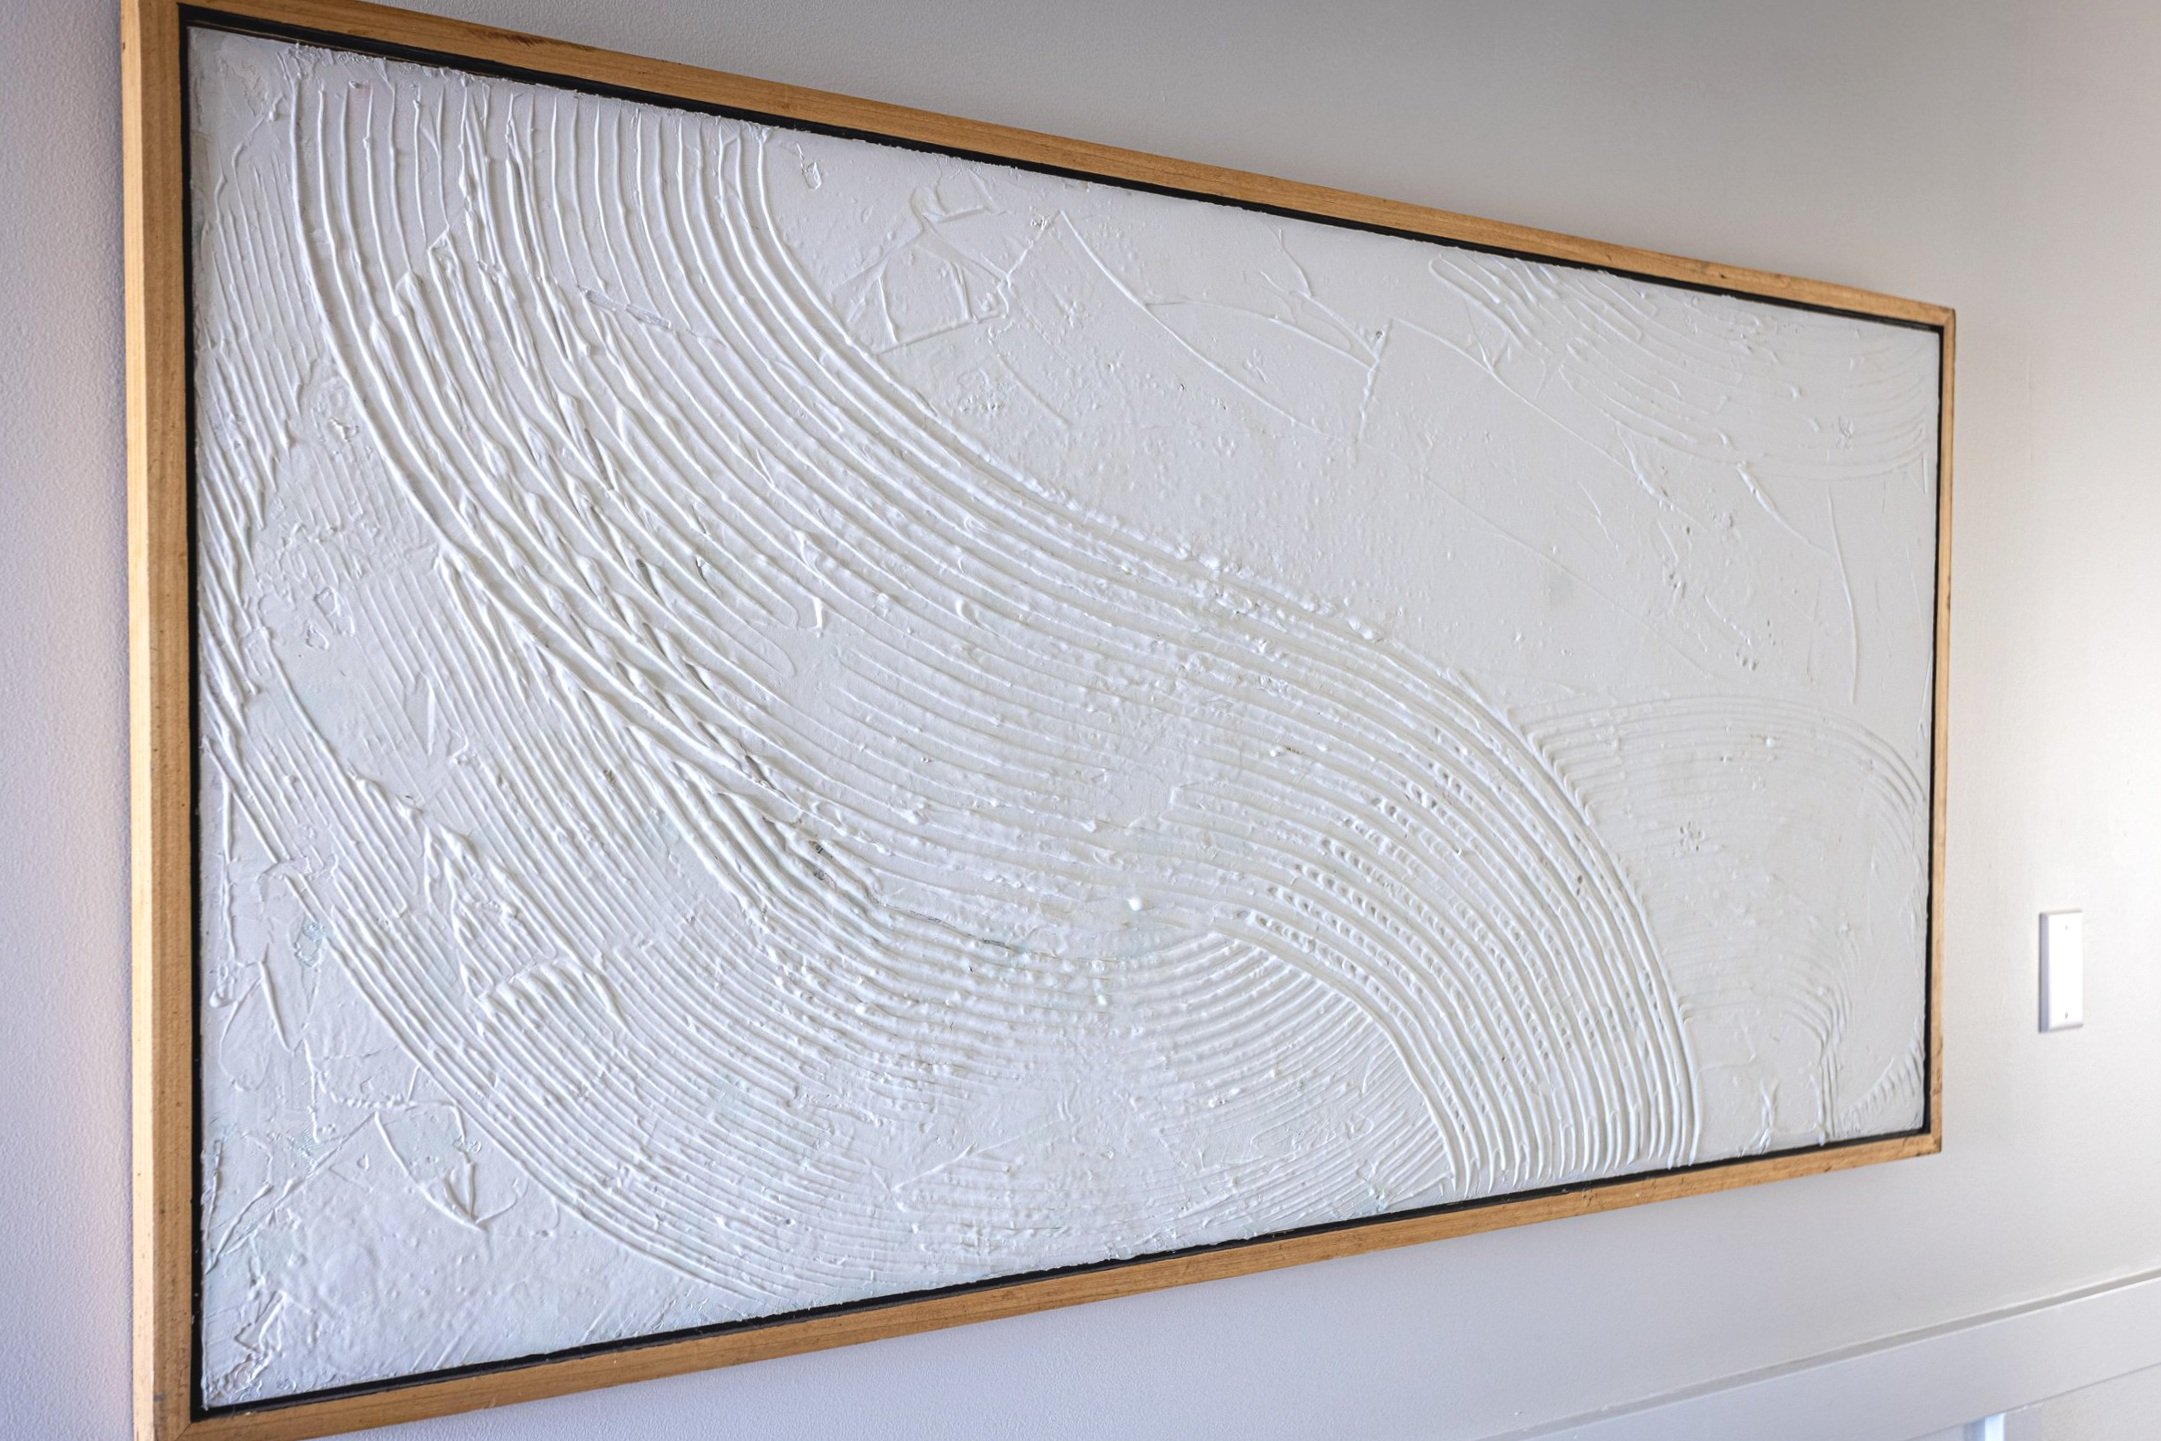
Step 5 - Seal your textured art
After the joint compound is dry, it’s a good idea to seal your art. This can be done with a clear sealant if you like the soft white color of joint compound (as I do).
However, you could also use this as an opportunity to add some color with acrylics, house paint, or even spray paint. And it doesn't all have to be one color either! You could easily use a paintbrush and add your own spin with multiple colors. HAVE FUN WITH IT!
DIY Textured Art FAQs
Why did you decide to use joint compound instead of plaster or spackle?

I honestly didn't think of using any other material for this project. I've heard of other people using spackle or plaster. I chose joint compound because I'm very familiar with it, it's inexpensive, and I always have it on hand for other projects. It was a no-brainer for me.
Do I have to prime my canvas/paint it white if my canvas is already white?
I recommend priming your canvas either with actual primer or paint to create a barrier so the canvas doesn't soak up the water in the joint compound. However, it doesn't necessarily have to be white - especially if you plan to add color to your final piece.
What dimensions is your piece and how much joint compound did you use?

My piece is about 2x4 feet. I don't have the exact amount of joint compound I used, but as you can see in step 2, a few good globs got the job done.
What kind of sealant did you use?
There are several ways to seal your painting - either by using clear sealant or paint as a sealant if you want to add some color.
How do you add different colors?
To add color, I would just paint right on top of my piece once it dries!
What tool did you use to get the lines?

I used a couple of different sizes of trowels I already had on hand for my lines - but you can use anything that will give you a fun texture! Go through your kitchen drawers or garage and see what you can come up with.
Why won't my joint compound dry?
If your joint compound hasn't dried and it's been a few days, you probably used too much. The only thing you can do is wait for it to dry, but there's a strong possibility you'll have some cracking and flaking.
How did you build the wood frame to go around the canvas?
I once had someone tell me the wood frame brought the whole piece together - and I have to agree! So, I'm working on a separate post to share how to DIY a floating frame. Stay tuned!
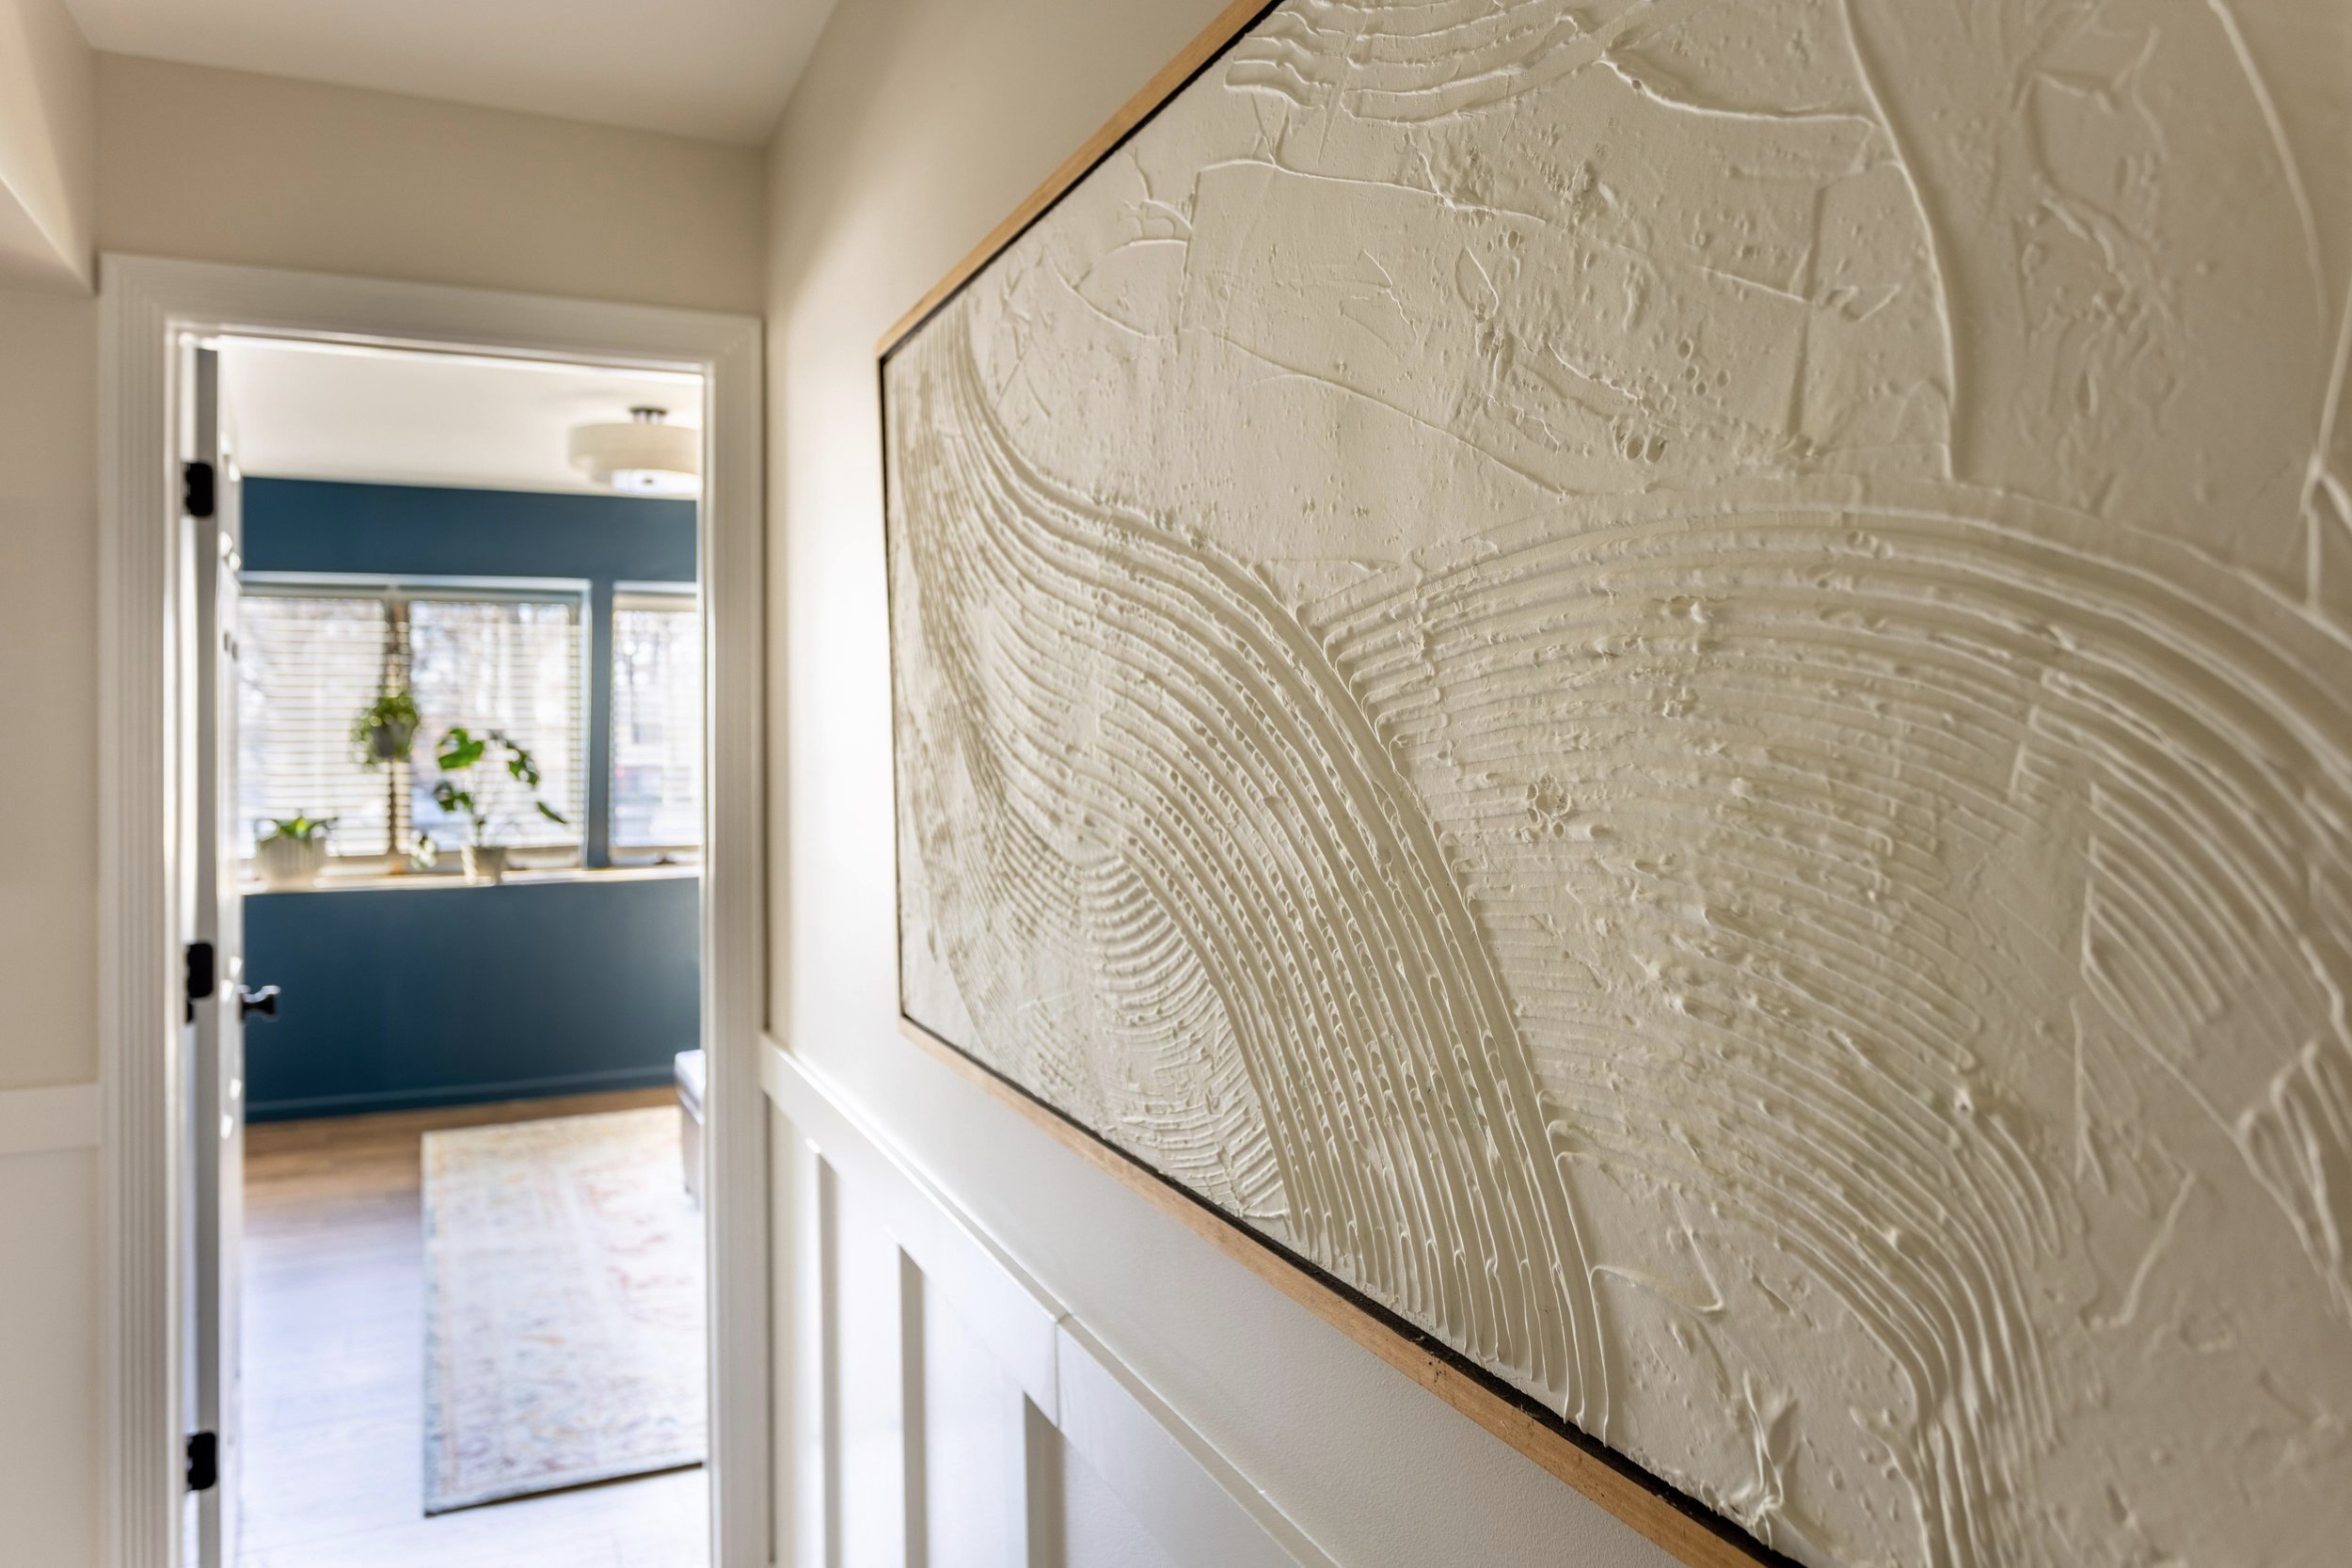
Final Thoughts
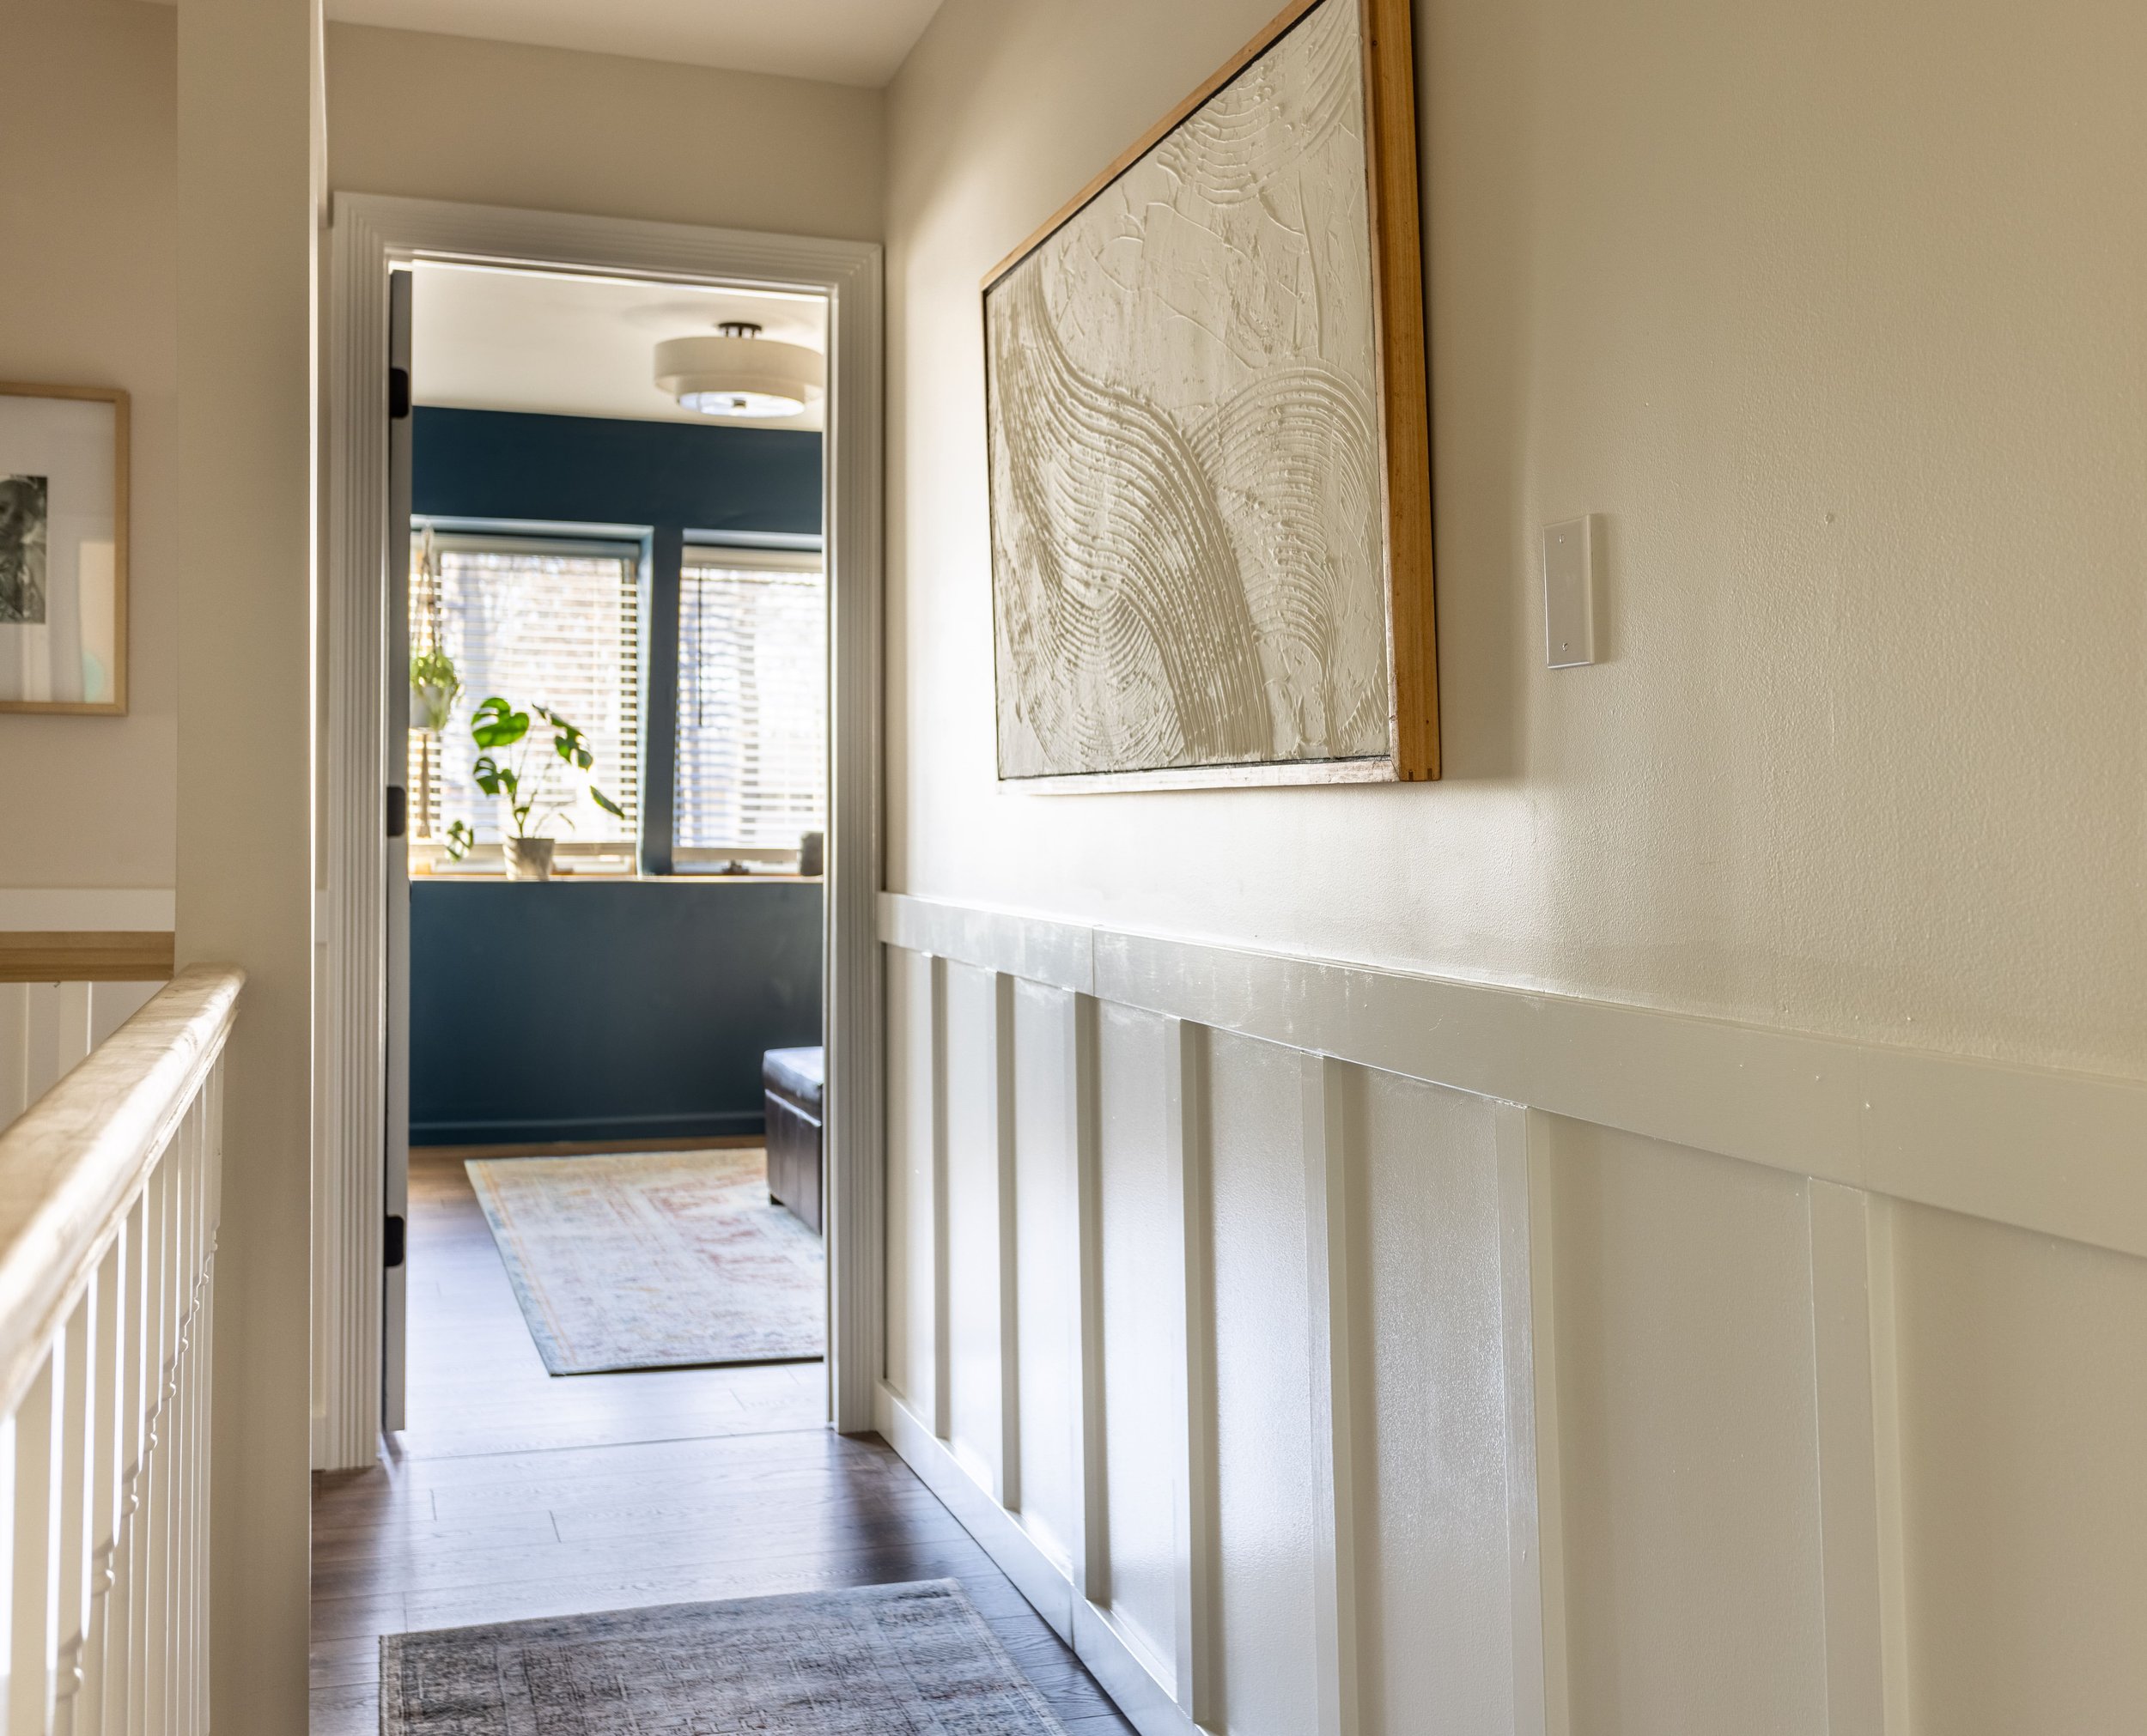
I’m beyond happy with how easy yet impactful this project was. This really feels like a statement piece of art now. I’m especially pleased with how well it fills the wall, yet it was SO INEXPENSIVE! Sometimes easy DIYs are the best DIYs, don’t you think?