
The Easiest Wallpaper for Beginners - Tutorial
Paste the Wall Wallpaper Tips - Fall ‘23 ORC Week 6
Wallpaper is a great way to add character and personality to a room. This detailed tutorial shares the step-by-step process for hanging paste-the-wall wallpaper, including a round-up of moody wallpapers I love!
Several years ago, I hung peel-and-stick wallpaper in my (still unfinished) closet, thinking it would be the easiest kind of wallpaper to install. Boy, was I wrong! Although I wouldn’t go so far as to say any wallpaper is “easy” to hang, the experience between hanging paste-the-wall vs. peel-and-stick is worlds apart.
It’s week six of the One Room Challenge, and there are only TWO weeks until the finale! This week, I made big strides in the half-bathroom by hanging this dramatic paste-the-wall wallpaper, and I have to say, I’m never going back to peel-and-stick!

What Are The Different Types of Wallpaper?
Peel-and-stick wallpaper is essentially a sticker that clings to everything it touches. While it’s removable and repositionable, it can stretch and lose tackiness.
Traditional wallpaper, on the other hand, requires a large workspace and careful precision to apply paste directly to the paper.
Paste-the-wall wallpaper is probably the simplest because you apply the adhesive directly to the wall, which lessens the mess and allows you to easily reposition the wallpaper as needed.
Here’s how I hung the wallpaper in my half-bathroom:
As an Amazon Associate and partner with other brands, I earn from qualifying purchases. This post may contain affiliate links, meaning I receive commissions for purchases made through those links at no cost to you.
Materials and Tools Needed:
- Paste-the-wall wallpaper
- Wallpaper adhesive
- Wallpaper smoother
- Utility or X-Acto knife (with extra blades!)
- Scissors
- Measuring tape
- Level
- Pencil
- Step ladder
- Paintbrush
- Paint roller & Cover
- Paint tray
- Handy Paint tray cover
- Clean sponge and water
- Drop cloth or plastic sheeting to protect the floor
- Wallpaper primer*
*If your walls are finished, primer may not be necessary.
Prep
Check Your Wallpaper Batches
Like tile, wallpaper color can vary from batch to batch. When you receive your wallpaper, I highly recommend checking that it’s all from the same batch number.
Clear the Room

Before you begin wallpapering, move any obstacles away from the walls. Wallpapering is hard enough. Don’t make it more difficult by having a bunch of stuff in your way - this is why I’ve been waiting to install the new toilet in my bathroom!
Prep Your Walls
My walls were a doozy to prep for wallpaper. If you remember, I had to remove multiple layers of wallpaper and texture to get to the drywall underneath… which was unfinished.
After removing the old wallpaper, I had to skim-coat the walls, sand them smooth, then prime them. I used Shieldz Wallpaper Primer and asked the hardware company to tint it as dark as possible since my wallpaper is almost black.
If your walls are finished, you’ll just need to clean the walls and fill any holes.
Determine Your Starting Point & Draw a Level Line

If you’re wallpapering a whole room, your starting point will also be your endpoint - and the pattern absolutely won’t line up perfectly when they come together. Because of this, choose a starting point in the least conspicuous area of the room. Then, draw a level line to use as a guide when placing your first strip of wallpaper.
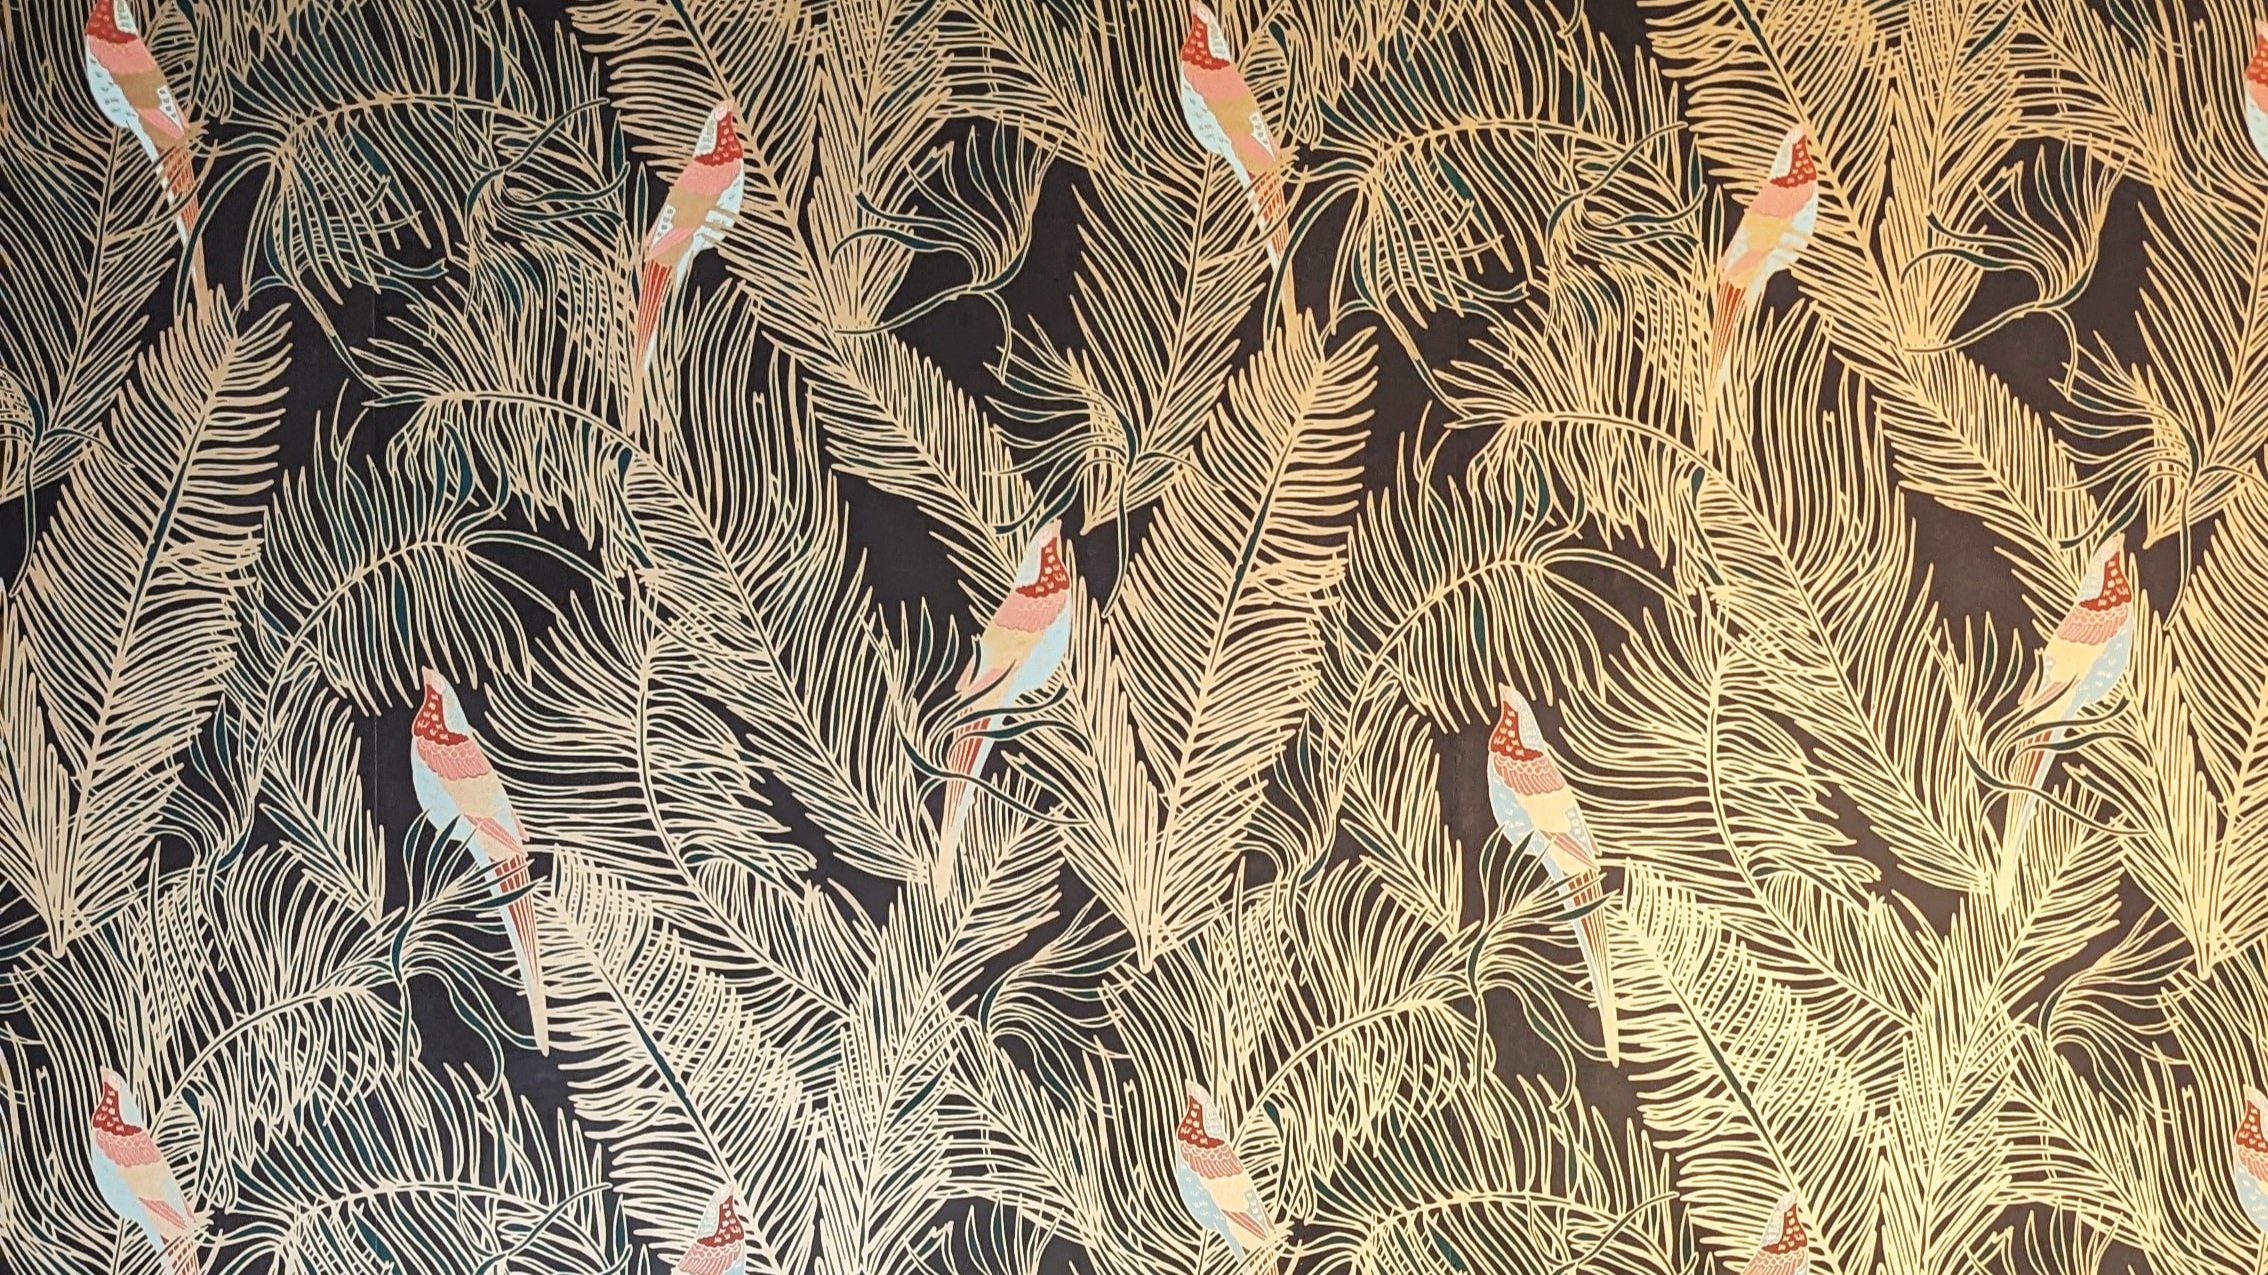
In my case, I started/ended my wallpaper above the doorway since it’s a small stretch of wall that doesn’t draw a lot of attention. Can you find the seam??
Measure and Cut a Few Sheets of Wallpaper
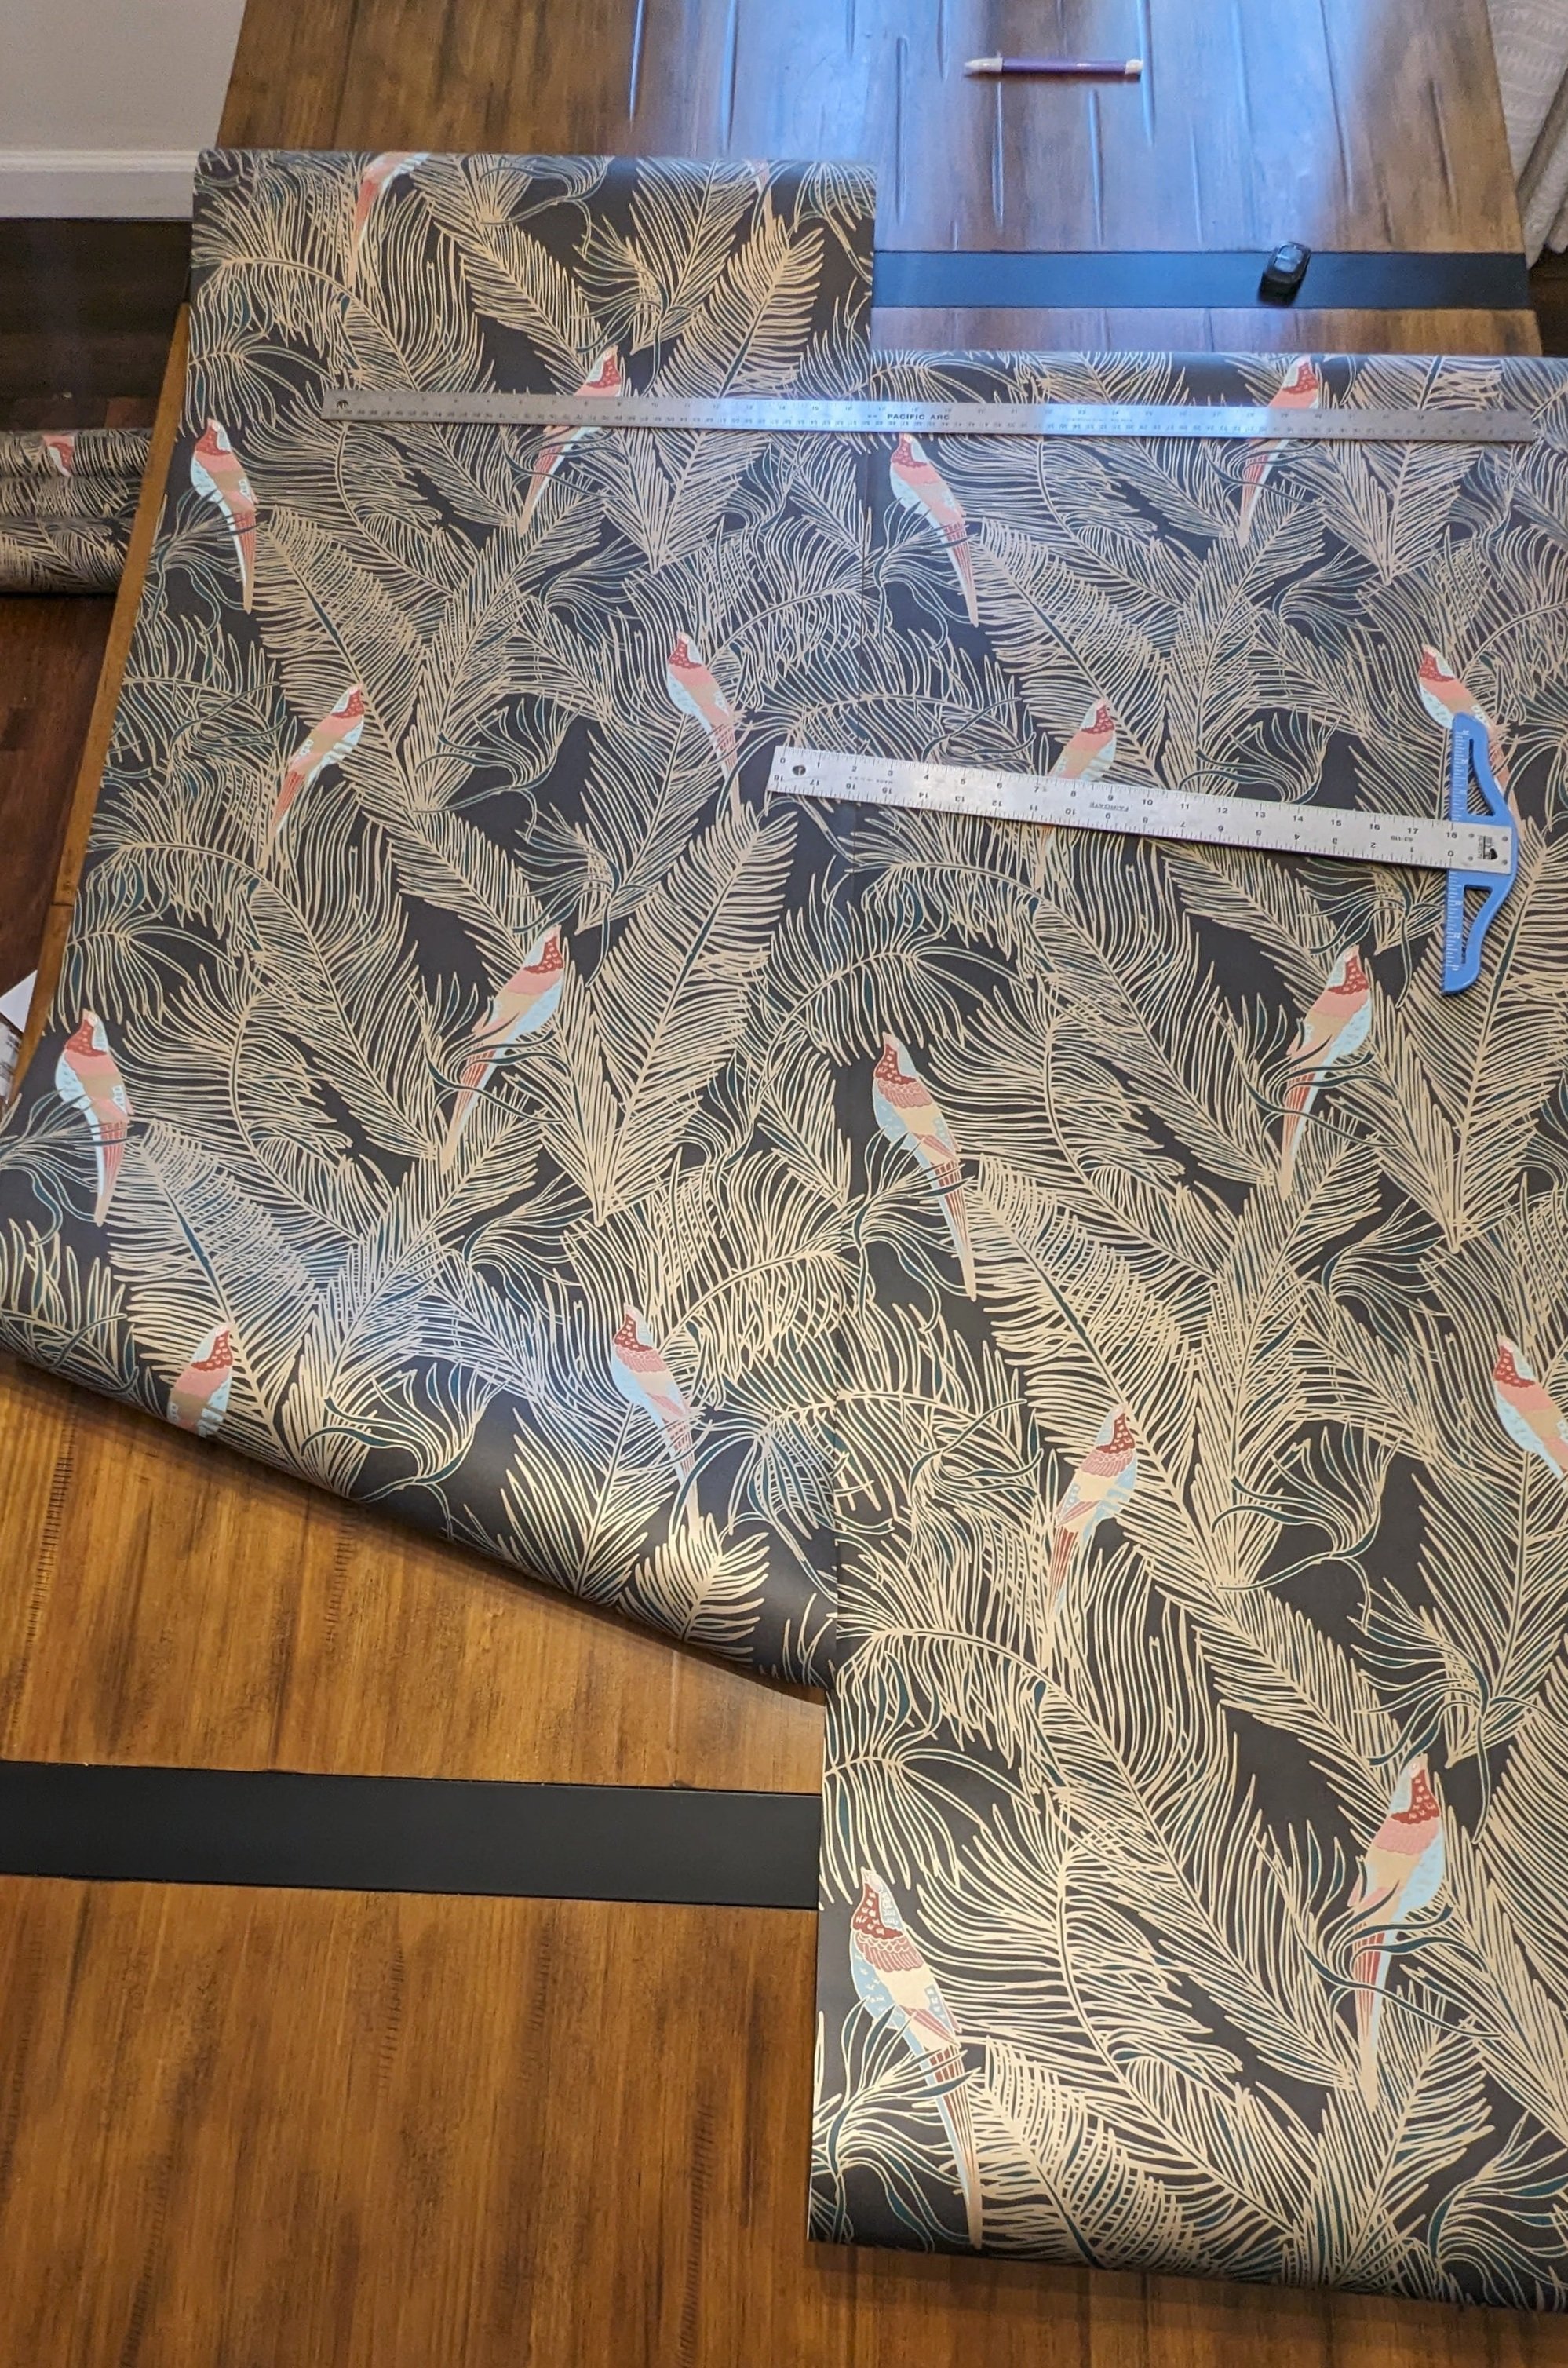
Measure the height of your wall. Roll out the wallpaper on a clean, flat surface. Then, measure your wallpaper and add a few inches to allow for trimming at the ceiling and baseboard (or, if you're doing a half-wall, the chair rail).
Mark your cut line with a pencil, and cut a few strips to the appropriate length. This T-square was perfect for making sure I drew a straight line to cut.
Line up your pattern before you cut each strip and cut off the excess. You’ll definitely feel like you’re wasting a lot of paper (and you are), but it’s a necessary evil.
I got into a rhythm where every time I hung a piece of wallpaper, I cut a new strip. This was helpful to ensure I didn’t cut more than I needed.

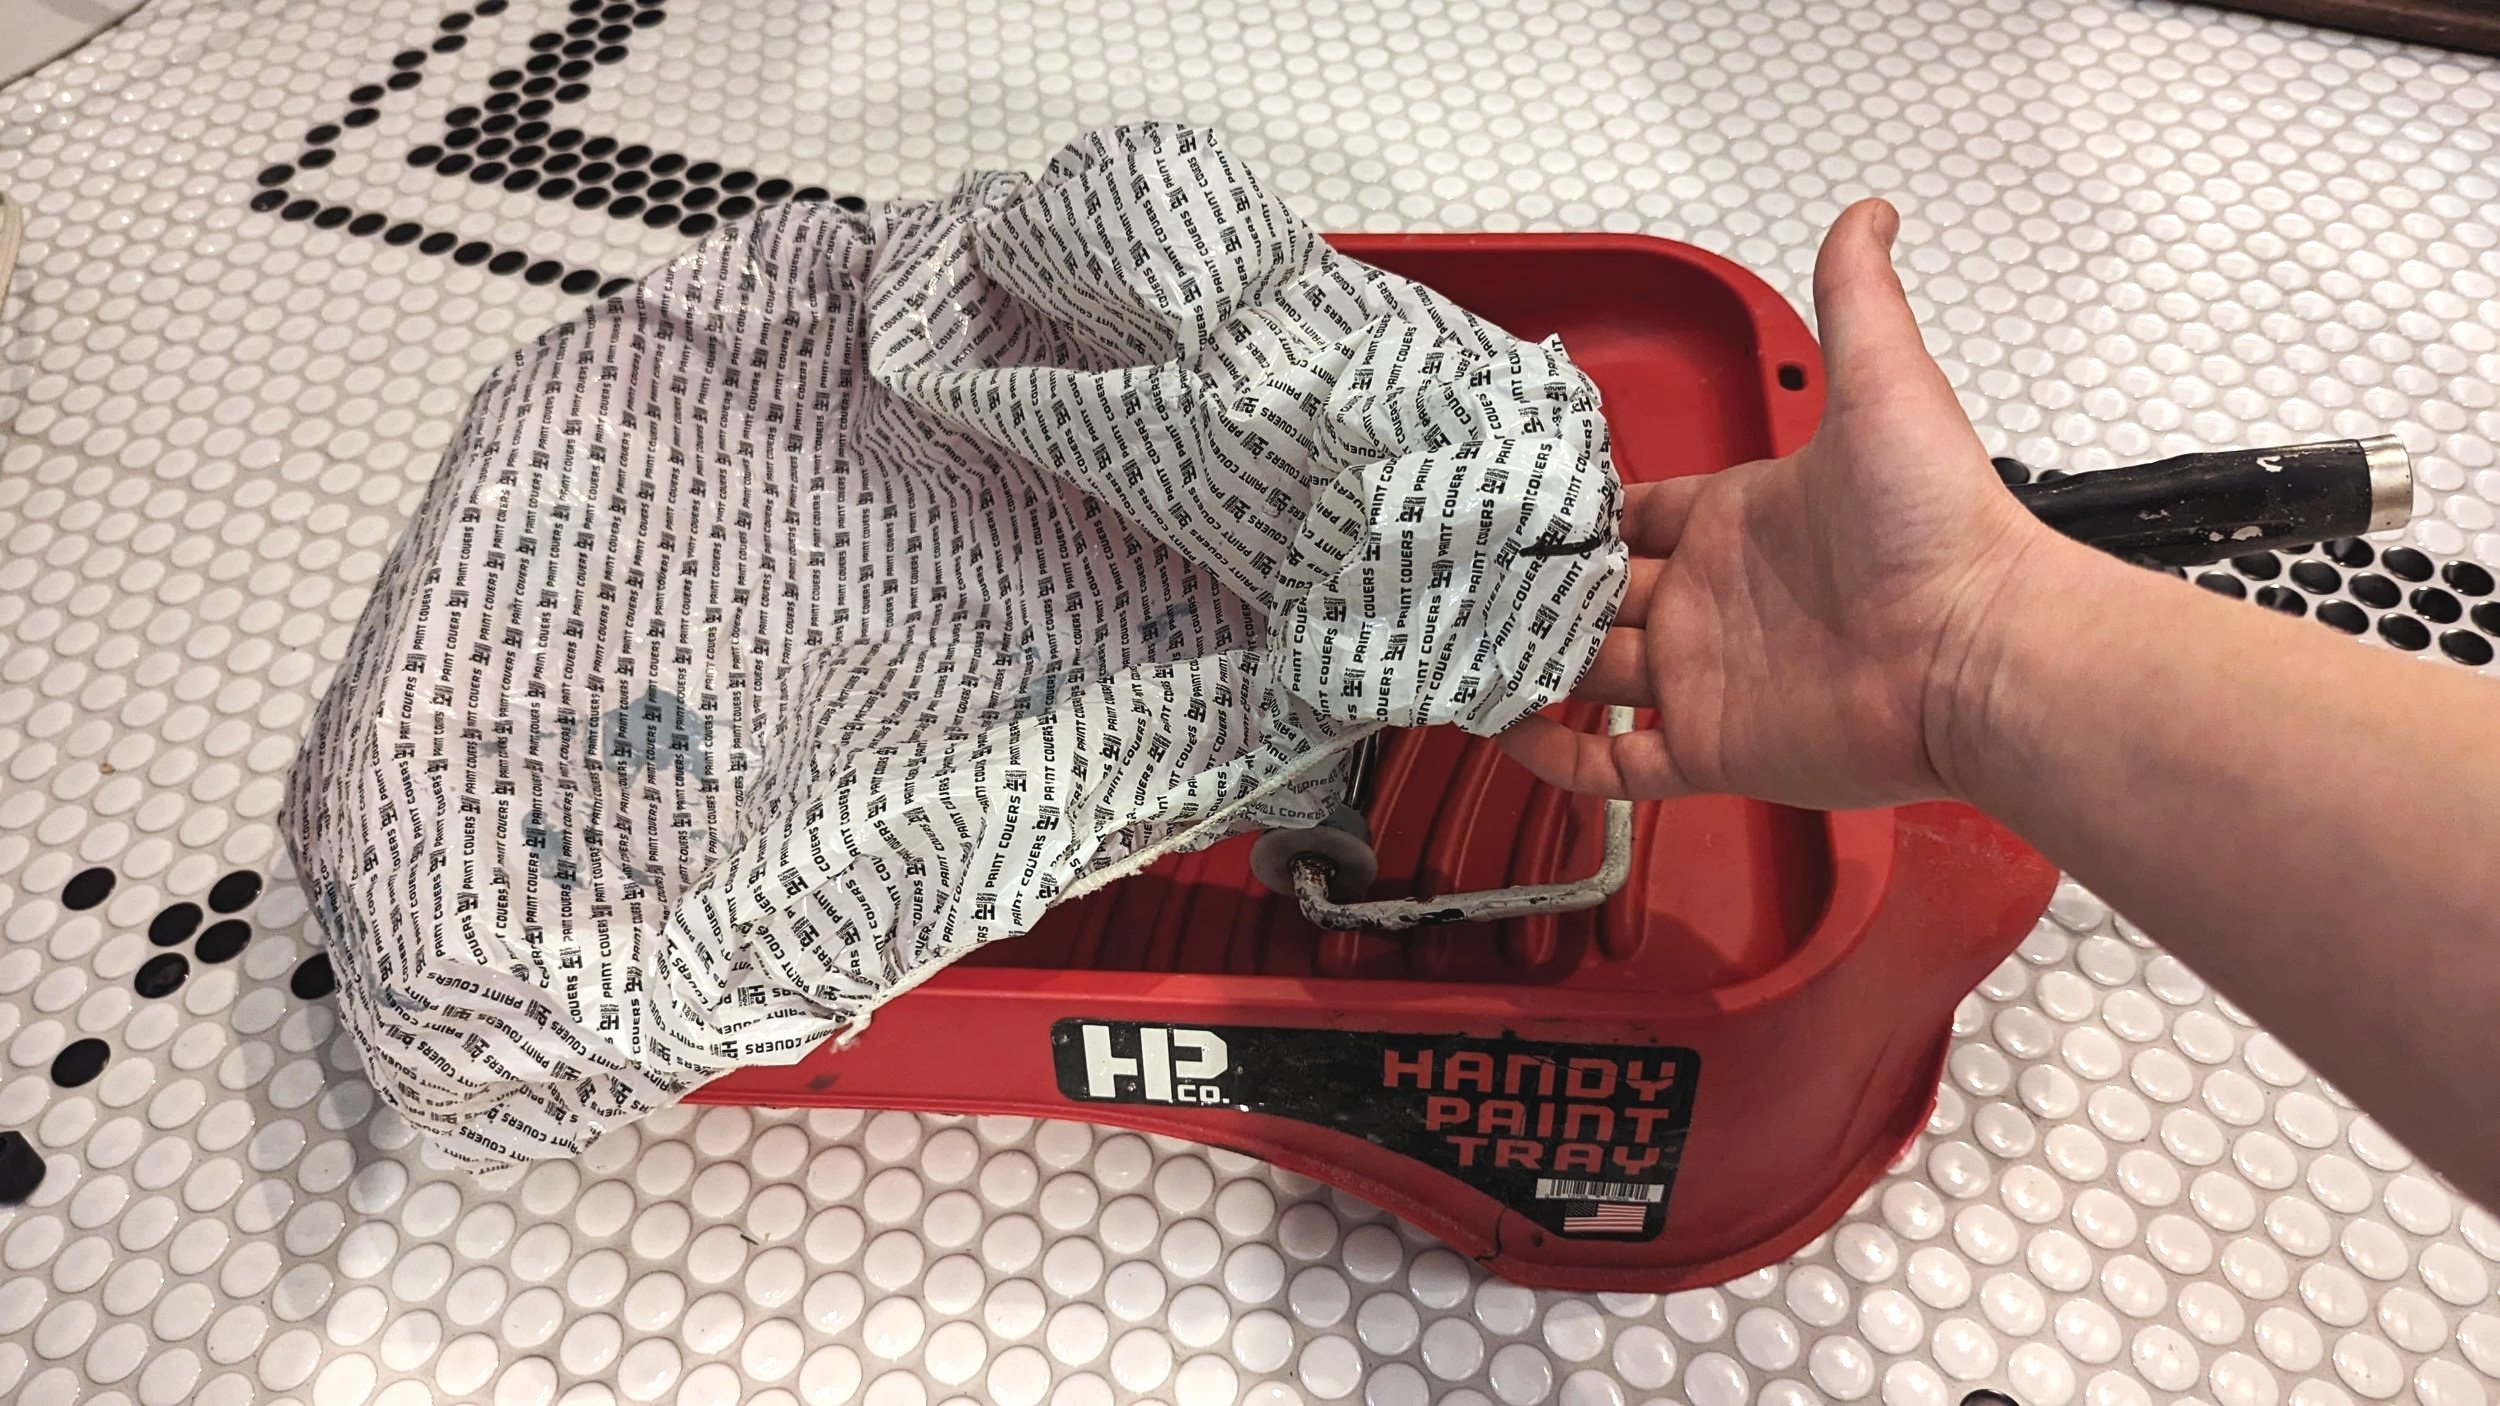
Apply Wallpaper Adhesive to the Wall
Using a paint roller, apply your adhesive on the wall to cover just a little more than the width of your paper. Then, cut in around the edges with a brush.
I used Roman Wallpaper Adhesive, a standard 3/8” roller cover, and a 2” angled paintbrush.
I also made sure I had some Handy Paint Covers nearby to cover my adhesive and roller between hanging strips of wallpaper so they didn’t dry out. They’re like little shower caps for your paint tray and are super easy to take on and off as many times as you need!
Hang the First Strip of Wallpaper

Line the edge of your first strip of wallpaper up with the level line you drew, leaving extra wallpaper at the top and bottom for trimming. This first strip is the most important to get level because it will dictate how the rest of your wallpaper hangs.
I didn’t have a good image of me hanging the first strip of wallpaper, but for the subsequent strips, keeping a level line is just as important.
Gently smooth out any air bubbles or wrinkles with your hand. Then, using your wallpaper smoother, push out any leftover air bubbles, working from the center towards the edges.

Trim Excess Wallpaper
After hanging each strip, trim the excess at the top and bottom using a utility or X-acto knife and a straight edge. I ran my wallpaper smoother along the edge as I cut to ensure a straight line.
Swap out your blades every few strips to avoid snagging and tearing your wallpaper.
Clean Up
Keep a bucket of water and a sponge handy to wipe off any stray adhesive. I changed my water frequently.
Hang the Remaining Strips of Wallpaper

Repeat the process for the remaining wallpaper strips, ensuring that the pattern of each strip lines up with the previous one. Also, occasionally take a moment to check the levelness of your wallpaper.
Wallpapering Around Obstacles

You’ll likely have to work around windows, door frames, corners, or other obstacles during your wallpapering adventures. While I can’t advise you on every hurdle you’ll encounter, I can tell you that relief cuts are your friend.
A relief cut is a small cut in the paper to help it wrap around whatever is in the way and lay flat against the wall. These cuts are made at the corners at a diagonal angle.
I relied on my scissors to make a clean cut rather than my utility knife. Typically, I had to make several small cuts to get my wallpaper to wrap the way it needed to. As long as you’re patient and take it slow, you’ll be able to work through these obstacles just fine!
Final Thoughts
I’m completely taken aback by the transformation this room has undergone in just the last week alone. The wallpaper made SUCH a huge difference, and now I’m really seeing my vision come to life (my favorite part of any design project!) I can’t get over the wallpaper, beadboard, and floors together. I love them so much!

While wallpapering isn’t the easiest DIY, with a little patience, it’s a completely doable beginner’s project and makes such a dramatic impact. Don’t forget to follow along to catch the final reveal of this space!
Moody Wallpaper Round-up!
While designing this room, I looked through countless wallpaper designs to find the perfect moody design for my space. If you love dramatic wallpaper too, below I’ve put together a round-up of some of the other wallpapers I considered!

These wallpapers were sourced from Wallpaper Direct, Photowall, Milton & King, Hygge & West, Lionheart Wallpaper, The Pattern Collective, Etsy, and Home Depot.
