
Beadboard: Instant Character on a Budget
How to Install Beadboard Paneling - Fall ‘23 ORC Week 5
Beadboard is an easy and cost-effective way to add texture and character to any room. In this post, I’m sharing all the details of how I hung the beadboard in our half-bathroom, including my mistakes, so you know what NOT to do!
It’s week 5 of the One Room Challenge!

This week, I focused not only on hanging the beadboard but also on installing the door, door casing, baseboard, chair rail, AND crown molding. Woo! It was a busy week.
Add in a slight water leak, which set me back a bit, and I was RUSHING to get this post out in time. But I did it! So let’s dive into the tutorial, shall we?
As an Amazon Associate and partner with other brands, I earn from qualifying purchases. This post may contain affiliate links, meaning I receive commissions for purchases made through those links at no cost to you.
Materials and Tools You'll Need:
Materials:
- Beadboard panels
- Construction adhesive
- Finish nails (I used 1 3/4”)
- Sandpaper
- Wood filler or spackle
- Paintable caulk
- Paint
Tools:
- Measuring tape
- Standard level or laser level
- Pencil
- Stud finder
- Table saw or circular saw
- Caulk gun
- Finish nailer
- Paintbrush
- Paint roller and cover
- Oscillating Multi-Tool
- Drill
- Spade Drill Bit or Hole Saw (if you're working around plumbing)
Prep the Wall
Start by removing any baseboards, switch plates, and outlet covers.

In my case, I had to remove the texture that was on the walls originally. I also had to replace some drywall we tore out when we re-routed the plumbing. However, I didn’t bother finishing the drywall since it will be covered with beadboard anyway.
Then, draw a level line around the room about a half inch higher than the top of where your beadboard will stop. Don’t skip this step. I did, and it bit me in the butt later on.
Lastly, find and mark your studs on or above that line.
Cut Your Beadboard
Beadboard is kind of great because it typically comes in 4x8-foot sheets, which is perfect for covering the entirety or exactly half of a standard-height wall.
How to Cut Your Beadboard to Length

Because I have this gorgeous wallpaper I’ll be installing above the beadboard, I chopped mine right in half at 4 feet high with a circular saw.
Then, I cut my beadboard to length for each stretch of wall. I used my table saw for this, but since beadboard is pretty thin and flimsy, I recommend having a helper or just using a circular saw. It felt pretty sketchy doing it by myself TBH.
One thing you need to consider when cutting beadboard is to make your cuts along the pattern so that the piece that butts up against it looks seamless.
How to Cut Around Plumbing and Electrical

You’ll inevitably run into at least a little electrical and possibly some plumbing (depending on where you’re installing your beadboard). To work around these obstacles, start by measuring where they’ll hit on your beadboard (or follow this hack that seems ridiculous but actually works super well!)
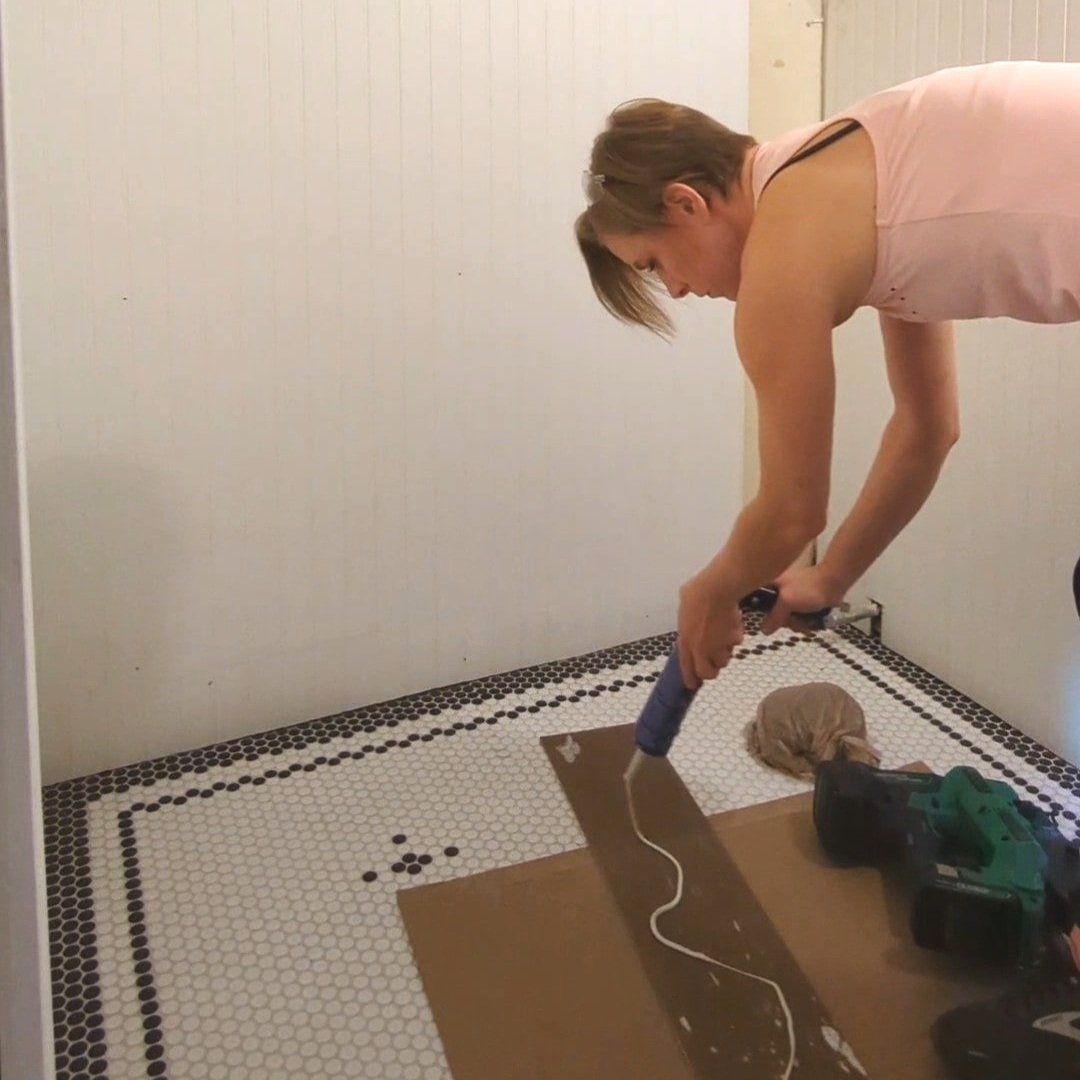
My oscillating multi-tool made quick work of cutting out the holes for my outlets. For the plumbing, we started off by using a spade drill bit, but we didn’t have one that was quite big enough, so we switched to a hole saw. Both worked equally as well.
How to Hang Beadboard
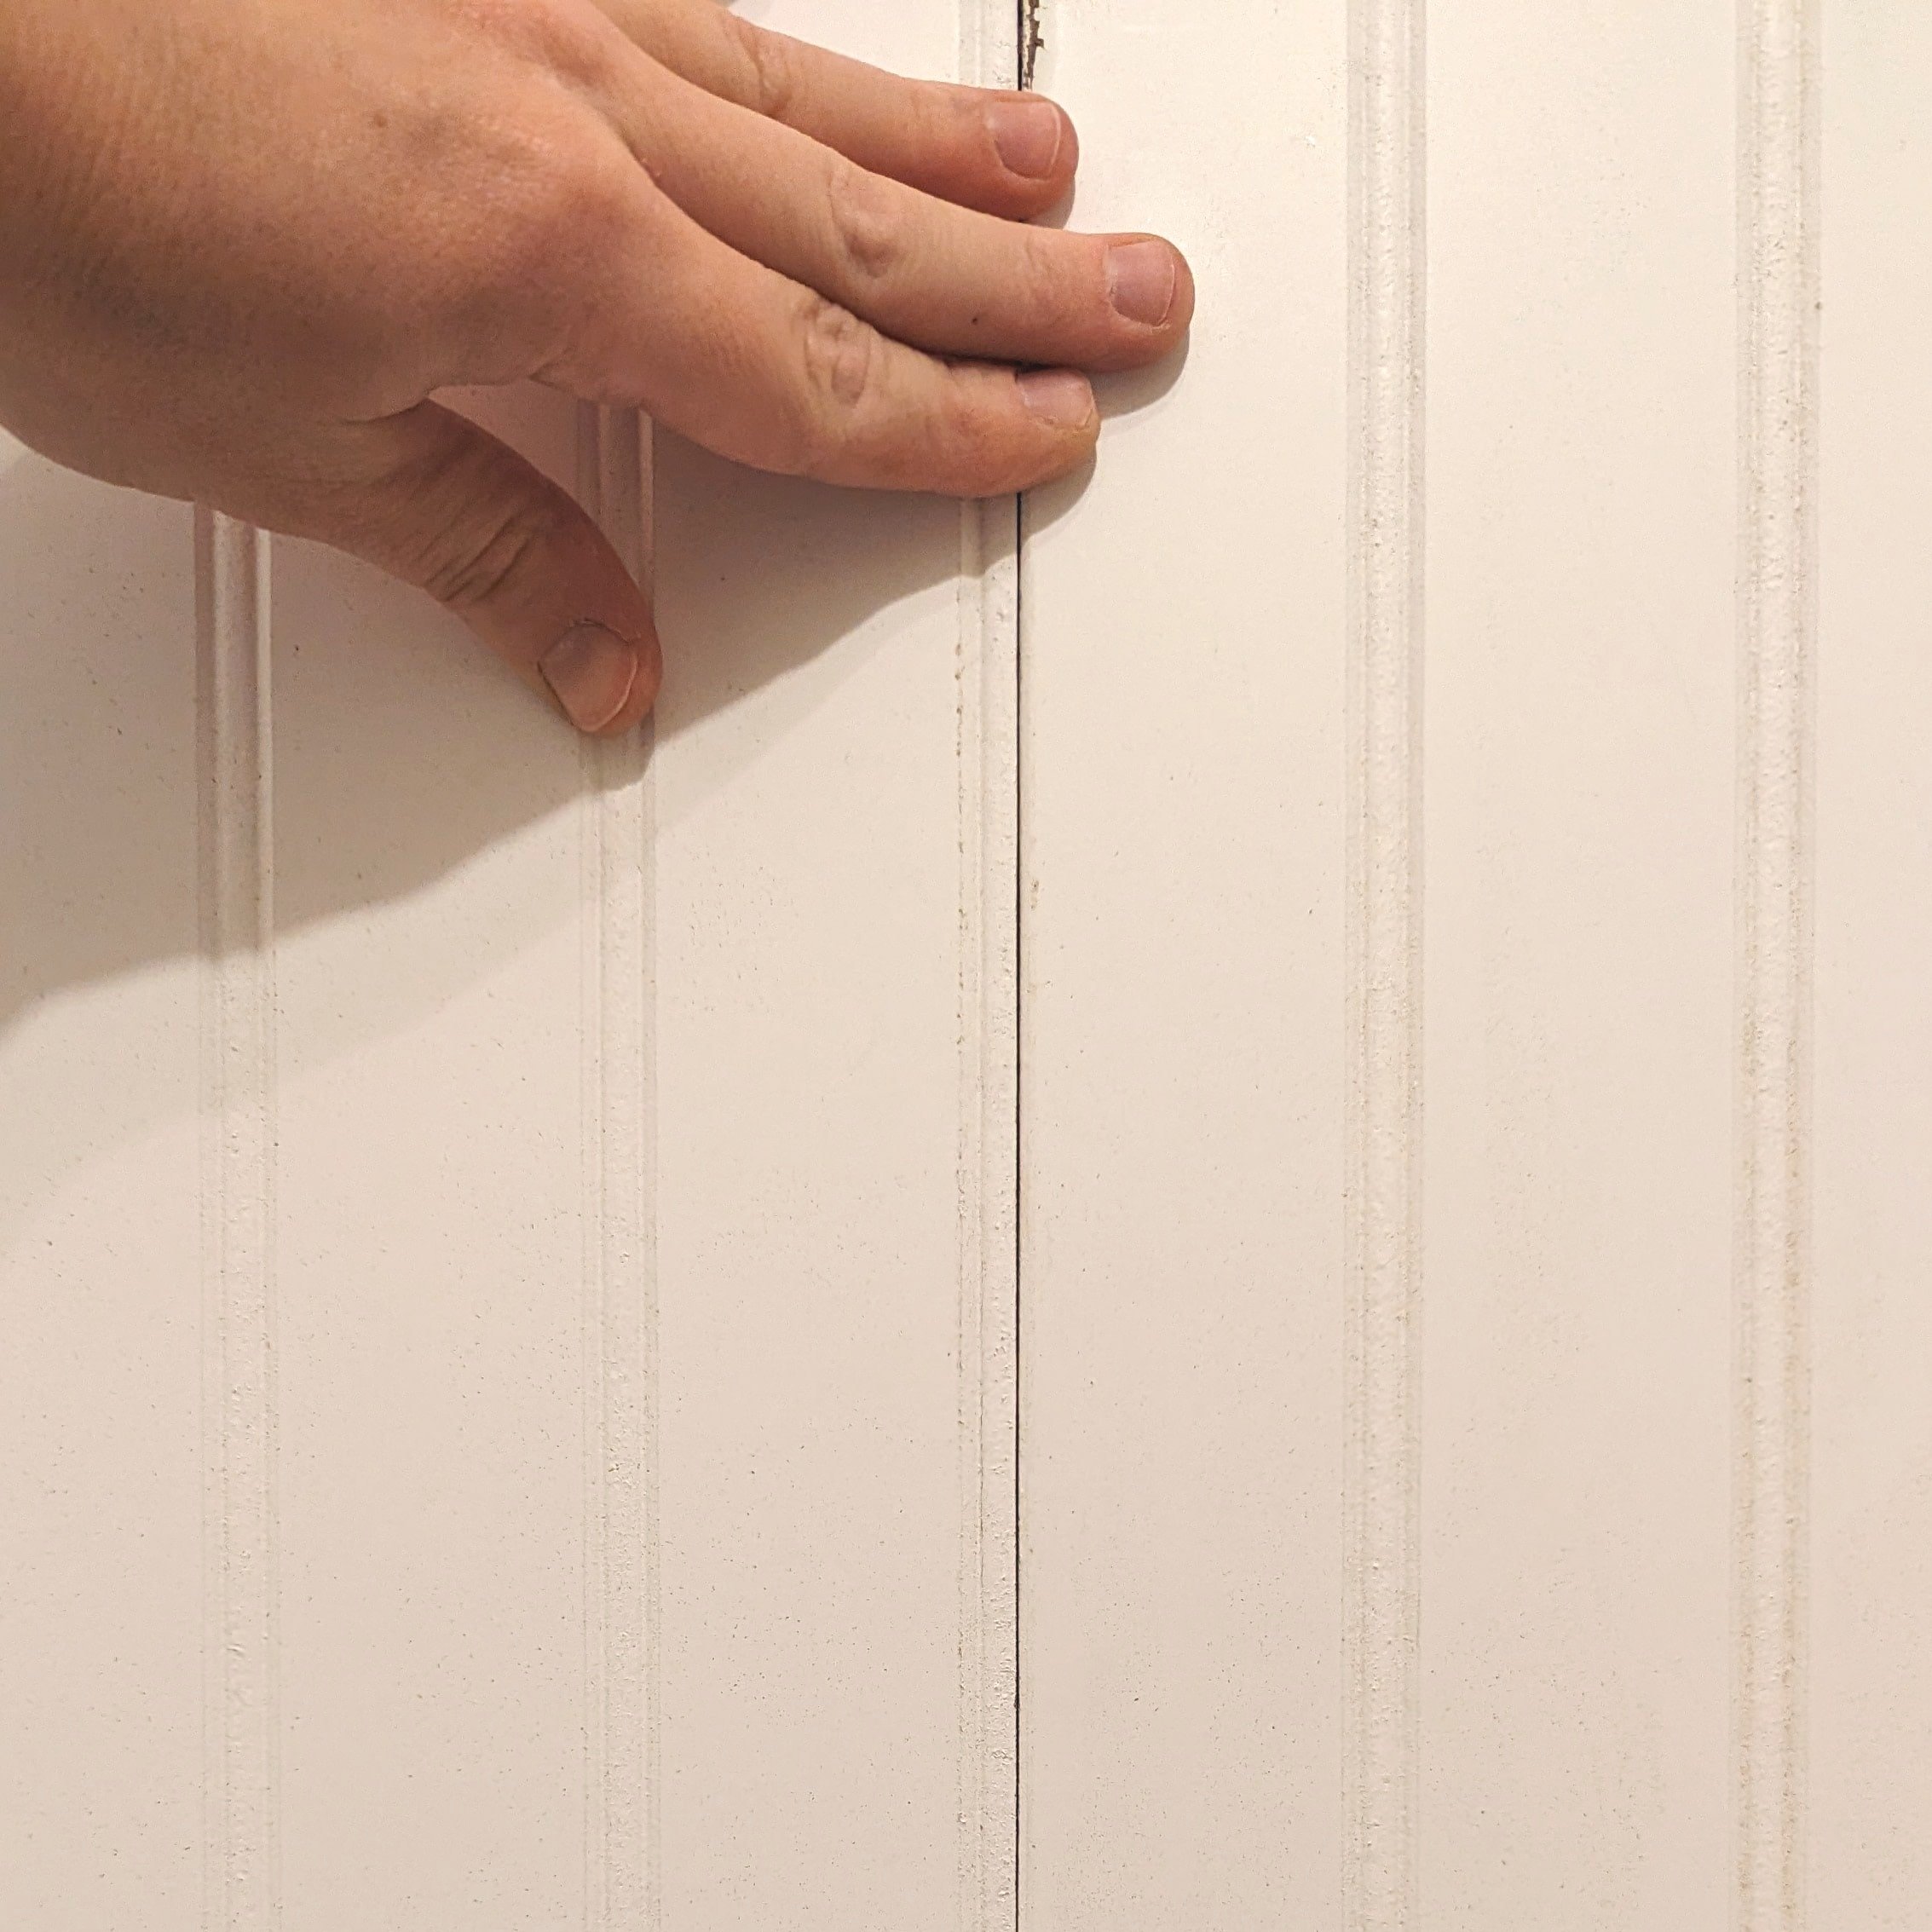
Using your caulk gun, apply construction adhesive to the back of the beadboard in a zigzag pattern.
Remember that level line I had you draw around the room? Line the top of your beadboard up with that line, then press it to the wall.
Lastly, nail the beadboard to further secure it to the wall. I made sure to nail on each stud near the top (where my chair rail would cover), in the middle, and near the bottom (where my baseboard would cover).

Add additional nails where necessary even if there isn’t a stud.
Then, you can install your baseboard and chair rail! This is where the level line would have come in handy for me. Because my beadboard wasn’t a consistent height across the top, I couldn’t hang my chair rail above it like I originally planned without a weird gap in some areas. Instead, I installed the chair rail on the beadboard itself.
It’s a fine solution, but I was hoping to carry the overall look up a little higher on the wall.
Finish It Up!
Using spackle or wood putty, fill your nail holes. Then caulk along any seams with paintable caulk.
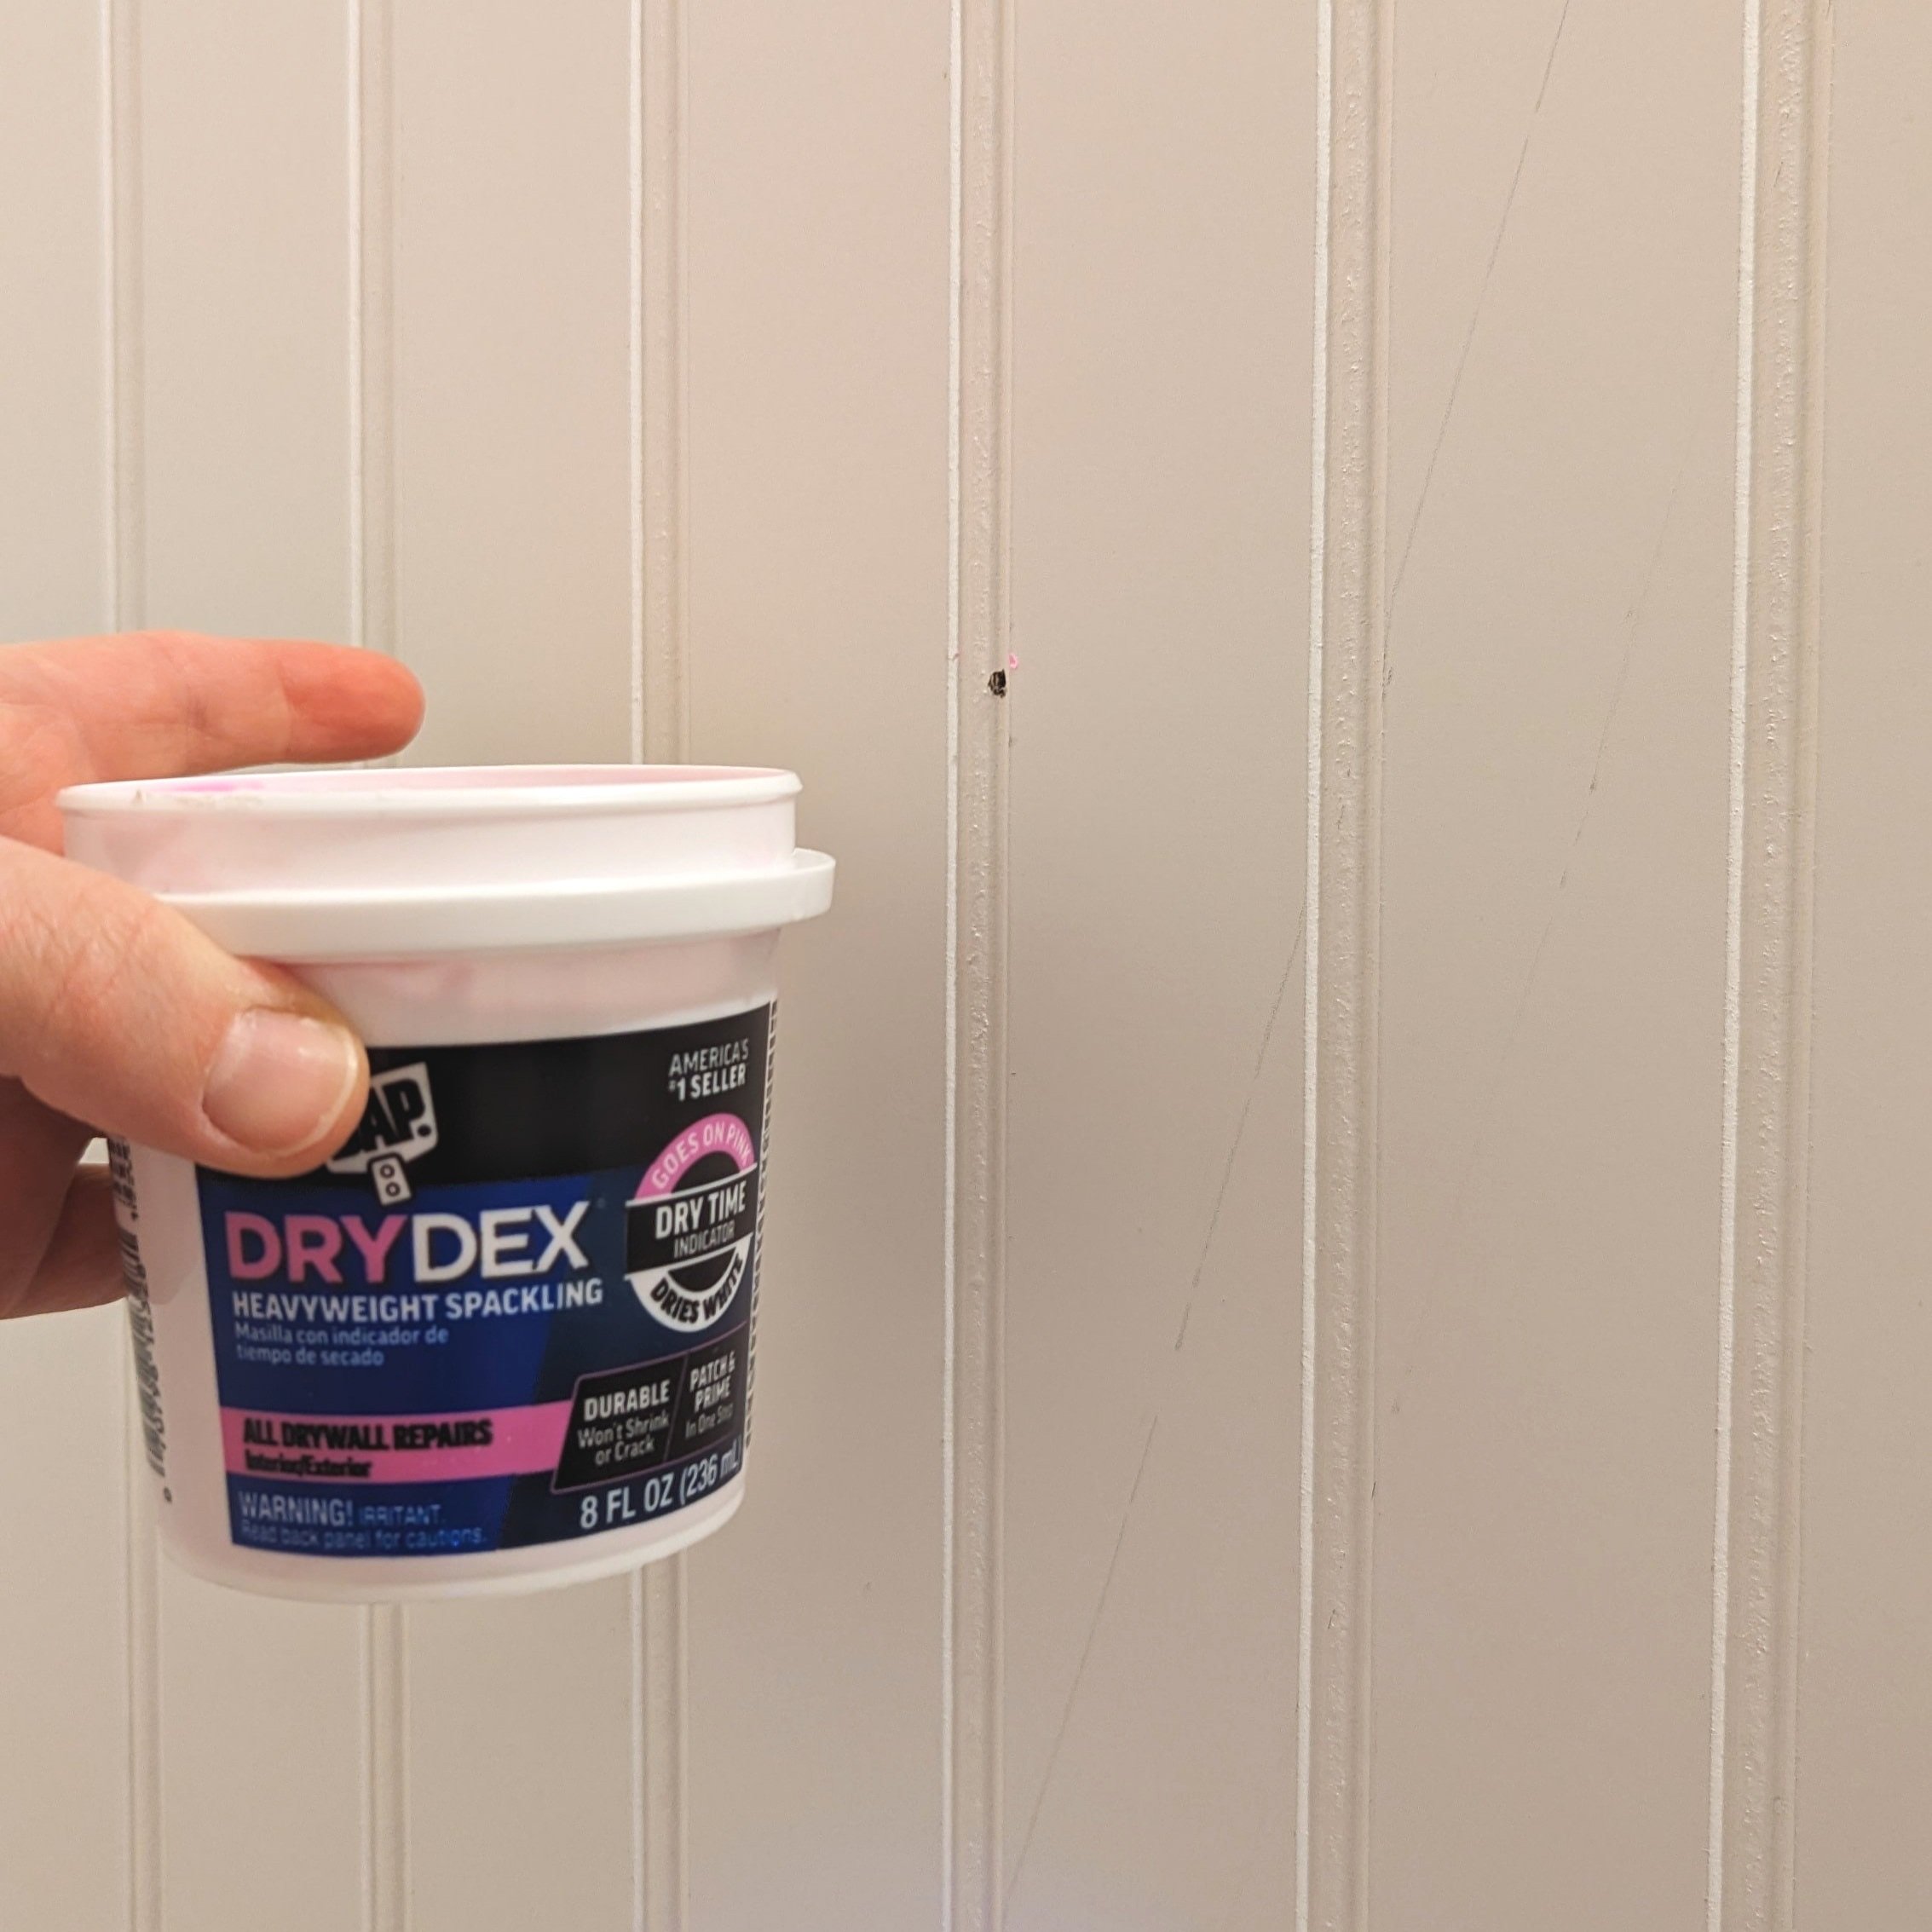
Once dry, sand the nail holes and wipe clean. Then it’s on to painting!
I used a paintbrush and roller to cover my entire room in the moody off-black paint I envisioned.
The last step is to reinstall your outlet covers or switch plates.
Congratulations! You've successfully hung beadboard on your wall, adding a touch of classic charm to your space.
Final Thoughts
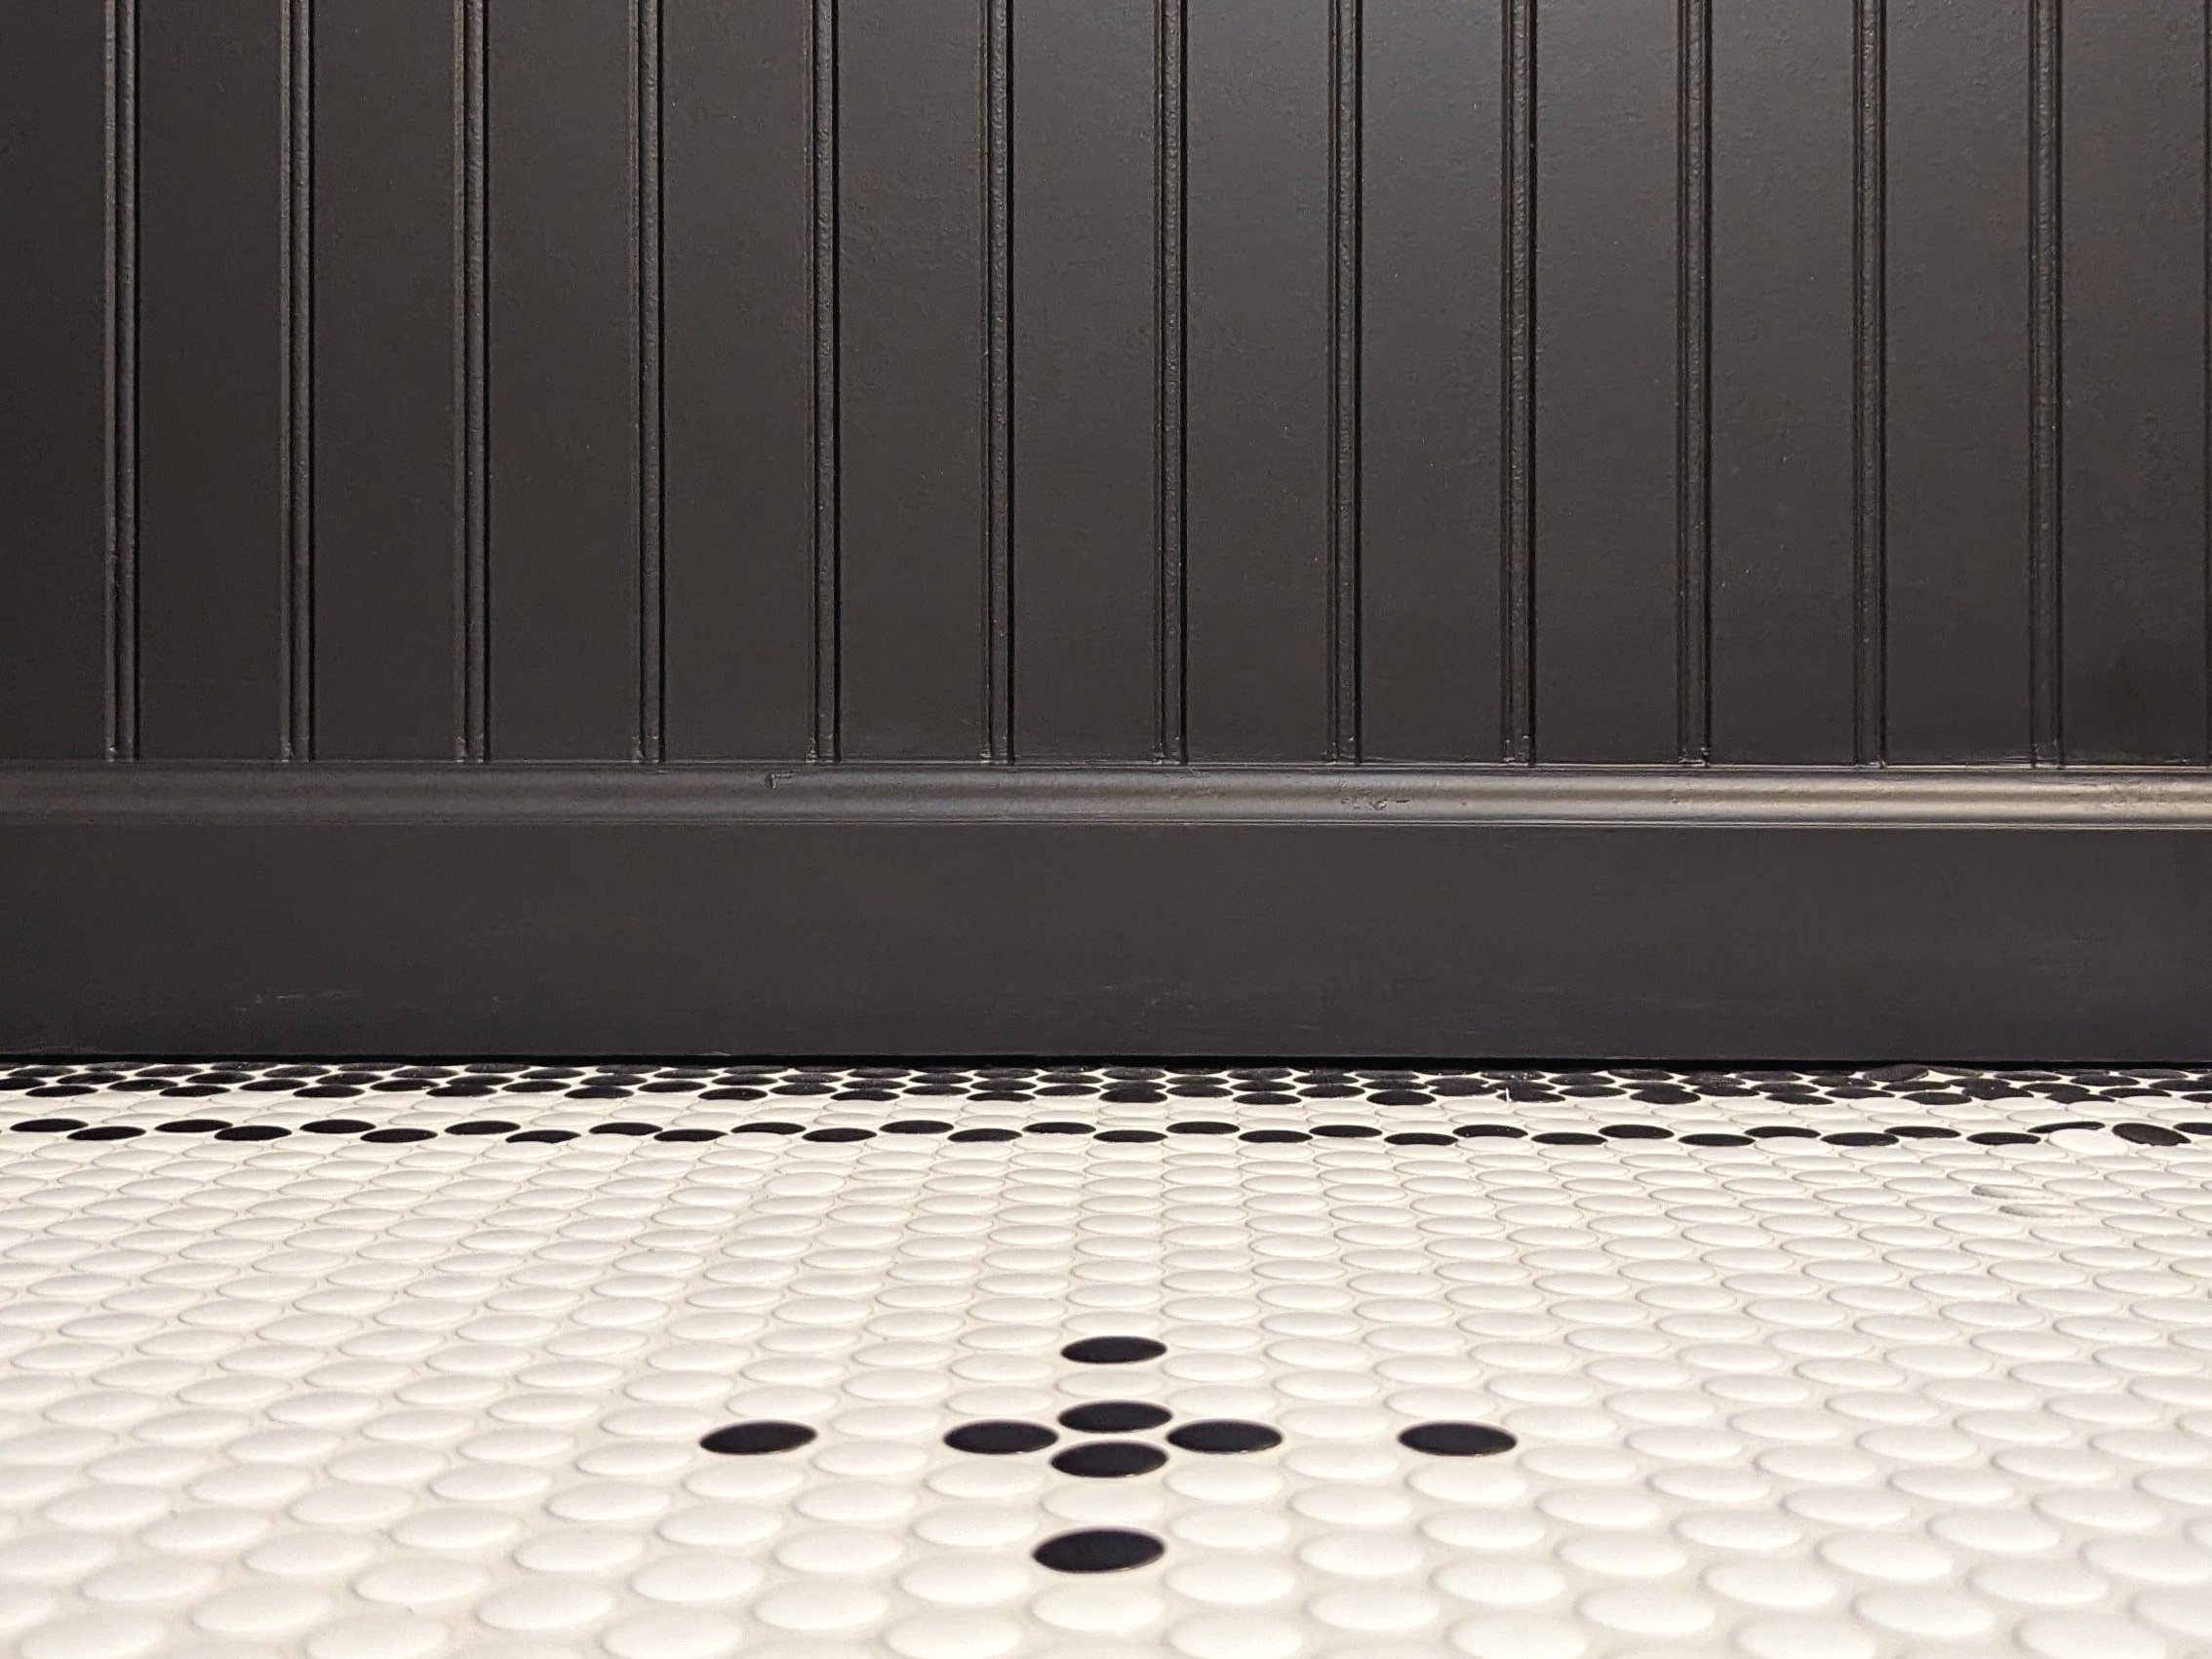
I’m in love with the look of the classic beadboard paneling next to the penny tile floor.

There’s a reason the top half of the “after” photos is missing in this post, though. My bathroom looks a little insane right now with the lack of… really anything except for the floor and beadboard. I still have modern wallpaper (coming next week!), the vanity, and all the finishing touches to add to this space. Once the rest of the elements are added, this space will make a lot more sense. Do you trust me!?
Be sure to follow along on Instagram and Facebook for all the behind-the-scenes of this remodel!

