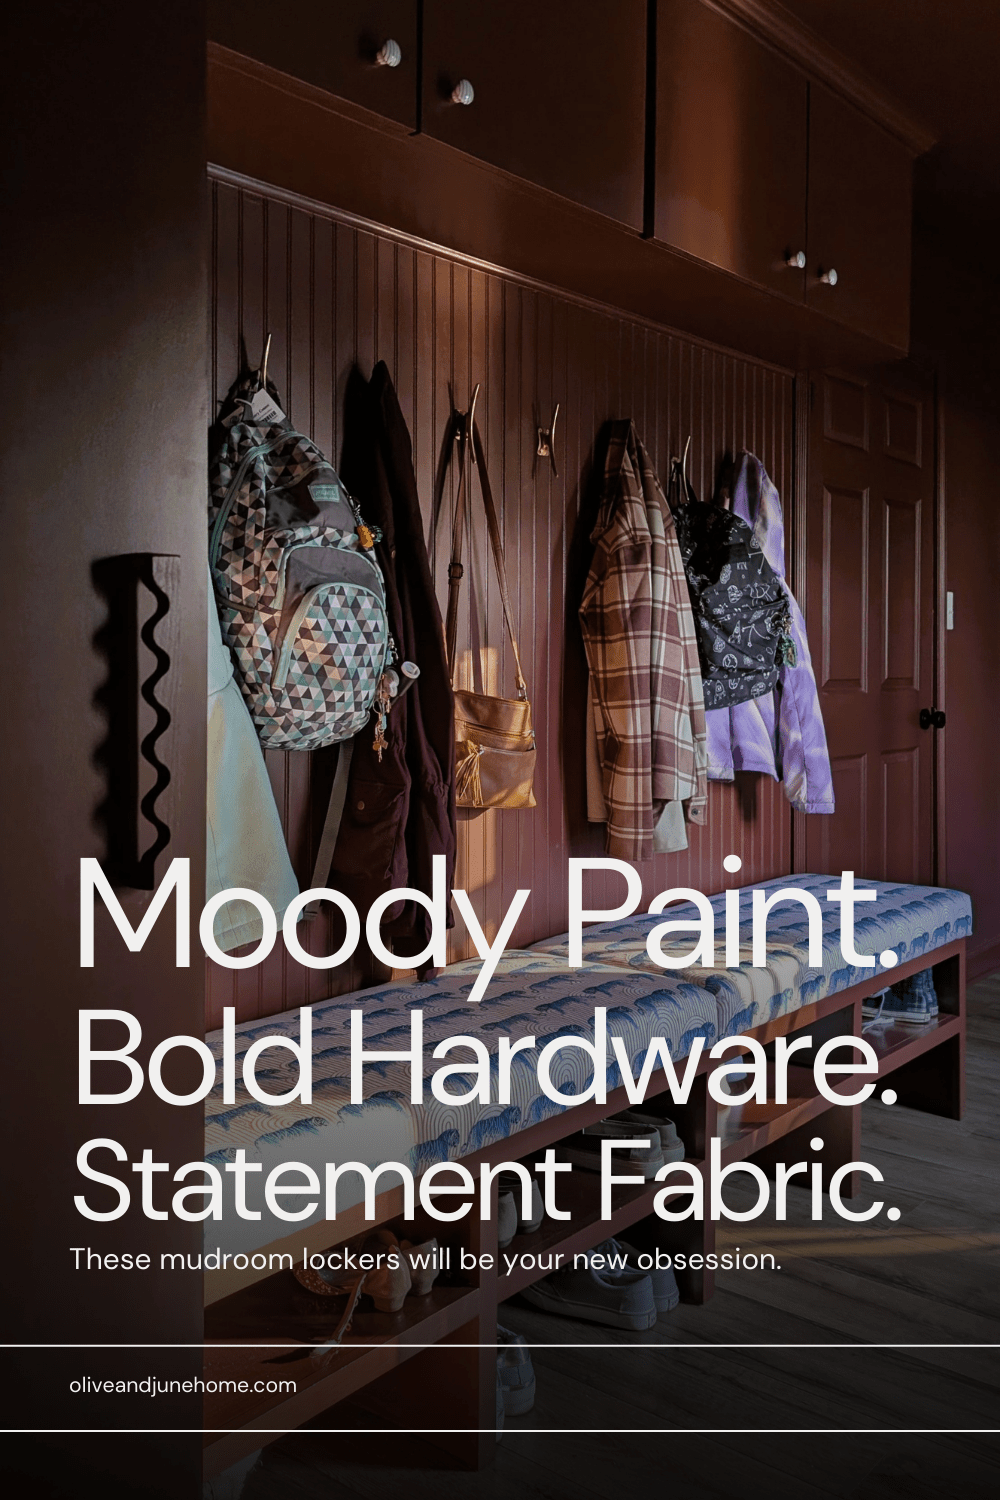
Mudroom Lockers Made from Scratch: Reveal Time
If mudrooms had movie trailers, this would be the dramatic close-up moment: the lockers are DONE. And honestly? They’re a dream come true - bold design, functional layout, and fully customized for all the “Mom, where’s my—” items.
Let’s jump into the full reveal, because these beauties deserve a grand entrance.
Where We Left Off
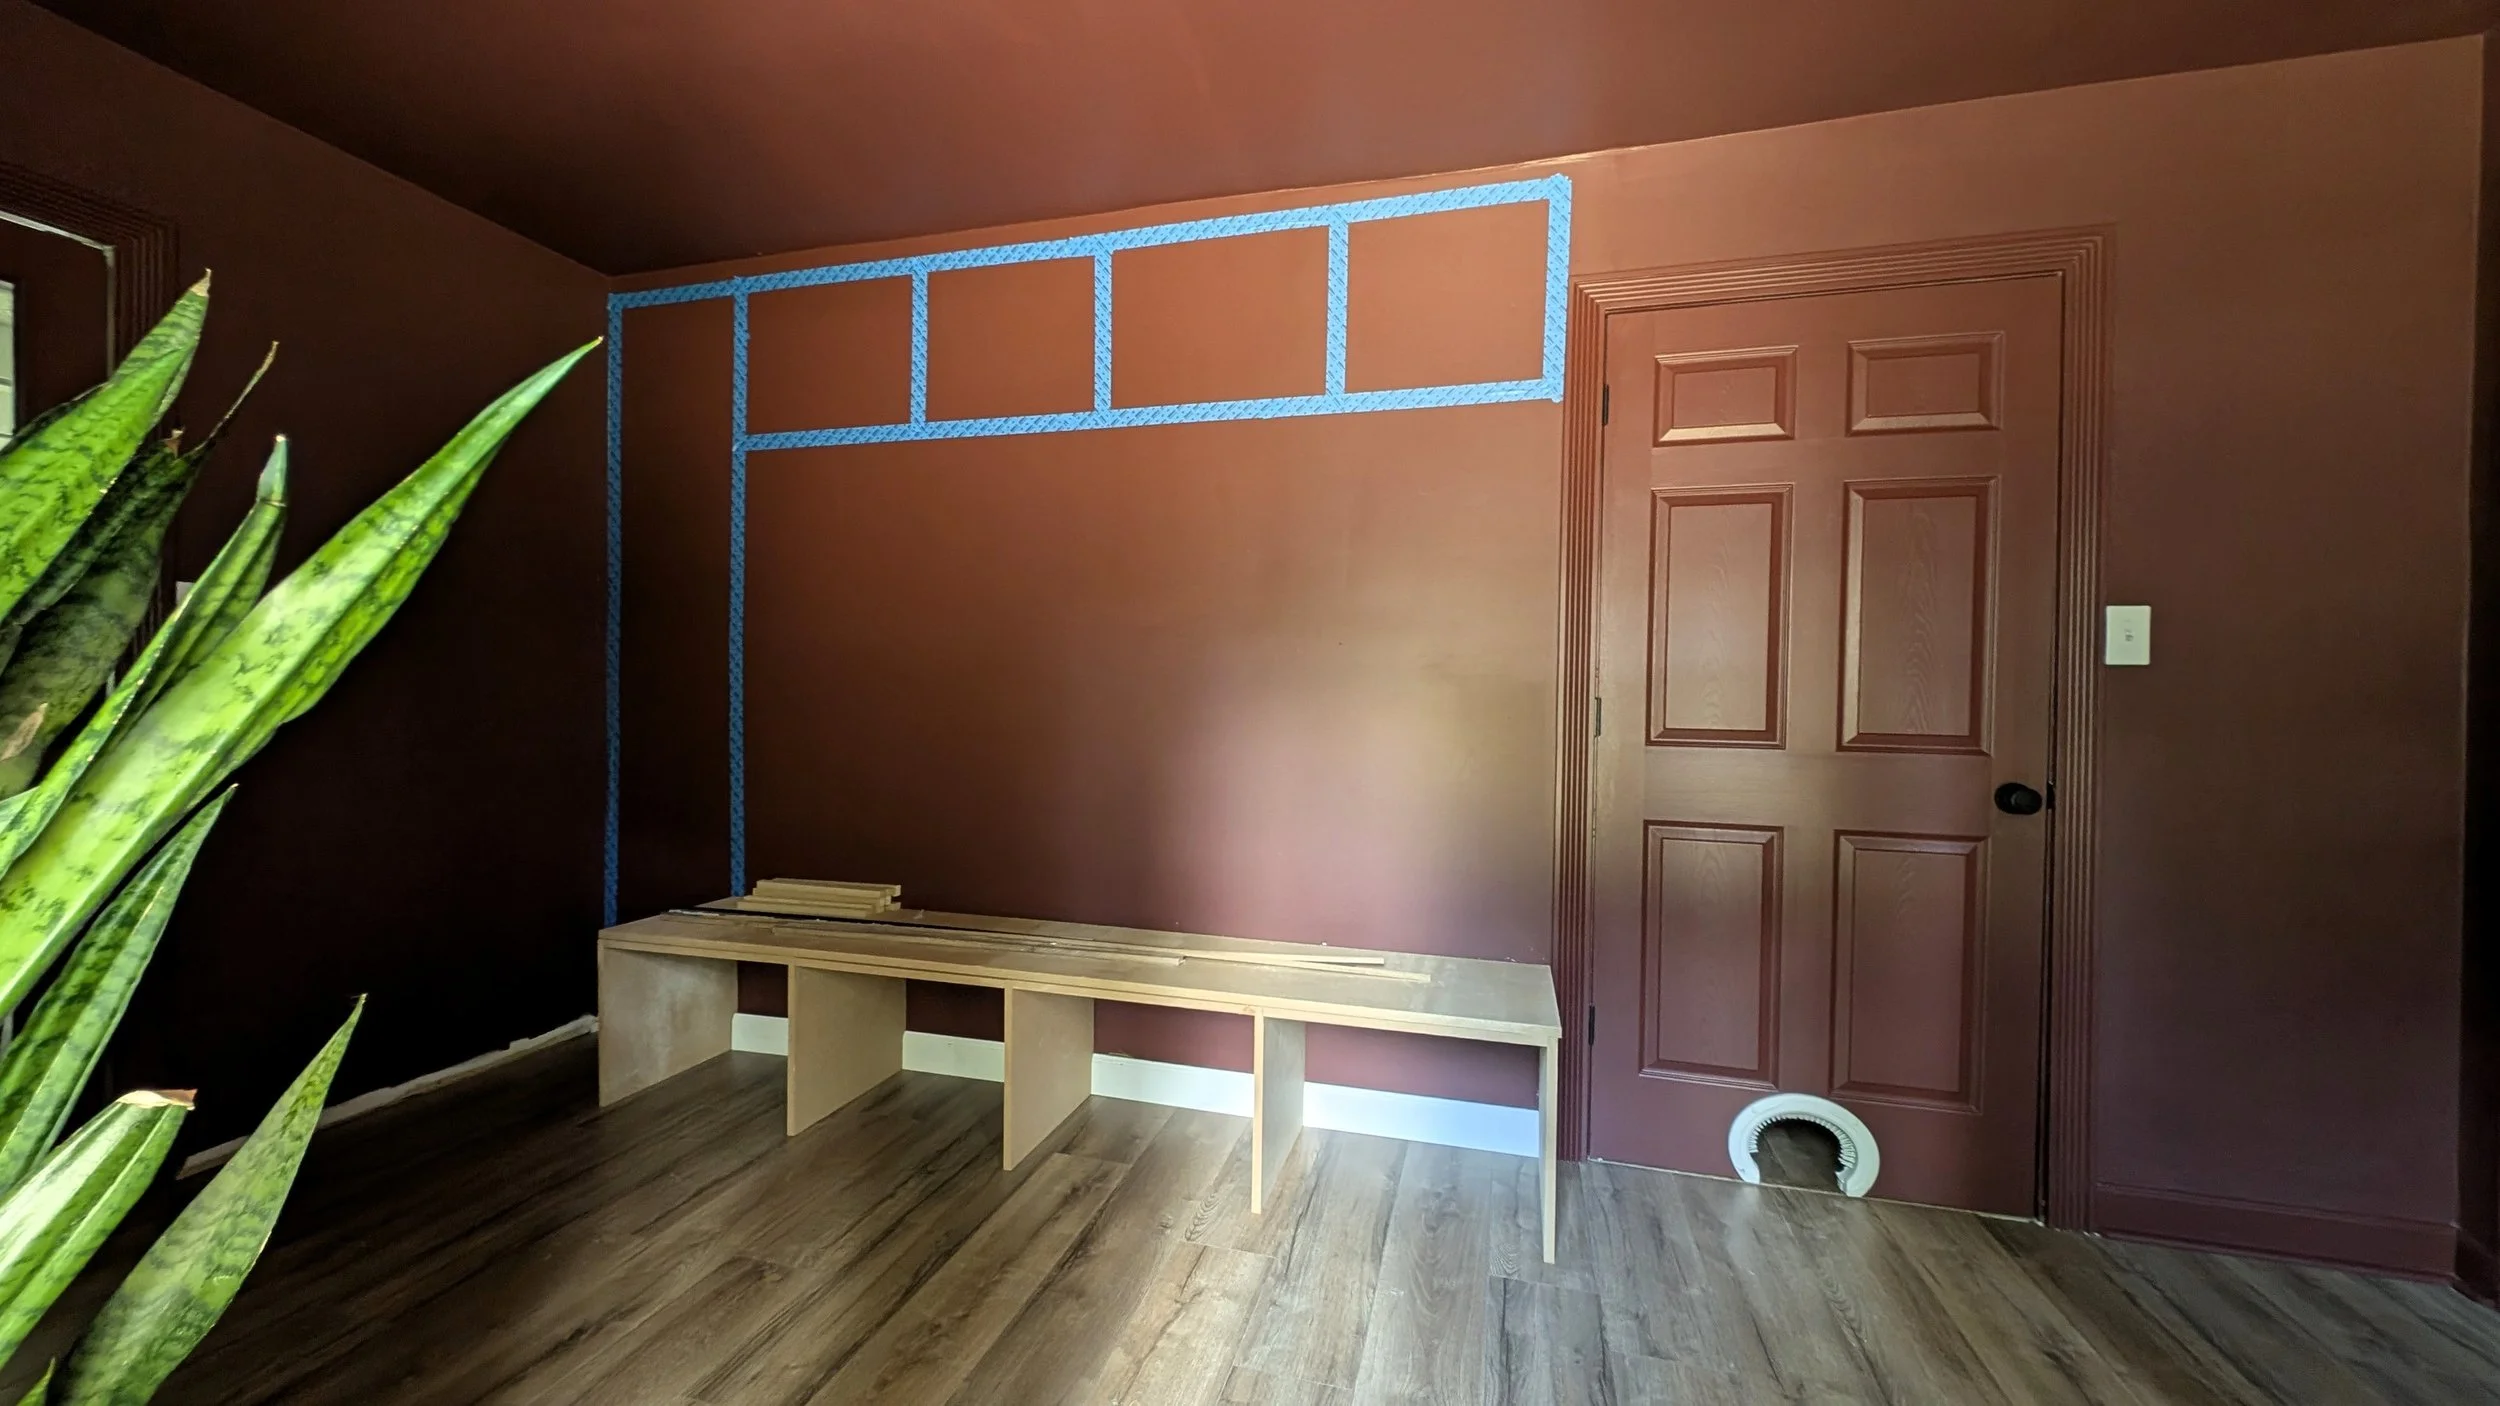
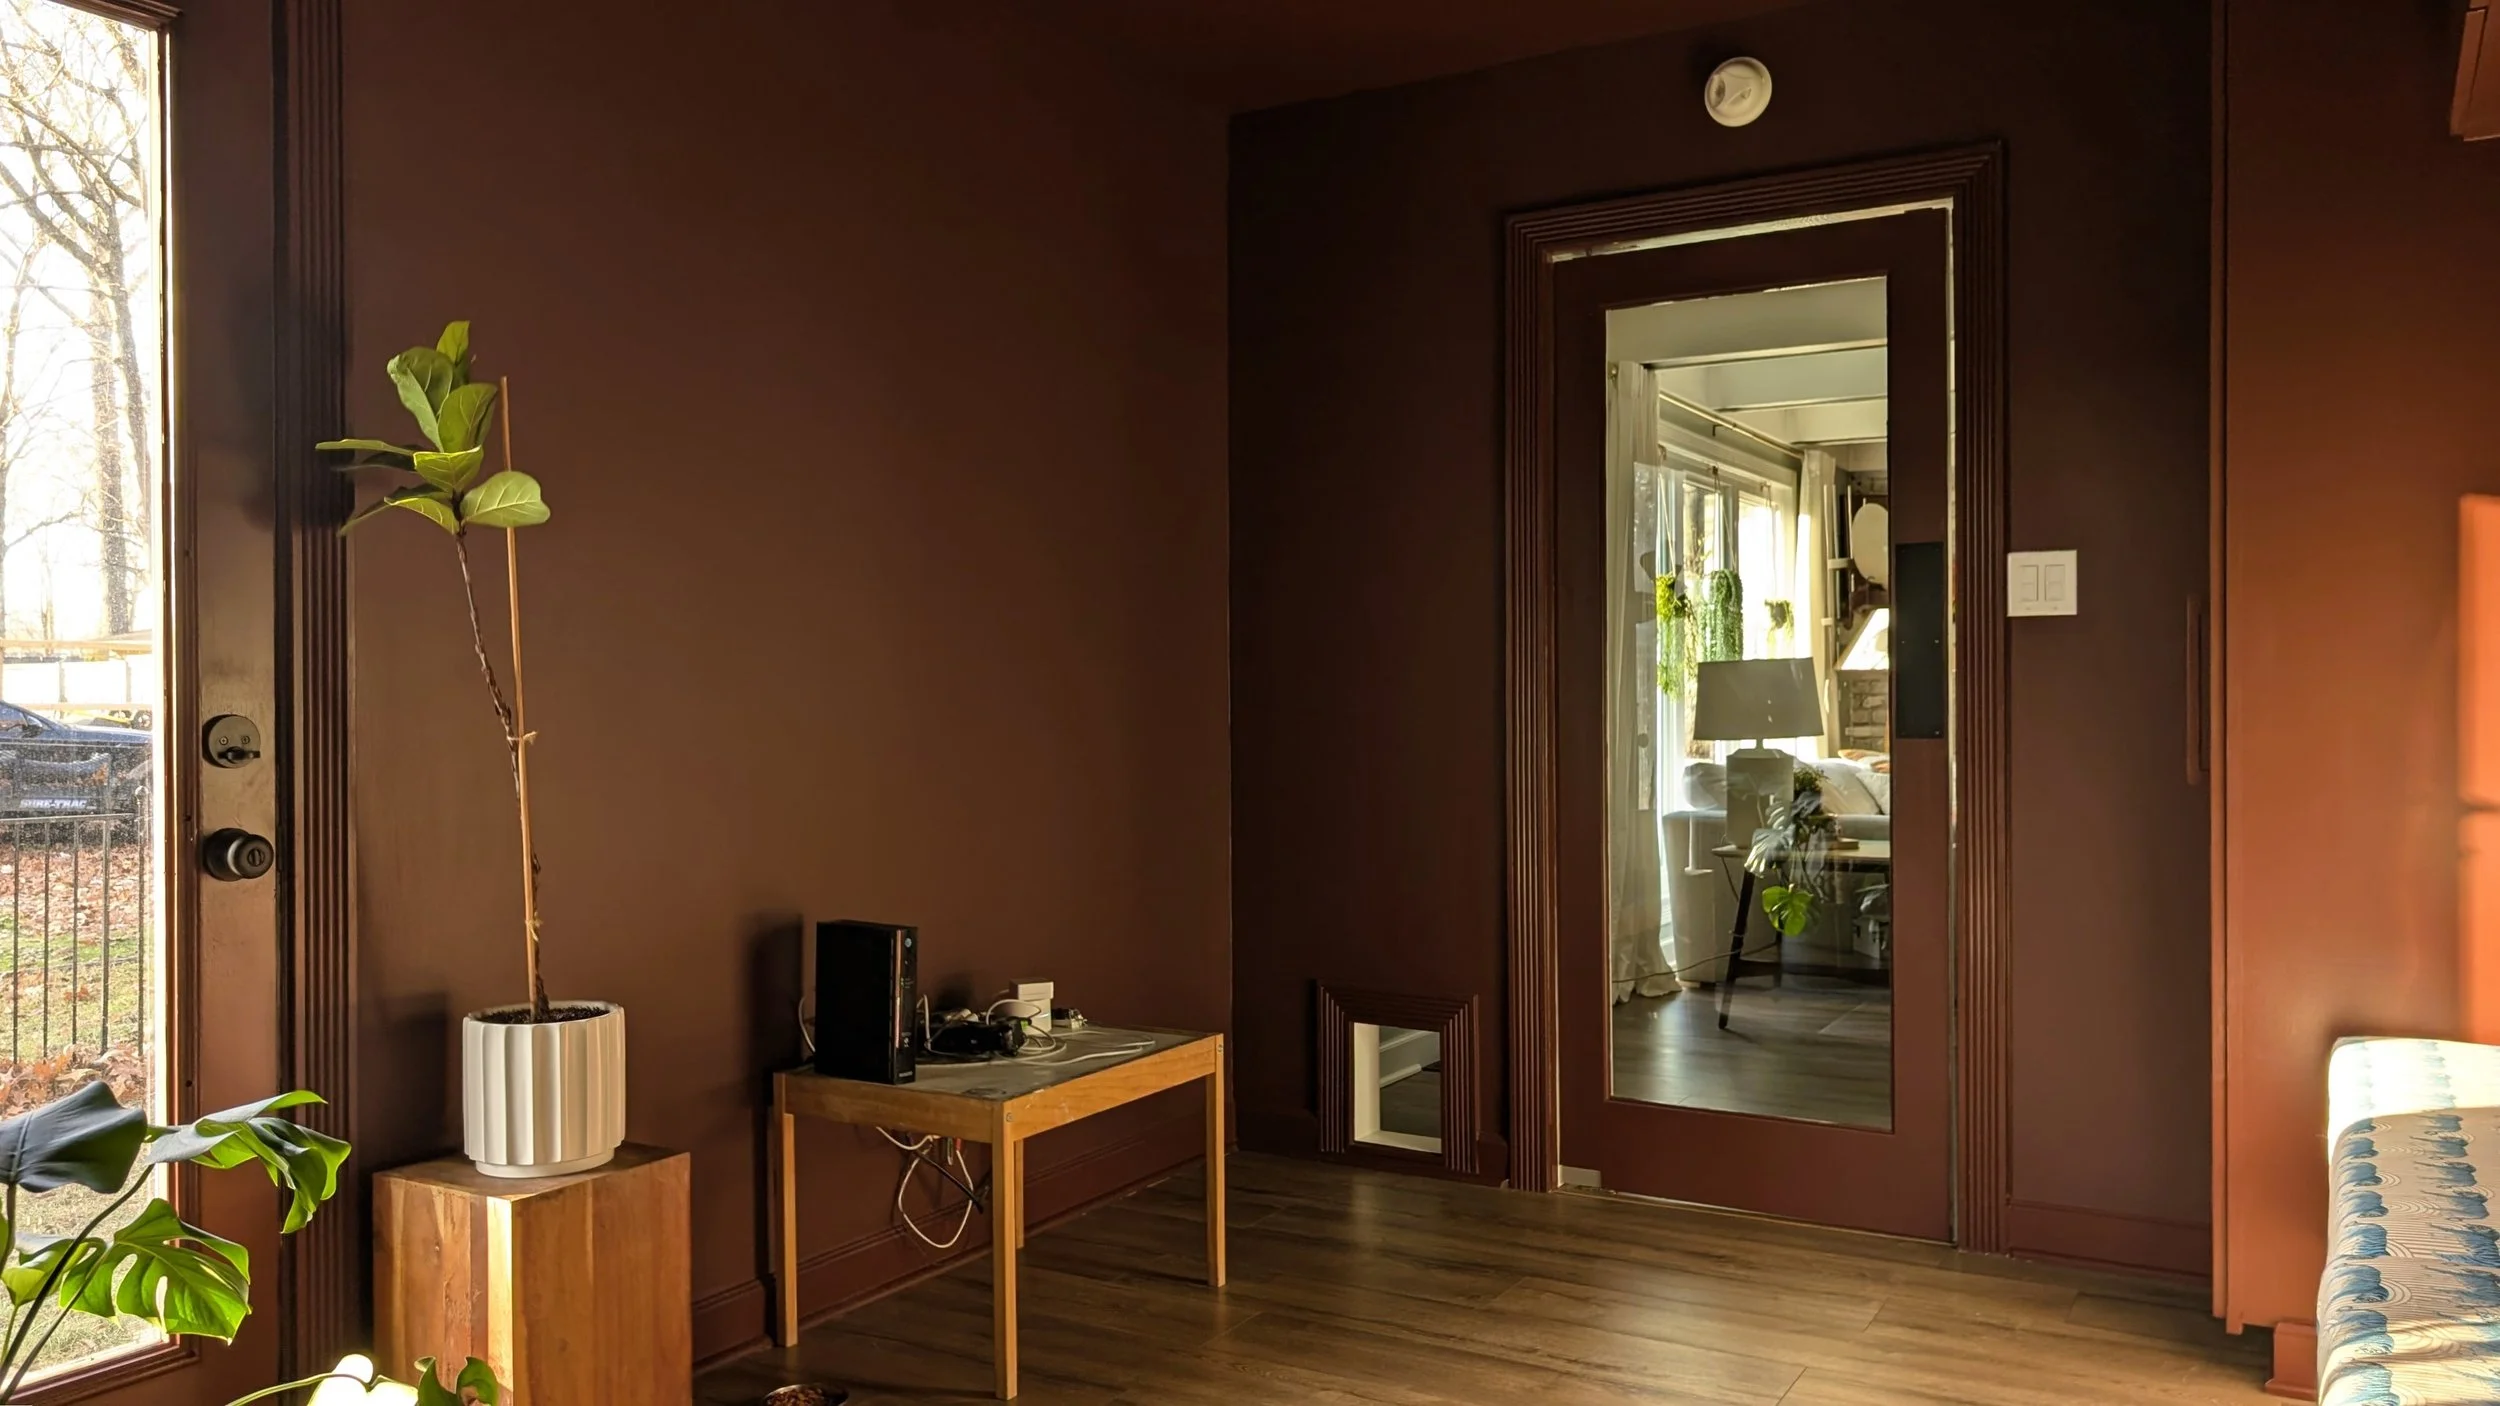
Before I started building the lockers, the mudroom looked like this:
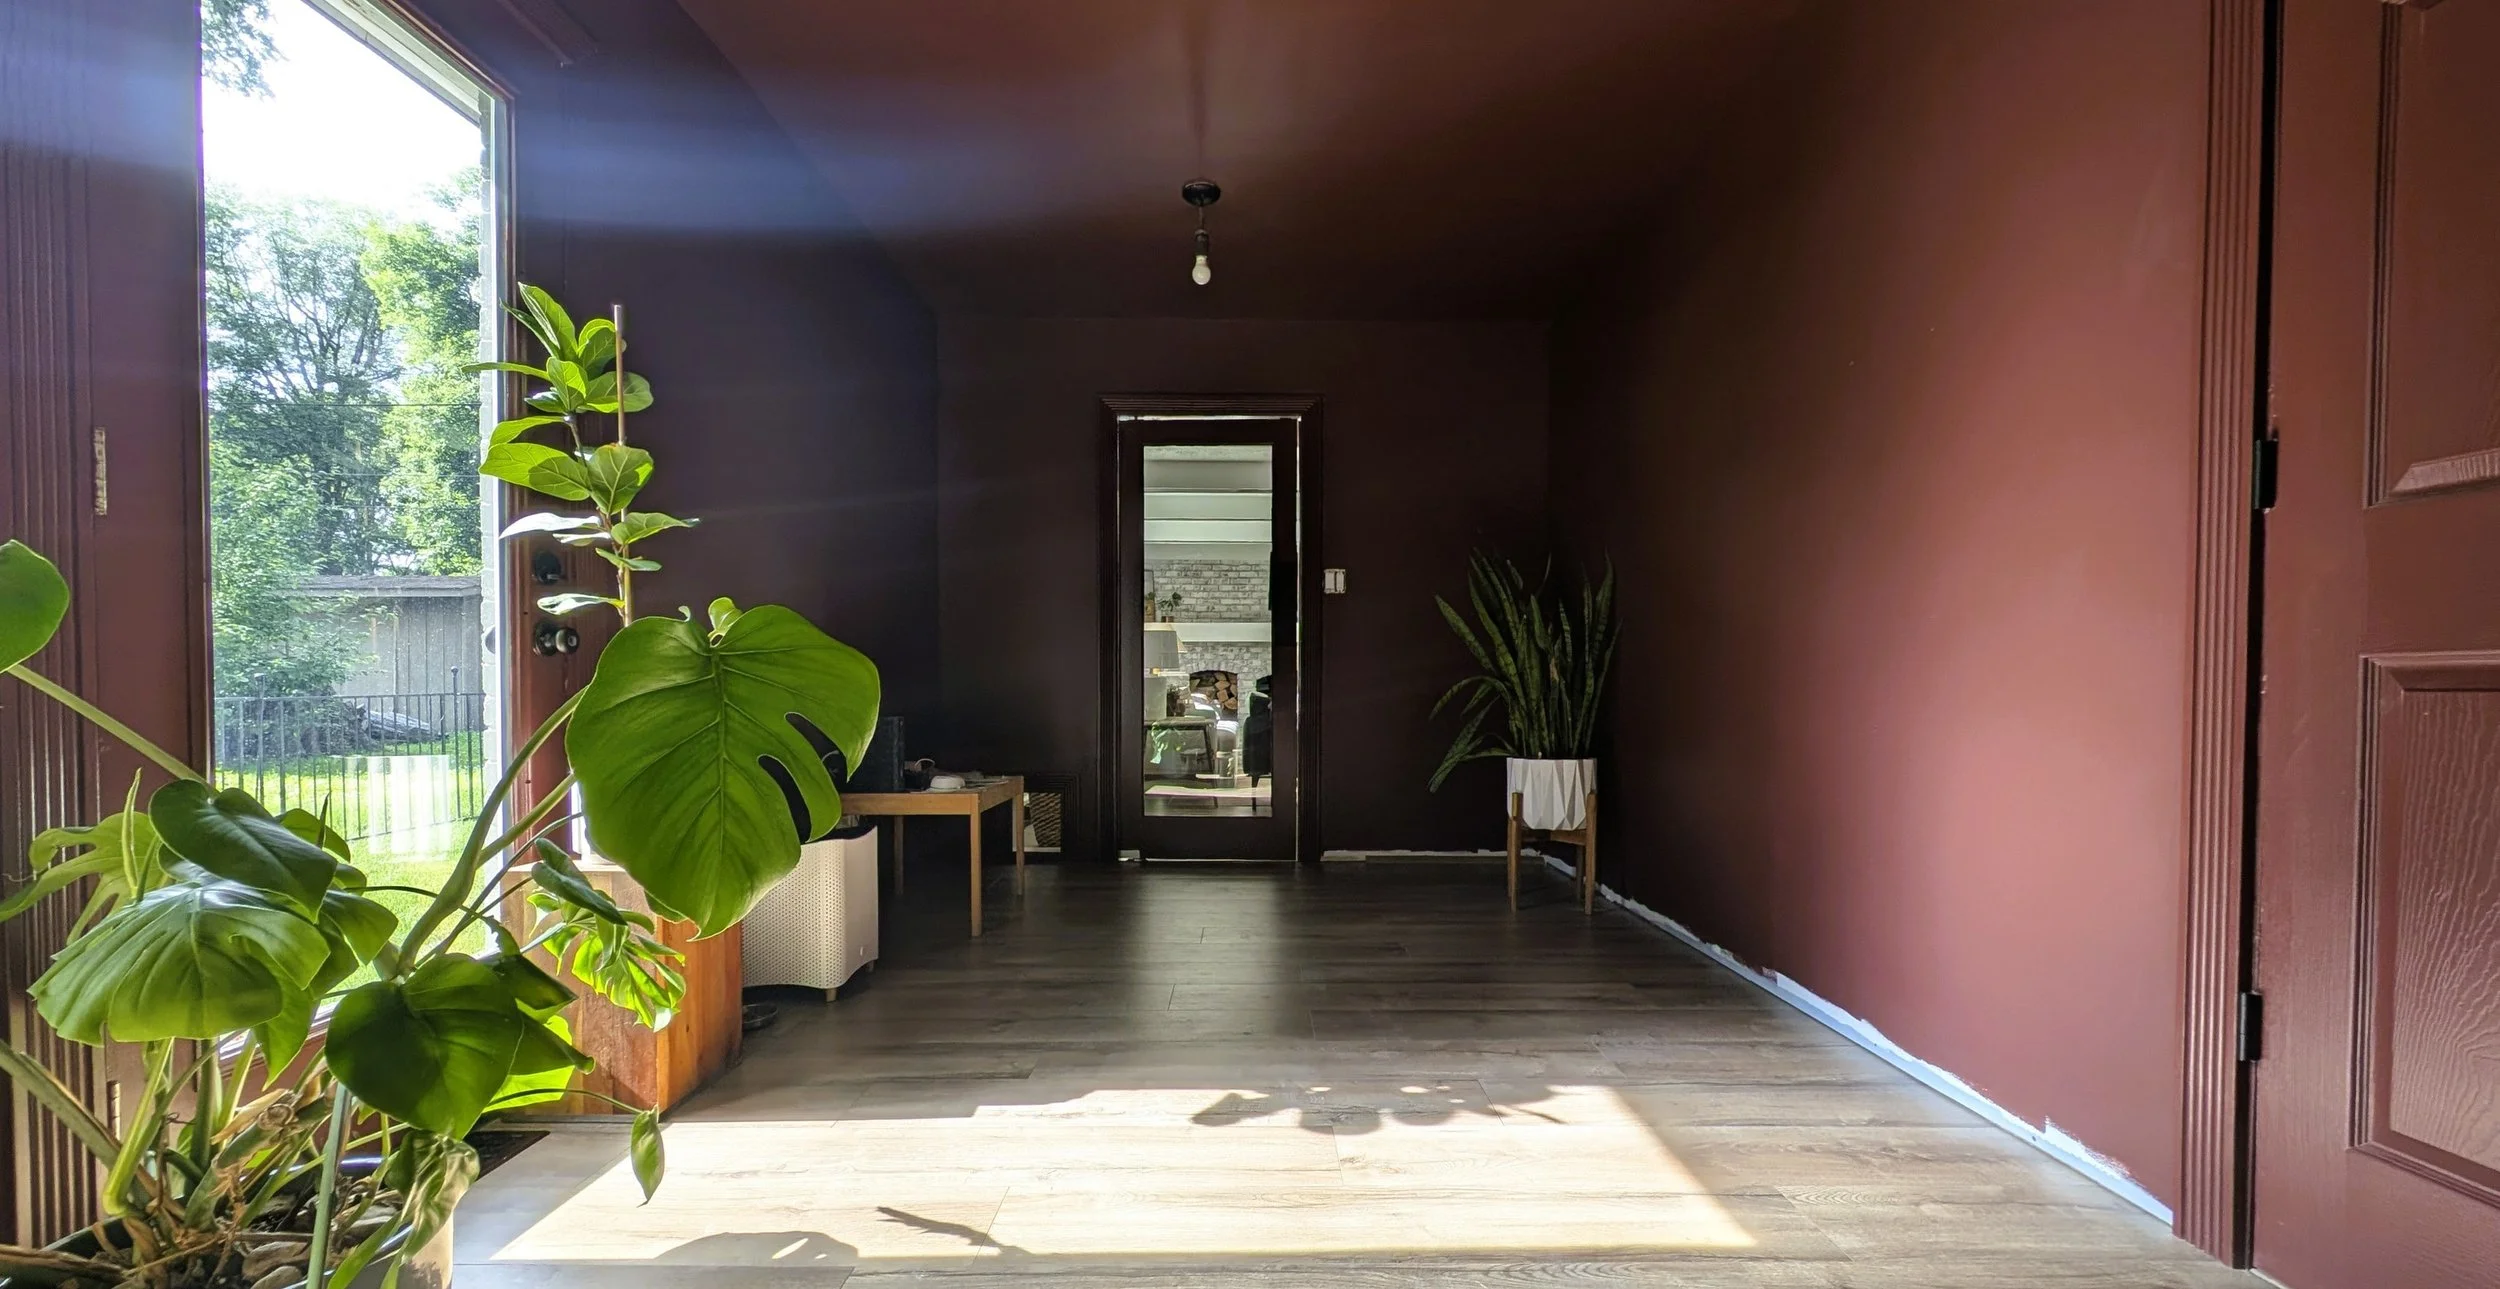
Even then, I was thrilled with how far the transformation had come. But the plan was always to put this giant, empty wall to work with a boatload of functional, stylish storage. So… I started building.
Almost three months later (excluding the 6ish years I’ve been sketching and dreaming about this space), the vision has officially come to life, and I couldn’t be happier.
Before I get too far into talking about the design details and pretty stuff, let’s talk about an equally important part of design: how this bad boy was built.
As an Amazon Associate and partner with other brands, I earn from qualifying purchases. This post may contain affiliate links, meaning I receive commissions for purchases made through those links at no cost to you.
How I Built the Mudroom Lockers
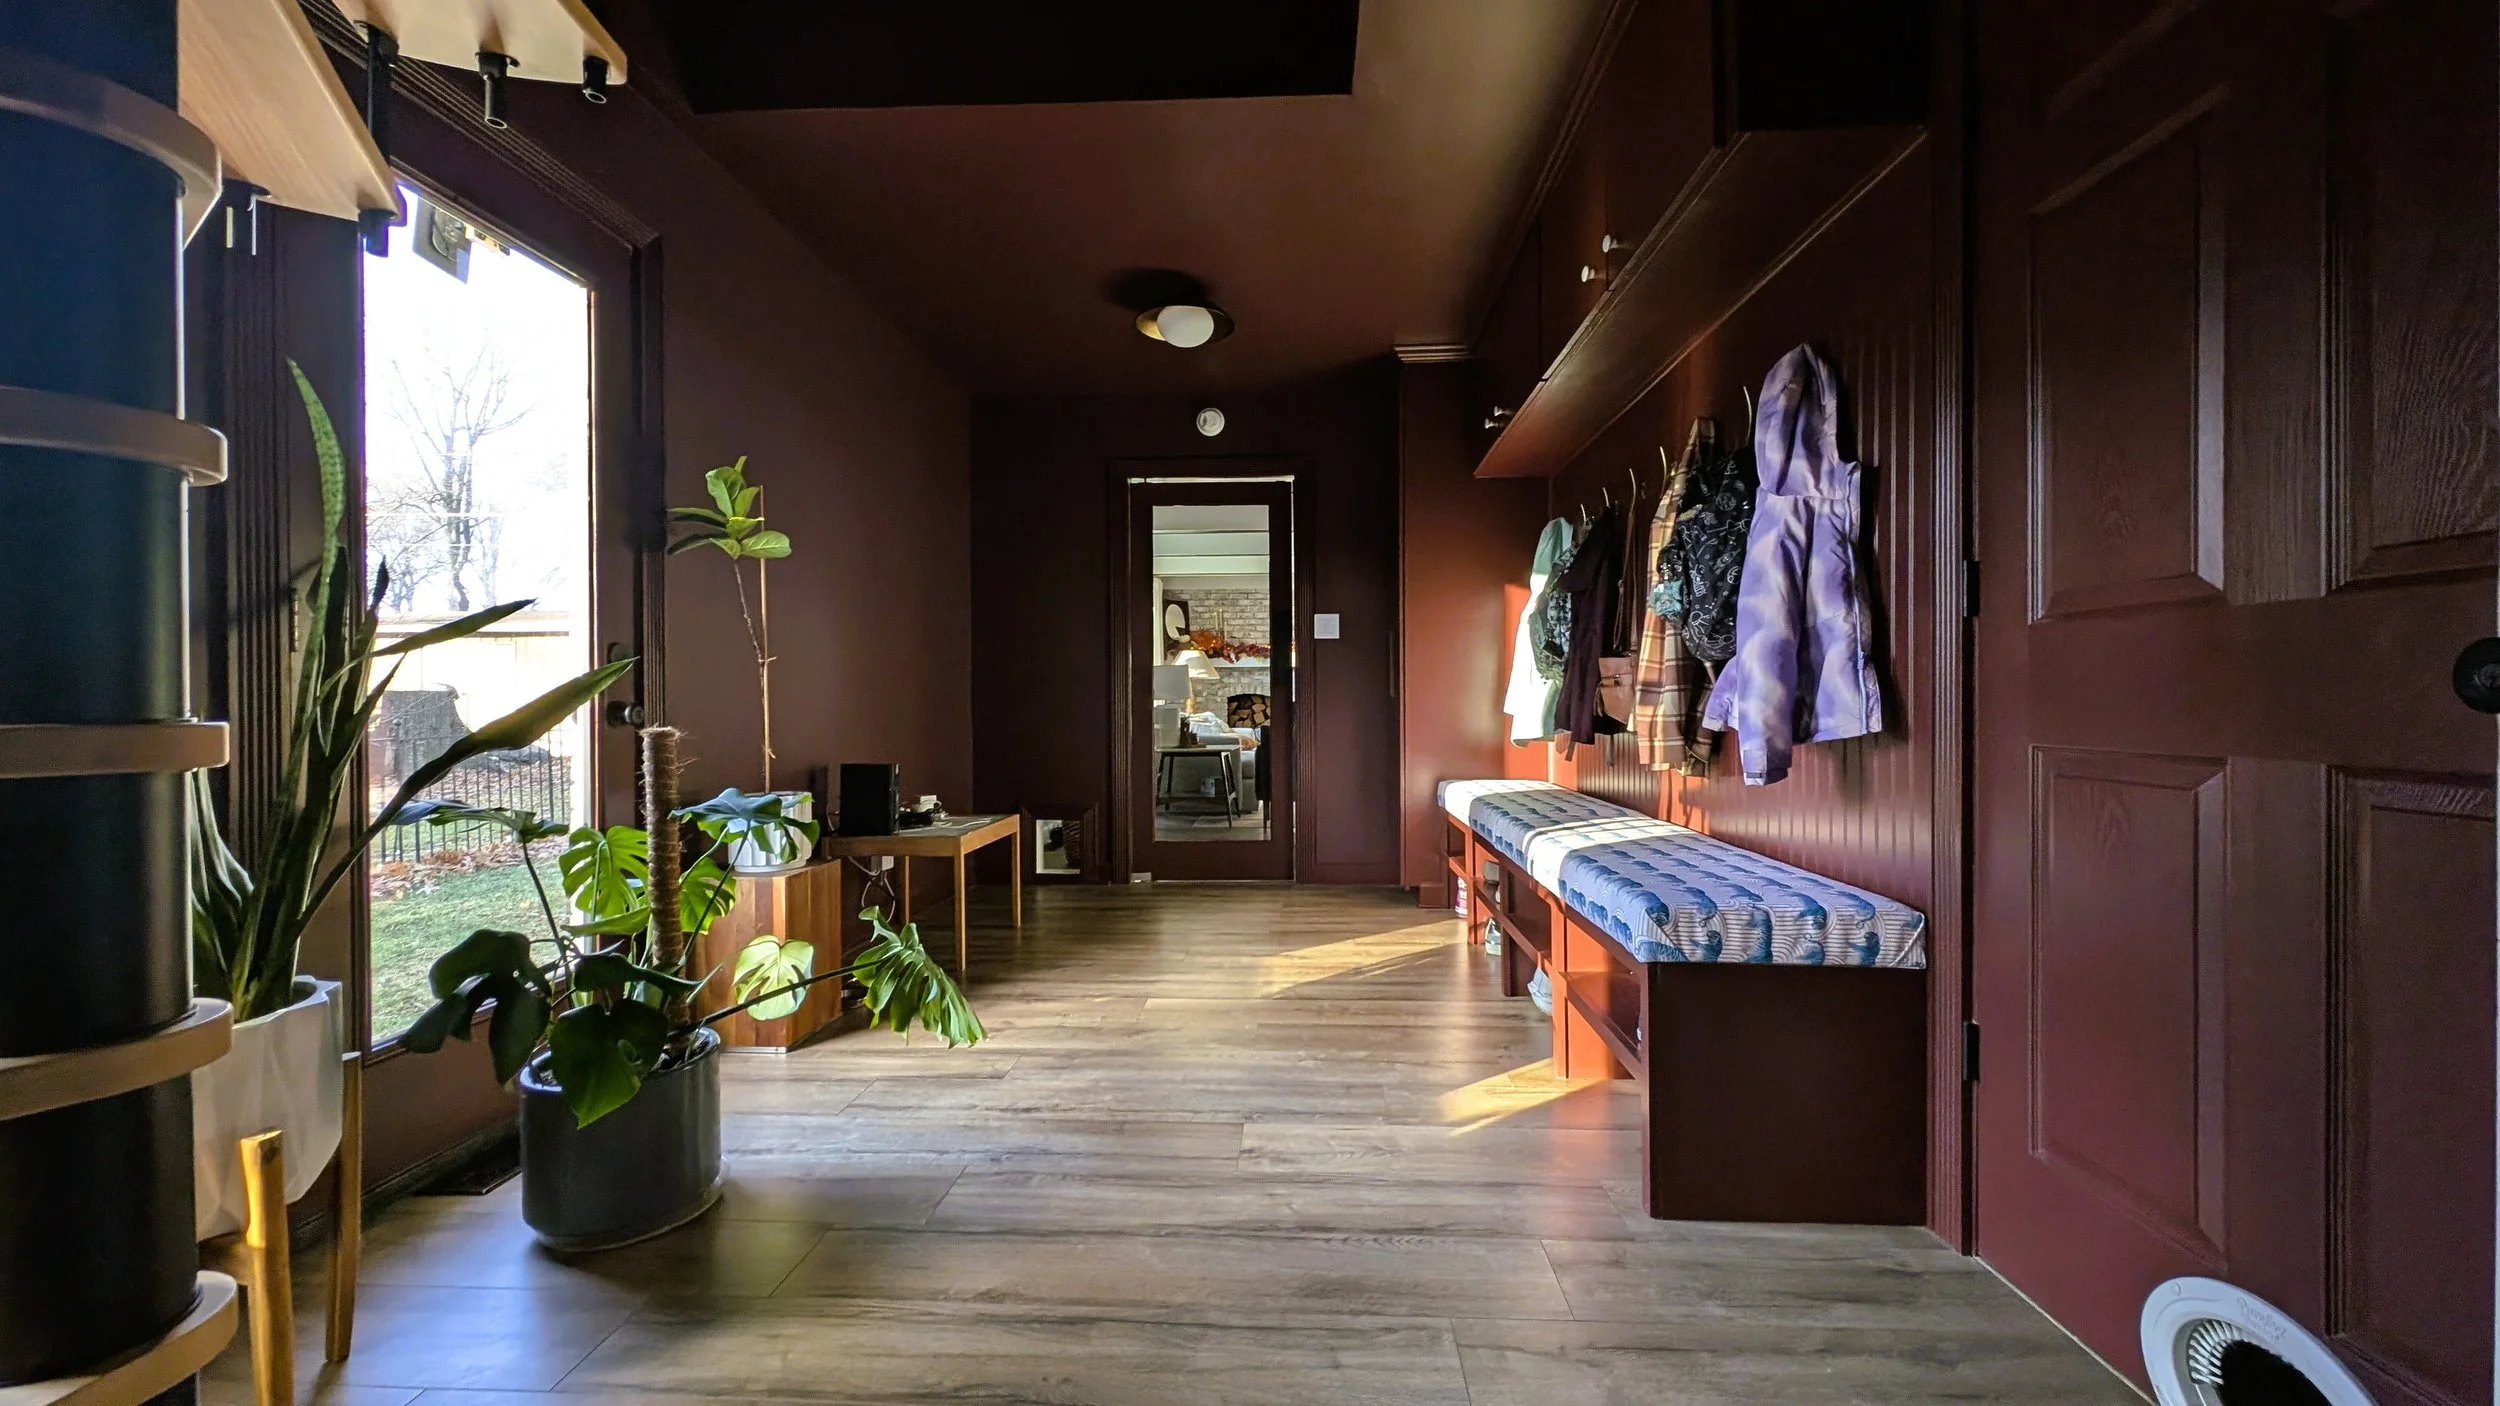
The goal for this project was to transform this underutilized room into a highly functional, impeccably designed, custom mudroom that didn’t make us cringe every time we walked through it. I wanted it to seamlessly tie into the rest of the house, while still maintaining its own personality and letting me push my creative limits.
Plus, dare I say that this is the most important piece of the mudroom?
The Base & Bench
Step one: build the bench.
This beauty spans just over eight feet and anchors the entire wall. While I’m not quite ready to publish my own “How to Build a Mudroom Bench” tutorial, I used this Ana White plan as my guide if you’re itching to try something similar.
Upper Cabinets & Tall Cabinet
Next up: cabinetry.
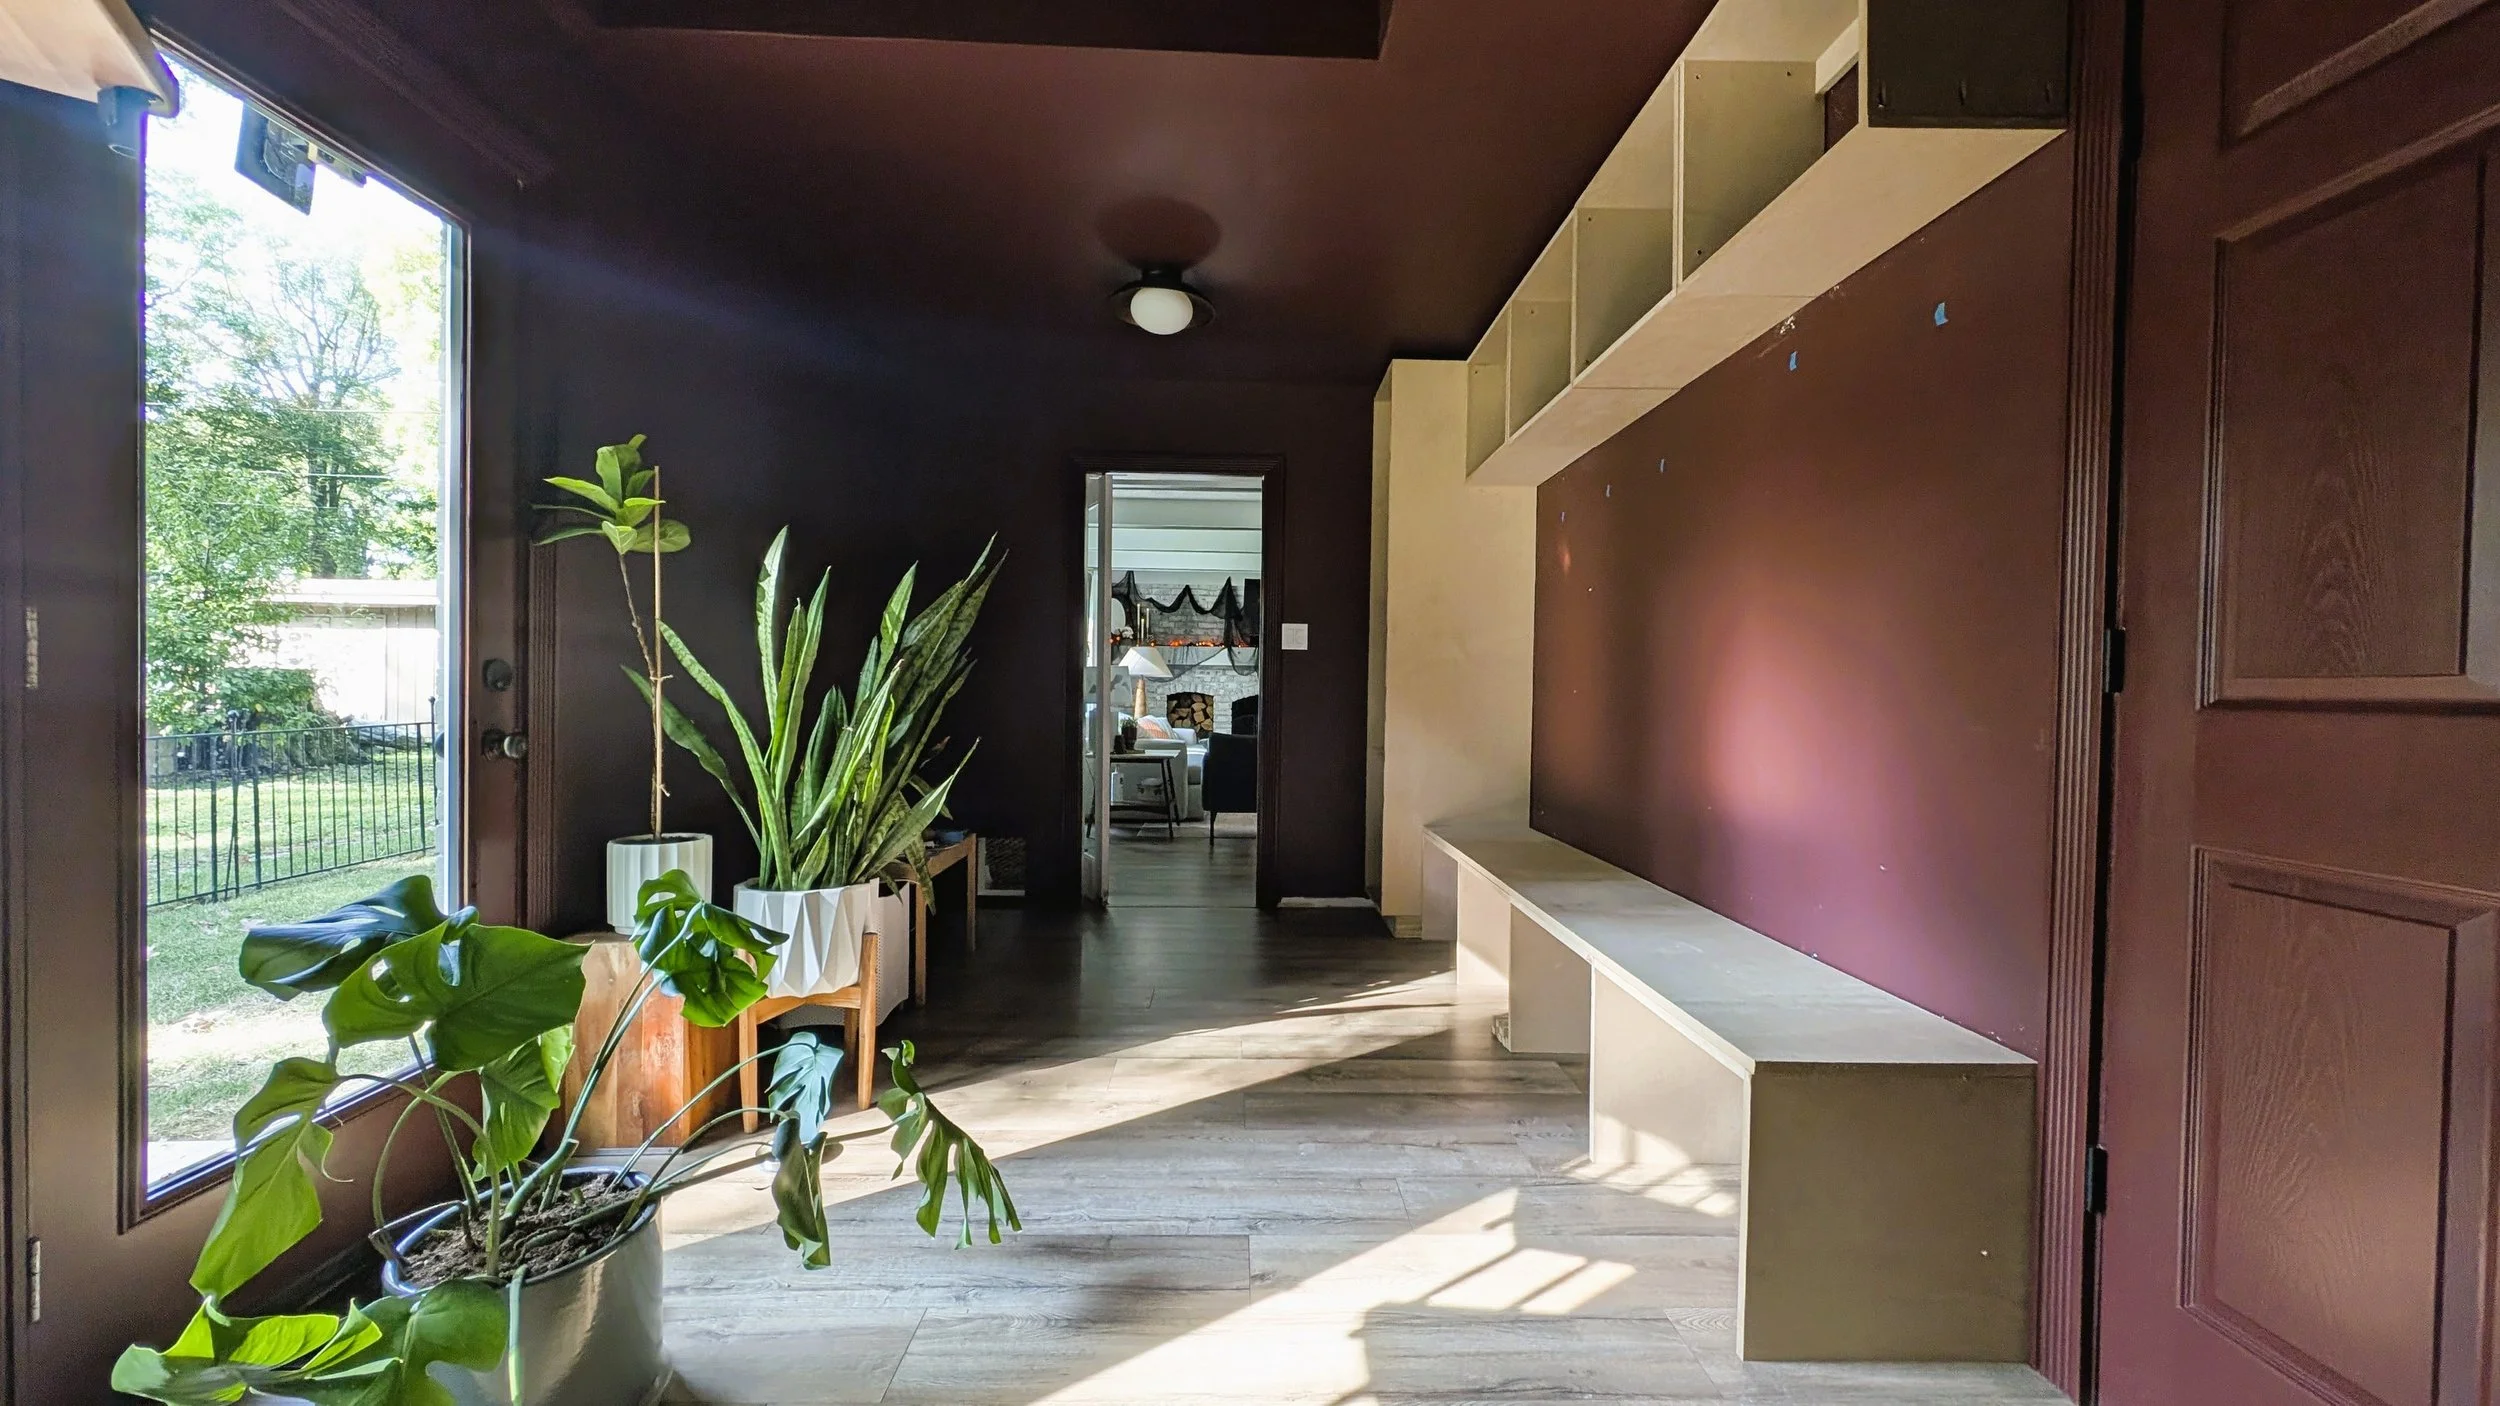
I built four upper cabinets to echo the four shoe cubbies below the bench. Then came the floor-to-ceiling cabinet on the left, built on a 2x4 base for the right proportions and rock-solid stability.
Everything was joined using pocket holes and wood glue. Shoutout to my Kreg Jig for being the MVP of my woodworking life.
Framing & Beadboard
To hide gaps between the upper cabinets and keep the build looking seamless, I wrapped the bottoms and the exposed side with ¼” plywood.
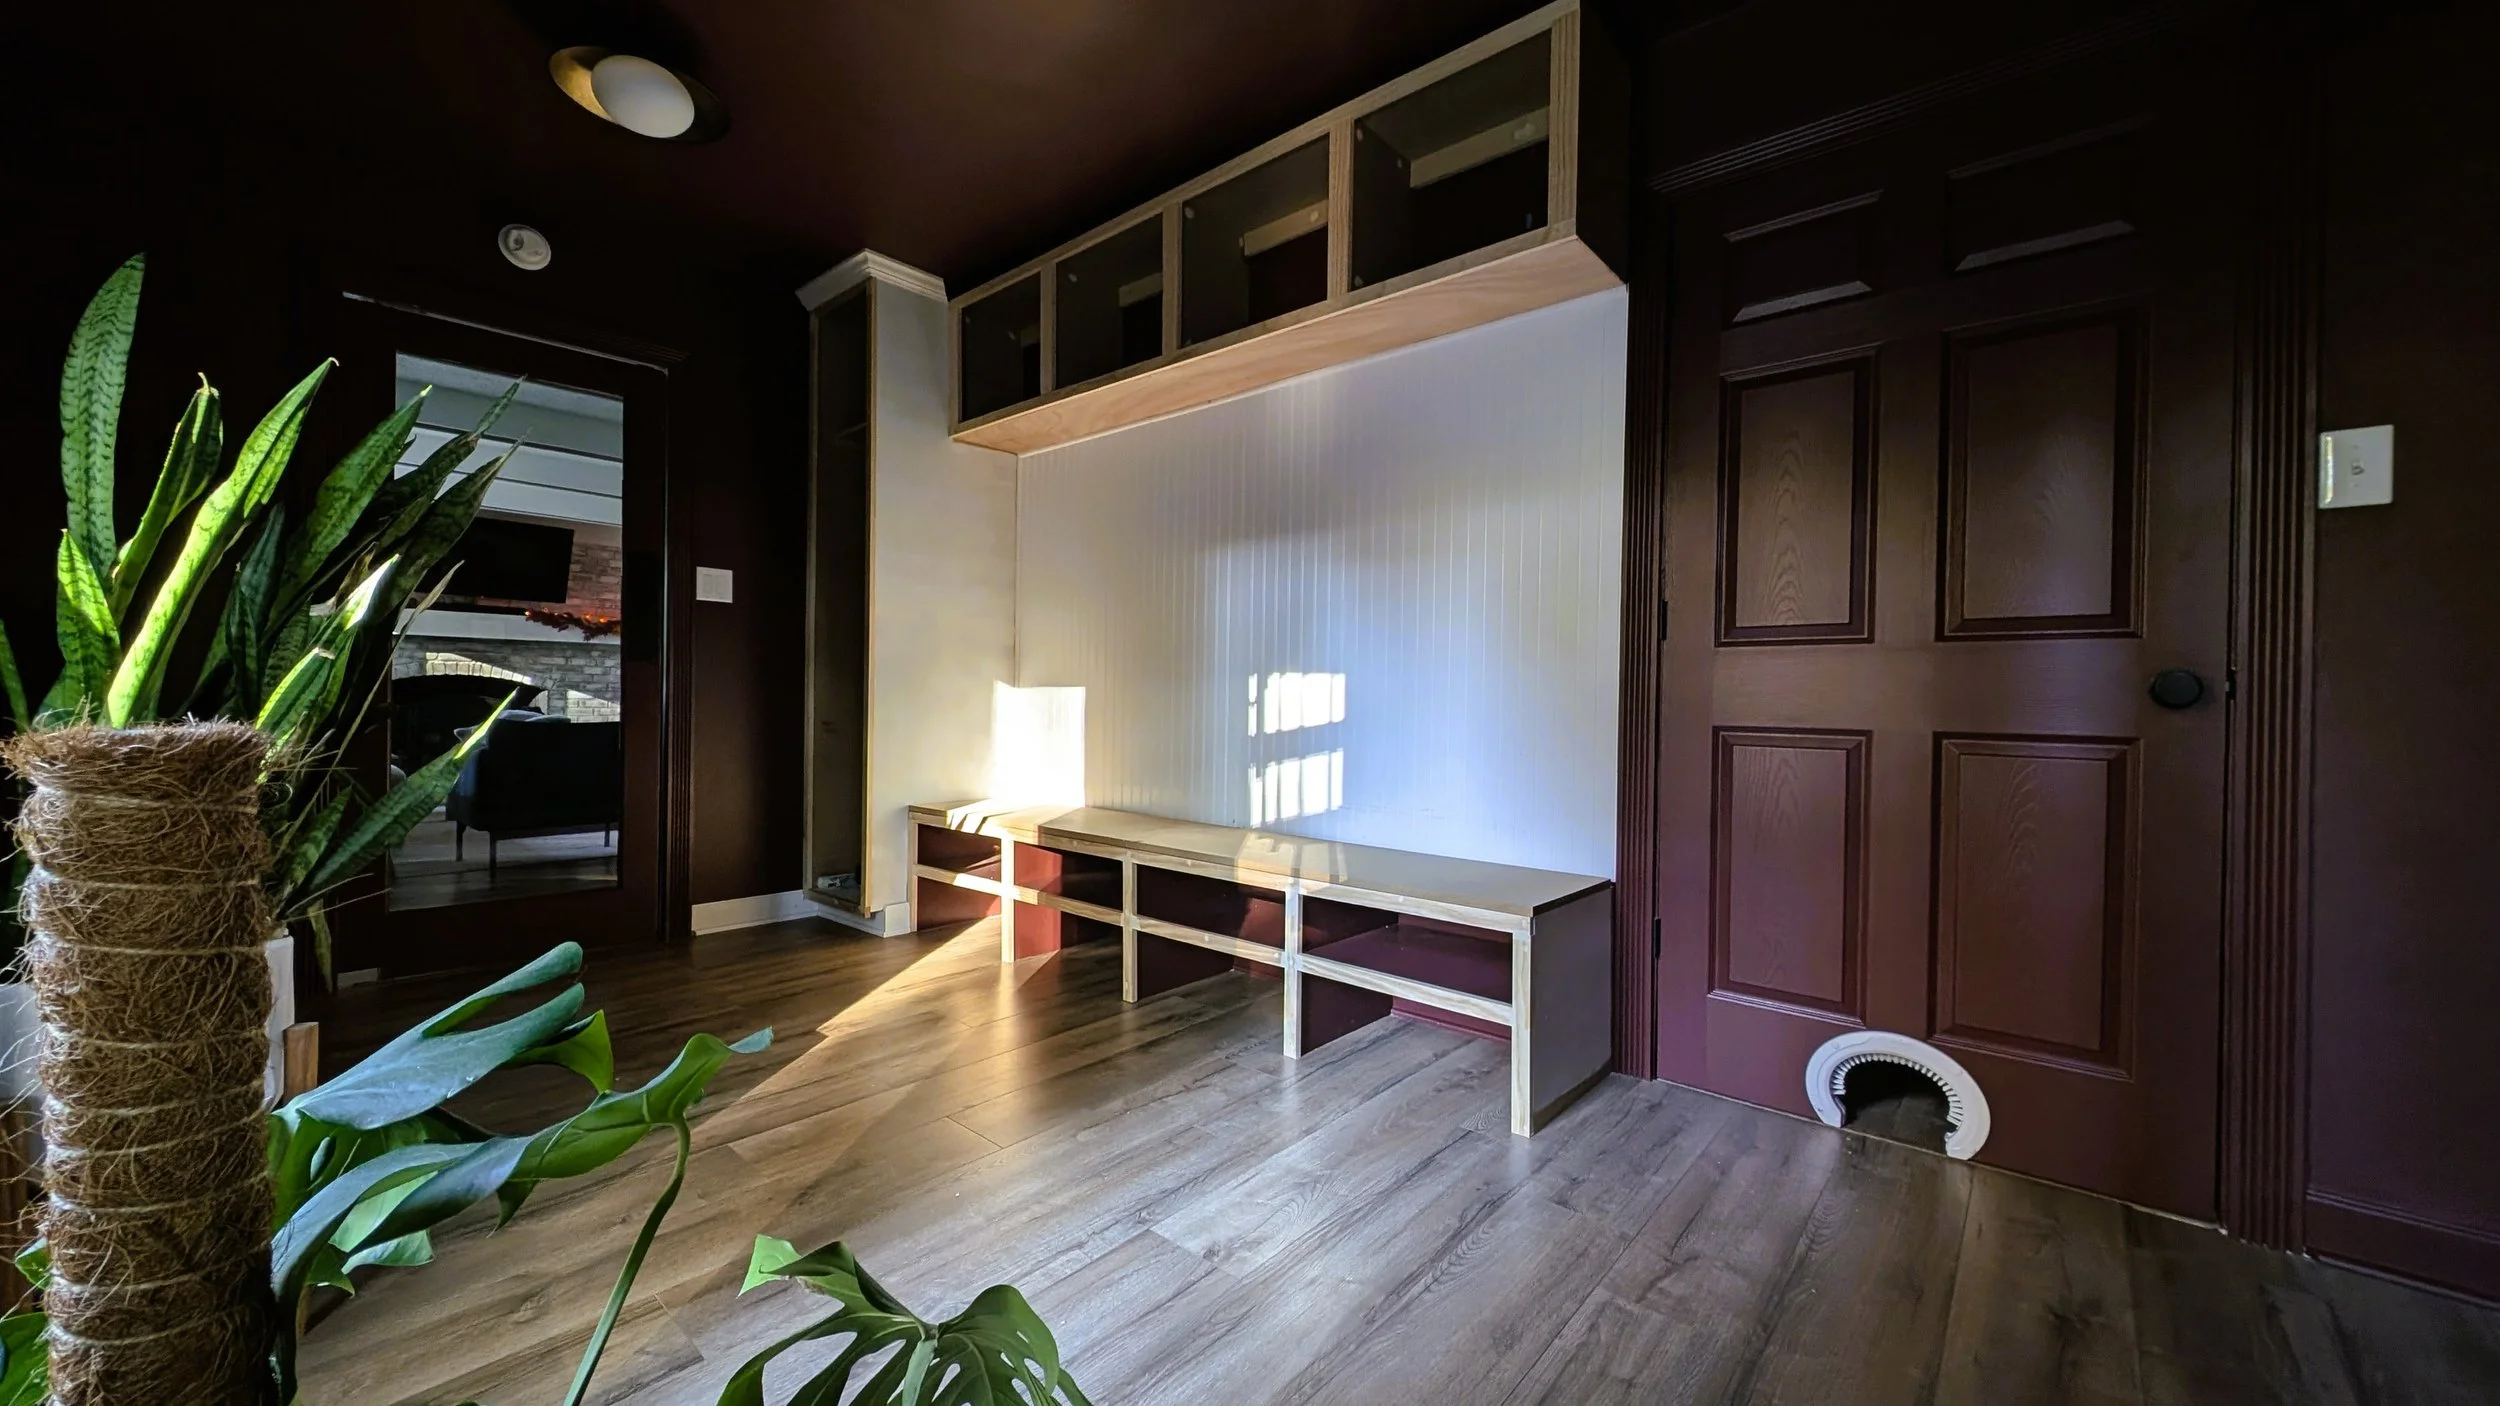
Once everything was in place, I trimmed the entire structure with 1x2s. It never ceases to amaze me how quickly trim makes a project look finished.
Beadboard was a late-stage decision, but once the cabinets were installed, it was clear the wall needed more texture. It’s affordable, easy to install, and instantly elevates the DIY mudroom lockers.
Paint & Finishing
After filling nail holes, sanding, and priming, it was time for paint. I used the same deep, moody shade used throughout the room: Dark Auburn by Sherwin-Williams (satin sheen).
Finally, I upholstered the bench cushion and installed all the hardware and got to take it all in.
MDF vs. Plywood: What I Learned
This project was my first time working with MDF, and WOW did I learn a lot. Here’s a quick breakdown of my takeaways:
Pros of MDF
- Budget-friendly: Roughly half the price of plywood.
- Smooth finish: Flawlessly smooth once painted, especially with proper prep.
Cons of MDF
- Fragile: Corners get damaged easily, and it’s more vulnerable to moisture.
- Prep work: Shellac primer is a must. And yes, it smells like you’re snorting alcohol. But the finish is worth it.
If you’re deciding between the two for your own mudroom built-ins, this project confirmed that each has its place.
Design Decisions That Make the Lockers Shine
Now that we’ve covered the skeleton, let’s talk about the jewelry - the pieces that push this mudroom over the edge and make it unlike any other.

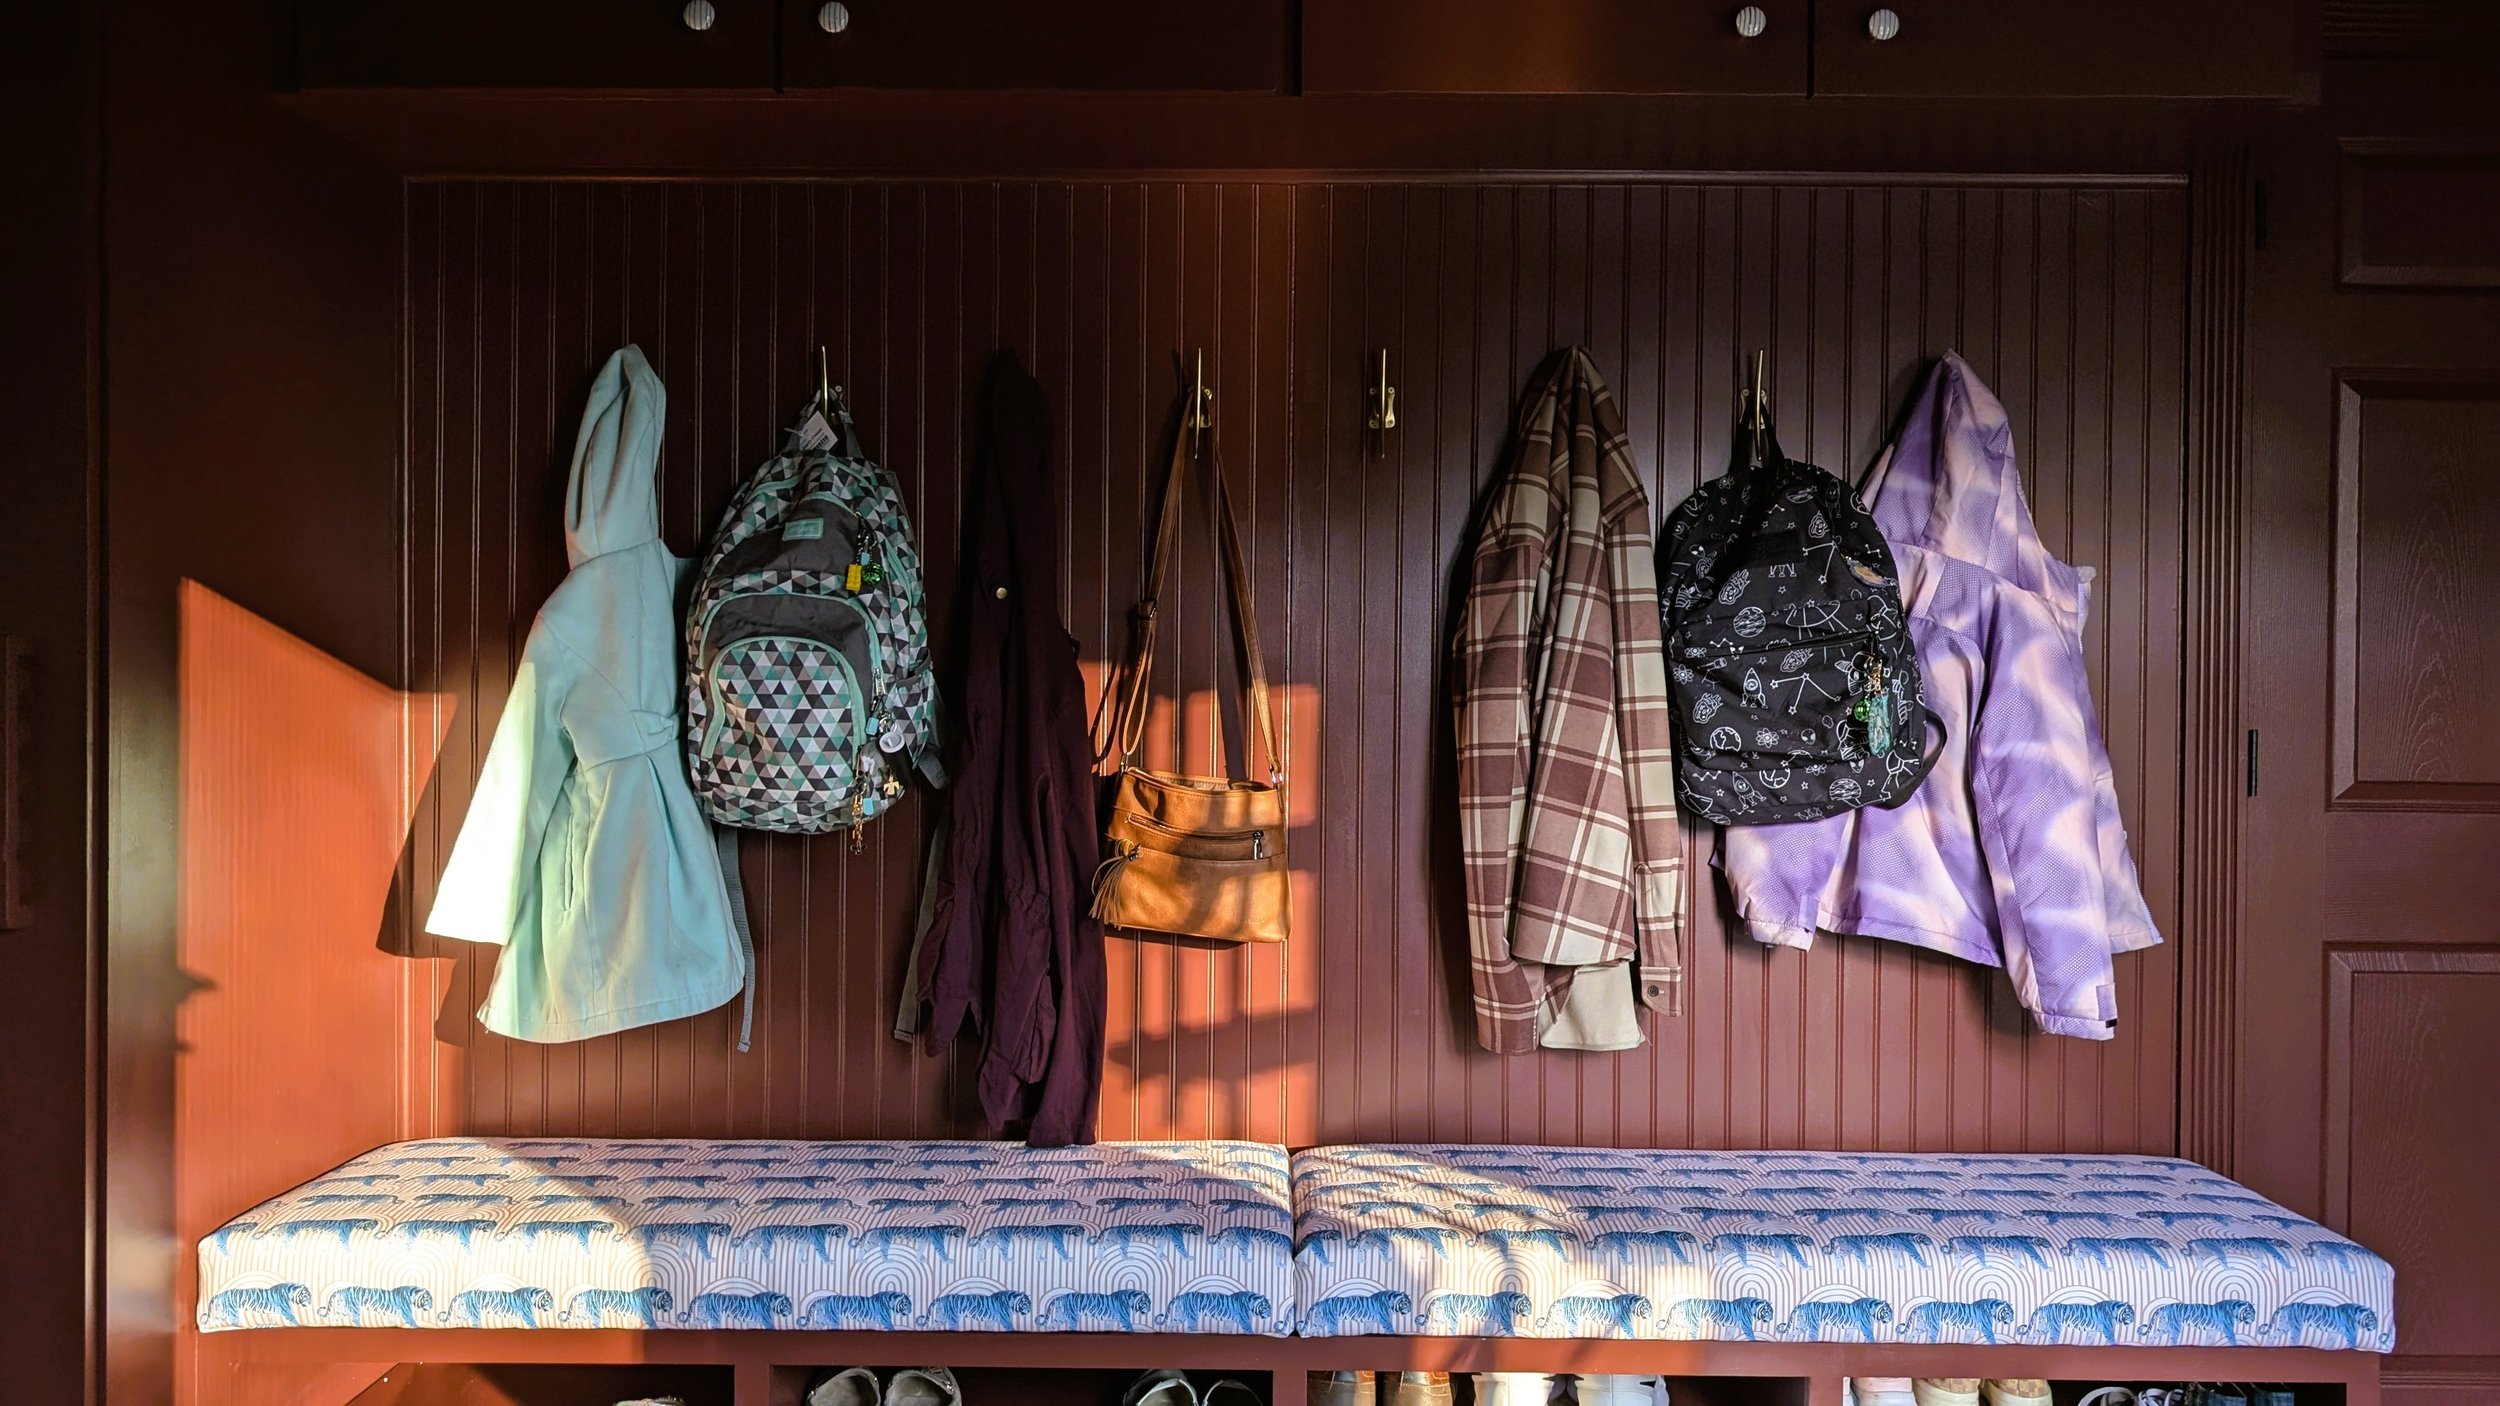
Cabinet Hardware
If you read my last mudroom design post, you know I went down a deep rabbit hole hunting for unique hooks and cabinet hardware. I wanted pieces that added personality without stealing the show.
Enter: the striped ceramic cabinet pulls. The second I found them, it was game over.
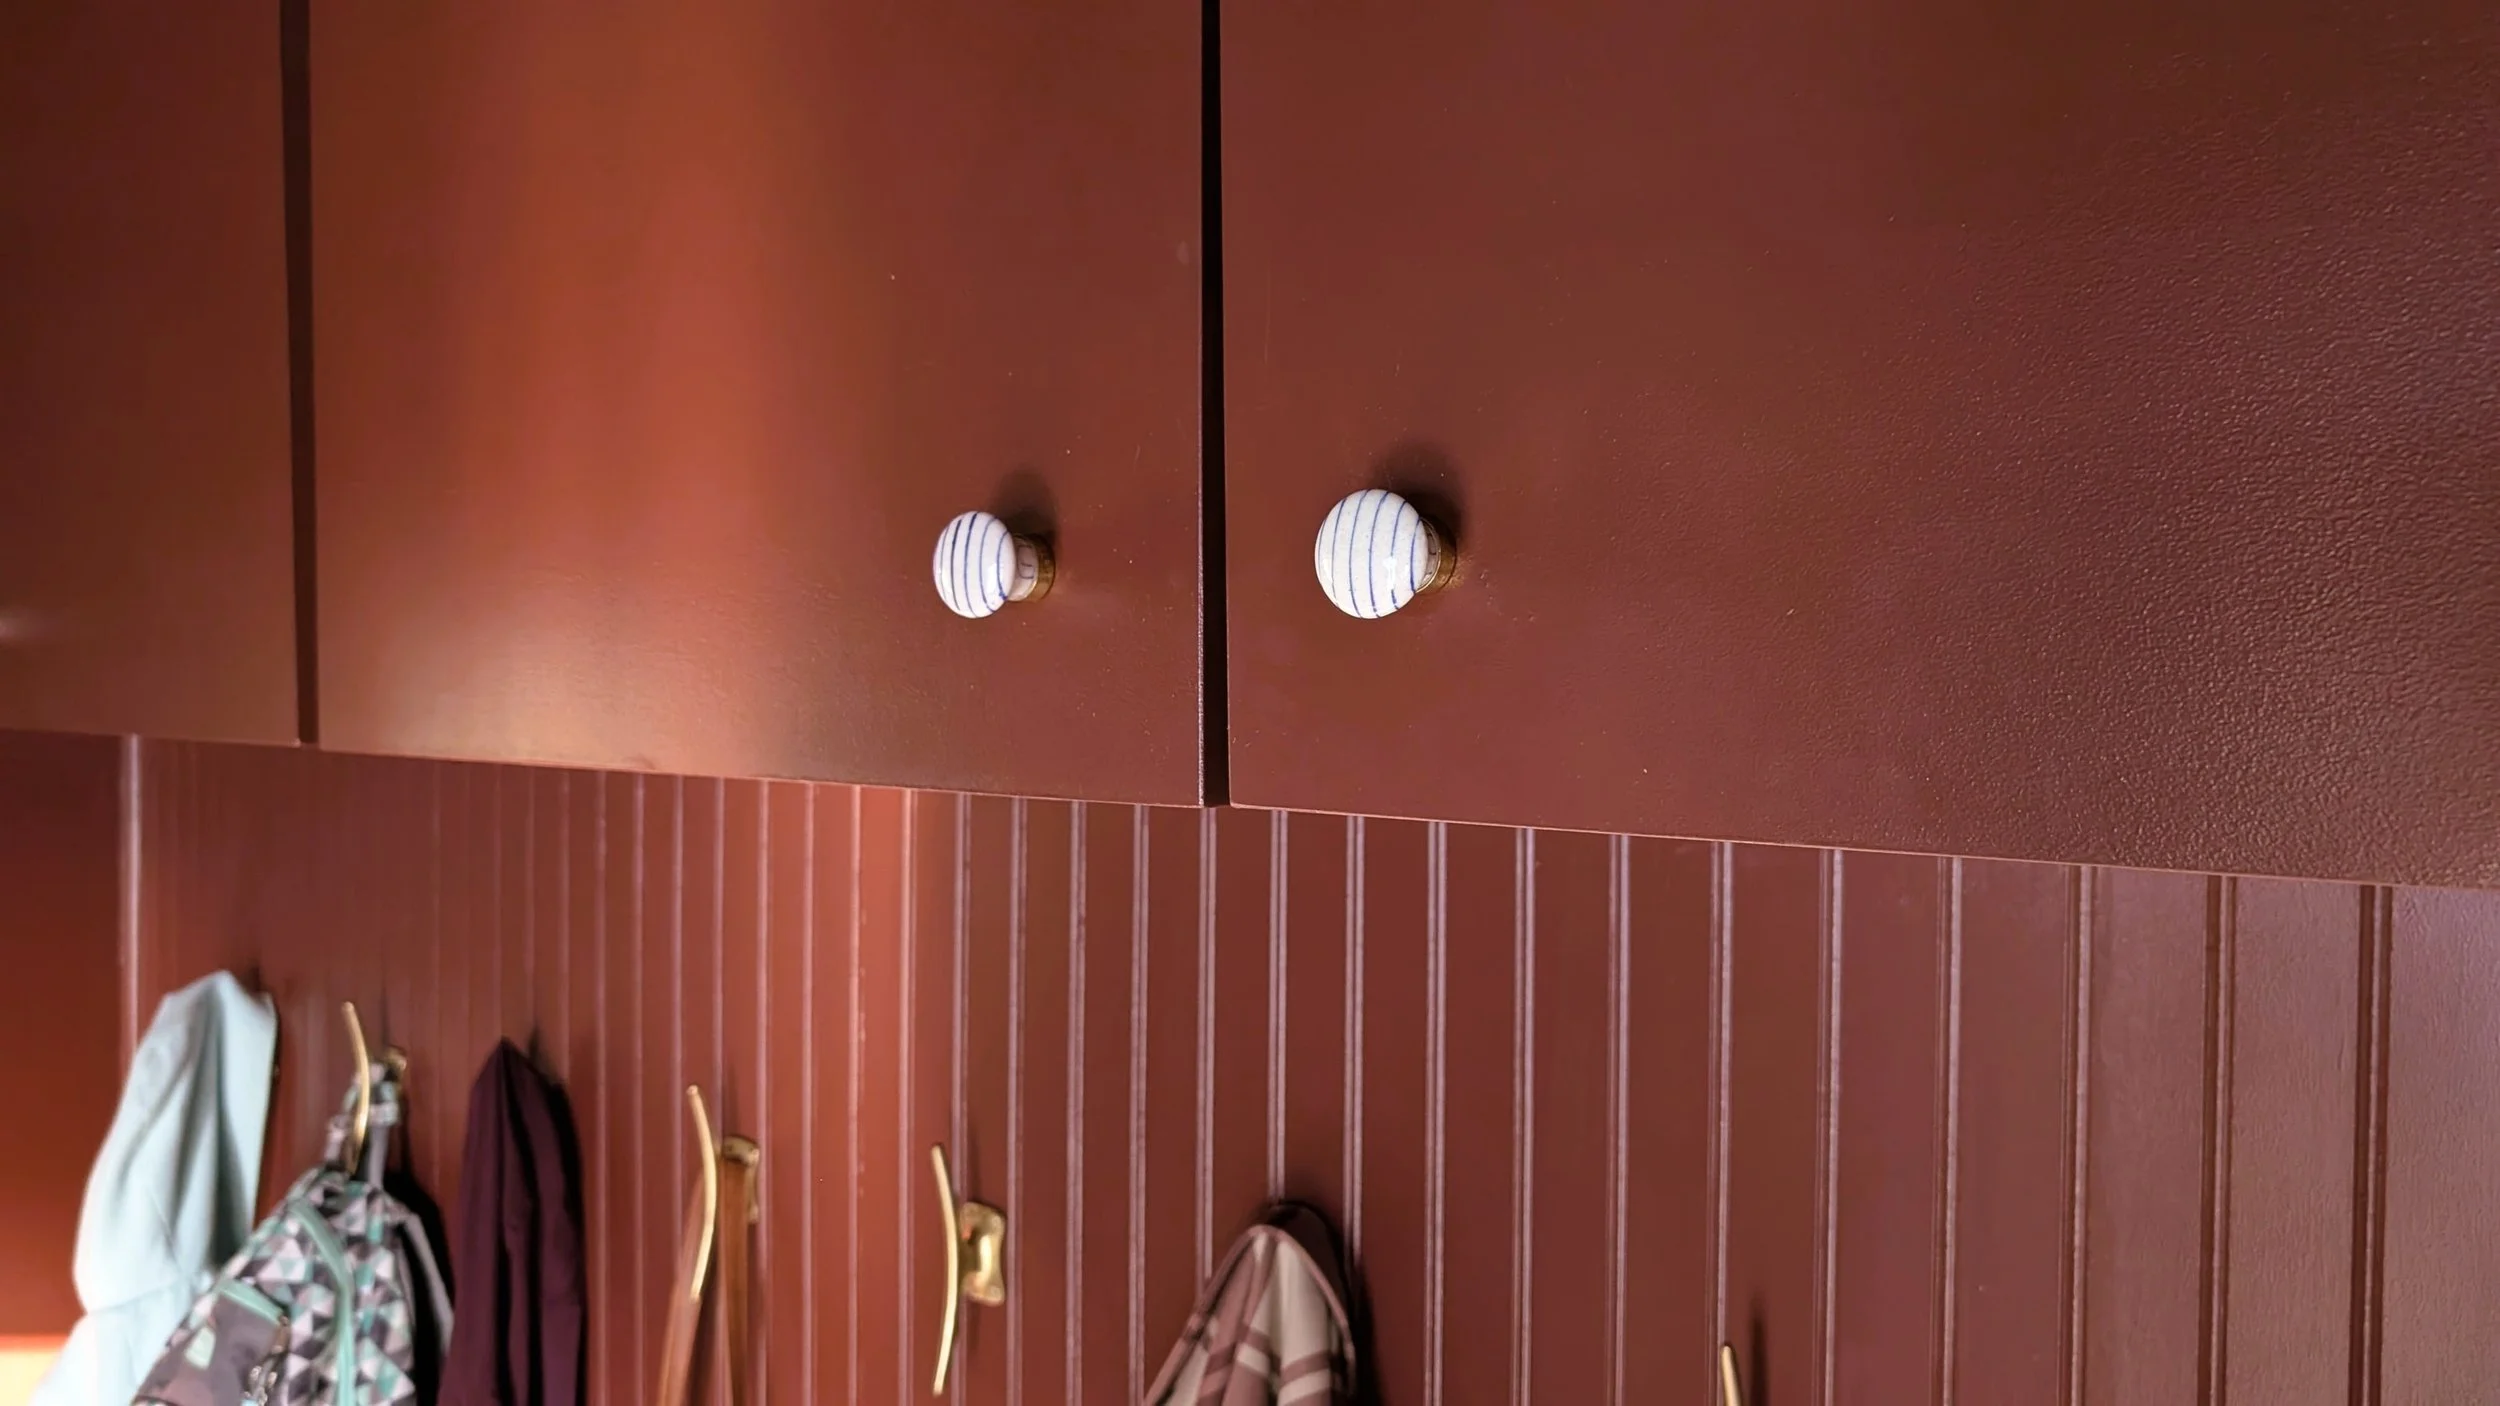
They add contrast, they’re patterned, they’re unique, and they even have a touch of brass at the base!
For the floor-to-ceiling cabinet, I wanted something larger but still subtle. I fell in love with these wavy pulls on Etsy, but since I planned to paint them to match the lockers, the price felt hard to justify. So I called in a favor from a friend with a workshop, and he made me one with scrap wood.
It turned out perfect. Subtle, sculptural, and just the right amount of special. Plus, I was able to customize the size so it’s large enough to balance out the large cabinet door.
Bench Fabric
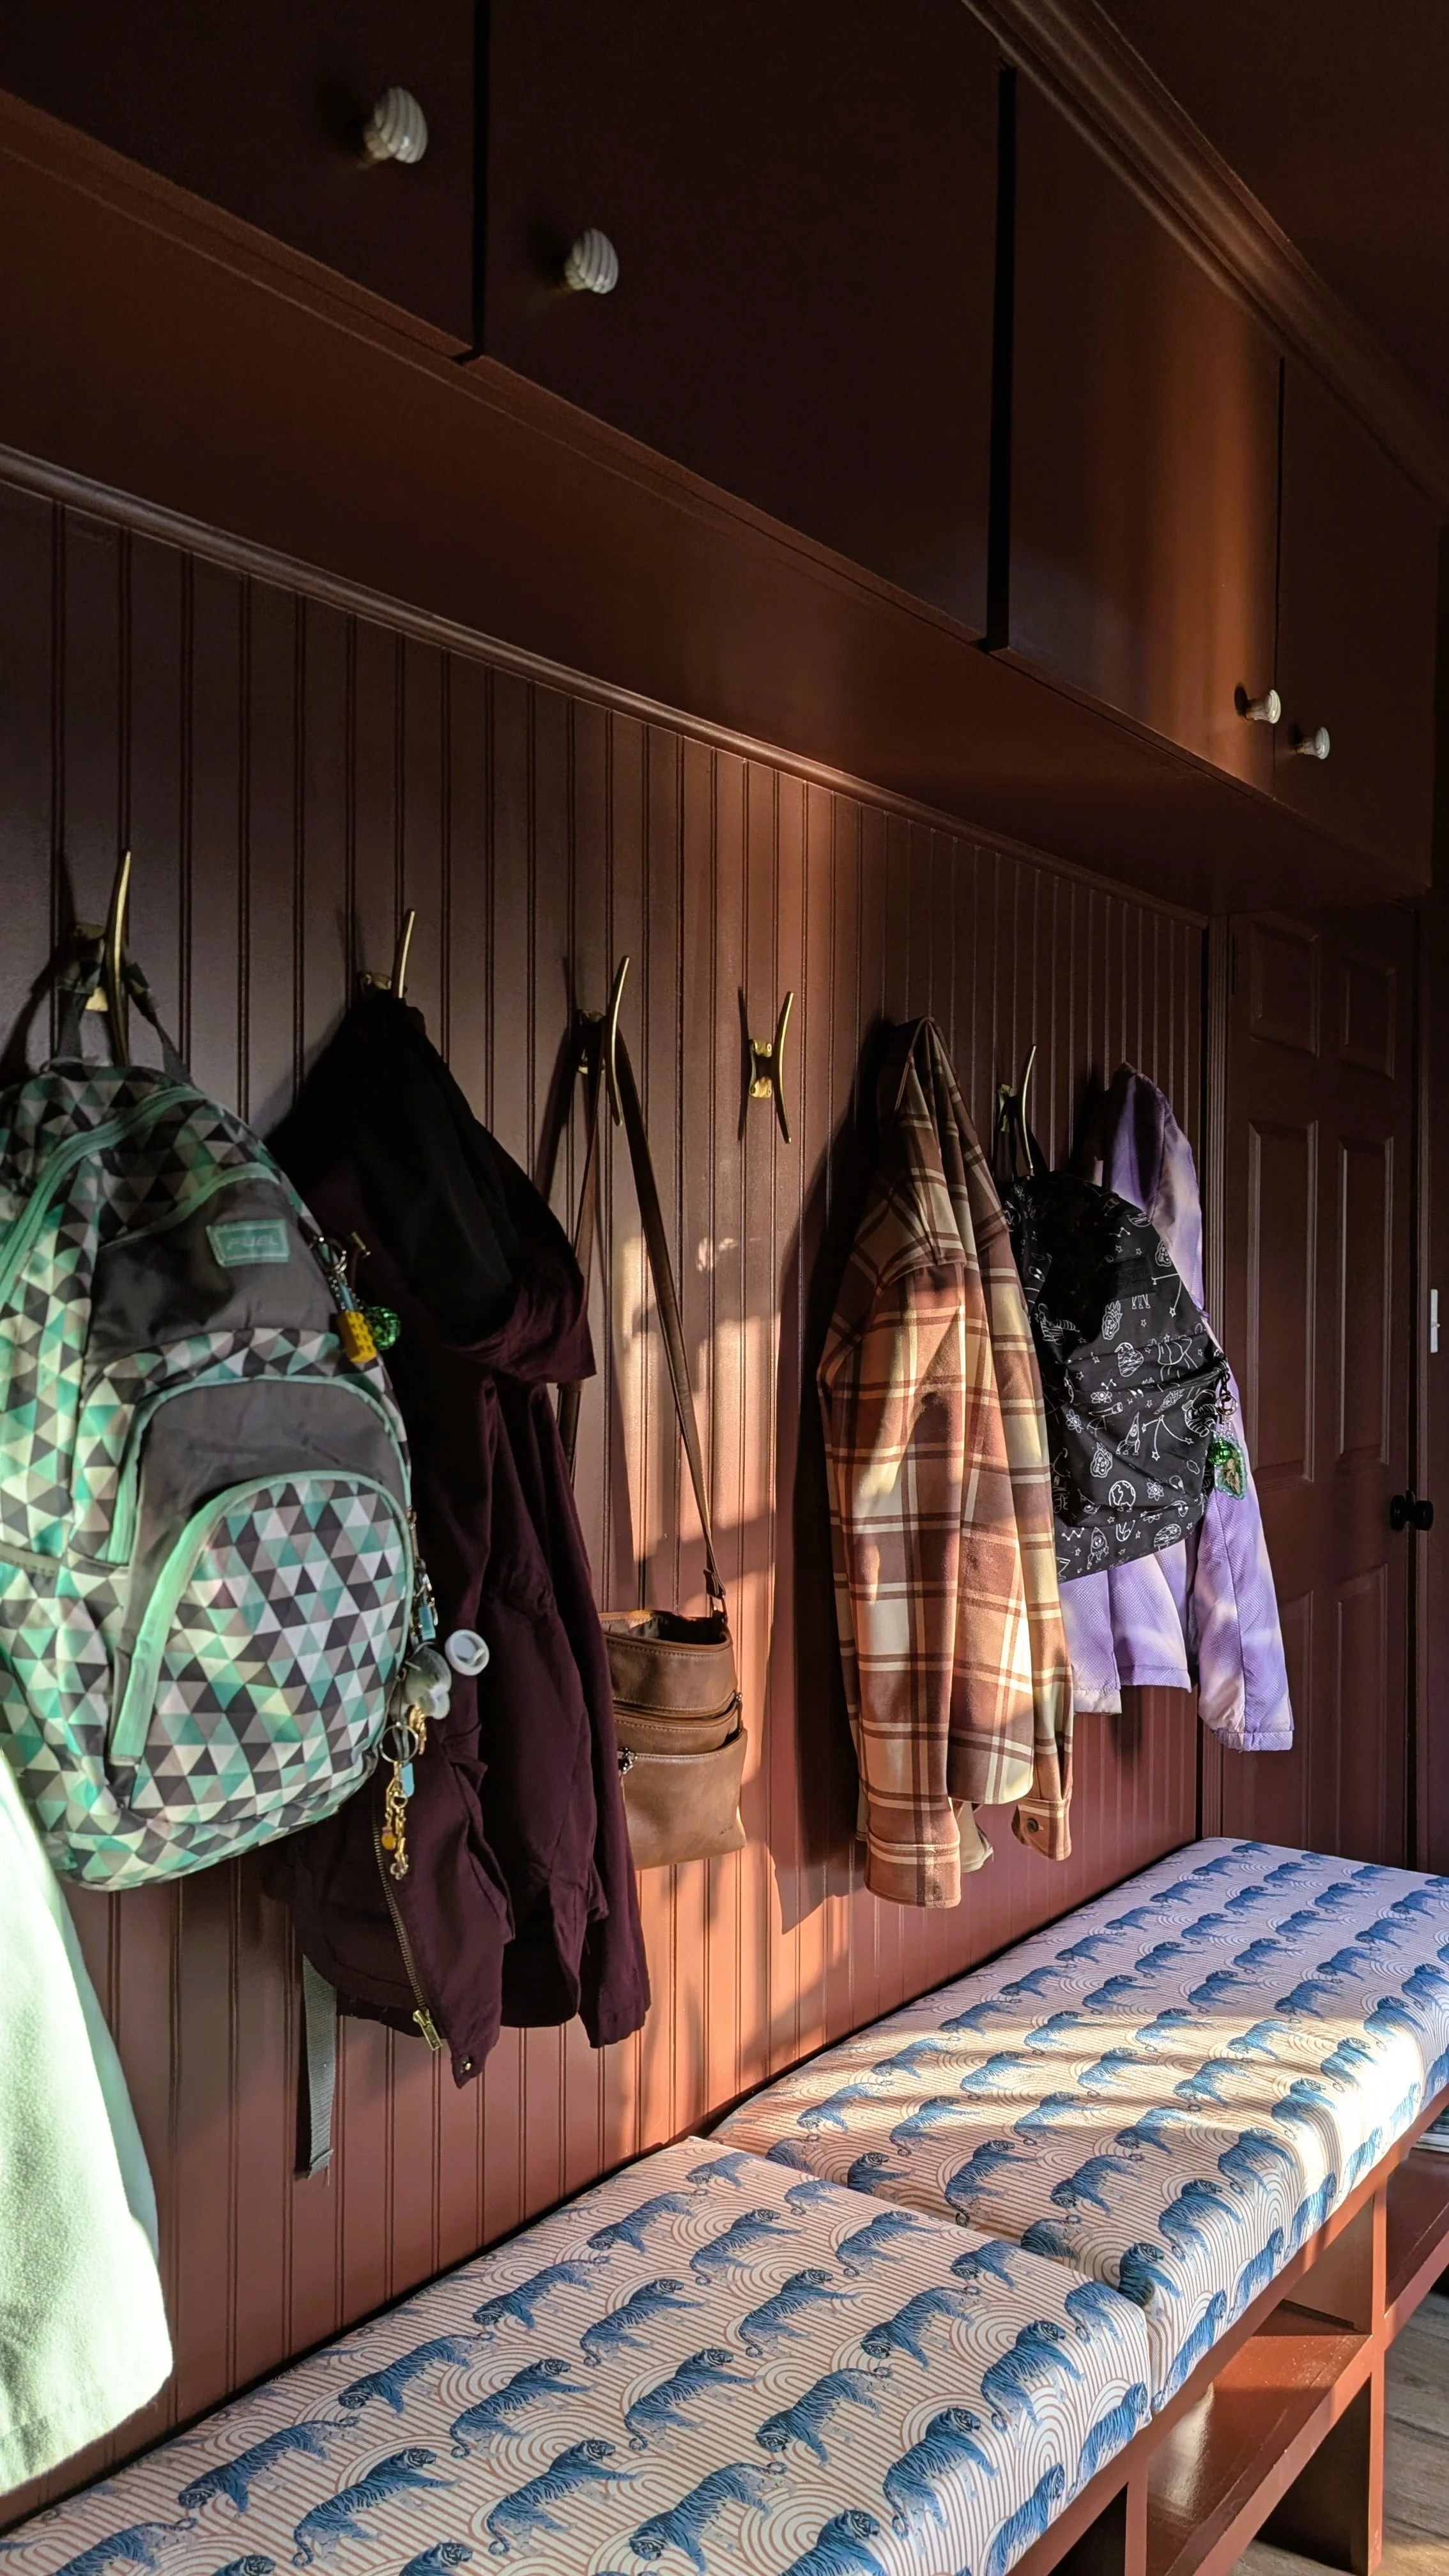
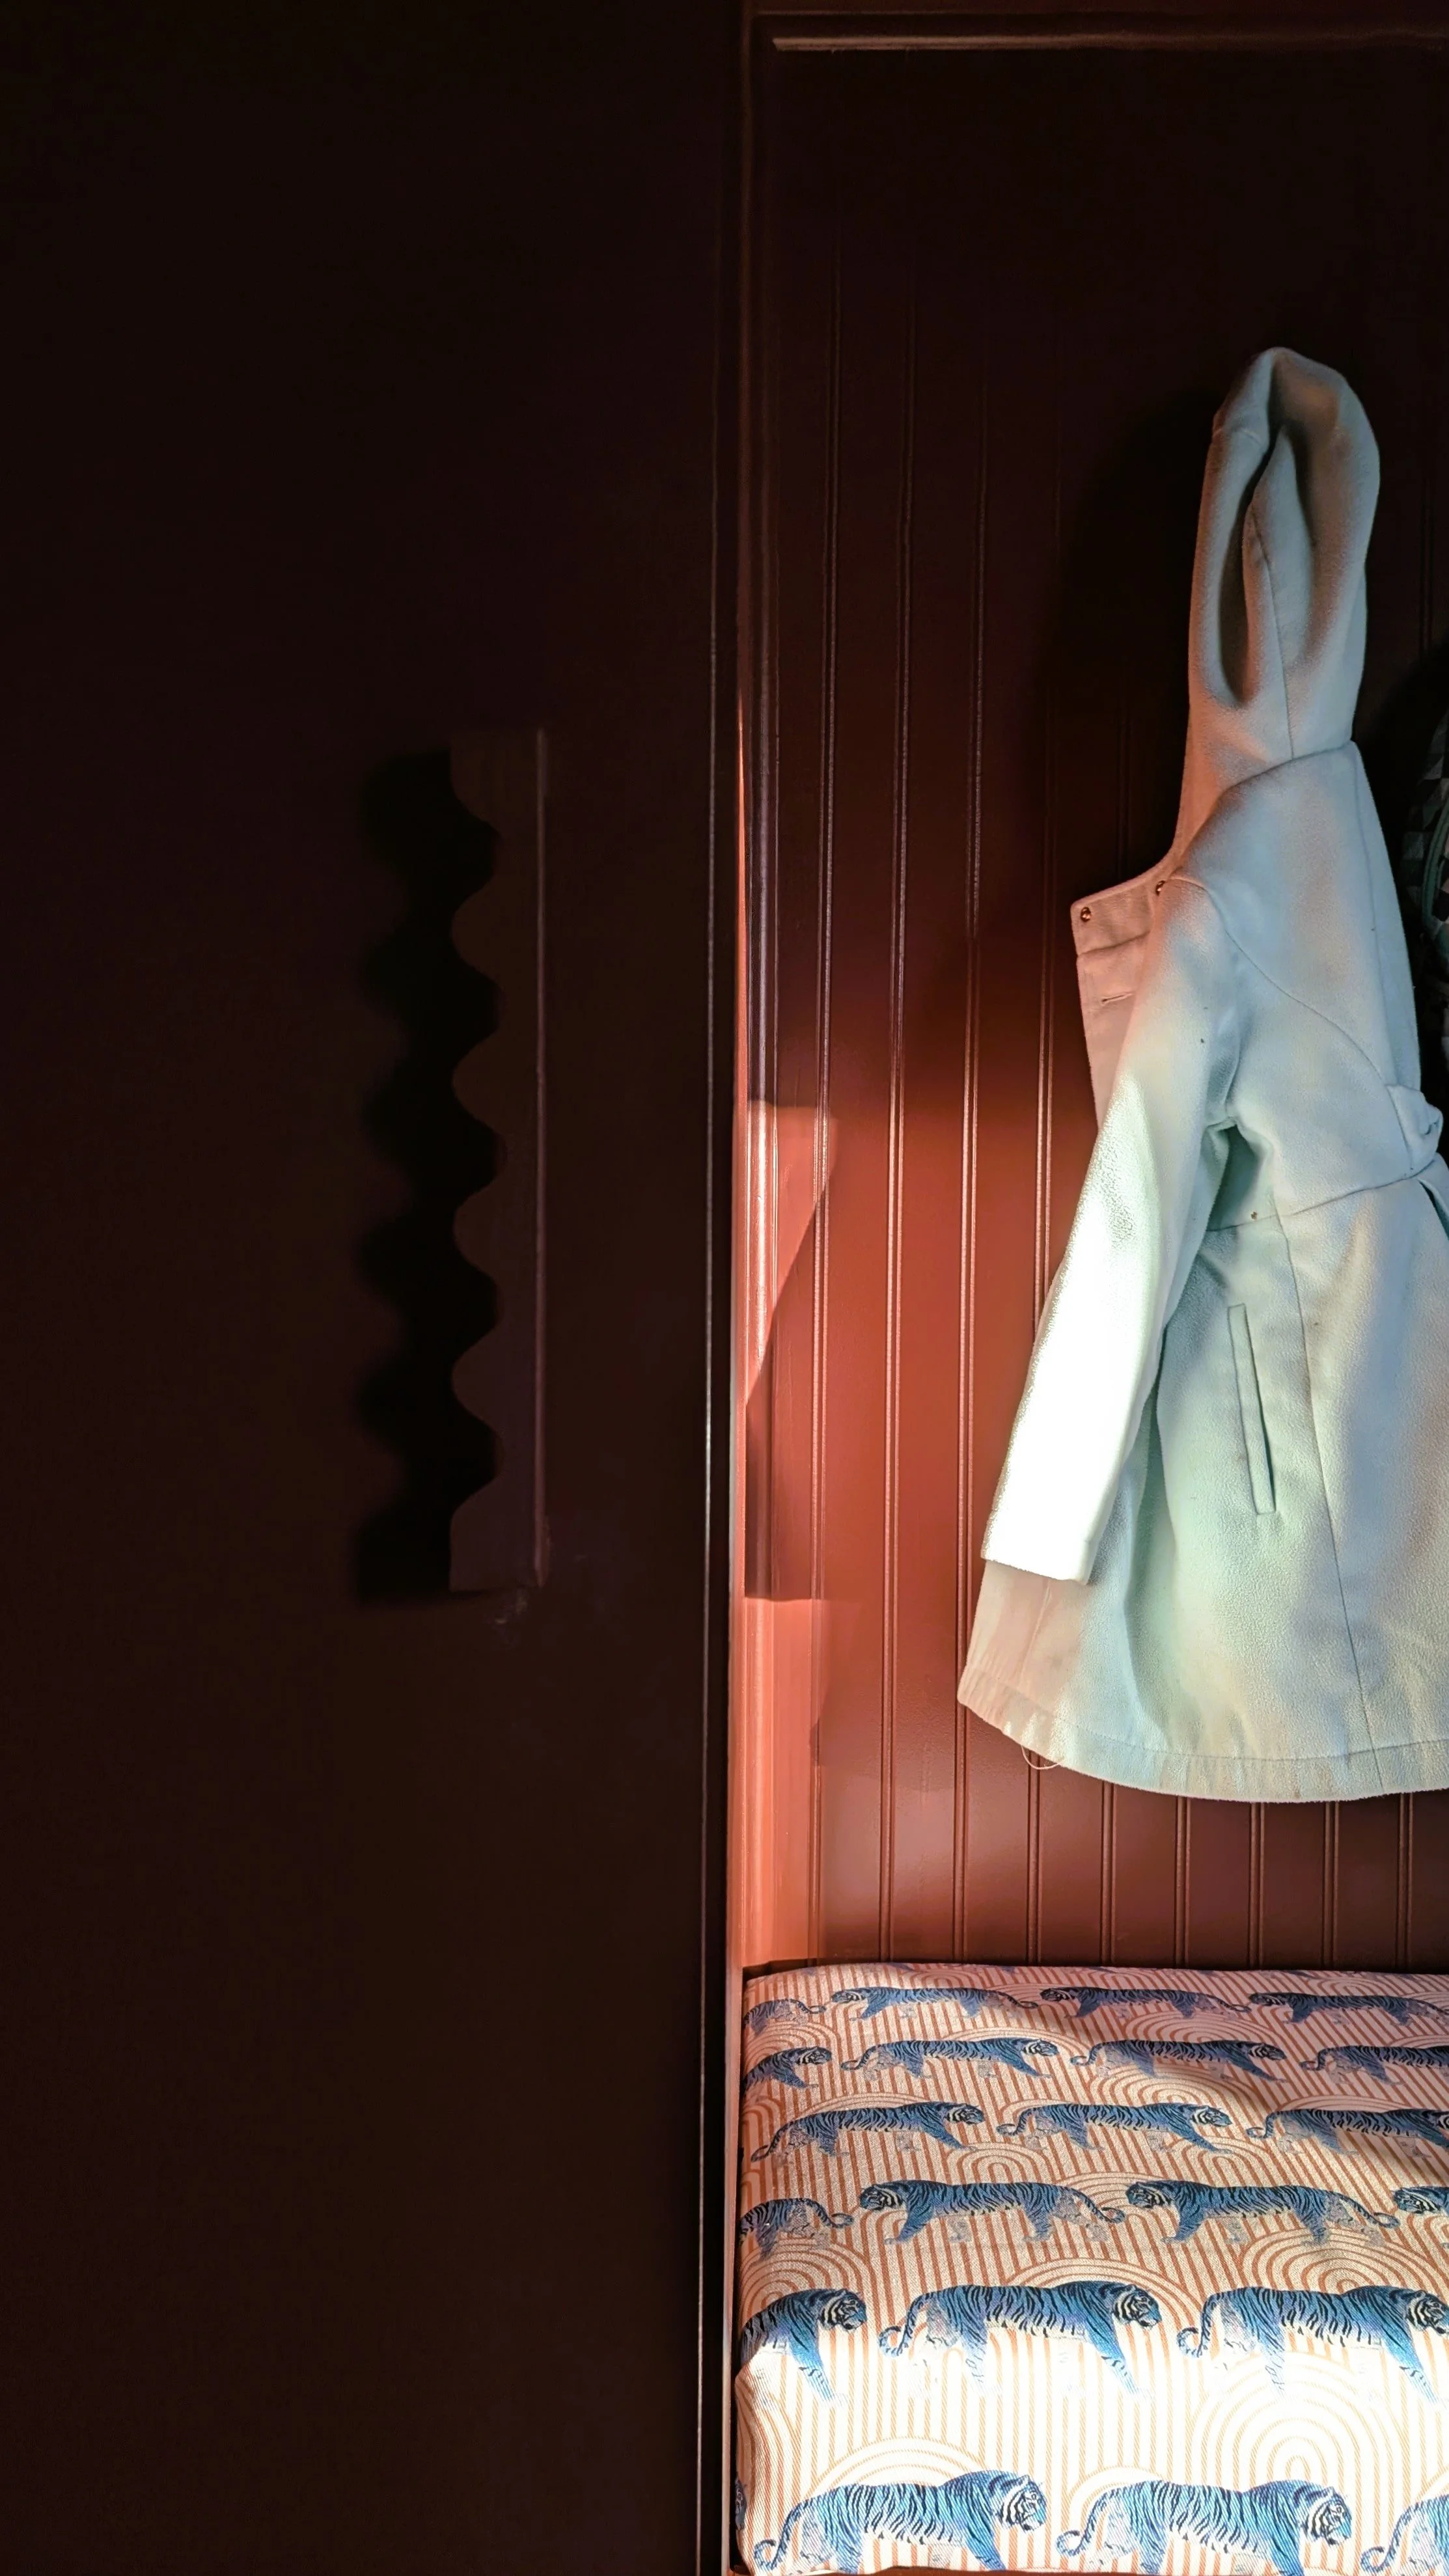
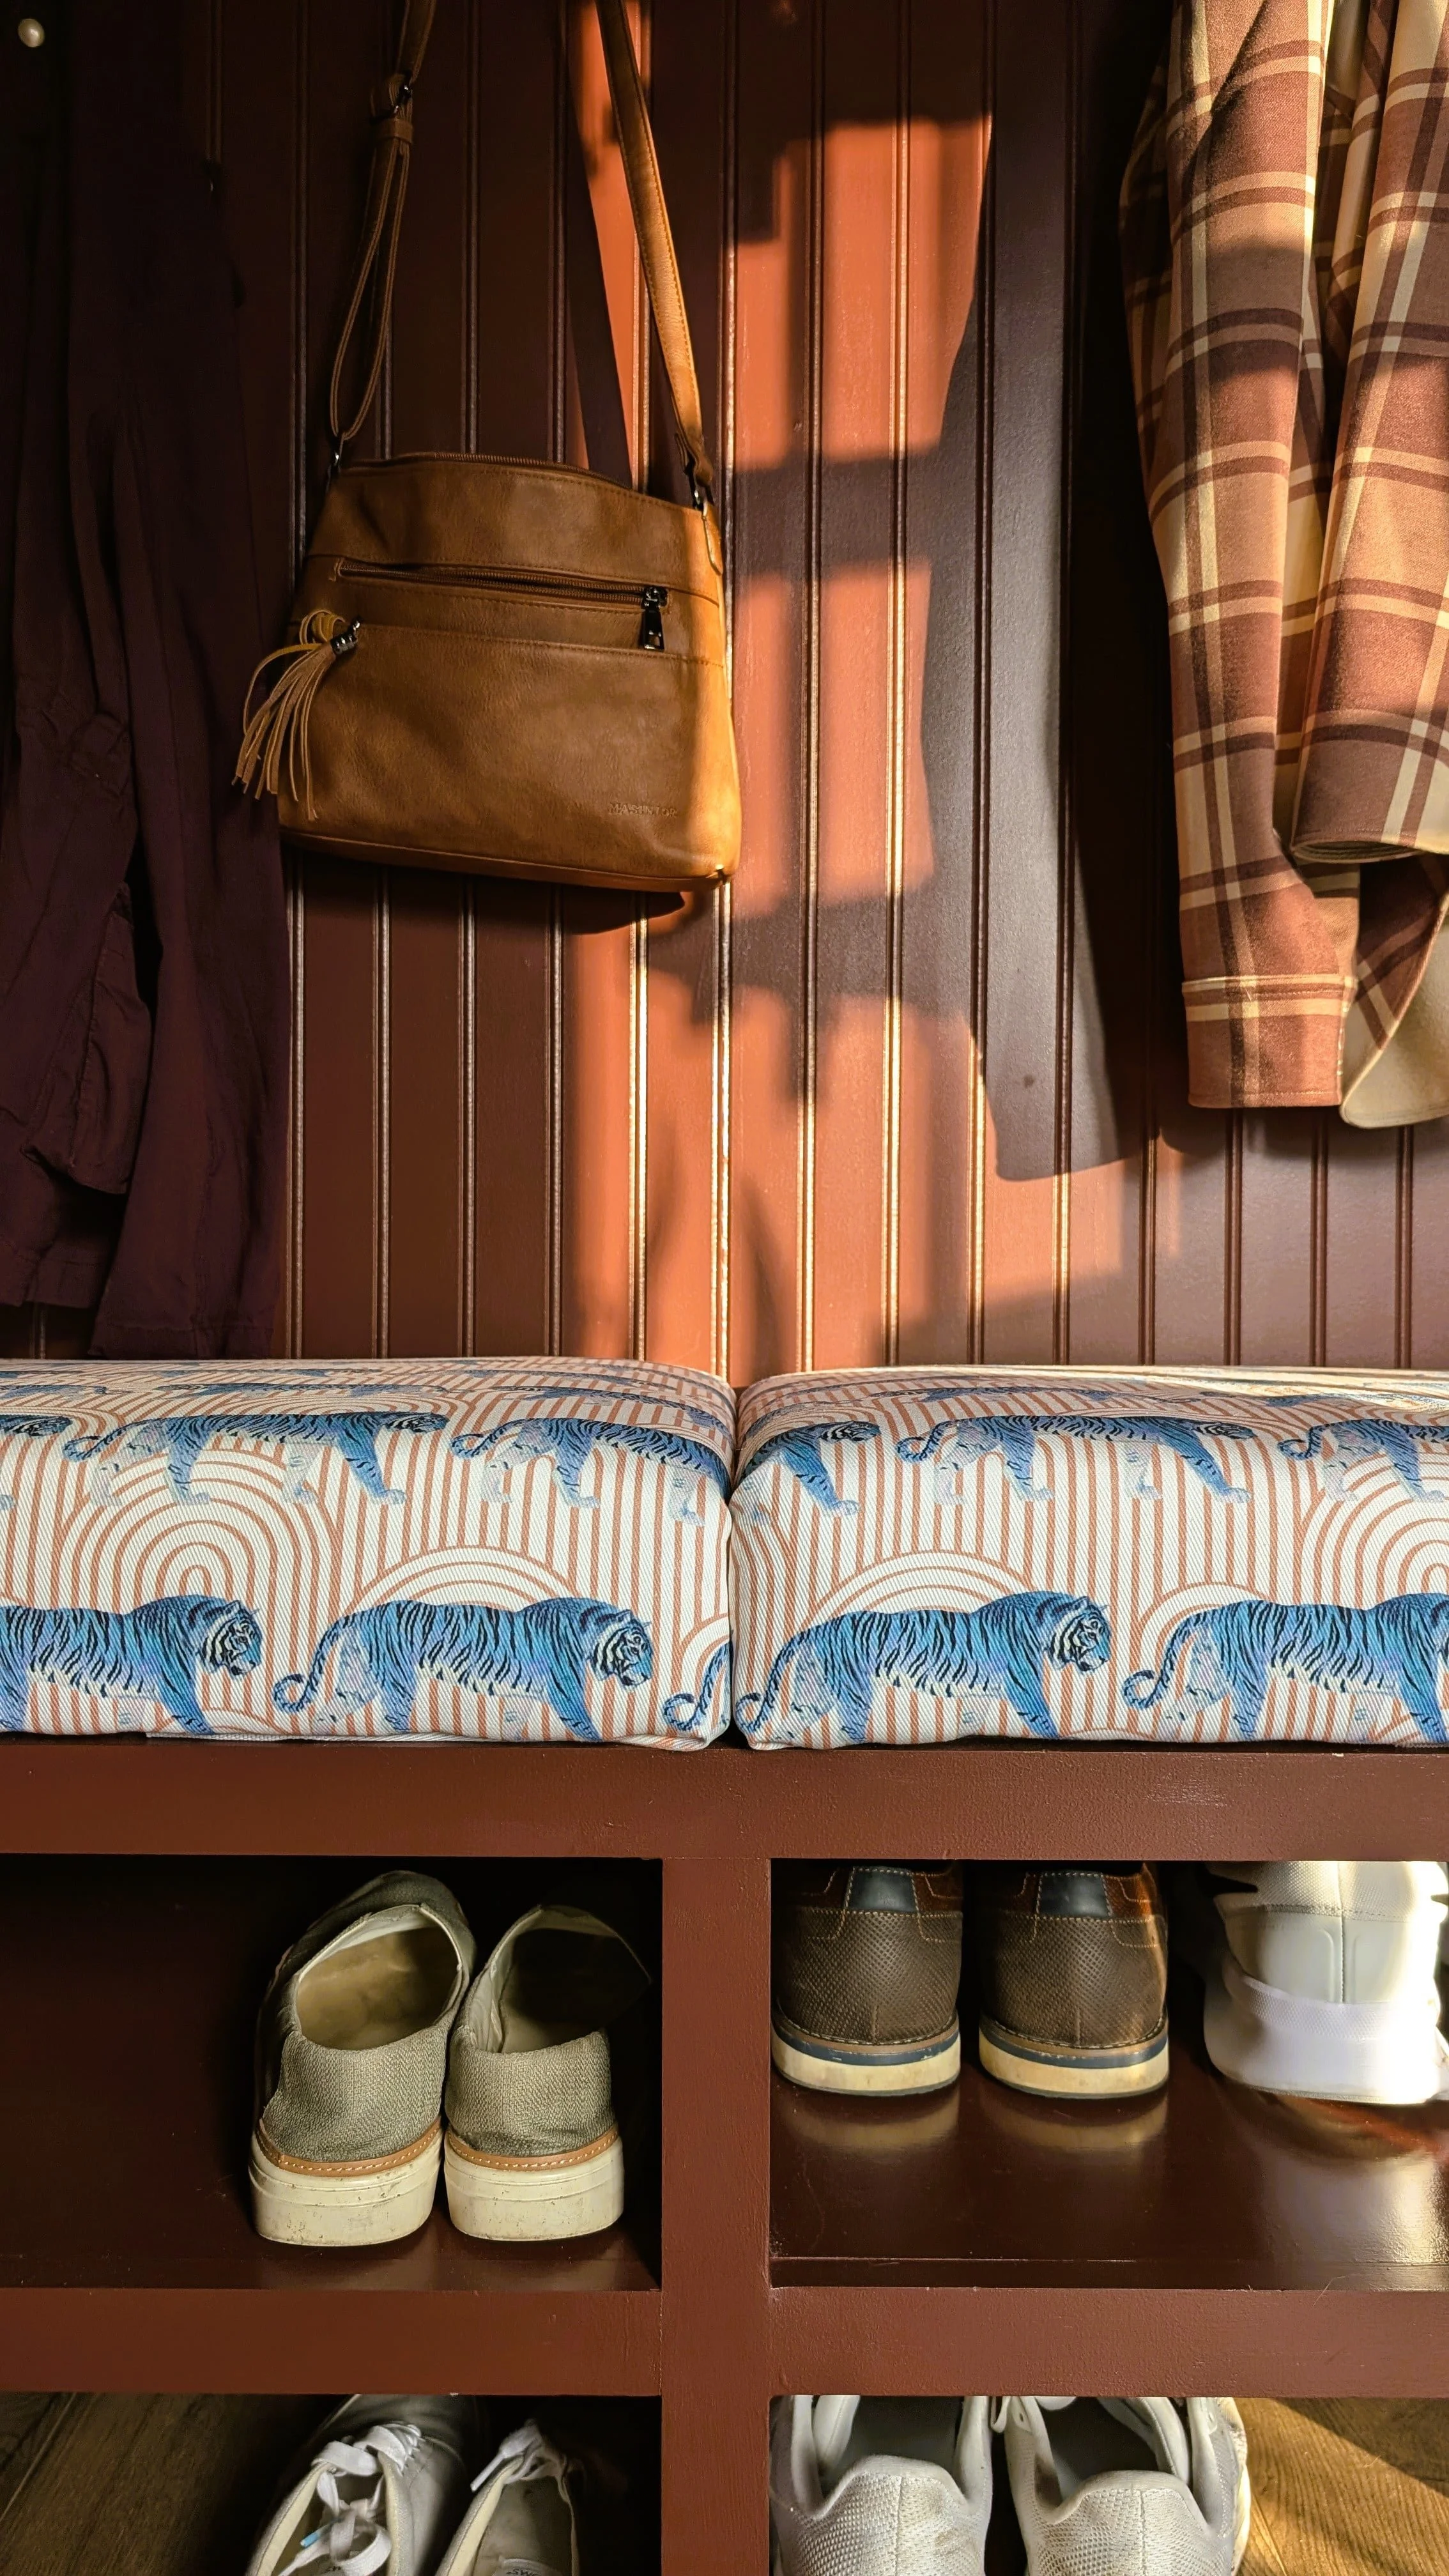
If you follow me on social, you already know I was on the struggle bus deciding between the heron vs tiger fabric options. While almost everyone voted for the heron fabric, once I found those striped cabinet pulls, the tigers won instantly.
Not only do the blue tigers echo the lines in the cabinet hardware, but the light background color adds the contrast the room desperately needed. The heron fabric blended too closely with the wall color, and a bold mudroom deserves a little drama.
Plus, I had a tiger-obsessed six-year-old telling me to choose them. Case closed.
Hooks
The hooks practically chose themselves once the fabric was picked. Why? Well, because they kinda look like tiger claws, and how could I pass up that opportunity?
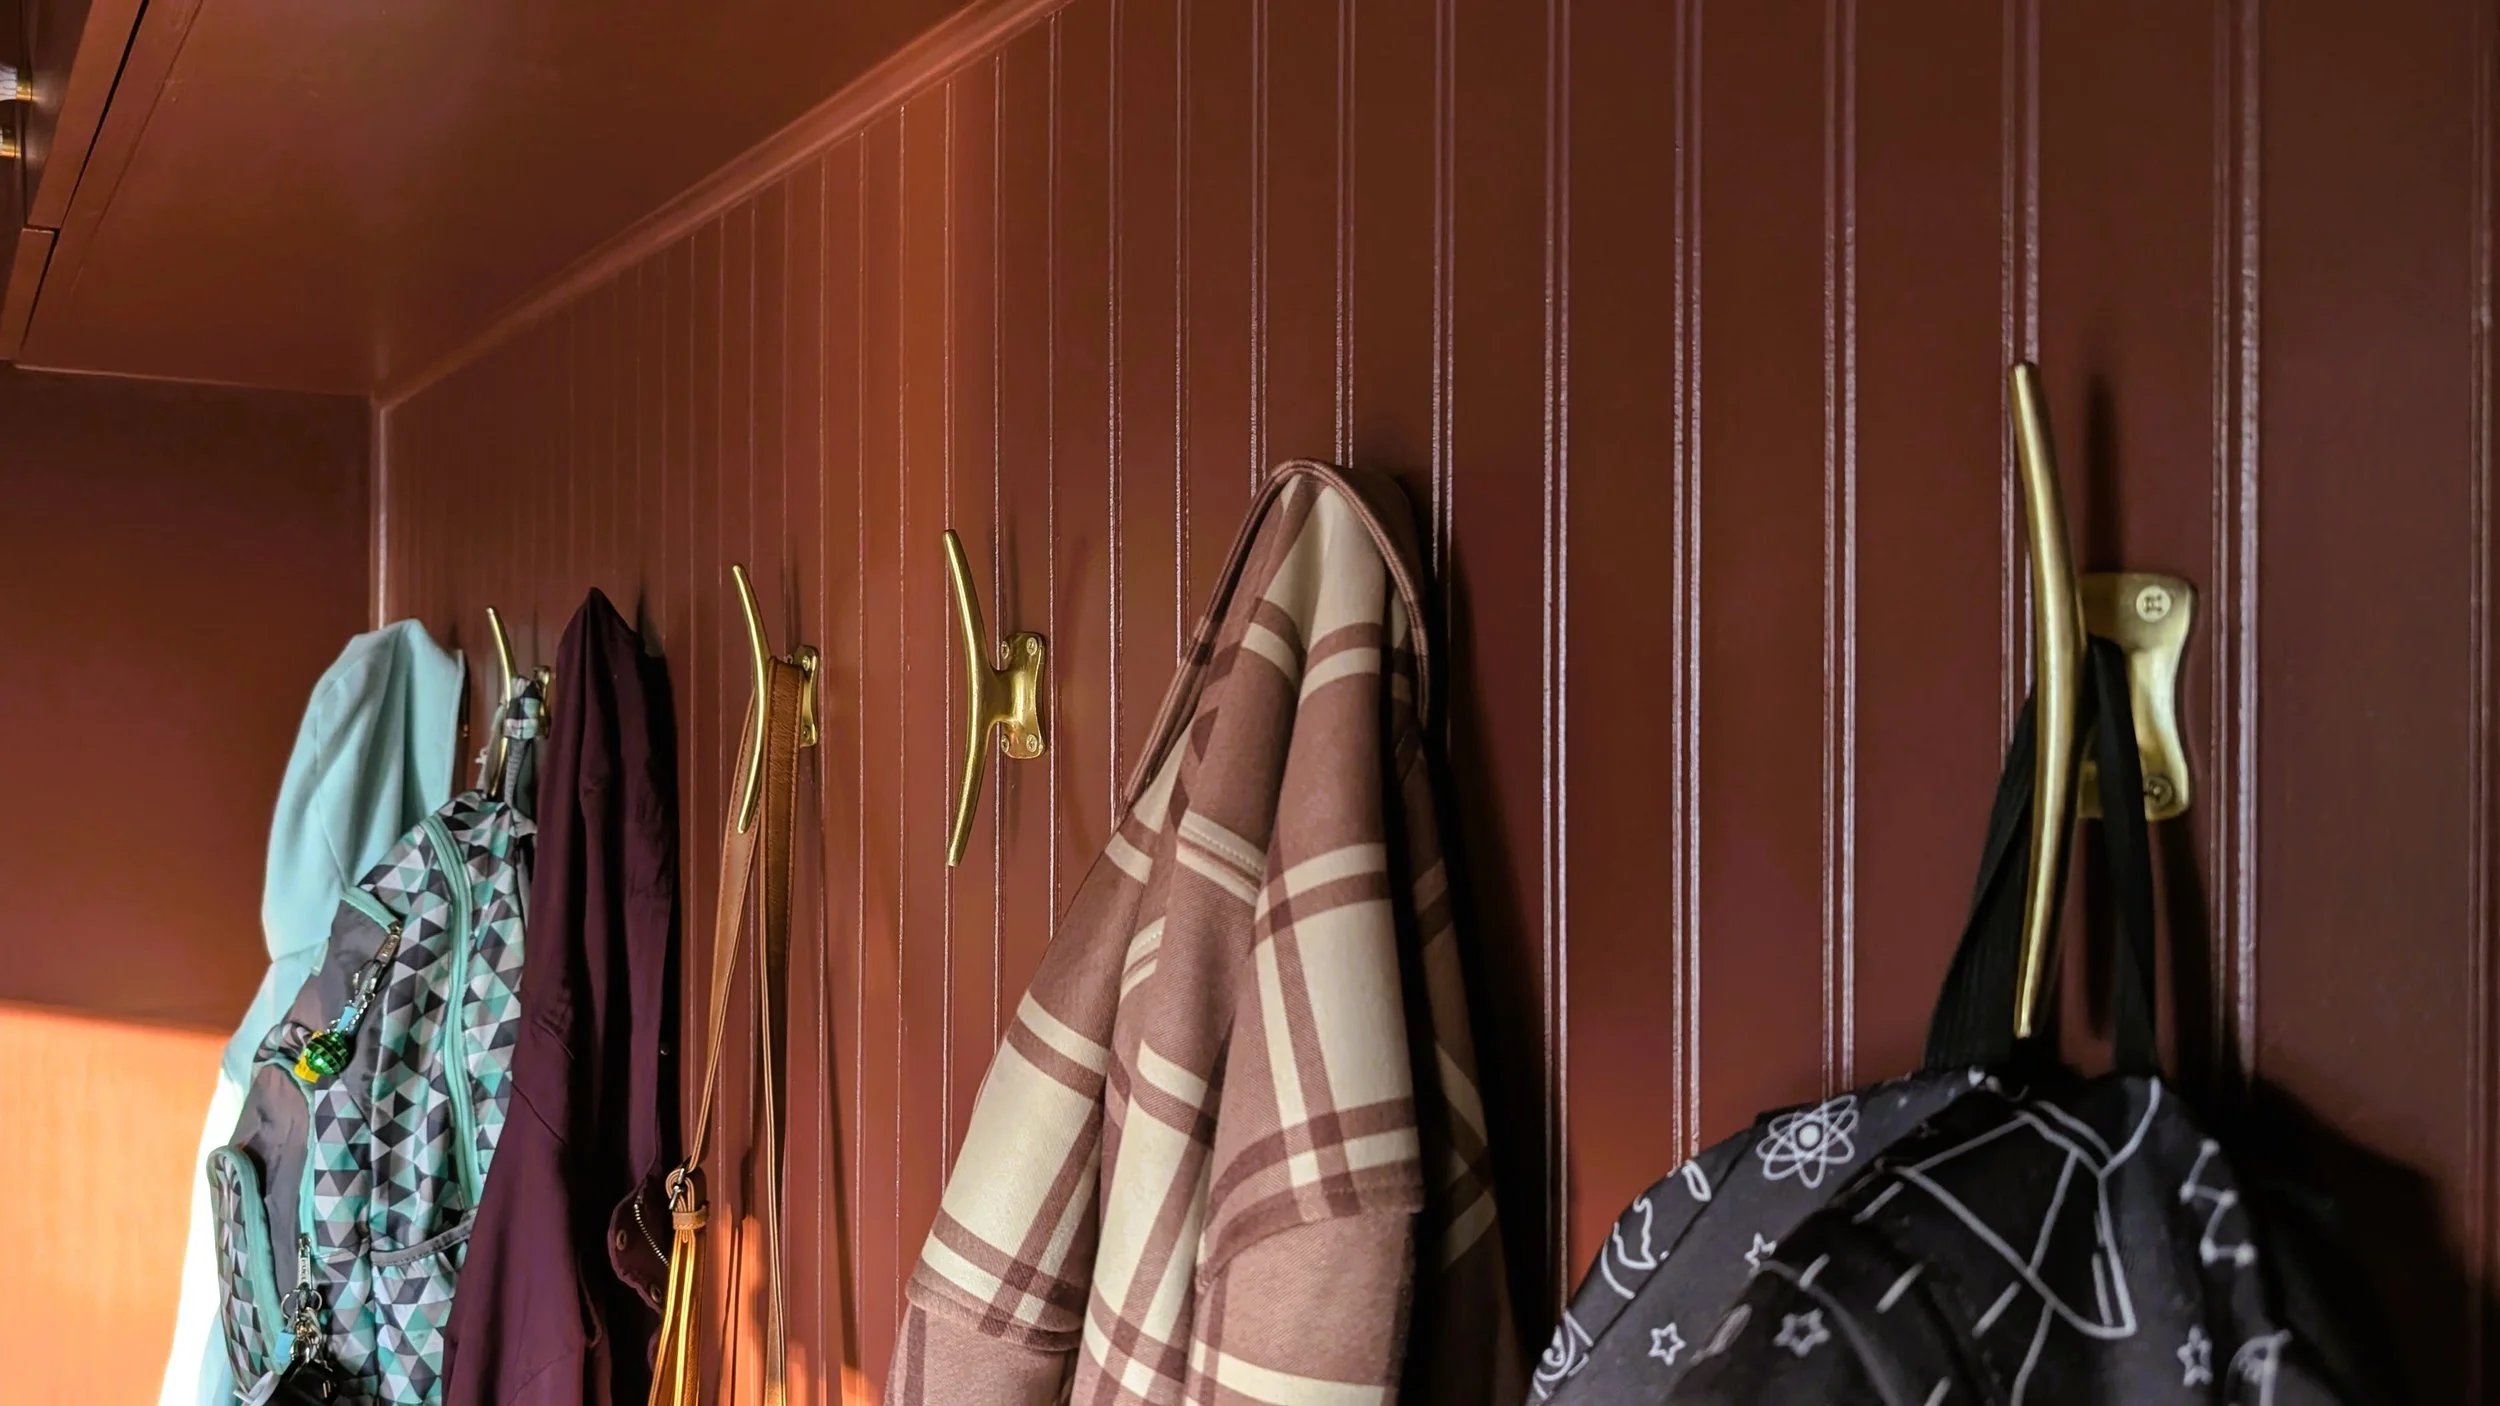
Beyond that, I love that they’re not your run-of-the-mill coat hook design. Bonus, they’re SOLID brass and really well made.
What’s Next: The Bonus Project That Stole the Show
I originally planned for this post to be the full reveal of the mudroom. The big shebang, if you will. But the best-laid plans often go awry, and interior design is certainly no exception.
In my search for a console table for the wall opposite the mudroom lockers (in the picture below), I came across this tiled console table and got butterflies. Cue me going on a tiled furniture frenzy and ending with the decision to make my own tiles, build my own console table, and tile it.
So, while the full reveal of this room will take a little longer than originally planned, I fully think it’ll be worth it. Stay tuned, because if I pull this off, it’s going to be so good.